

wow....getting pretty thorough with this.... good stuff..
subbd!
-
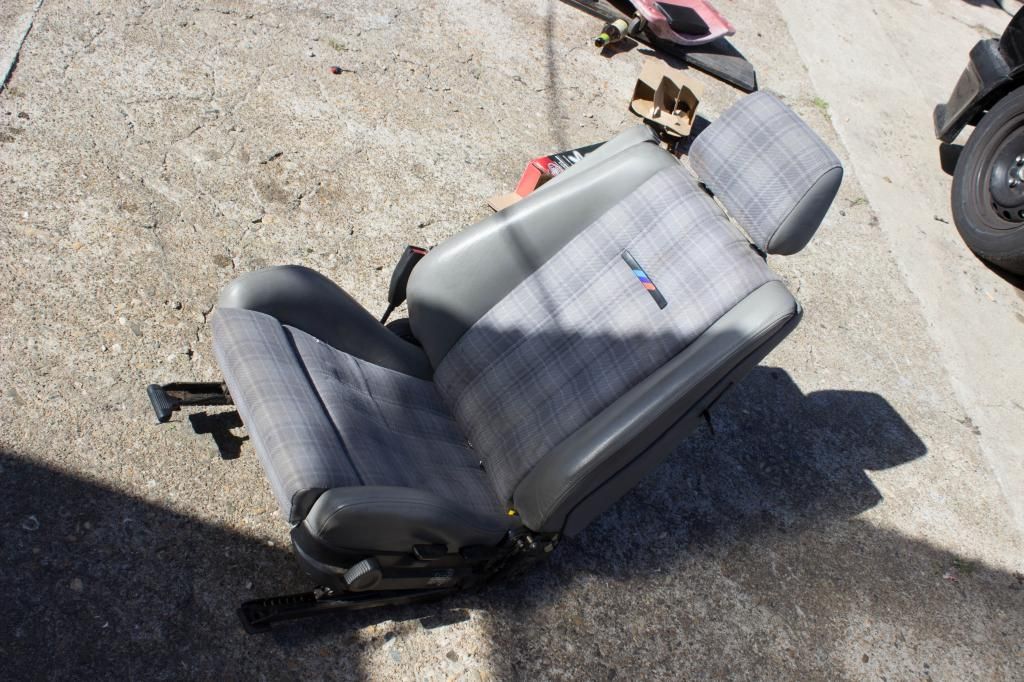
So a while back fire extinguishers were on sale and I bought a couple. This led me to pulling out the passenger seat (not sure if I've posted the interior I picked up in here yet, but its from an M3 Evo 2, front seats are heated with armrests ;)), stripping the seat down and fixing everything mechanical in it (it wouldn't slide, recline, leg support adjuster was broken, etc) and welded on a couple of tabs to bolt the extinguisher to. I also mounted an extinguisher in the boot. Hopefully I'll never need them, but if I do, they will be there.
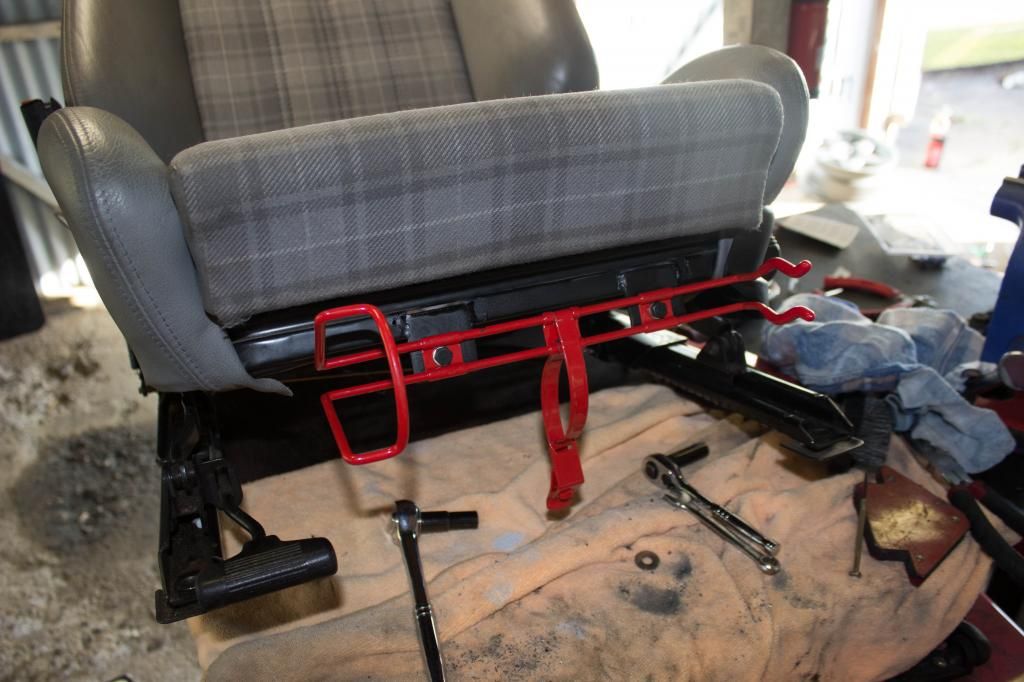
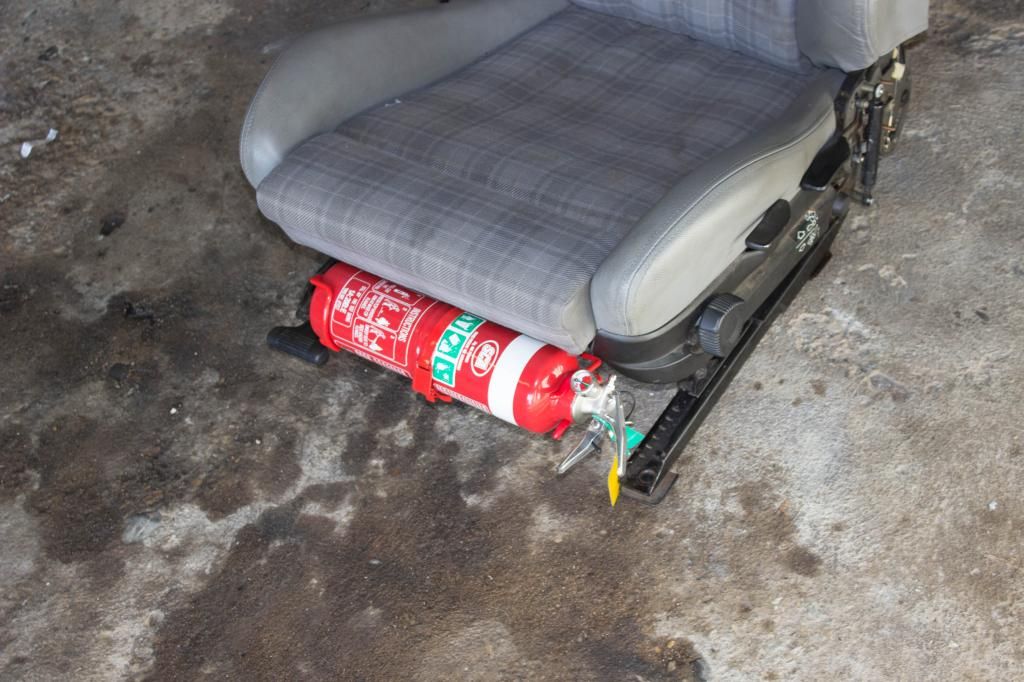
The seat still needs a good cleaning, along with the rest of the interior parts. This will happen soon hopefully.
Anyway with 1 seat out I decided to clean the interior up a little and got a little carried away... soon enough this is what I was looking at
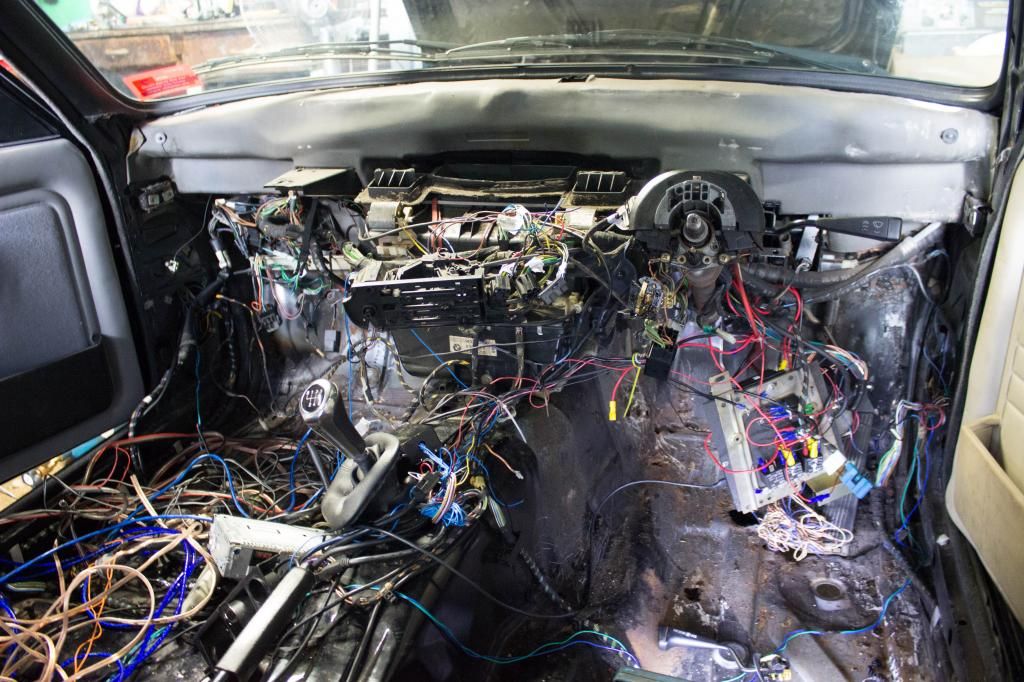
I stripped all of the sound deadening (heat gun makes easy work of this) and found a nice surprise in the floors. Going to be fun repairing this.
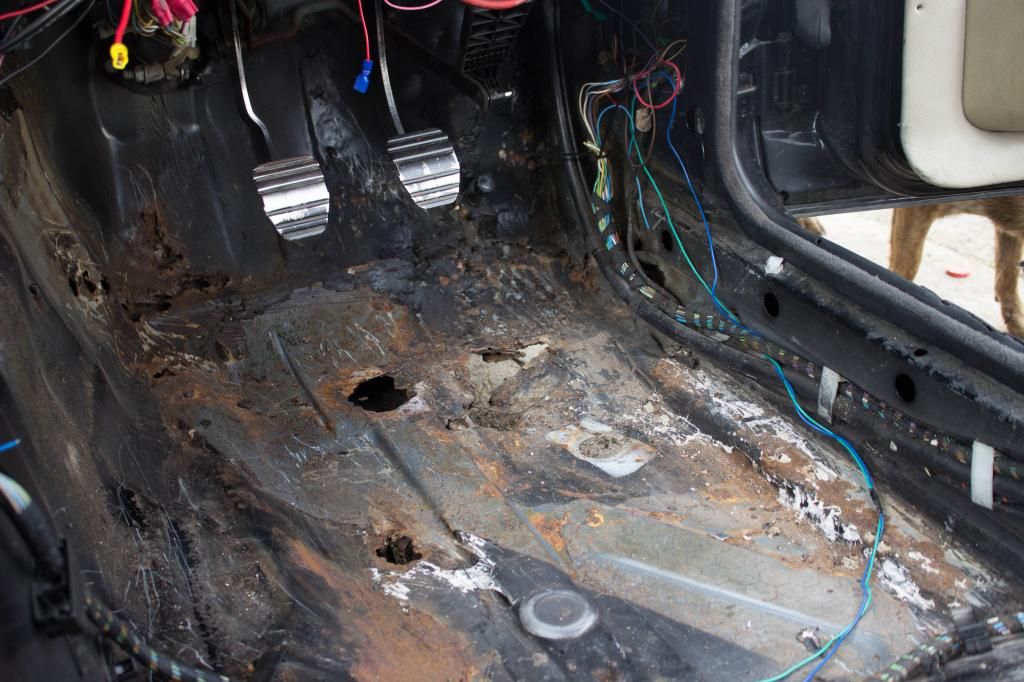
With the interior out I figure I may as well sort out the numerous electrical issues with the car (basically nothing worked, and that isn't exaggerating).
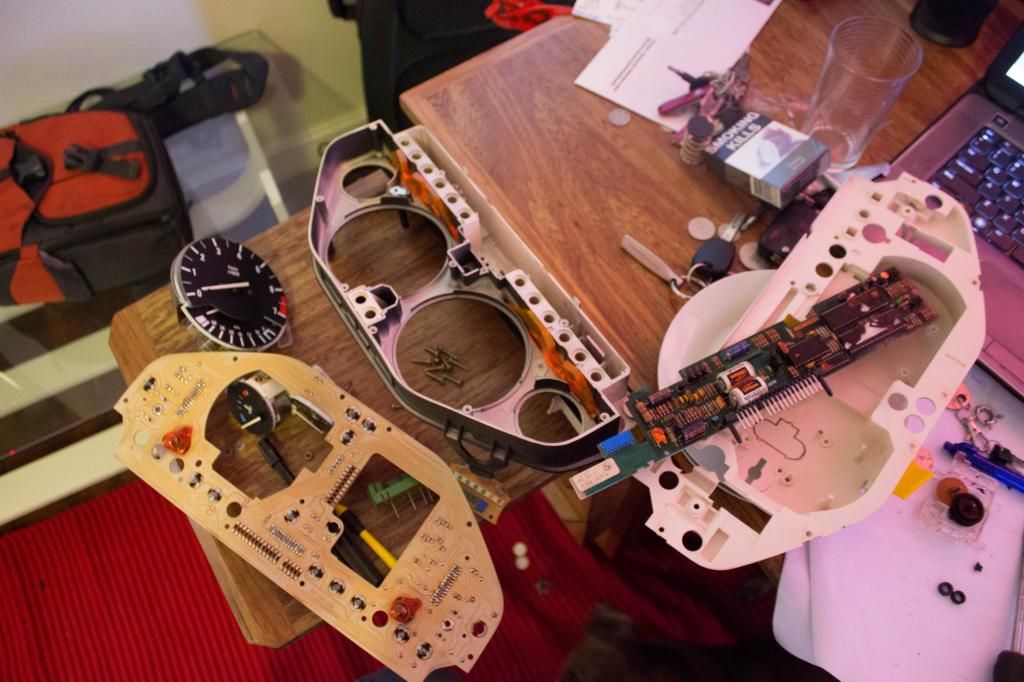
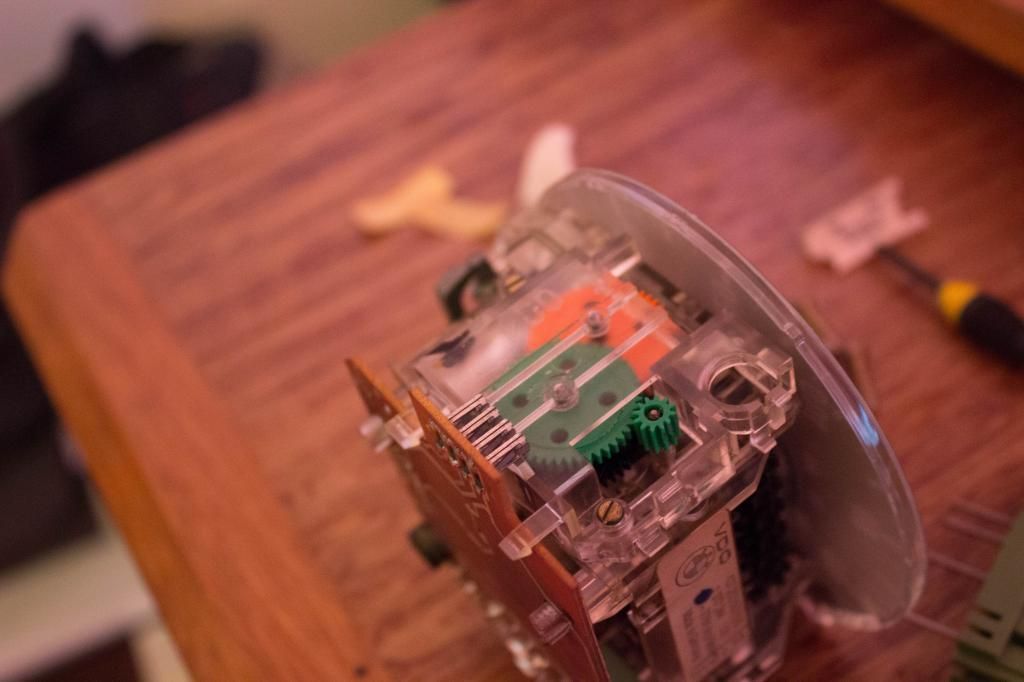
For a while now the only thing working in my cluster was the speedo. No fuel gauge, tacho, temp, odometer, etc. So I pulled it apart, cleaned up some connections and resoldered a bunch of suspicious looking solder joints and now it works. Also replaced the odometer gears, 3 of 4 of which were broken, with some ones from jaycar, and now the odometer seems to work too (not that I have driven it yet).
I had been having problems with the power windows and mirrors as well, so pulled out and remade the door harnesses, removing a bunch of old now unused central locking wires.
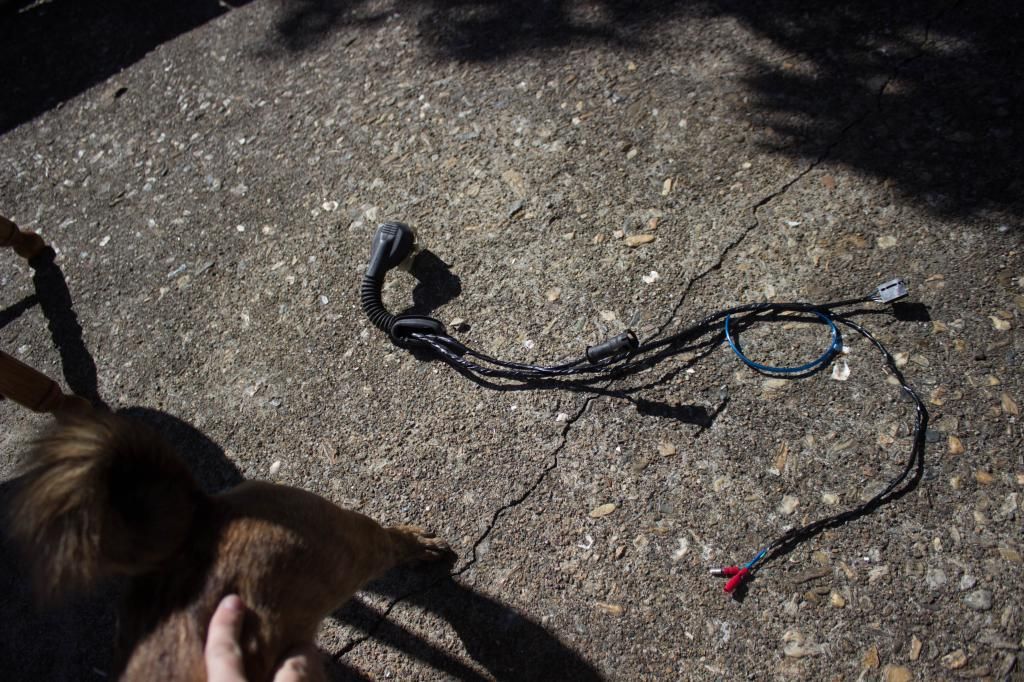
Spent a lot of time fixing a bunch of other electrical issues throughout the inside of the car, and pulled out a huge pile of no longer used wires for things like stock central locking, abs, break wear sensors, stereo, etc. Rewired a lot of things, modified the megasquirt ecu to get the tacho output working properly and fan control, made a heated seat wire loom and spliced it in, rewrapped all of the interior harnesses and so on. Not really any pics of this, its just wires, nothing that exciting, I'm sure you can picture it. Many many hours were spent though.
Wiring sucks.
While I was at sorting out the interior wiring, I got a little more carried away... and decided to cut the 150 or so wires going to the fusebox to relocate it into the car and finish the wire tuck
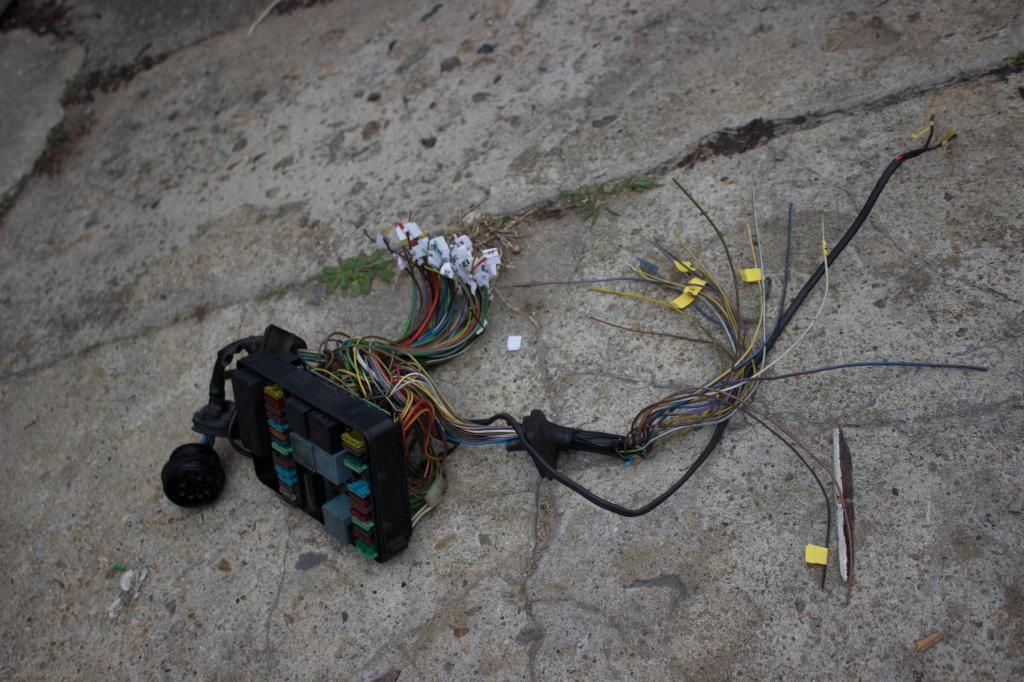
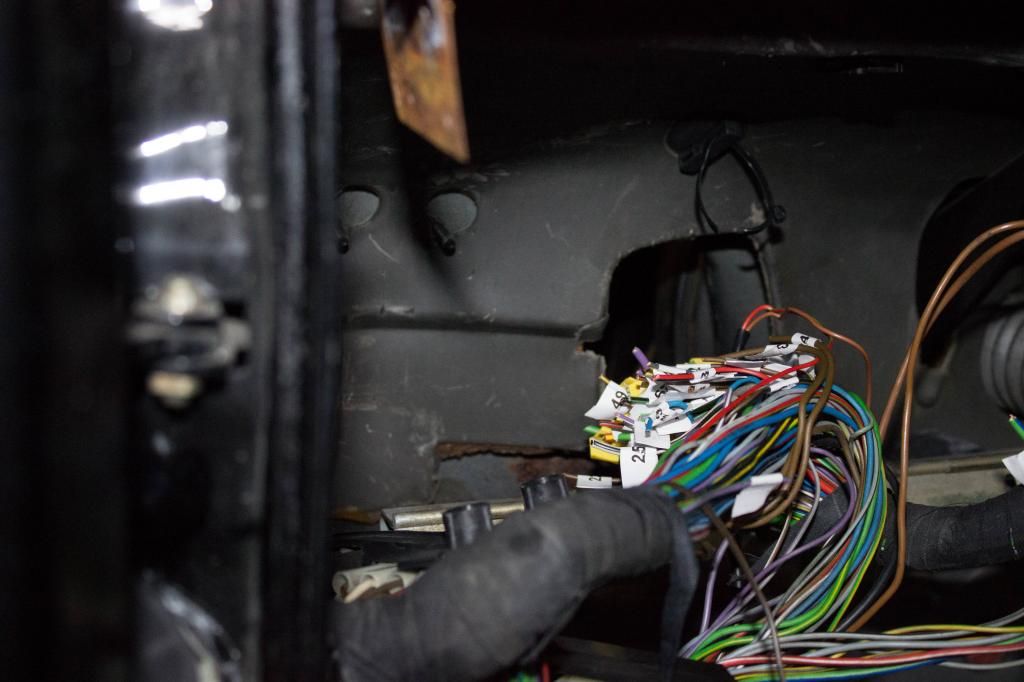
And thats all I've got for now. Have made more progress, but no photos, so will save that for another time. Slowly getting there. Slowest fire extinguisher install ever.Leave a comment:
-
Thanks guys.
Drove it for a couple of days and then decided to pull it apart again. So much work to do. Real updates will follow soon.

Sent from my GT-I9305 using Tapatalk 2Leave a comment:
-
Over the last few weeks I've put some serious time into refurbishing the Azev's. Seem to have misplaced my memory card with the photos of the process, which is a shame, because a hell of a lot of work was done, and I don't think any of the photos I have up show how rough the wheels actually were (3/4 had extremely bad curb rash (previous owner), paint was absolutely rooted, etc etc).
Took them down to bare metal all over (many many hours of paint stripper, sanding, etc, wish I'd just had them blasted), fixed up rash/missing chunks in the lips of the wheels with filler, use a 2k primer specifically for bare aluminium, then a 2k primer filler, wetsanded, 2k colour, and then 2k clear. Turned out pretty nice ;)
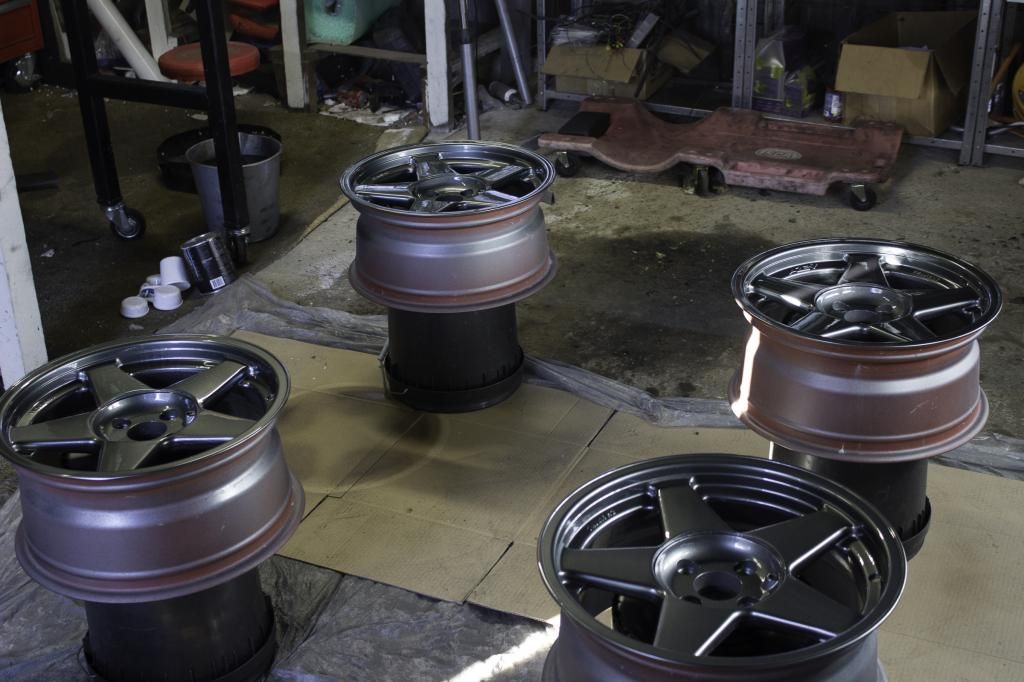
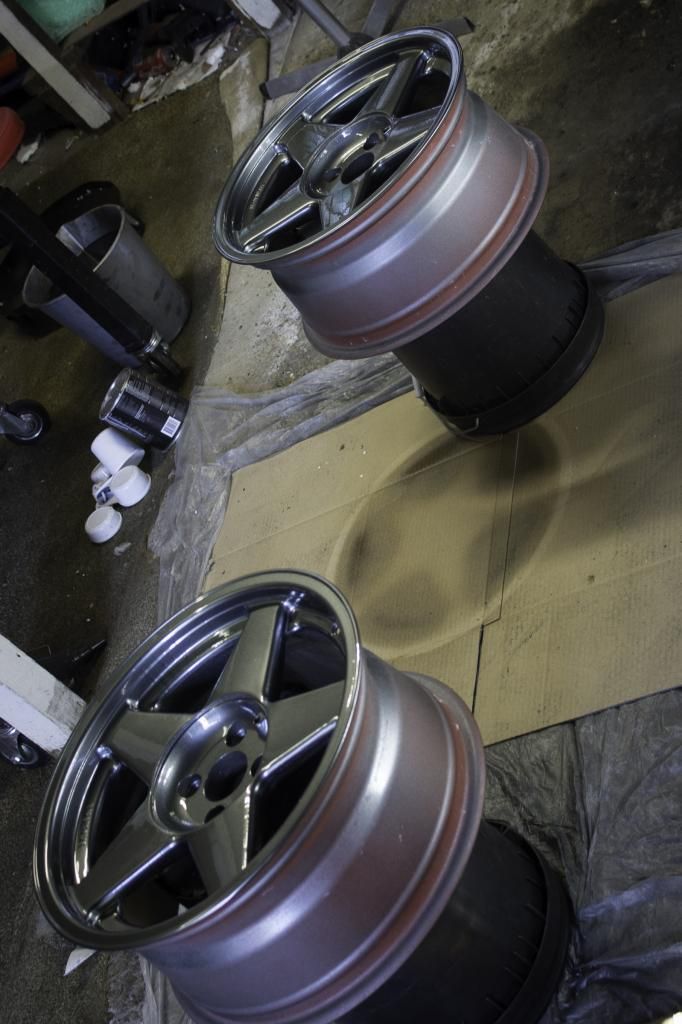
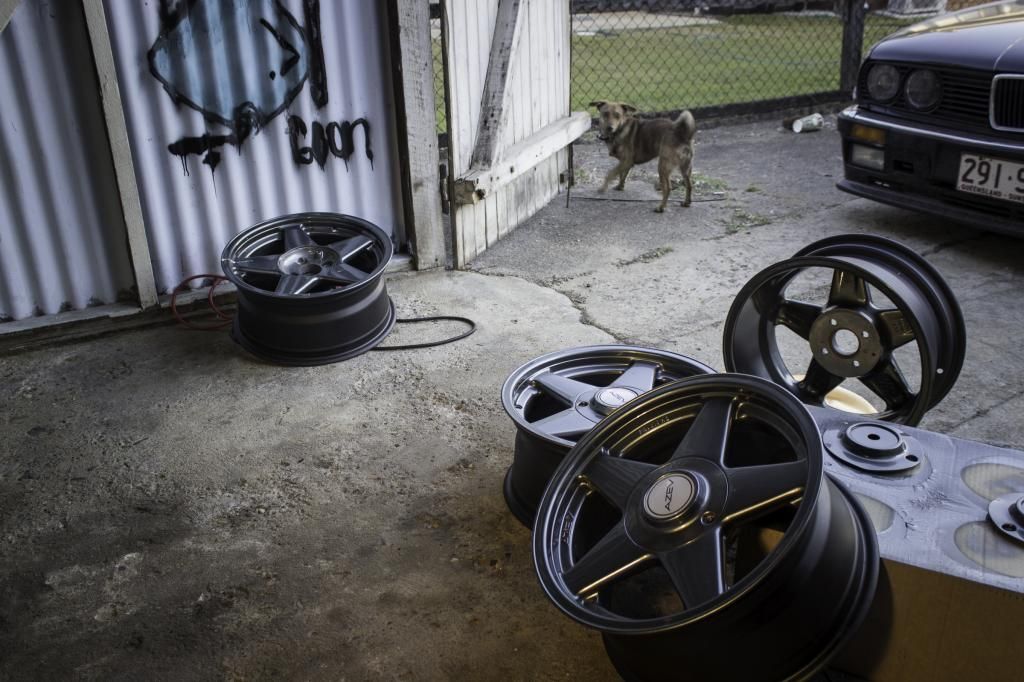
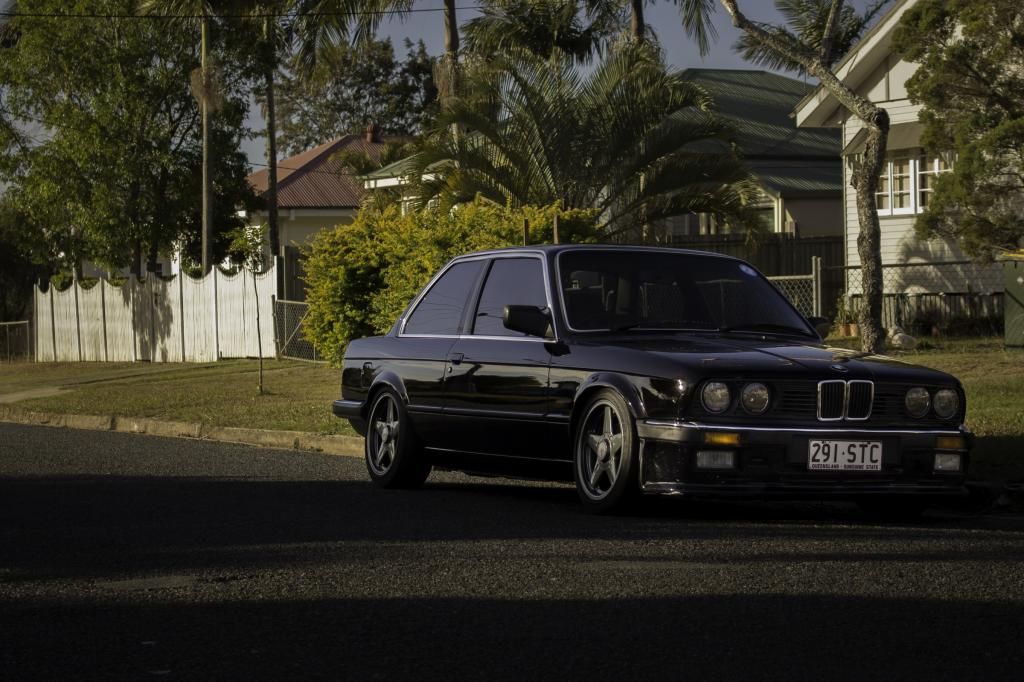
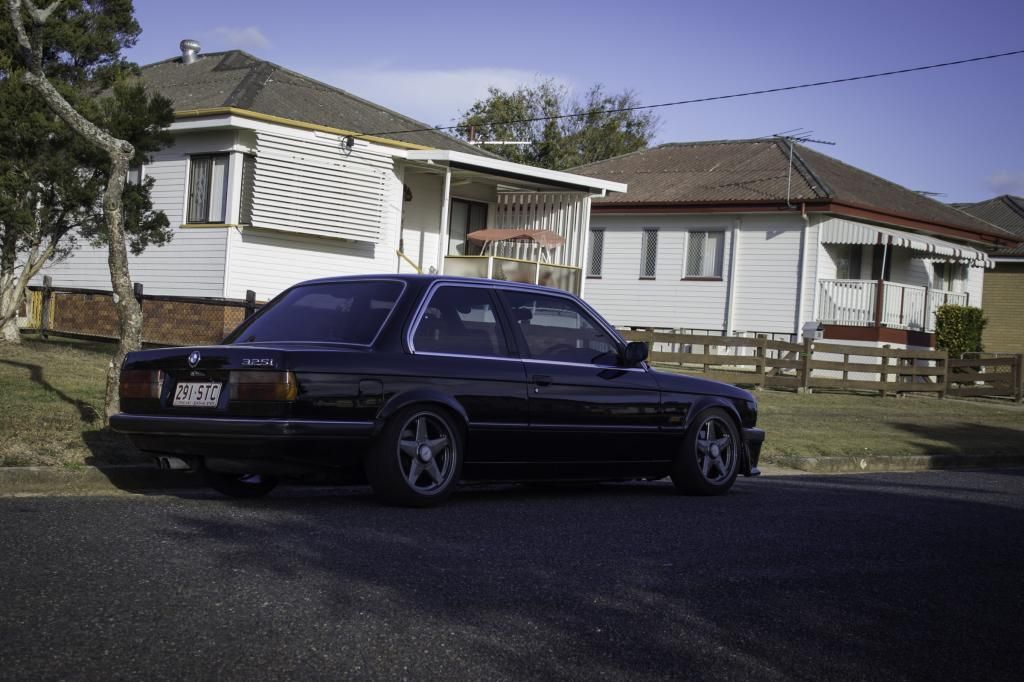
Sent from my GT-I9305 using Tapatalk 2Leave a comment:
-
Have been pretty busy lately, with very little time to work on the car. Had a bit of spare time today though, so decided to finally make up some sort of intake (have been driving it with nothing past the throttle body for the last few months haha)
Cut up a 3 inch aluminium bend, drilled a hole and tig welded up a bung for the temp sensor (first time welding allu, was heaps easier than I was expecting). Drilled a big hole in the oem air box and expoied in a bit of pipe to delete the restrictive afm, painted everything up and joined it all up with some silicone reducers/couplers. Also cut a big chunk out of the corner that gets cold air from the lower section of the airbox, and put in a new filter. Not the prettiest, but will do the job. Couldn't be too bothered with smoothing out the exterior of the airbox for cosmetics, as I'll be redoing everything when I turbo it anyway ;)
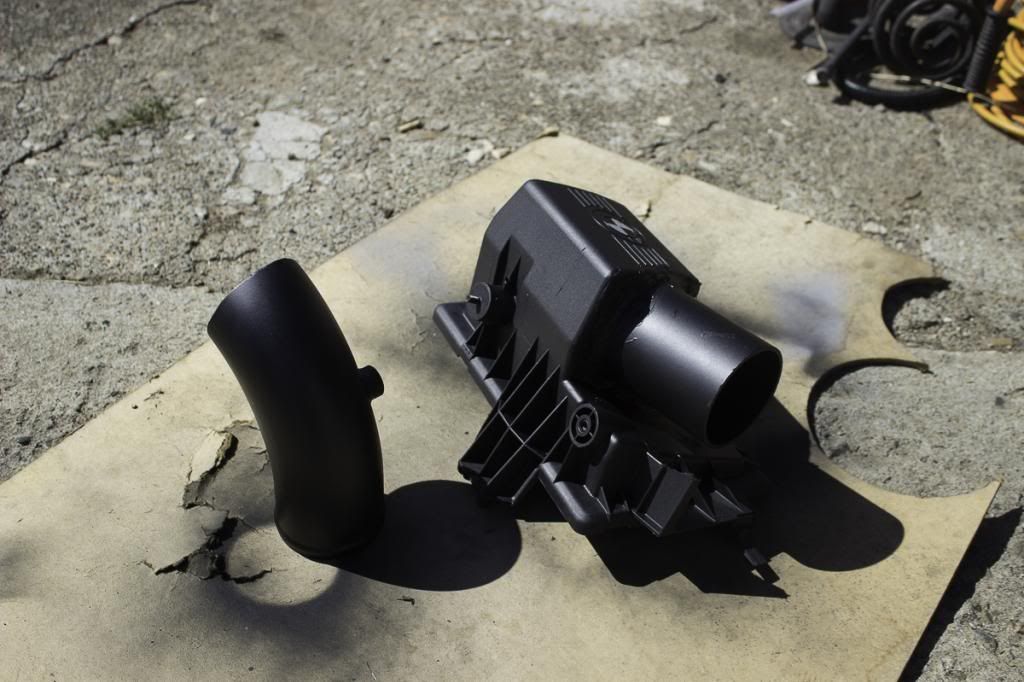
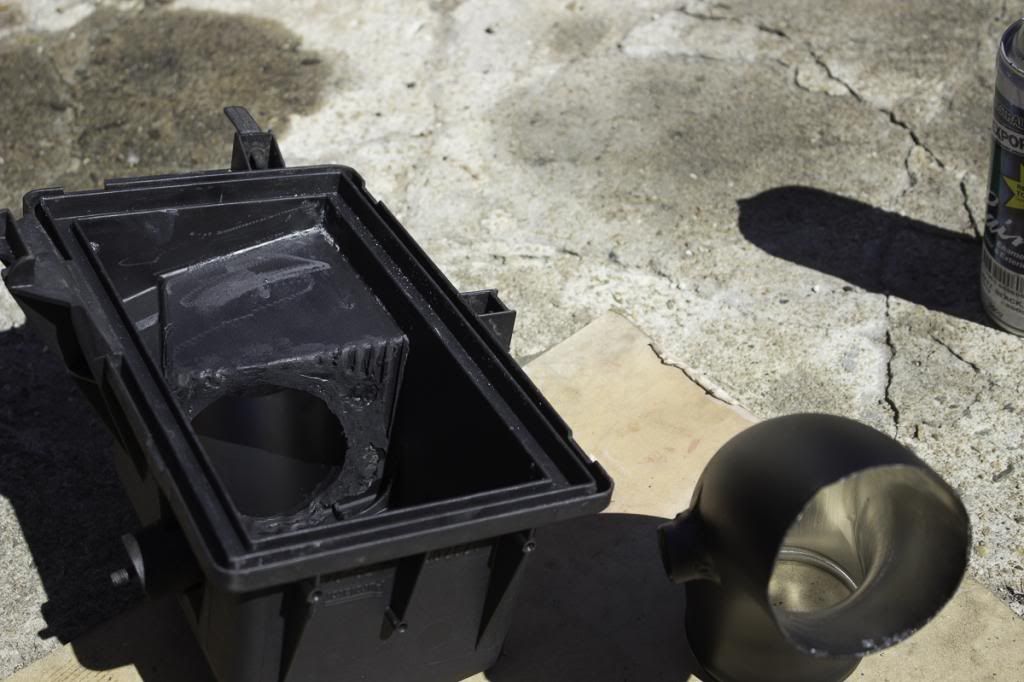
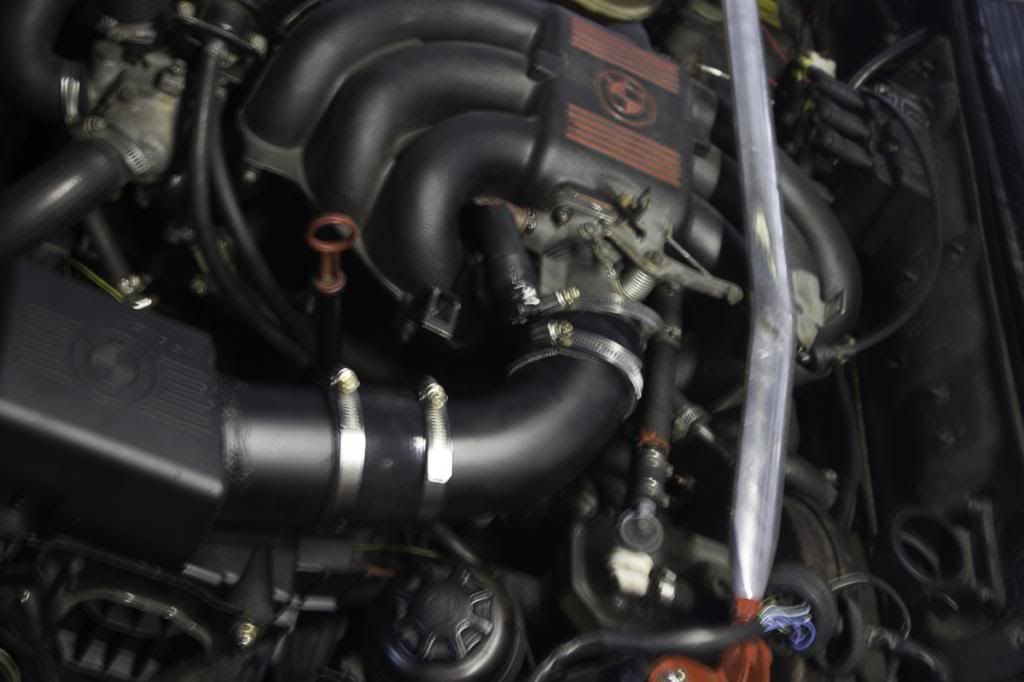
Doesn't have an ear piercing high pitch squeal at low rpm like it did when I was just running an open throttle body, and once the engine heats up it definitely feels better, not sucking in hot air haha. Having a filter is always a bonus too :PLeave a comment:
-
Used special clean paint
Sent from my GT-I9305T using Tapatalk 2Leave a comment:
-
Well been a while since an update, have been insanely busy, havent had a spare second in ages (too much hanging halfway, whitsundays holidays and a few days of work inbetween :P)
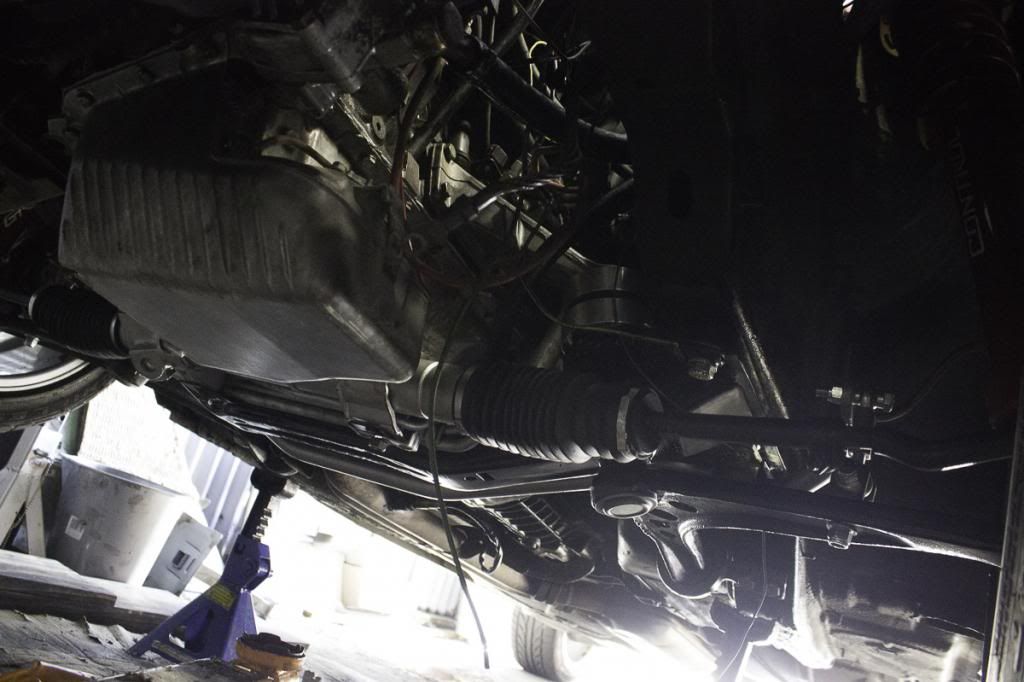
Got a bit slack with photos, as was in a mad rush to get everything ready for halfway hangs. Basically put all the suspension back in. Everything in the front bar the subframe and steering rack (which still got cleaned up, reinforced and painted), down to the bolts and washers, is brand new.
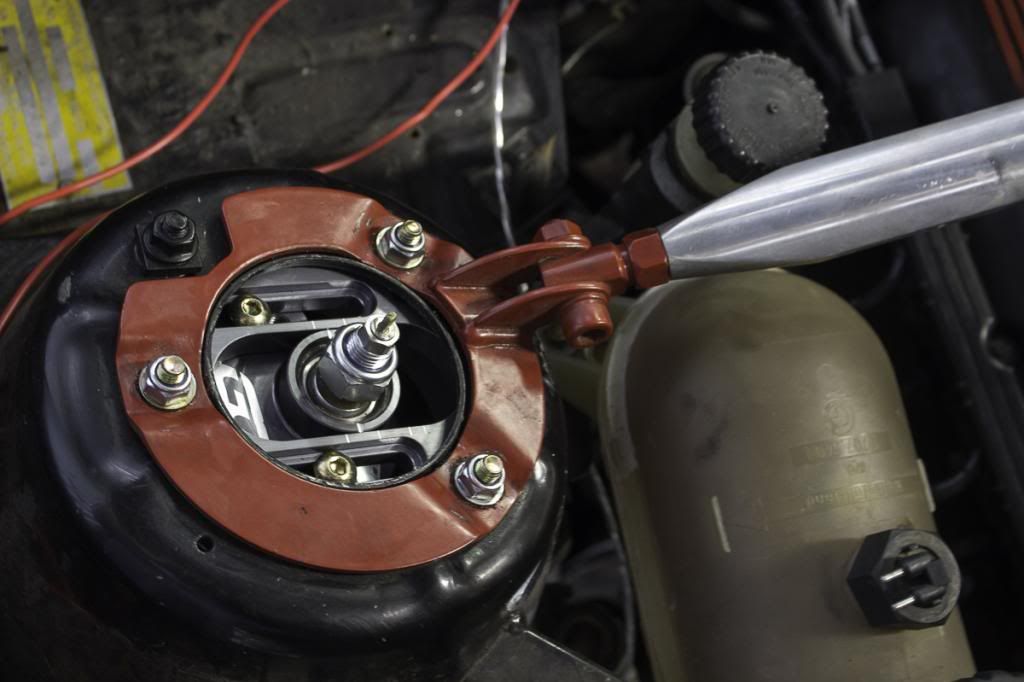
The camber/caster plates from the top
UUC Swaybarvarian front sway bar and hardware. Overall this was a very nice kit, the sway bar, endlinks, bushings, and reinforcements are all top notch. The only complaint I have is probably a pretty petty one, but it uses imperial hardware and the instructions give unrealistic torque figures, which is a real pain when you snap a bolt trying to tourqe it to "spec" and only have metric spares...
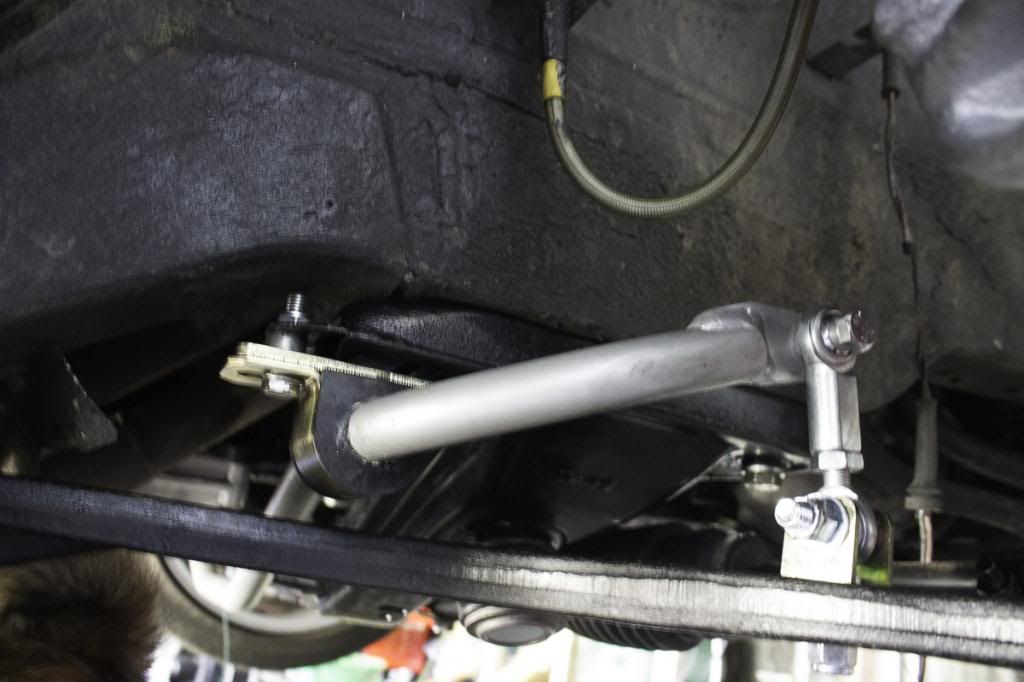
Everything back in
Didn't go overly low (4wd height compared to my past cars even), but certainly sits a lot nicer than it did before
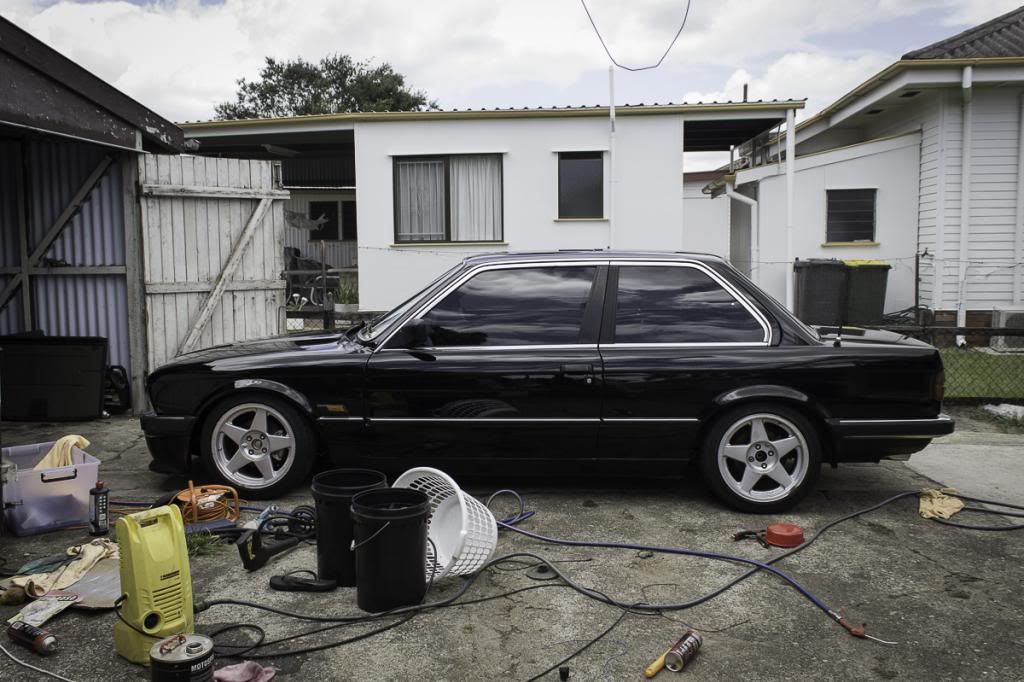
Got it aligned (with some pretty aggressive specs, considering I don't have to daily this anymore I got it set up for more serious driving ;)) and it feels great to drive. Can't wait until I give the rear the same treatment.
Gave the car a quick wash and tidy up, tidied up some wiring, put the front end back on properly etc, all the little things to get the car somewhat driveable/presentable and drove it down to halfway hangs (which was quite possibly the greatest long weekend ever)

Leave a comment:
-
Cheers guys.
Using the koni adjustable shocks and spacers cut to size that come with the ground control kit. Got it all back in the car today, more photos will come when I have time ;)
Sent from my GT-I9305T using Tapatalk 2Leave a comment:


Leave a comment: