
I'm trading effort for money at every opportunity, but it is still a major limiting factor to be sure.
What do you mean feel competitive? I hope to be competitive! :) 2017 is the goal, though the engine will potentially decide that.
Horsepower will probably be around 155, weight maybe 1,500lbs? Could be a bit more, with my rookie fiberglass work...
-
great to see the updates....very exciting.
Just the time and sweat alone blows me away......but in adition to that it takes $$$$$$.
then u have to decide to put it on a track, drive it hard enough to feel competitive, and try your best not to bend it...........
very very cool
on track 2017?
did u mention earlier????...hp of car?...wt of car?...my guesses: 185....1900??????Leave a comment:
-
Thanks Lorin! It's starting to come along well now. Drivetrain soon!Leave a comment:
-
Alright, I got a bit lazy with the updates but I have been getting some work done when I can!
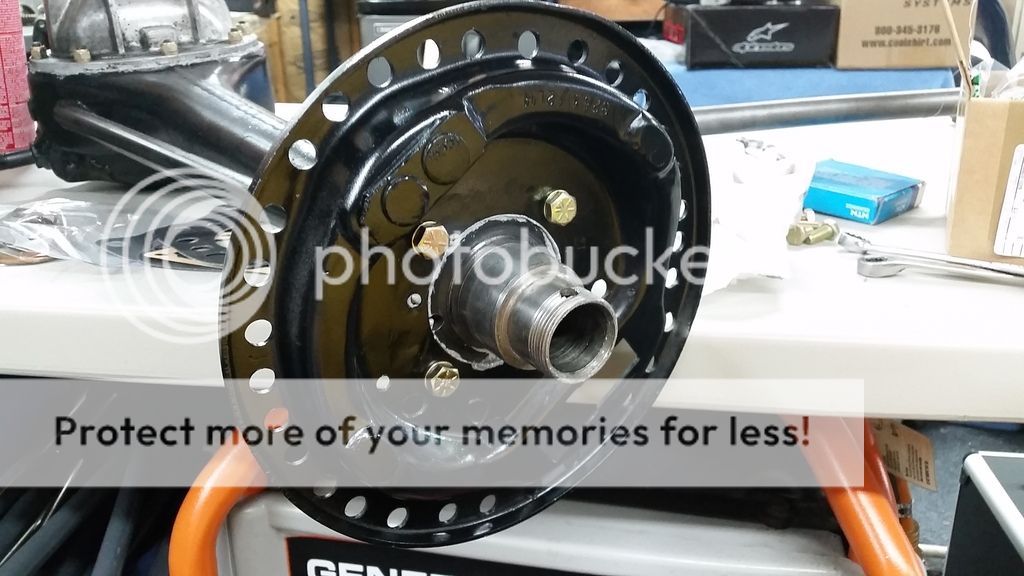
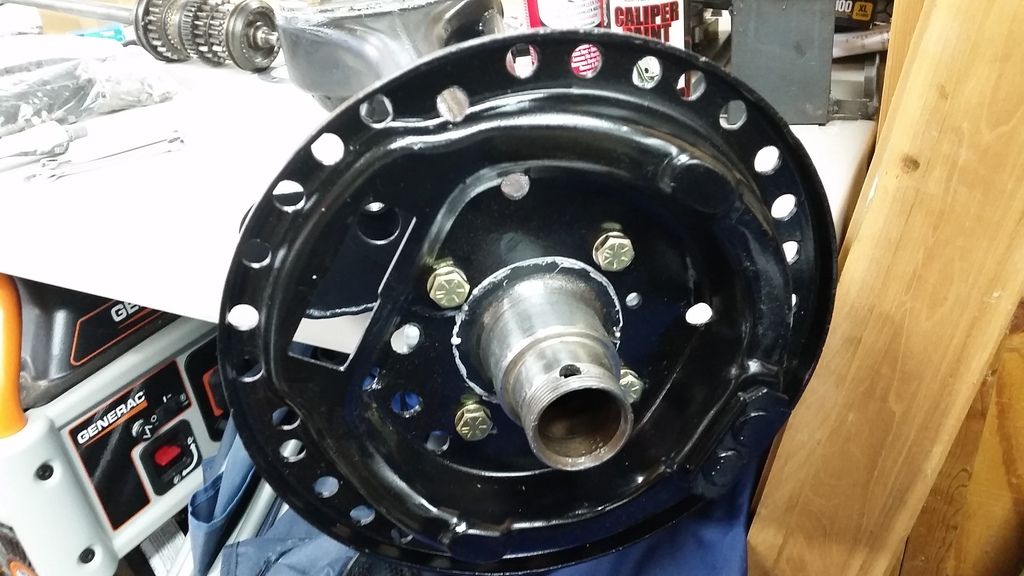
First, the rear hubs were one thing keeping me from assembling the rear axle housing so I decided to get those all finished. I ordered the appropriate bearings and seals and removed the old bearings:
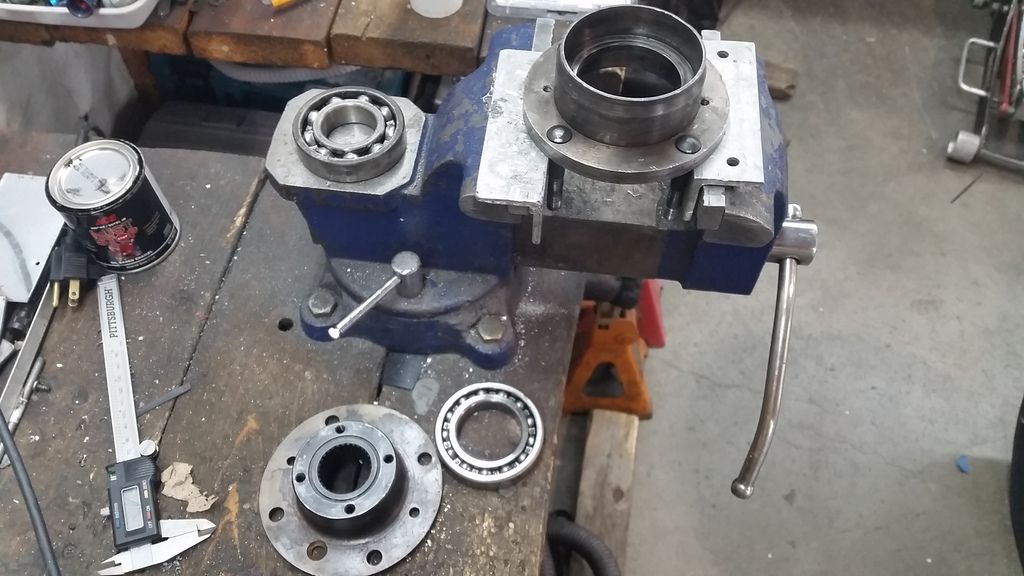
I installed the new bearings using the vice, bearing drivers, and careful hammer work:
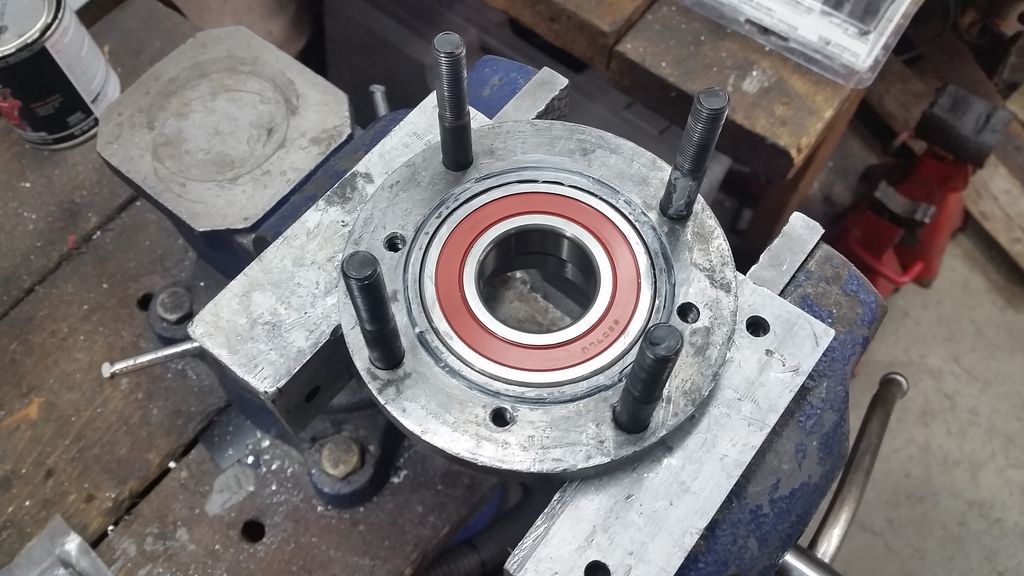
Unfortunately, the seals I'd ordered are apparently slightly different now for some reason:
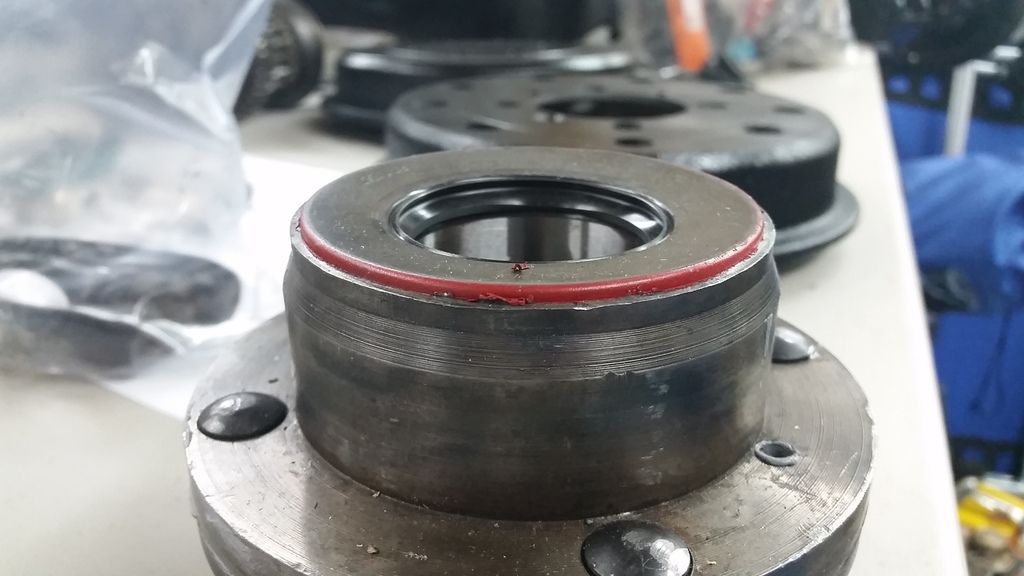
I did track down the correct seals (special order from Alabama!) and install them.
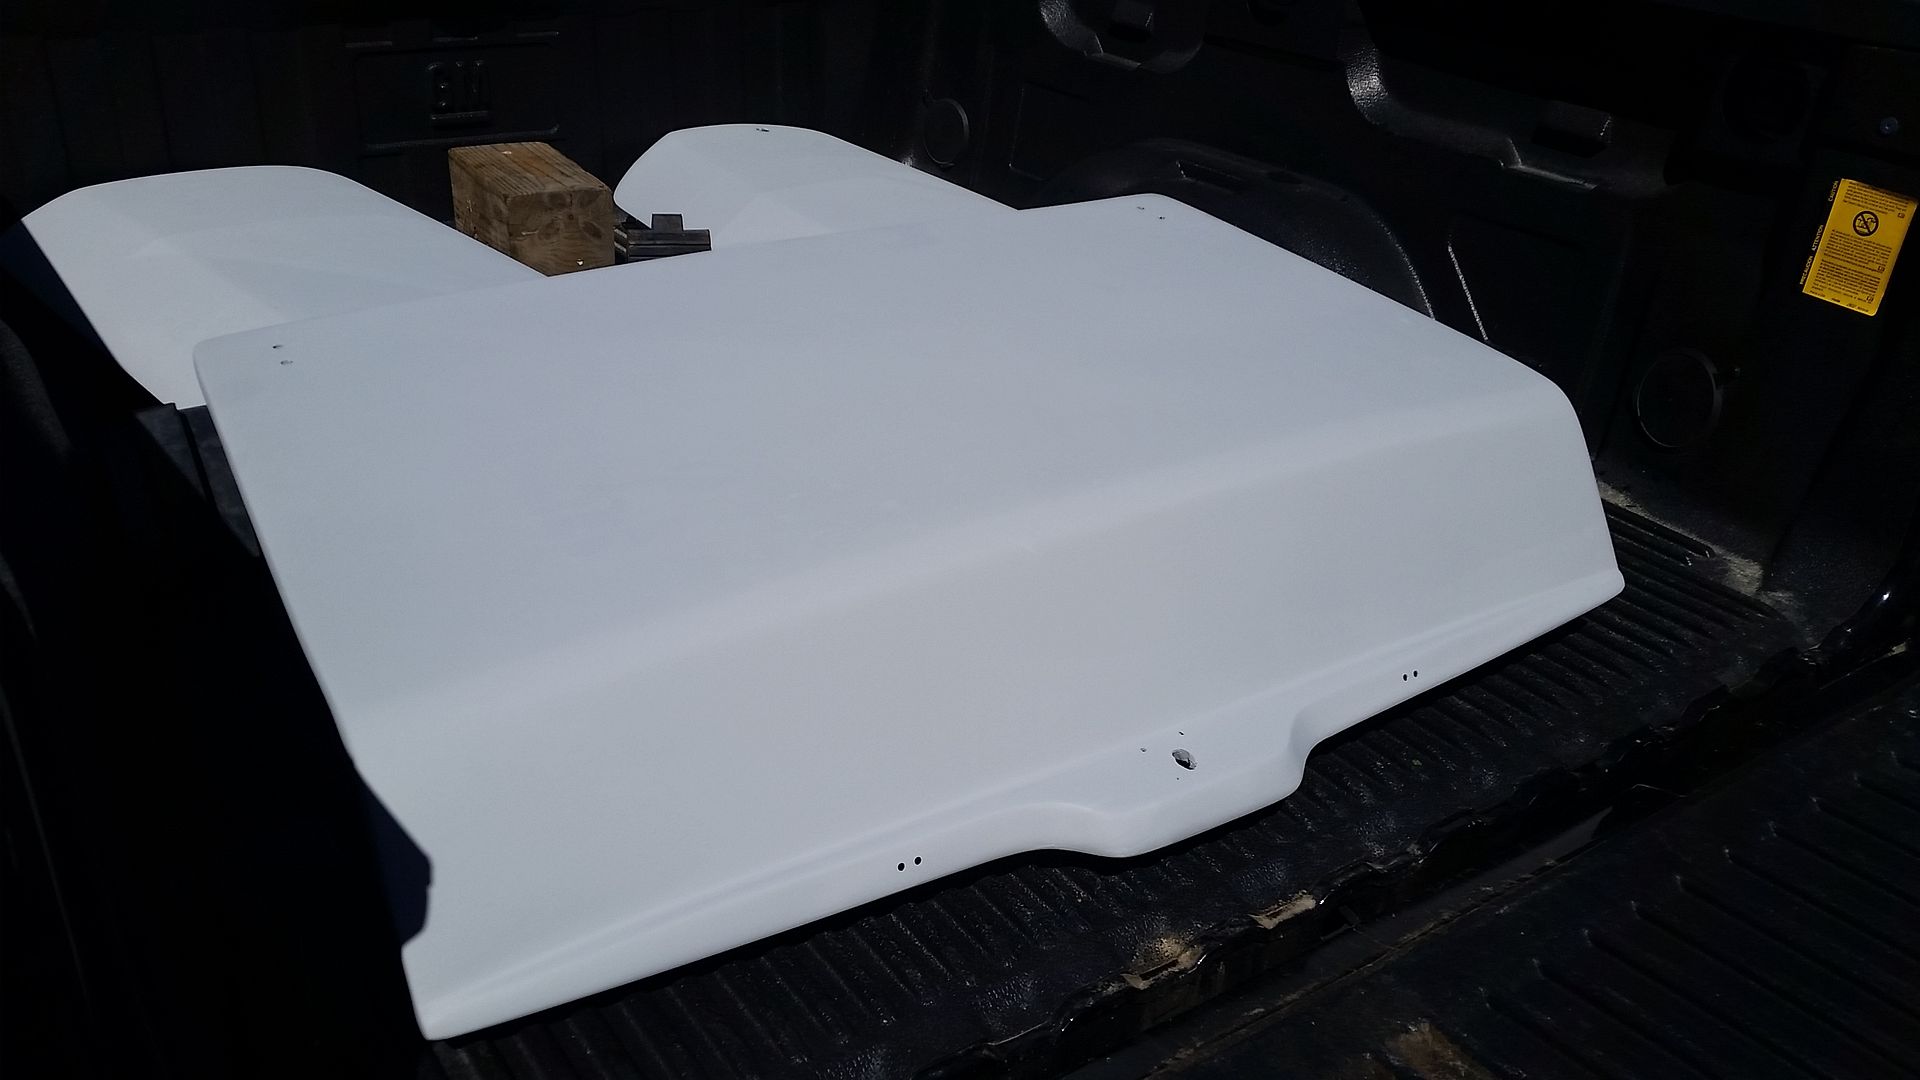
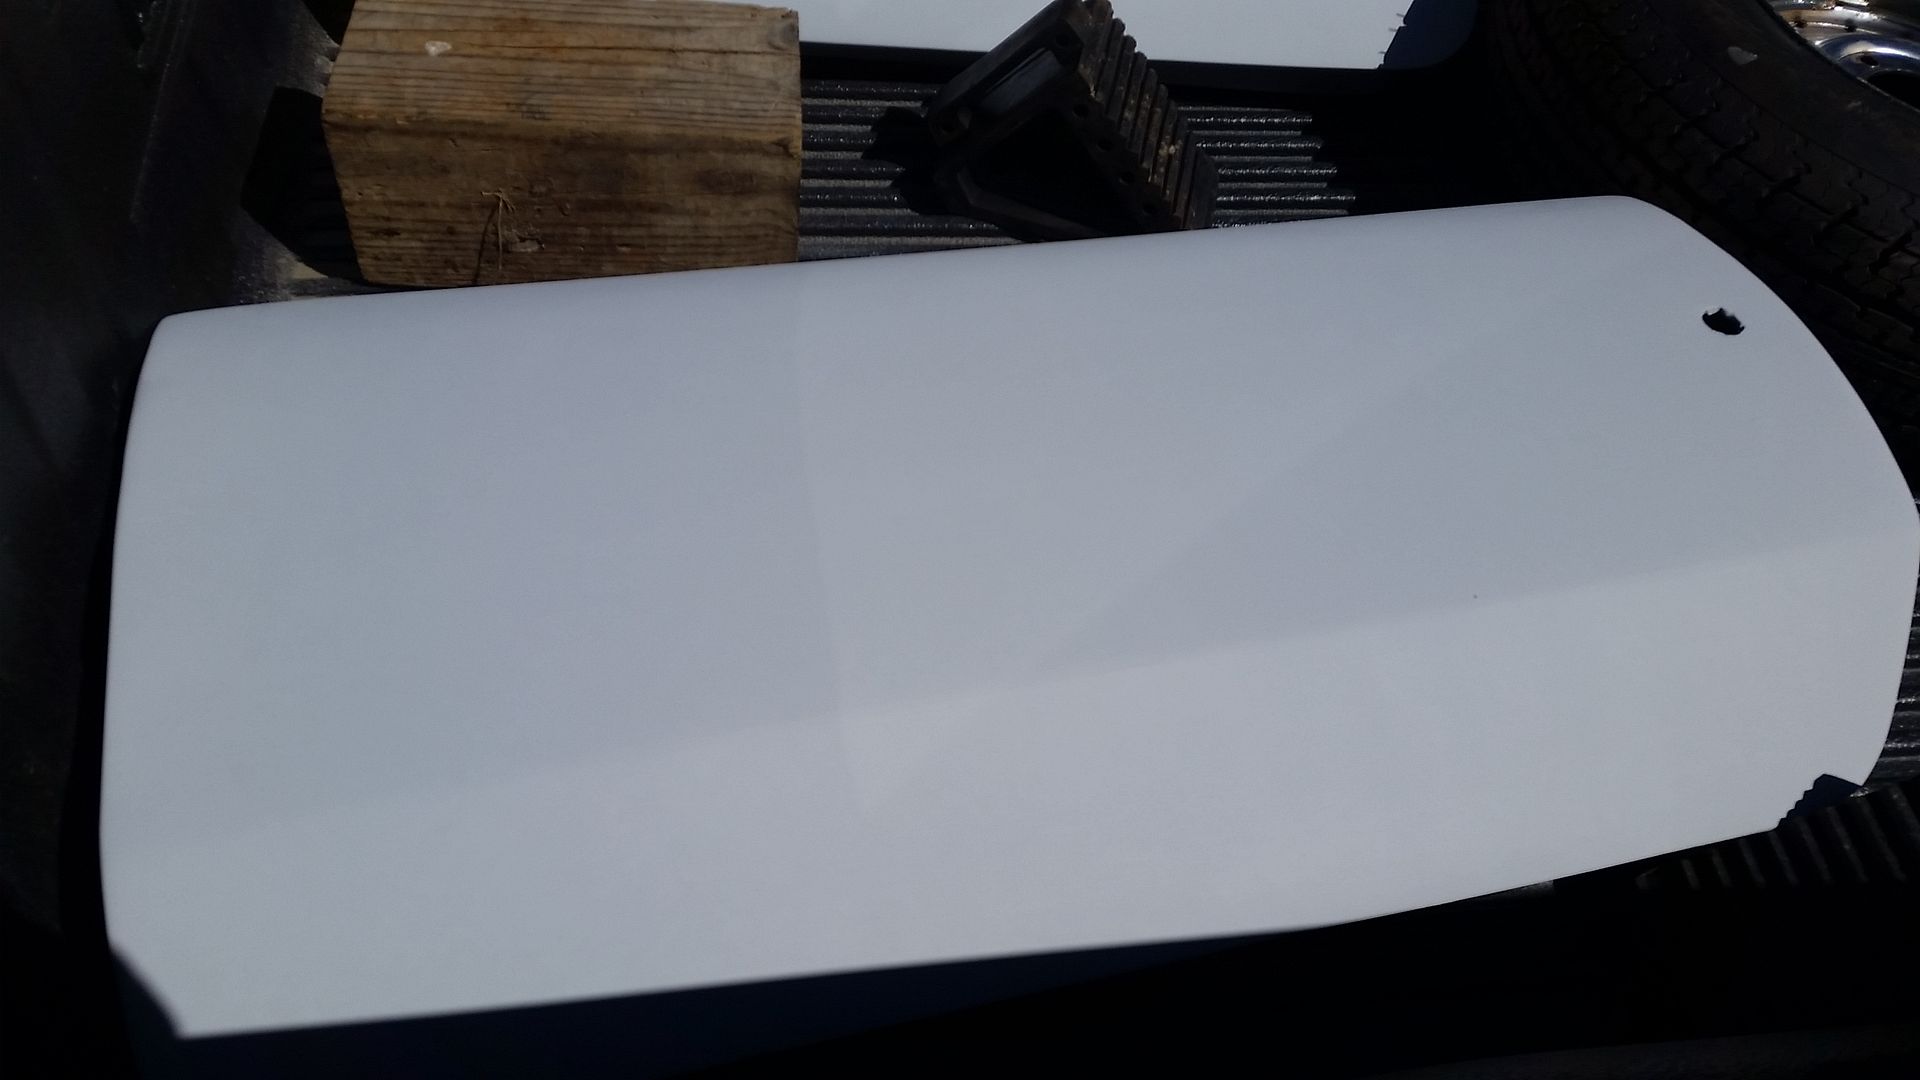
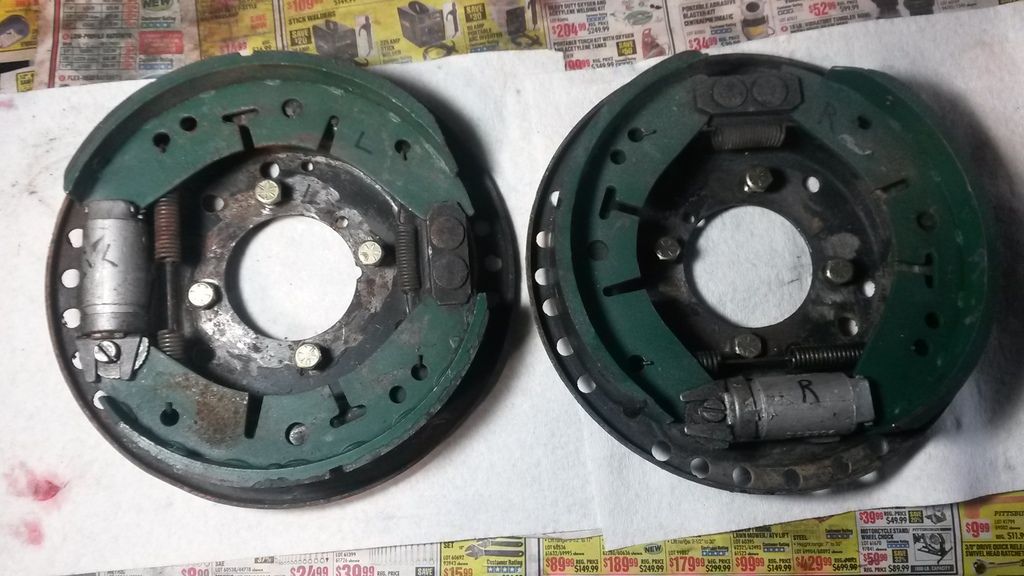
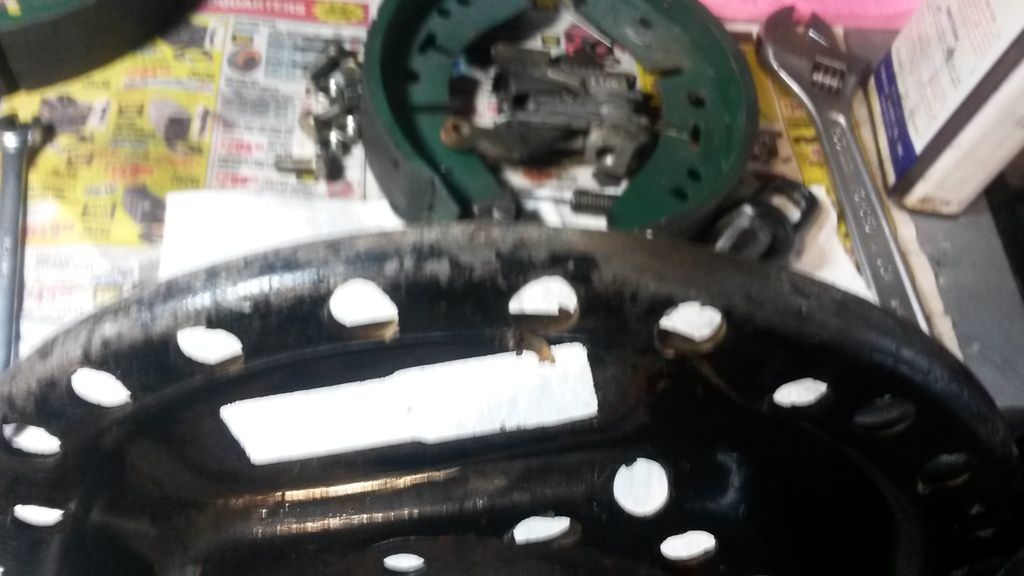
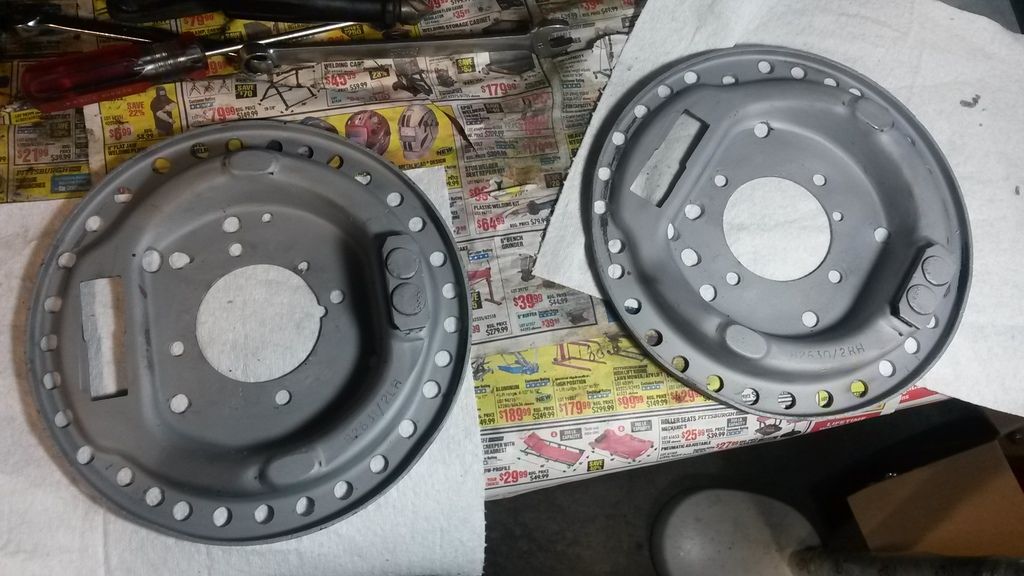
In preparation for assembly, I began installing the repainted and cleaned up rear backing plates and the rear shoes:
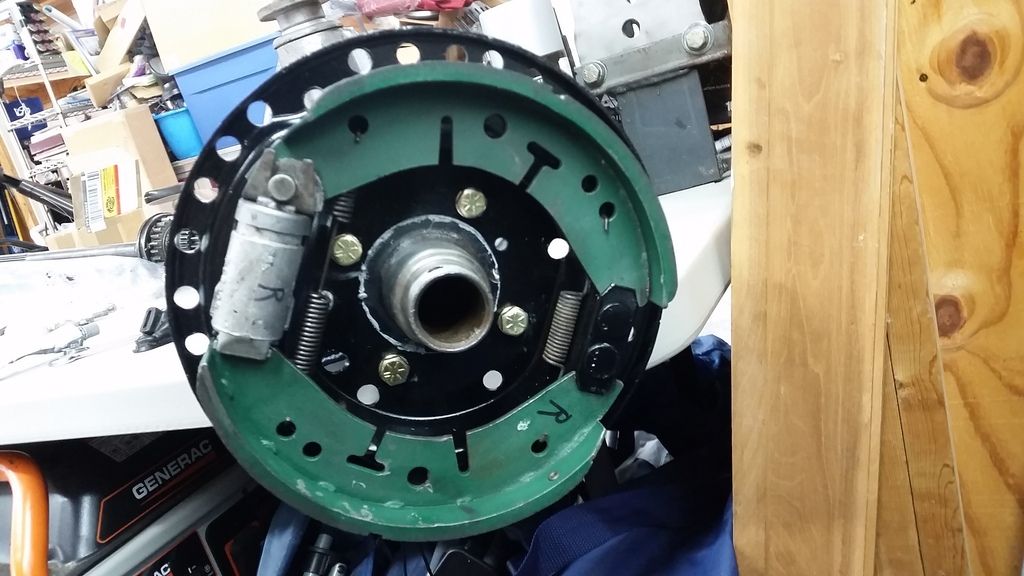
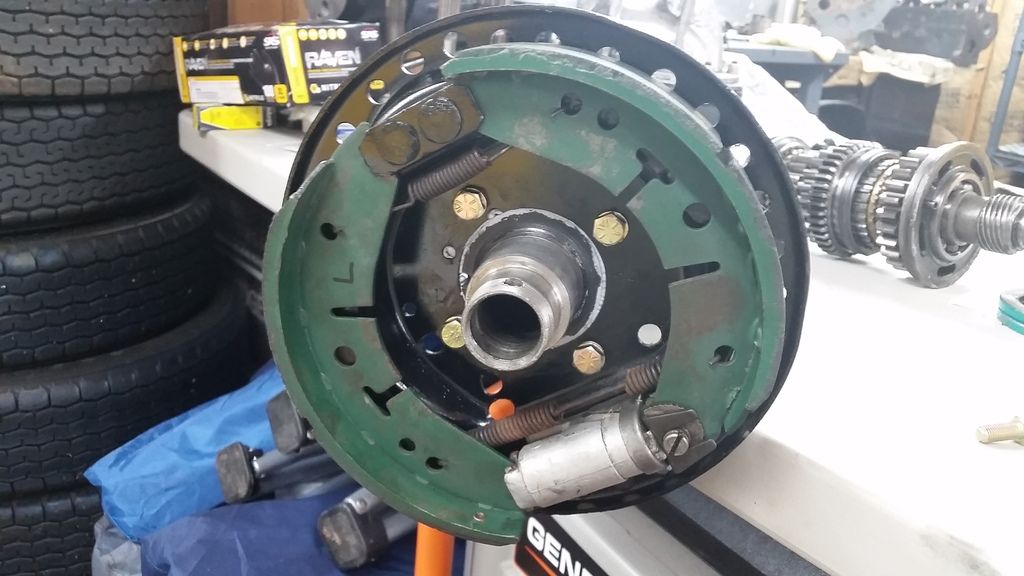
The old wheel cylinders were installed just for fun; I've got a pair of new ones ready to go in.
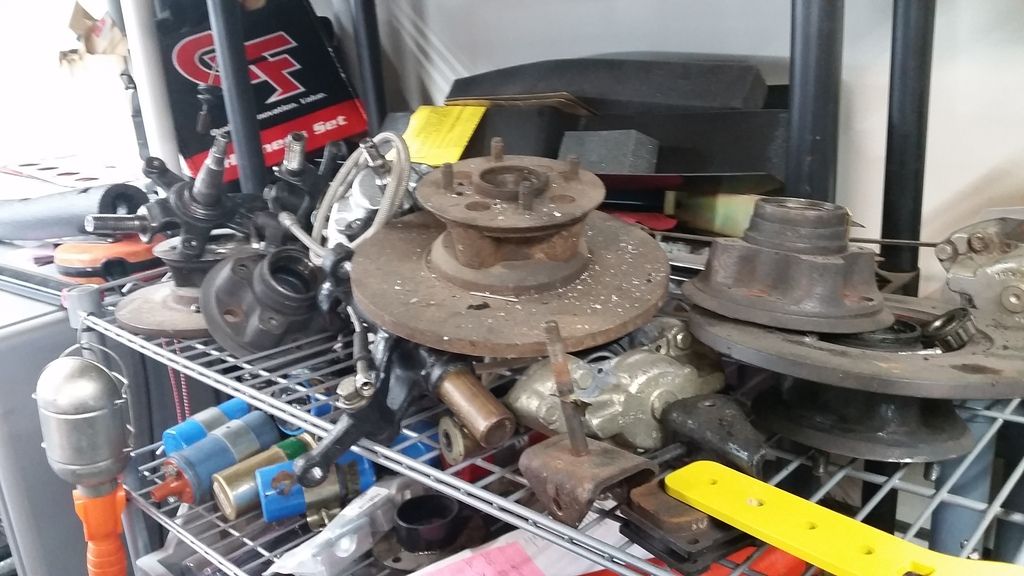
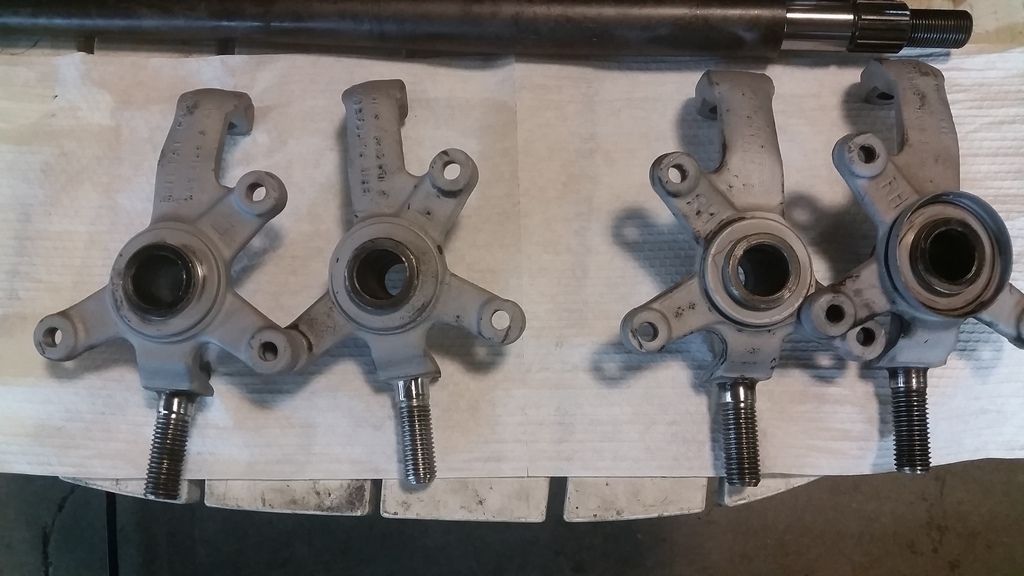
In the meantime, I decided to start preparing the front suspension pieces and make some headway on the car becoming a roller. I collected some spare Spitfire front end pieces we had in the shop:
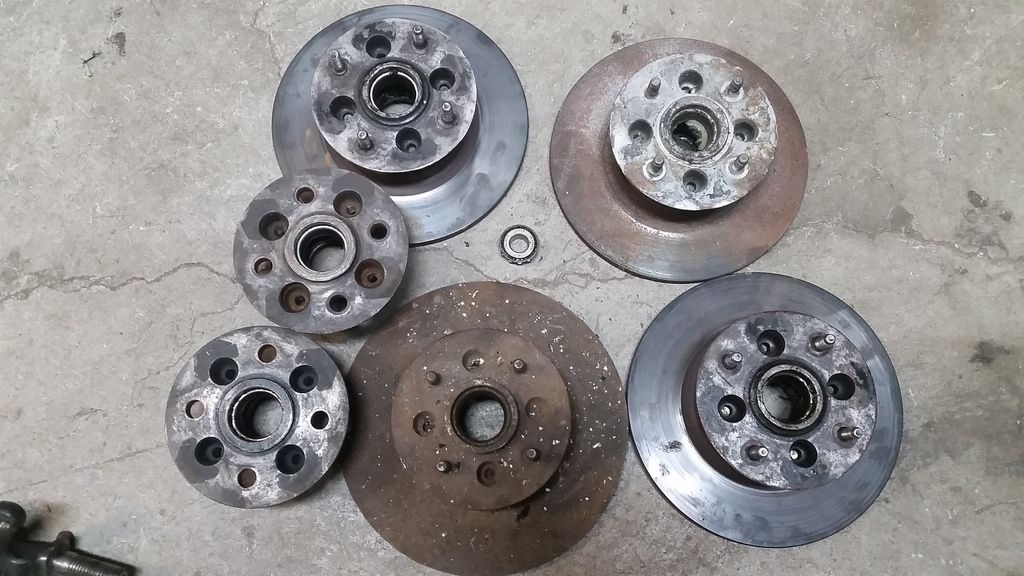
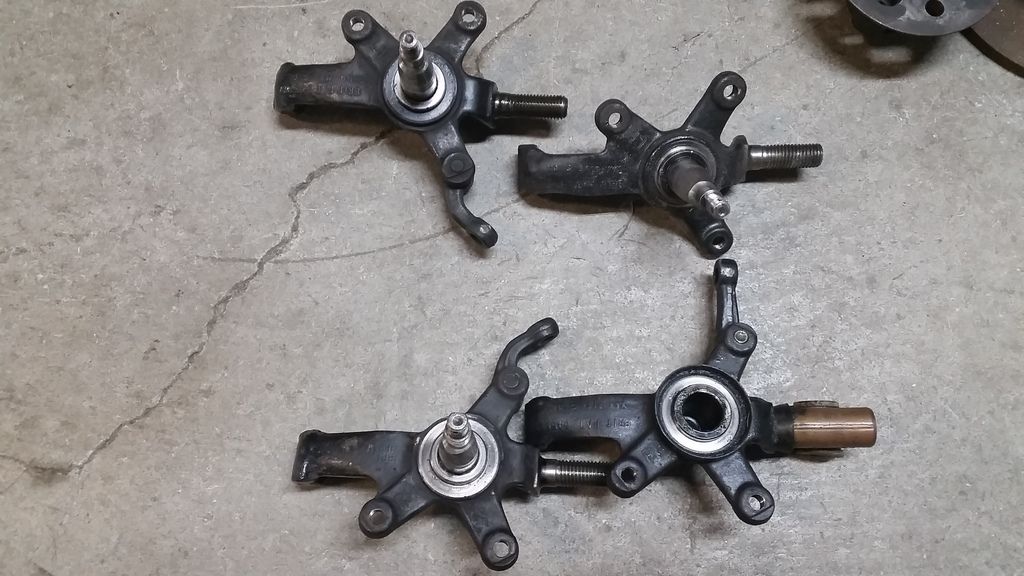
I started with the uprights and found two from each side which looked like good candidates for crack testing. I began sandblasting:
Then performed the crack test using penetrant and a red dye:
All four looked okay so I picked my favorites!
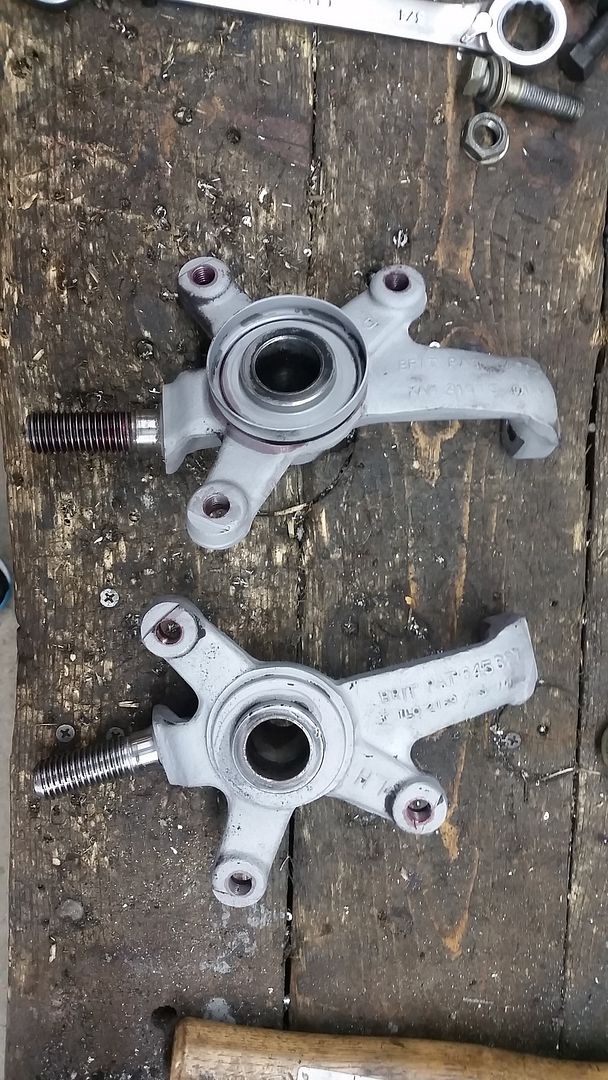
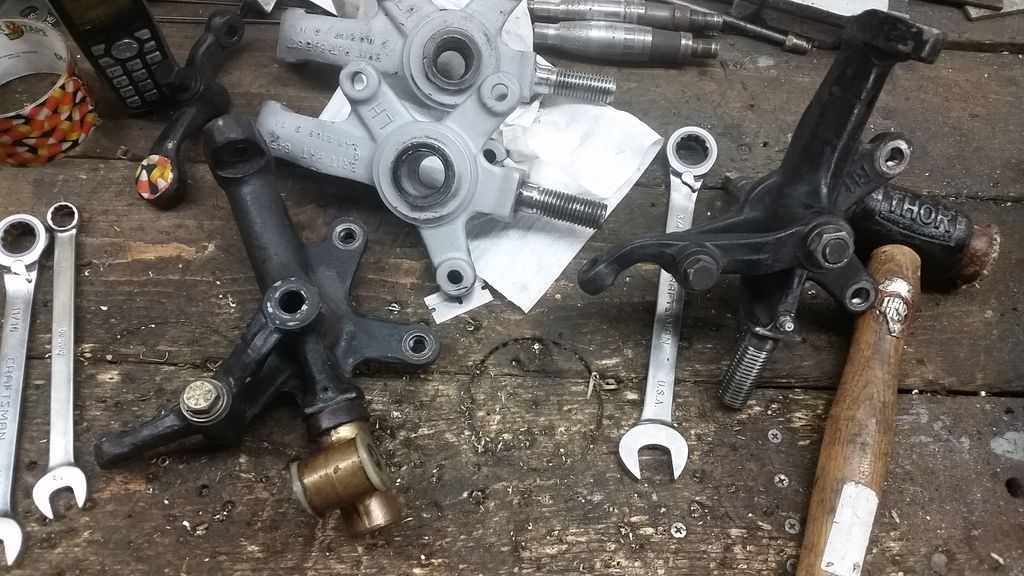
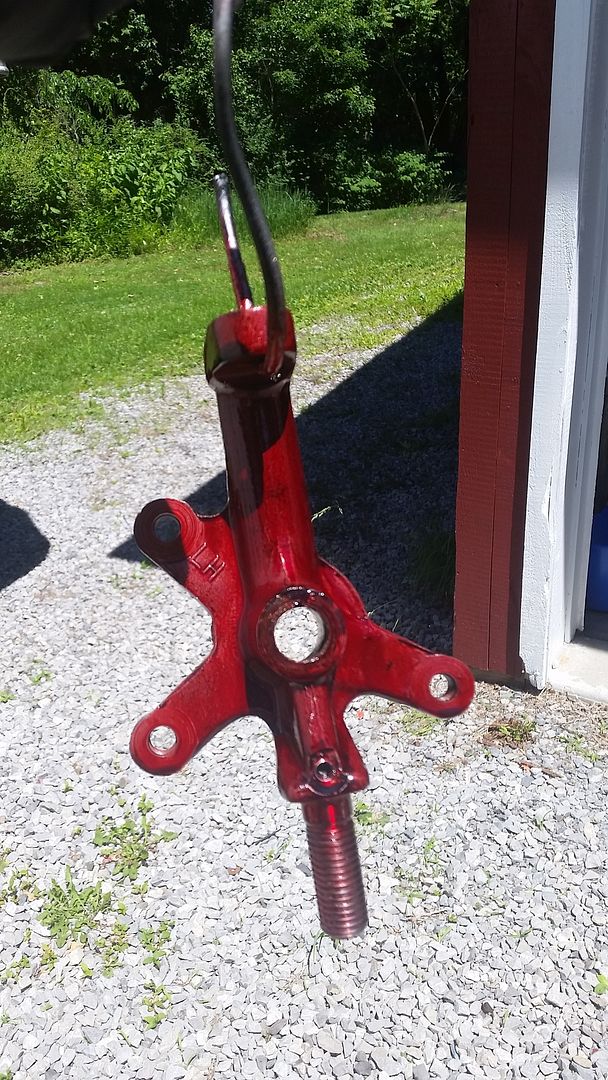
Paint will be next, followed by front hub cleaning and assembly.
Speaking of paint....I dropped the car off at the body shop last week to have the rear end worked on!!
This is after ONE DAY:
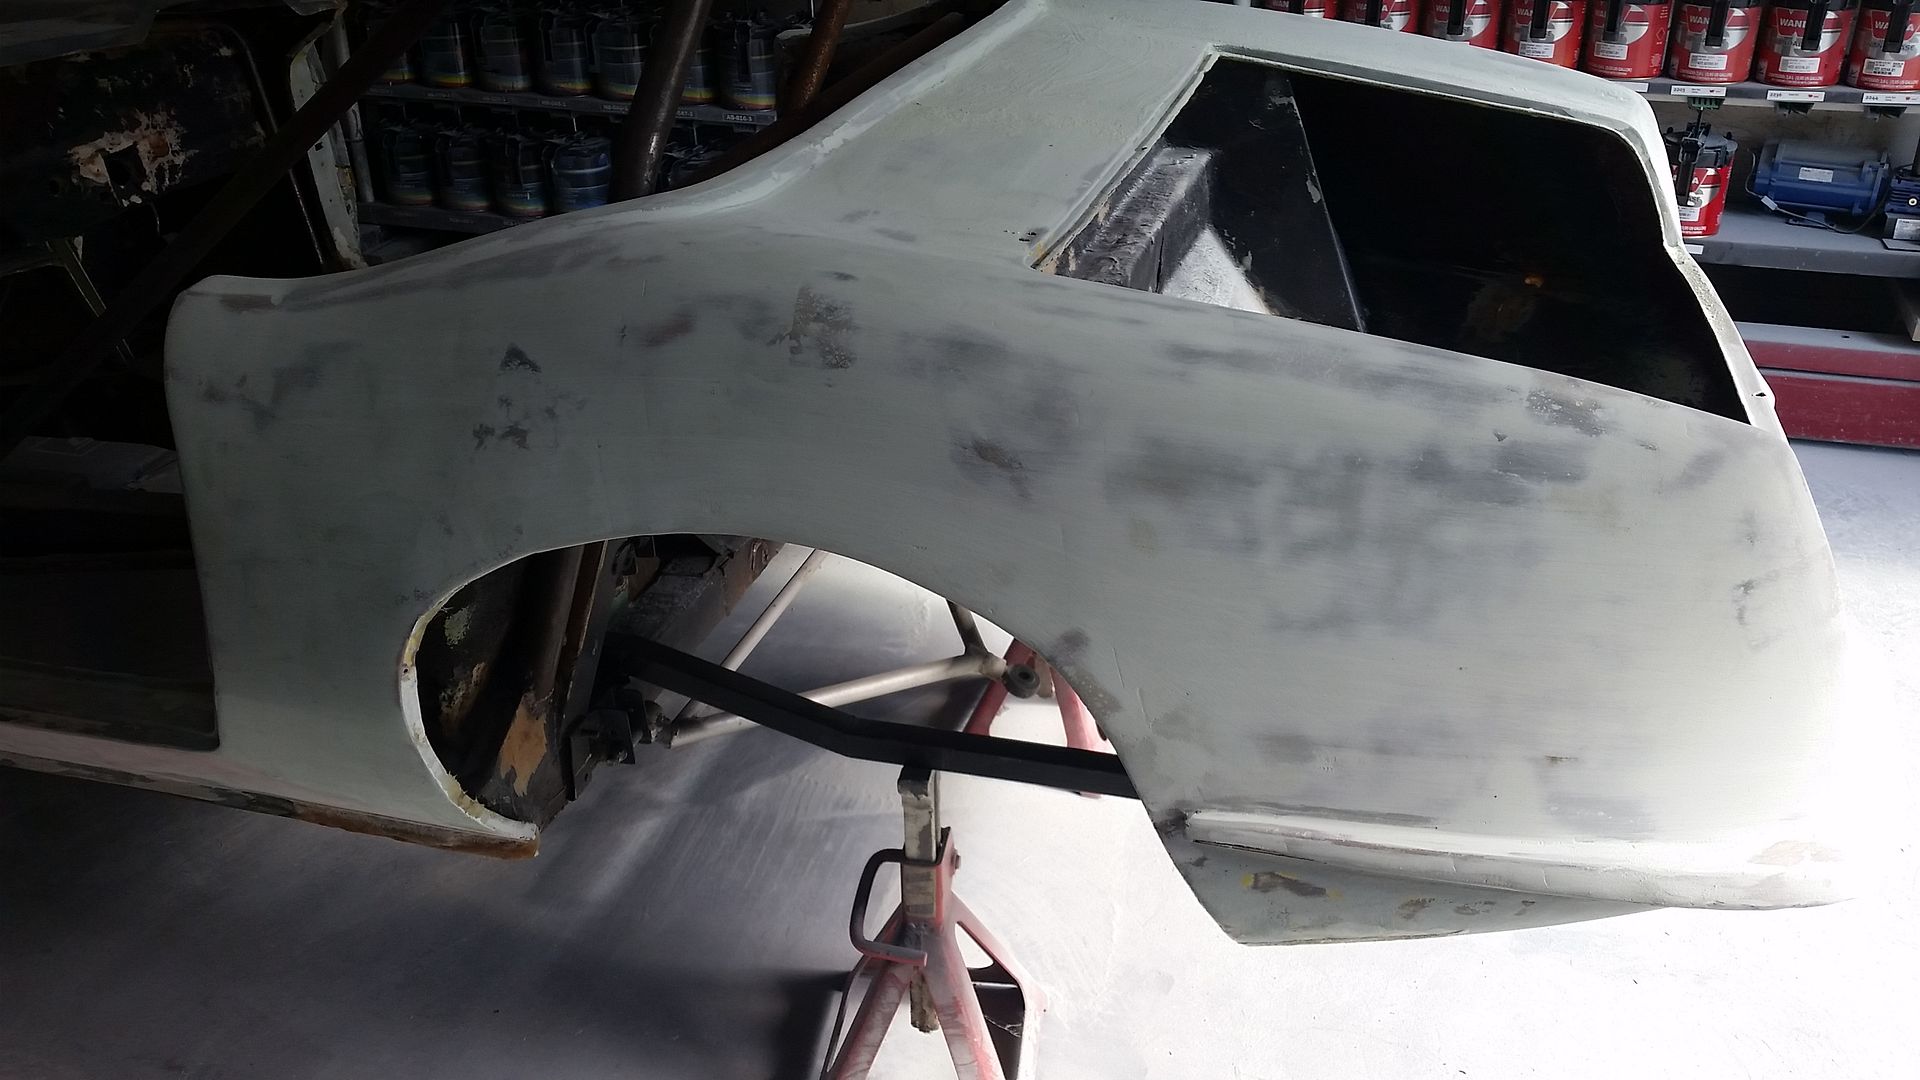
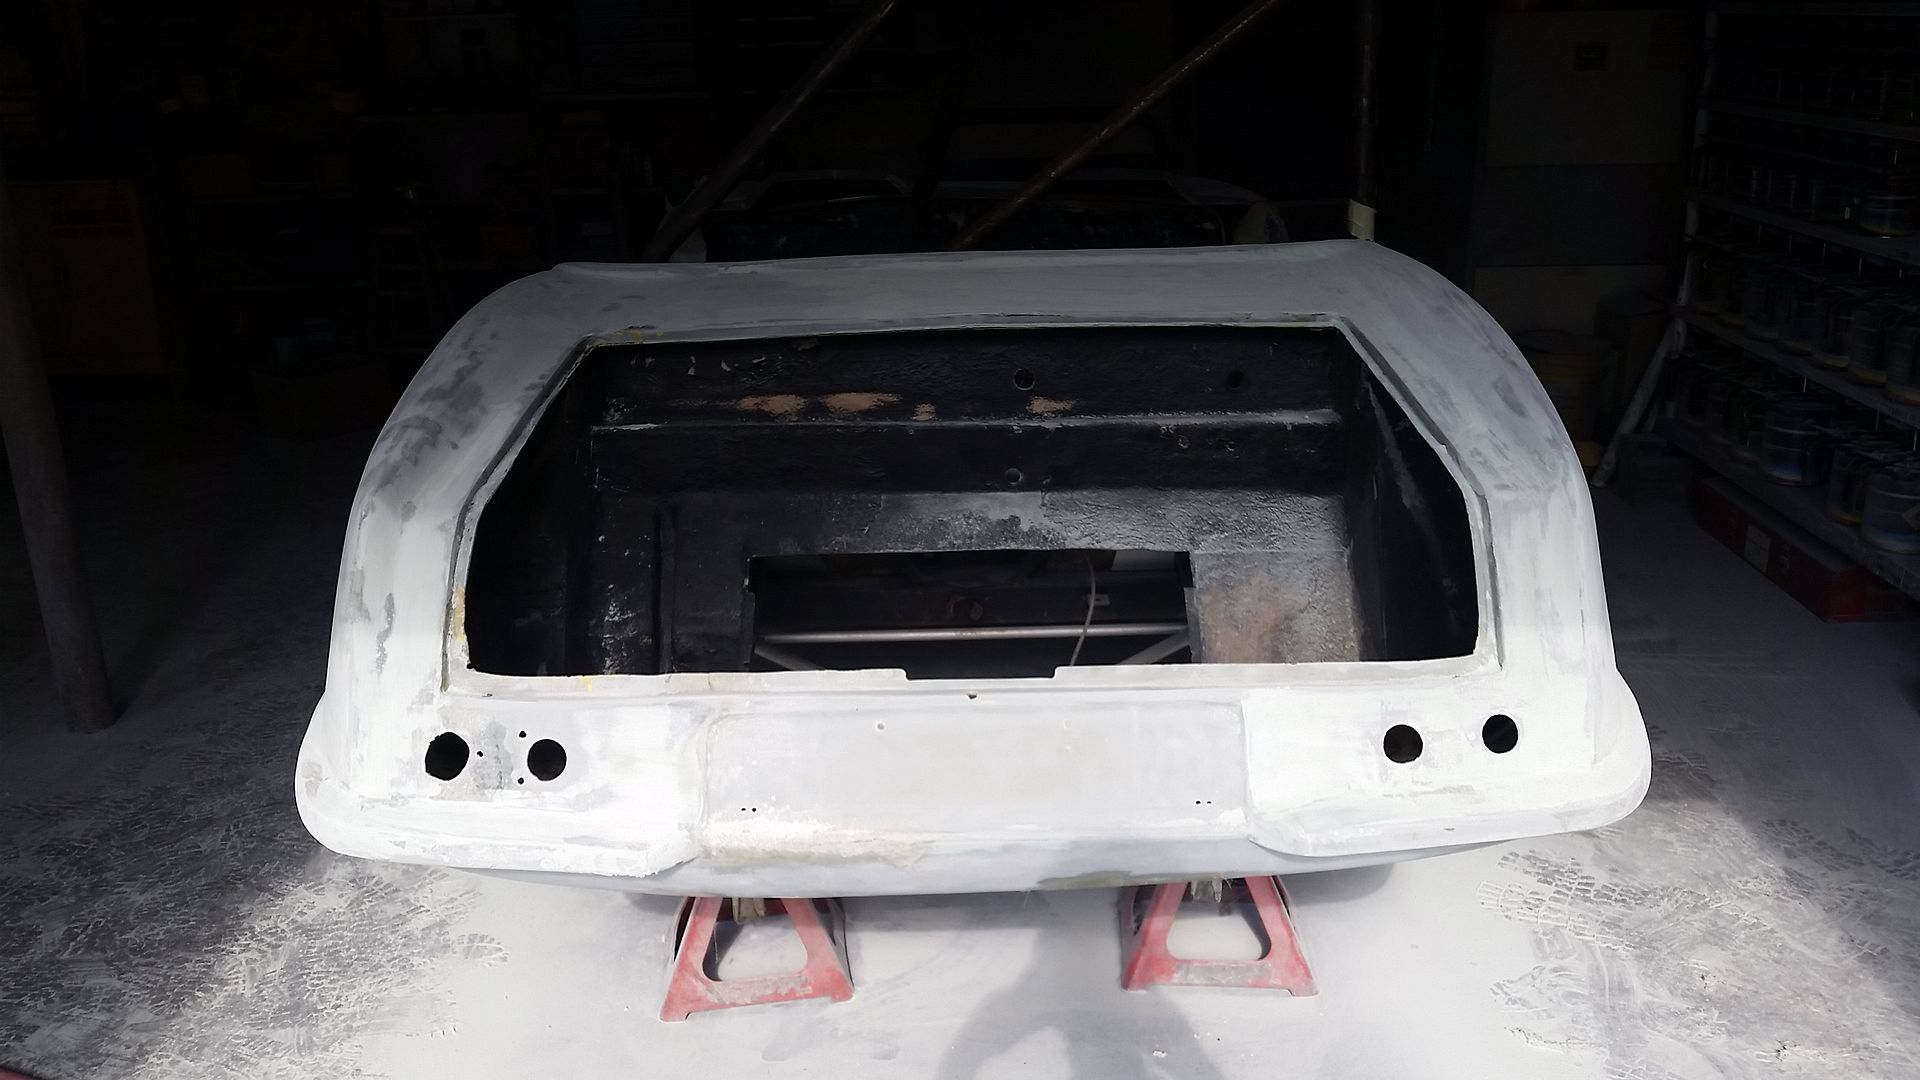
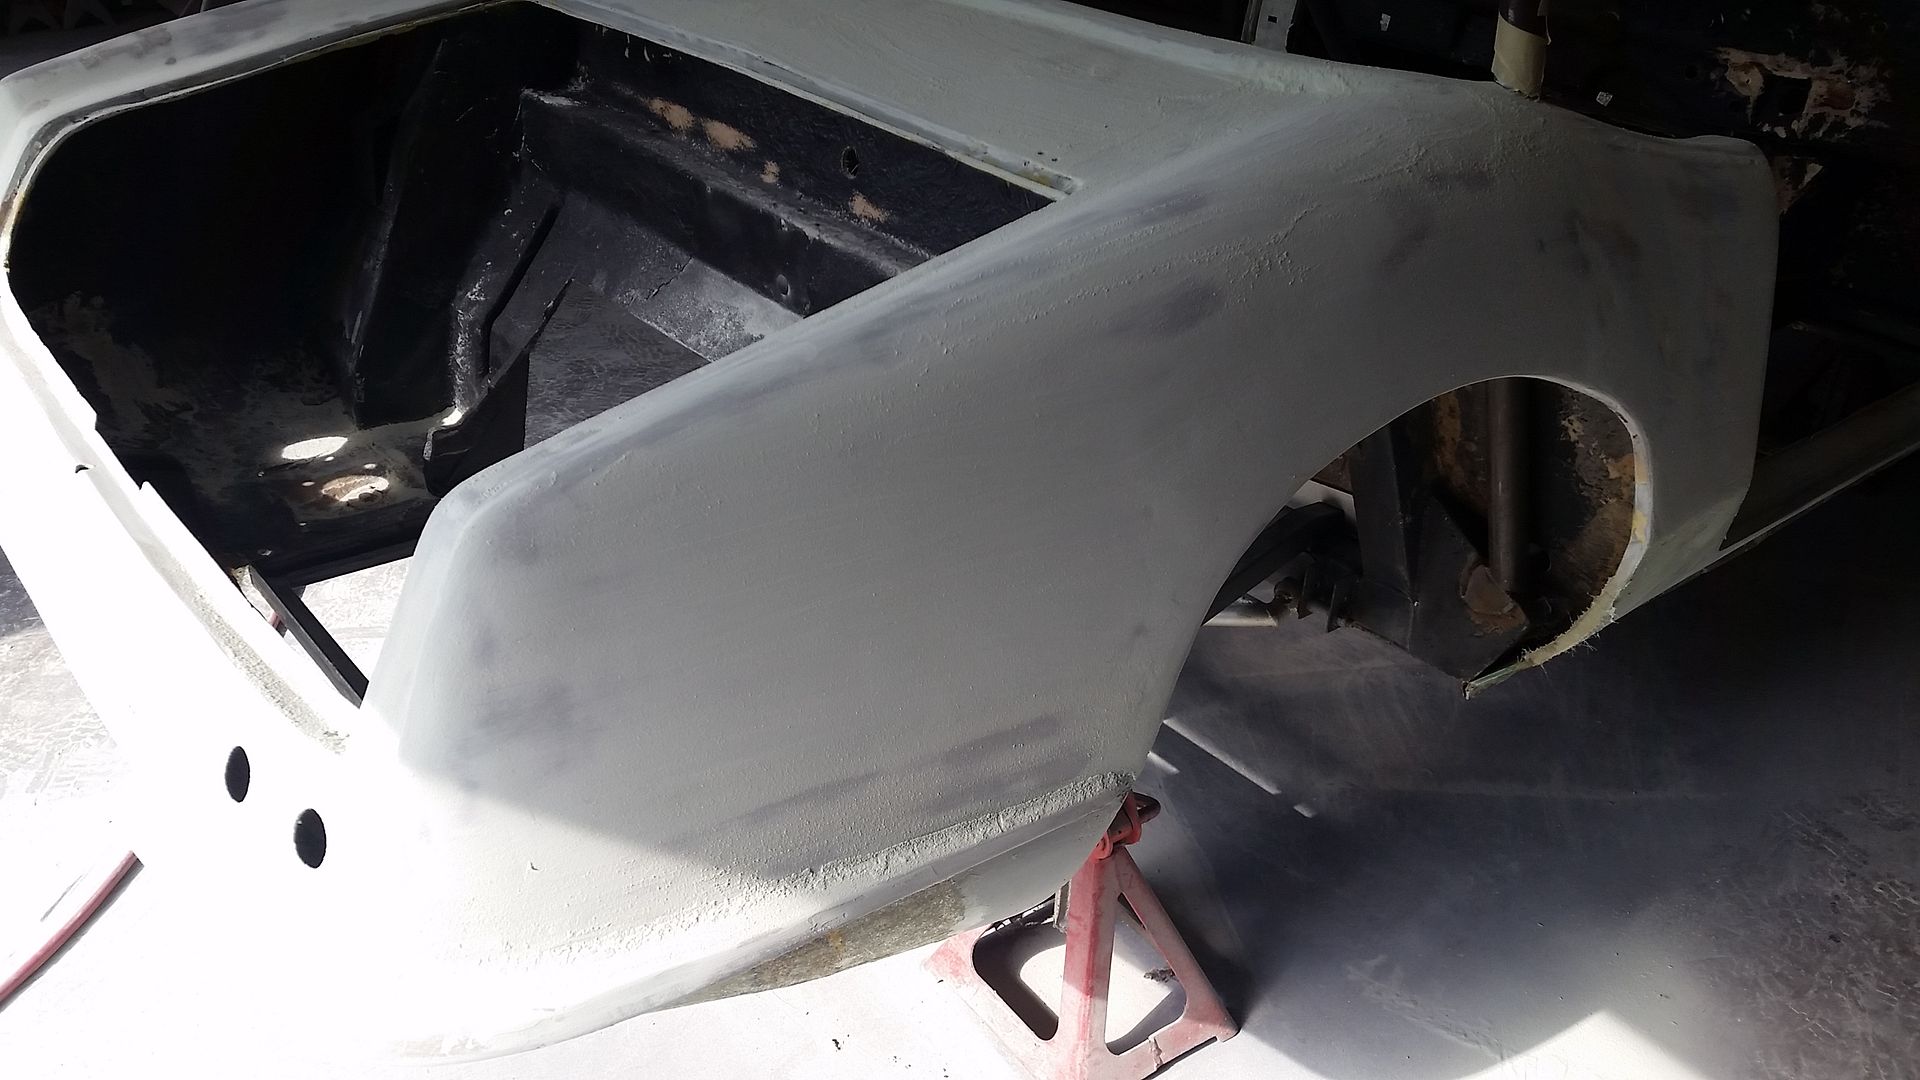

(There were some...low spots in the doors.)
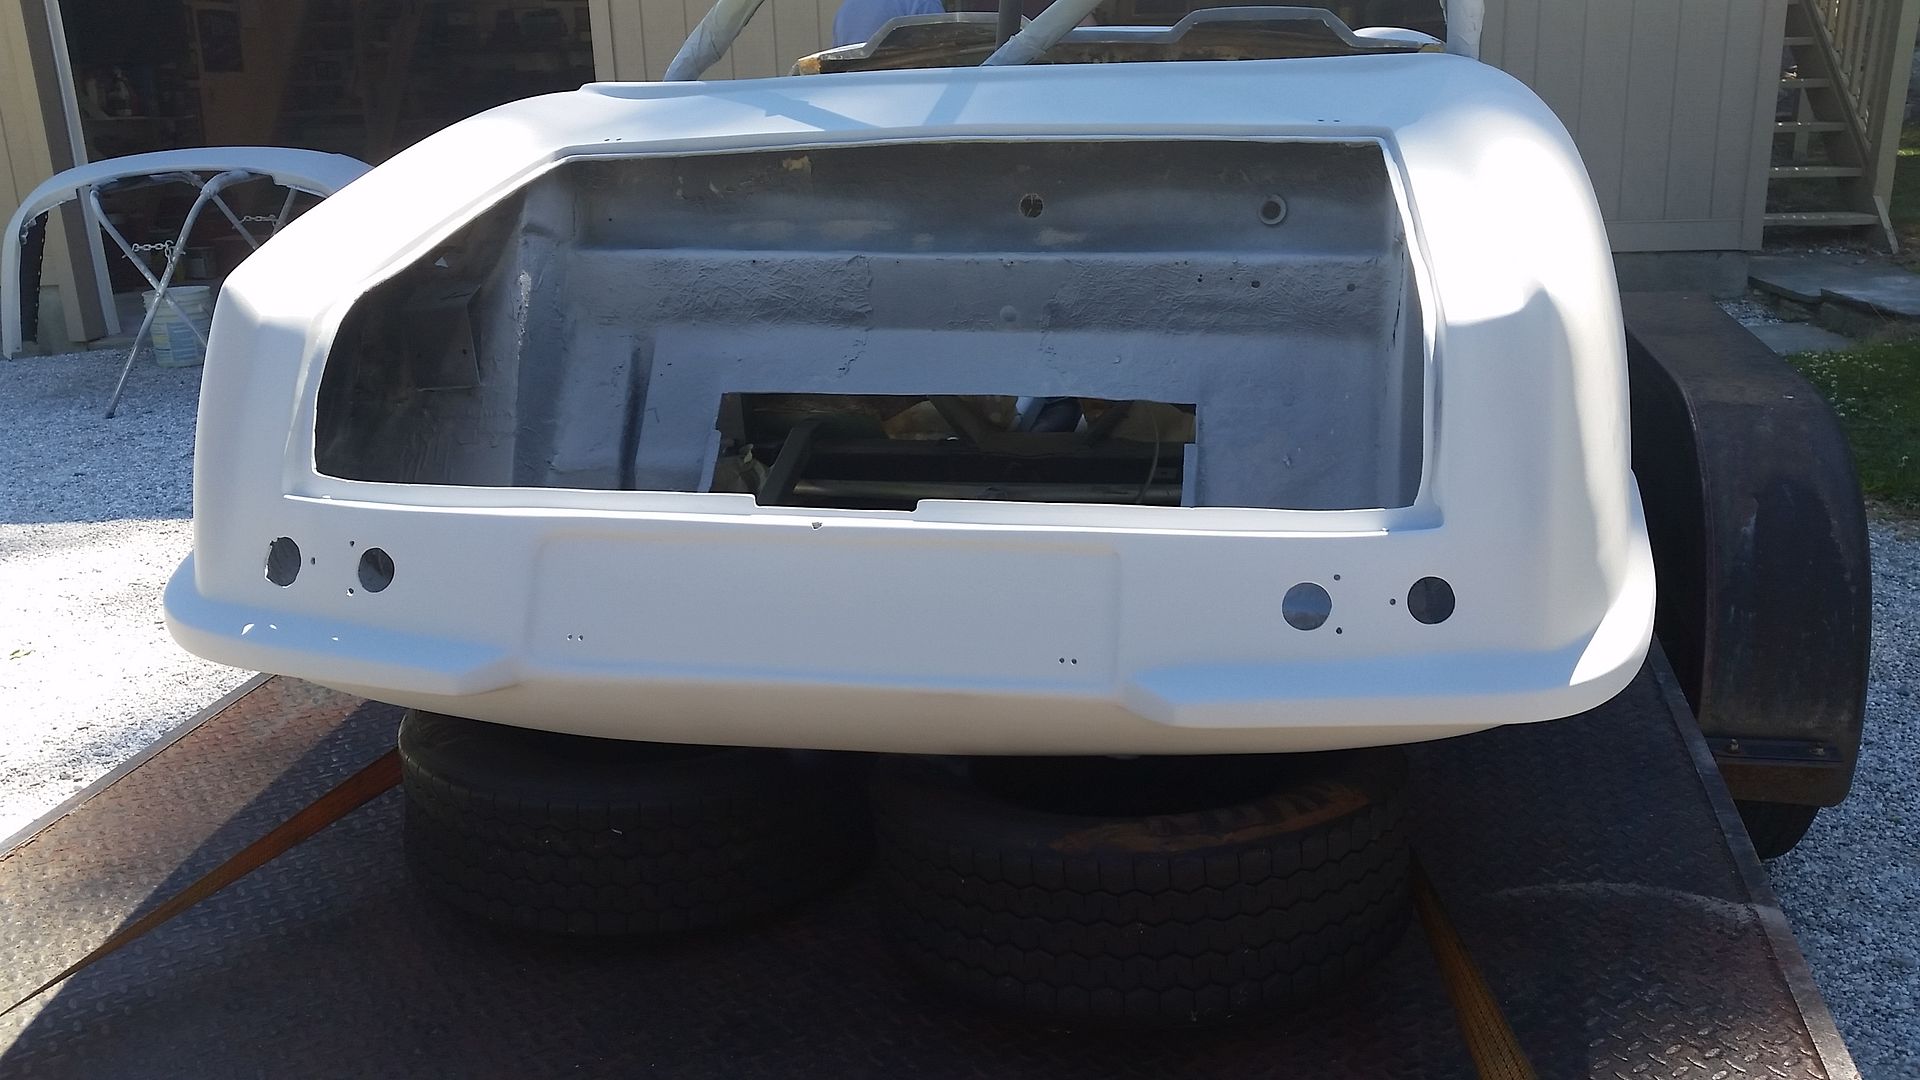
Then almost before I knew it, the car was sanded, leveled, and primed up to the front of the doors!
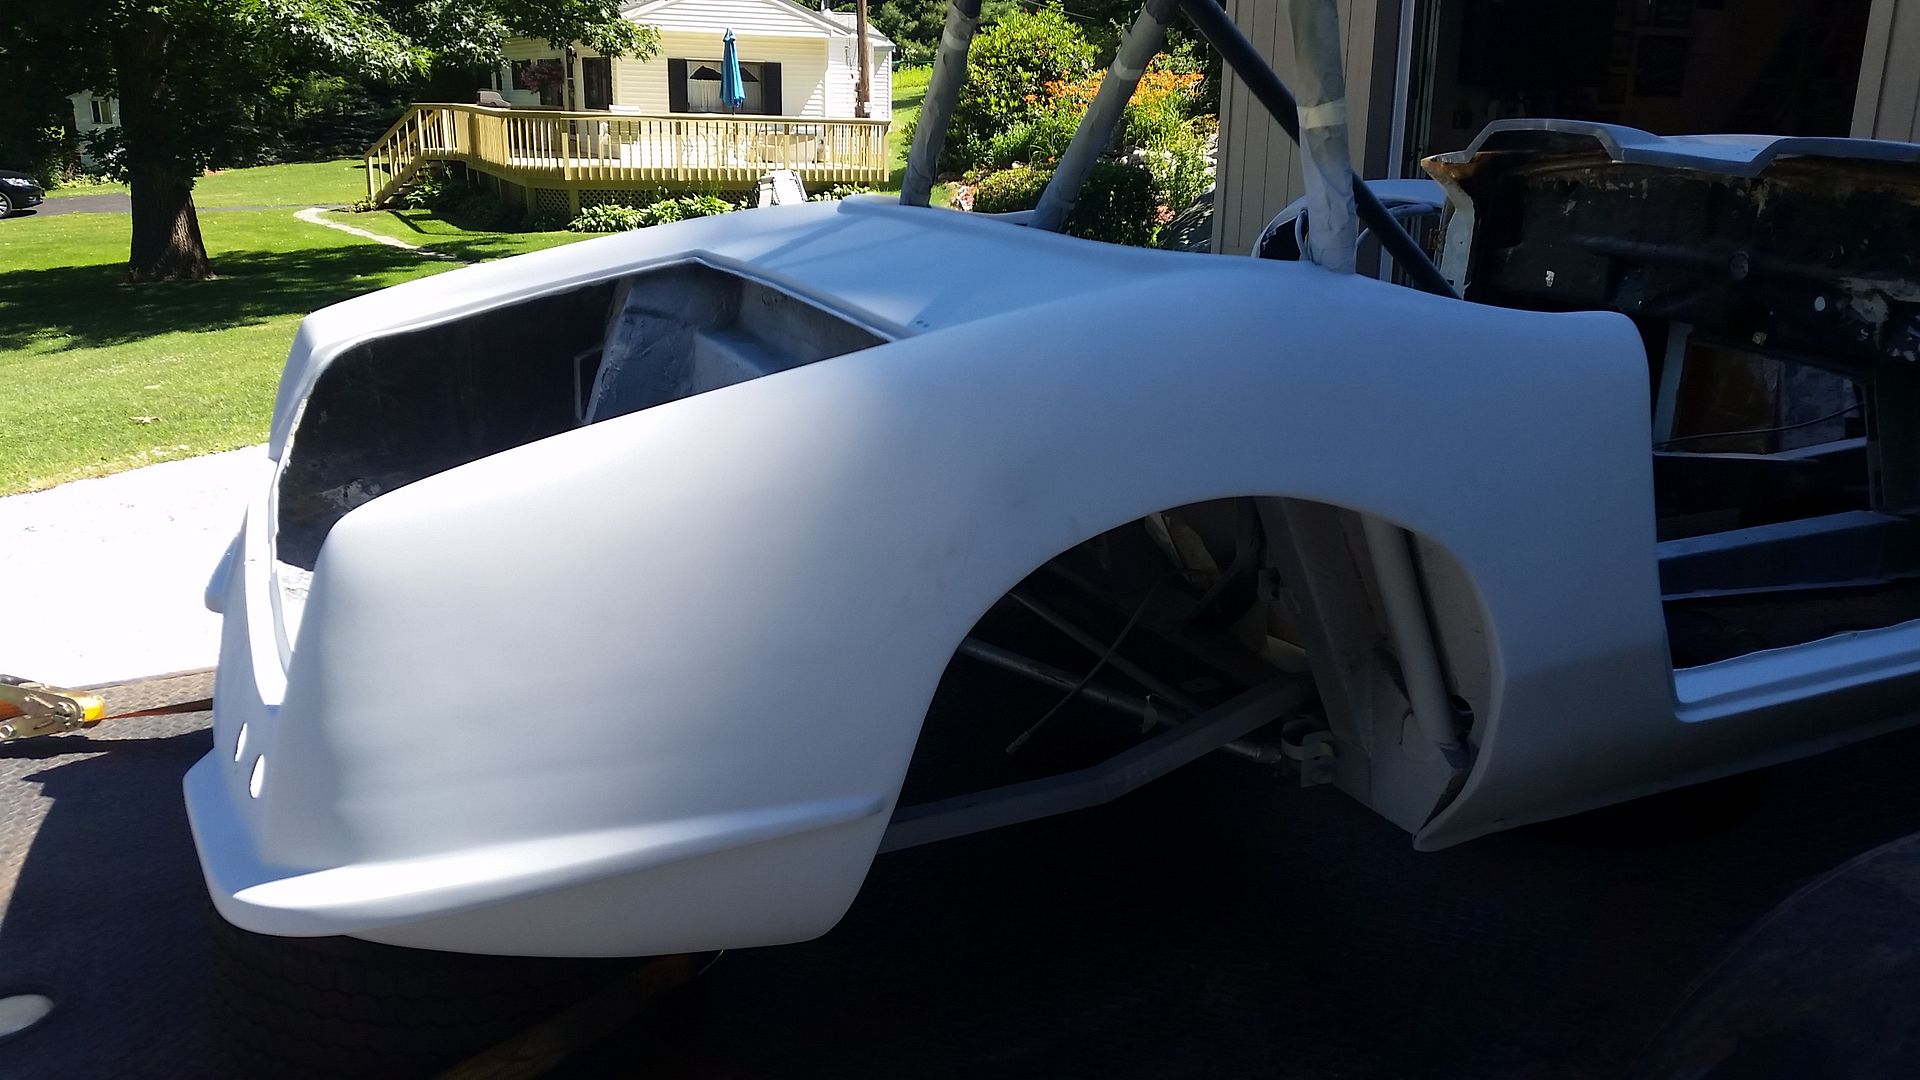
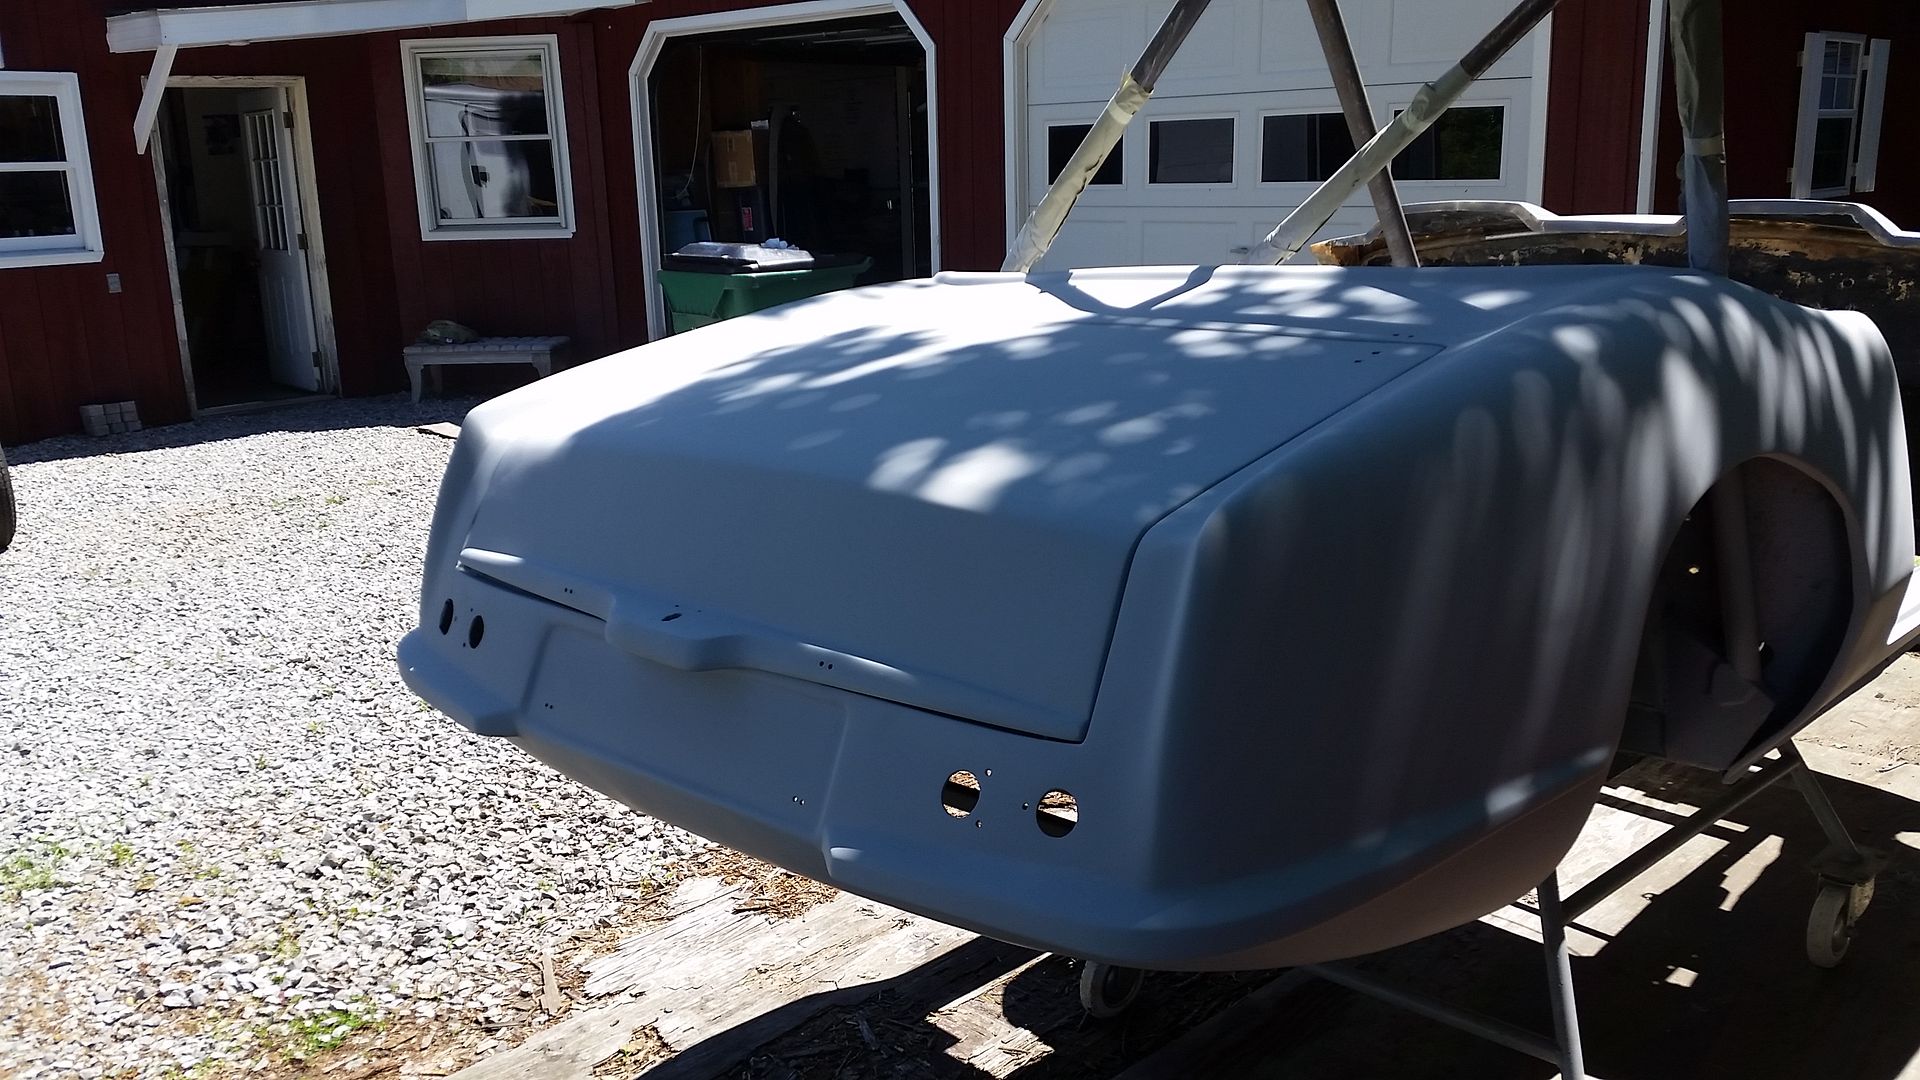
Pretty exciting stuff! It's great seeing the car start to literally take shape and it gives me good incentive to finish the cosmetic surgery in the front so that can get smoothed out too!Leave a comment:
-
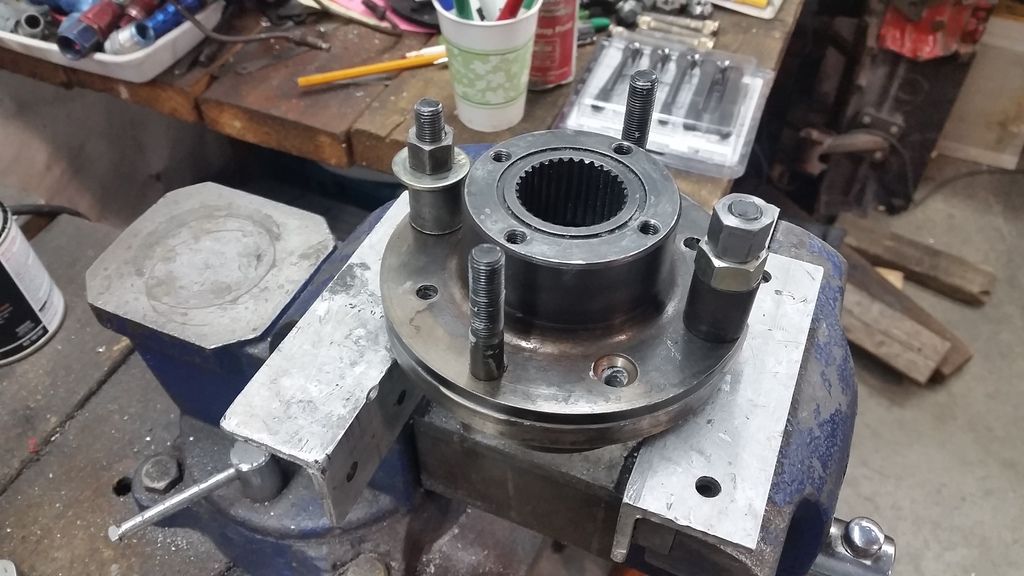
I got back from VIR a couple days ago (awesome weekend!) and we leave for Road Atlanta on Monday, but I still found some time to work a bit on the car! I pulled the studs into one of the rear hubs, but I spent most of my time sanding.
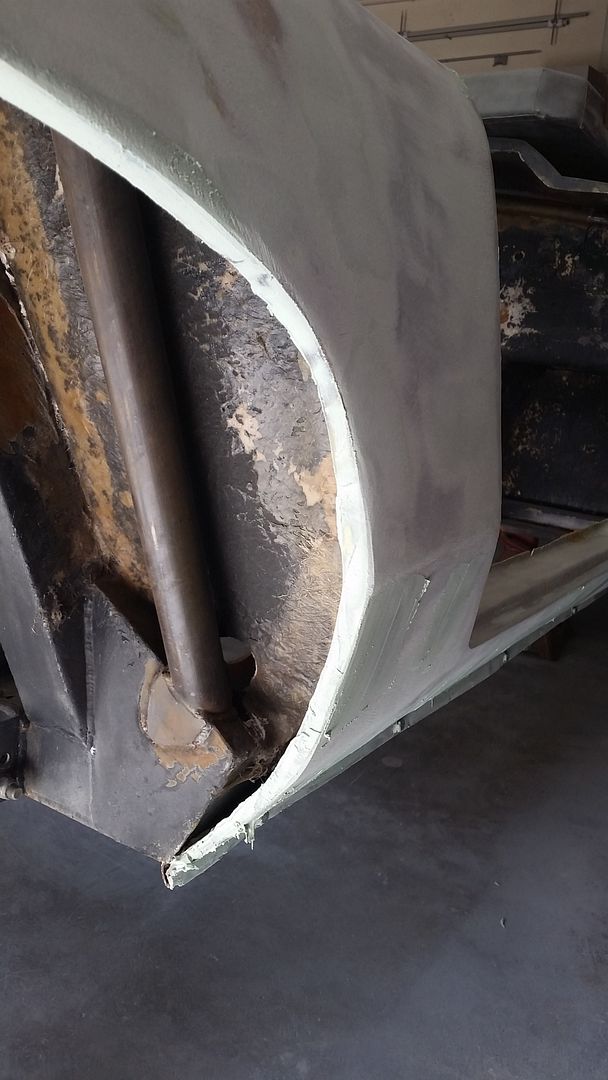
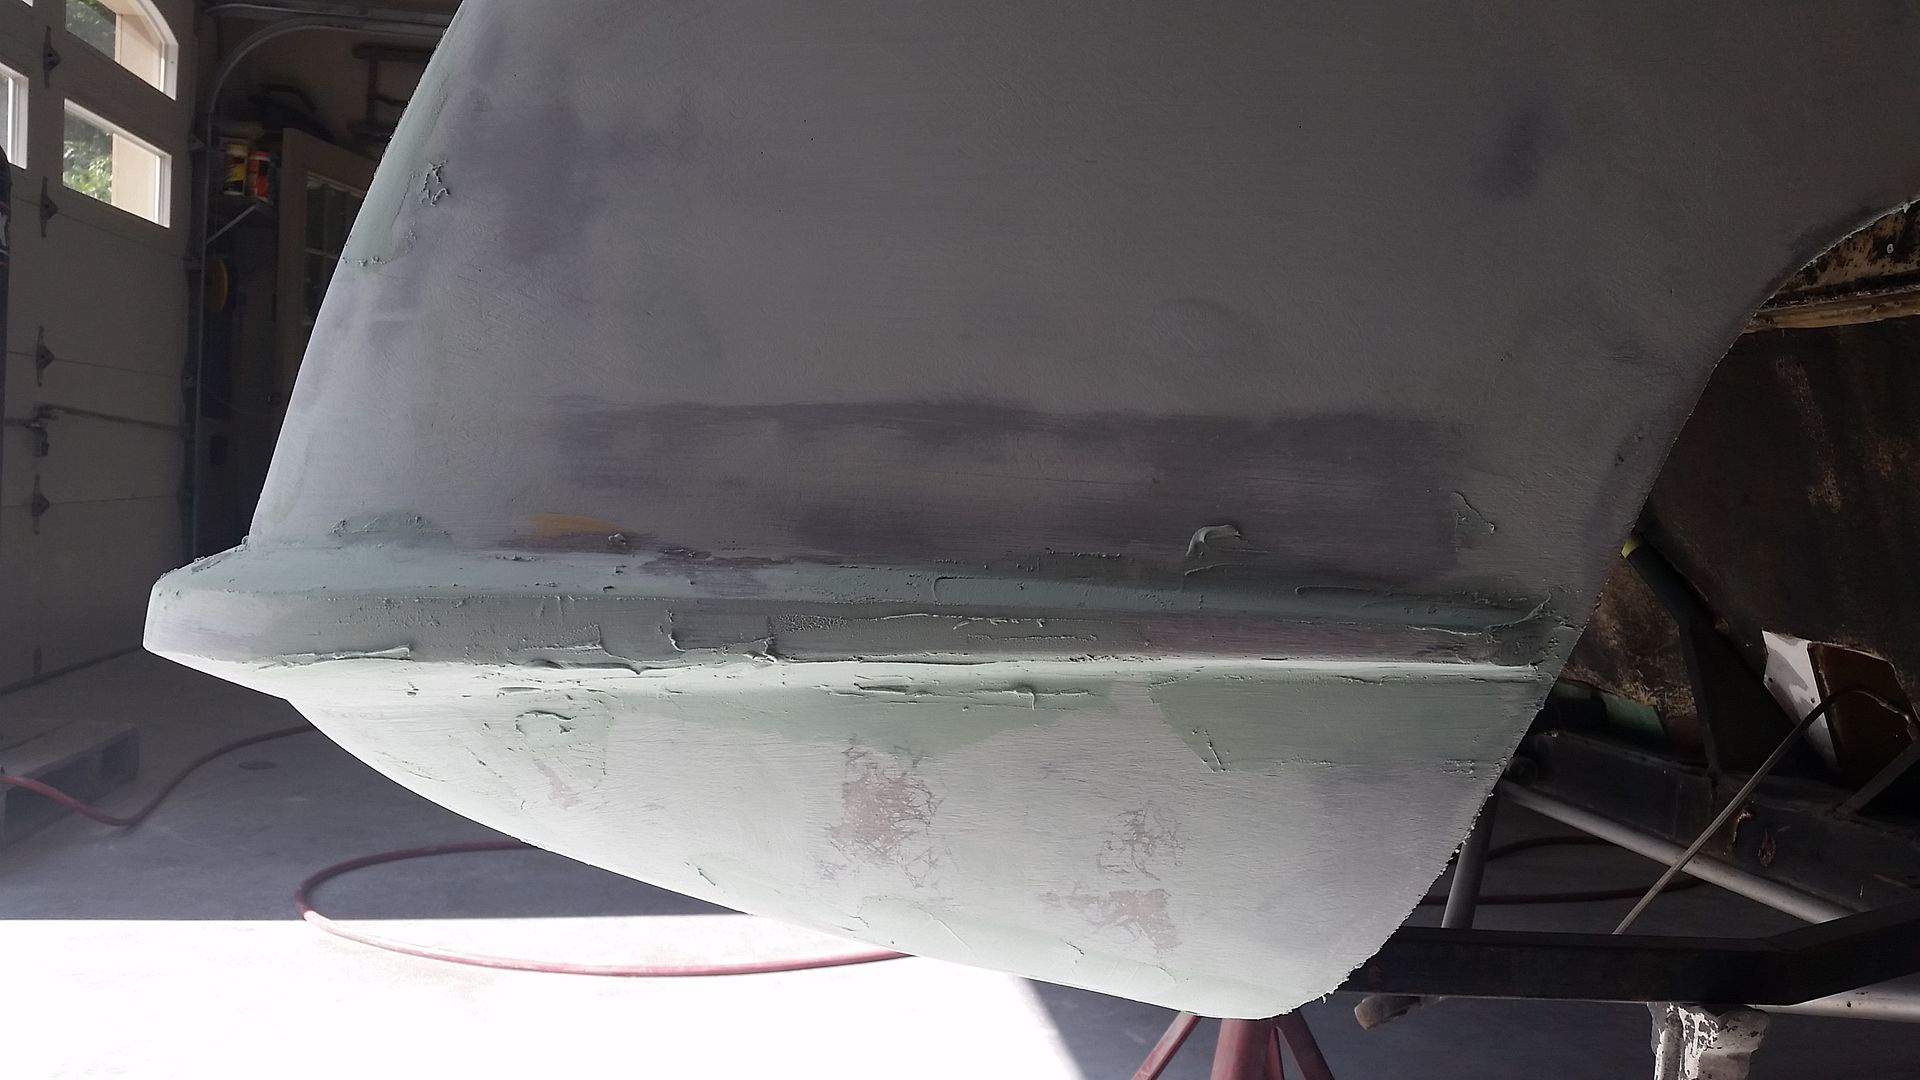
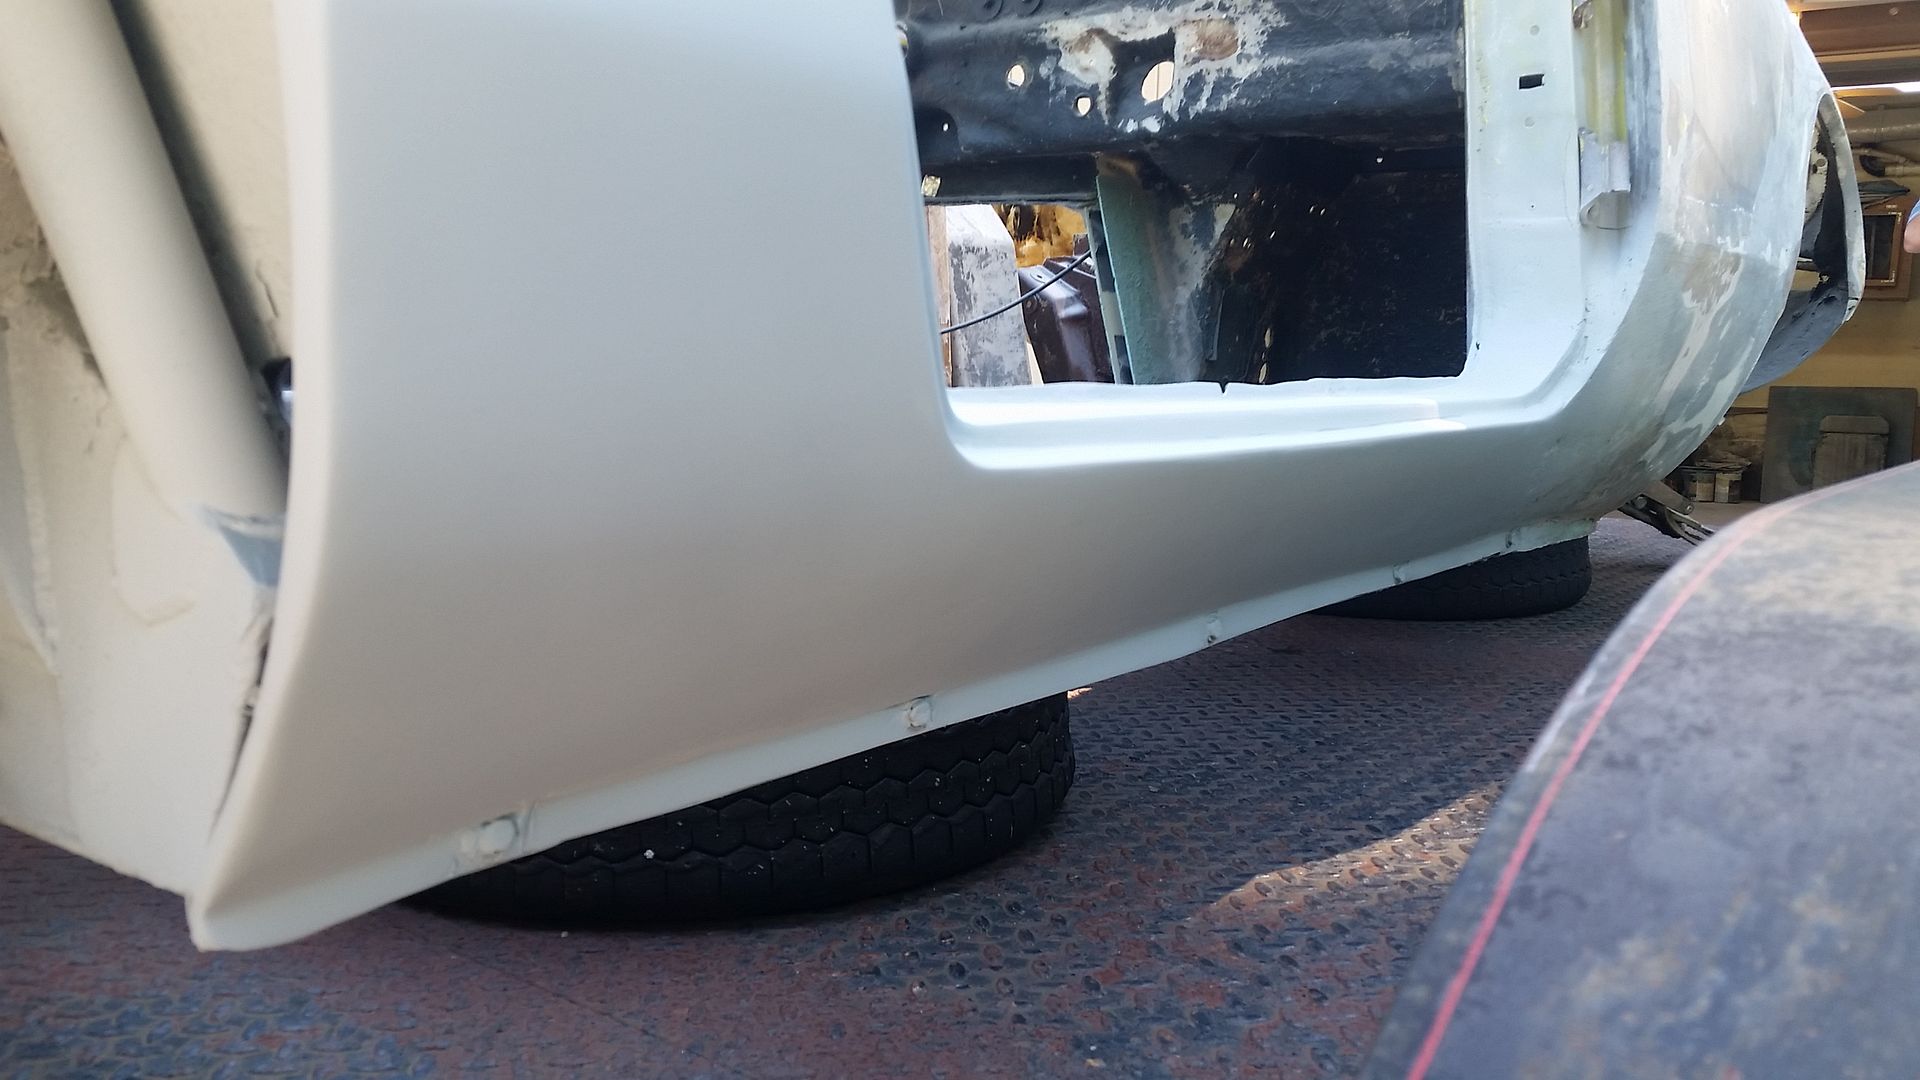
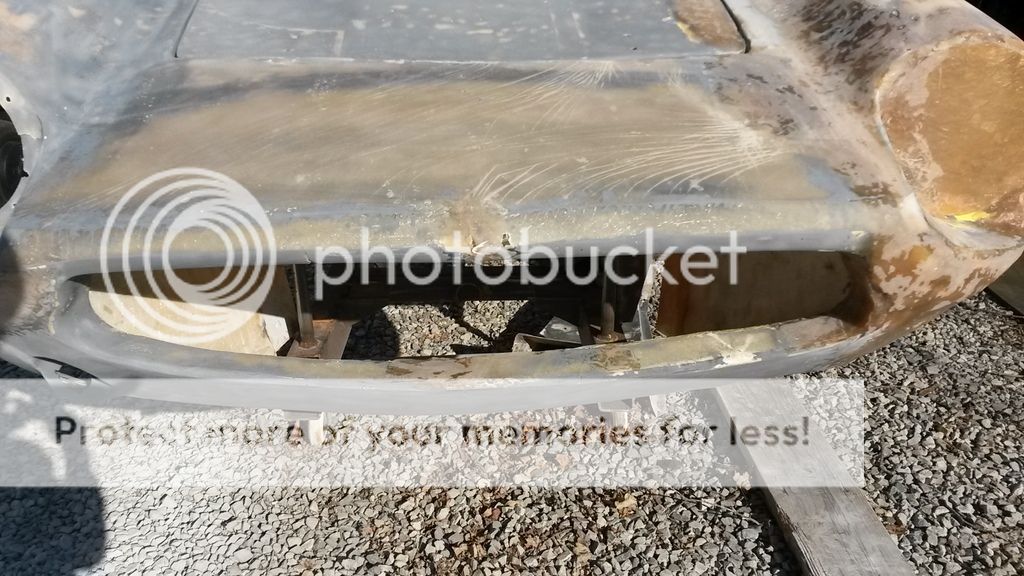
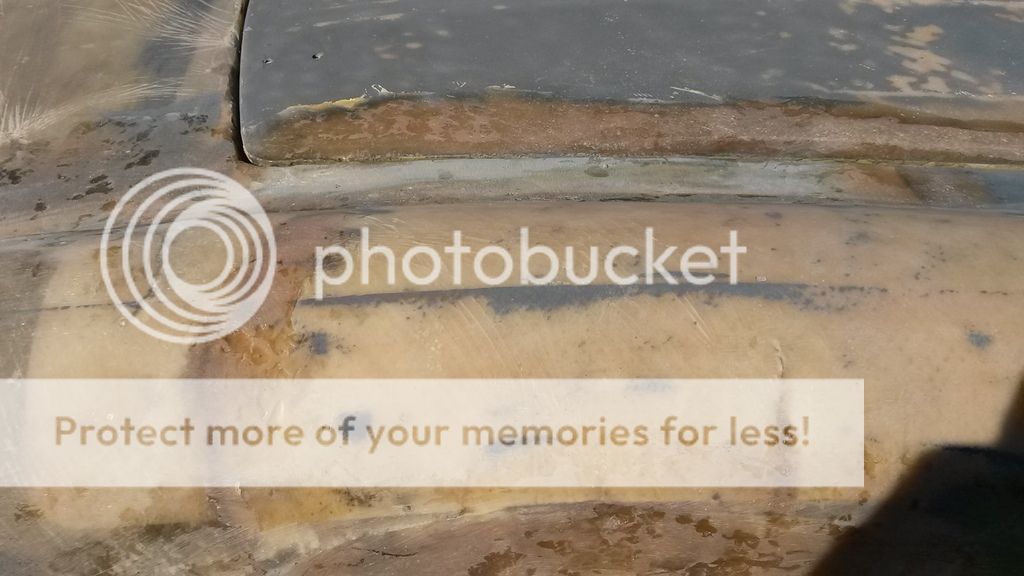
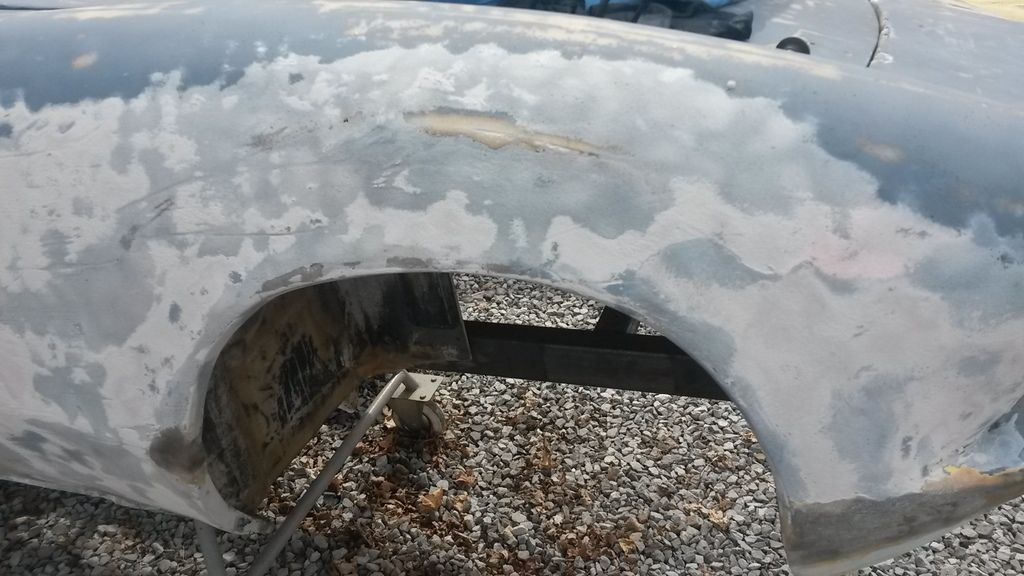
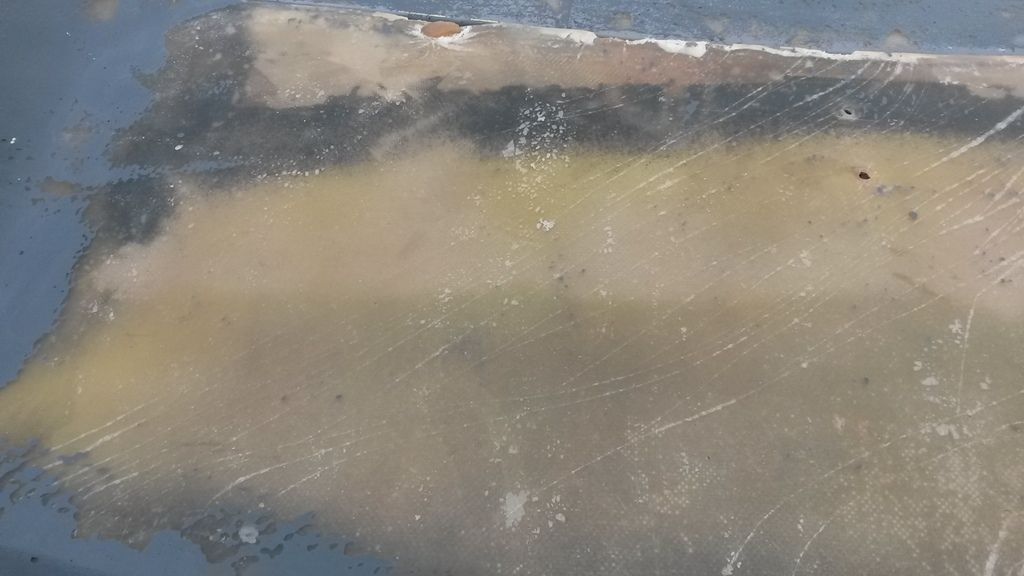
I spent a lot of time taking the huge amount of Bondo and primer off the right-front fender:
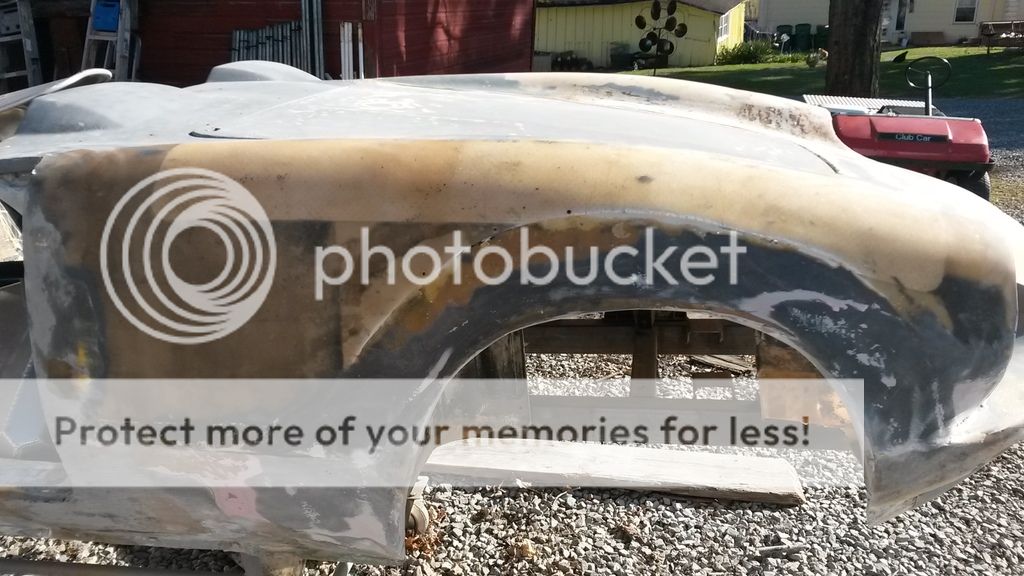
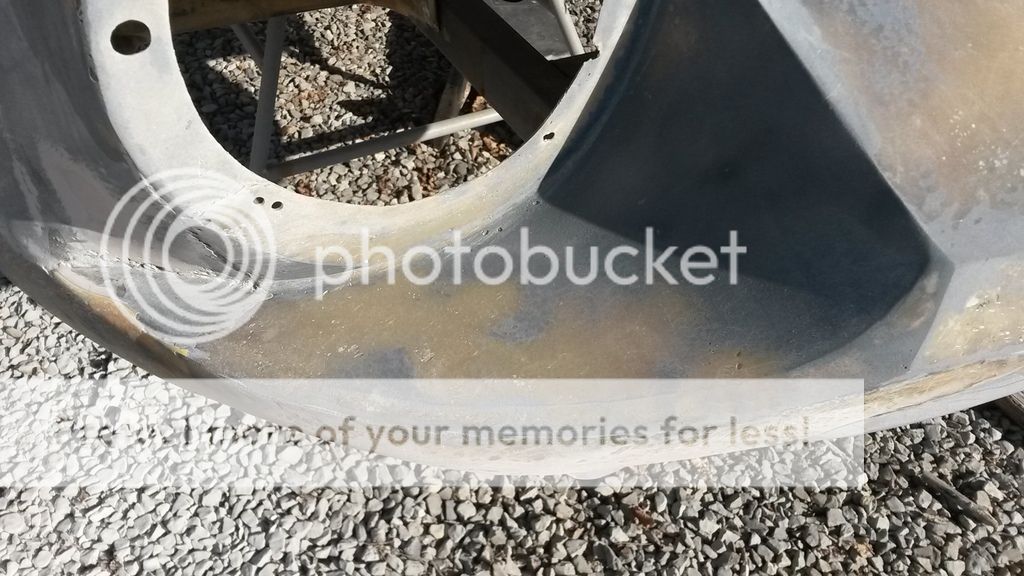
You can see some of the steps taken to (badly) reinstall the fender. There are some rivet holes:
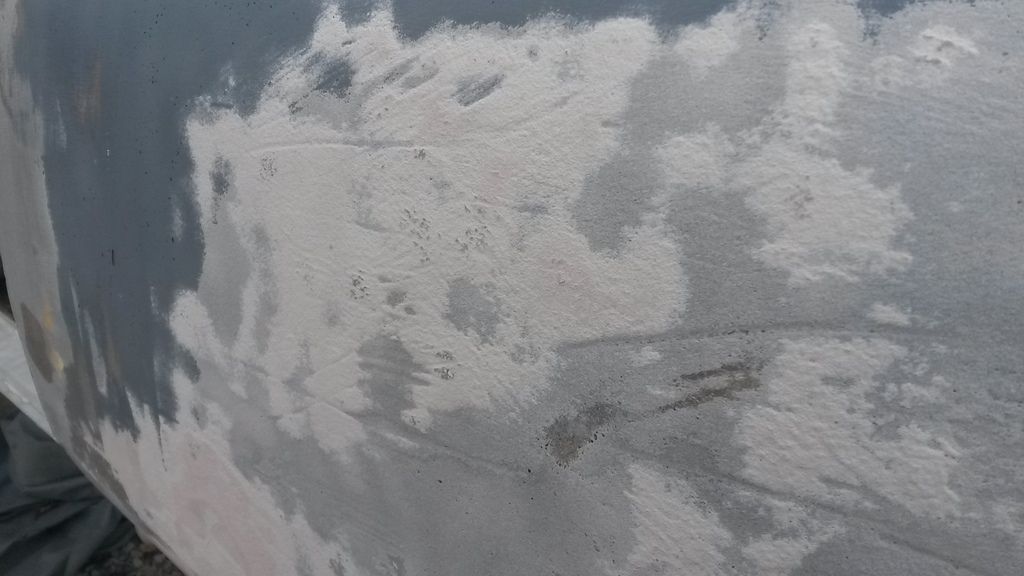
That white ridge around the seam was much higher than it should have been, and instead of taking the surface down someone just added a ton of filler. Problem solved:
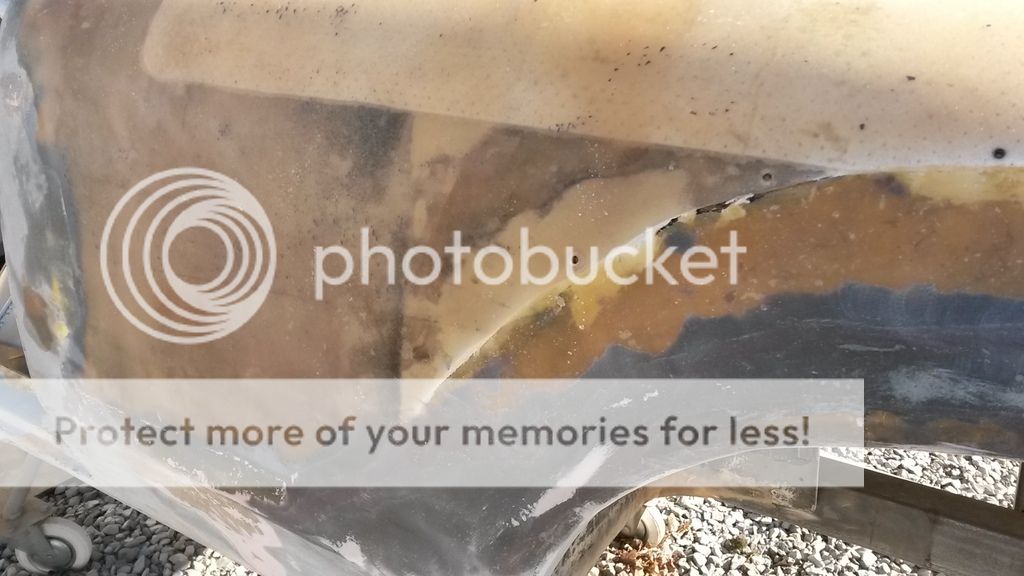
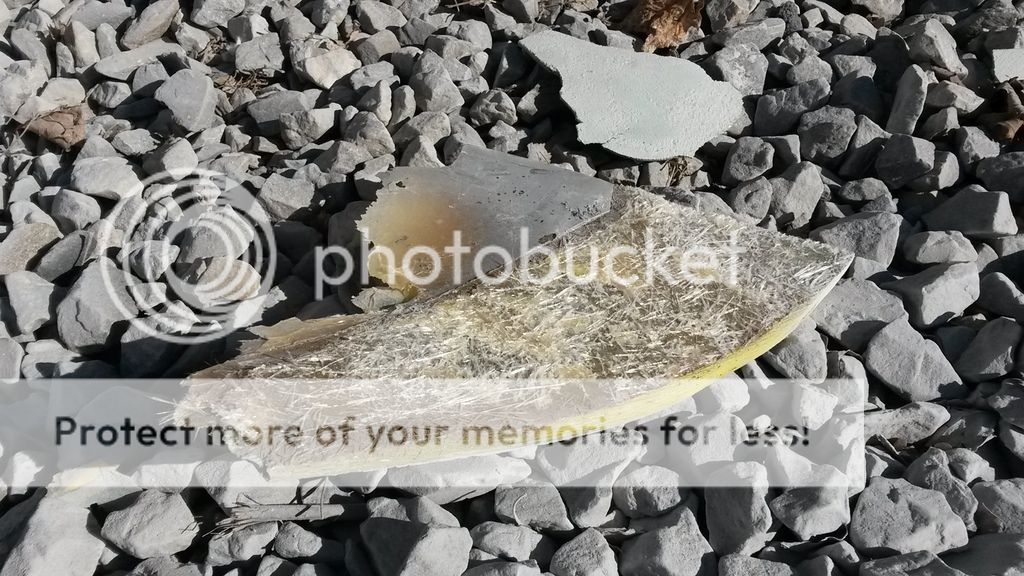
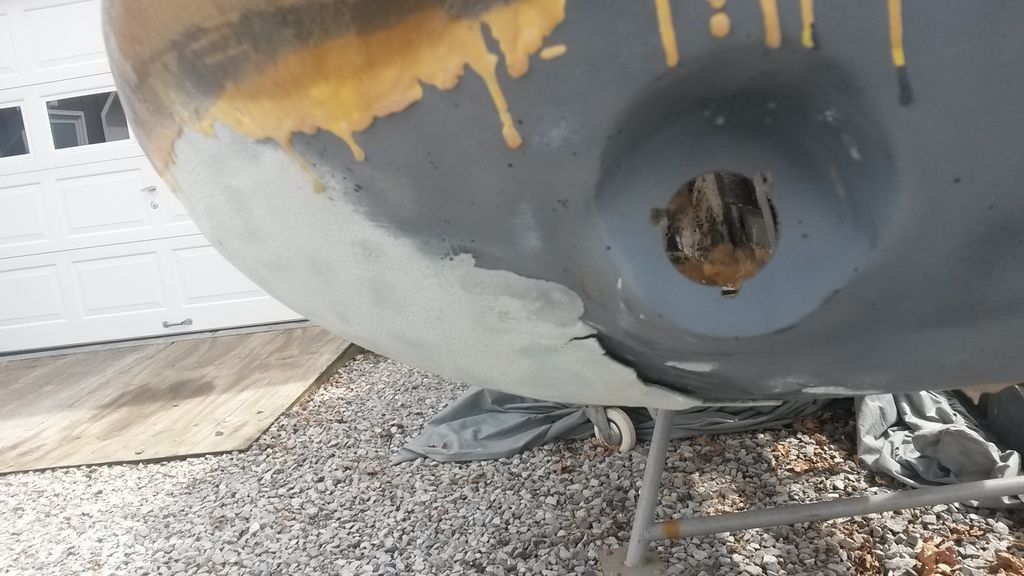
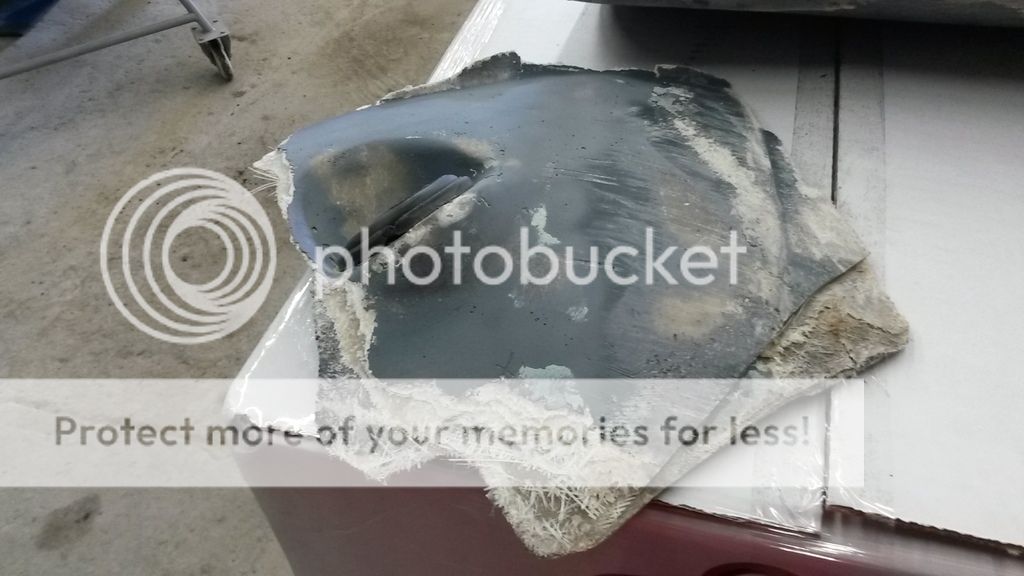
Along the same lines, there was a HUGE chunk of Bondo and fiberglass barely attached under the bumperette. Not anymore!
You can see how much they built the outside edge up to match the nasty fender. I need to decide how I want to tackle this going forward.
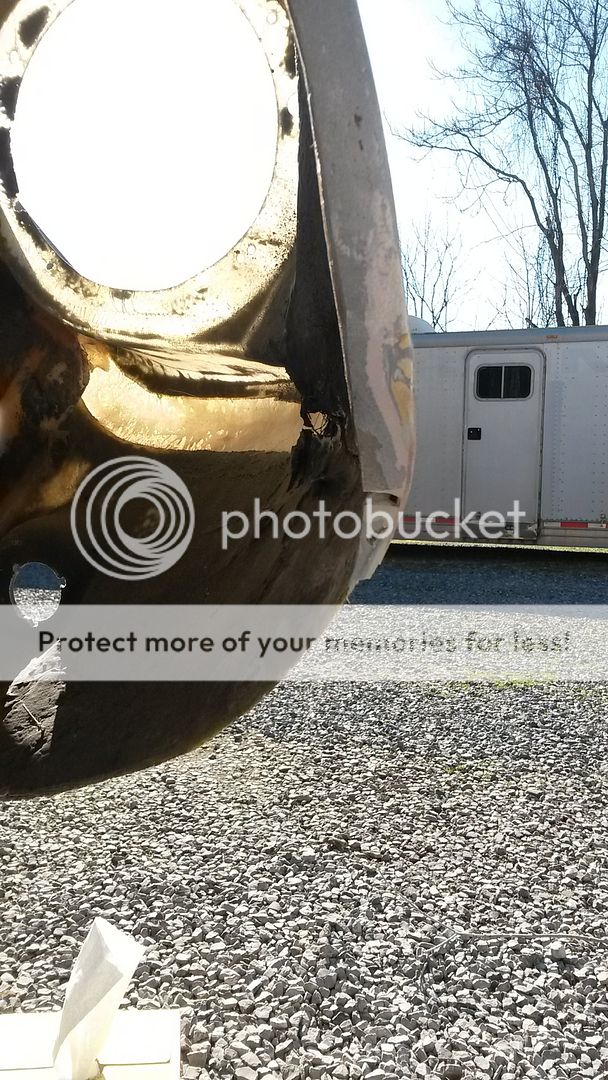
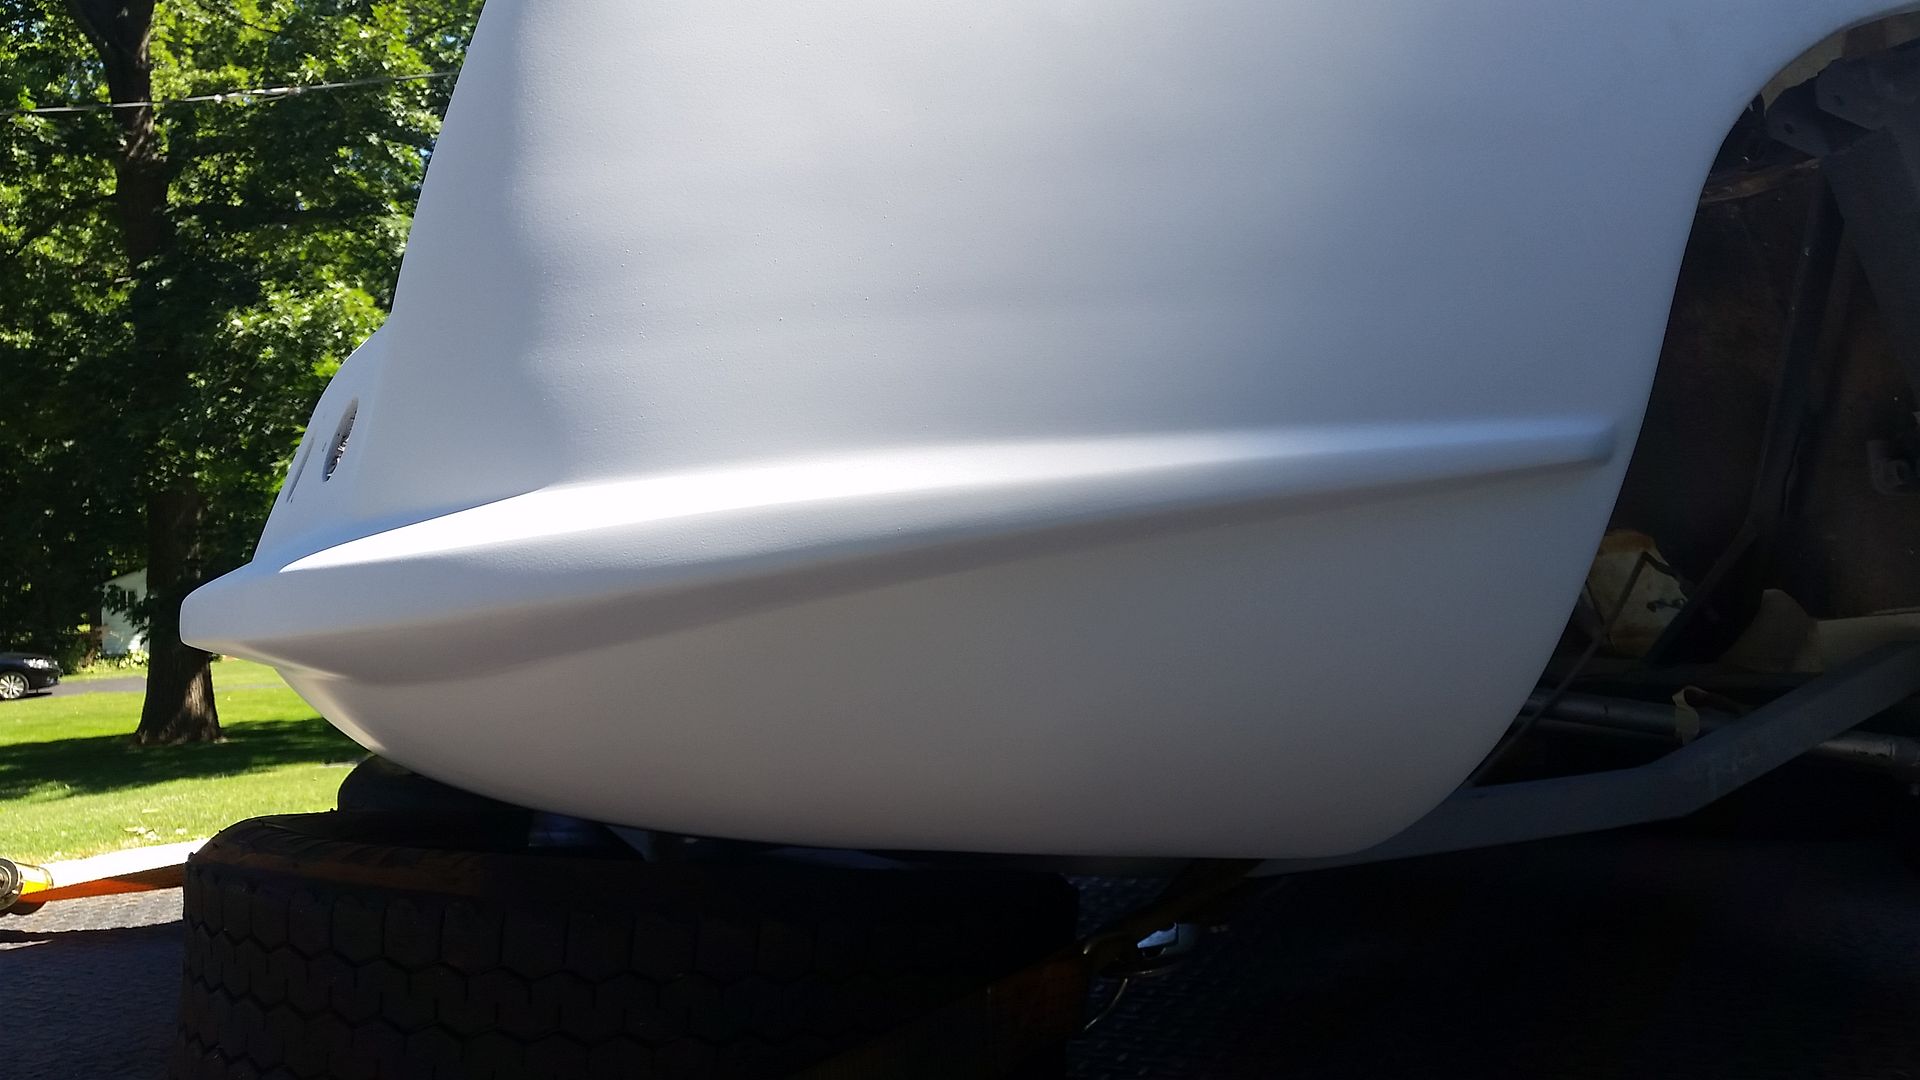
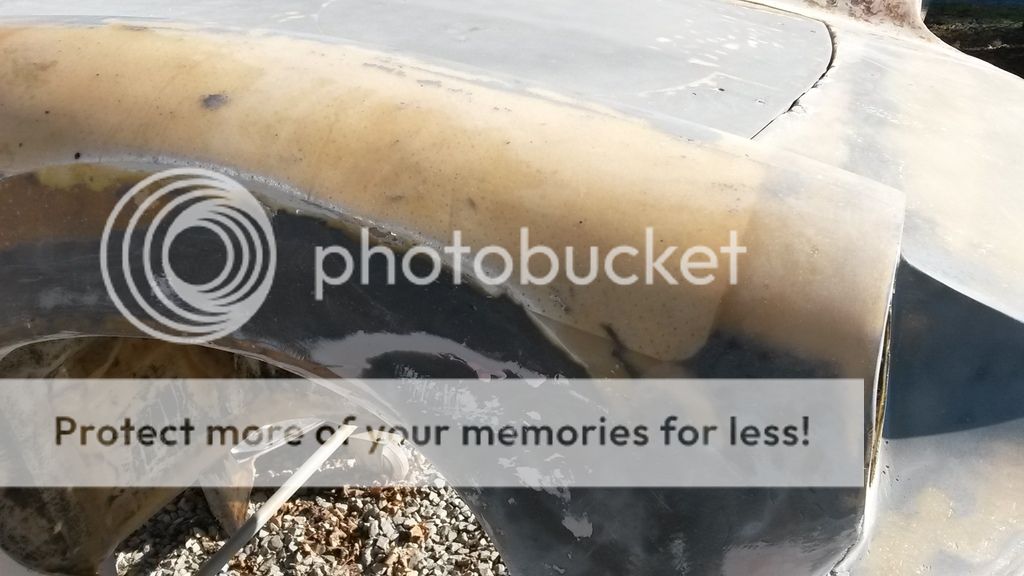
I also cleaned up a bit on the headlight shelf, the front of the nose, and the left-front fender:
I'm happy to make some more progress and hope to continue sanding and/or rebuilding the rear axle assembly when I get back from Road Atlanta!Leave a comment:
-
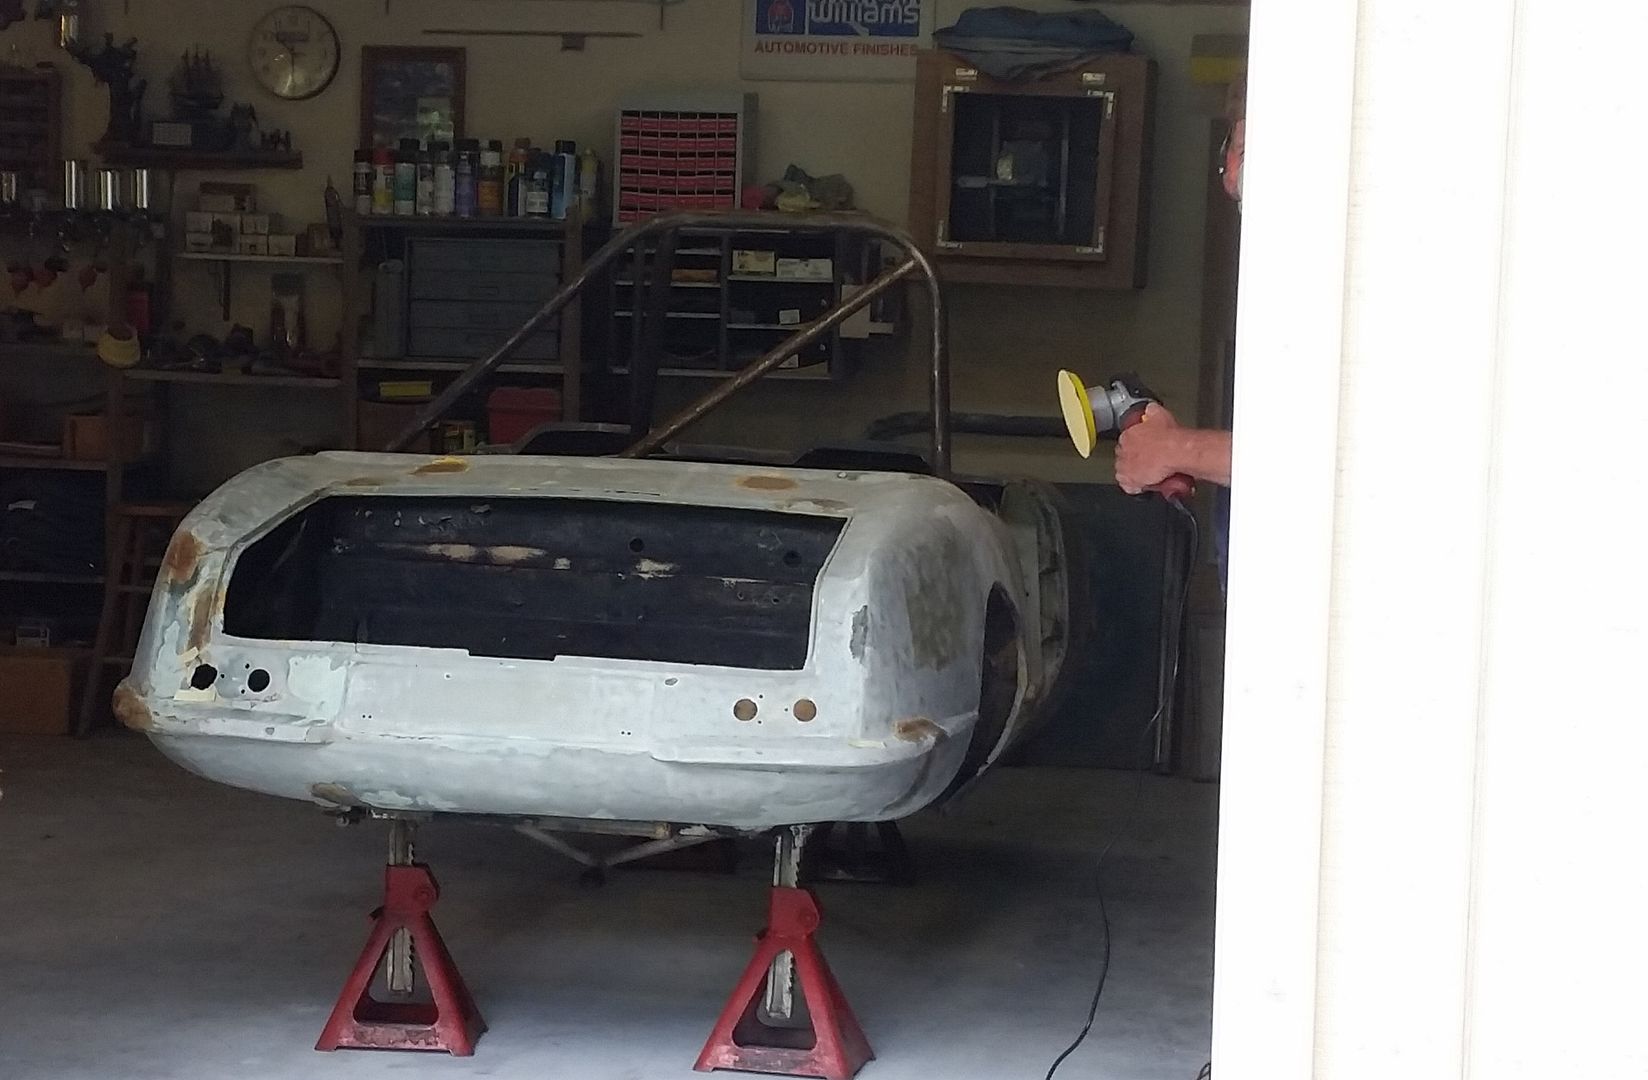
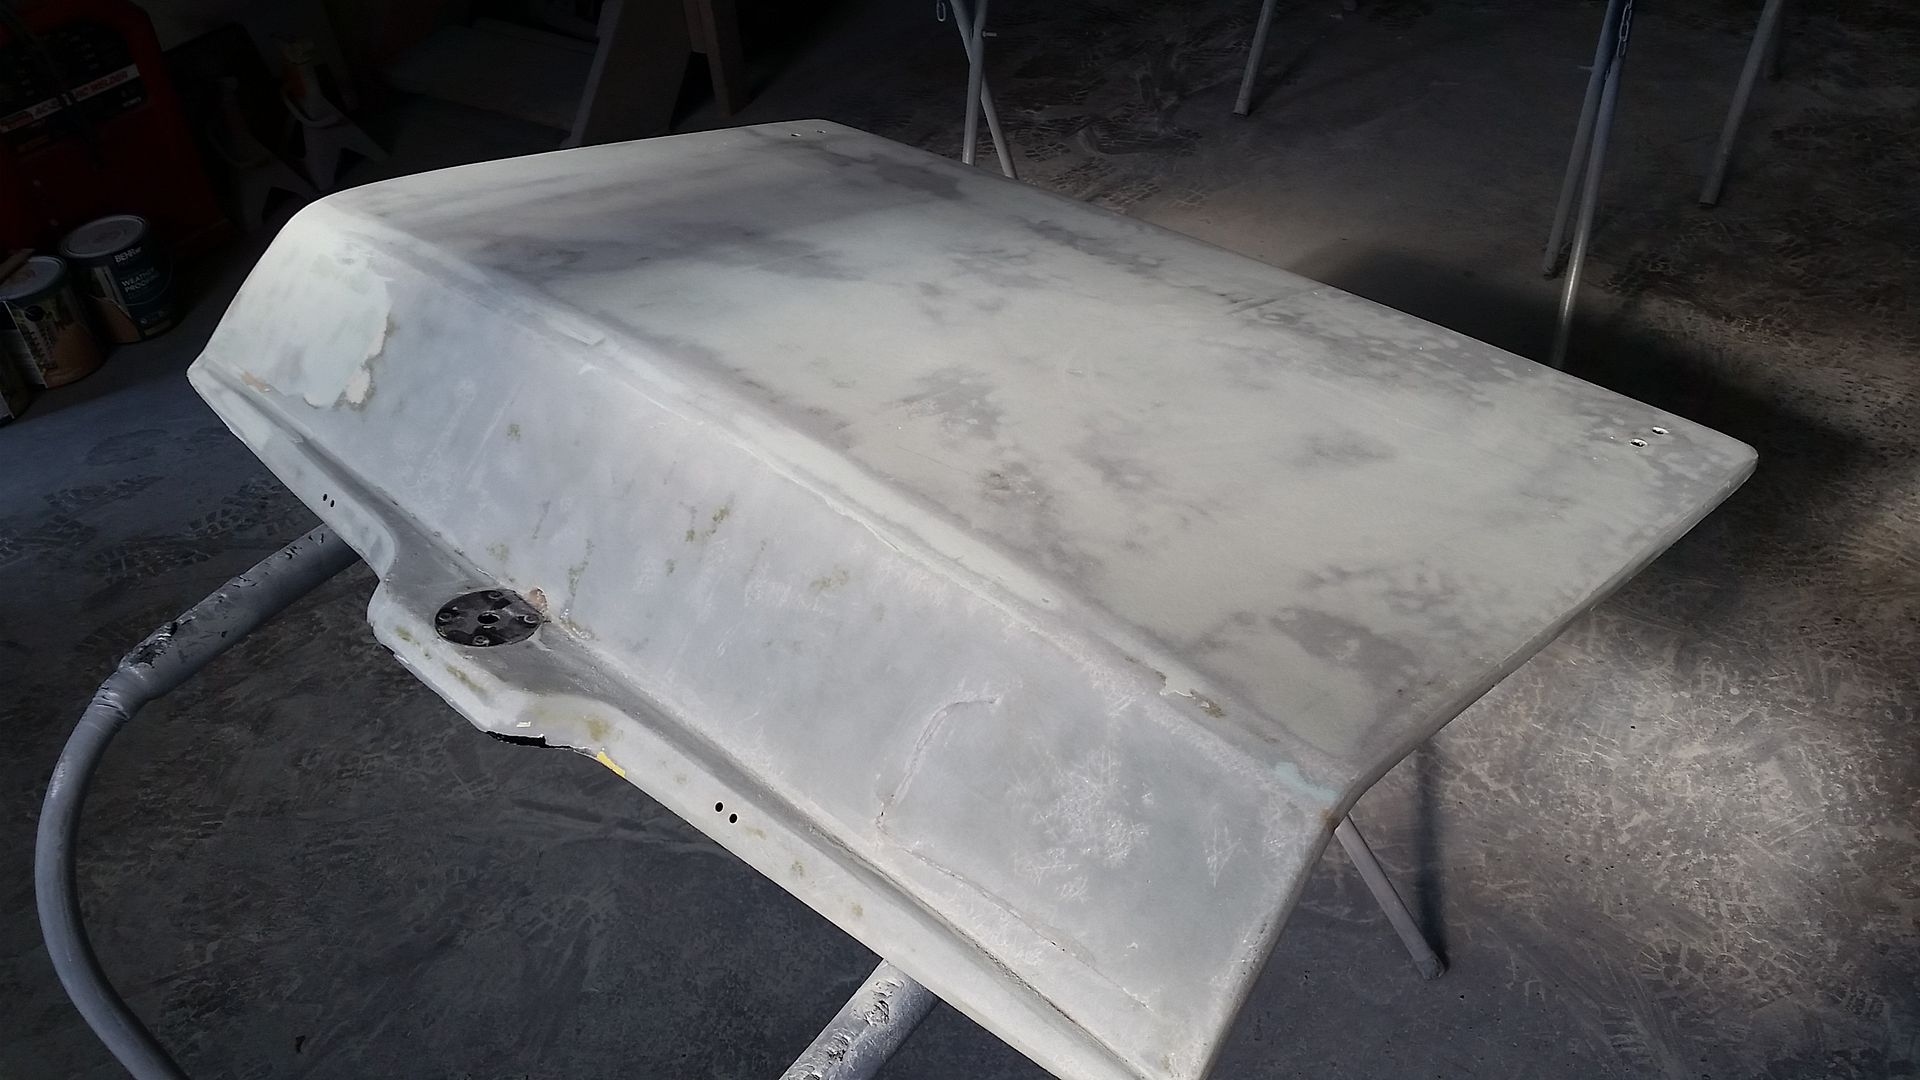
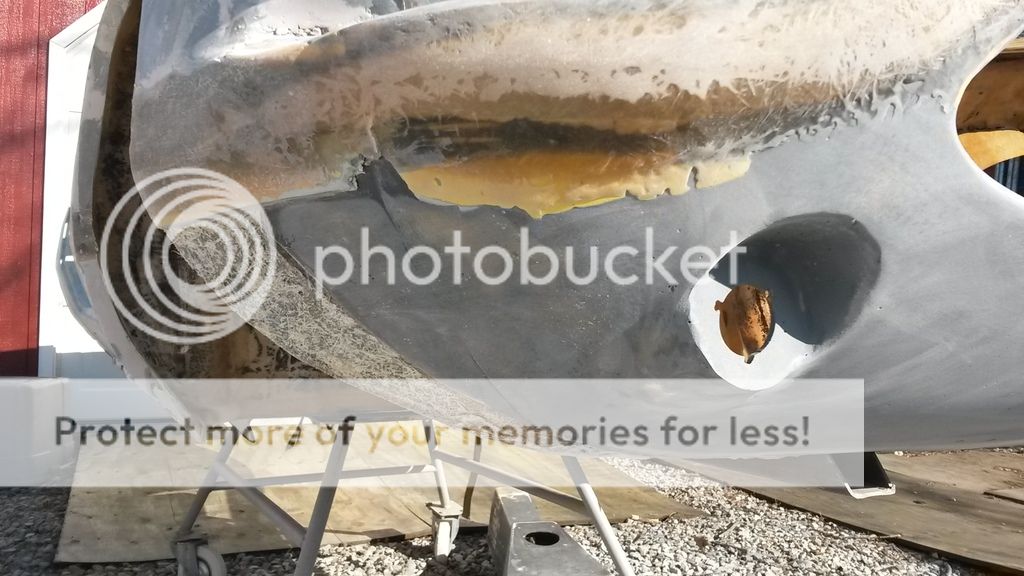
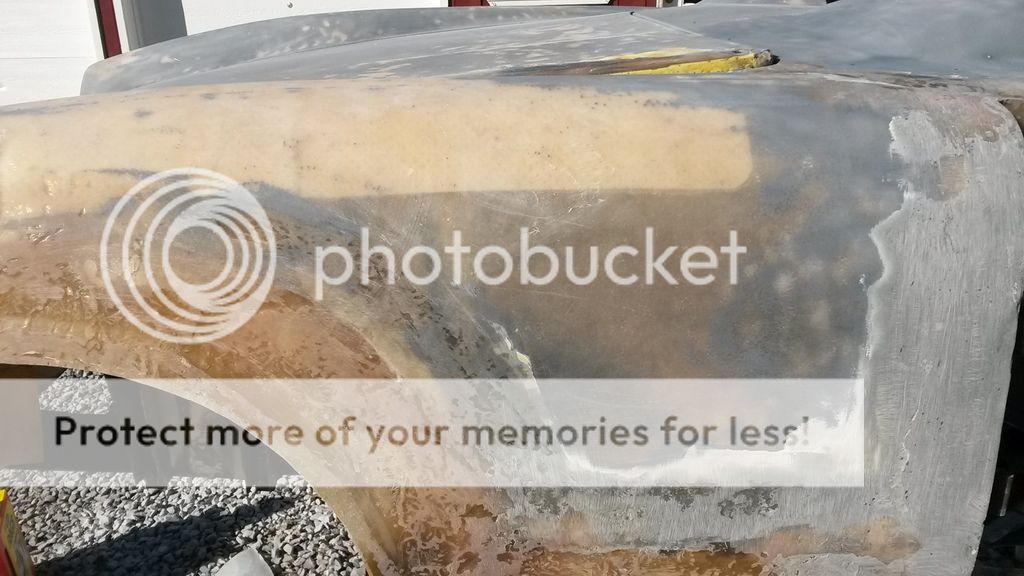
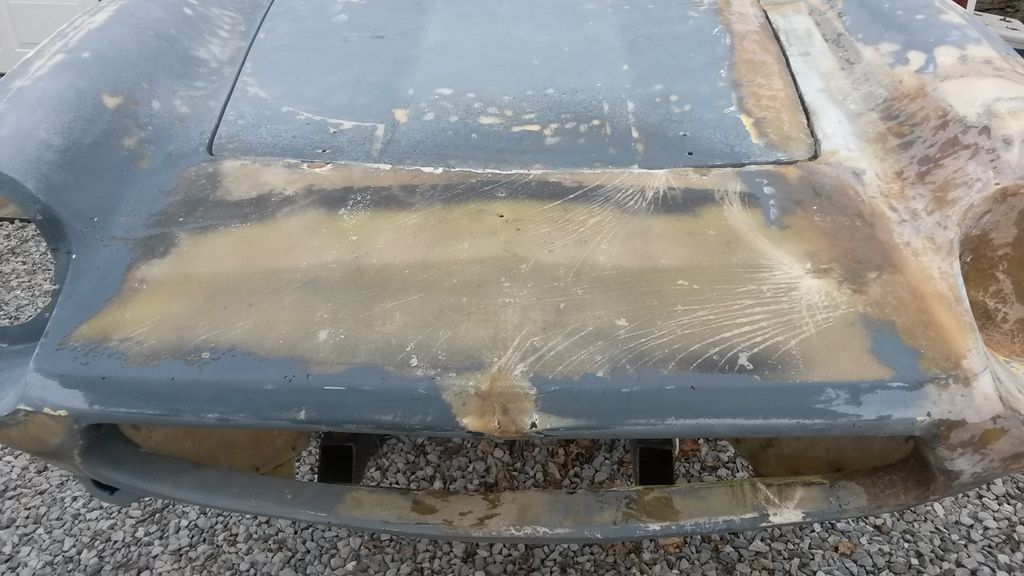
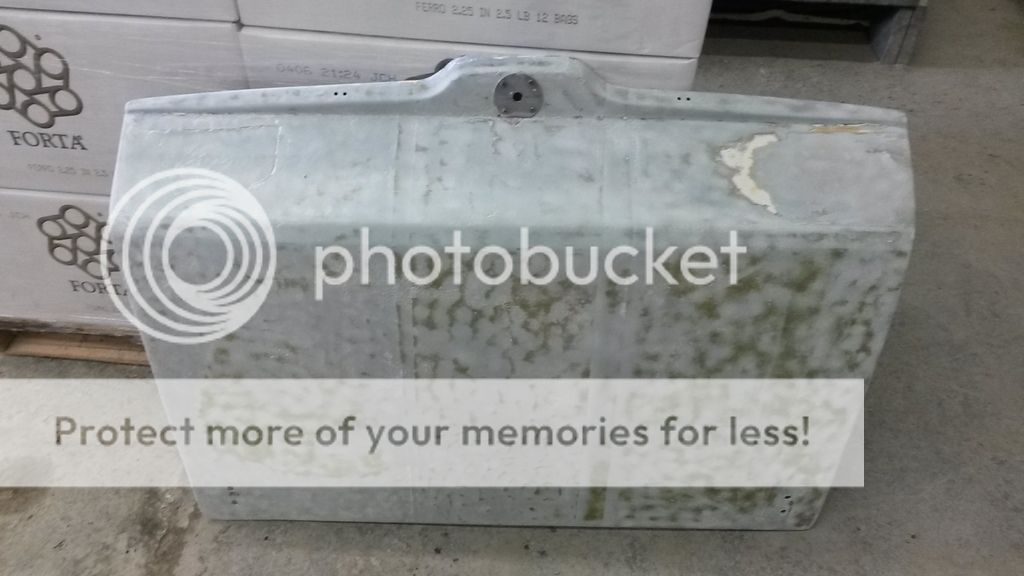
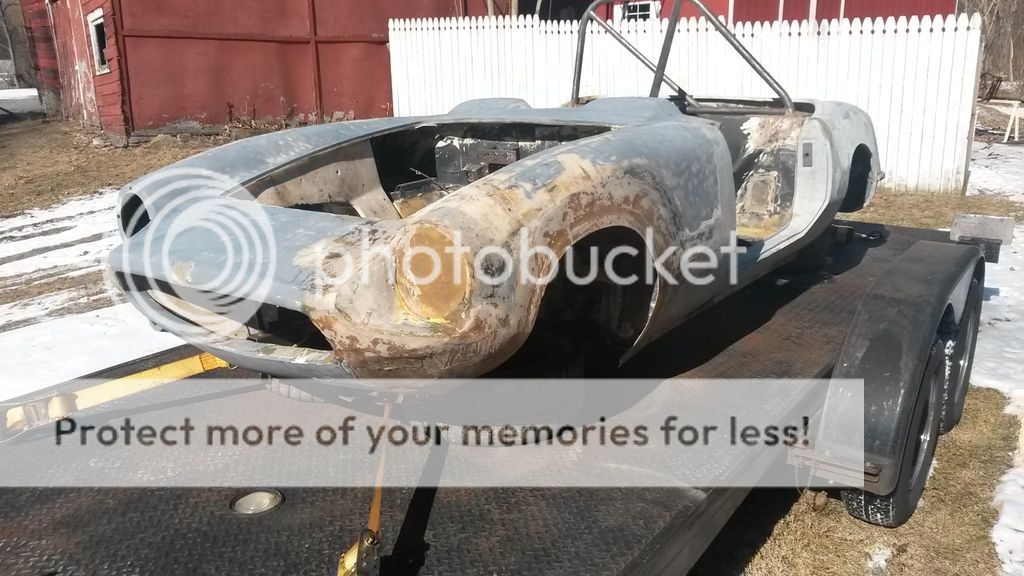
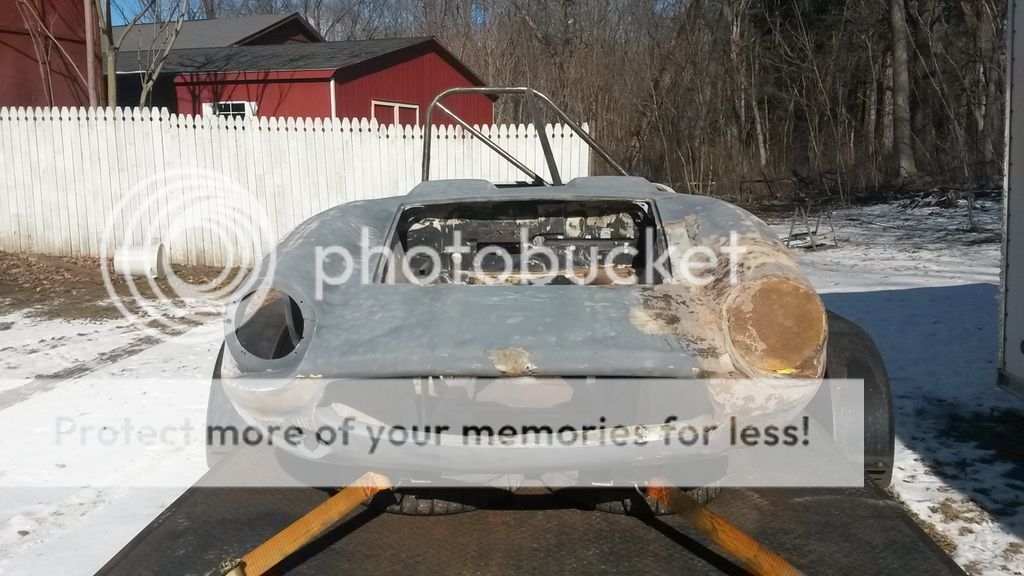
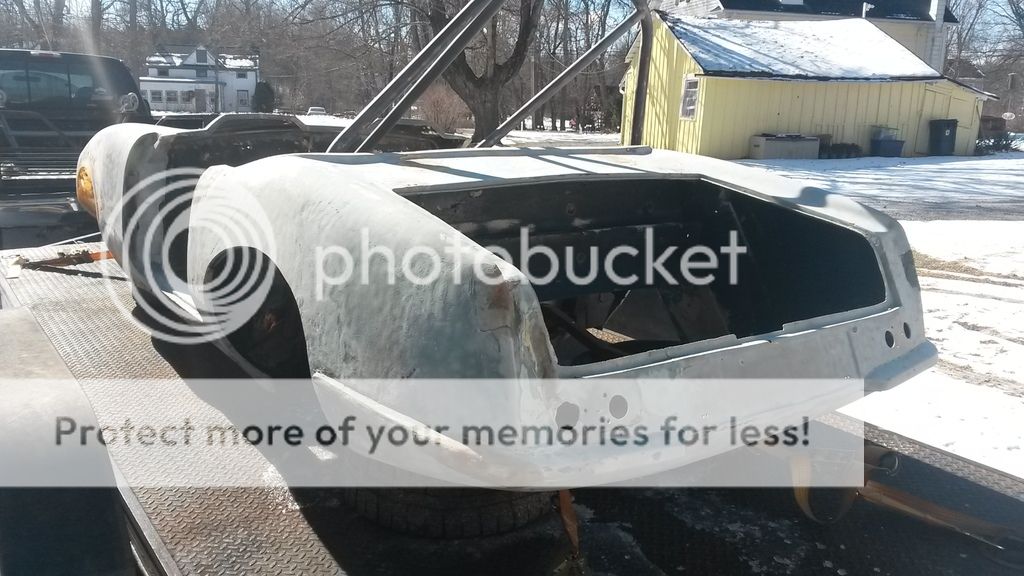
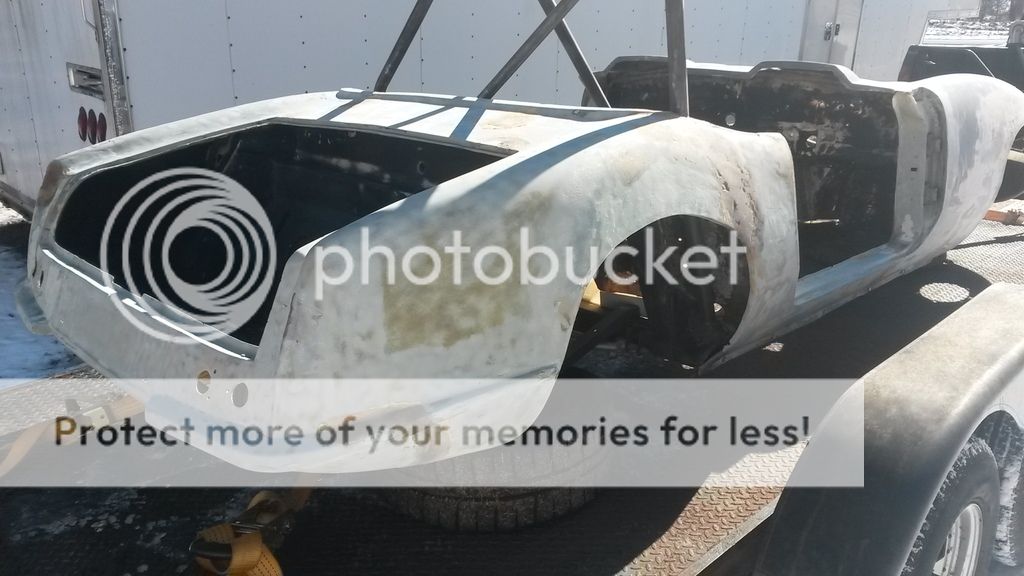
Another update! Looking at the car after the soda blasting, it became clear I would have to sand off all the original primer to know exactly which areas needed attention and to best take care of them. This is how the car looked beforehand:
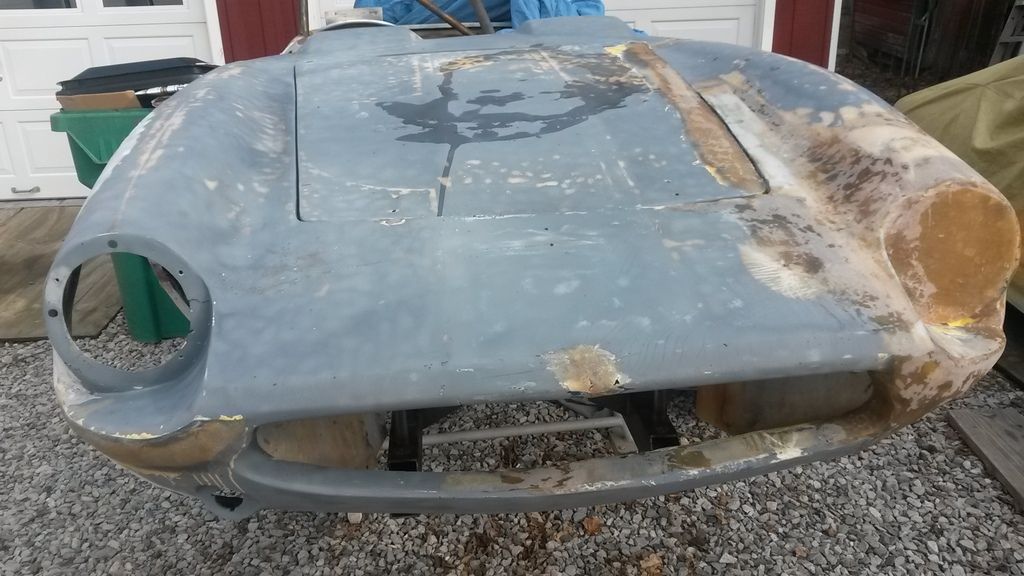
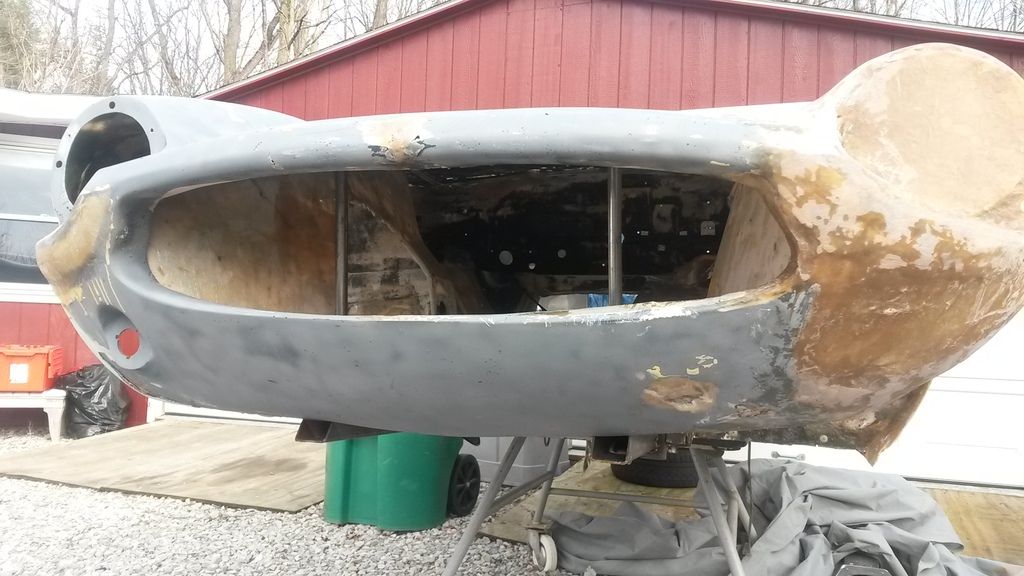
You can see there are a number of obvious issues. First, the front right fender was obviously cut out and replaced at least once. During that process, a pretty excessive amount of bondo was applied and in some places never even bonded to the car. I'll have to approach this with caution, as I don't want to open Pandora's Box much farther than I already have...
In the meantime, I decided to try out my new Harbor Freight orbital palm sander on the area between the headlights. I think it came out pretty good for my first stab at this type of sanding!
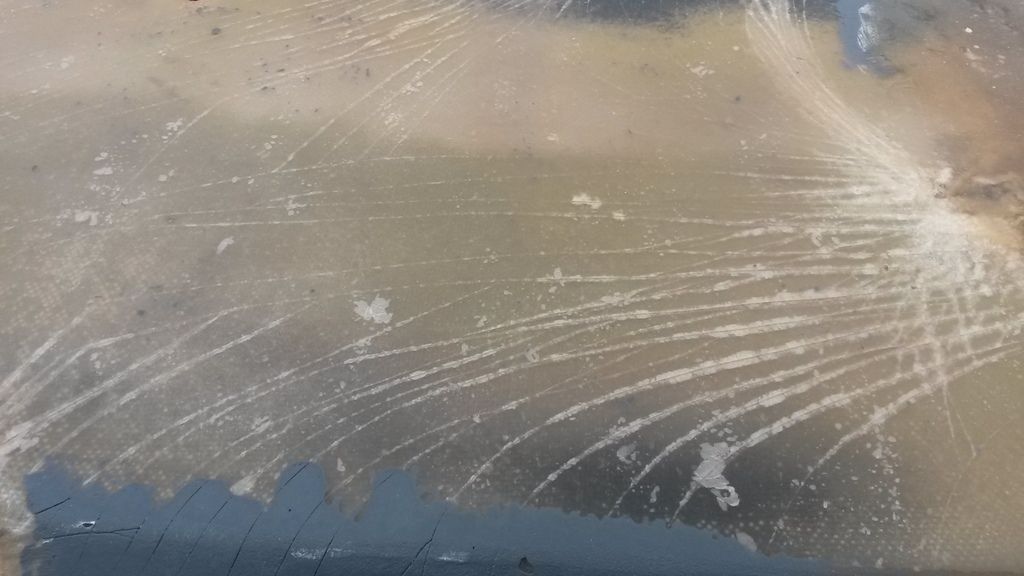
Not only will this provide a cleaner base to work with, it gives a great view of the cracks in the fiberglass resin. For areas like this, I'll be applying a thin fiberglass mat over the whole area to prevent these cracks from resurfacing.
In other news, I've started assembling the rear axle assembly! I stumbled upon a limited slip unit to replace the welded spider gears, which is very exciting:
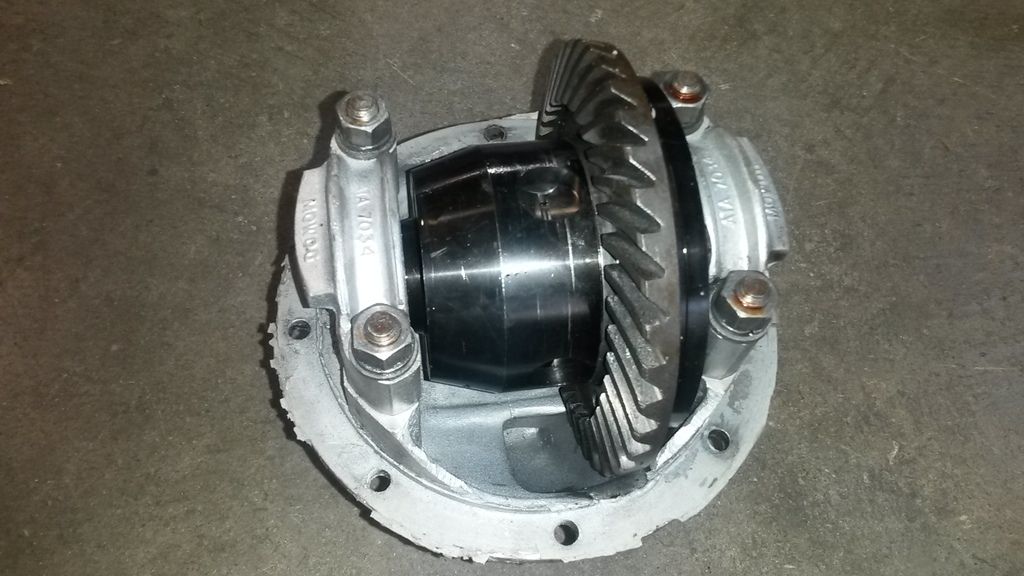
And I got it attached to the housing for good!
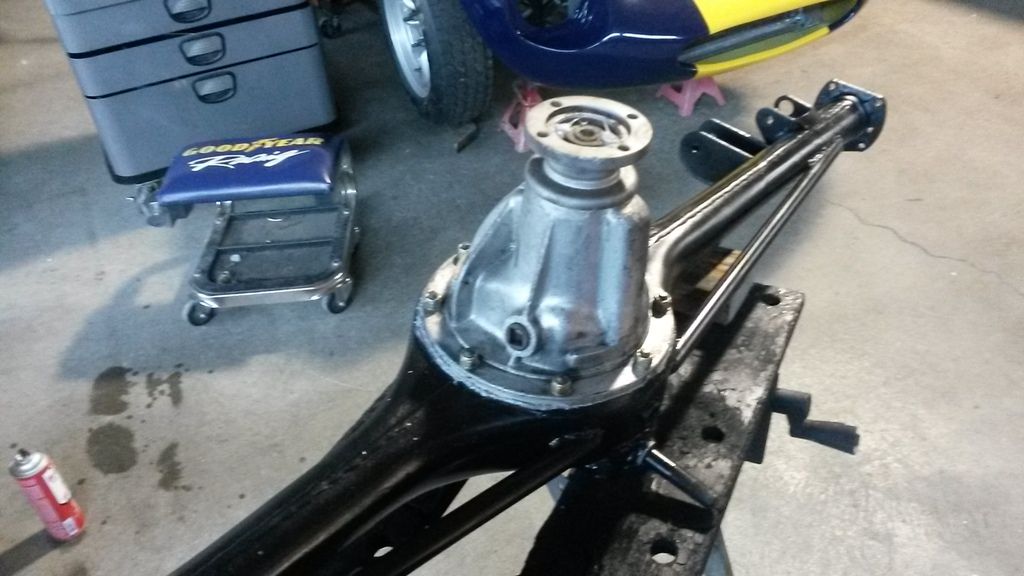
My new wheel studs arrived today, so there's officially nothing but myself keeping me from assembling the hubs, axles, and brakes! It'll be great to have a big piece of the car ready to go!Leave a comment:
-
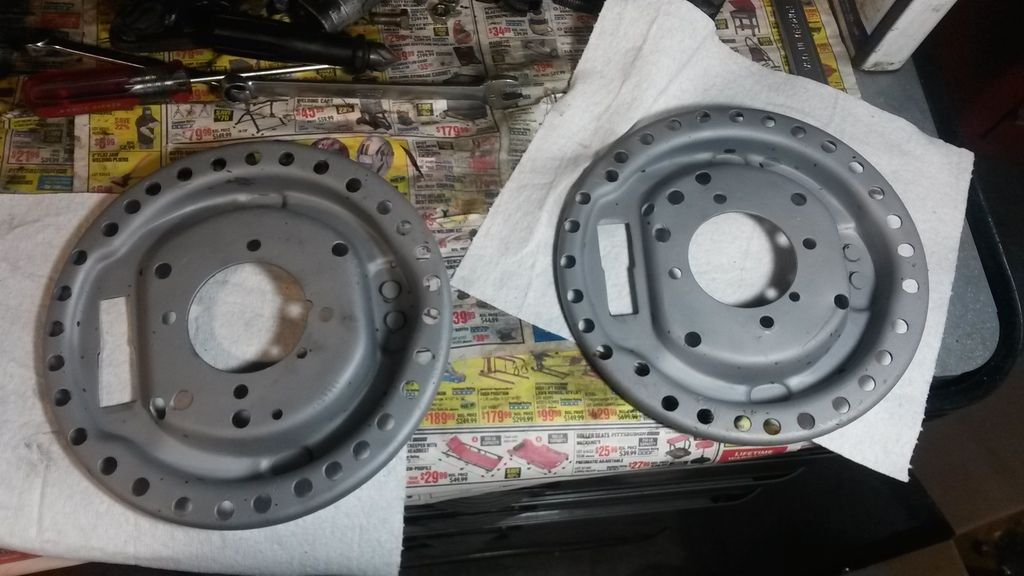
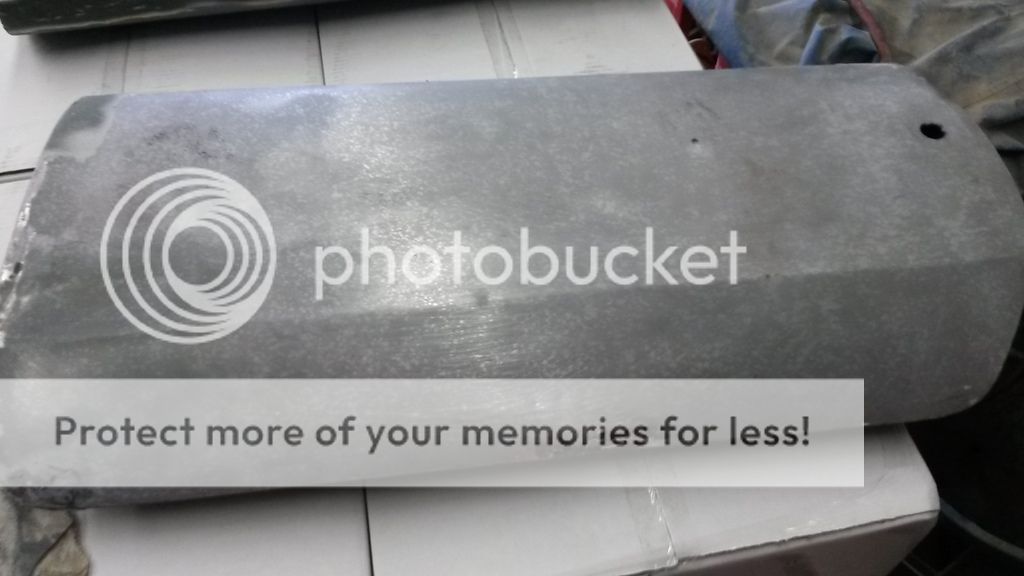
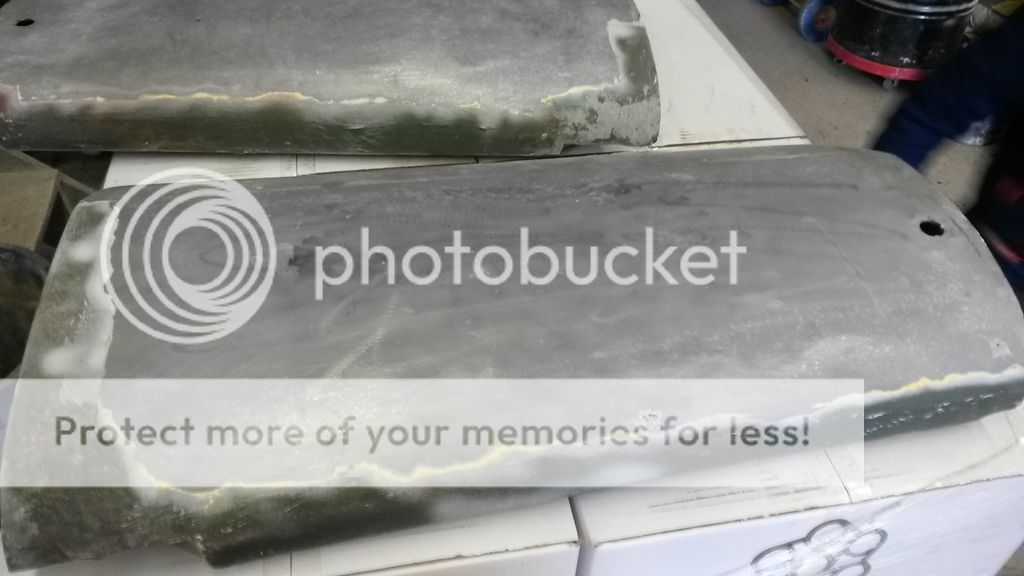
Since it'll be a day or two until our body/paint guy can come look at the car, I took a little time to clean up the rear brake backing plates today!
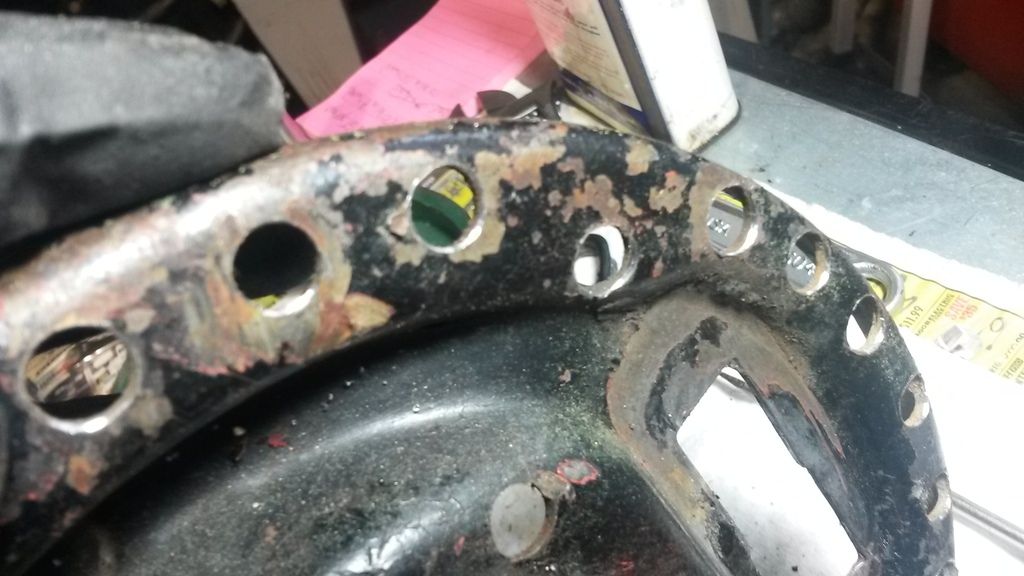
They started out in decent shape, but someone had attacked them with a drill to add a number of "cooling holes."
Sorry about the blur, my blood sugar must've been low.
I cleaned up the holes with a chamfering tool to clean things up and avoid any future injuries!
Then I took the plates into the bead blaster and got them nice and clean:
It was about 70º too cold to paint, so that'll be next! This way everything is ready to install after I rebuild the slave cylinders.Leave a comment:
-
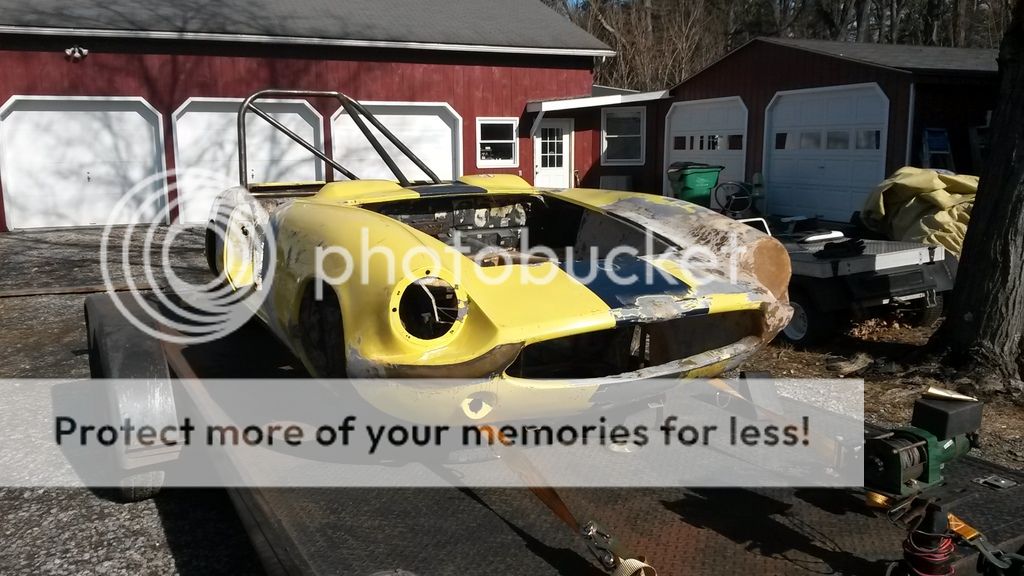
I picked up the car today and I'm stoked with the results! :D
The benefits to soda blasting are twofold: First, the car is now completely clean and ready for finishing bodywork and paint. Second, this will reveal any areas which need further attention like the small perforation at the bottom of the door and the cracks in the nose. I'm excited to finish up the prep work and get the girl to the bodyshop!Leave a comment:
-
It's been a while, but I finally have an update of sorts!
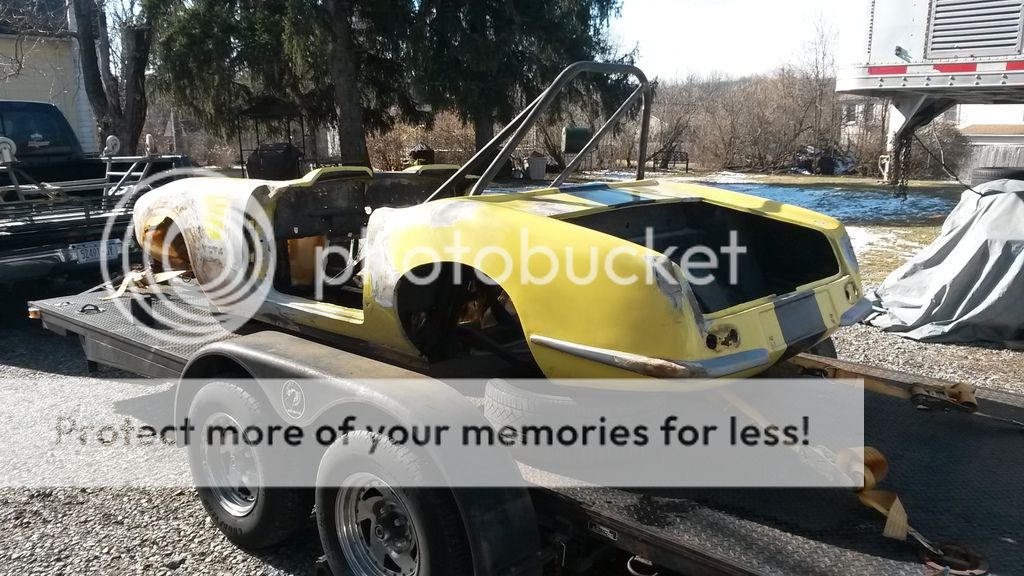
I loaded the body and chassis up and brought them to the blaster to have the whole shell, hood, trunk, and doors cleaned up! I'm hoping it'll gain me back some of the weight I've added in fiberglass resin....
I'm picking it up tomorrow and can't wait to see the results!Leave a comment:
-
-
-
Yay! An update!! Will there be more now that you guys are closing in on this thing called winter?Leave a comment:
-
I'm loving this build. I am fascinated by, but know very little about vintage racing. It's great to see a build thread that dumbs it down for us e30 dolts. :)Leave a comment:


Leave a comment: