-
-
-
So glad to see the simple screws arrived, and more than happy to help with BS like that. I was in the yard, knew of the car, and know what it's like to be where you were. Over a stupid screw. Let me know if you need something else. Car looks great and I will await the day I paint one of my two cars! White one is first in line. Also I'm jealous of your buildLast edited by rcsoundn1; 04-01-2015, 08:07 PM.Leave a comment:
-
Yeah, I think you made the right choice on the color. It looks great! And those wheels even look pretty good. You gotta let me know your schedule so we can figure out when I can get out there.Leave a comment:
-
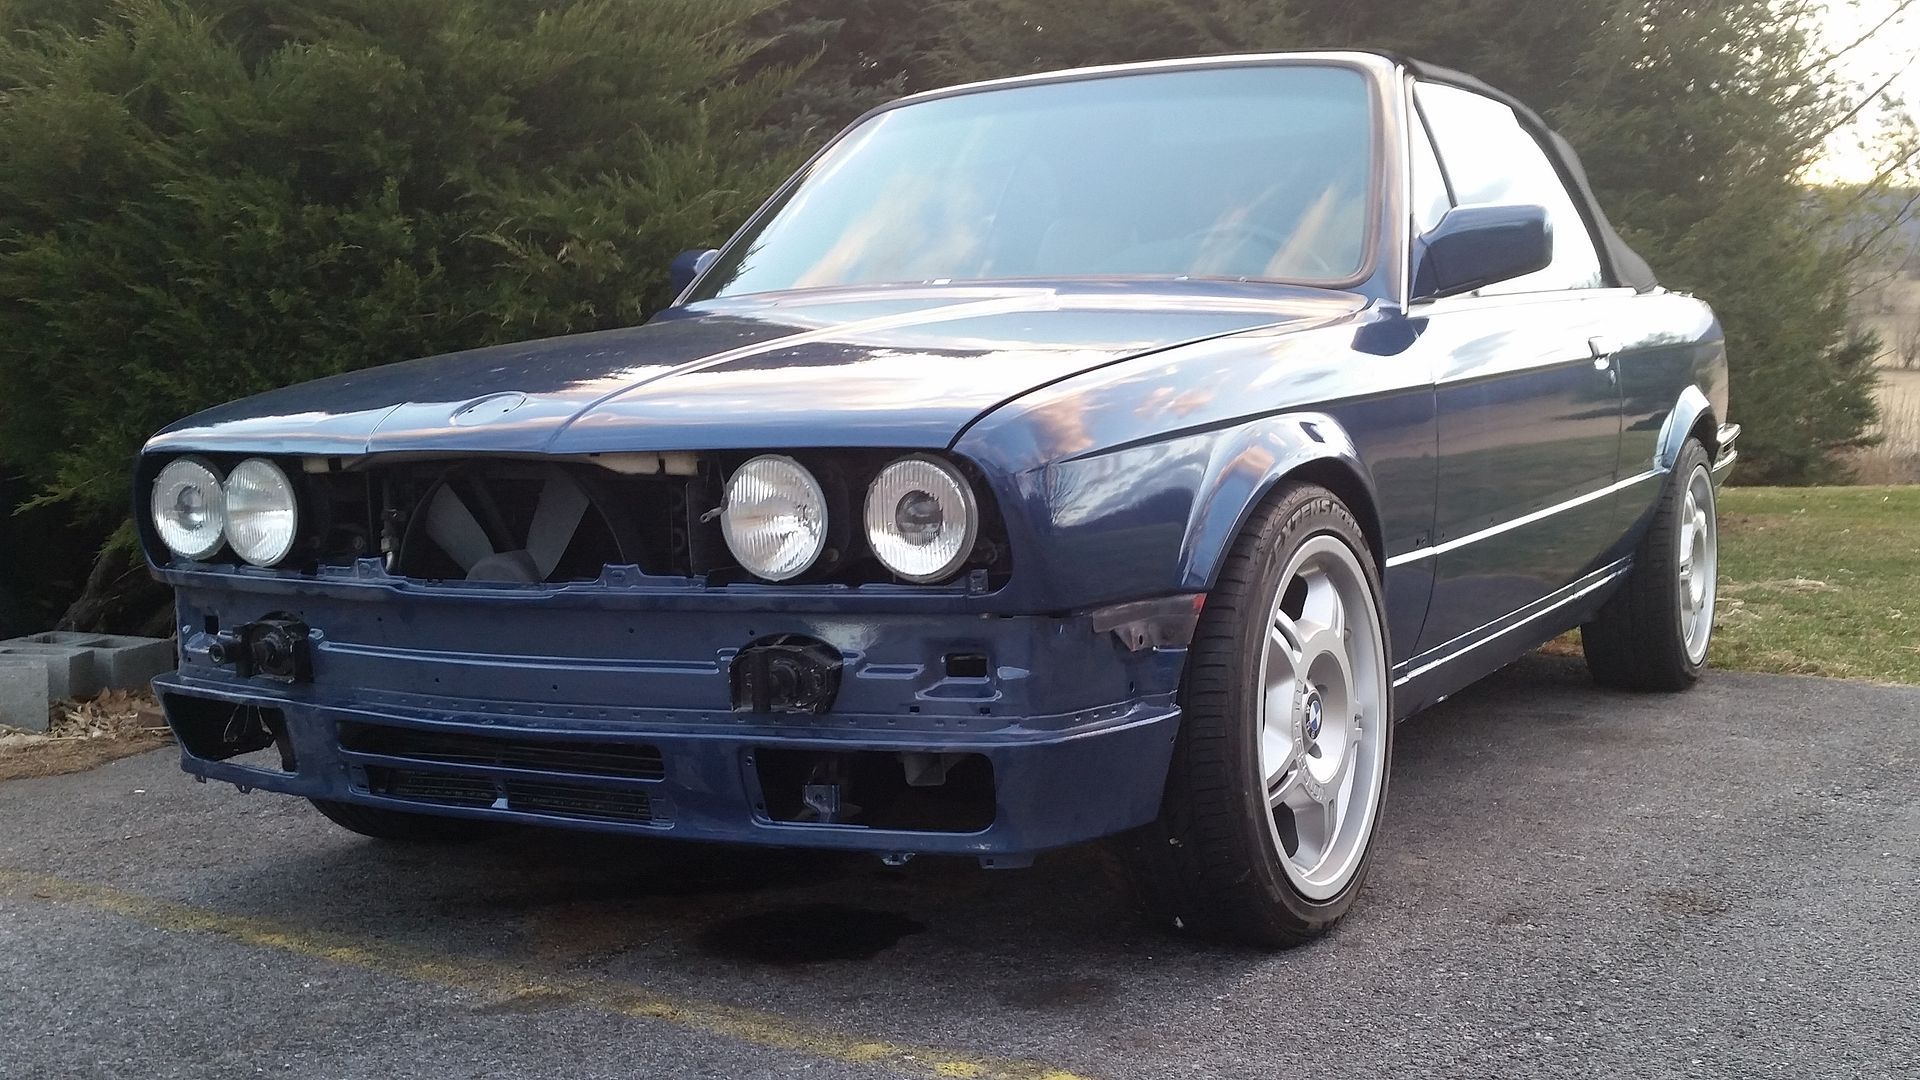
So in what can only be described as a monumental day in the progress of the reassembly of this vehicle...I did a thing.
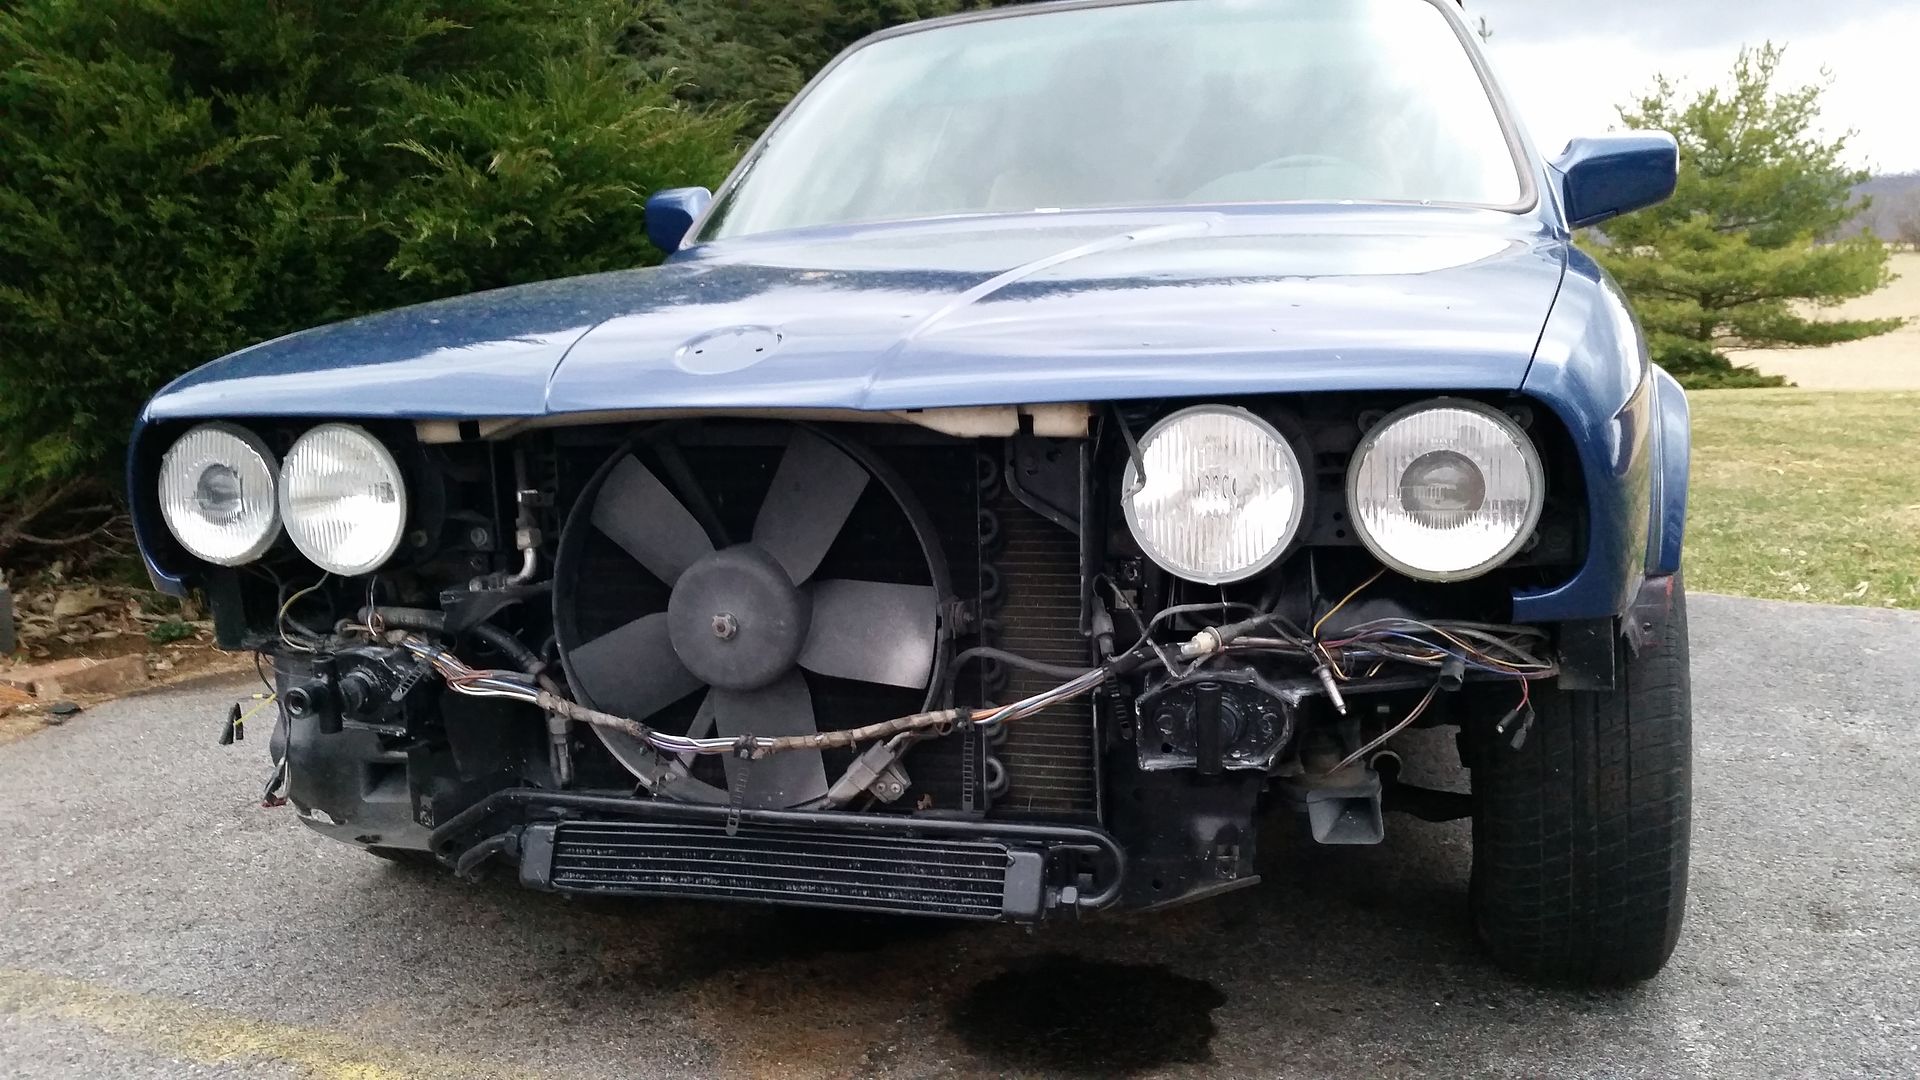
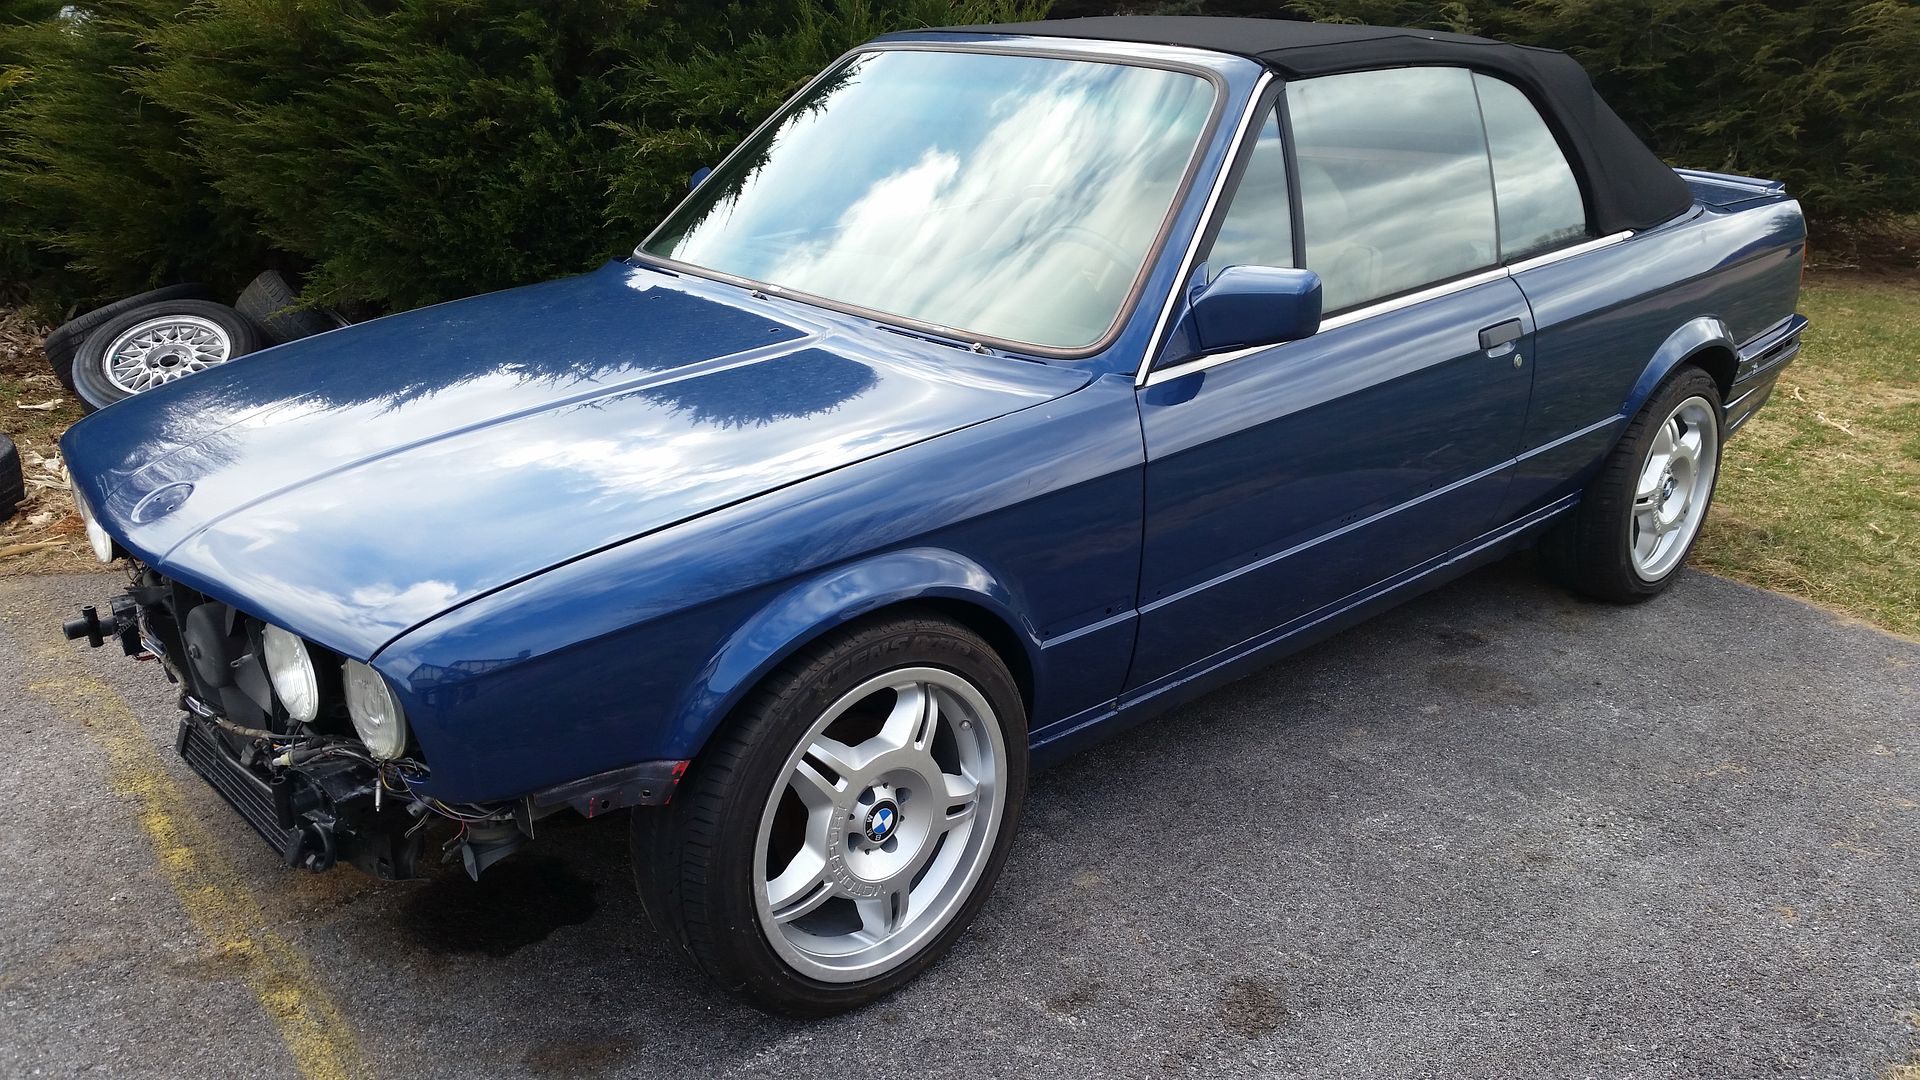
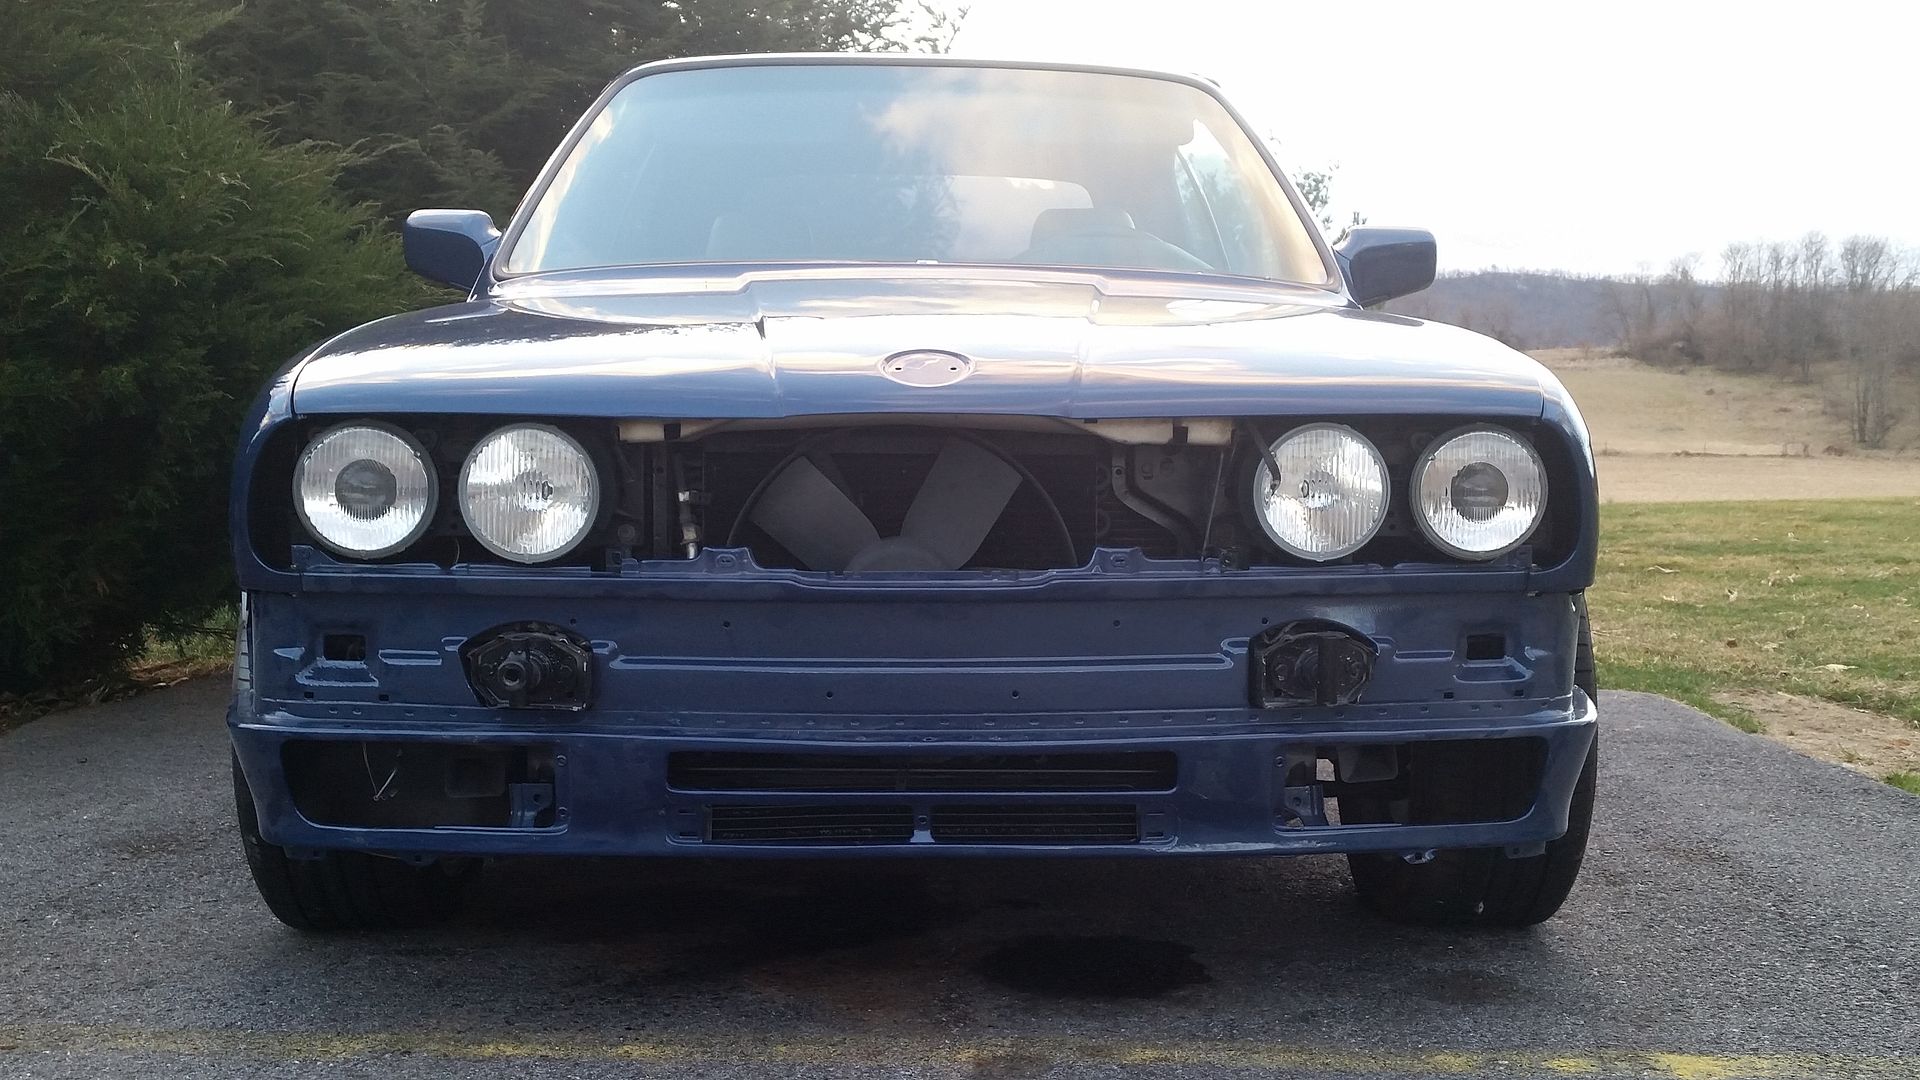
Yup...re-installed headlights. Should have been easy, since I bagged and tagged pretty much everything as it came off of the car. but over the winter some things got move, consolidated, re-moved, and re-boxed. After moving things around I realized that the front end parts were not only not in the "exterior" bin, they were not even bagged...just in a cardboard box that had "front end" listed on the outside. After 45 minutes of looking, I finally found the 6 screws to re-attach the headlights. If this is how re-assembly is going to go I will be driving this some time in 2020.
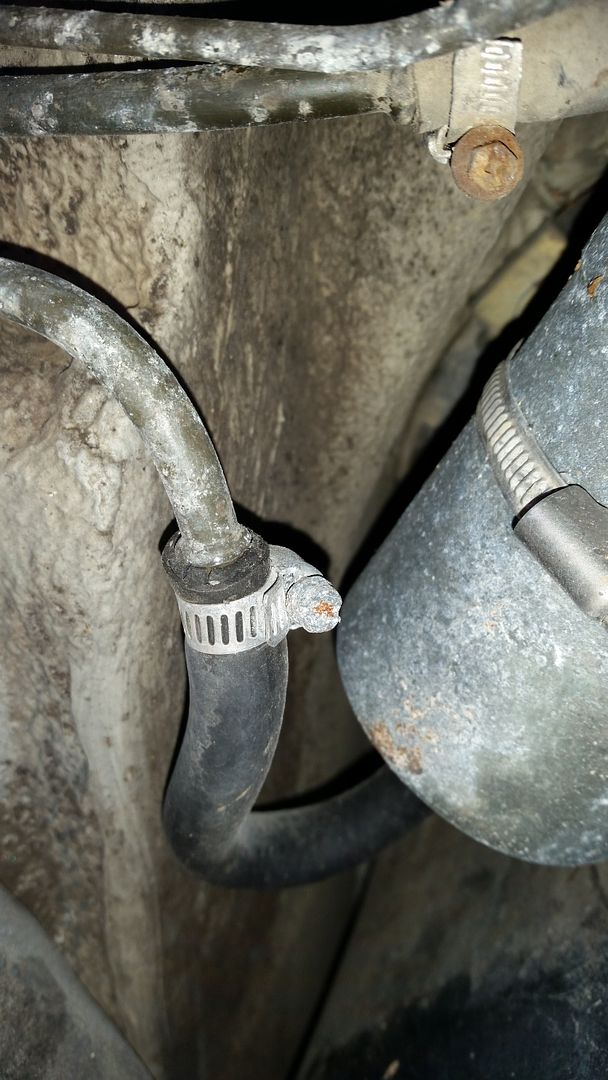
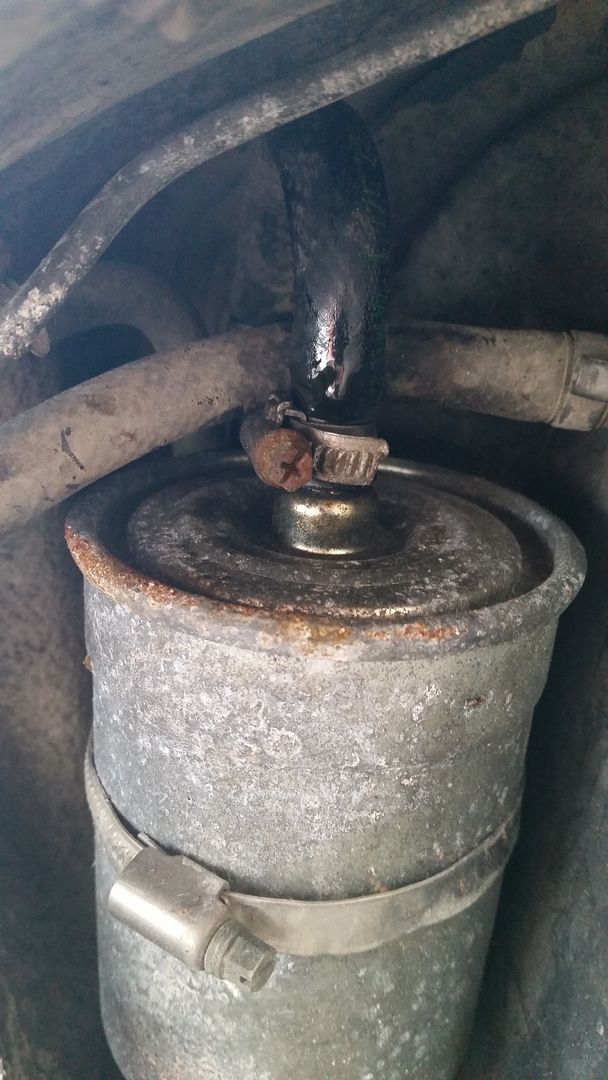
With that done, I actually decided that I needed to get the car inside for more work. Going back ~4 months you might recall that the loading mishap resulted in a fuel leak, so driving it with the leak was going to be an issue. I got under the car and determined that I have a pretty good idea of the source of the leak, so it looks like time for new fuel lines, clamps, and a fuel filter. I hope to get it rendered safe to move into the garage (hopefully a few of the short lines only) and then do the longer supply/return lines when I do the head/TB/steering stuff inside- hopefully on the lift.
The fuel filter area and leaks:

Also noteworthy is the fact that rcsoundn1 was cool enough to send me the screws that I was missing from the top:
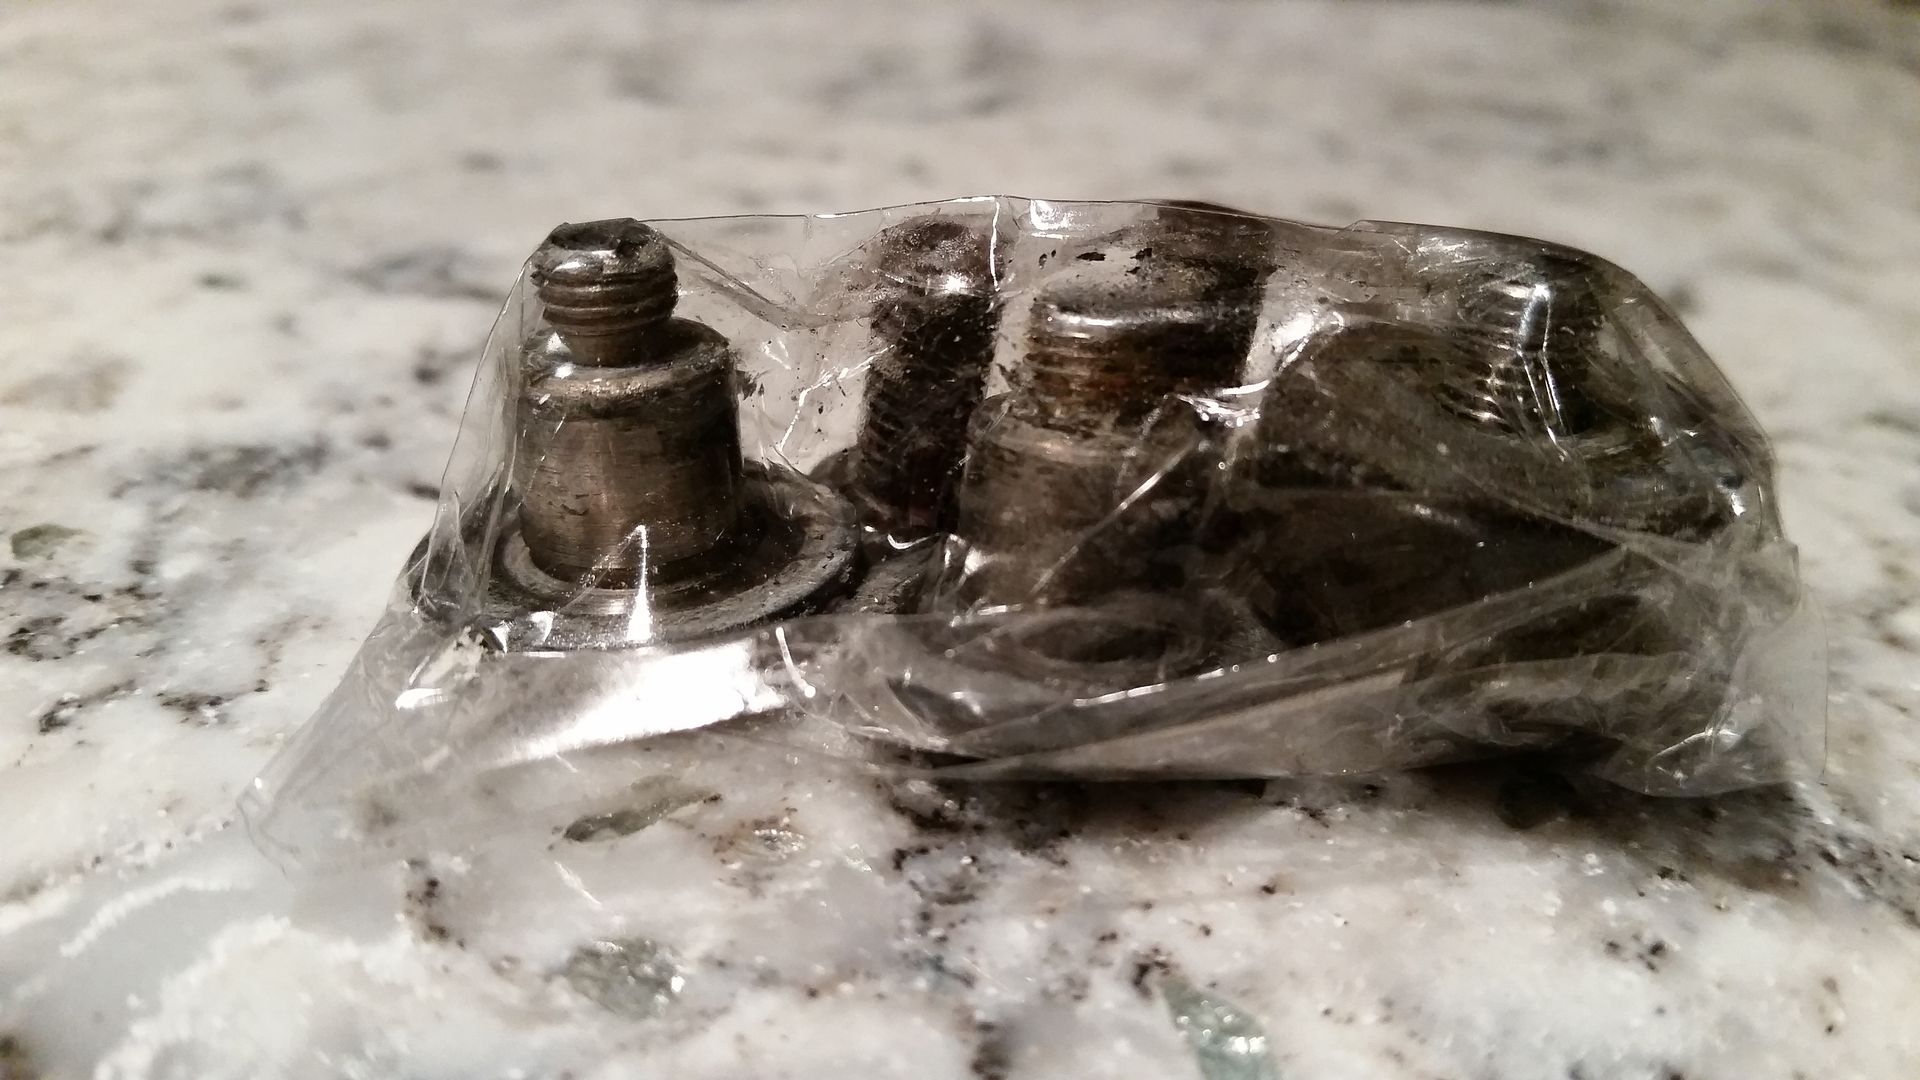
These should help with the opening/closing process by keeping the frame moving in the proper alignment.
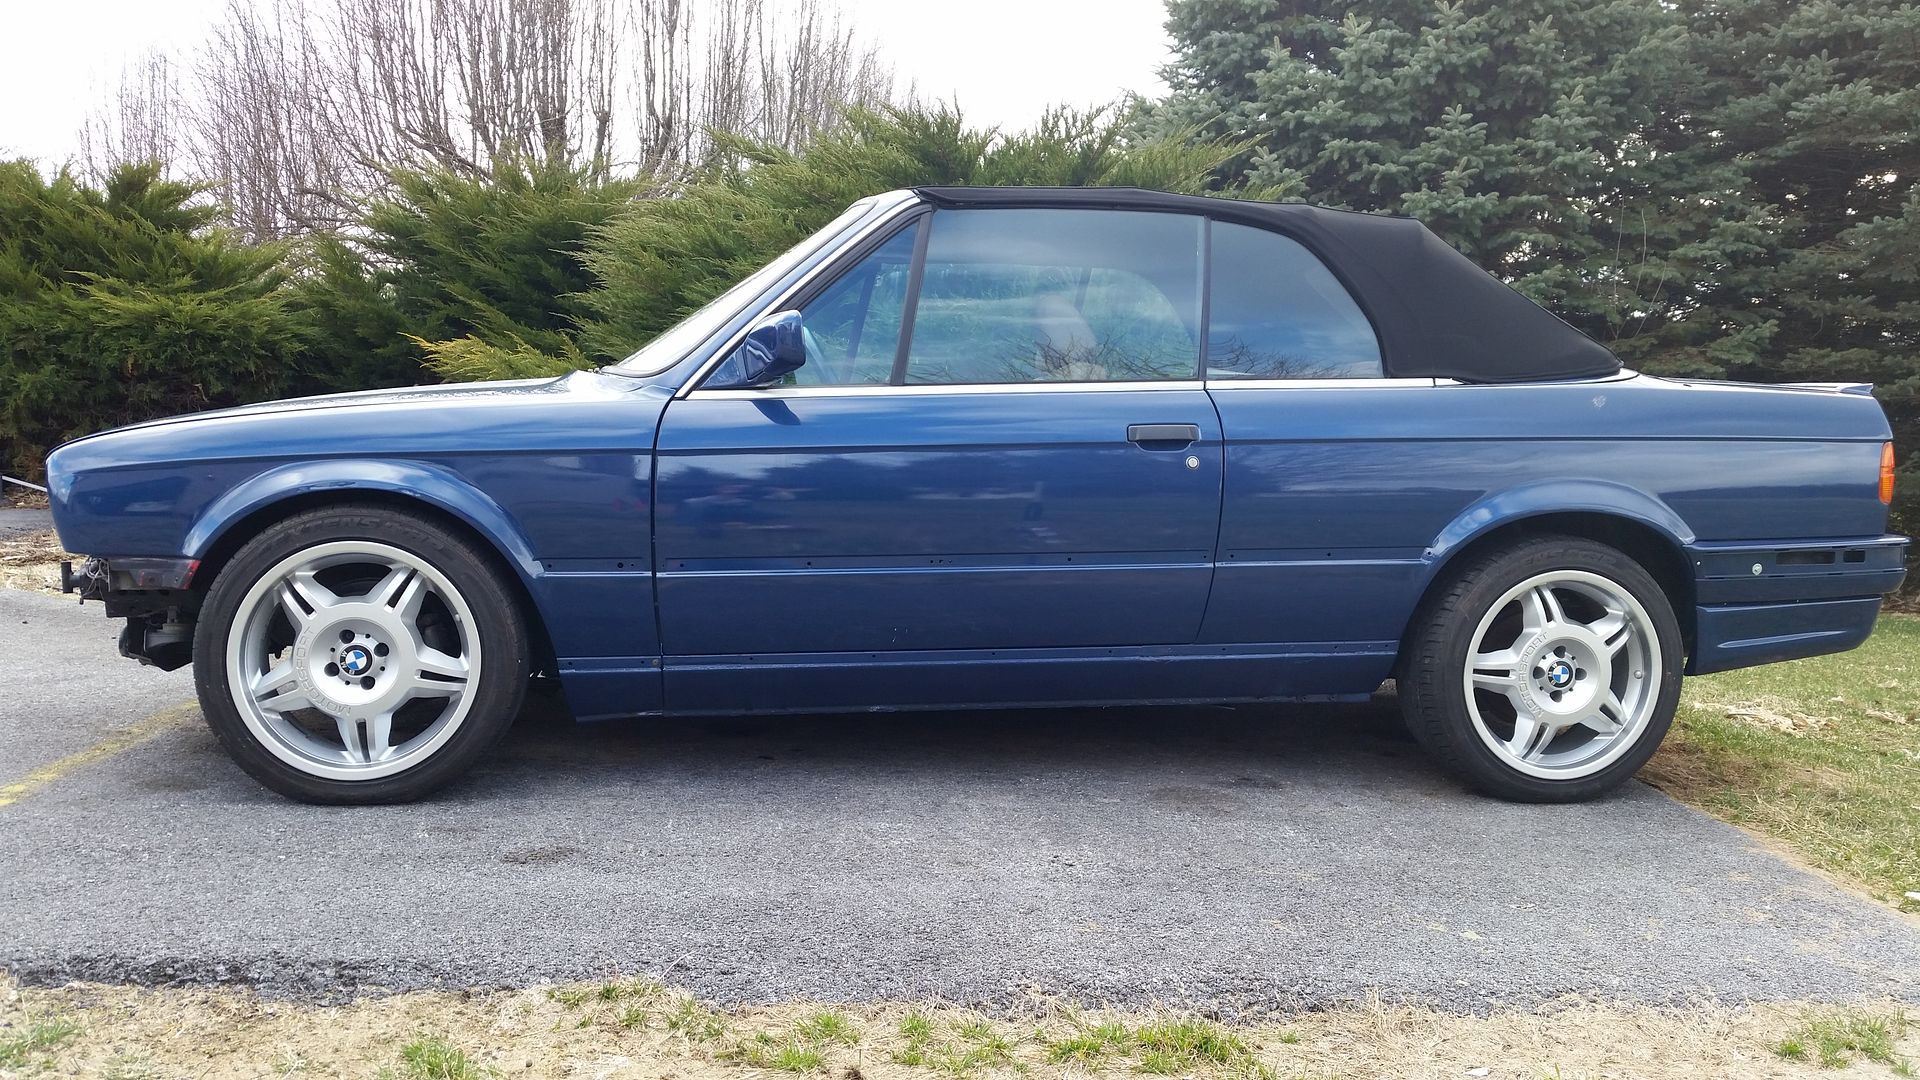
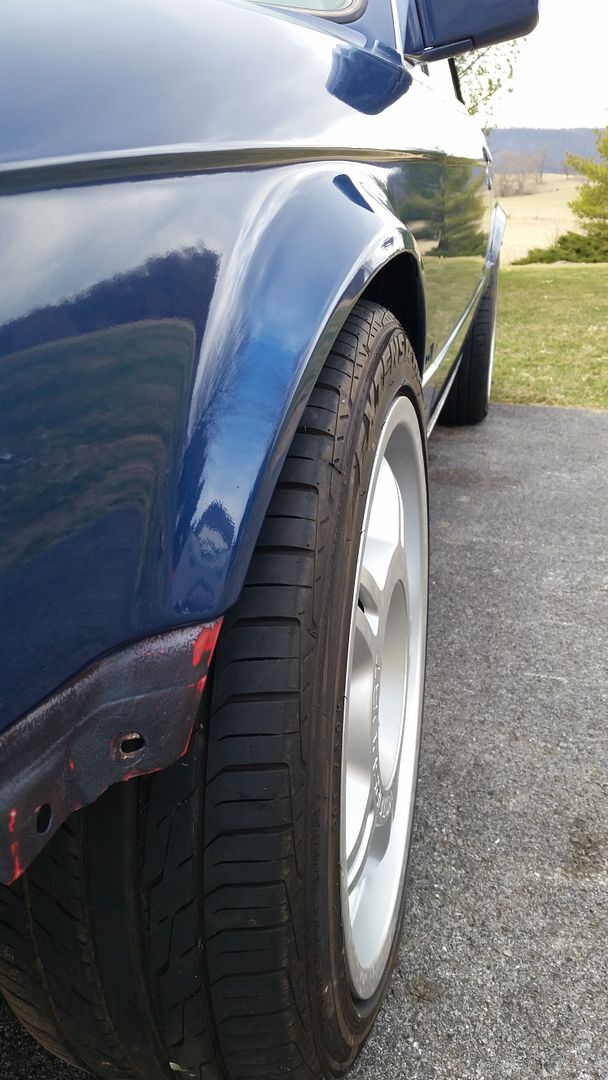
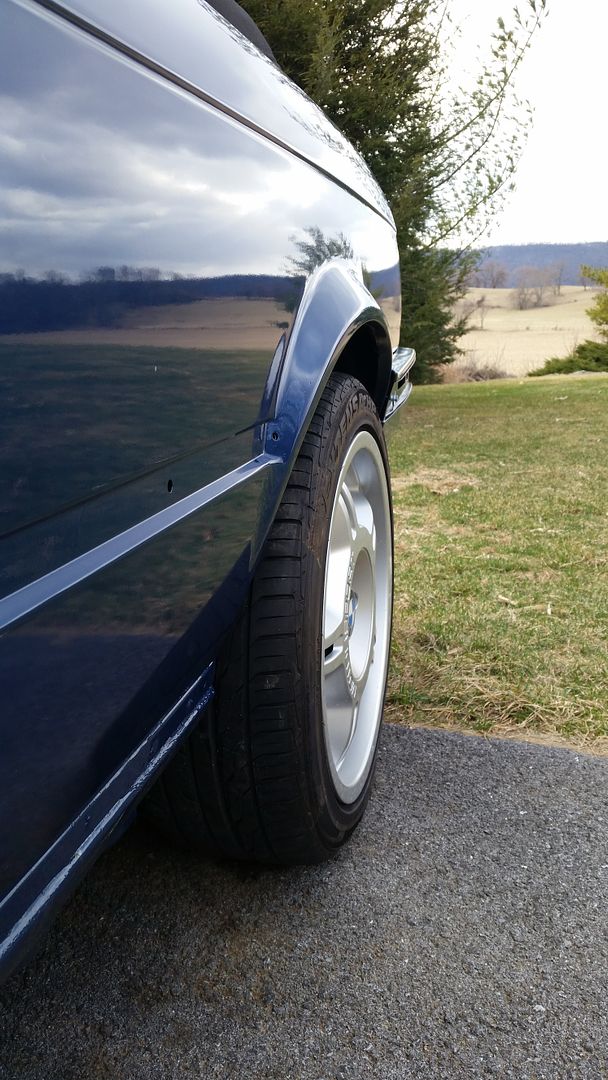
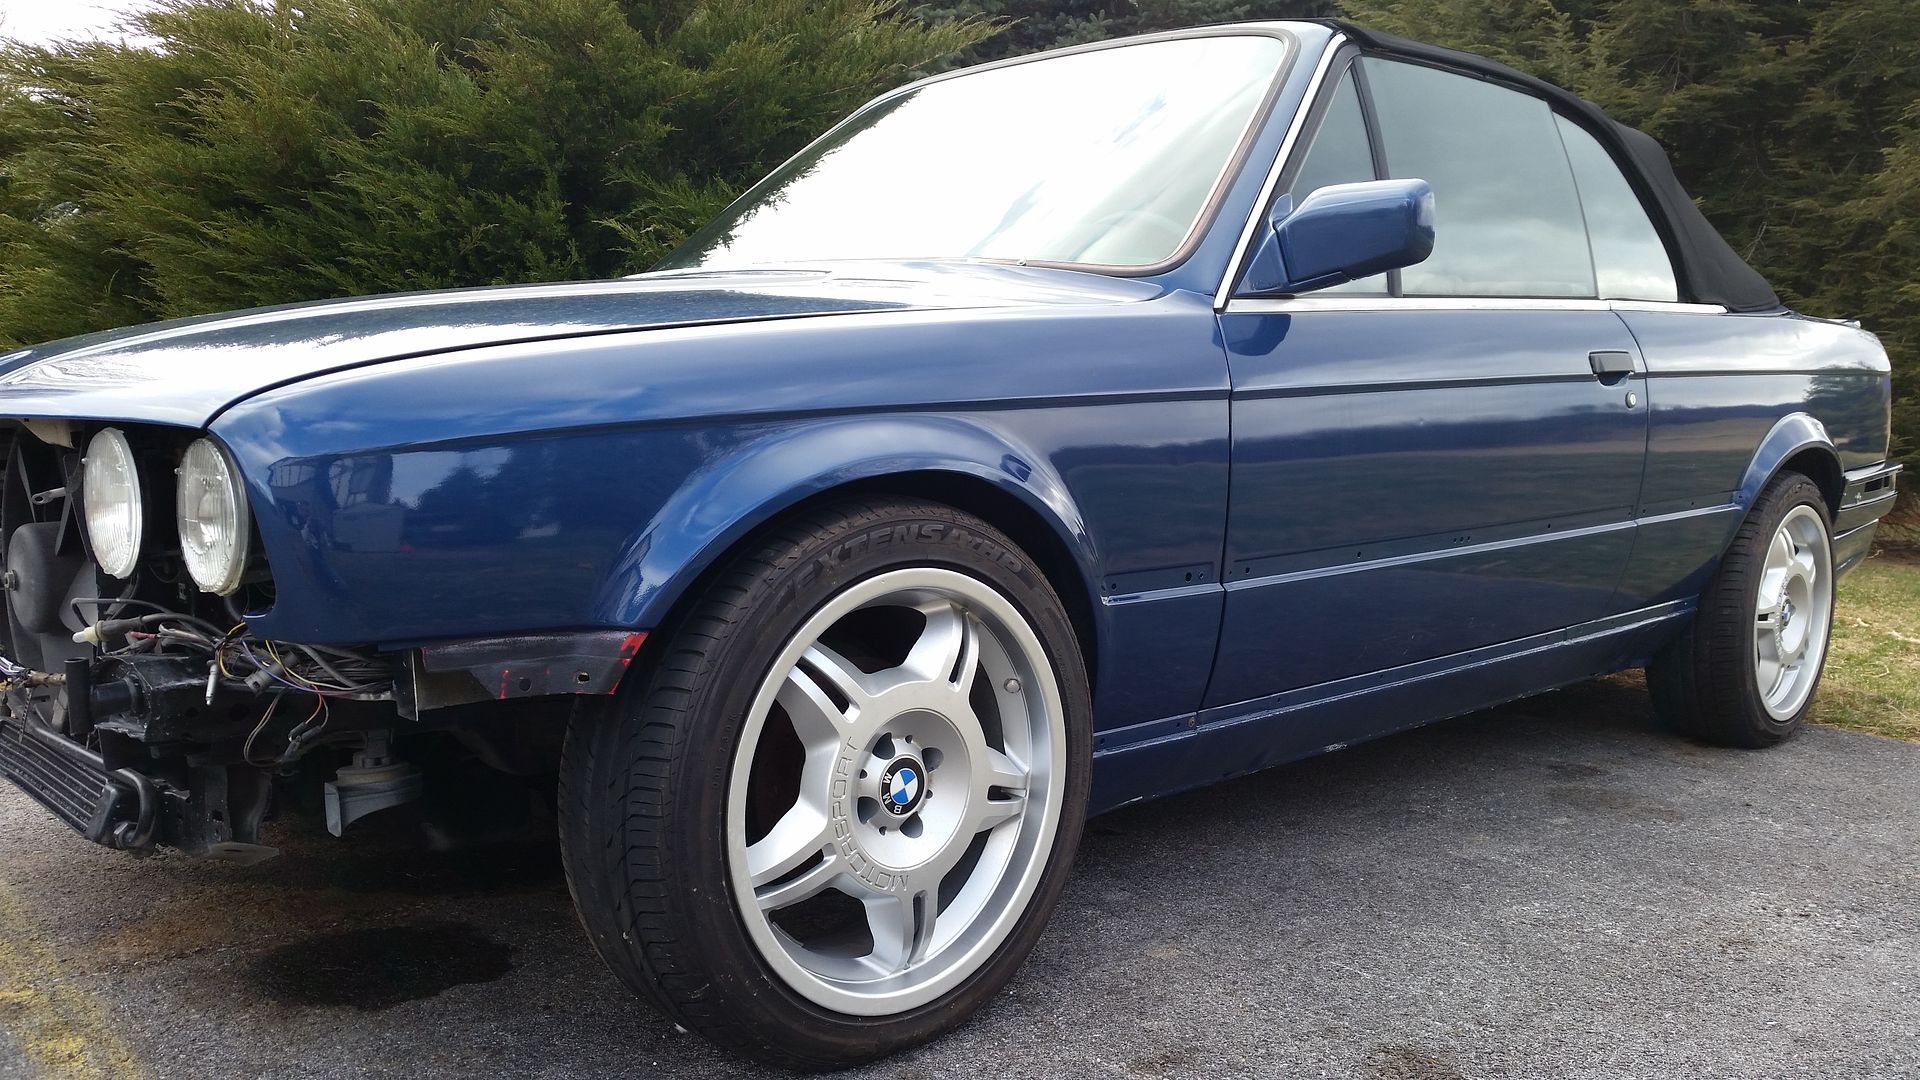
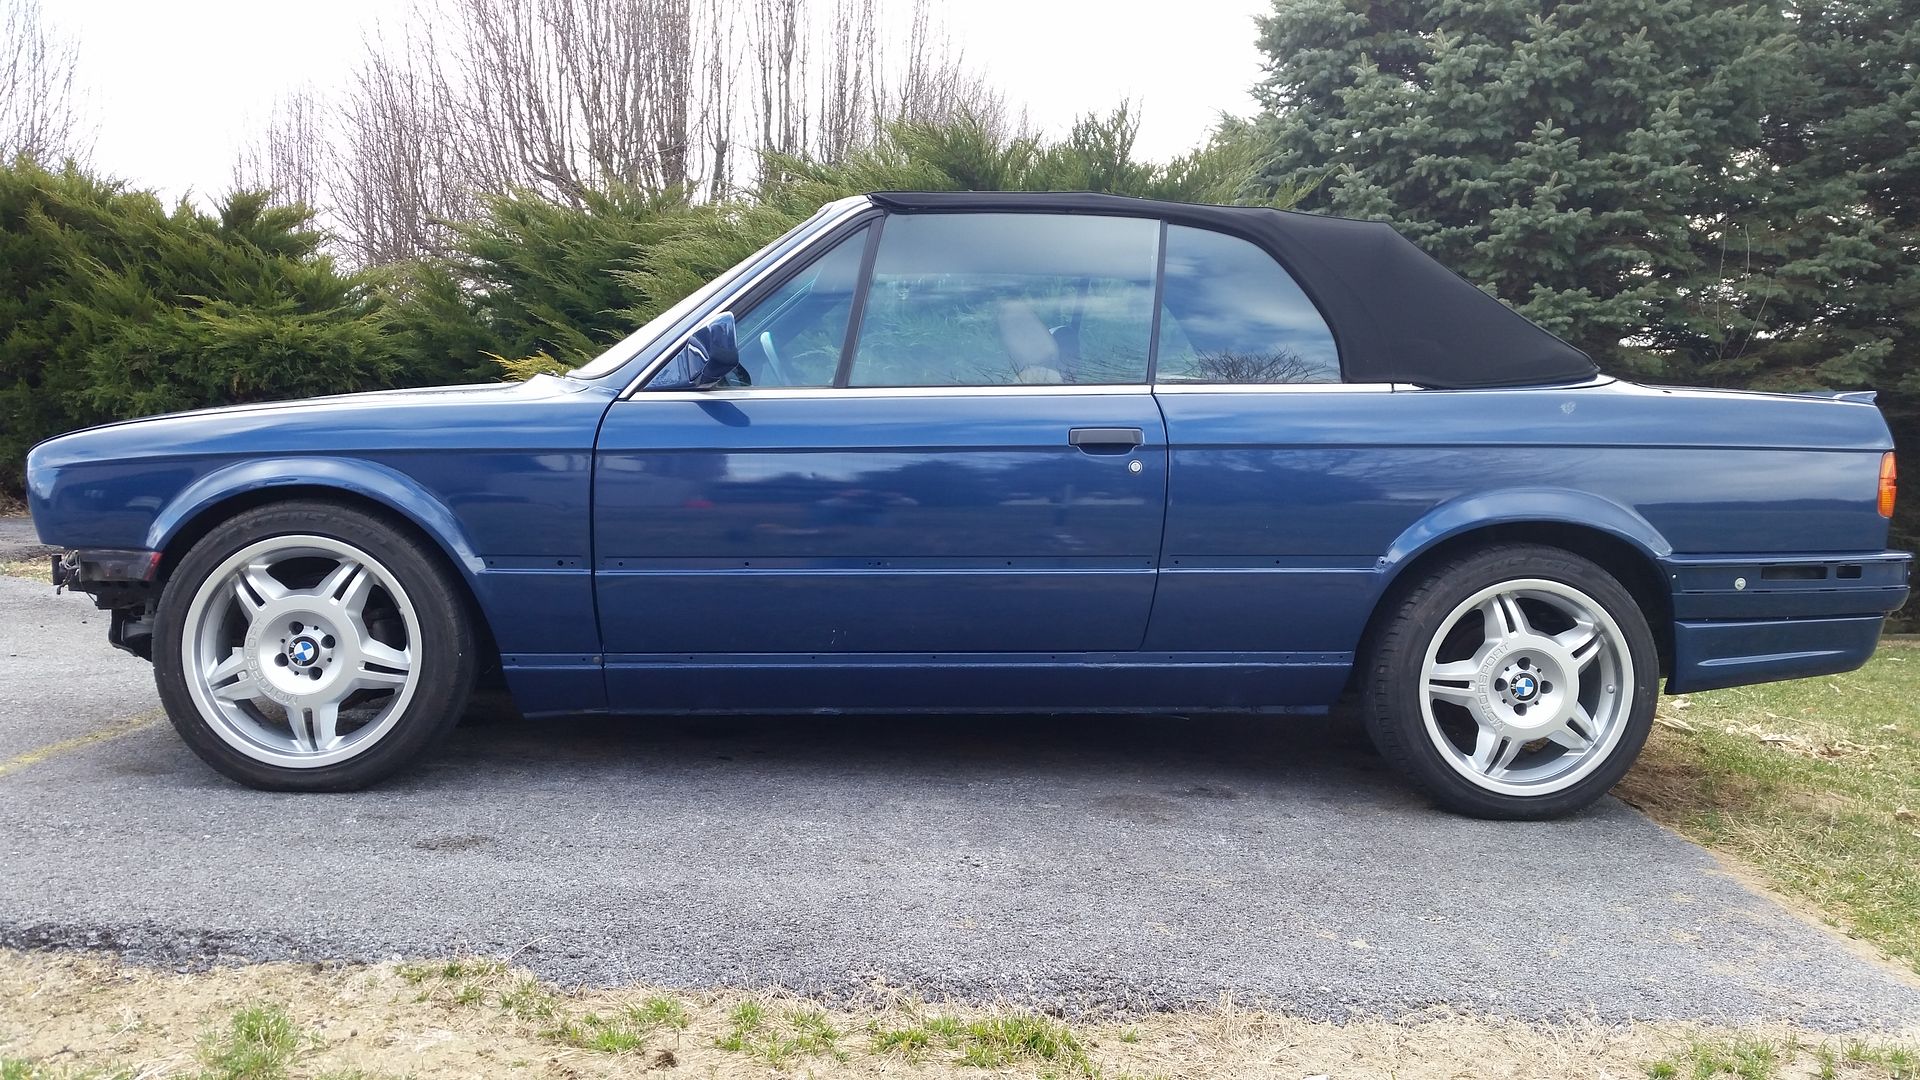
Next up...WHEELS. I had bought these a while back and fit-tested them when I was still on the coilover setup but I never bolted them up with the H&R springs and certainly not after the re-paint. This was my first look at them and I was pretty stoked that I liked the look.
Springs are 'vert-specific H&R Sport with 15mm drophats up front. Rear has not settled but I may pull spring pads to even it out. I have never driven it on this setup so it may have room to settle. I also have the trunk gutted and no spare and no 'vert "counterweight" where the battery should be. Getting all of those things back in the car, plus installing my double 8" enclosure from German Audio Specialties should give me a more level stance.
The pictures:
Leave a comment:
-
-
It has been a LONG time since I logged in (due to some work internet issues) but I shoudl be back up and running soon to finish the car this spring.
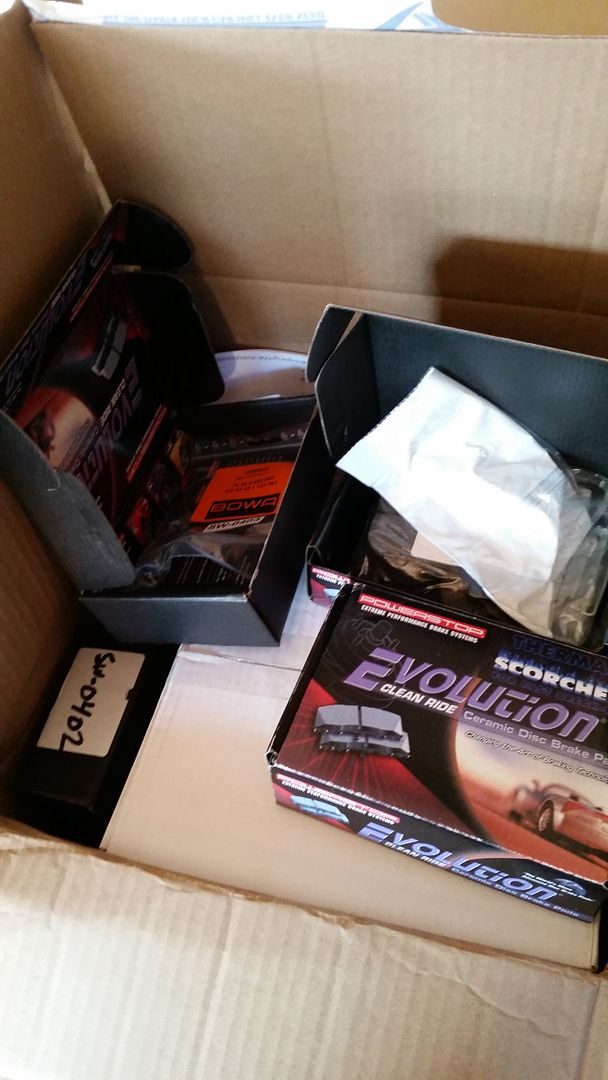
First step: Brakes. The suspension that I bought hd some so-so brake rotors on it so I snagged new rotots, pads, sensors, and reman calipers. I already had the calipers but the pads/rotors/sensors are new:
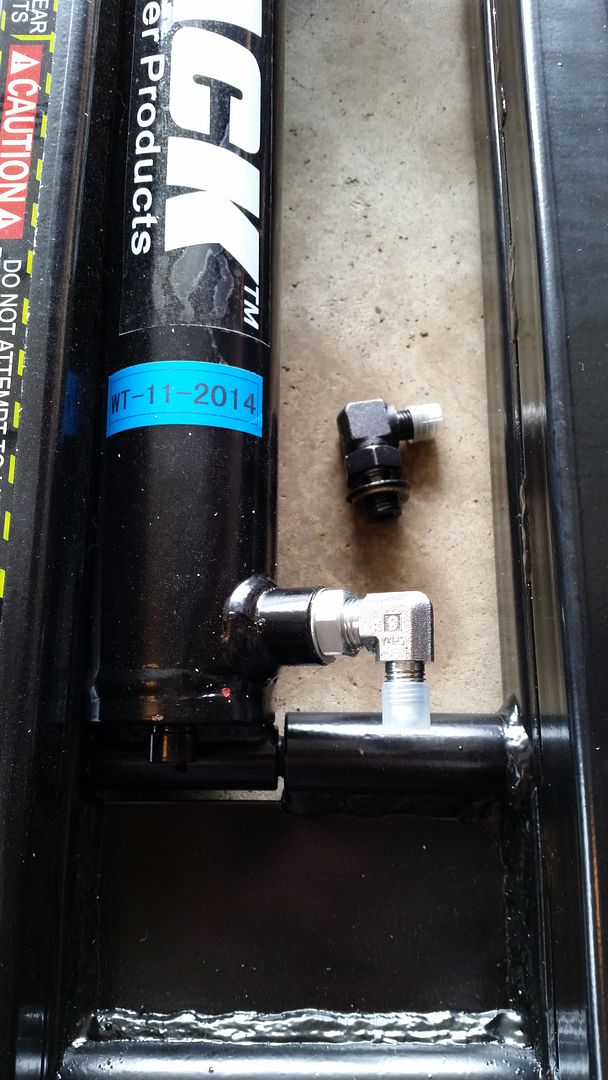
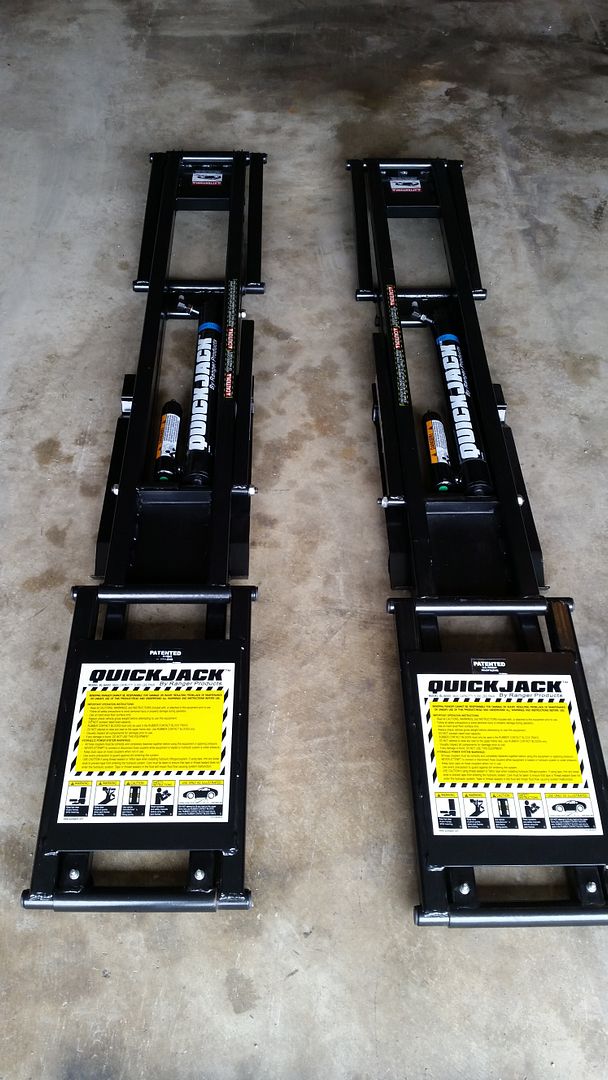
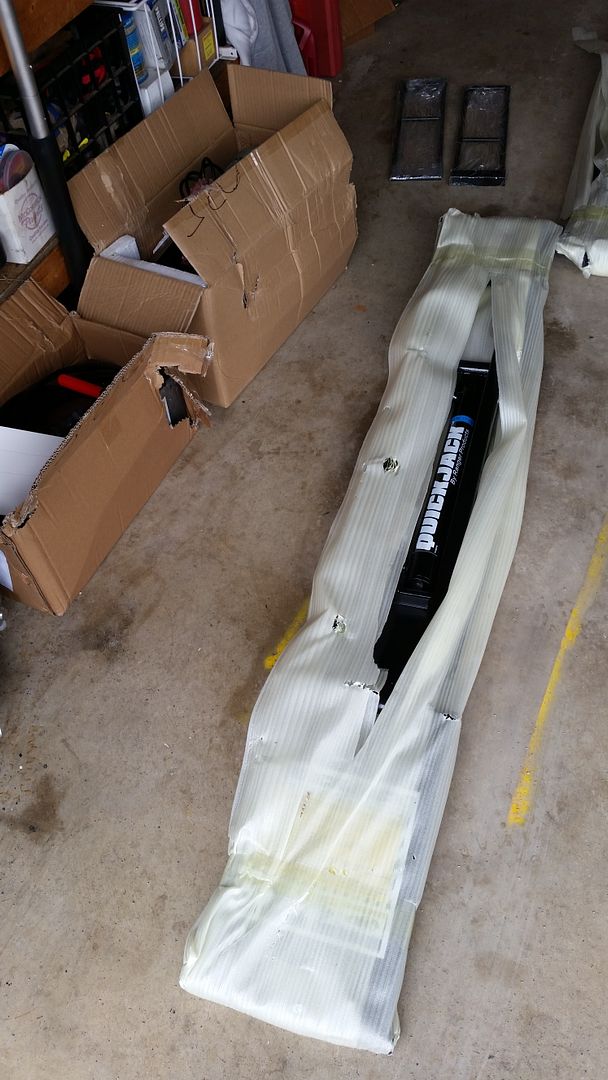
I also sold my lift and bought a new BL-5000 lift. Totally open center, portable, and can do 95% of what the old one could do while doing several key things that the old one could not.
I am still in the process of assembly but will report back on how I like it, probably with a full review and comparison.
Some unpacking photos:
Leave a comment:
-
Sent you a PM about the screws you need. I'll send them to you just PM me your address.Leave a comment:
-
I went to the one in Winchester, VA. THe painter there (Craig is the main painter) has been there for a long time. When I had my Comanche painted (in the background of many of the pictures here) he had already been at that shop for years and I had the truck done in 2010 or 2011.
The price for the paint was good and the quality appears to be good. Their prep sucks (as is well known) and they really only did well the things that I reminded them of constantly. Like anything, you have to be prepared to hold your ground, be specific about expectations, and to pay for anything beyond the absolute basic paint job. The door jambs were extra, the trunk, and all of the trim parts were more than the basic paint job. They did some minor body work and it was good but not great. They also missed some things in taping, and over-taped in other places. As soon as I have the time the car will be back up there for the corrections, which they agreed to do without any troule.Leave a comment:
-
Hey Patrick, do you mind sharing the details of the Maaco shop you used? I heard about this place this past Summer actually. I brushed it off as not possibly being up to my standards but your paint looks like it turned out pretty nice. :)
G-Man...your vert looks like a clone of mine!Leave a comment:
-


Leave a comment: