Announcement

Collapse
No announcement yet.

phenryiv1's 1989 325iC Project - SETA 2.7i Swap Complete and Running!

Collapse
X
 
  • Filter
  • Time
  • Show
Clear All
new posts

  • phenryiv1
    replied
    So it was time for some creative efforts to get the bumper up about 1/4-3/8" across the back. First step was to remove the brackets and determine how far up the brackets could go without major work. I determined that I was going to be able to get about 1/4" of vertical movement at best. This was due to the fact that while the 2 studs could move up a bit more, at the 1/4" mark the cylinder for the bumper shock would contact the top of the channel in which it rests. To get that movement I was going to have to drill new holes (or slot the existing holes) where the studs go and to sand/file/grind away a lip at the top of the opening to the cavity where the cylinder goes.

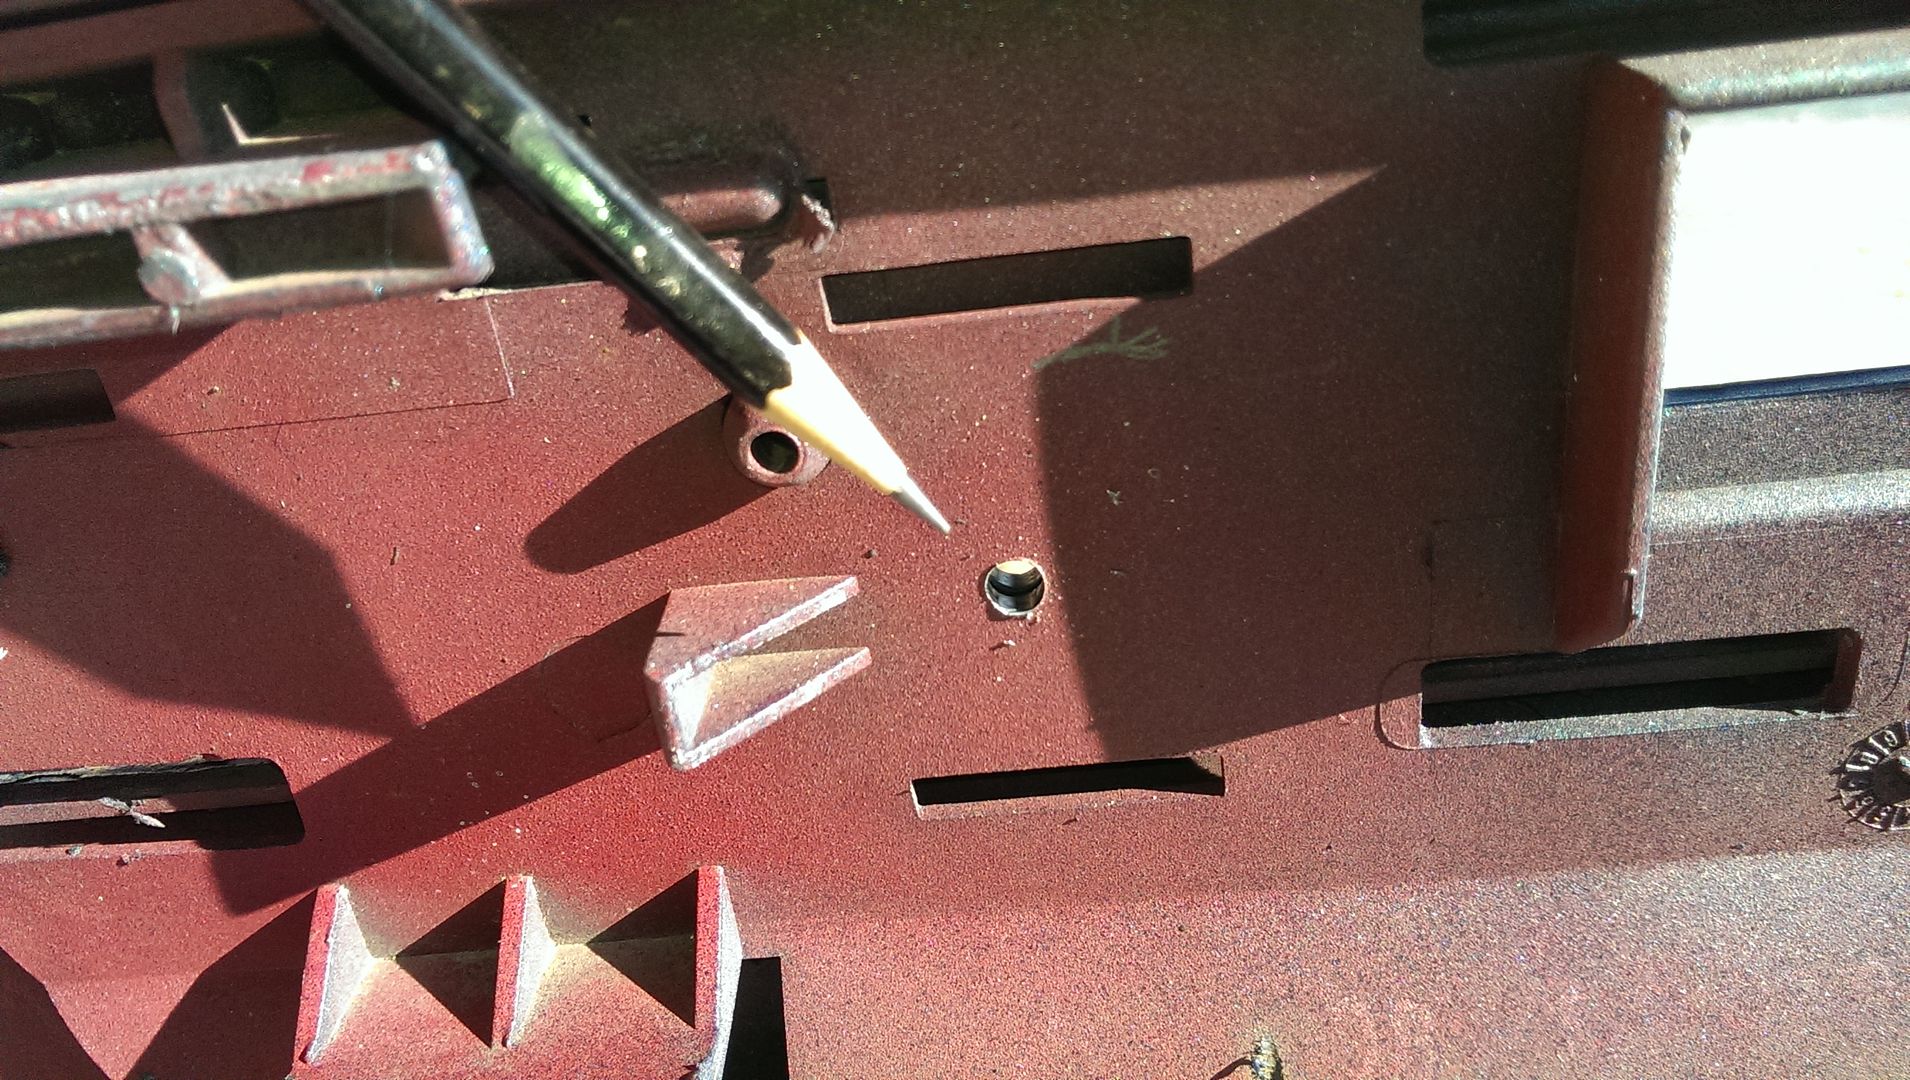
    Next up I needed to drill some pilot holes.
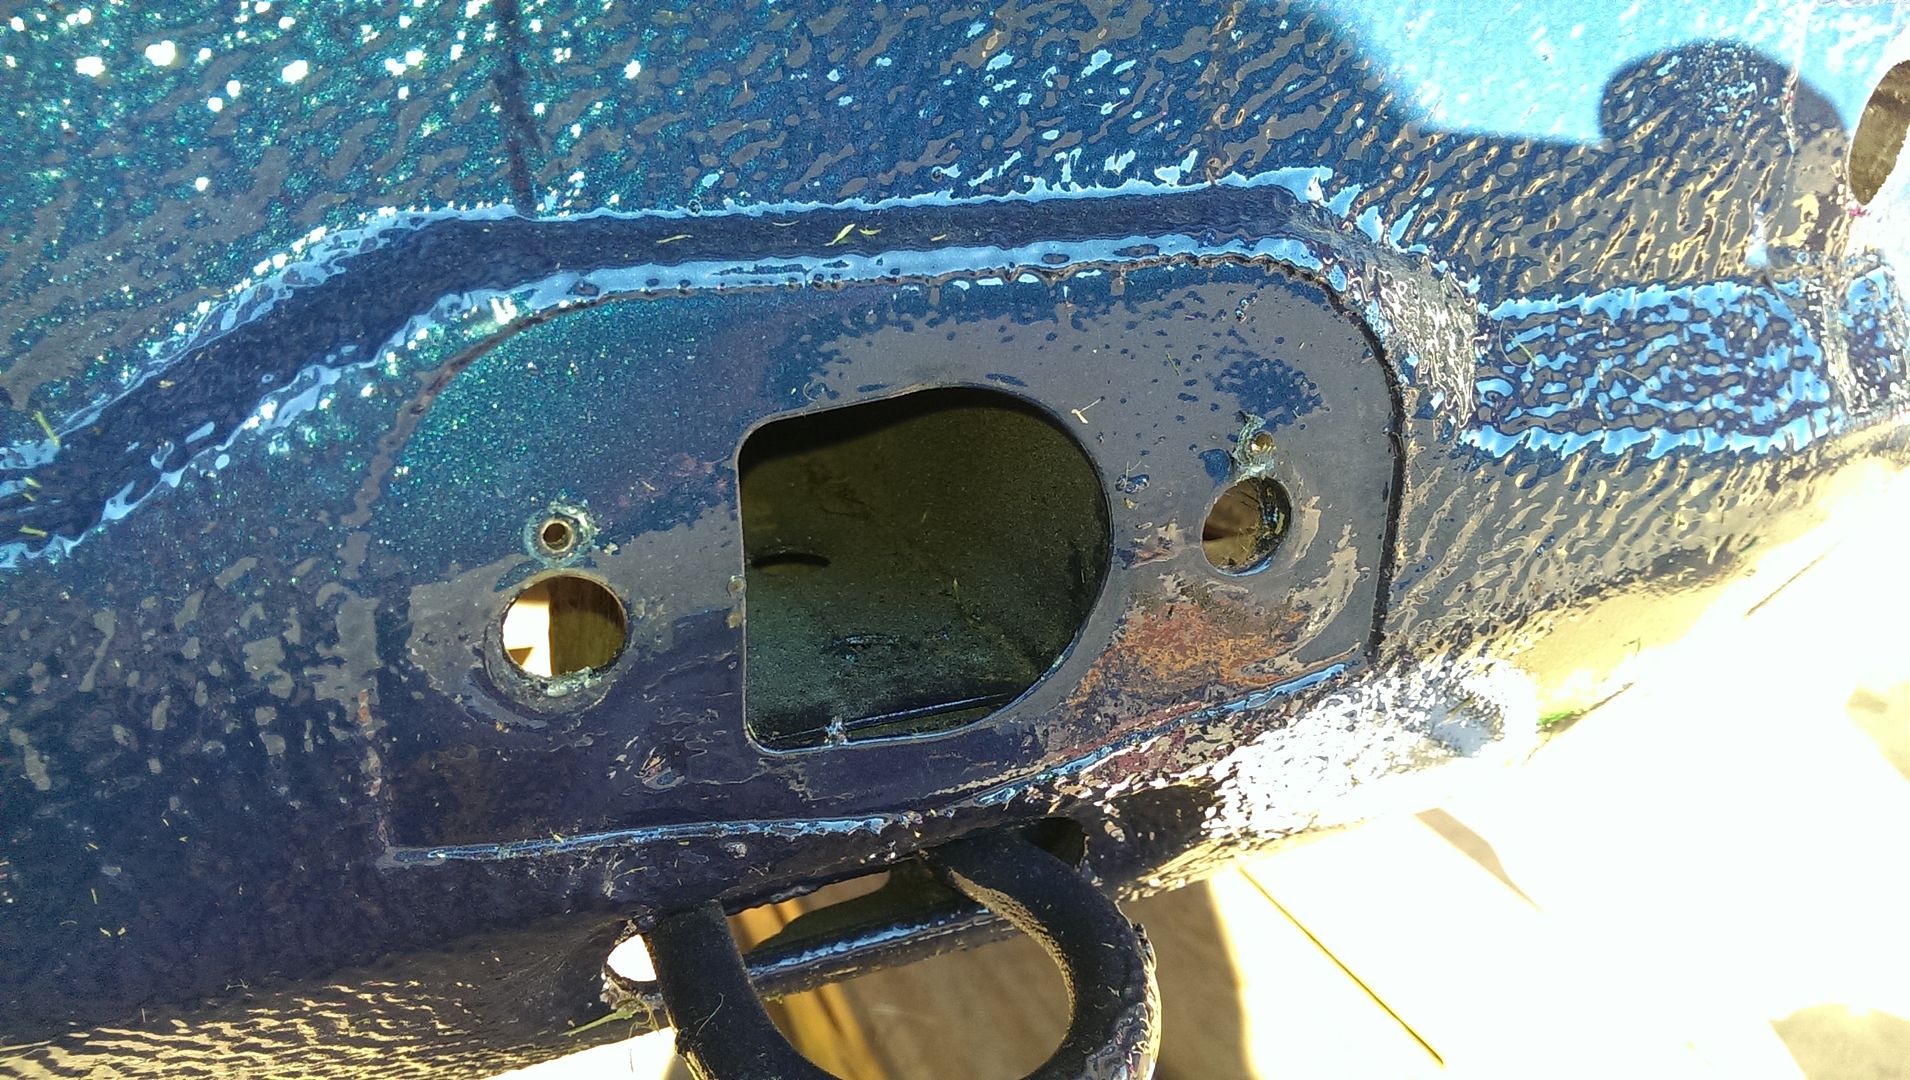


    Enlarge the holes:


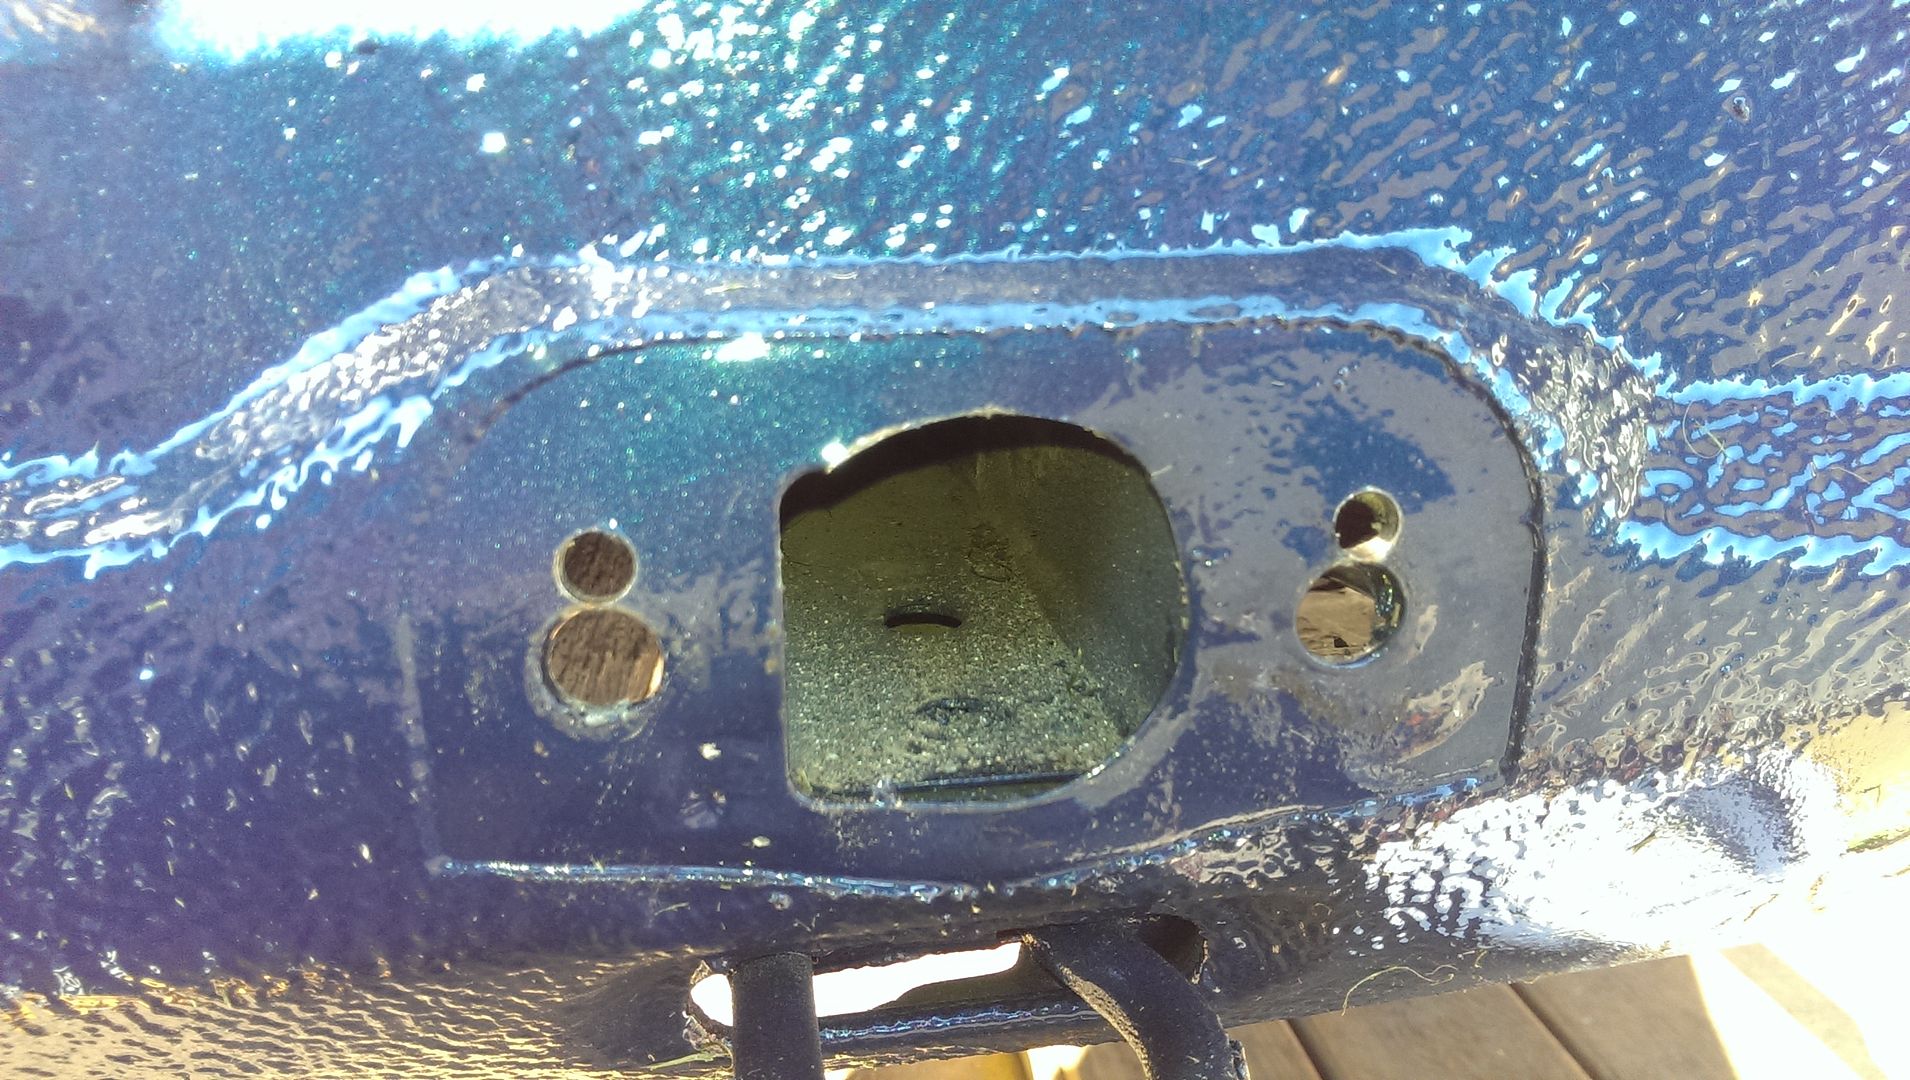
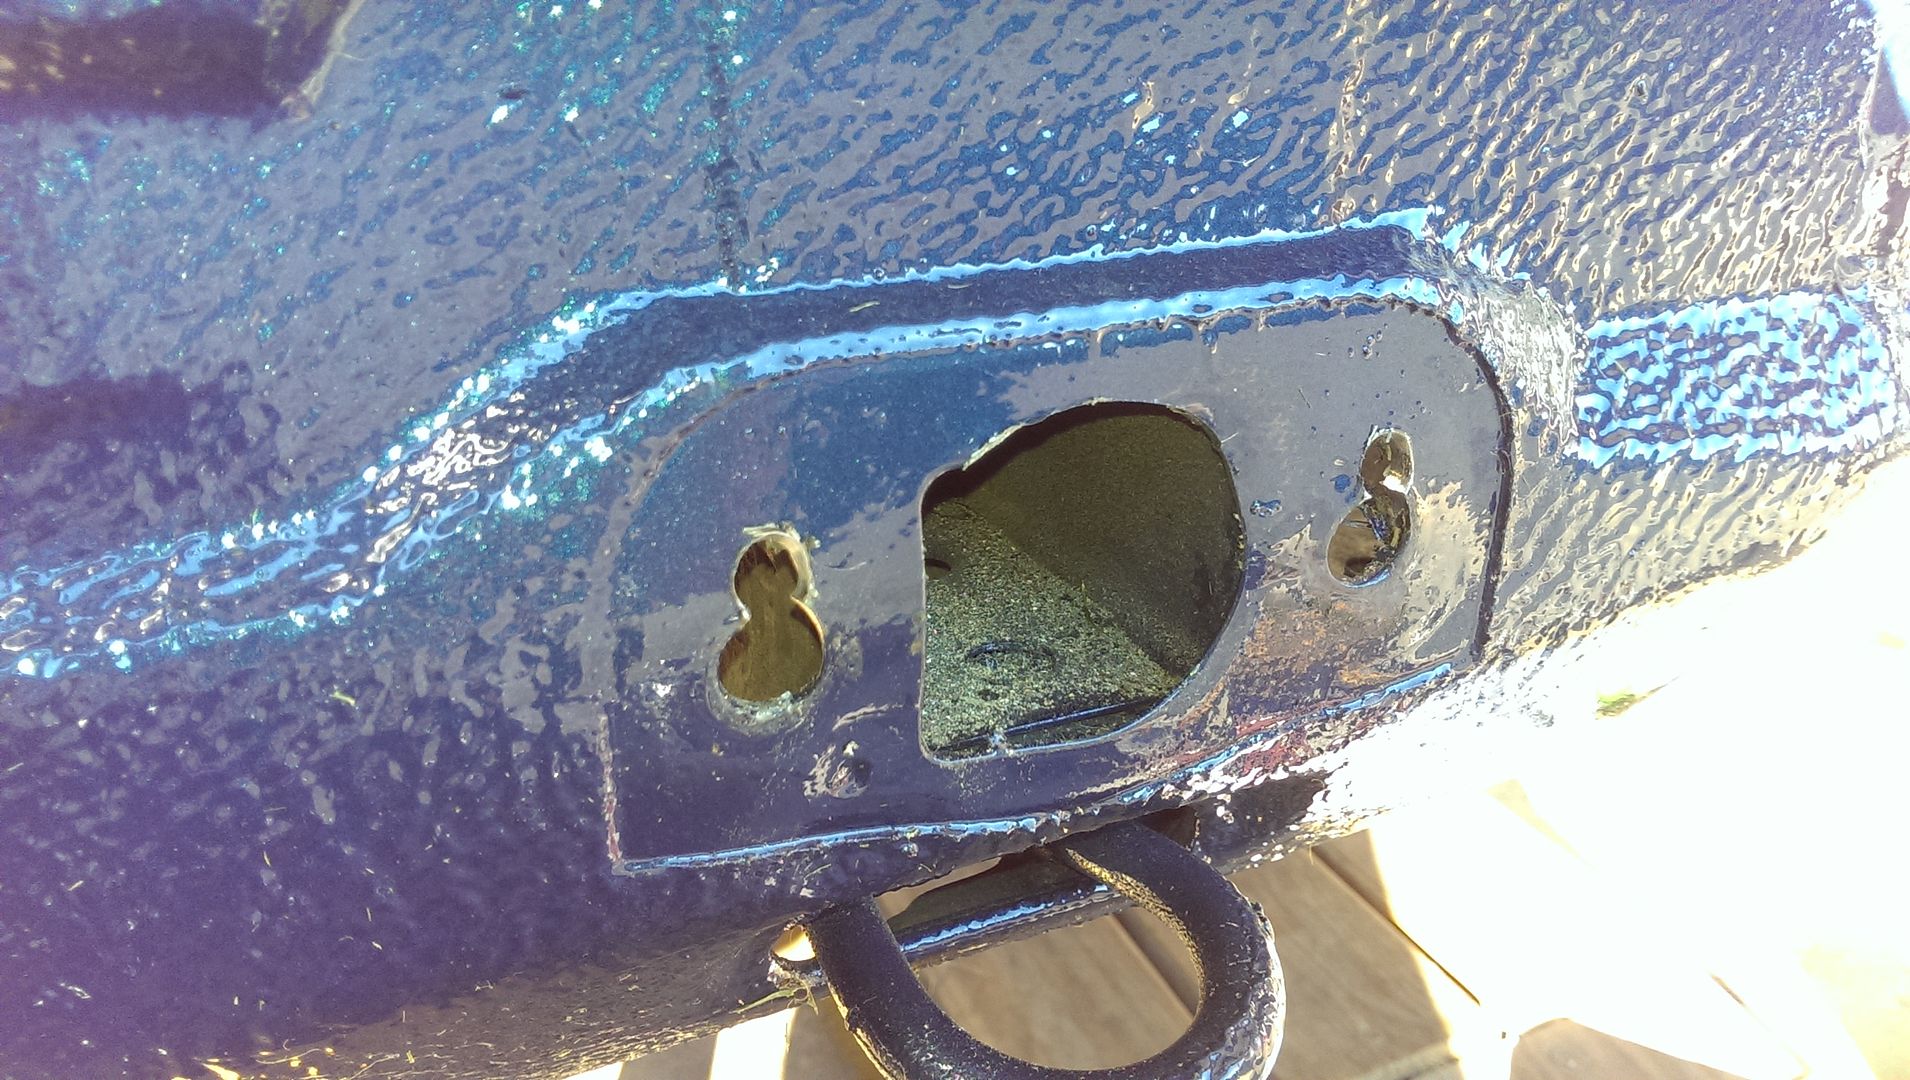
    Use a round file to slot the holes and a rounded (flat on one side, rounded on the other) file to remove as much material from the top of the opening to the channel so that the channel and the (former) lip are now flush:


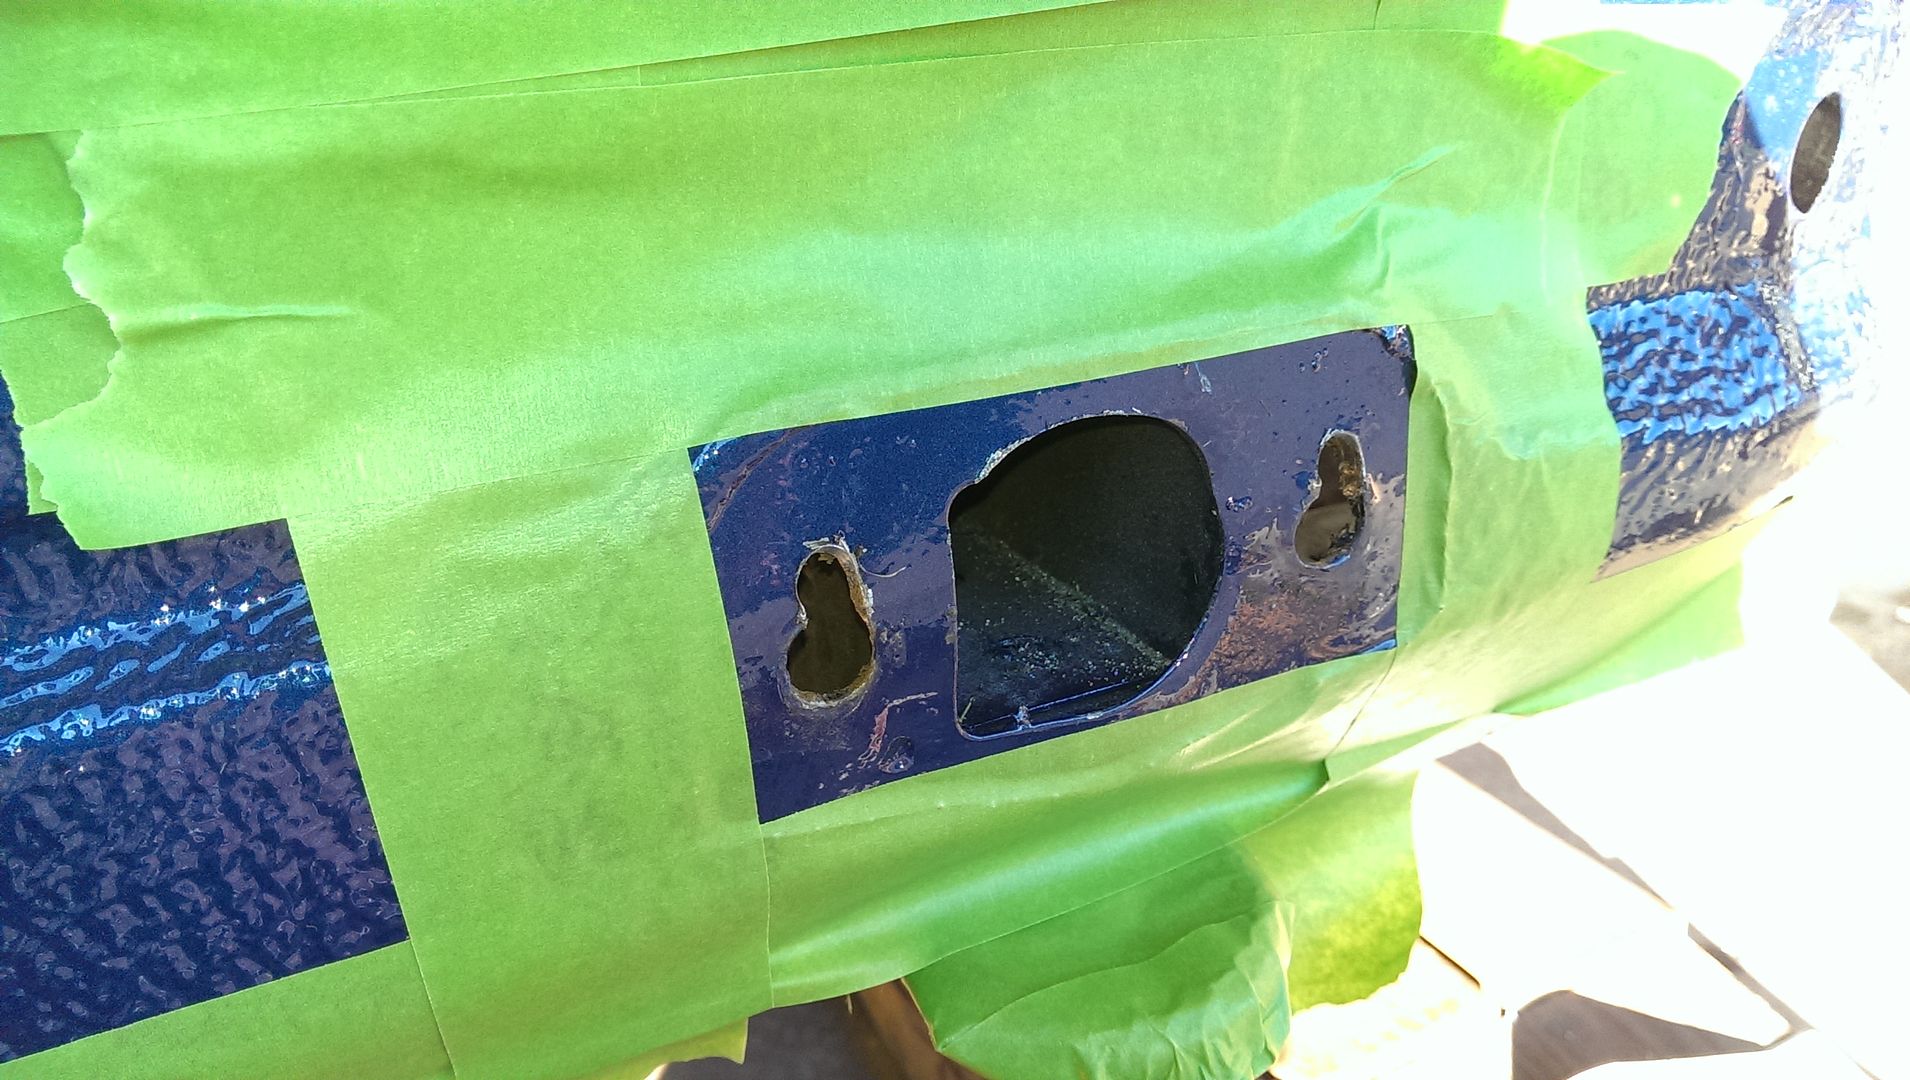
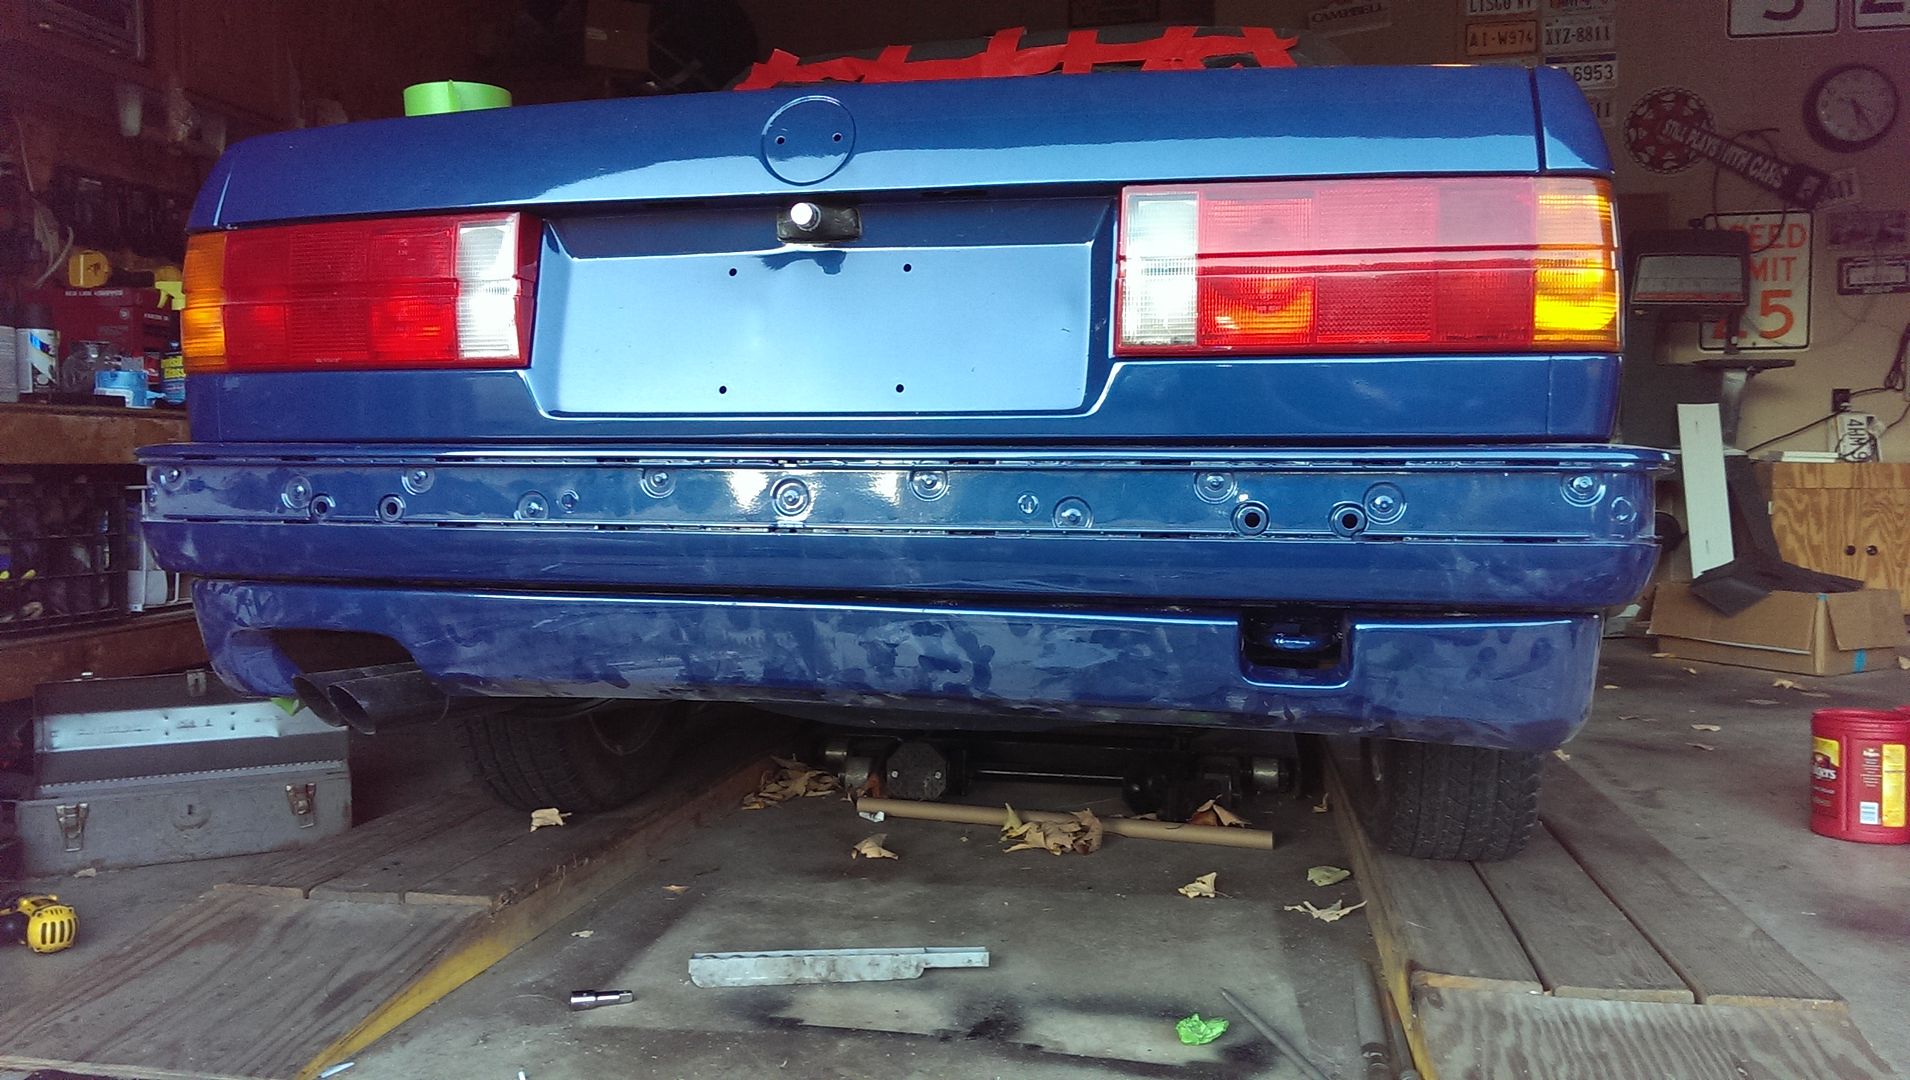
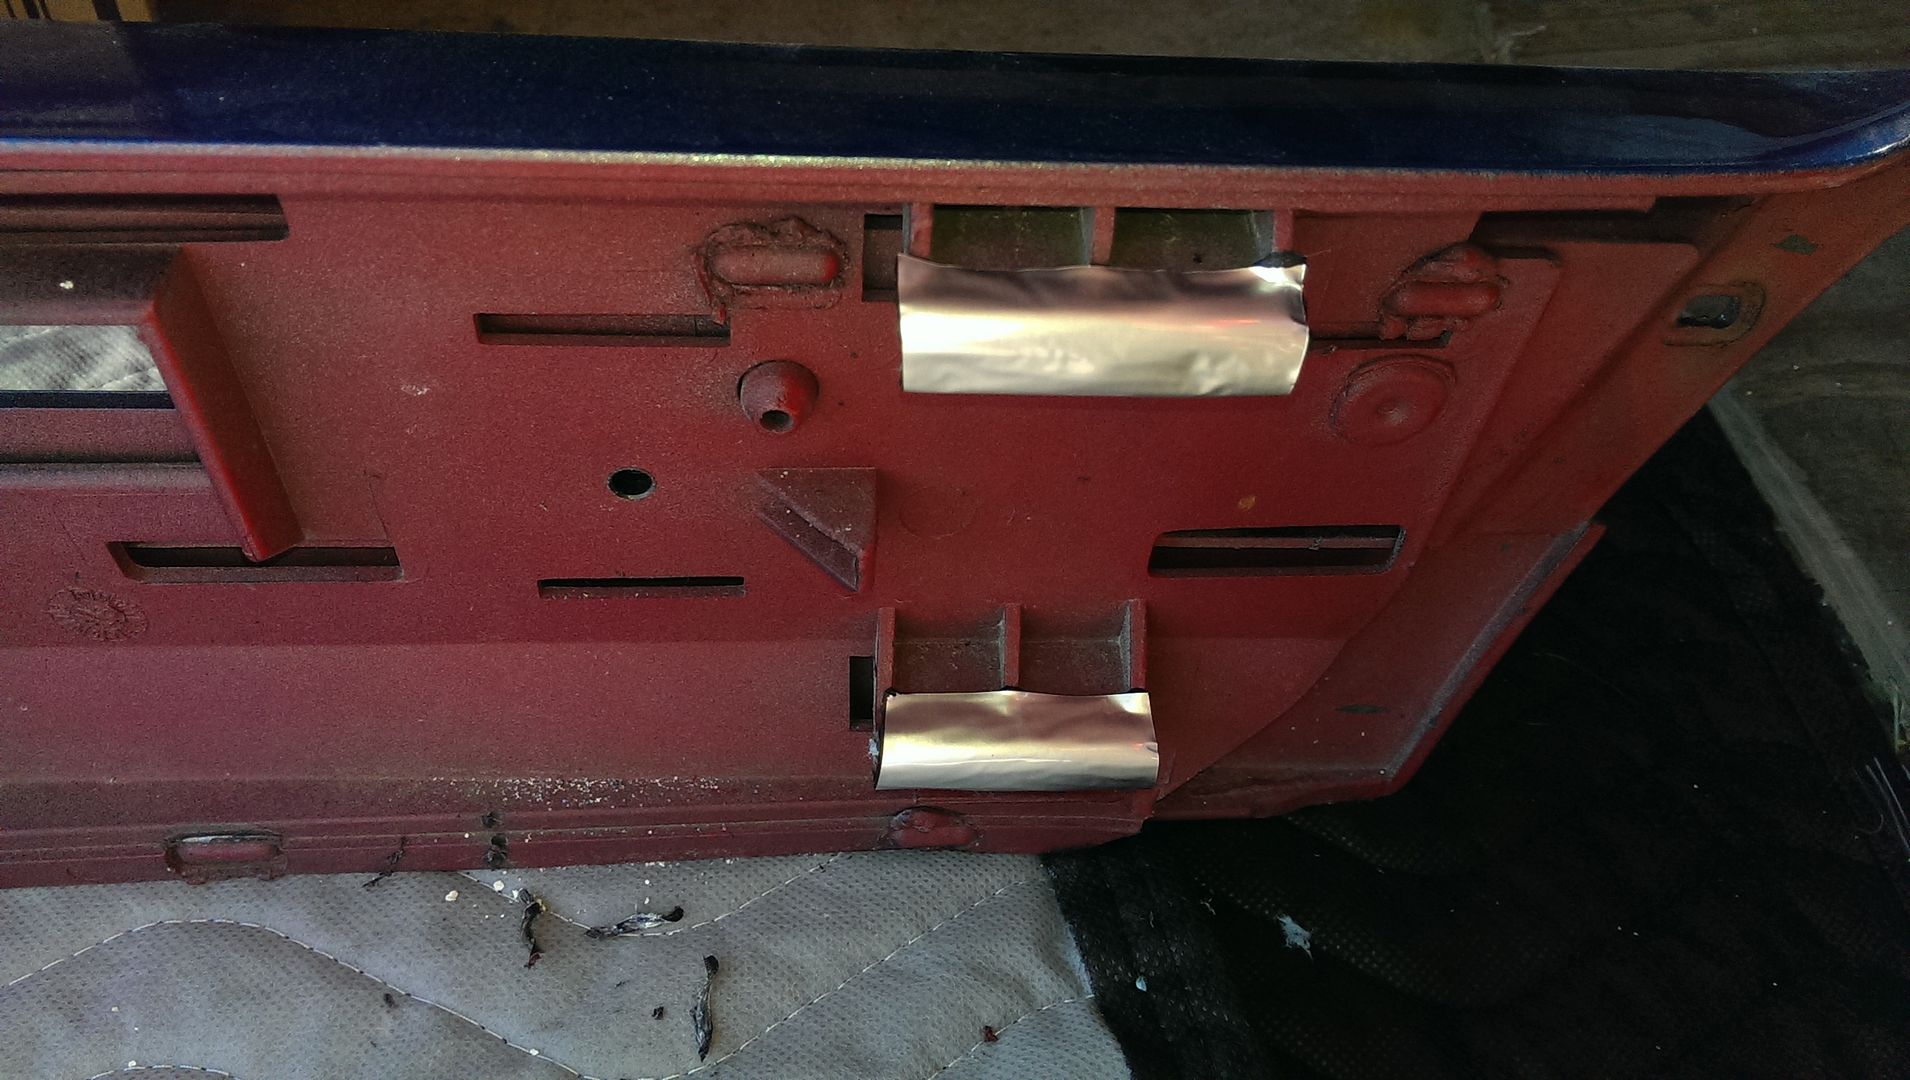
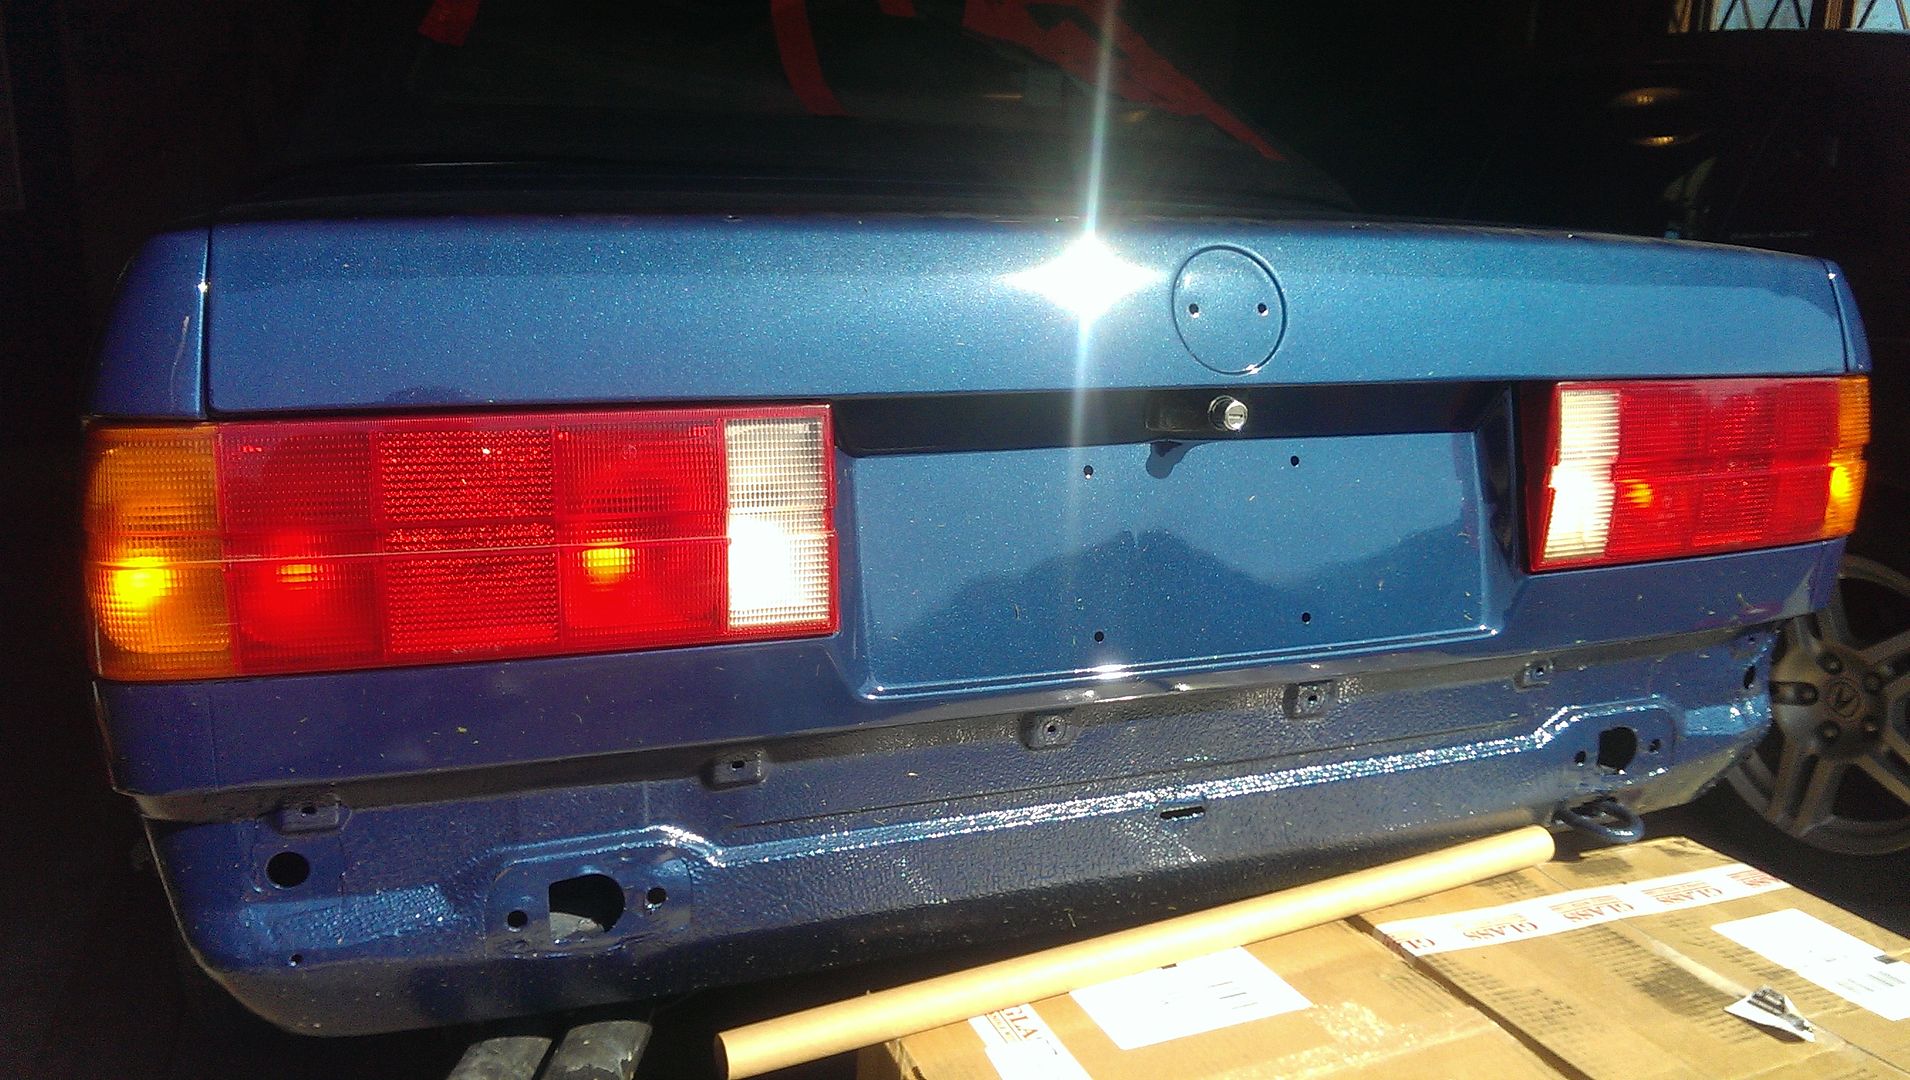
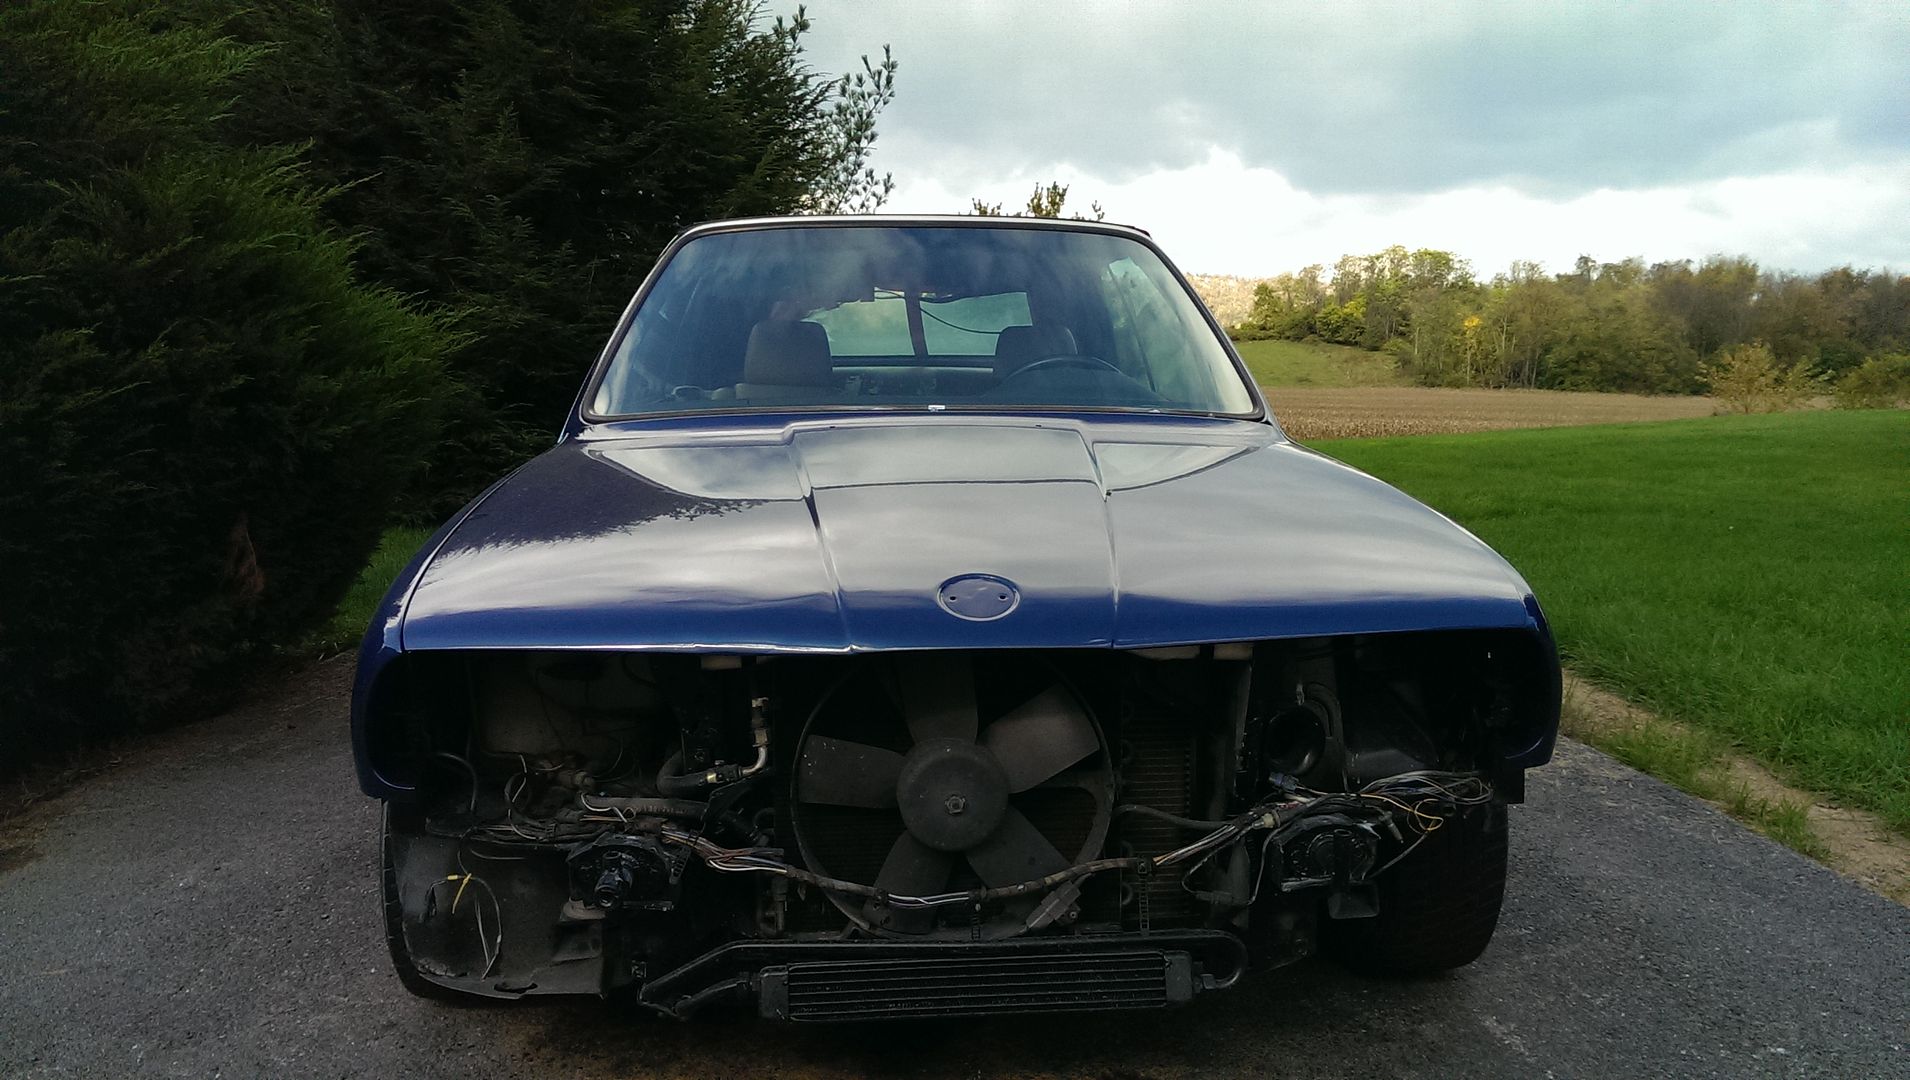
    At that point I taped/masked it and sprayed the raw metal edges to prevent rust, then re-installed the bumper.


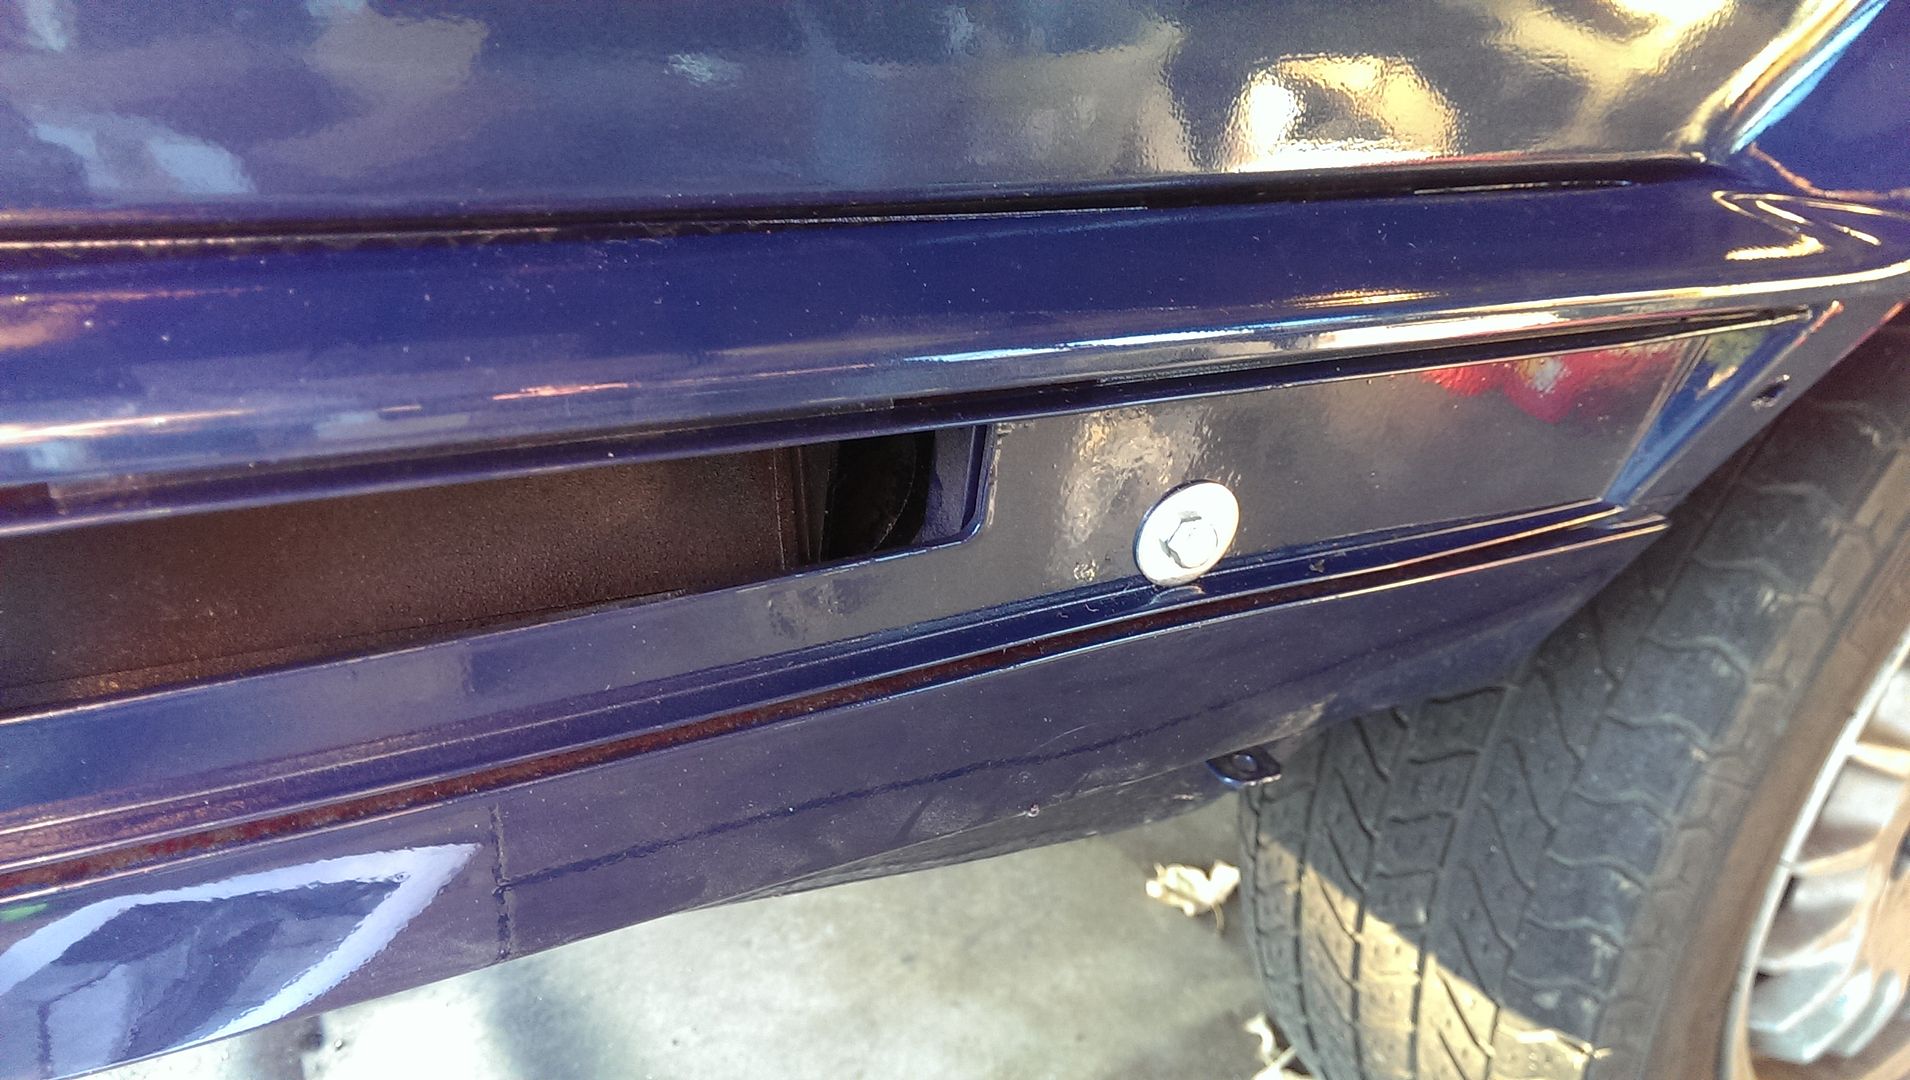
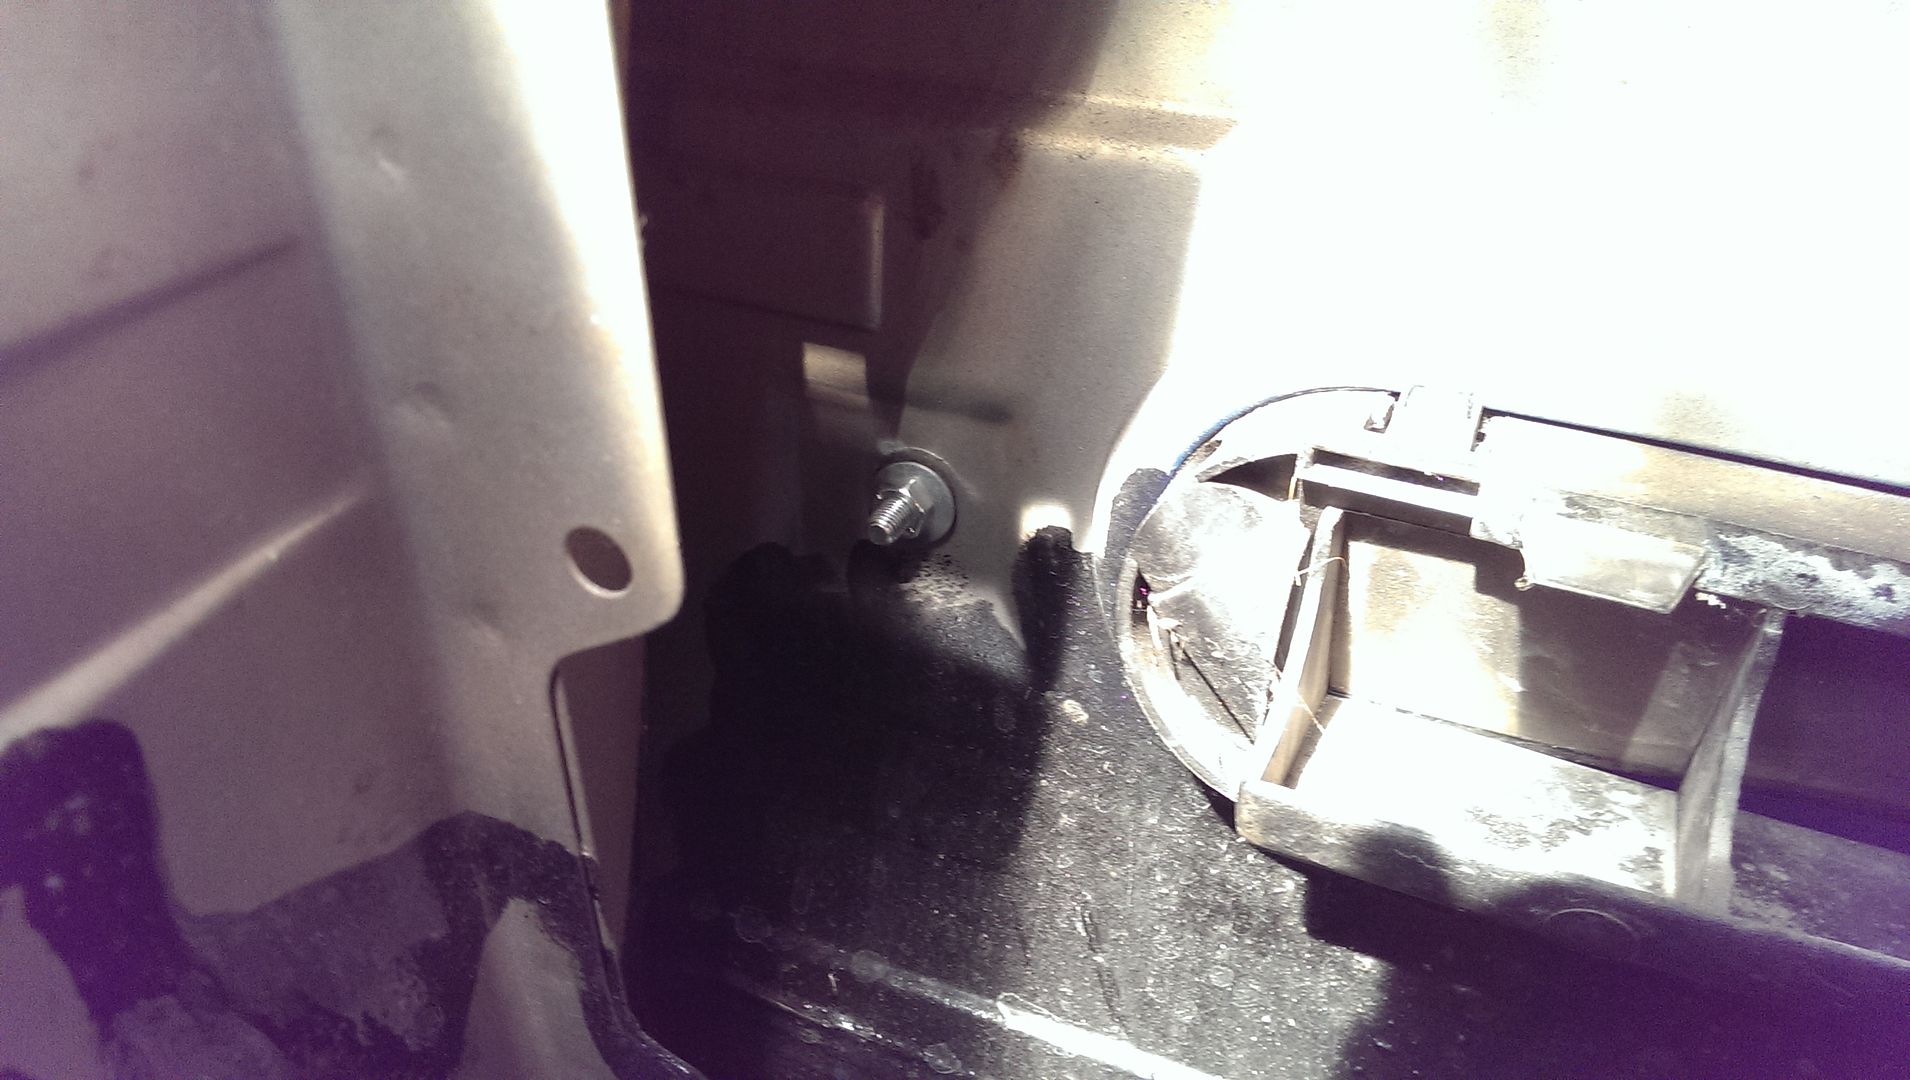
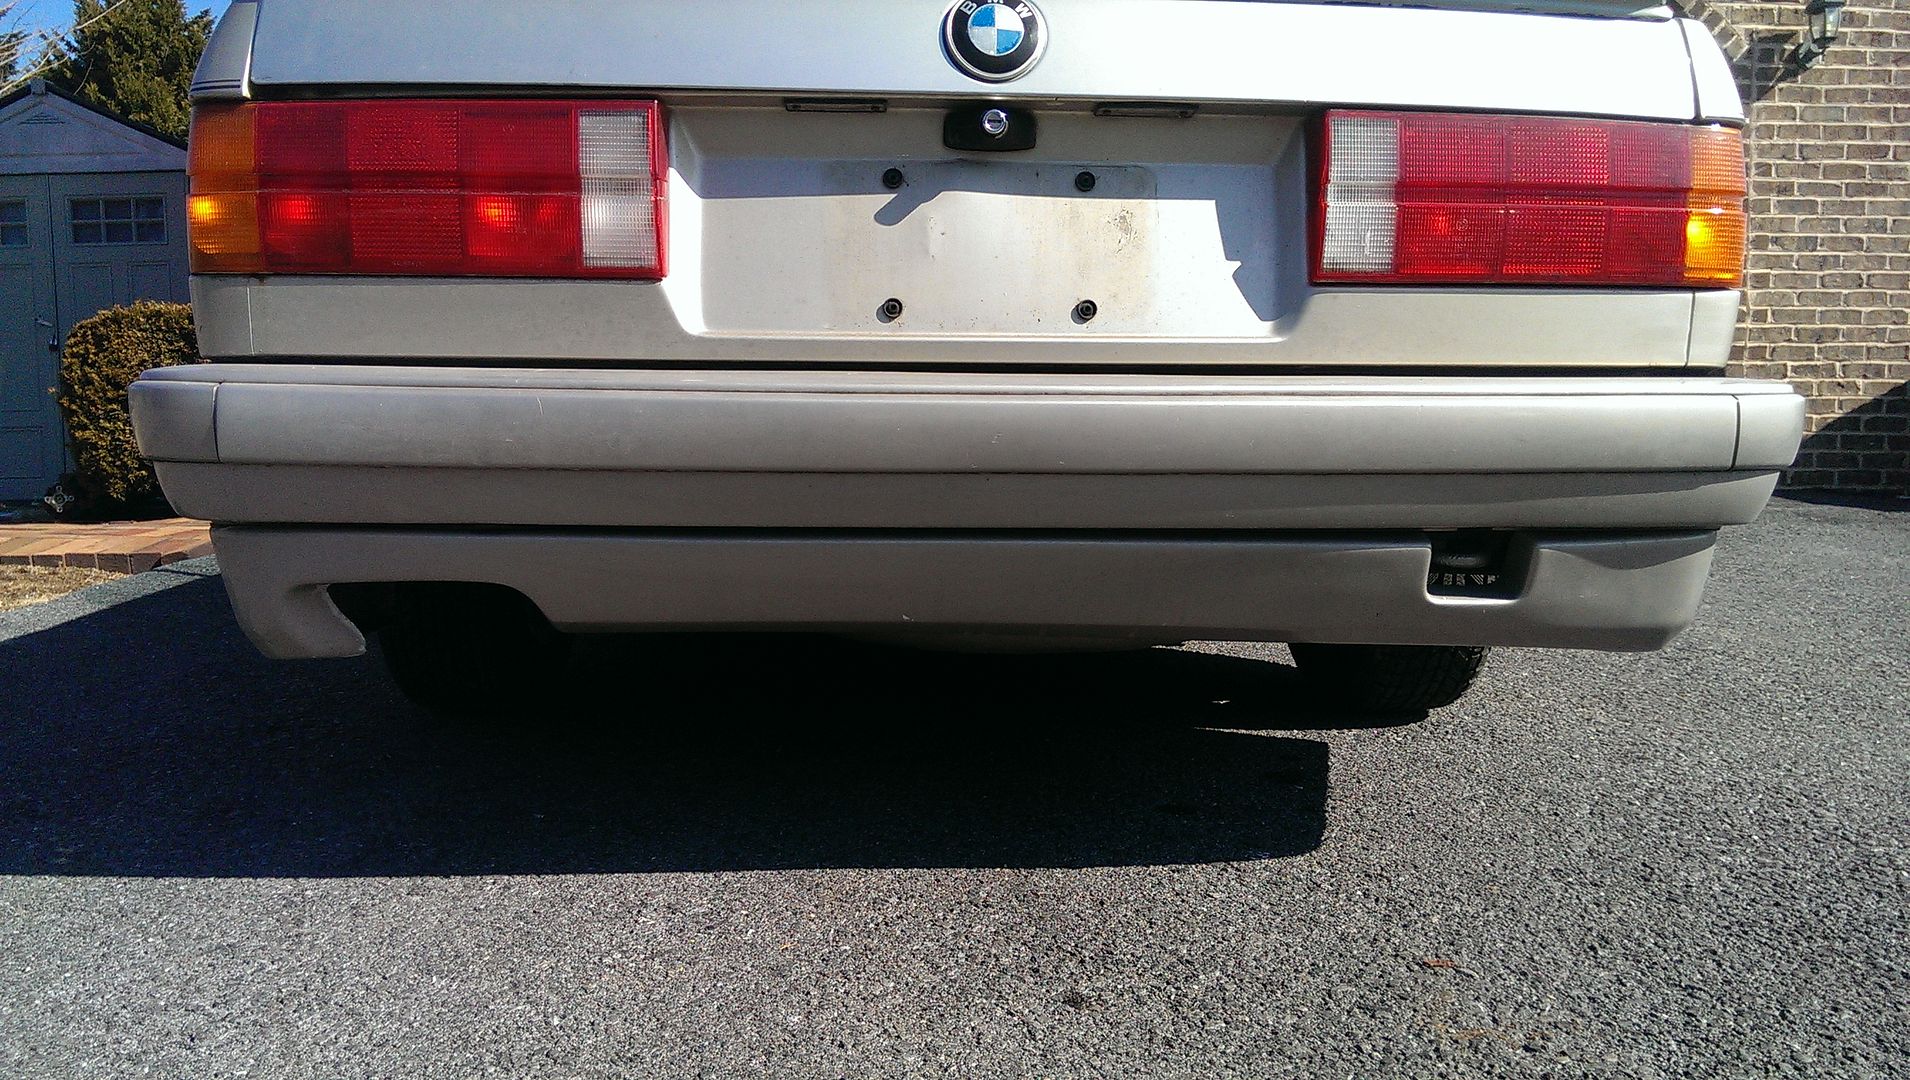
    I then used the M6x40 tactic and secured the sides.


    And installed:


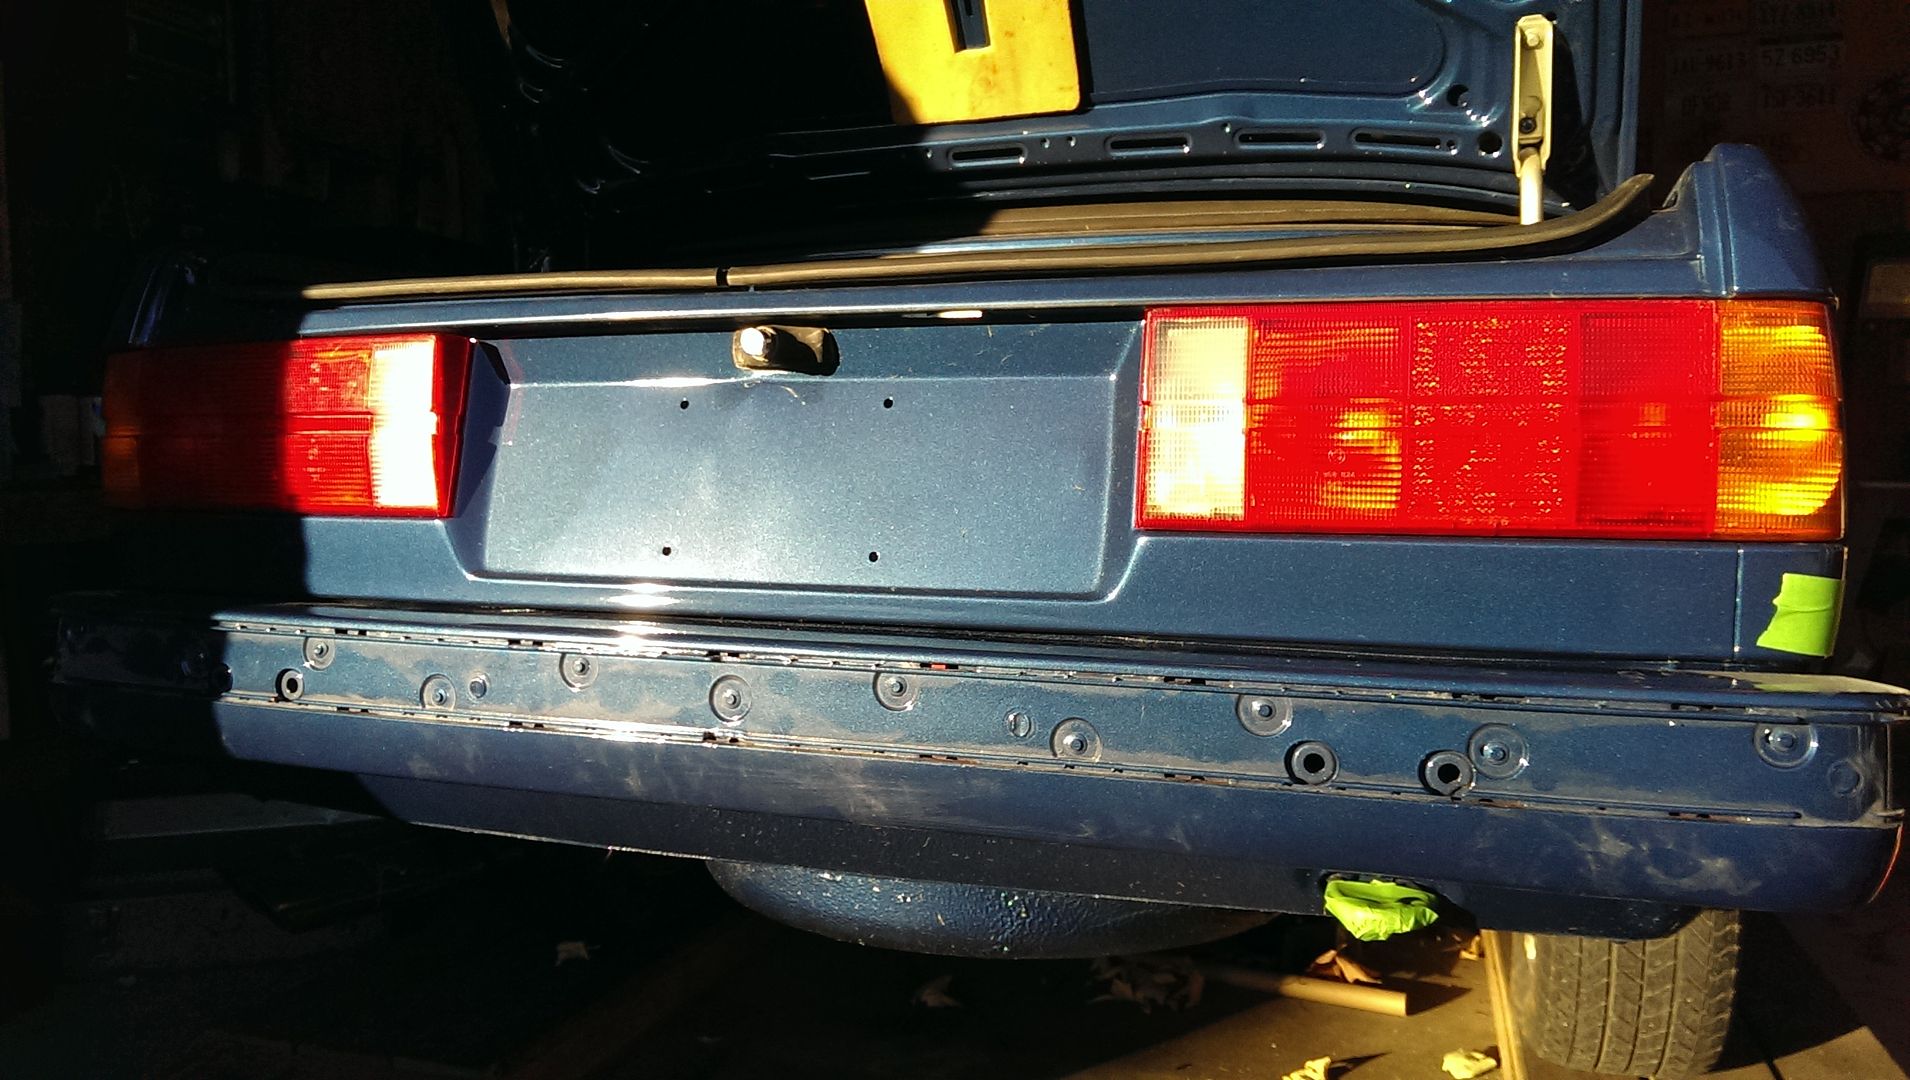
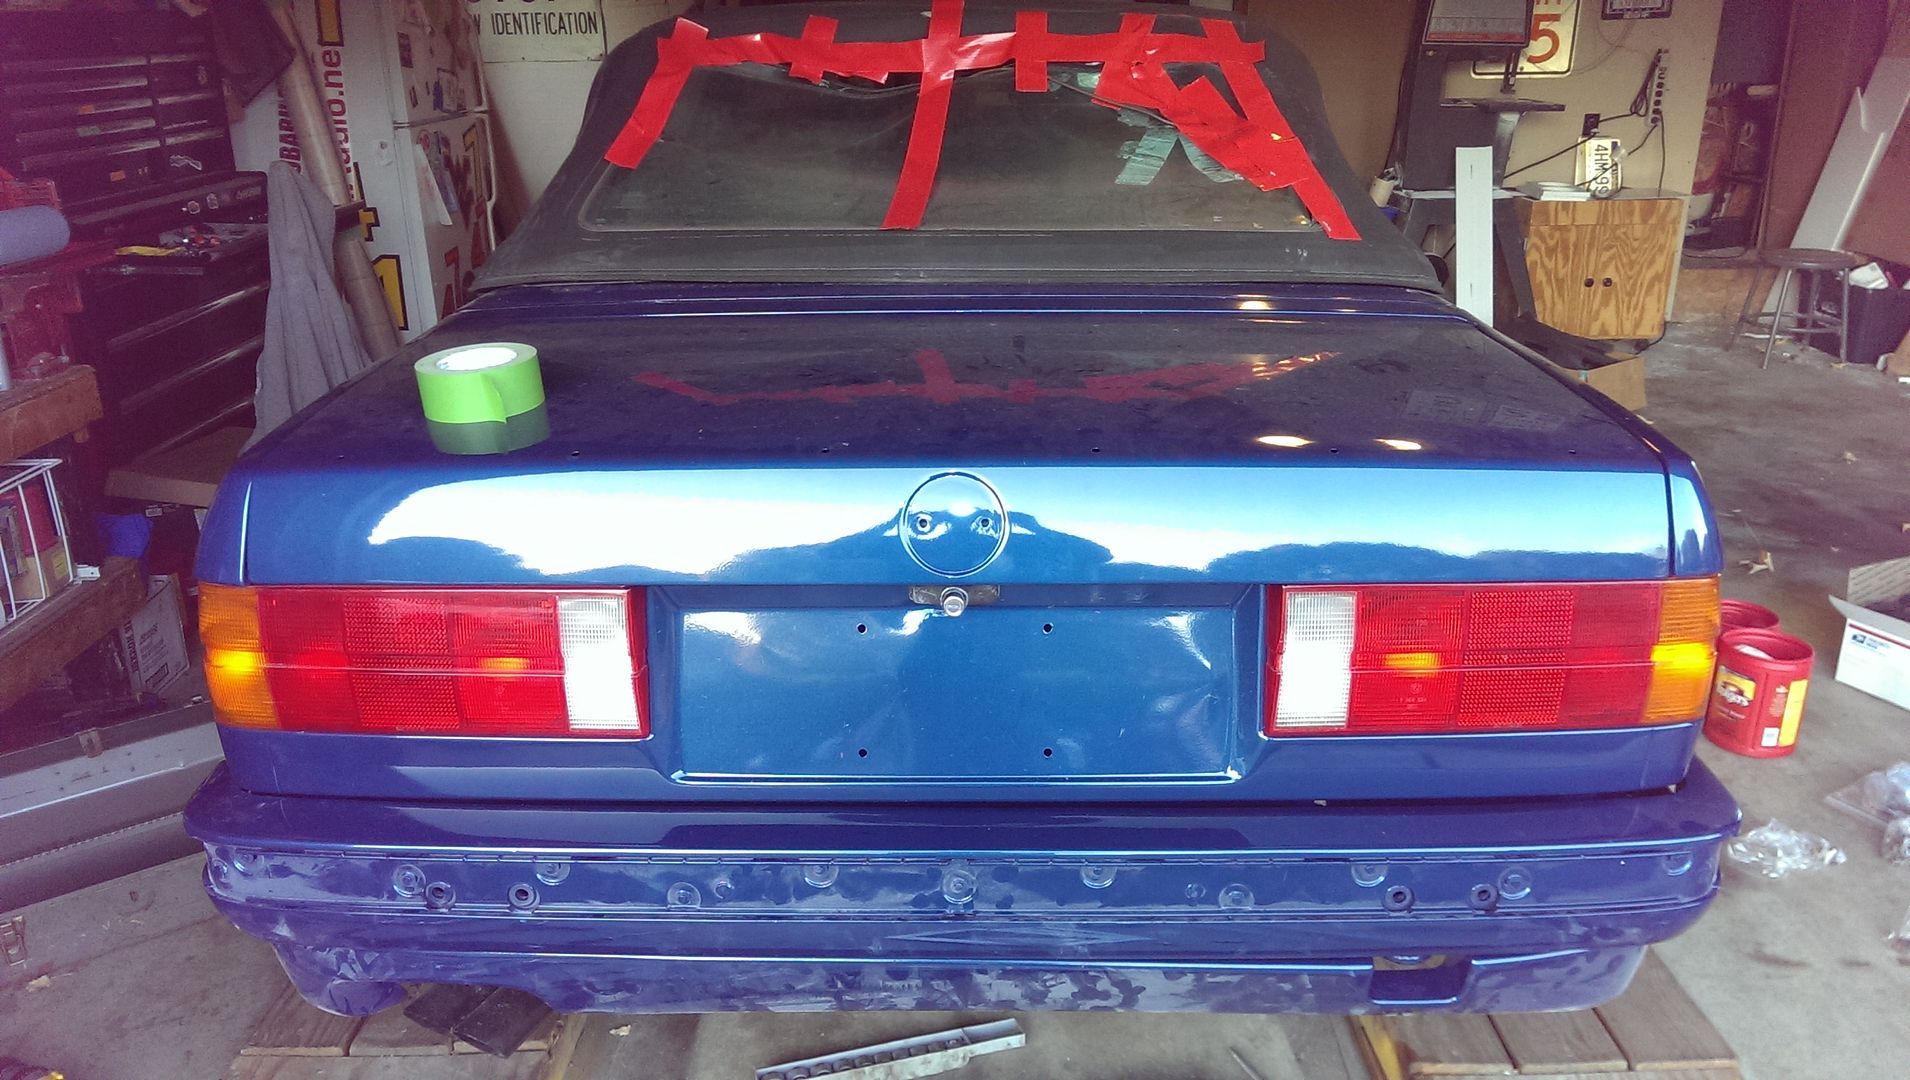
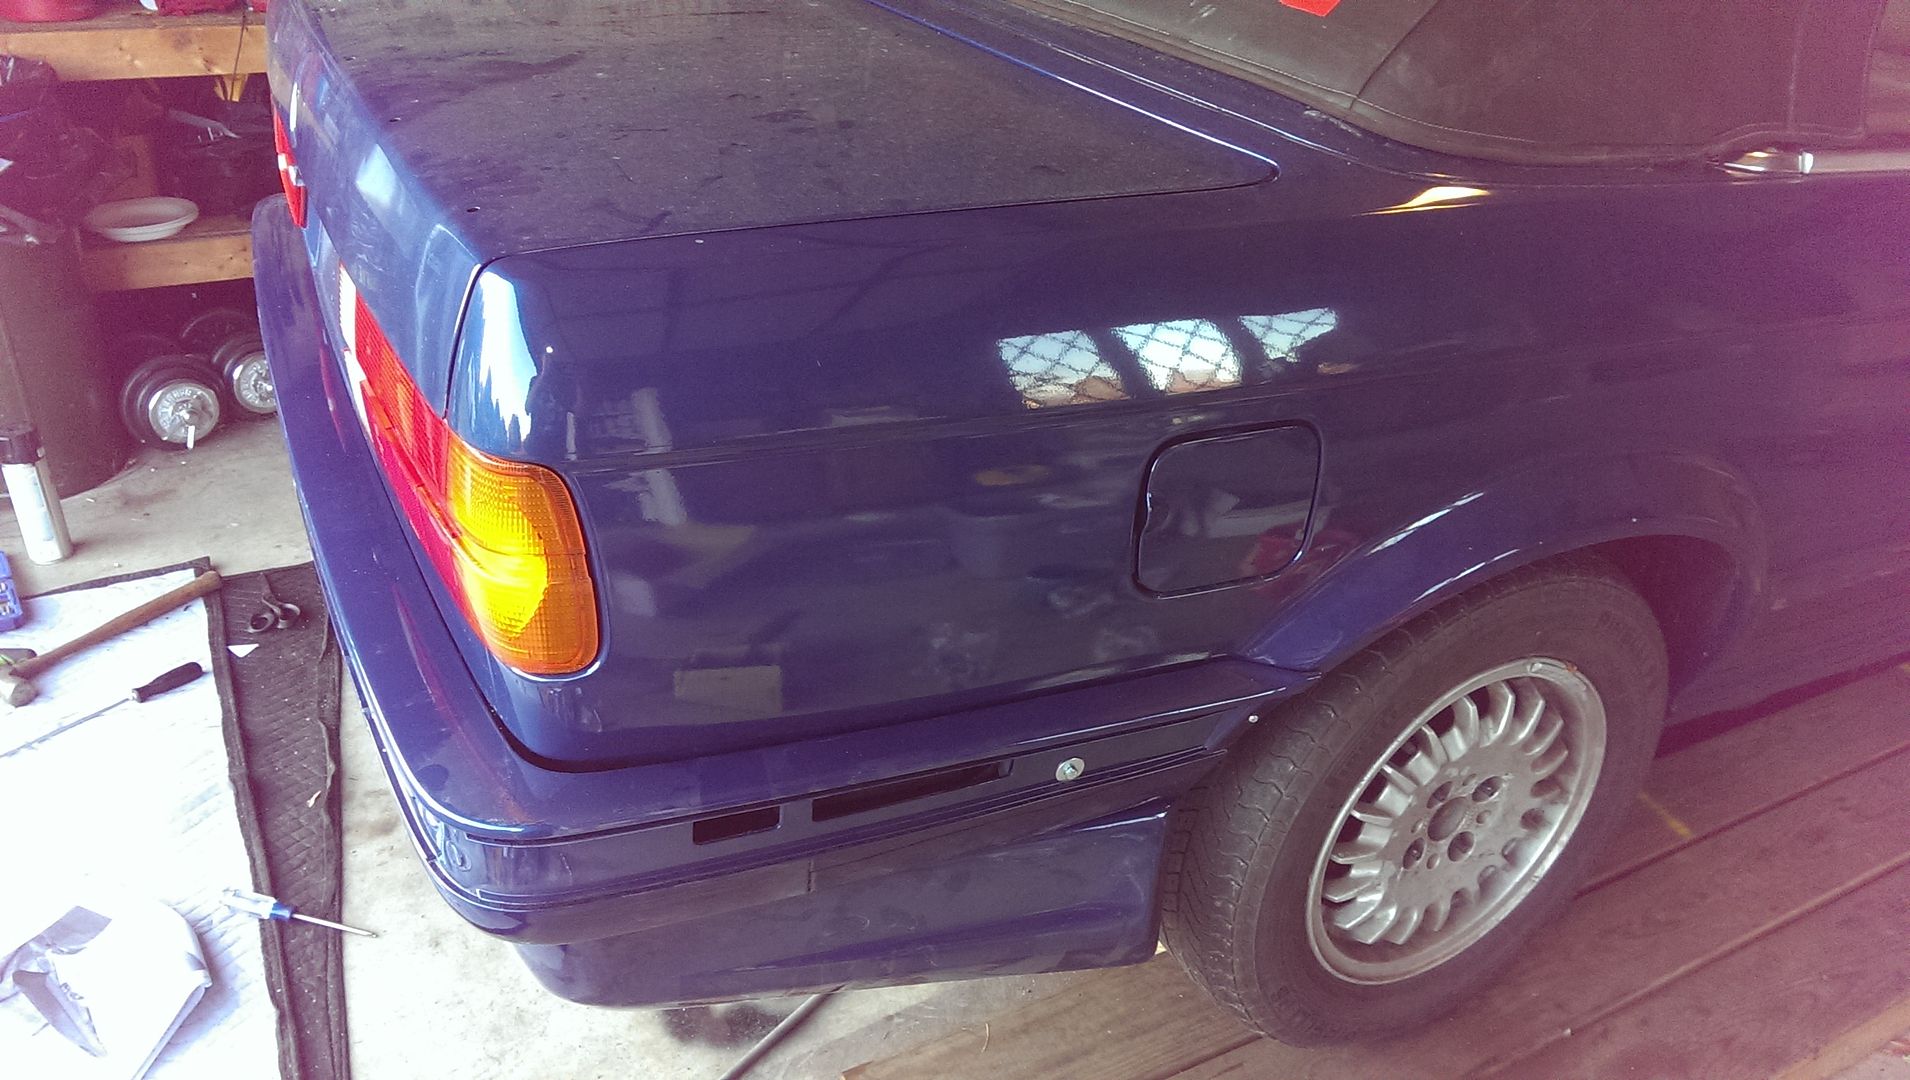
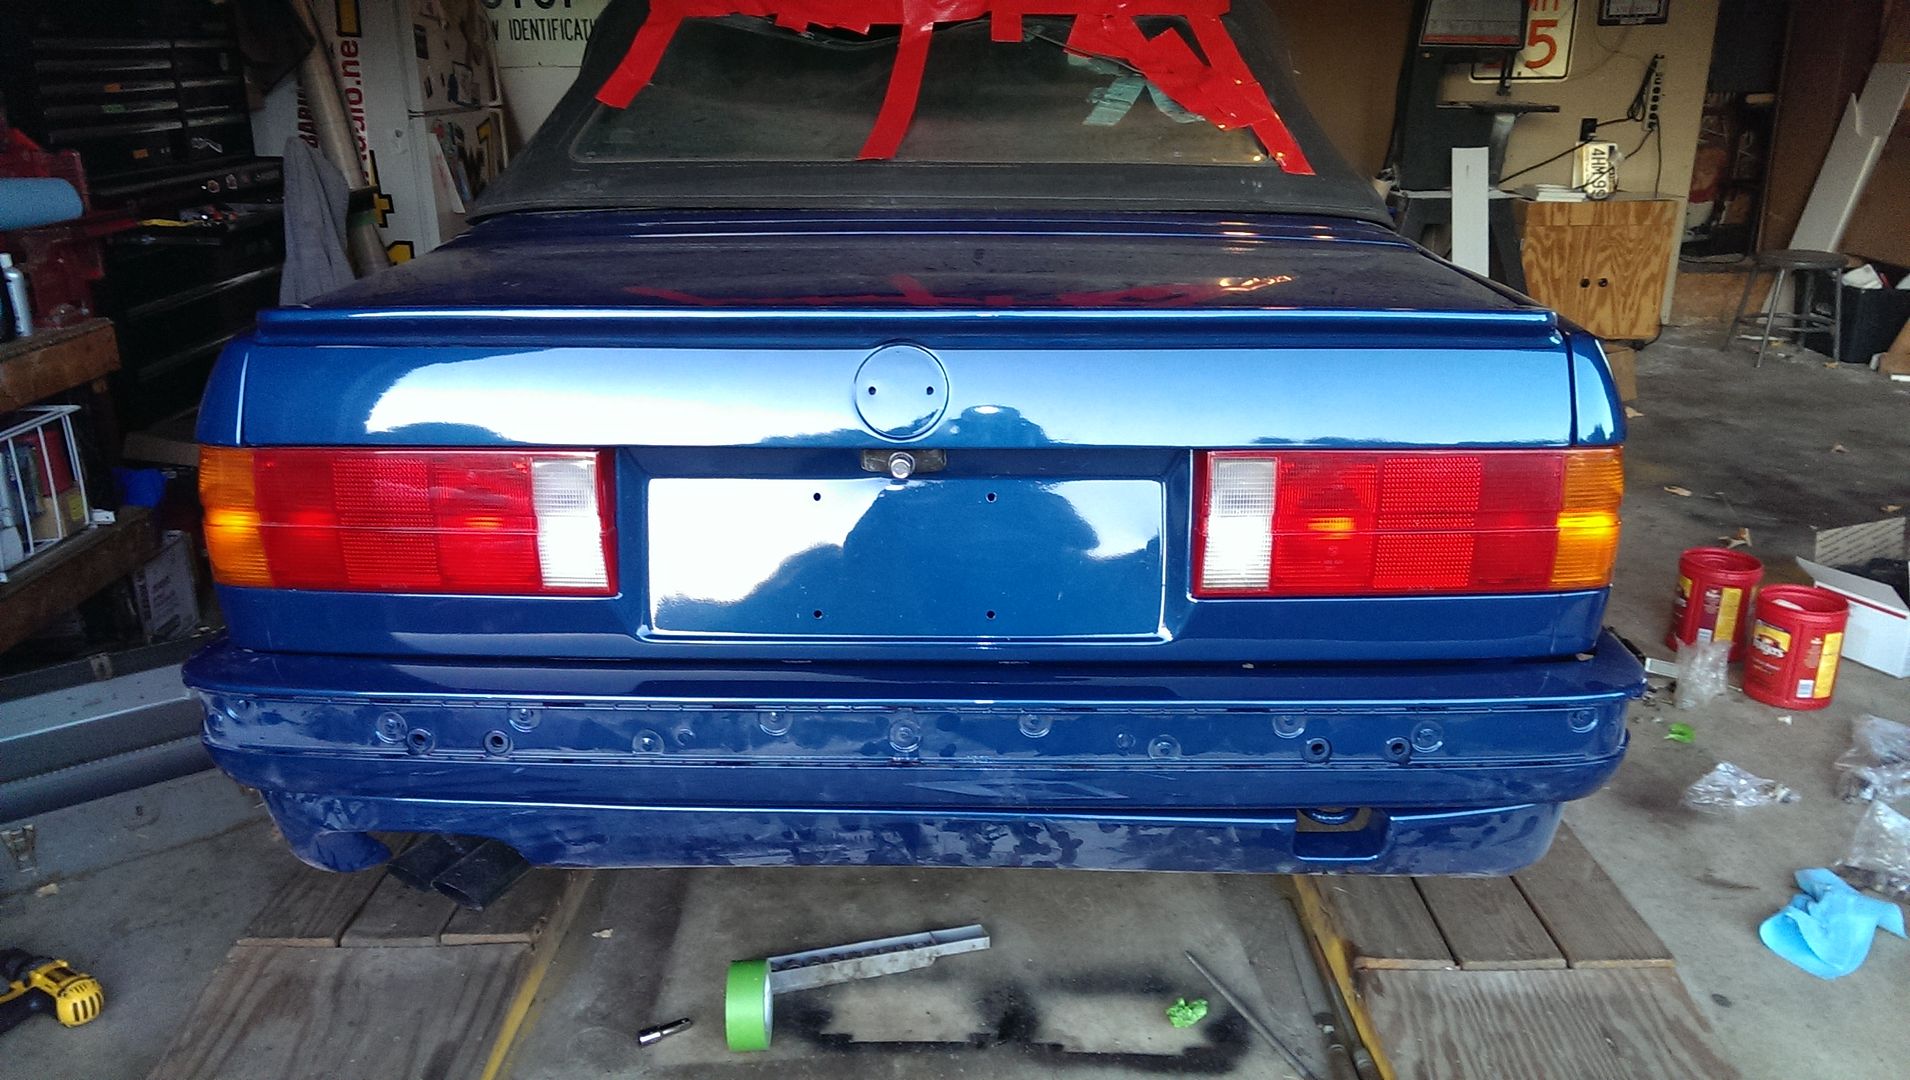
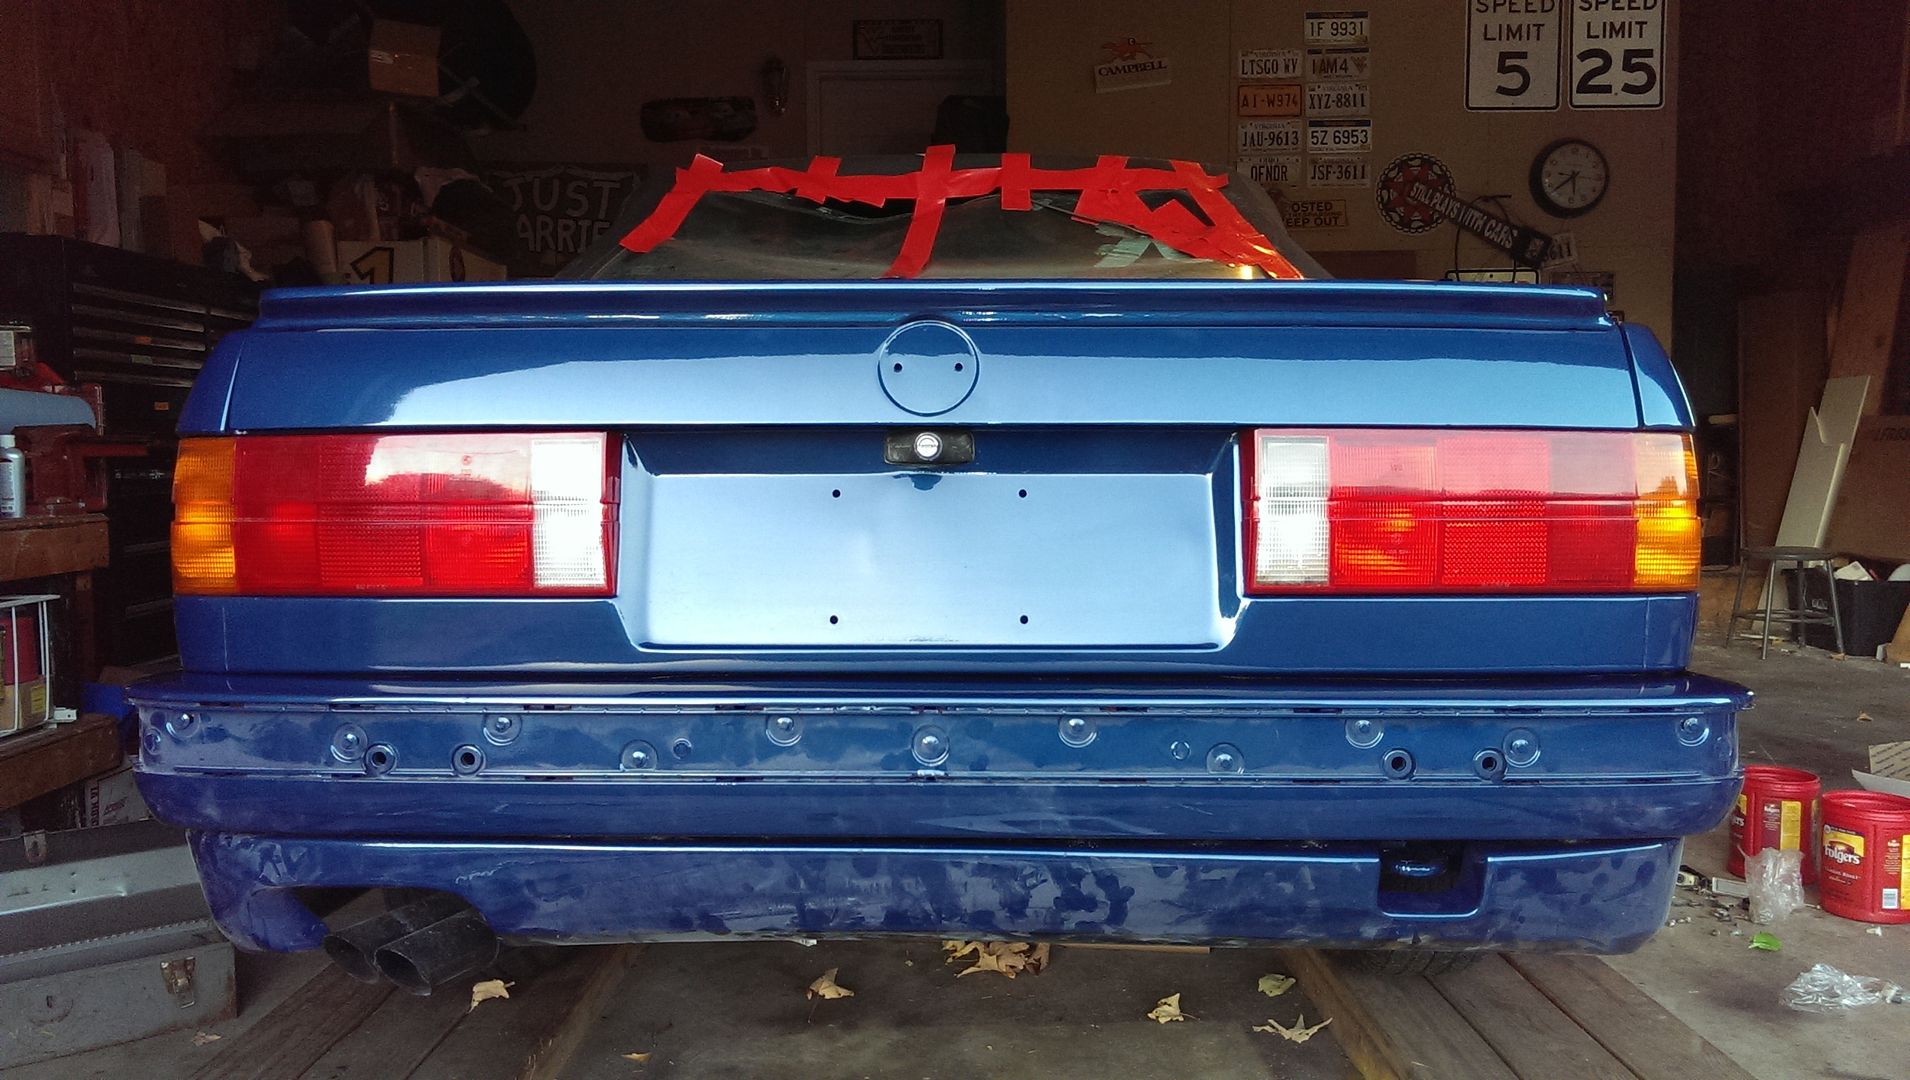
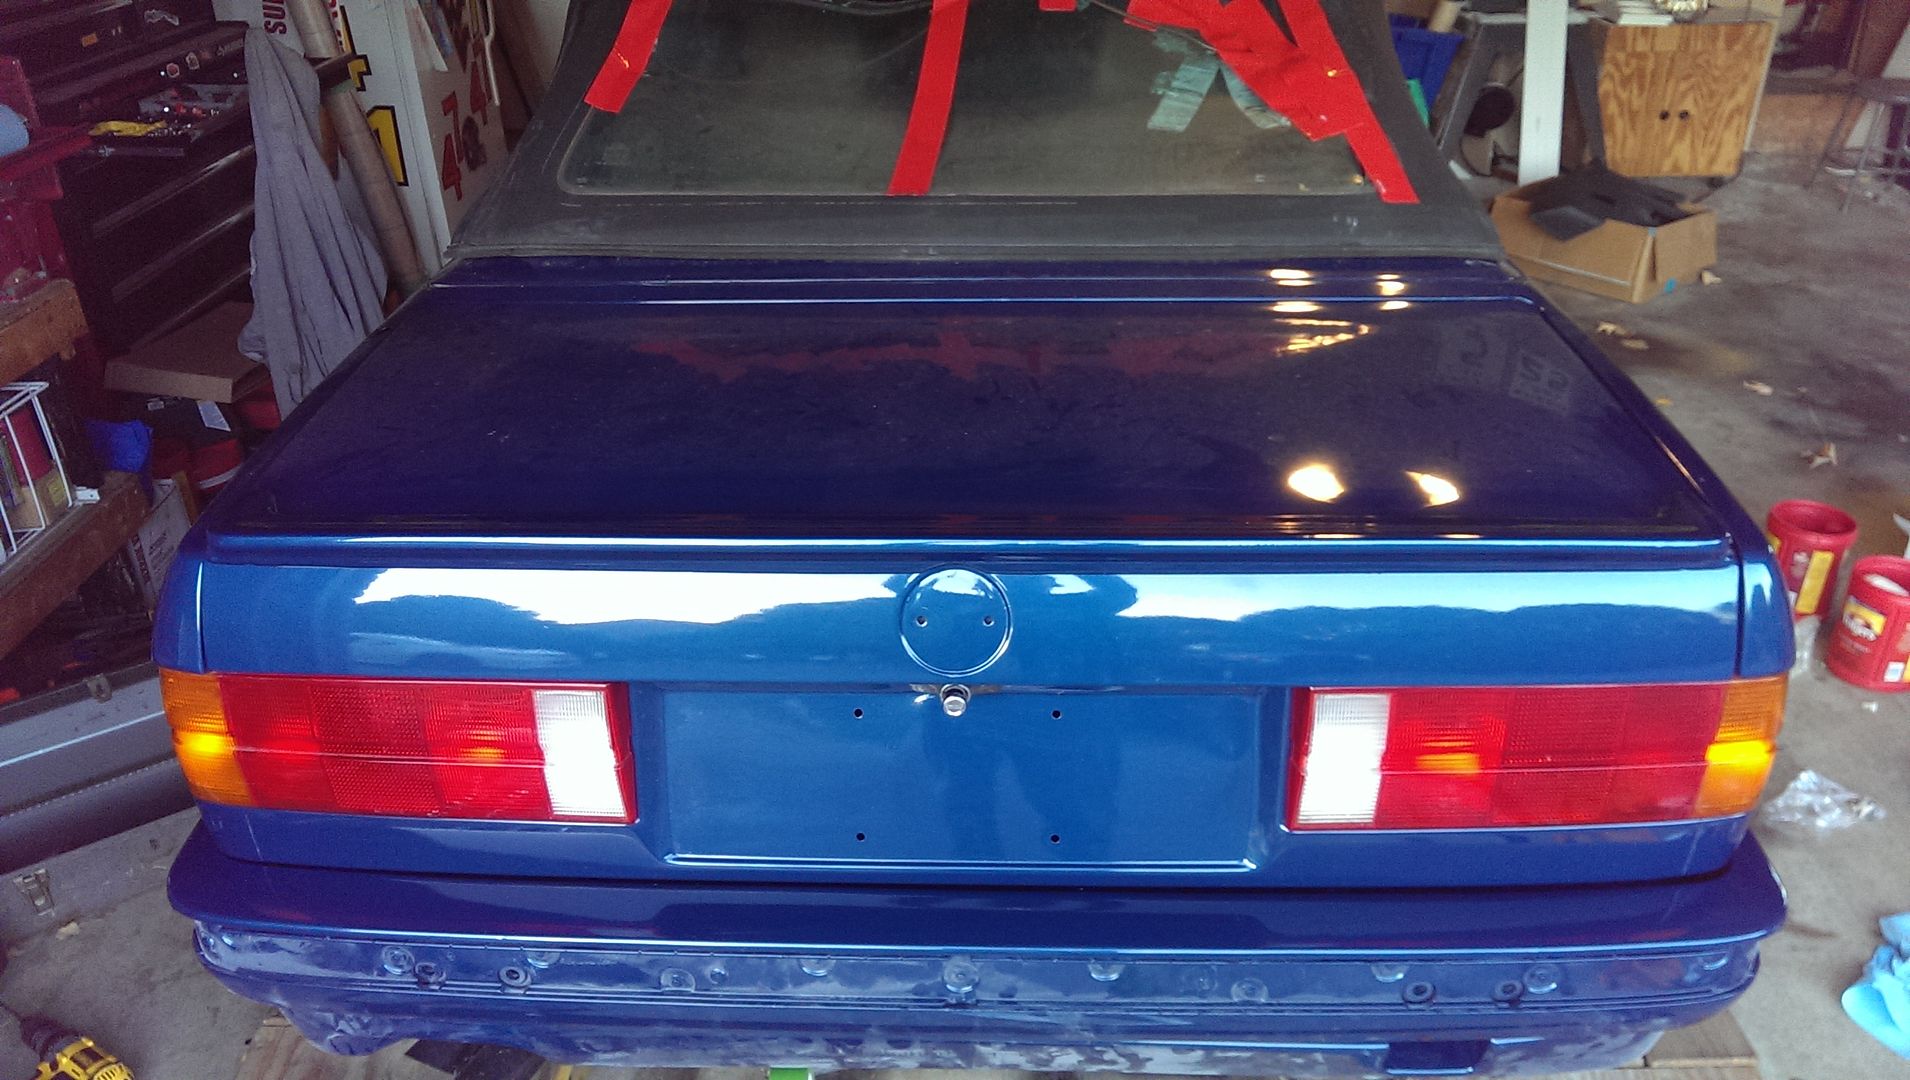
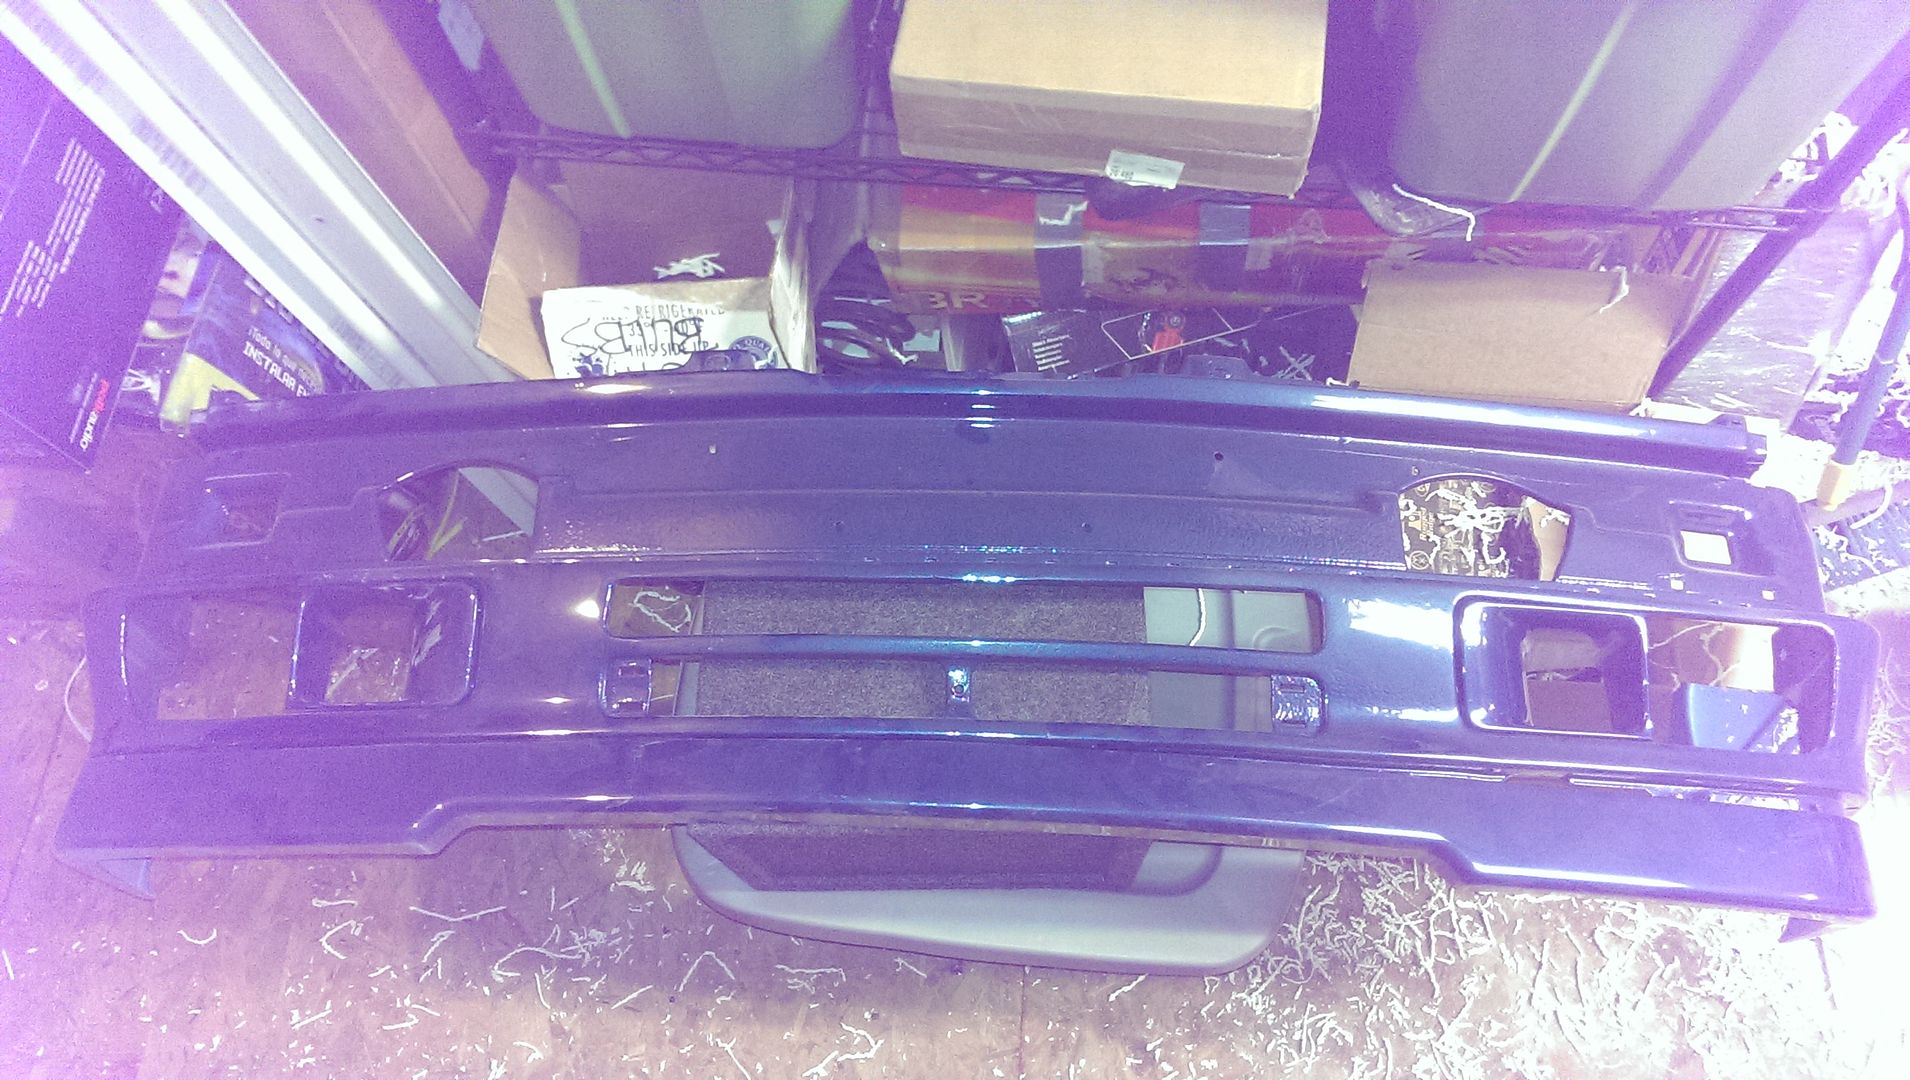
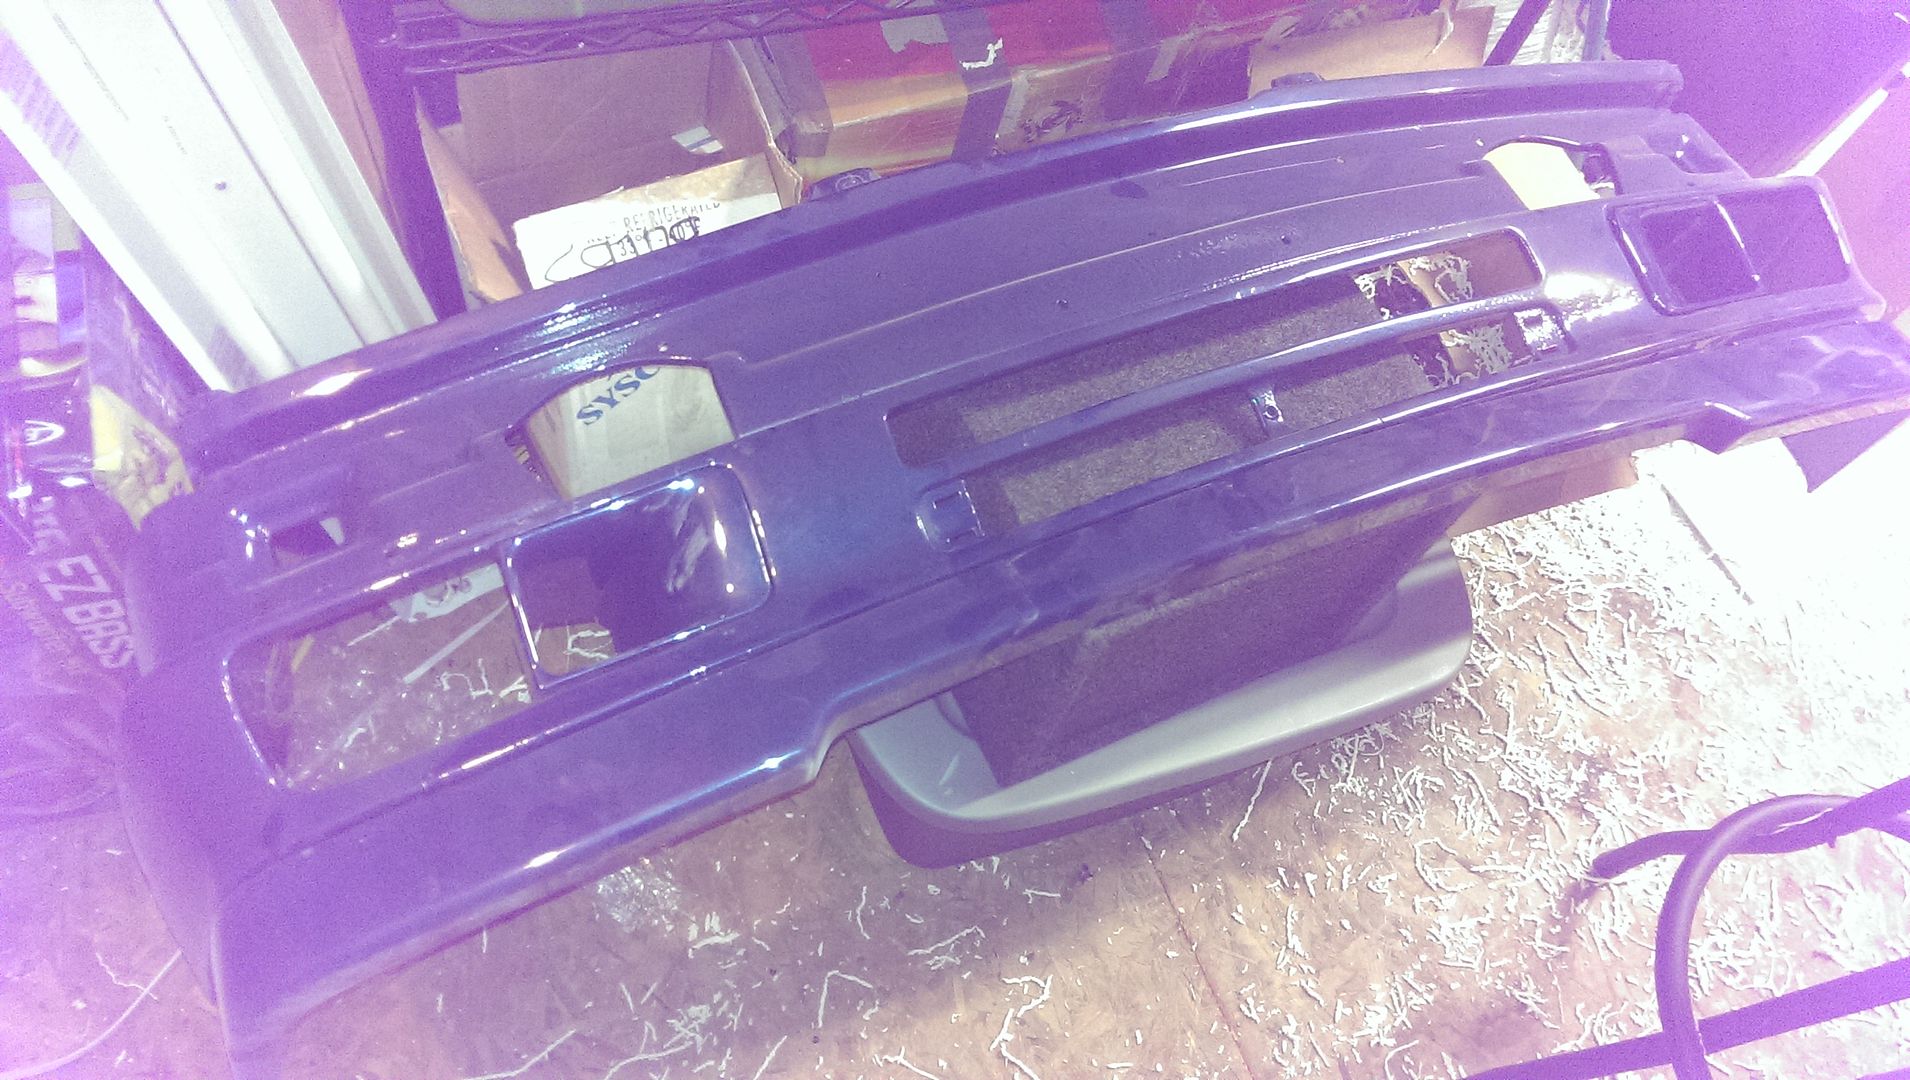
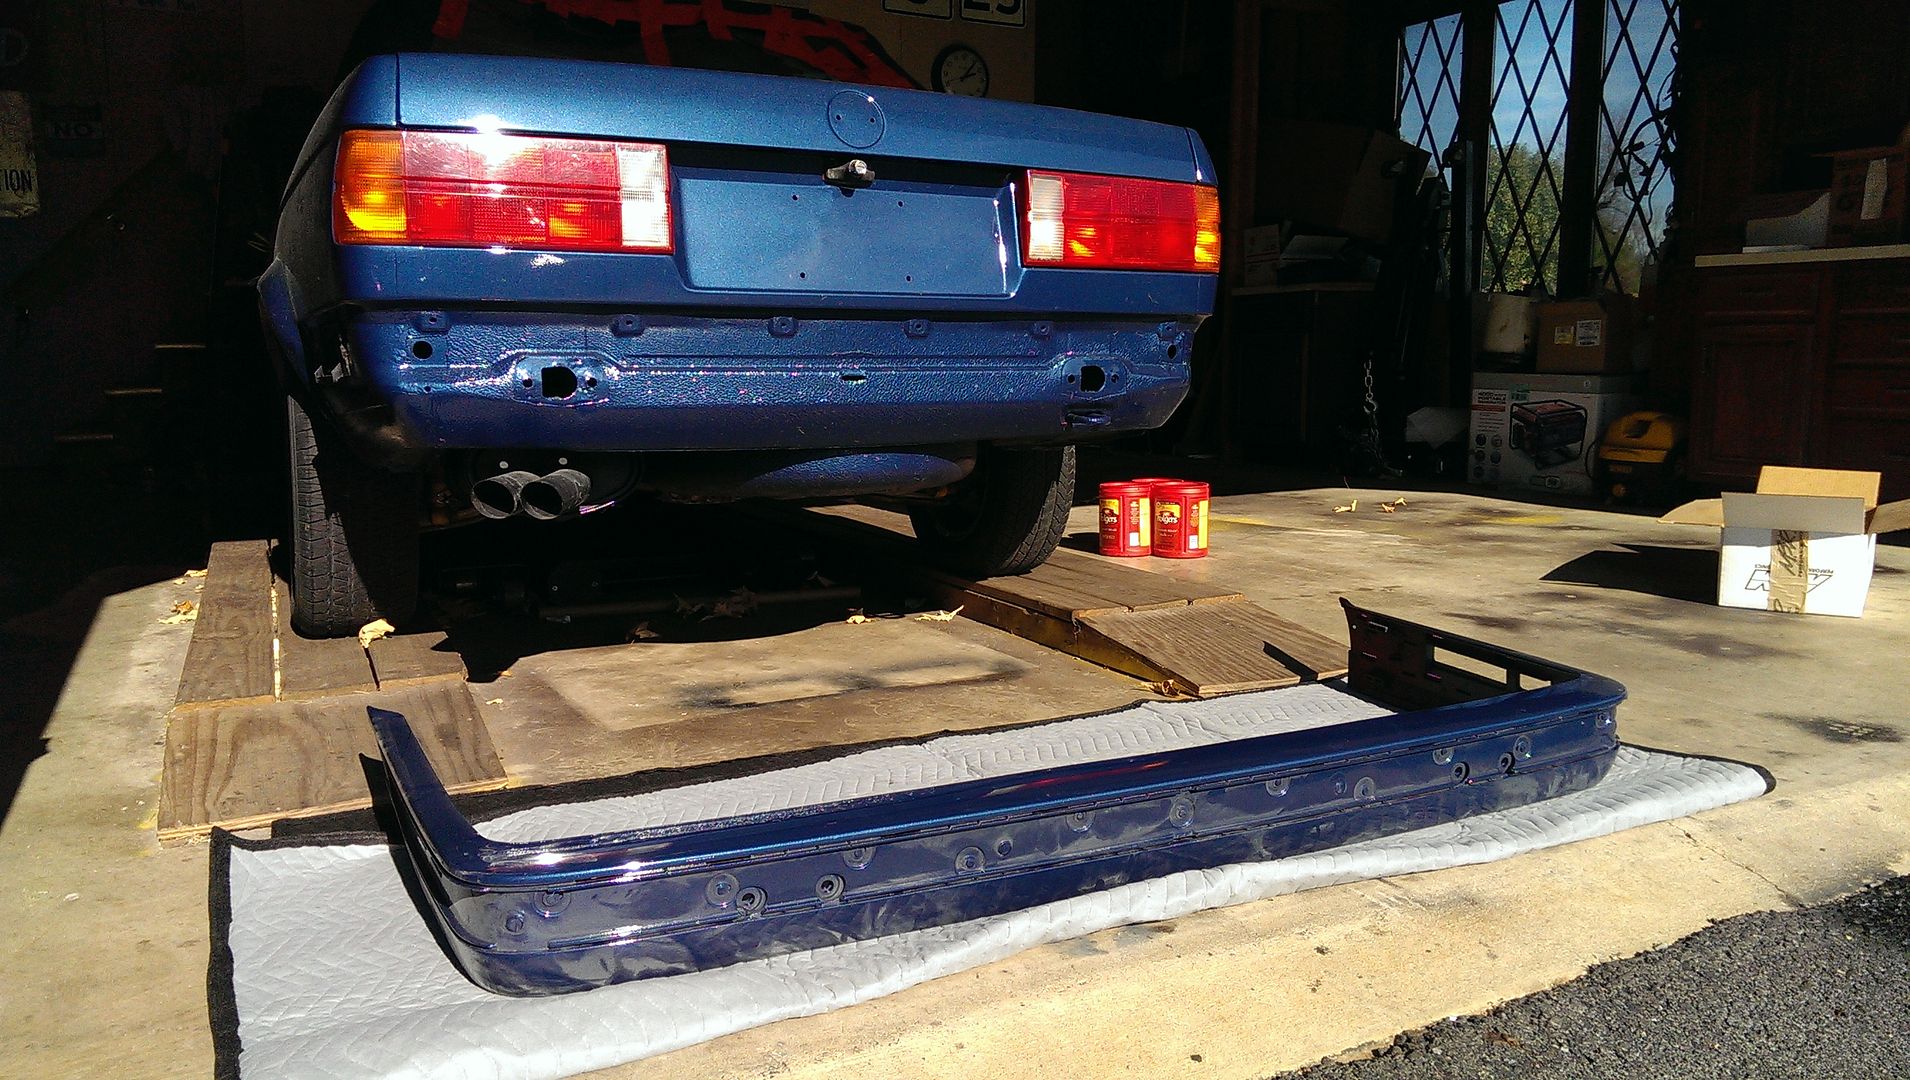
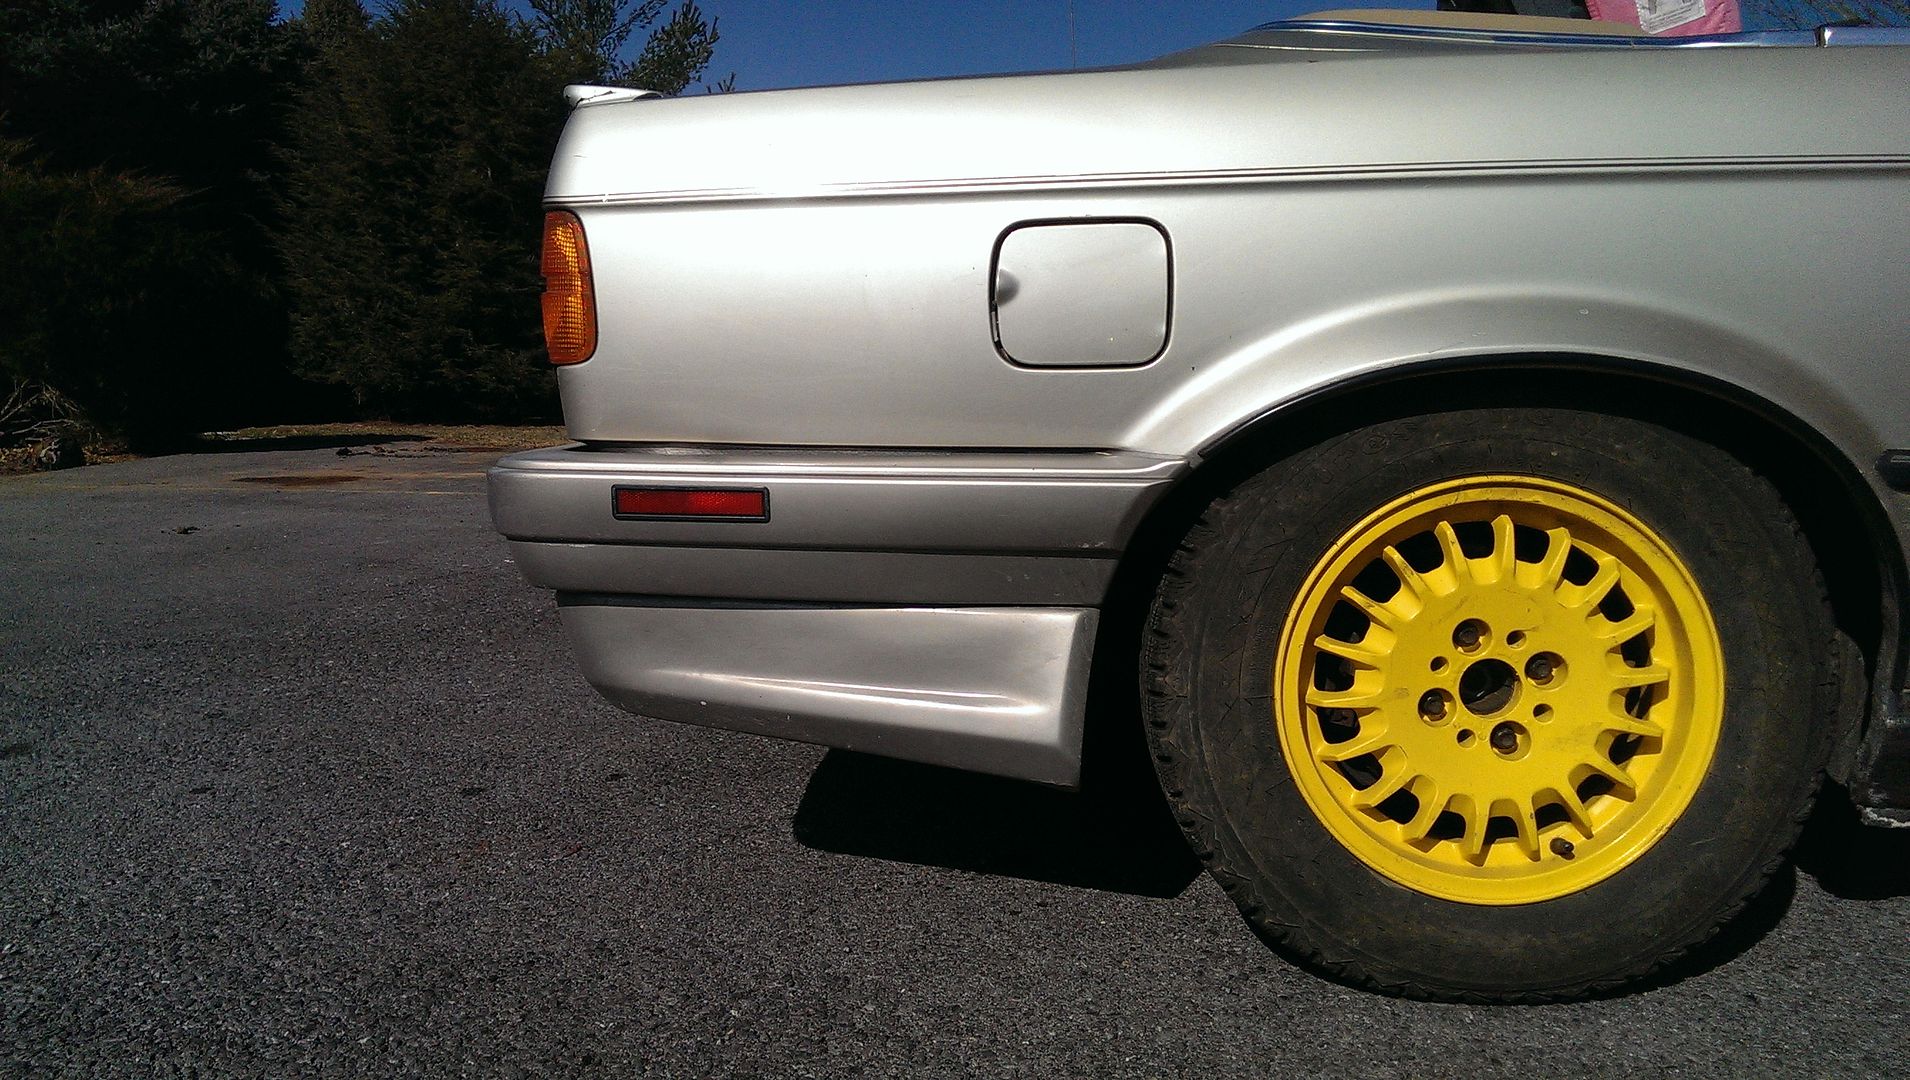
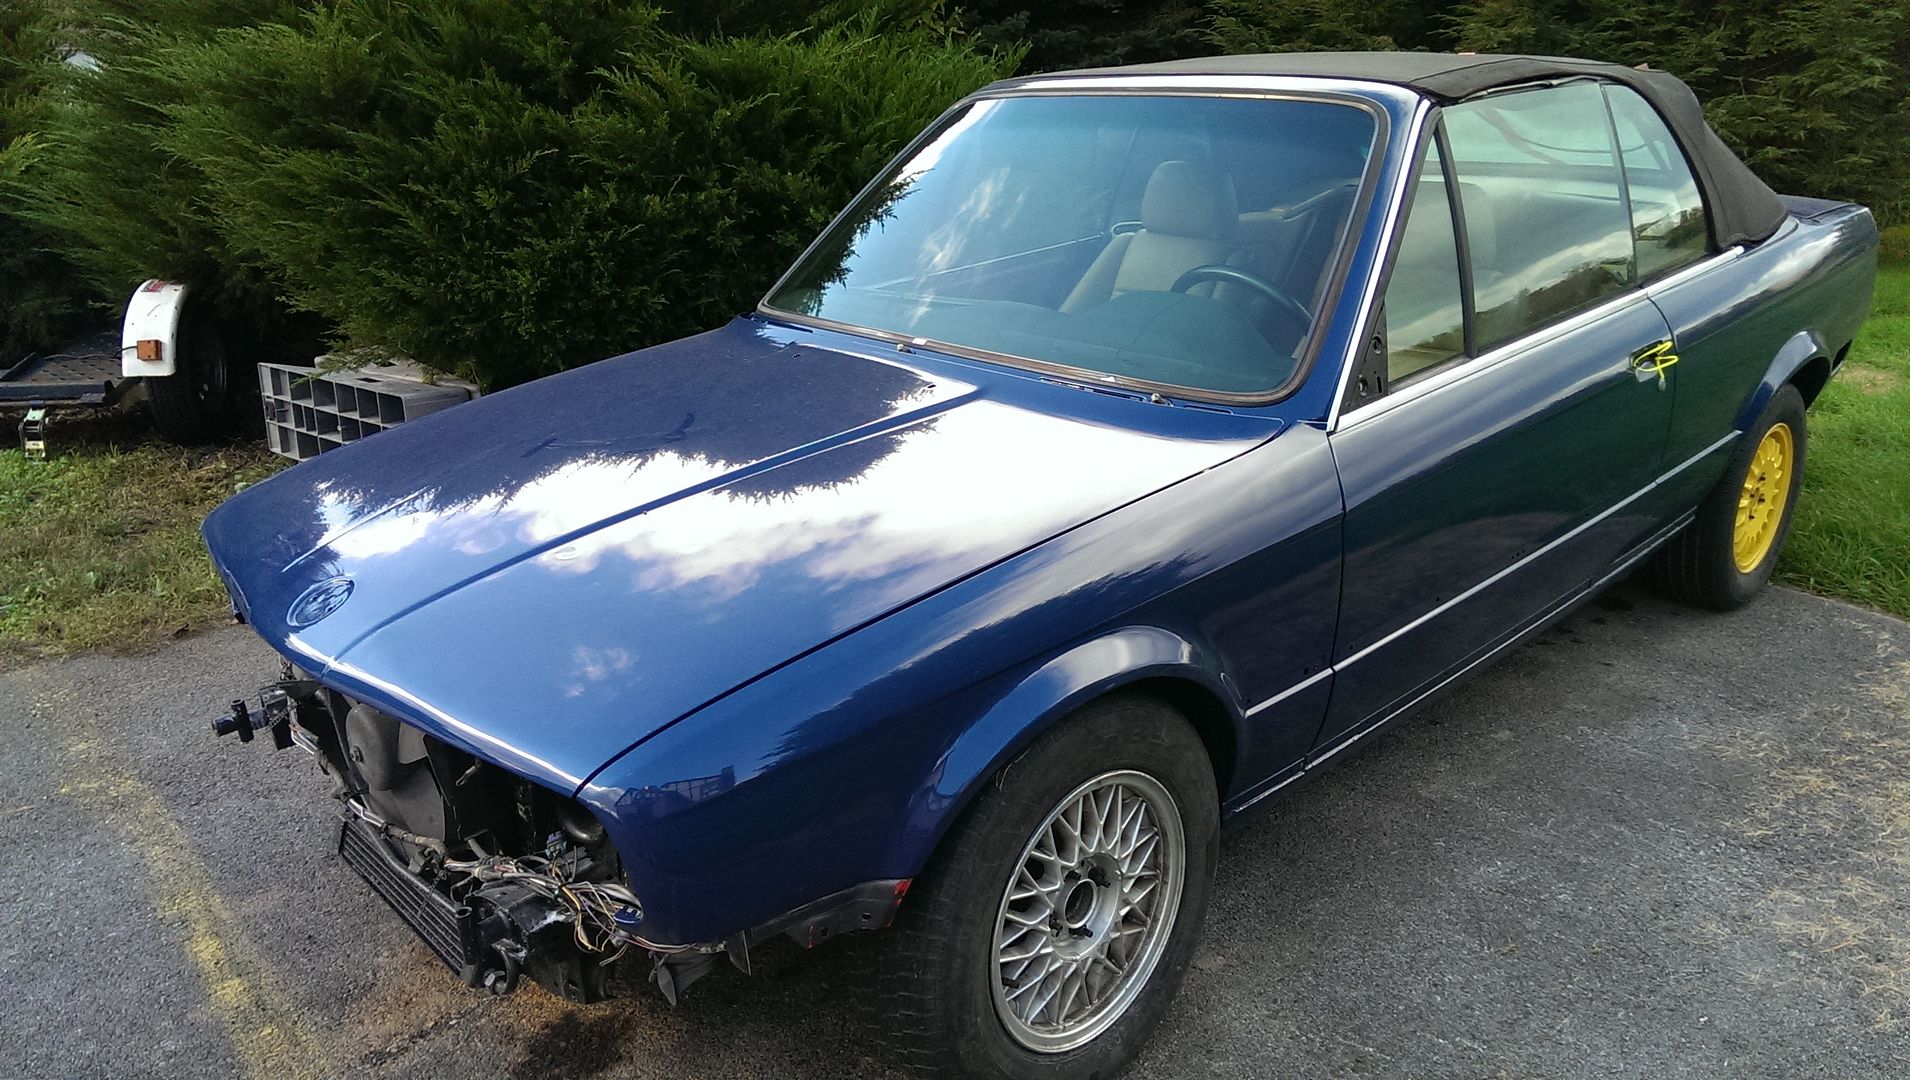
    I then took a stab at re-installing the fiberglass no-name rear apron/valance:


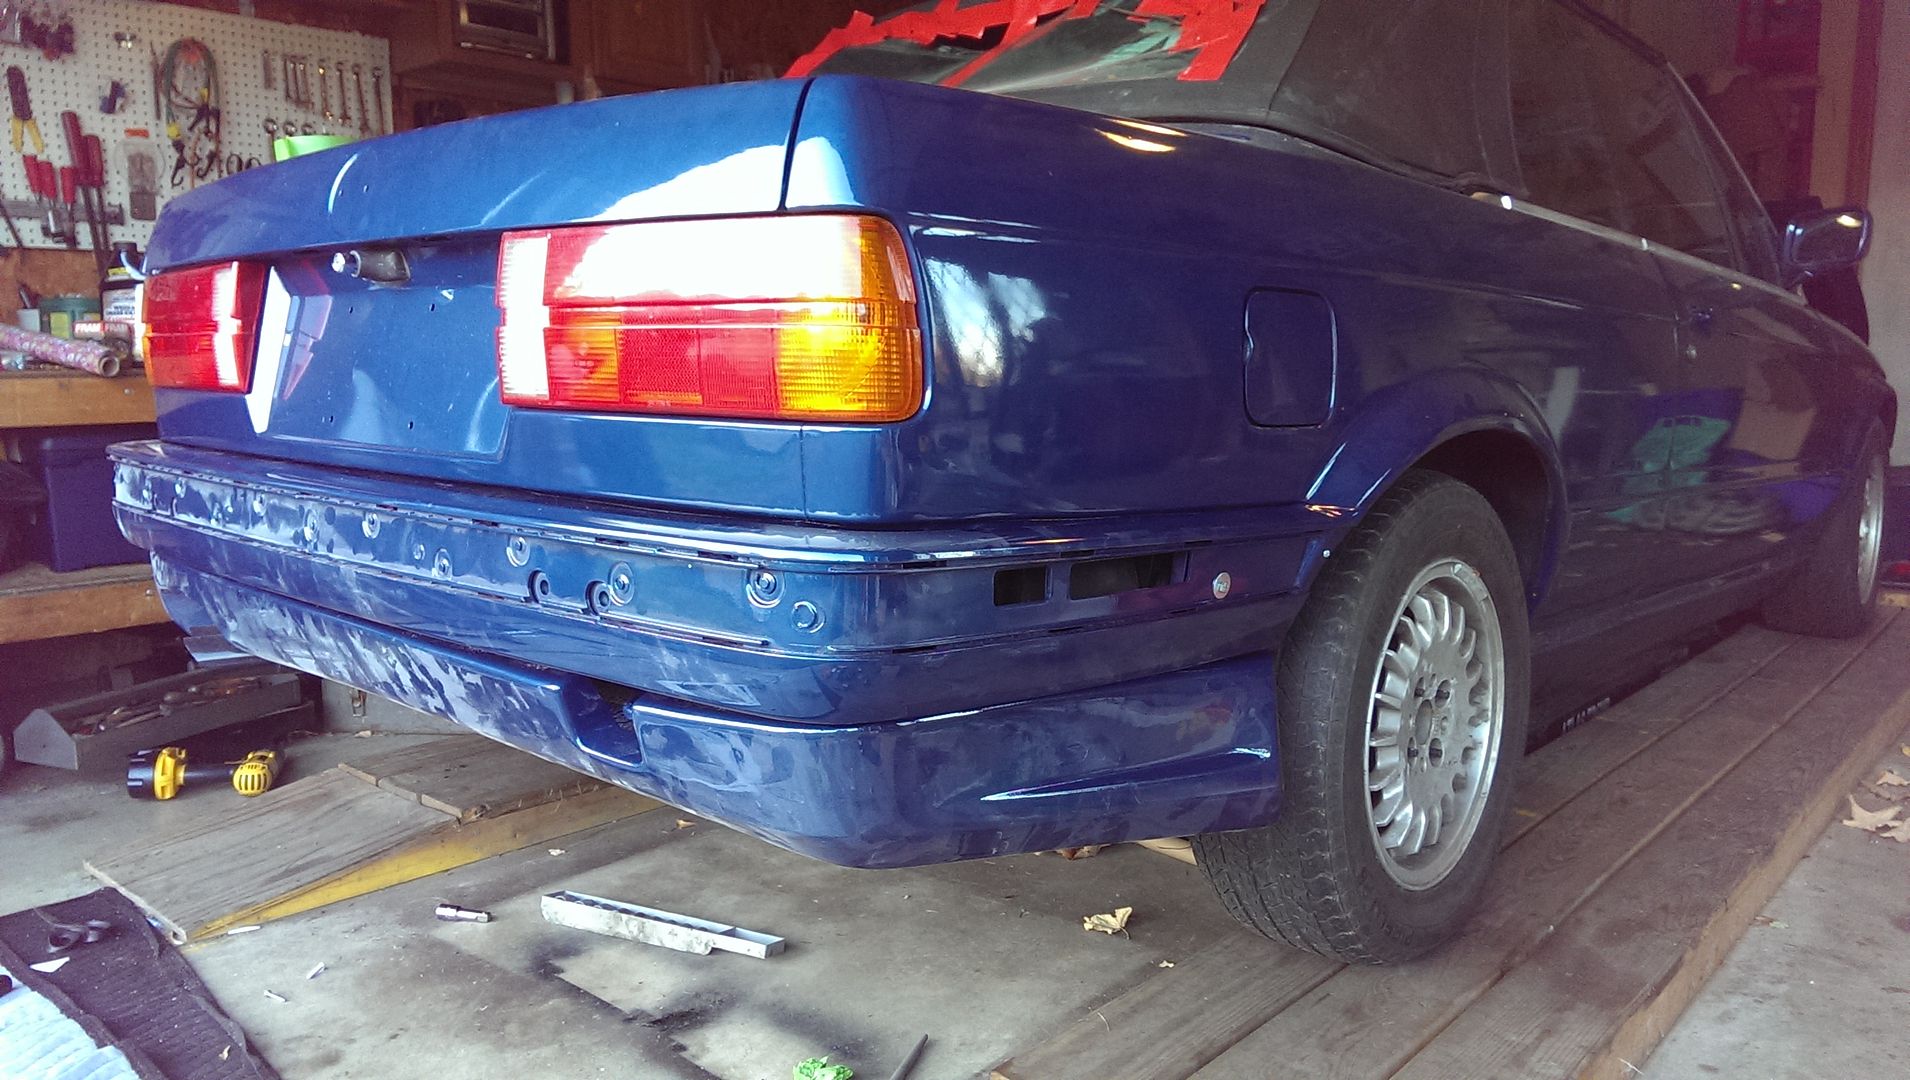
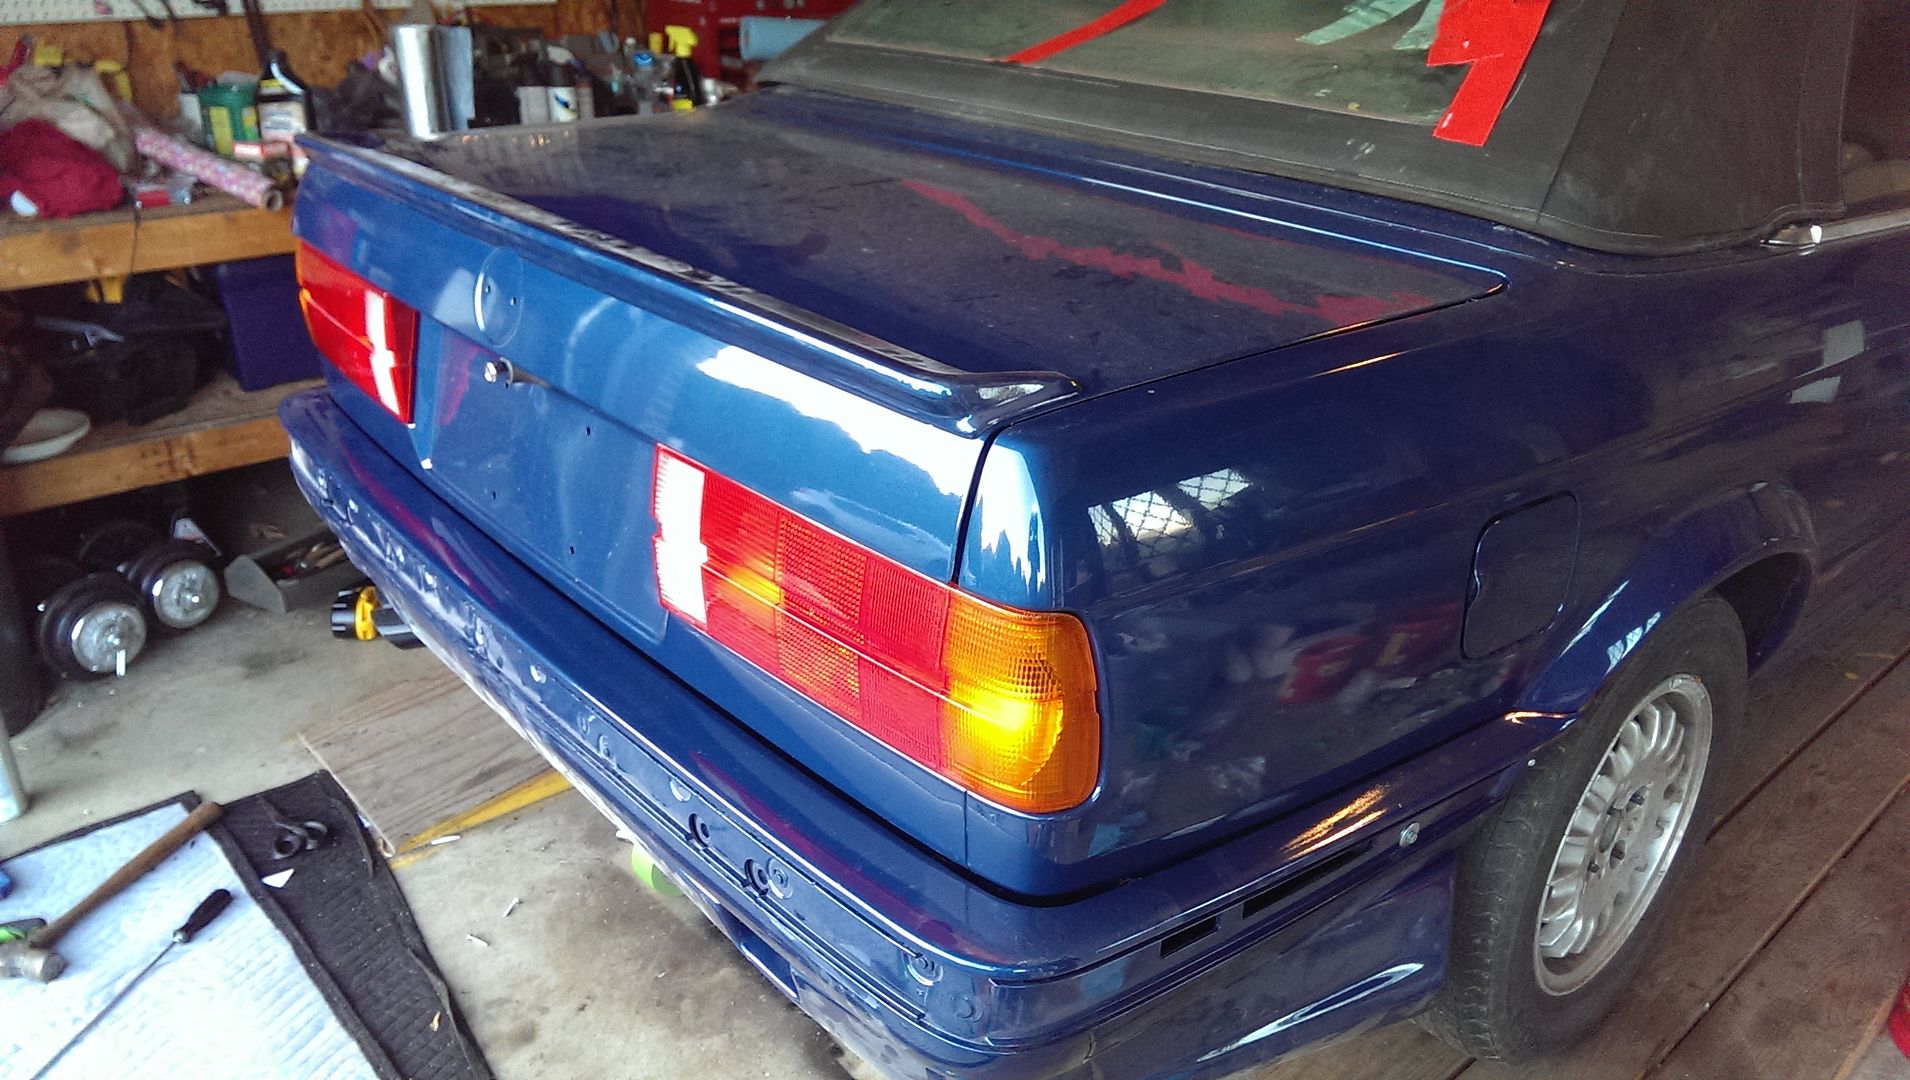
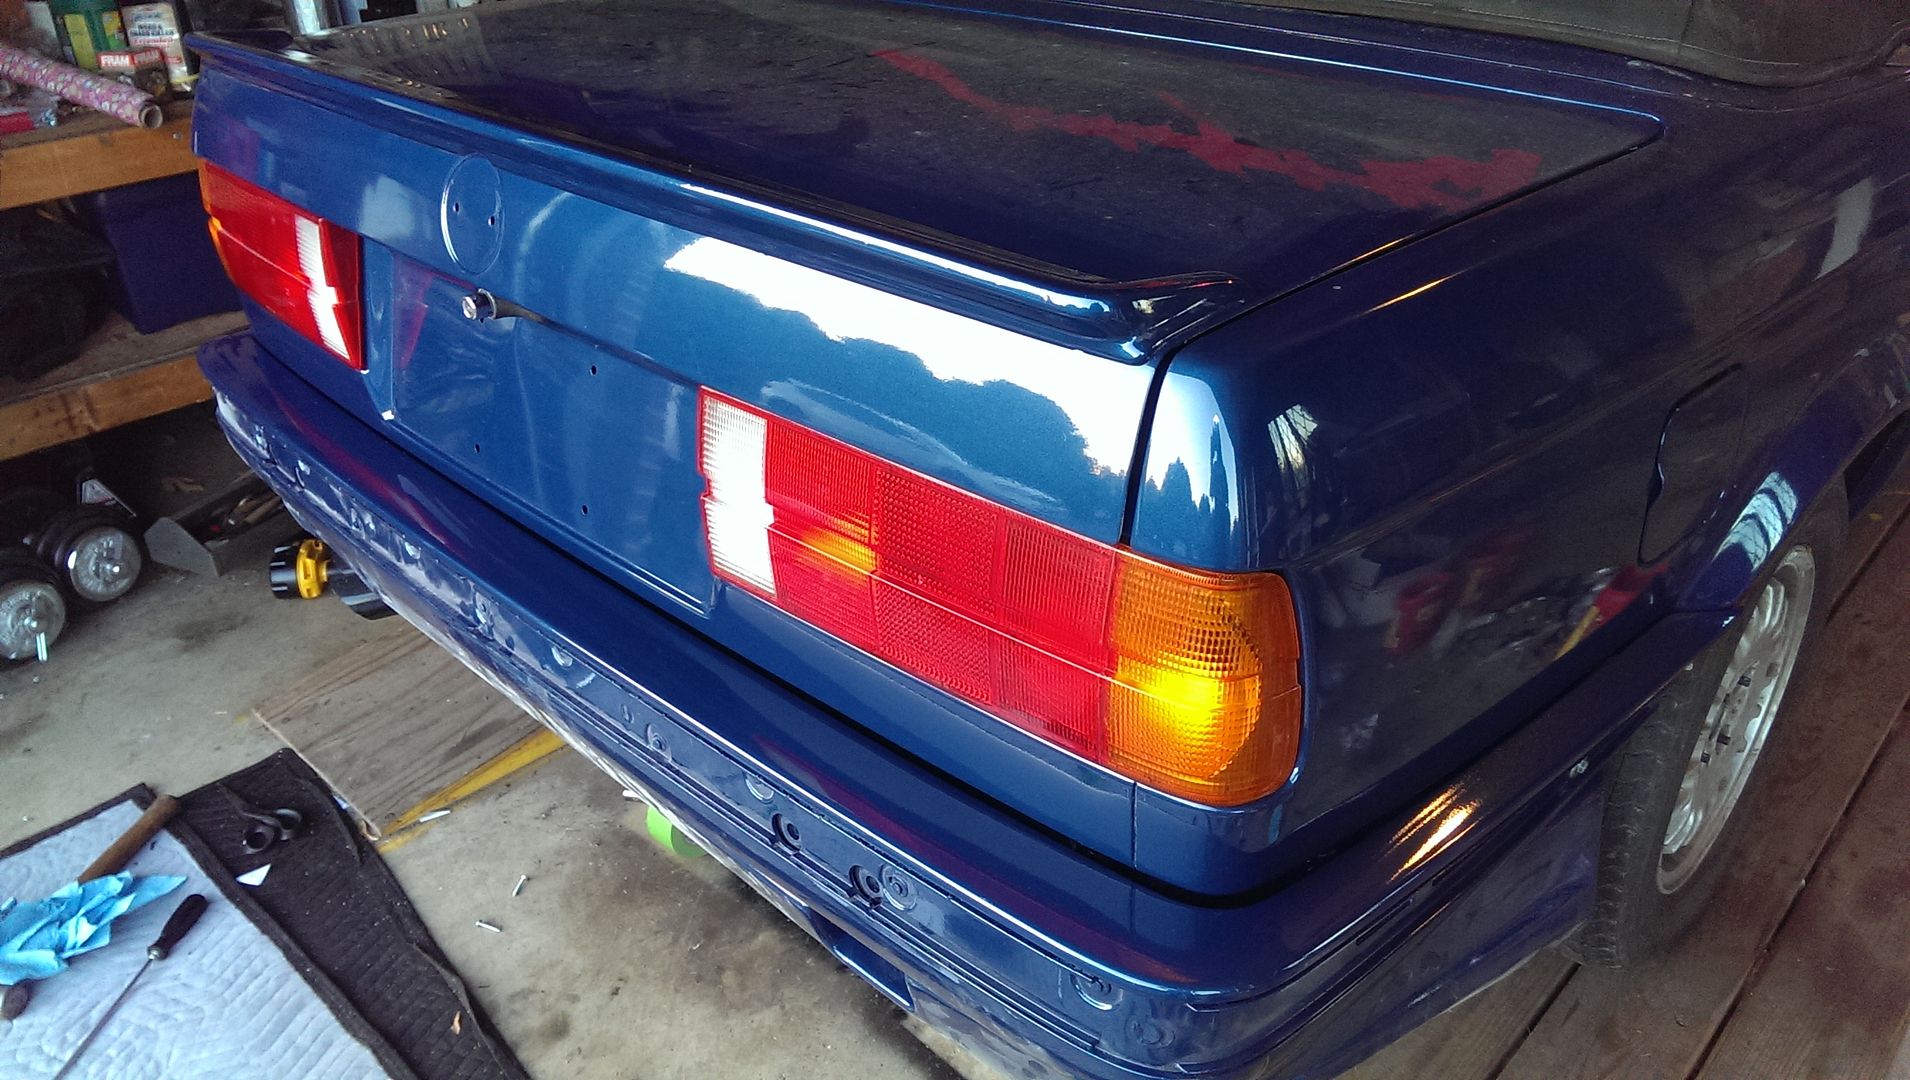
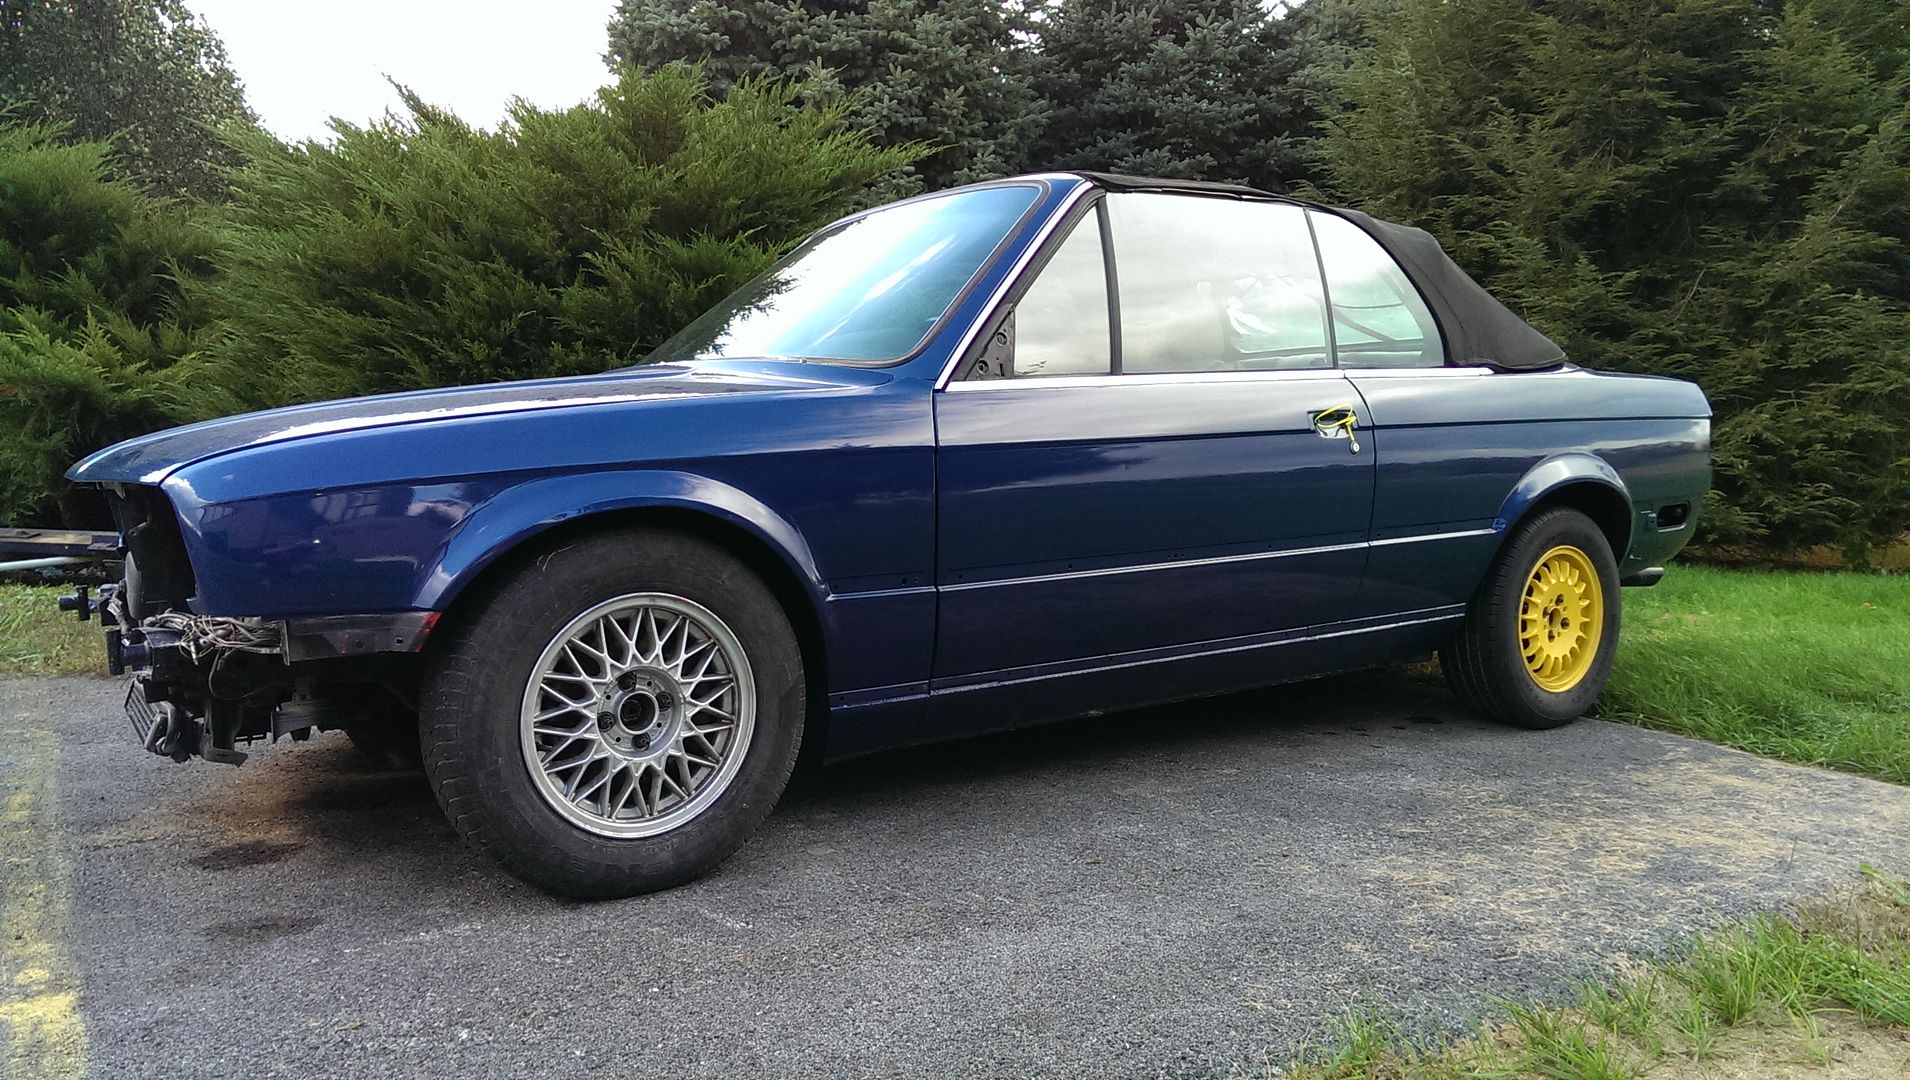
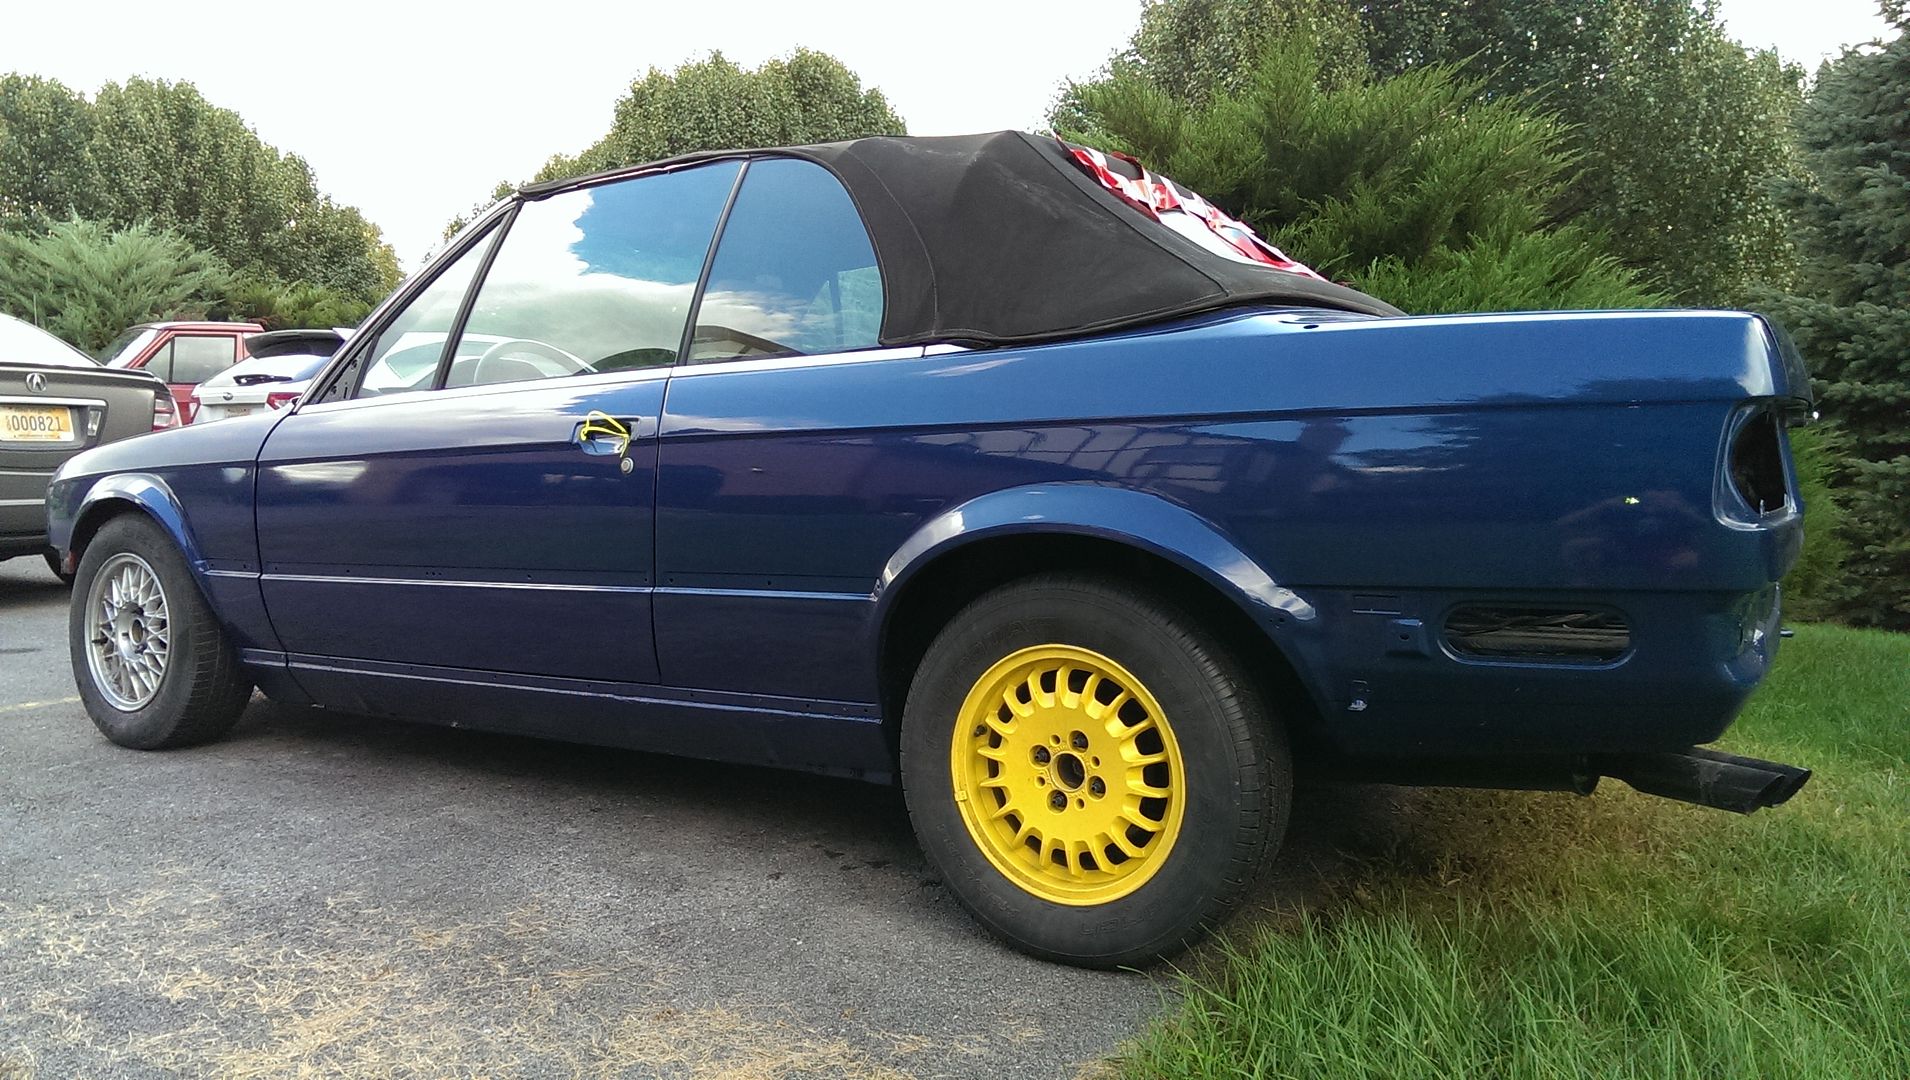
    And then I added my paint-matched rear "is" spoiler:


    Leave a comment:


  • phenryiv1
    replied
    The crowd roars! Update!

    I finally picked up the last of the parts from the paint shop. The late model lower valance, "is" front lip, and mirrors had been there while they did some touch up and repaired damage from the metal valance fell off of a parts stand.

    I moved them into my shop and did some dry test fitting:


    I also went ahead and installed the mirrors, just to get them out of the way:


    After that it was time to start getting parts back on the car. I run a small side business fabricating speaker brackets for Subarus and with all of the trim, bumpers, spoiler, lip, apron, etc., I was running out of room so before I damaged something I wanted to get the car partially re-assembled. I started with the back because I can't tow the car with the front valance on the car (too low) so until I get the car to & from the upholstery shop I will stick to the rear and sides.

    As has been discussed time and time again, the plastic bumper install on the rear of the early/DB models is not as easy as it is on the '88 coupe/sedan. I had read the posts by bradnic about the install and bought the complete parts list from the thread here: http://www.r3vlimited.com/board/show...3&postcount=17

    Unfortunately, it was not completely as easy as it sounded in the thread due to the vertical placement of the bumper. More on that below.

    First off, I used moving blankets to protect the bumper (and my back) during the install:


    Based on info in bradnic's post, I started taking measurements and trying to determine the proper place to drill the hole. After a few minutes of monkeying with the measurements I looked at the pictures and looked at the bumper and decided to center the pilot hole horizontally in the center of those horizontal slots and vertically I centered the hole on that triangular tab. Fast foward to the results- it was dead-on.

    Here is the locationof the hole:


    3/32" pilot hole and 5/16" final hole (using a pilot-tip bit).

    To provide some insulation to avoid direct trim-to-body contact I used some sound deadening insulation (used in car stereo applications). I wish that I had had black but I can change it later. I cleaned the tabs with alcohol, let it dry, and applied the deadner.


    Next up is the part that was left out of the other writeup. Maybe it was elsewhere on the page (I had only viewed Post #17) and maybe it was assumed that everyone knew that the holes to mount the brackets needed to be slotted but I forgot about that and installed the bumper at this point only to discover that it was too low and looked like crap.

    Here is a reminder of how low the rear plastic bumper site on an early/DB car:


    Time to get out my thinking cap...

    Leave a comment:


  • irish44j
    replied
    Pat, you should take those taillight gaskets and template them. Sheets of similar gasket material are pretty cheap. Once templated, it would be pretty easy to cut out new ones.

    Leave a comment:


  • phenryiv1
    replied
    Originally posted by 2mAn View Post
    I could use a new trunk gasket. I figured they would be crazy expensive. How much was it and who are you getting it from? Blunt? When I changed my taillight gaskets, they were such a bitch to change, but felt so good knowing that old dried out crap was gone.
    Something like $45 for OEM and $28 for Uro. I ordered this batch of parts from Tischer/GetBMWPart.com but the price is pretty much the same everywhere. I sometimes order form Guten as well. I have never order from Blunt, but only because I have standing accounts with Guten and getbmwparts and plus Blunt is on the West coast and the other are out East with me so it saves on time & shipping.

    Originally posted by 2mAn View Post
    When I changed my taillight gaskets, they were such a bitch to change, but felt so good knowing that old dried out crap was gone.
    These were beyond shot. They were dry and brittle like cardboard. Changing them was easy in my case since the lights were already out of the car for paint.

    Originally posted by 2mAn View Post
    Car is looking great, cant wait to see it all put together
    Same here! And thank you for the compliments. I really want to get the bumpers and molding back on to see how I like the painted trim.

    Leave a comment:


  • 2mAn
    replied
    I could use a new trunk gasket. I figured they would be crazy expensive. How much was it and who are you getting it from? Blunt? When I changed my taillight gaskets, they were such a bitch to change, but felt so good knowing that old dried out crap was gone.

    Car is looking great, cant wait to see it all put together

    Leave a comment:


  • phenryiv1
    replied
    Originally posted by bradnic View Post
    Definitely would not reuse the trunk lid gasket. They're cheap and easier to install than the taillight ones..
    Using the old one is not the long-term plan. This one was fairly new and they were backordered when I ordered the rest of my gaskets. I will order a new one when I place my next parts order. They appear to be back in stock now.

    Leave a comment:


  • bradnic
    replied
    Definitely would not reuse the trunk lid gasket. They're cheap and easier to install than the taillight ones..

    Leave a comment:


  • phenryiv1
    replied
    With about a hundred other things going on, progress has been slow. I did manage to find 45 minutes to work on the car this weekend so I started with the taillights.

    Old versus new taillight gaskets:


    Cleaned up the taillights. I may start looking to replace one/both but for now they do the job:


    Gasket installed:


    Lights installed:


    I also re-installed the trunk gasket and the vents in the lower body section. Next up will hopefully be the rear bumper and apron/rear skirt.

    Leave a comment:


  • phenryiv1
    replied
    Originally posted by 95maxrider View Post
    Looking good! Let me know if you need a hand getting it back together.
    I probably will. Pending what I hear at the upholstery shop this weekend I will either be leaving it for the top install or initiating the re-assembly.

    Leave a comment:


  • 95maxrider
    replied
    Originally posted by phenryiv1 View Post
    Dusty, dirty, and still not even slightly re-assembled but a few outside pics:


    Looking good! Let me know if you need a hand getting it back together.

    Leave a comment:


  • phenryiv1
    replied
    Dusty, dirty, and still not even slightly re-assembled but a few outside pics:


    Leave a comment:


  • phenryiv1
    replied
    So I got the car back but some parts are still at the paint shop. I have been on vacation since getting the car so no new pictures, plus it is raining like crazy. Putting together the order for all of the fasteners and seal that I still need to re-install the trim and body parts.

    Leave a comment:


  • G-Man the Visionary
    replied
    Nice! Get it back yet?

    Leave a comment:


  • phenryiv1
    replied
    Updste:

    Still no car from the paint shop but my BimmerHeads 885 did arrive this weekend. Schrick 272 cam, HD rockers, matched dual valve springs. Looks awesome!


    Also got this sweet t-shirt:


    And I put my OEM gasket set in the same box for safe keeping. Formerly it was just perched atop a pile of parts:

    Leave a comment:


  • G-Man the Visionary
    replied
    Originally posted by phenryiv1 View Post
    Arrived yesterday:


    Poly trans mounts from G-Man the visionary. I still like Condor for race (and many street) applications but these seemed like a good option for a pure street/cruiser car.

    Now just waiting for the car to come back form paint to install them. Well, these and about 50 other parts.
    Thank you for your repeat business, I really hope you enjoy them. Keep up the good work, car is coming together great!

    Leave a comment:

Working...
X