
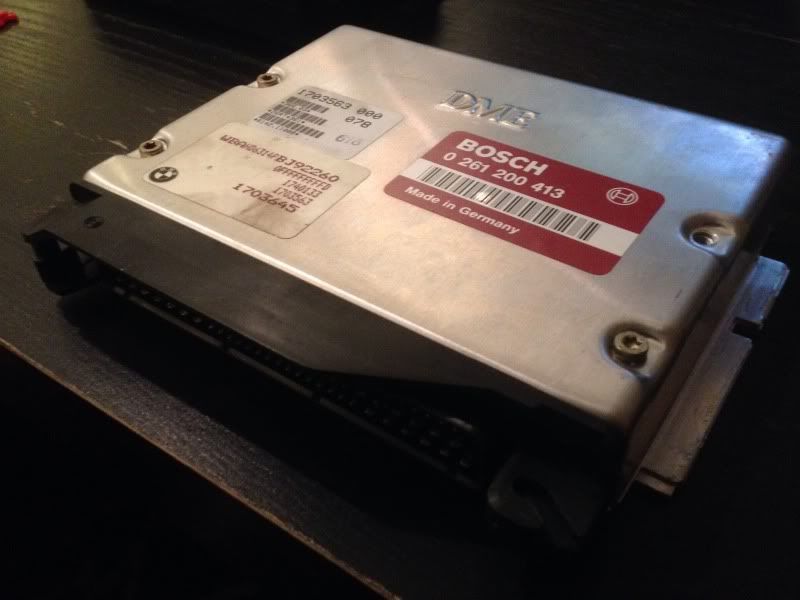
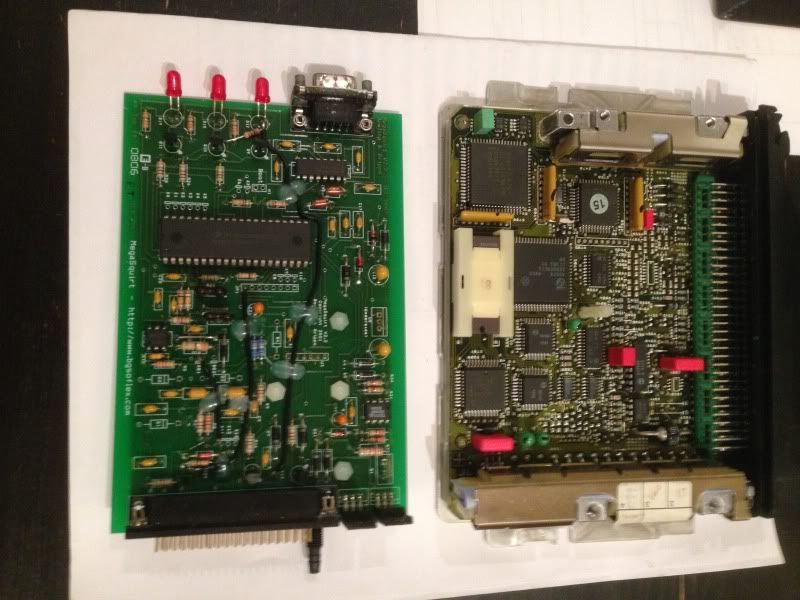
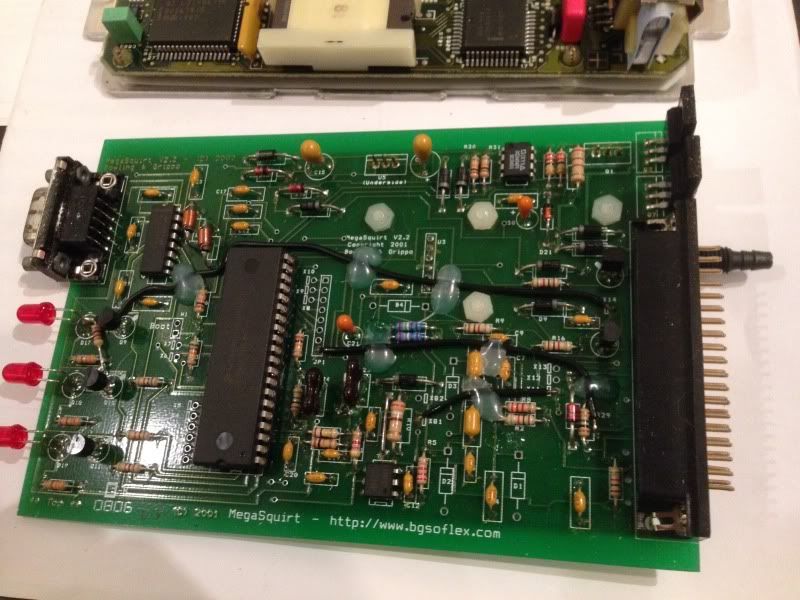
Megasquirt
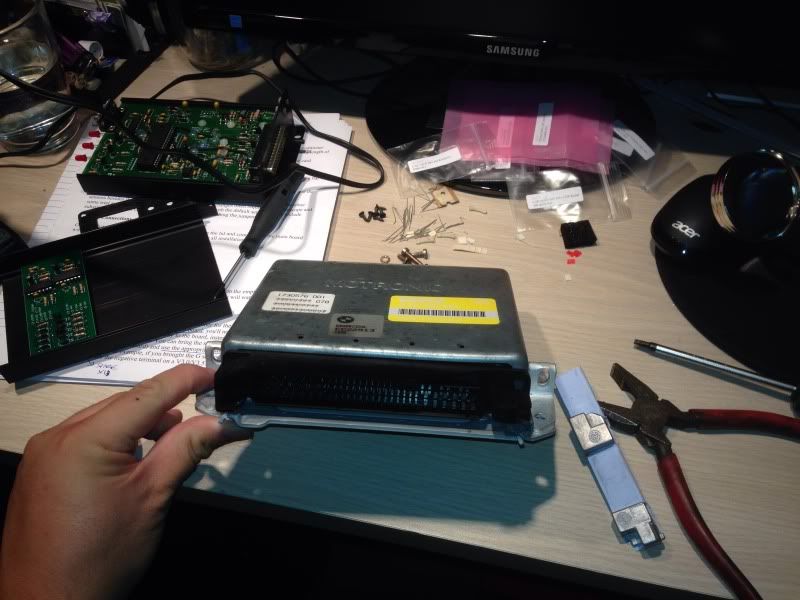
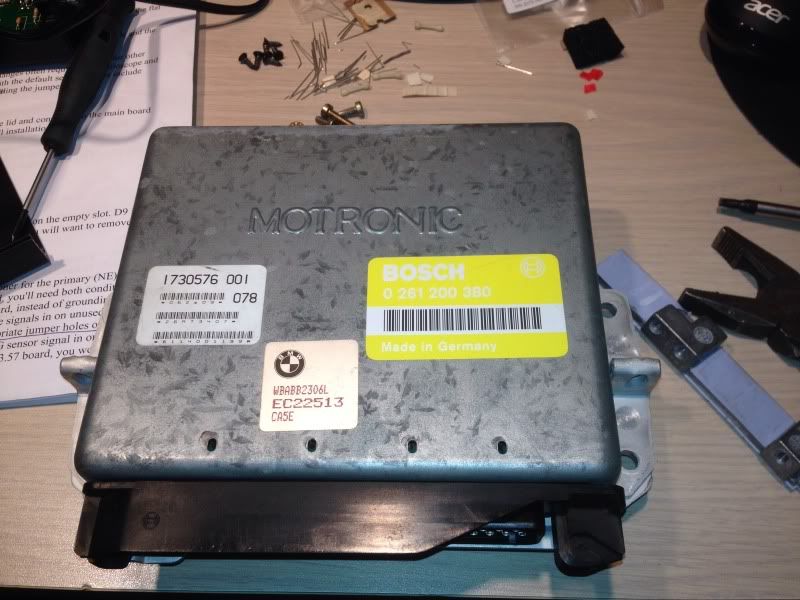
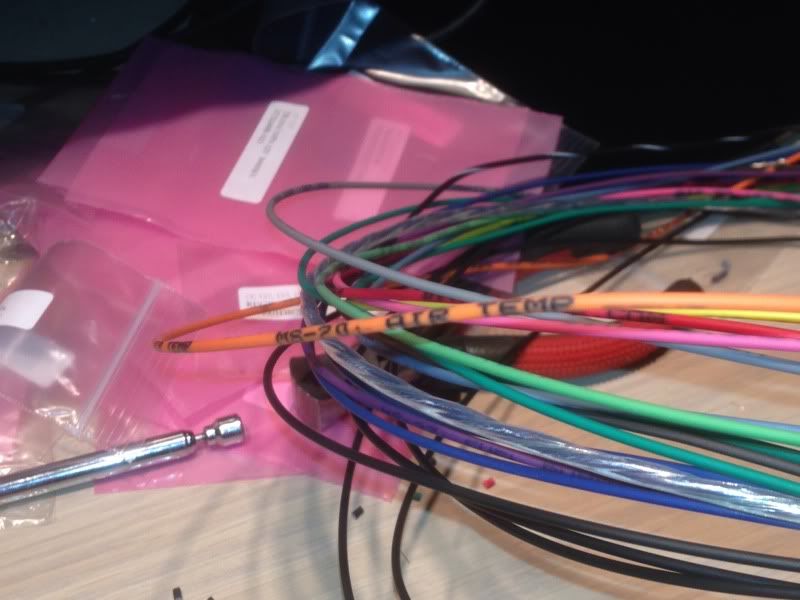
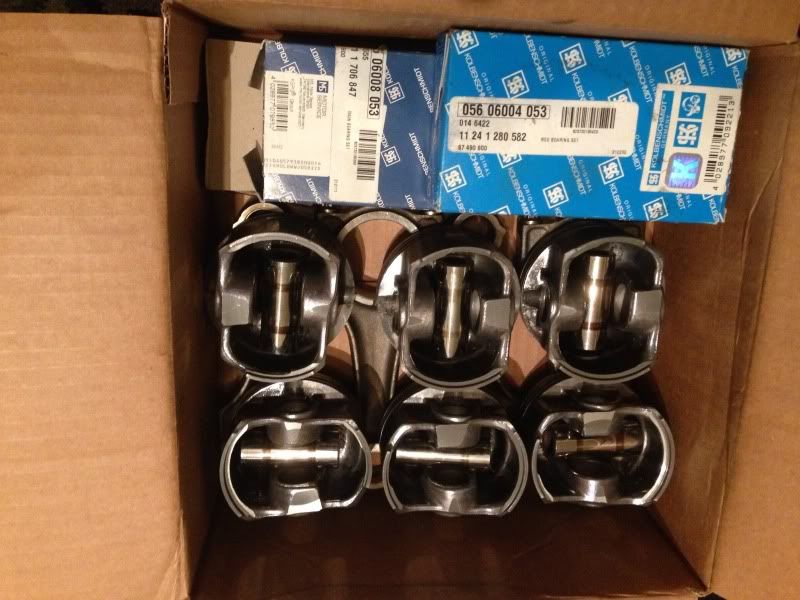
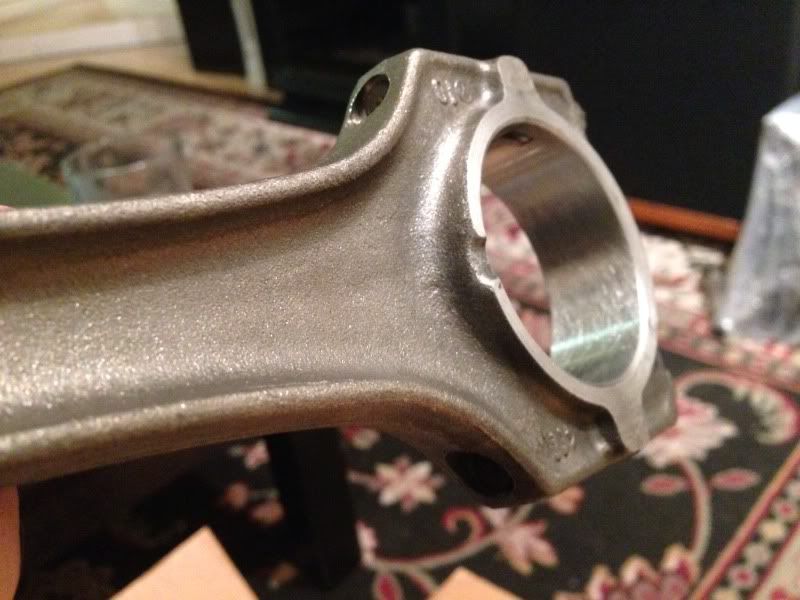
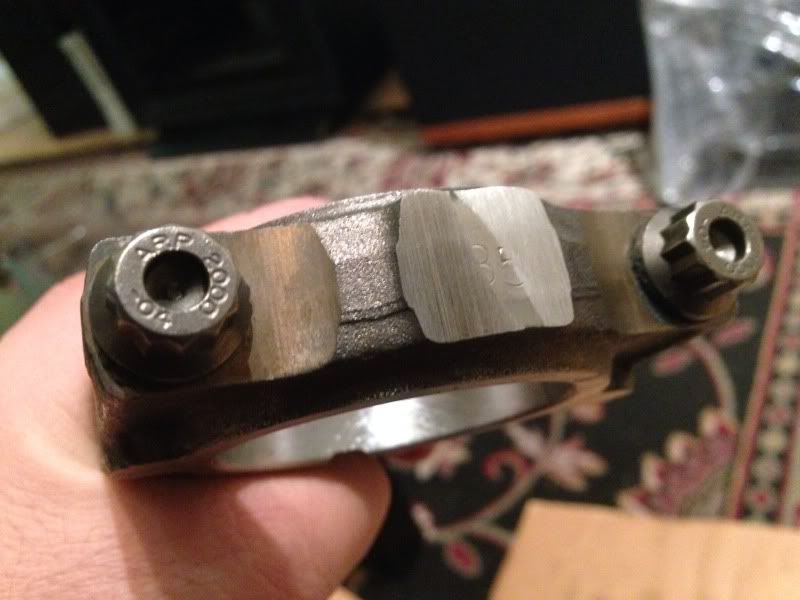
Brain Storming with Parts in hand
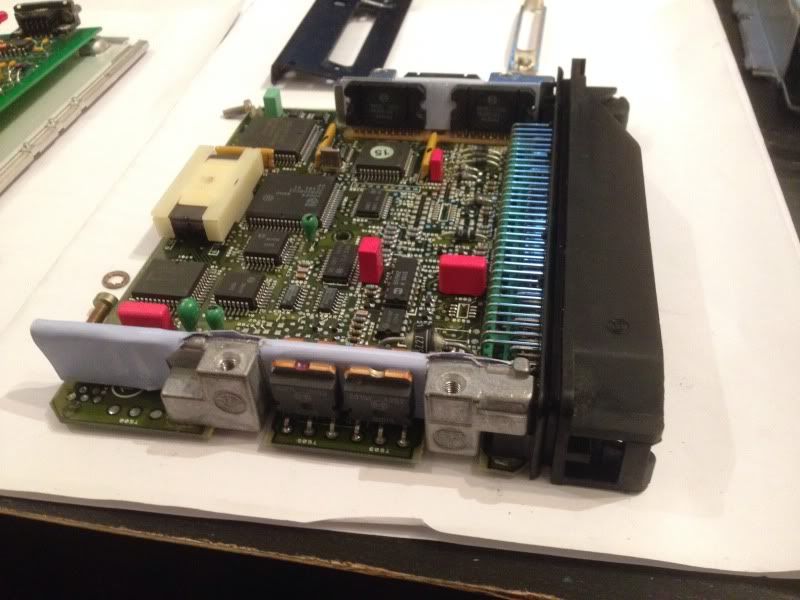
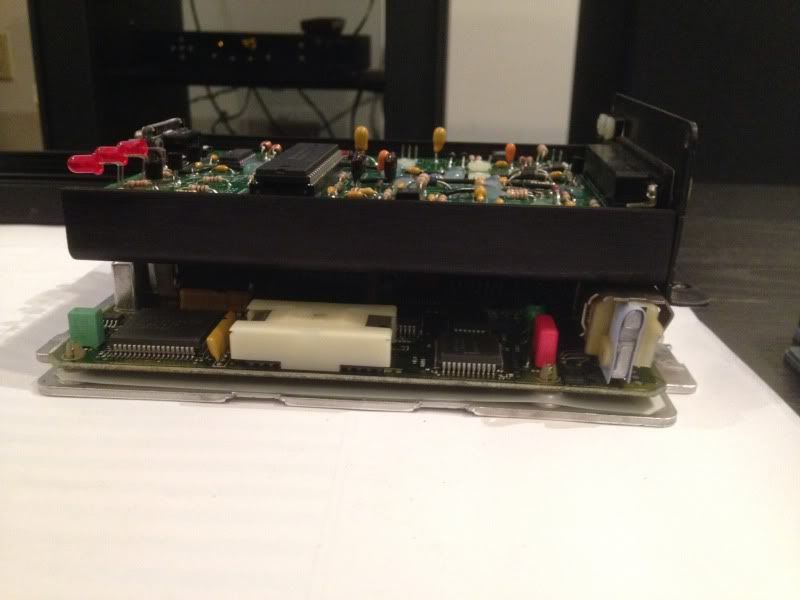

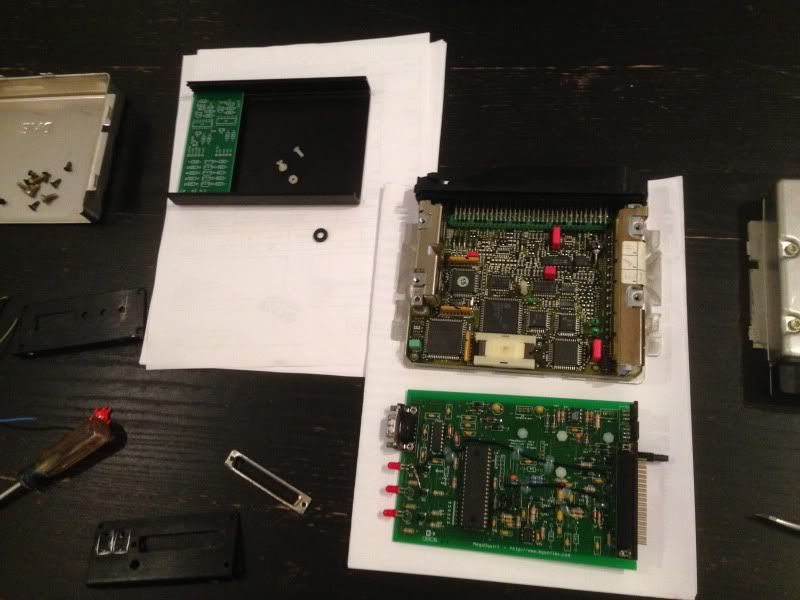
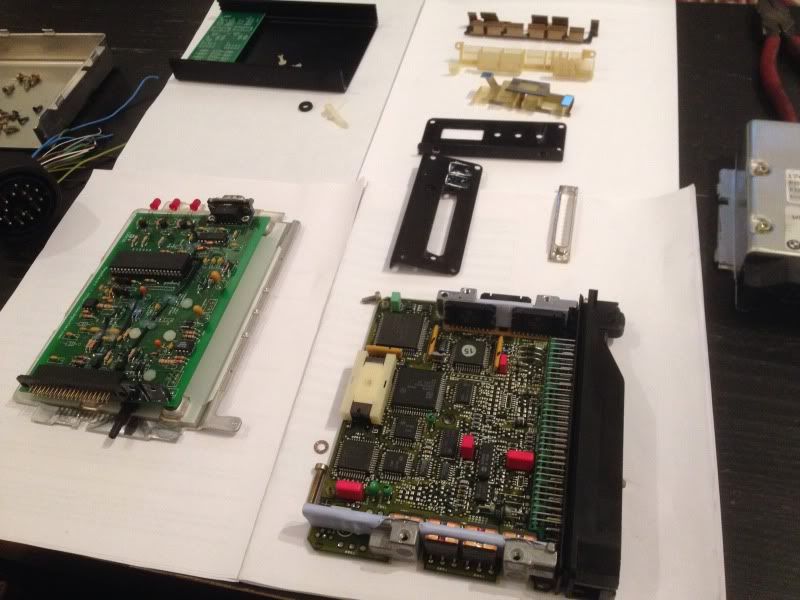
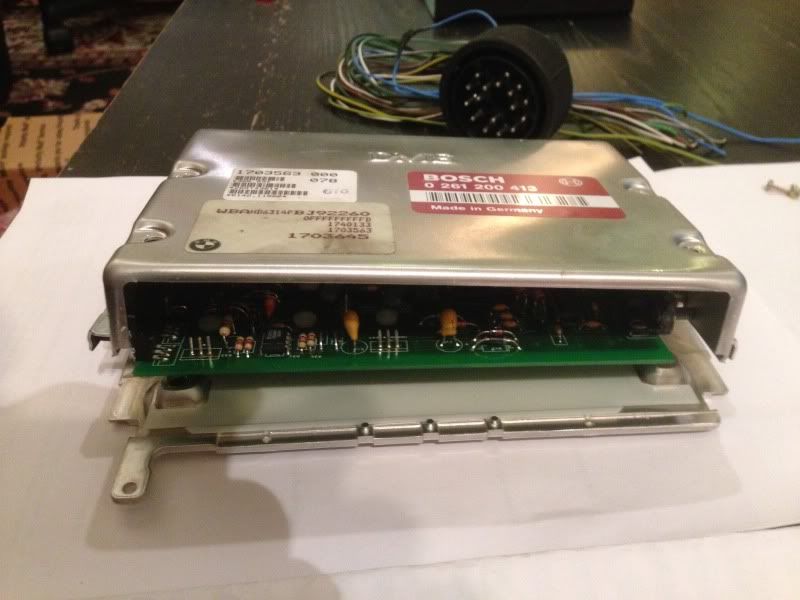
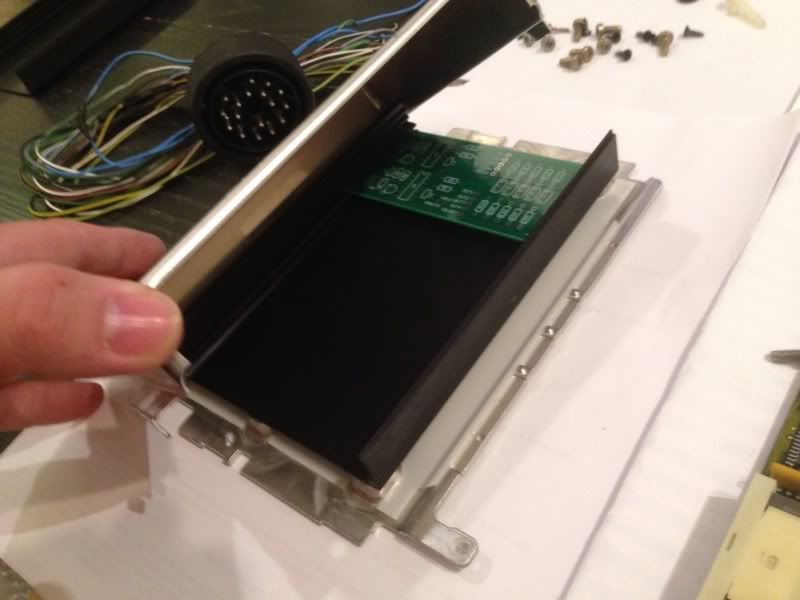
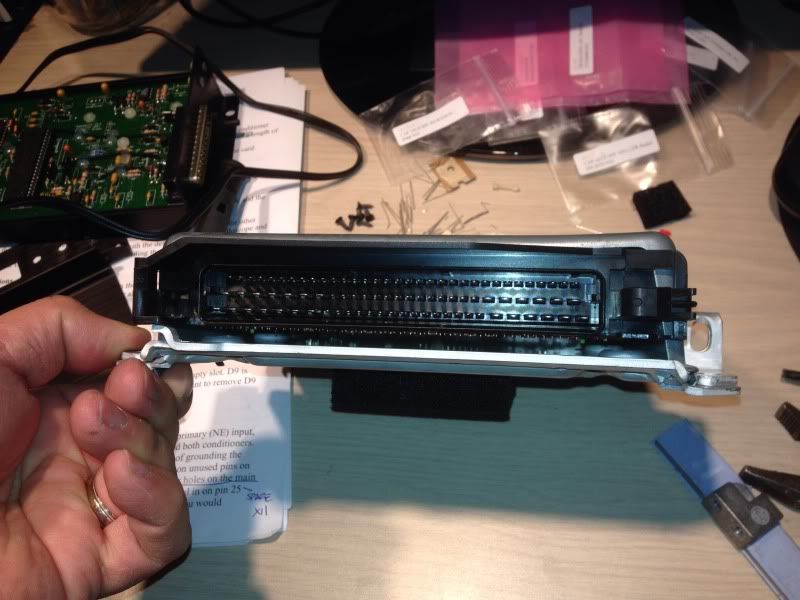
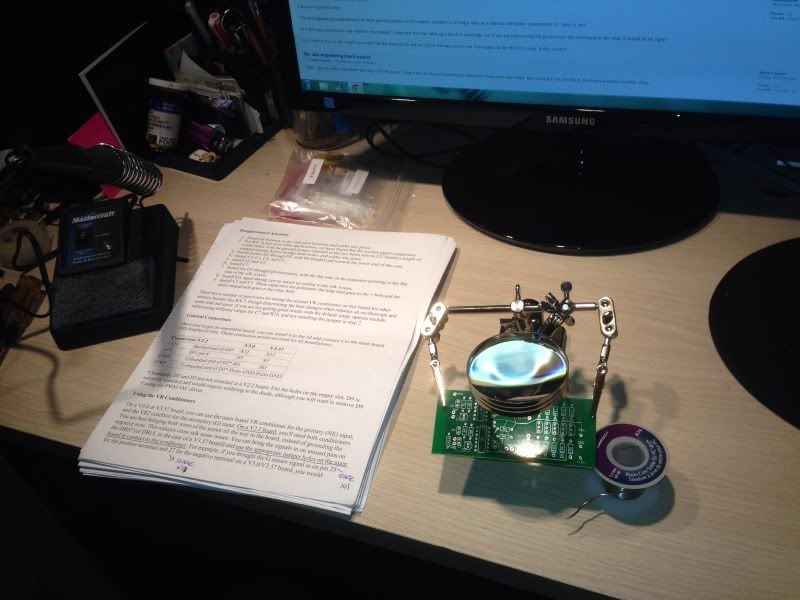
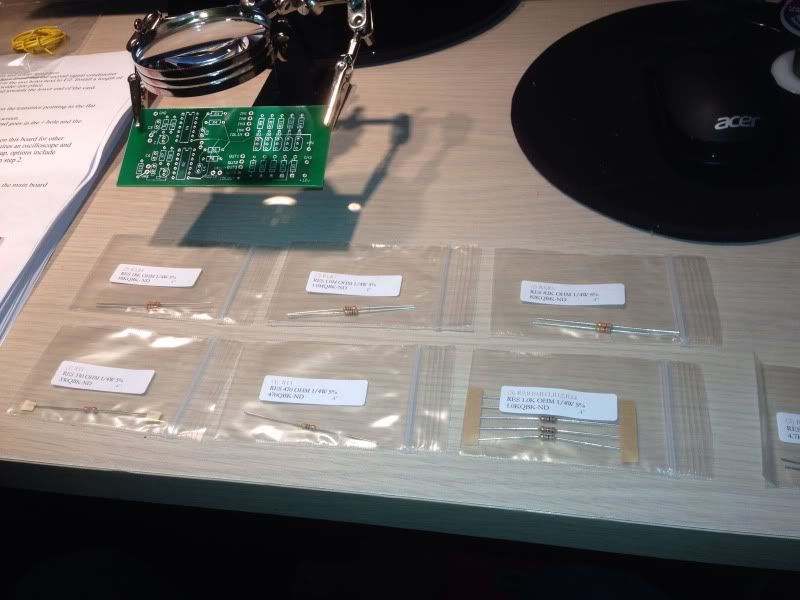
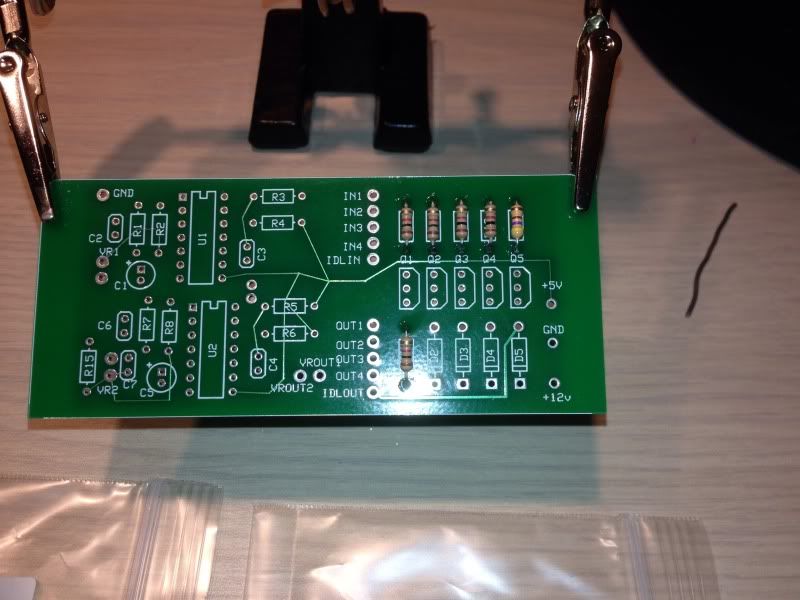
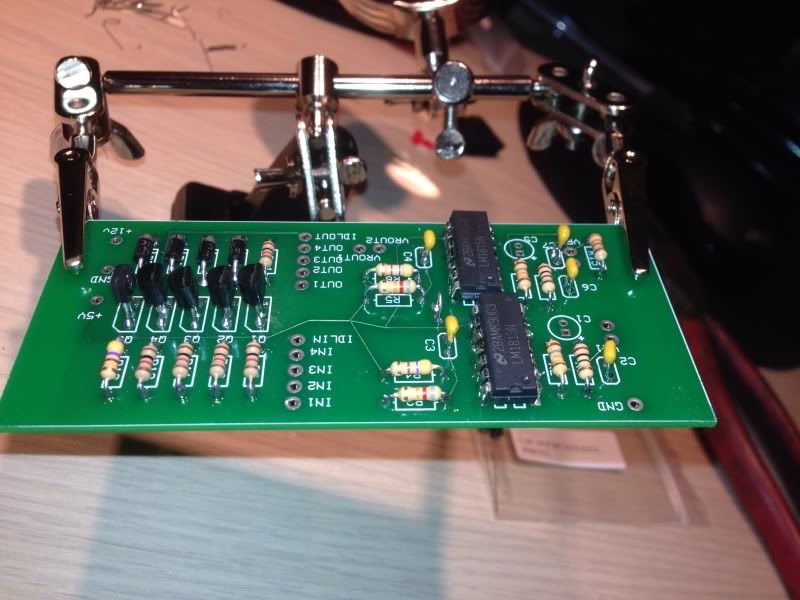
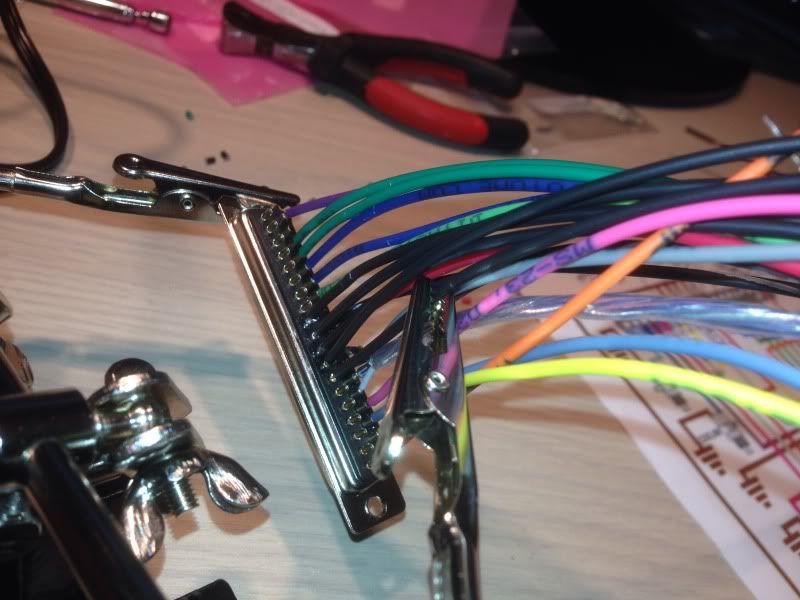
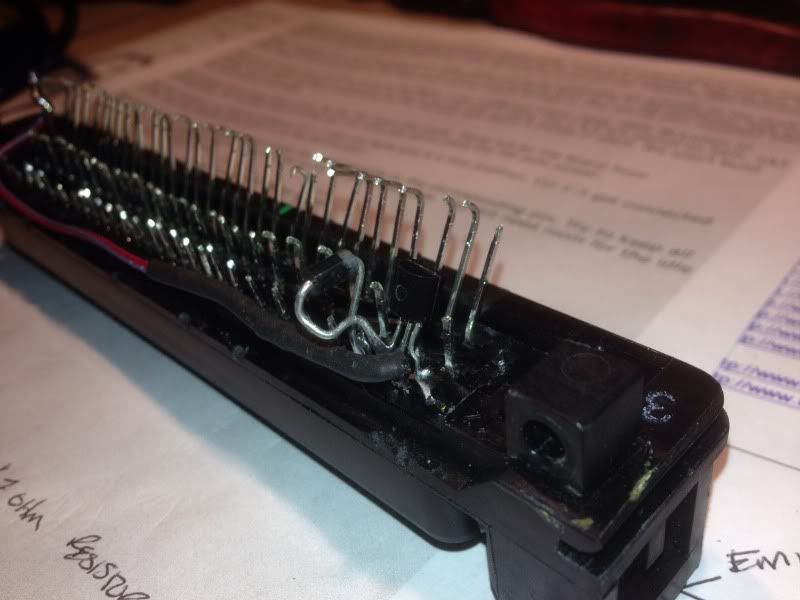
Zeal Daughter Board Building
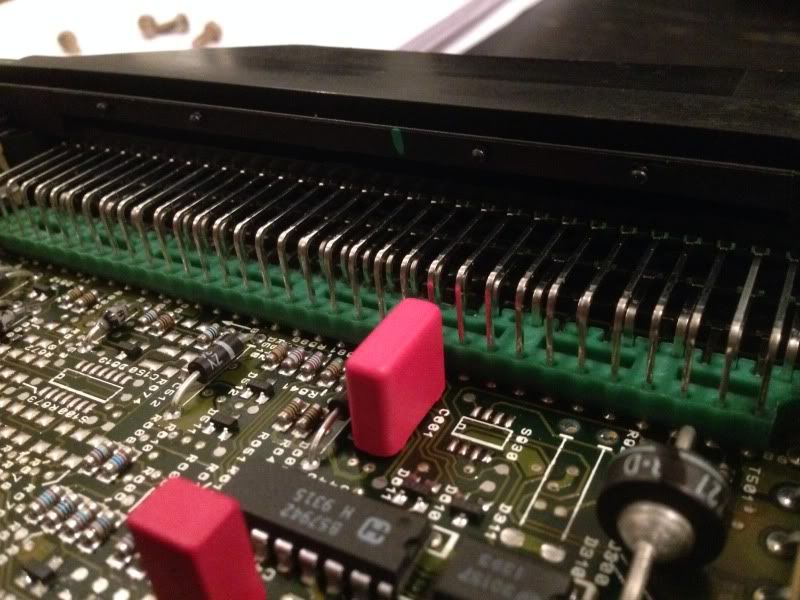
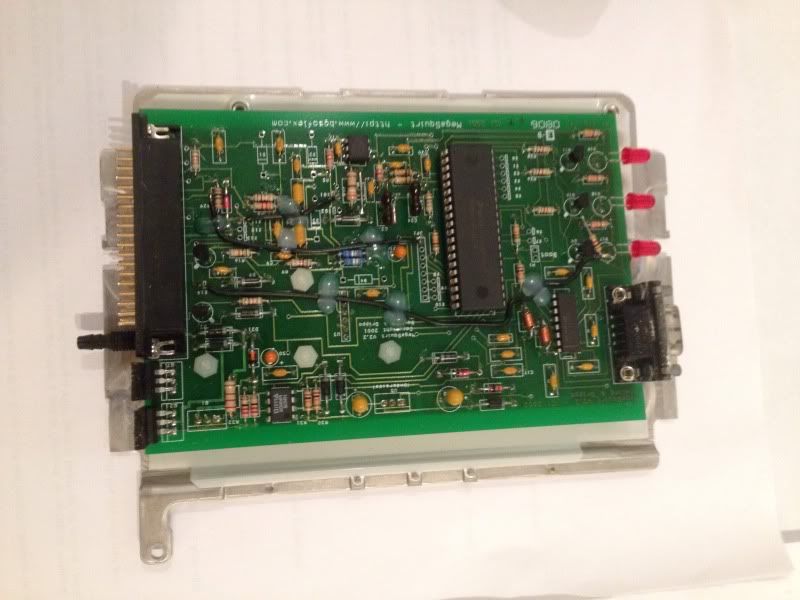
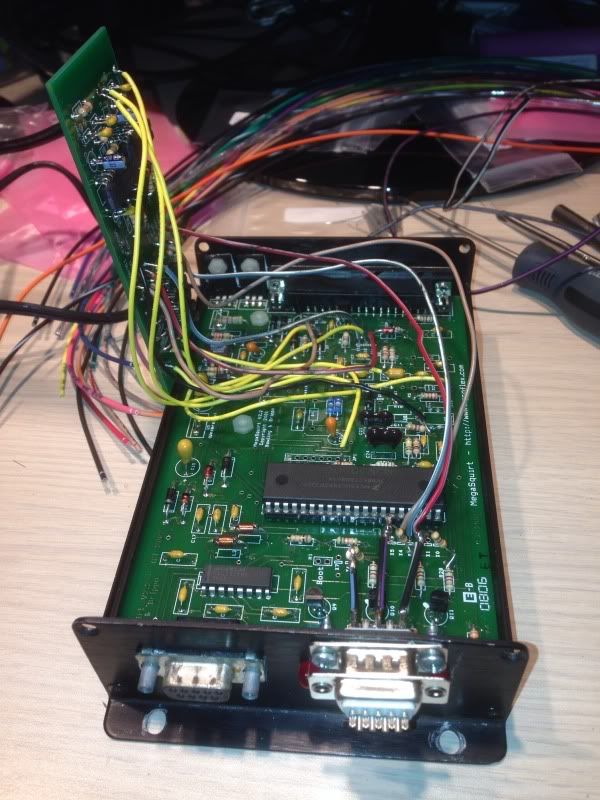
This is how the board looks like all wired up for boost control, fan control, tach output and VR signal conditioning
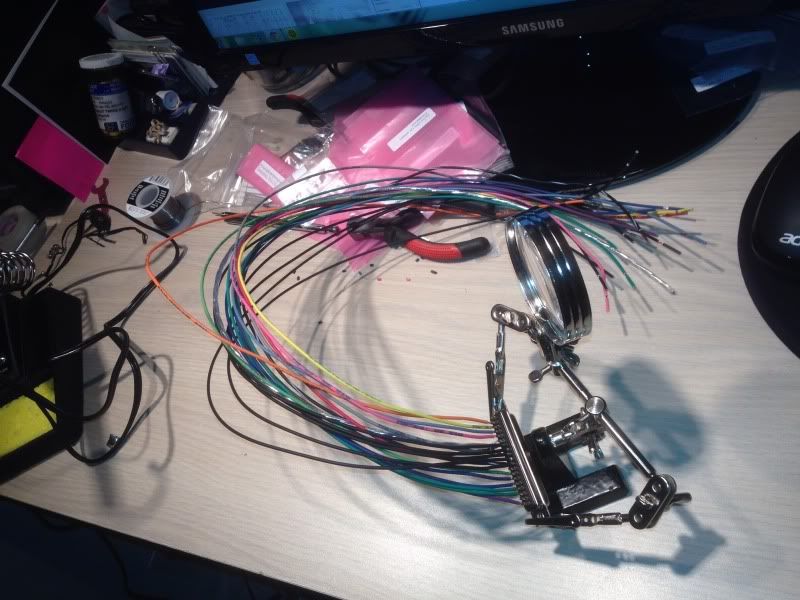
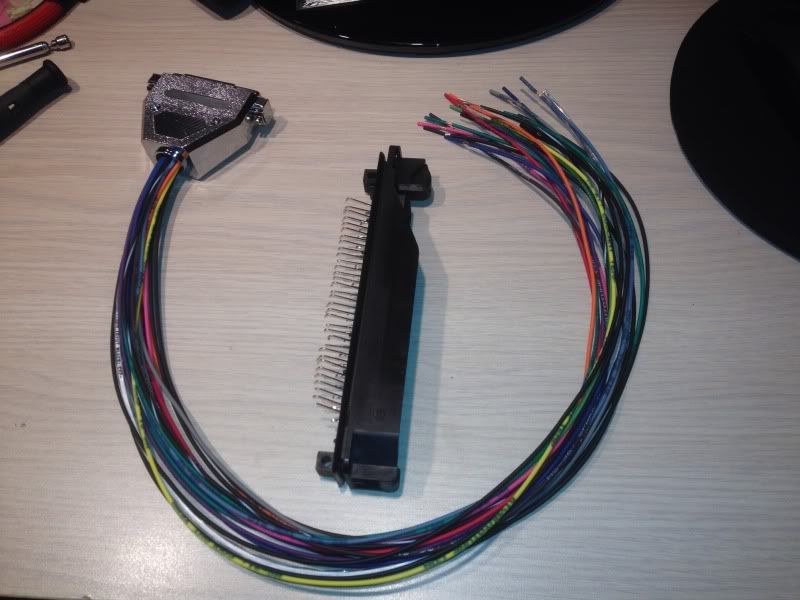
Now to make the adapter harness:
Start up Circuit - design credit goes to Goathumper


Grounds
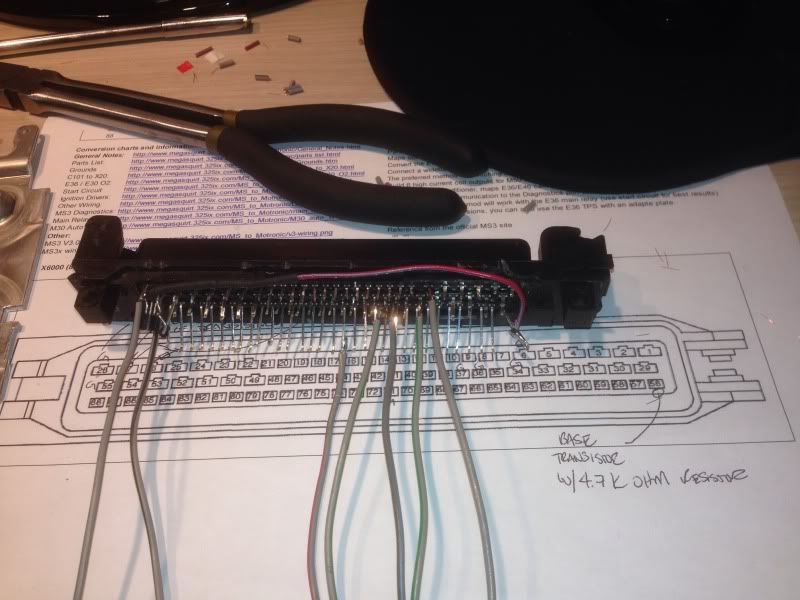
Injectors
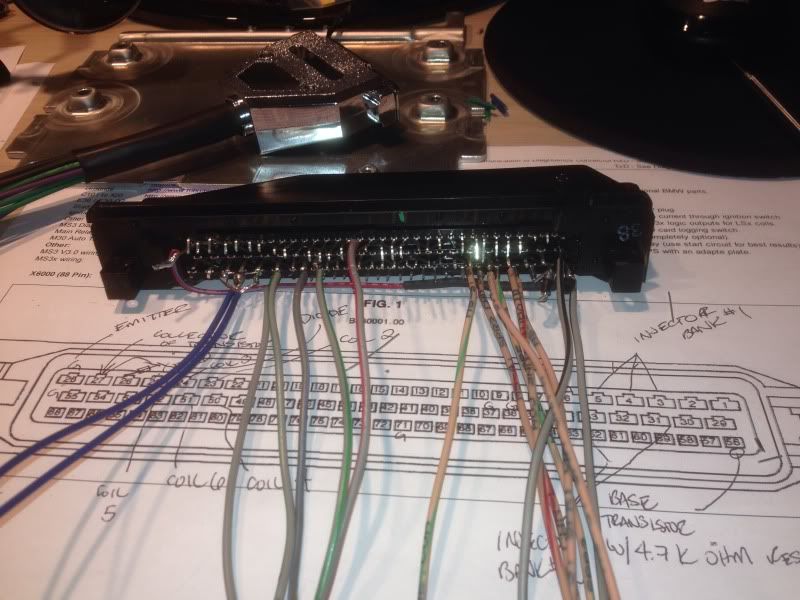
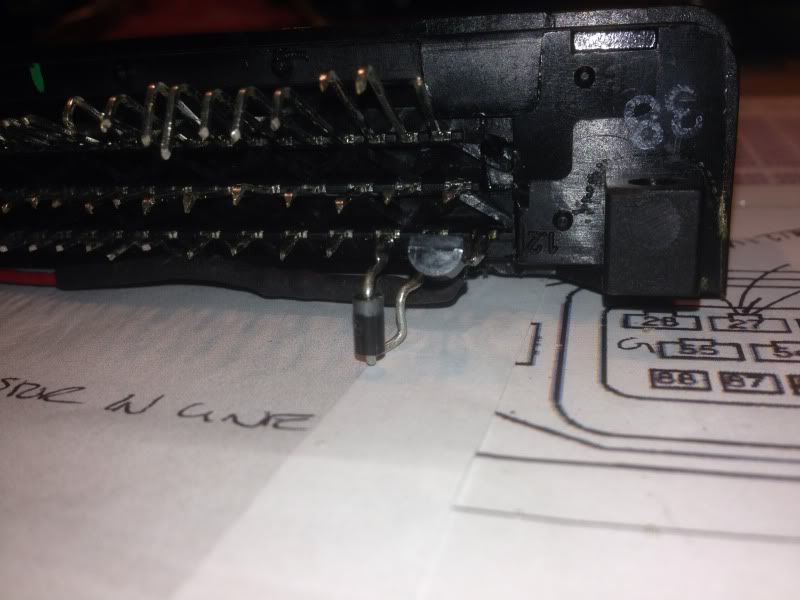
Almost complete adapter

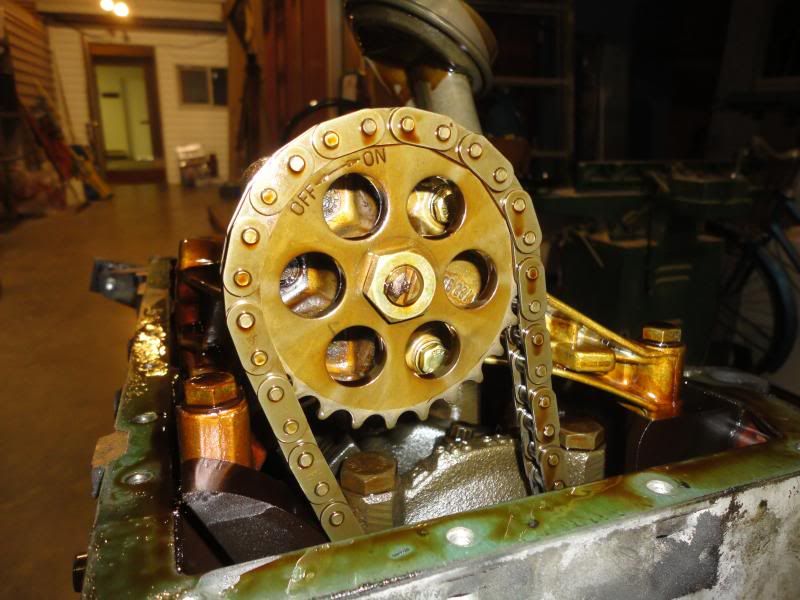
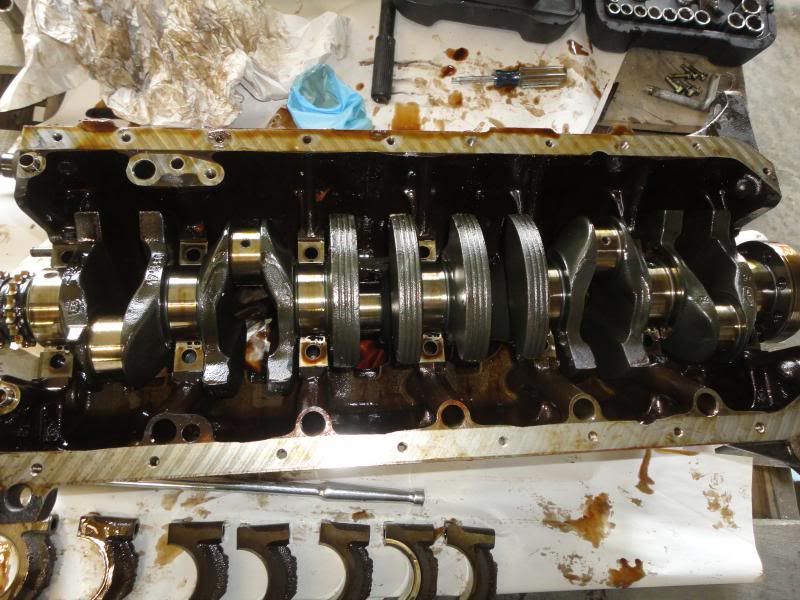
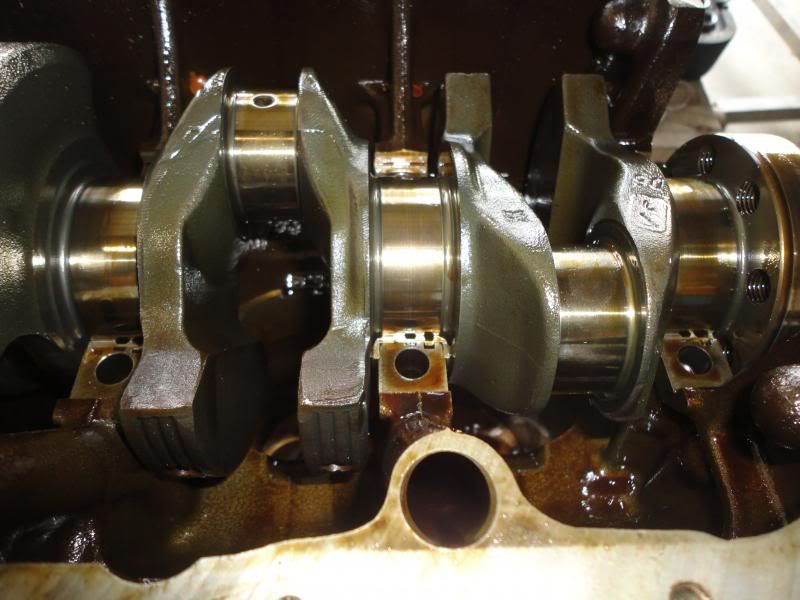
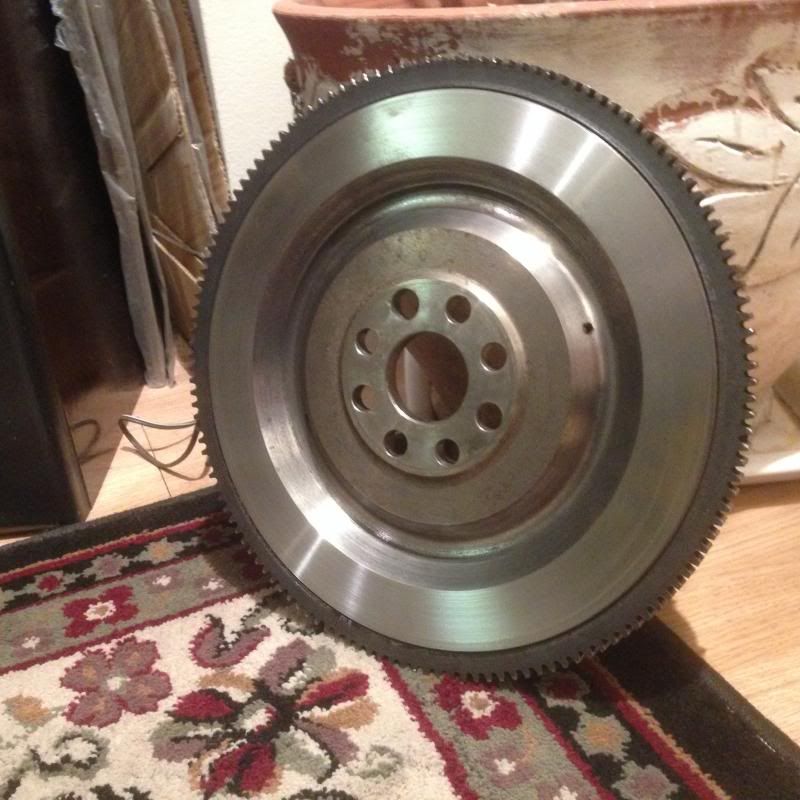
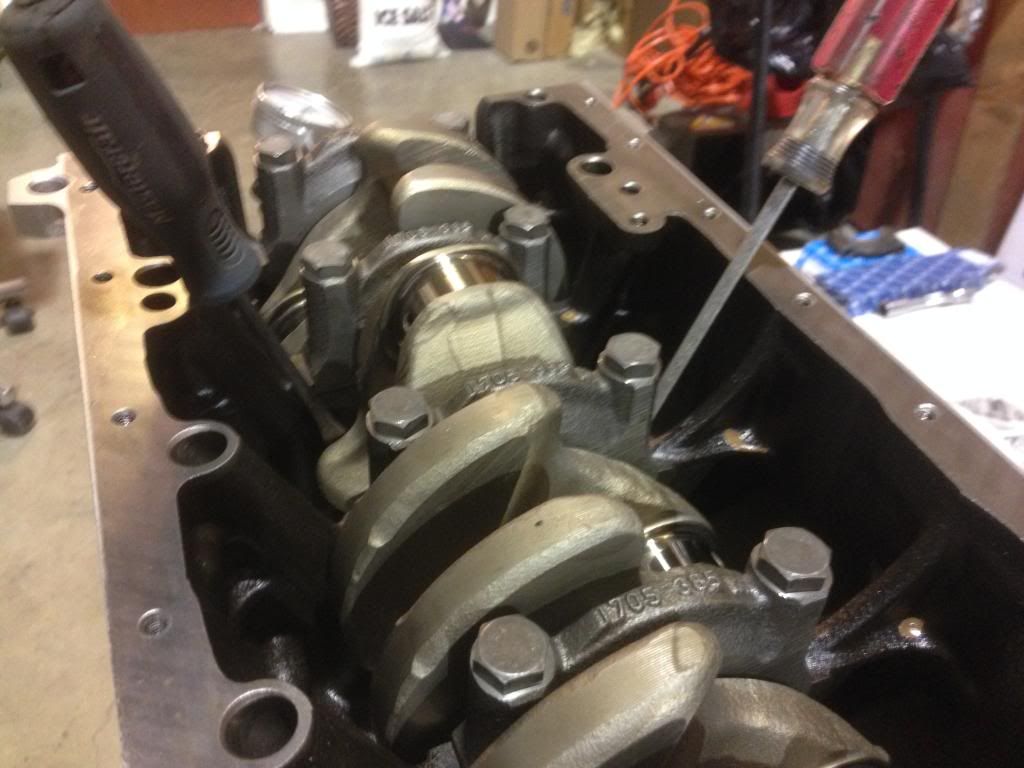
CRANK REMOVAL swapping S52 crank in its place


More Brainstorming
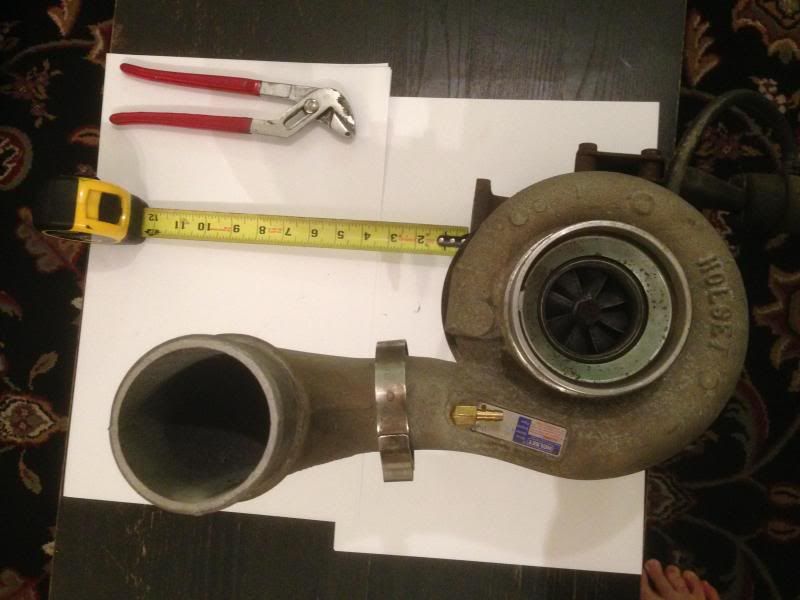
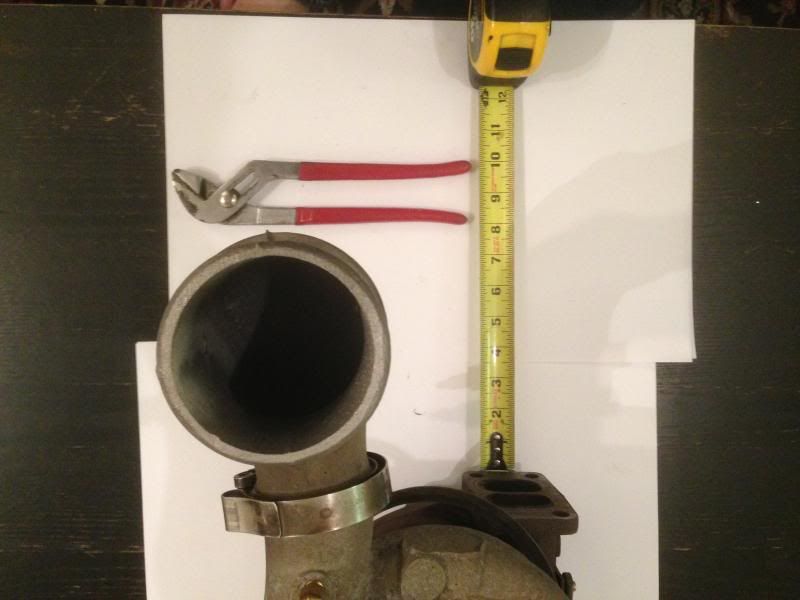
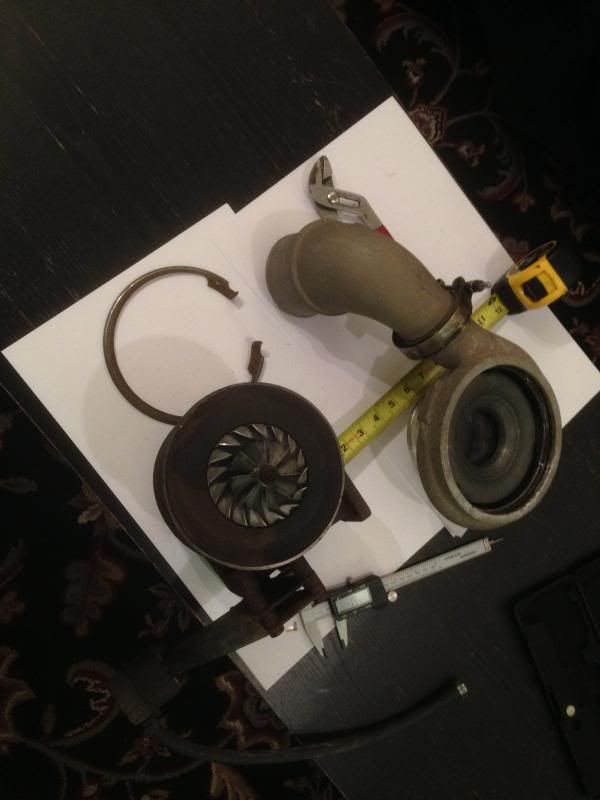

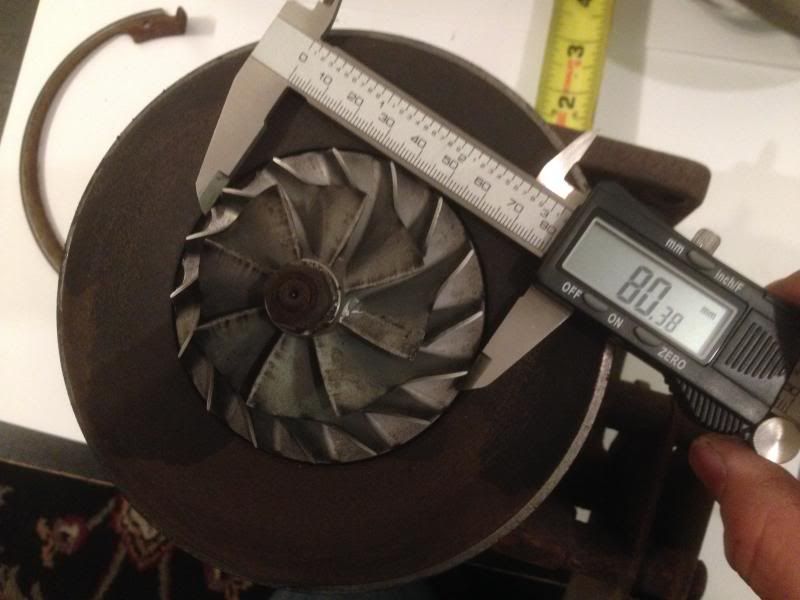

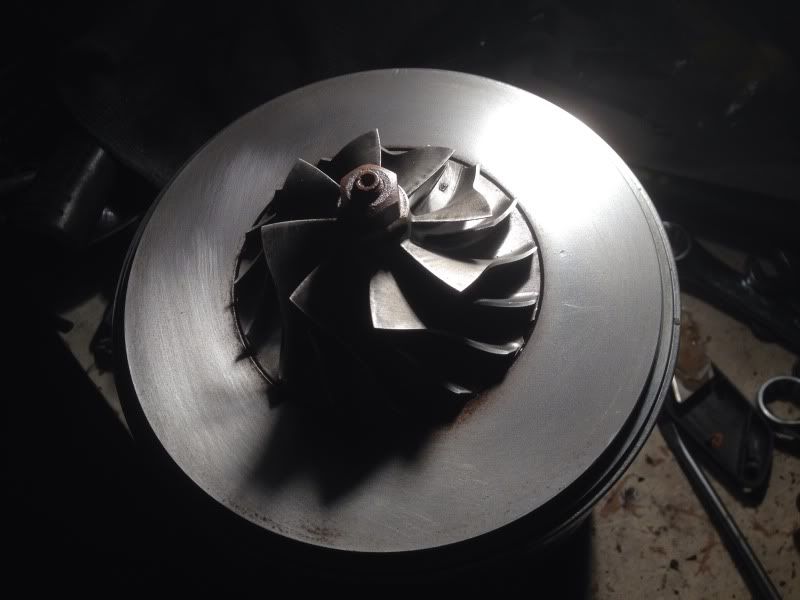
Cleaned up Turbo
Before:

After:
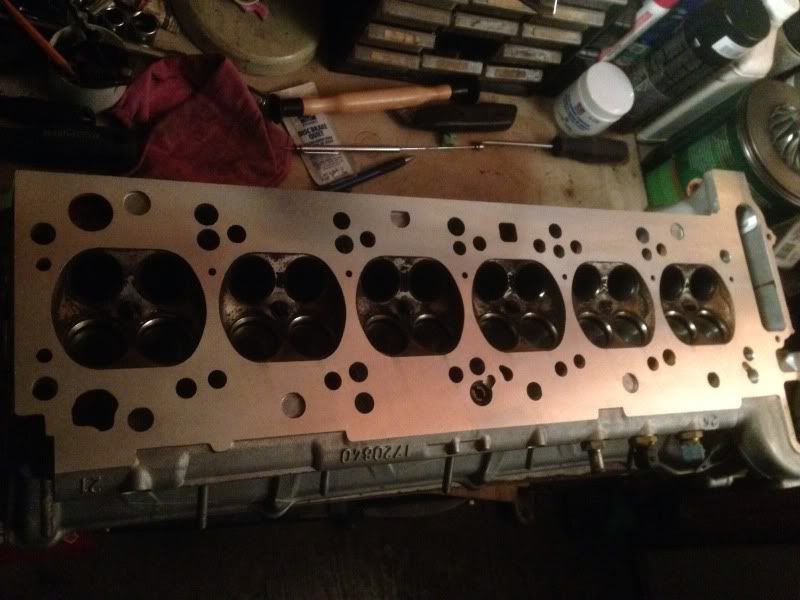
Head has been at a Buddy's Shop since November waiting for the valves to be lapped. Decided to do it myself. Decked flat and finished to 40Ra.
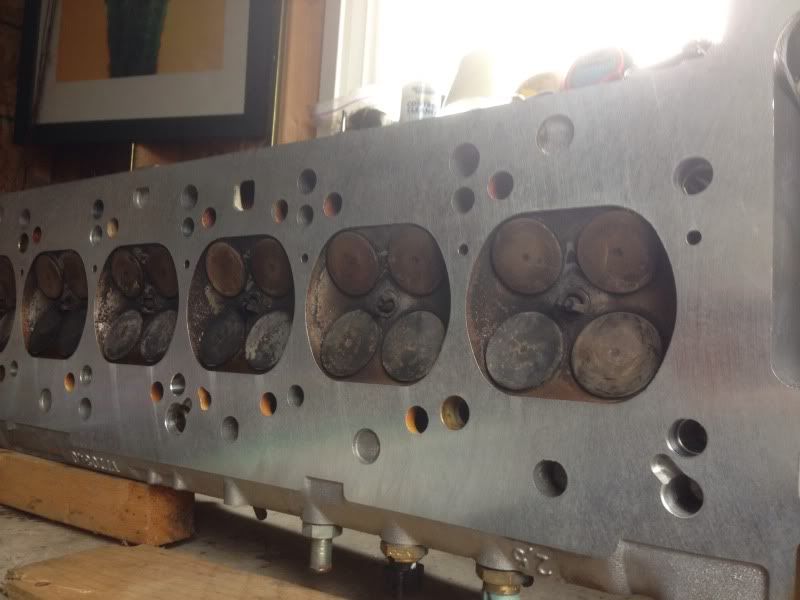
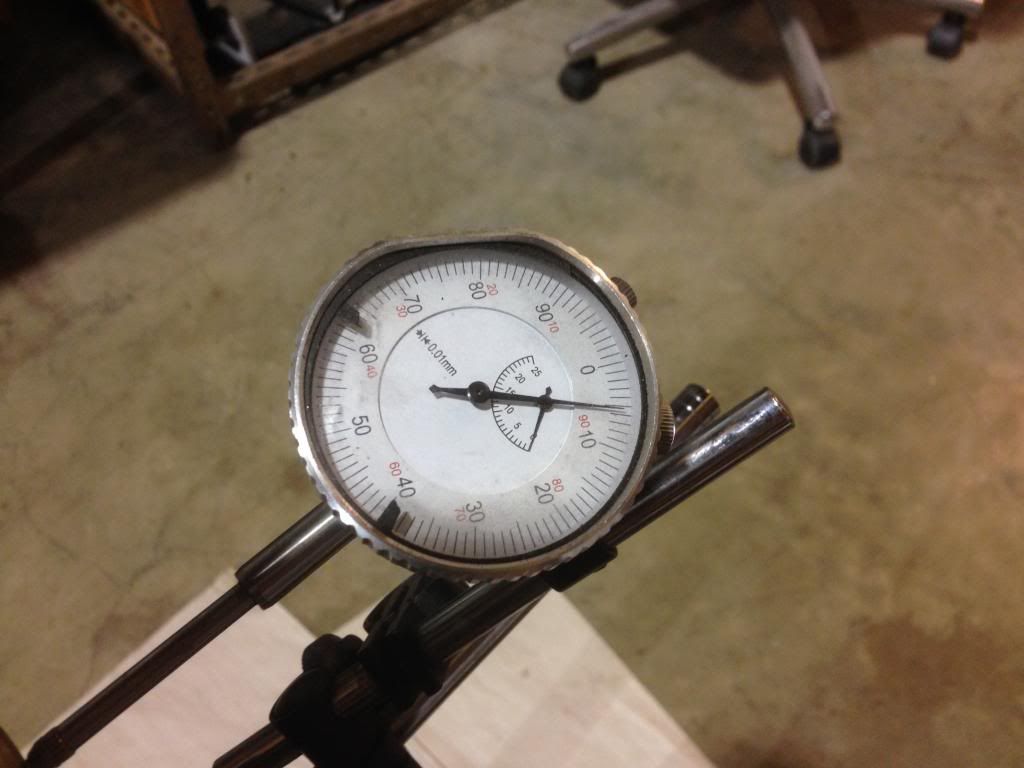
Valves all removed ready for port clean up and valve lapping. First got to check the valve to guide tolerances. Wiggle test felt good, but 0.02" of an inch is a little hard to feel accurately.
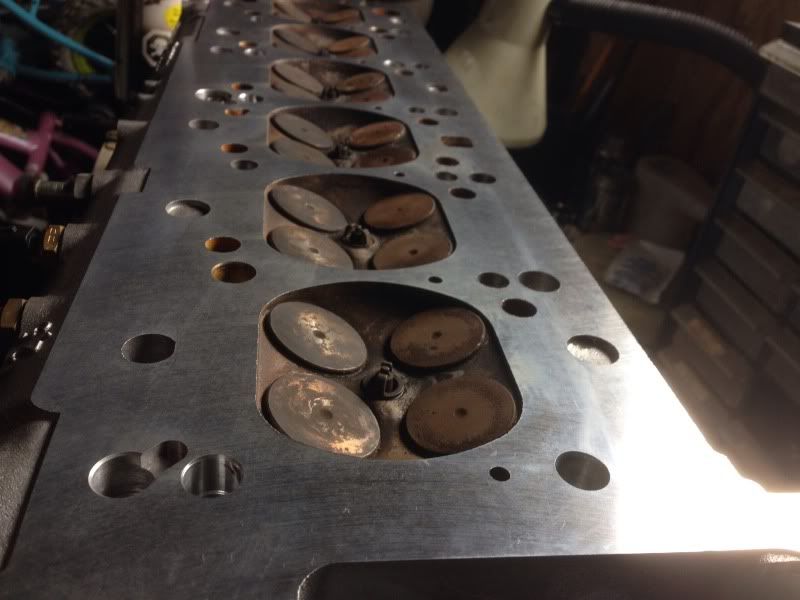
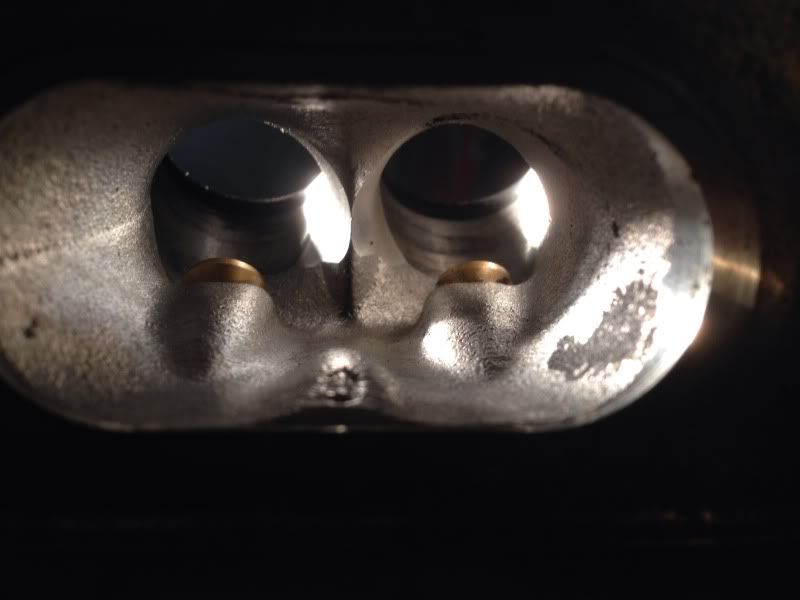
Interesting BMW Trivia, The factory knife edged the port divide and blended the bowls on the M50 non vanos heads:

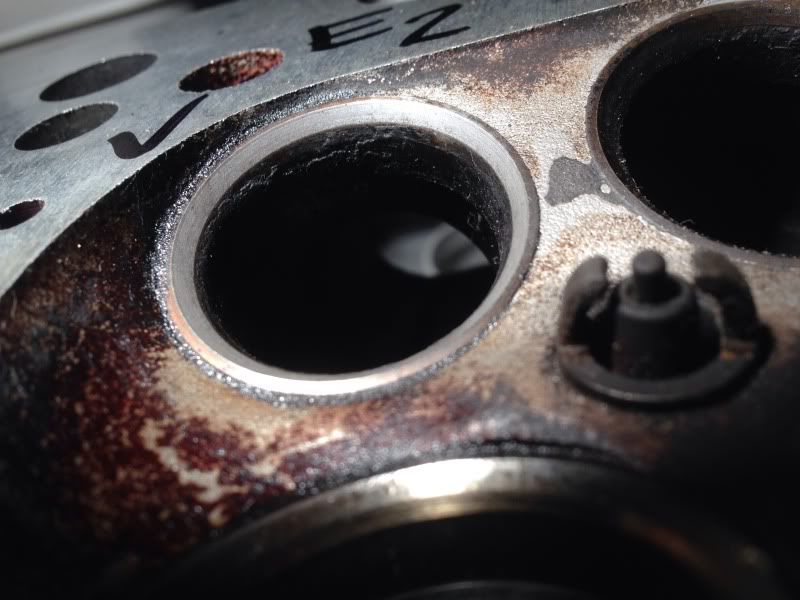
So far valve to guide clearance are all well within spec
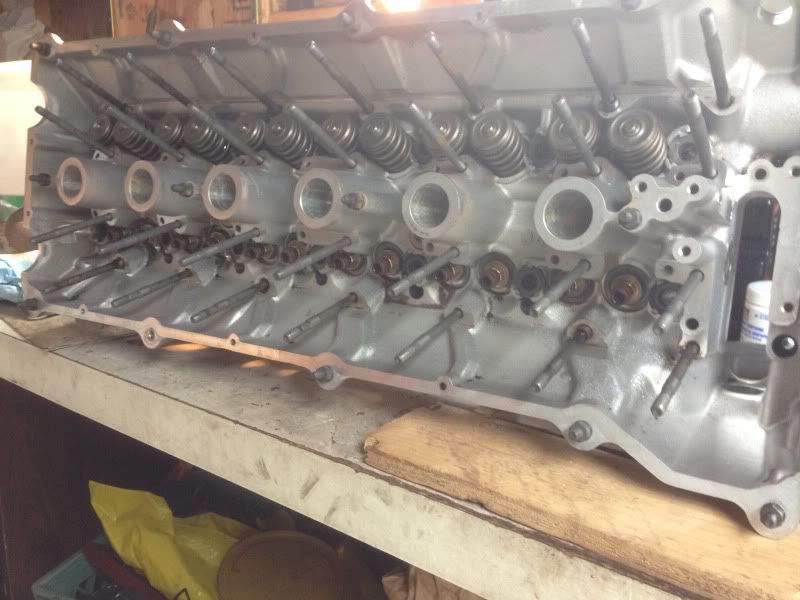
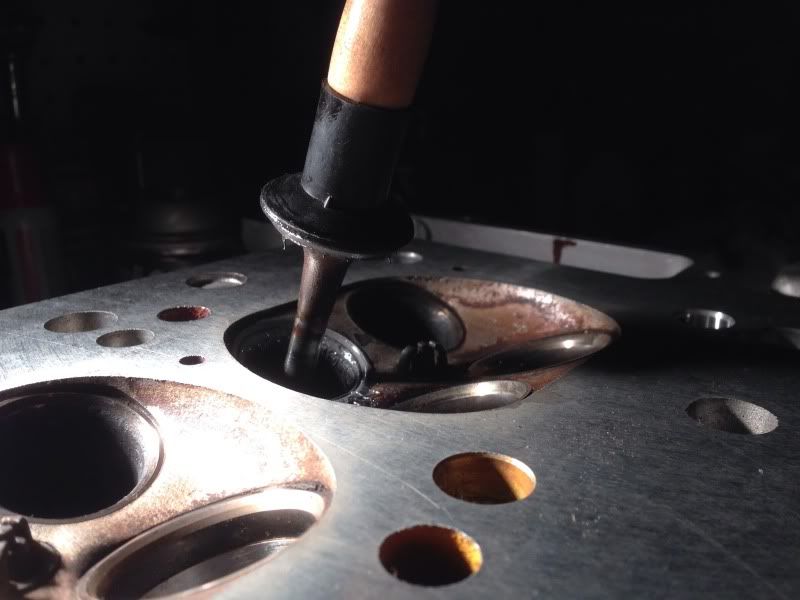
And me lapping the valves:
Picked up some heavy metal wrapped in plastic

and some other things:


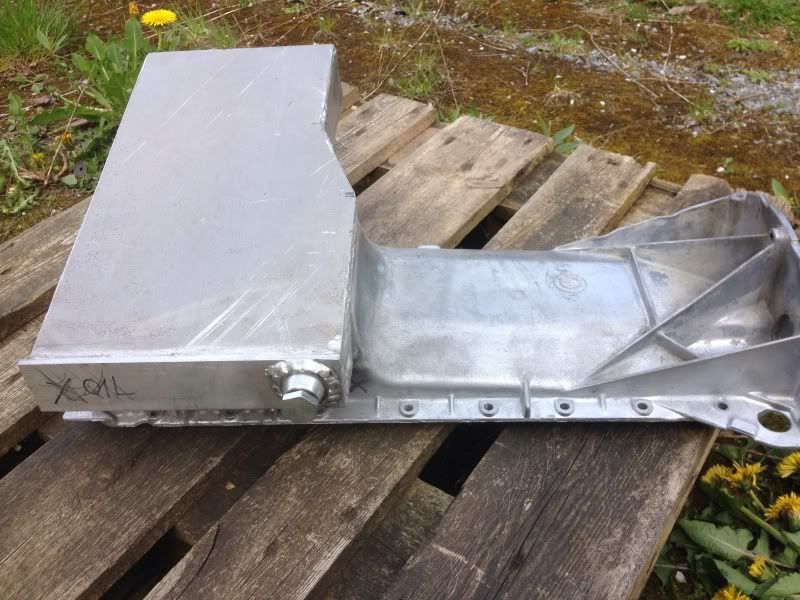
This is an interesting engine
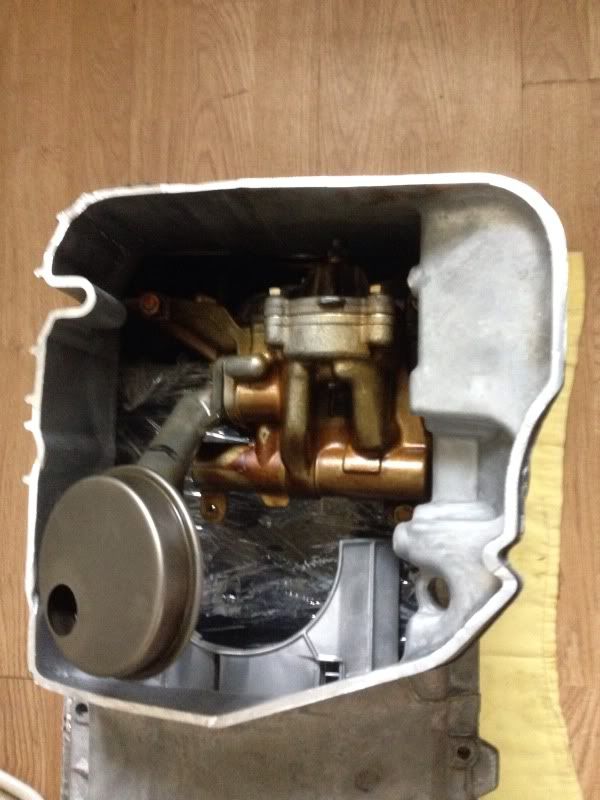
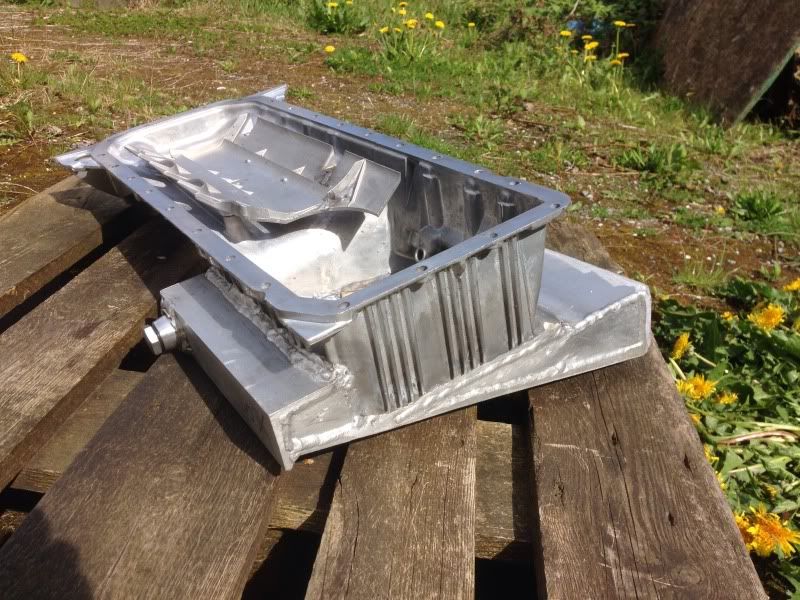
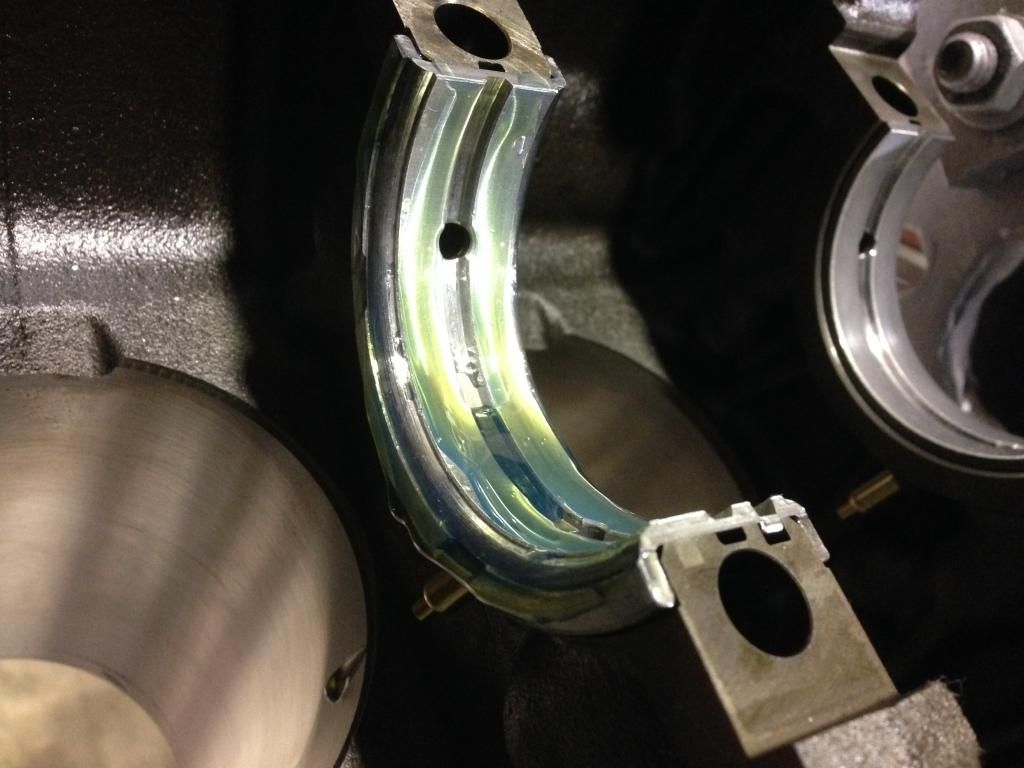
crank scraper built into oil pan:

I think I have a little problem ;)
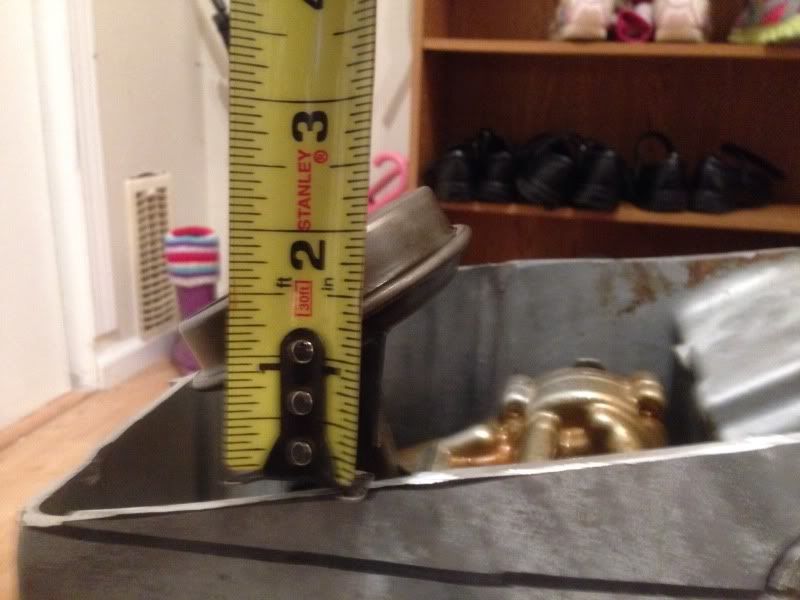

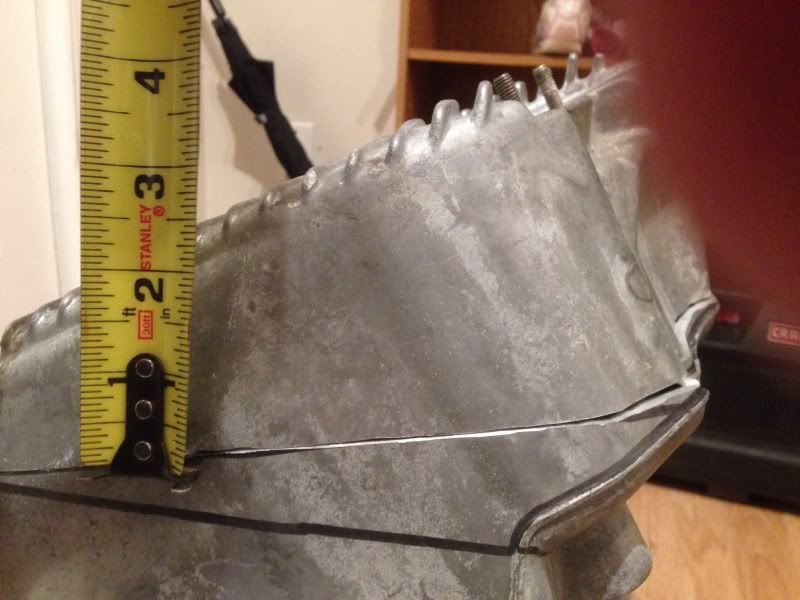

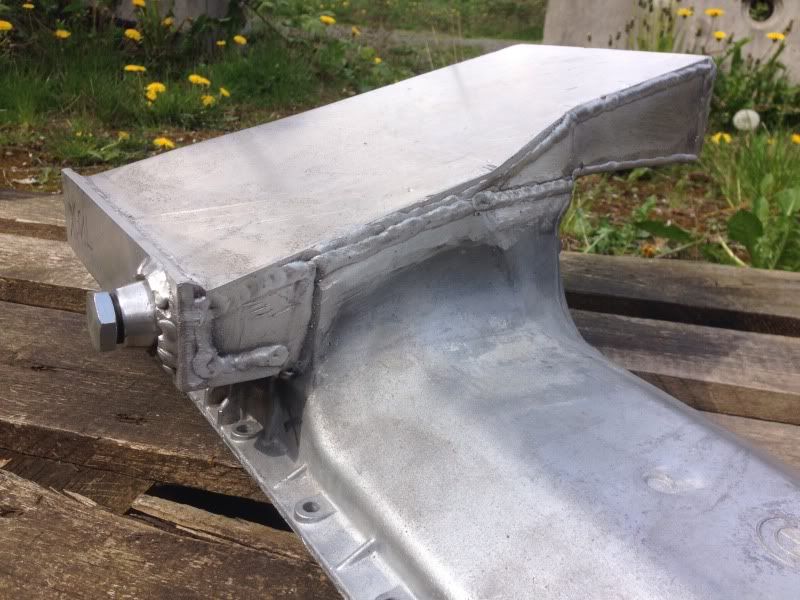
So after all the measuring and designing I dropped it off to my welder friend. Now I turned my attention to the piston ring gaps.
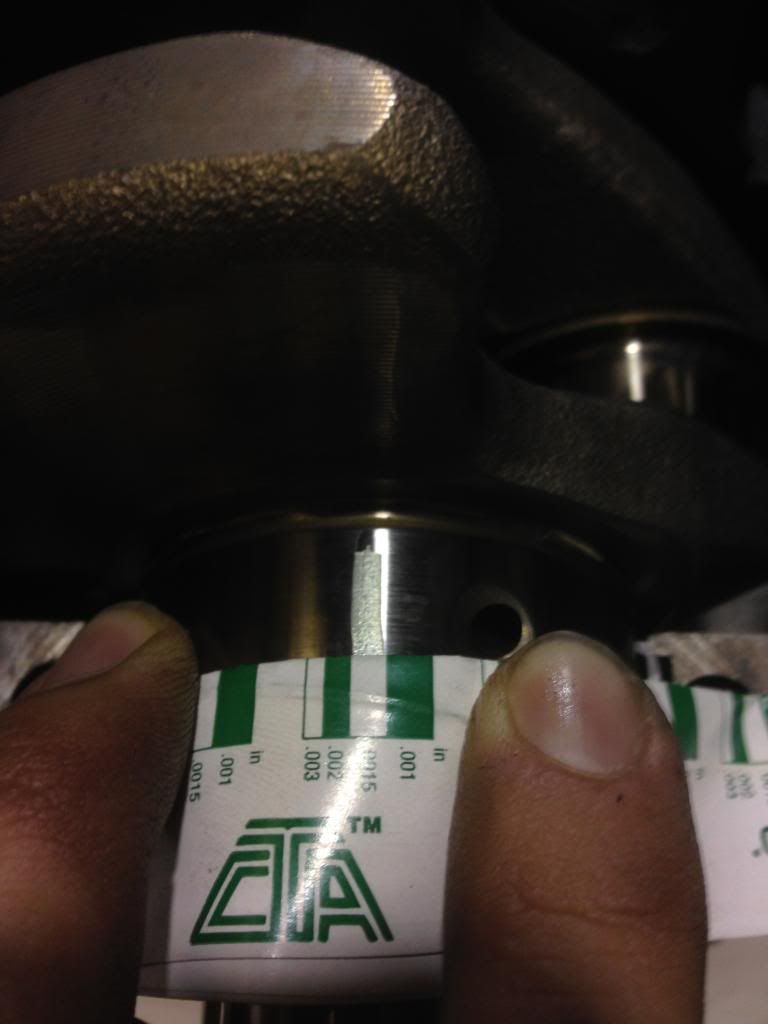
I searched the internet for a base line for ceramic coated Hypereutectic pistons used in a turbo application and didn't really find anything conclusive about what my ring gaps should be. There is a general consensus that a typical NA street car should be 0.004" x bore diameter and Turbo/Blown setups should be 0.006" x bore diameter
84mm divided by 25.4 = 3.307"
3.307 X 0.004 = 0.01322" NA Ring Gap
3.307 X 0.006 = 0.01984" FI Ring Gap
Factory Spec = 0.01574"
CP Piston Spec:
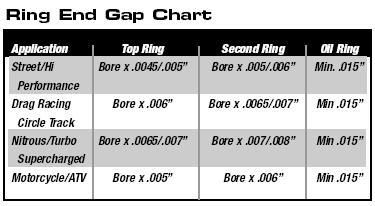
Mahle Clevite Spec:

I decided to go on the loose side, because of the extra heat, the thermal coating on the pistons and the fact that the rings are chromed steel.
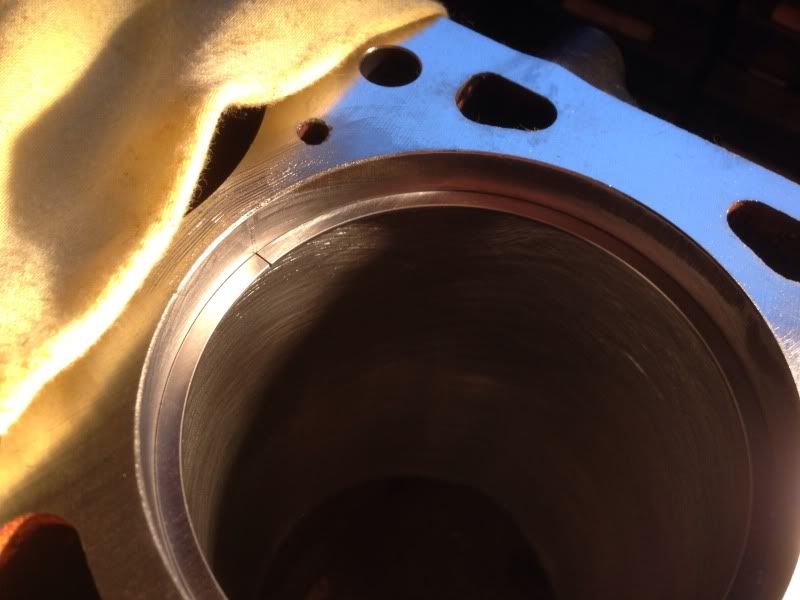
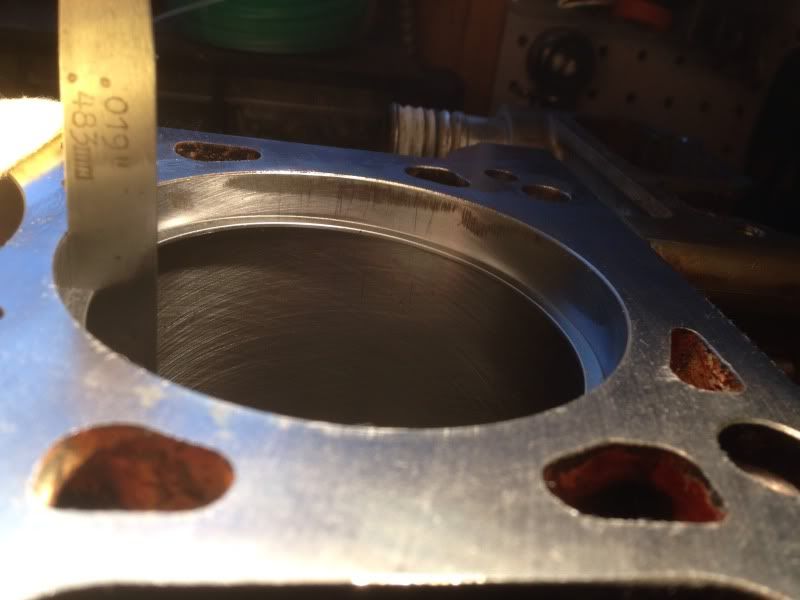
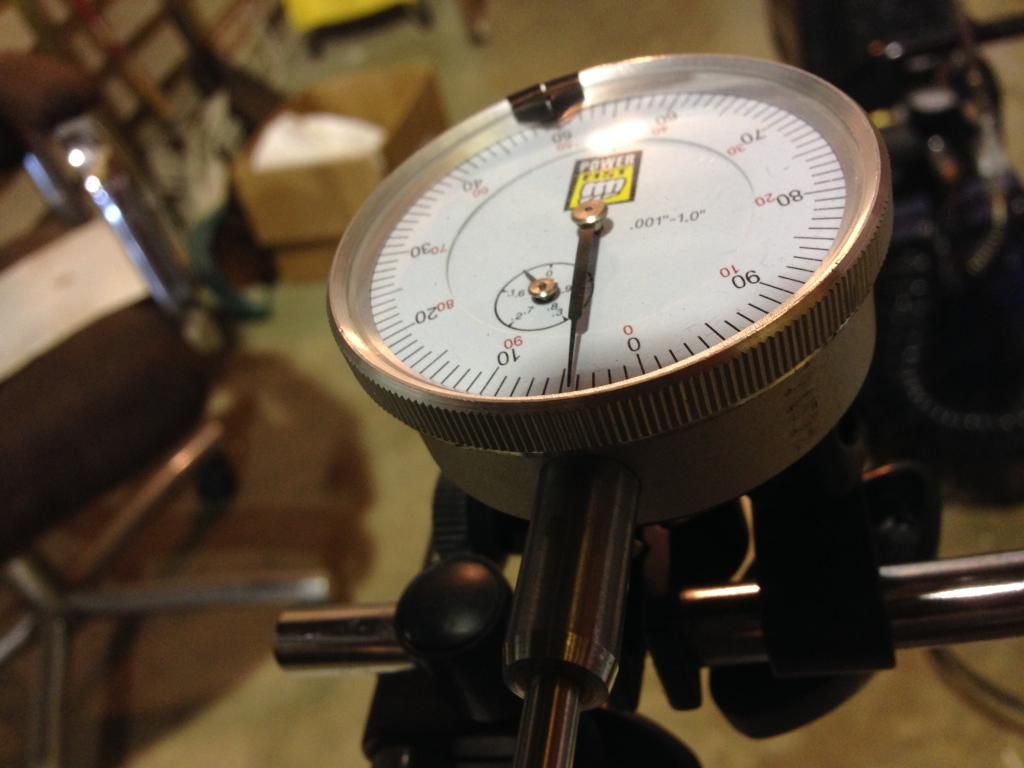
This is what 0.019" looks like:
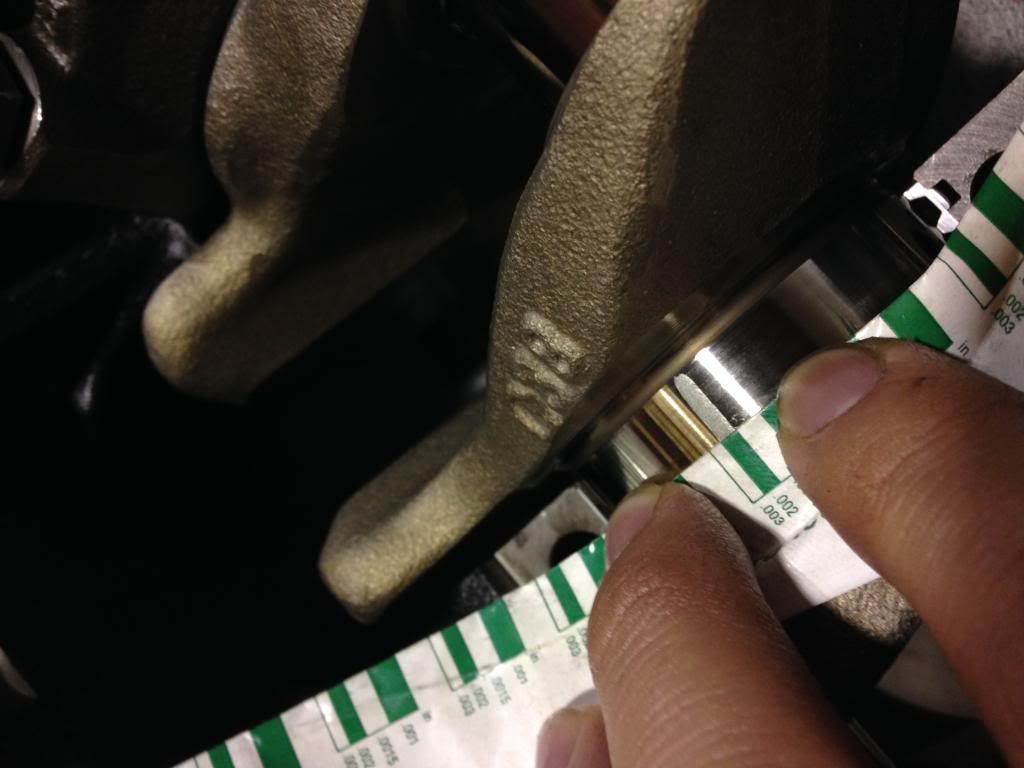
Some racers believe that opening up the 2nd end gap even more can improve overall ring sealing by allowing trapped gases to escape before they blow past the top ring and cause ring flutter at high rpm (say above 5000 to 6000 rpm).
The second compression ring is a napier style (hooked) that helps scrape oil off the cylinder wall.

Jack Bishop of NPR says napier rings create a vacuum between the rings, so it’s a good idea to open up the gap on the second ring. He recommends the second ring end gap be 0.2 mm(.00787") to 0.25 mm(0.00984") larger than the top ring end gap. Bishop also notes that the thermal expansion rate of steel rings is less than that of cast iron rings. Consequently, you can generally run somewhat tighter end gaps with steel rings than cast iron rings.http://www.enginebuildermag.com/2011...ct-horsepower/
The 2nd ring I went with 0.007-.008" bigger, 0.026"-0.027" to prevent the top ring from fluttering and losing seal.


Oil Ring I went with 0.018"
I used this procedure: http://www.circletrack.com/howto/1818/
Interesting information I found along the way. Metric Mechanic says BMW in line 6 pistons run at different temperatures from the front to the back of the engine:
The front and rear cylinders run cooler on a 4 and 6 cylinder BMW engine because the water pump is located in front of the #1 cylinder and water discharging from the pump cools it off the most.
Next, water flows along the intake side of the block to the rear cylinder and then takes a 180° turn around to the rear cylinder which causes it to run cooler than the middle cylinders.
If that's the case shouldn't the piston ring gaps in the middle cylinders be slightly larger to make up for the extra thermal expansion?
So I made the middle piston ring gaps 0.020" :beerchug:
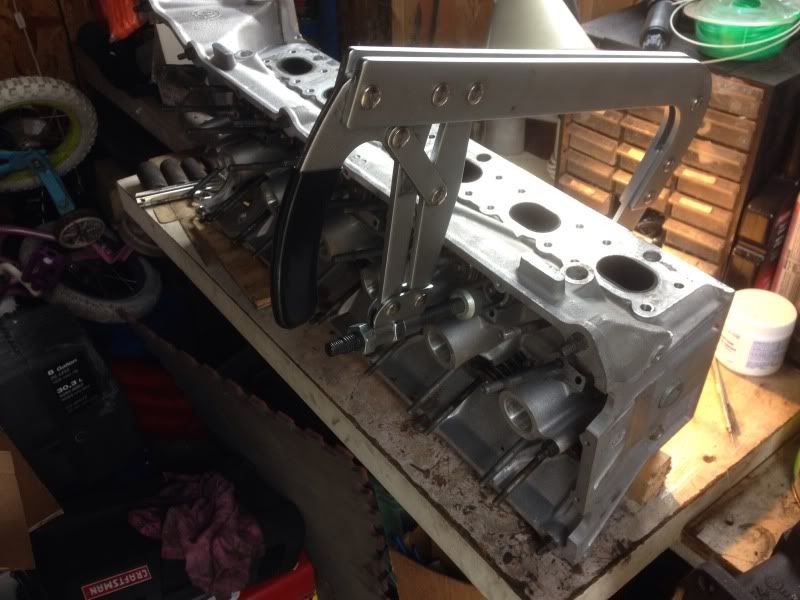
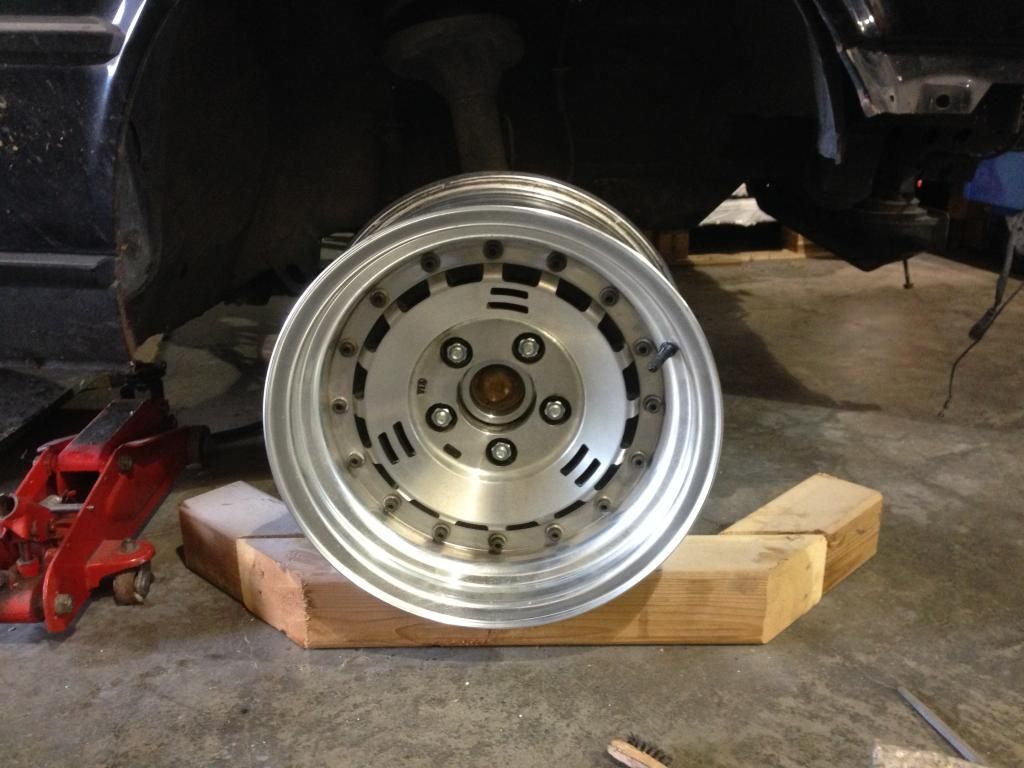
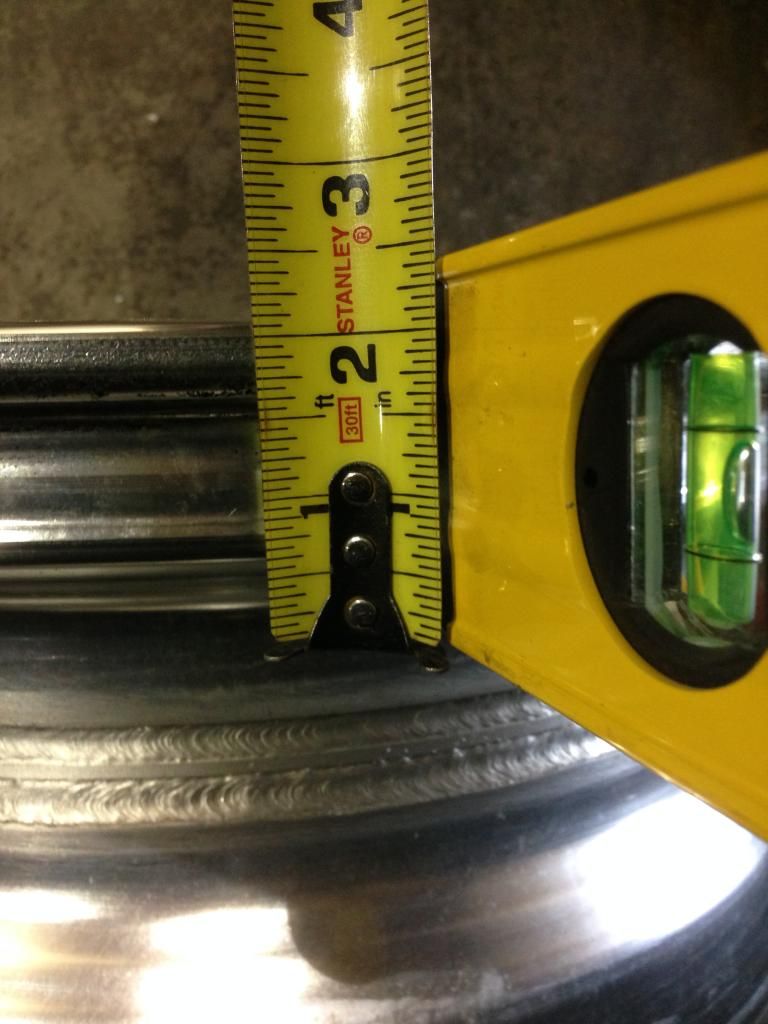
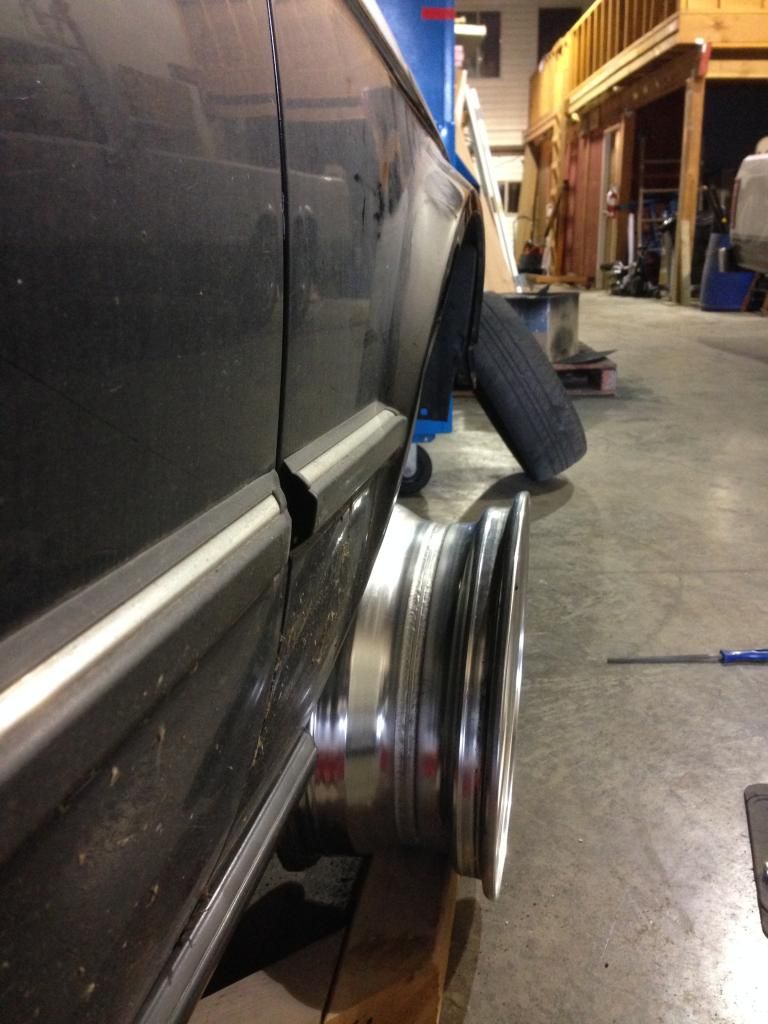
Test fit:

No dice - modified oil pan needs to be trimmed
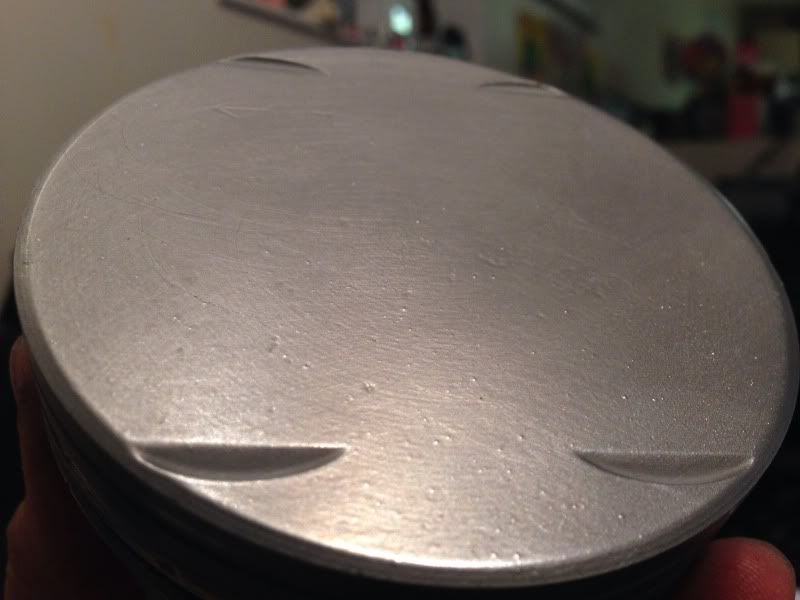
It's alright - that's why it was test fit. Meanwhile I picked up my pistons from Kool Coat. Ceramic coating looks good. Hopefully its not all hype. I've been told that the heat resistance of the aluminum is improved enough to increase my boost level by at least 5 psi.
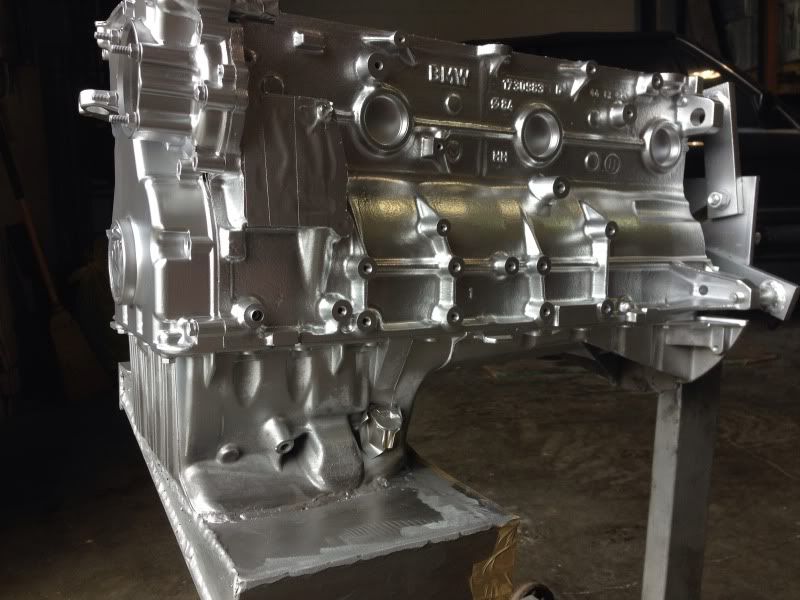
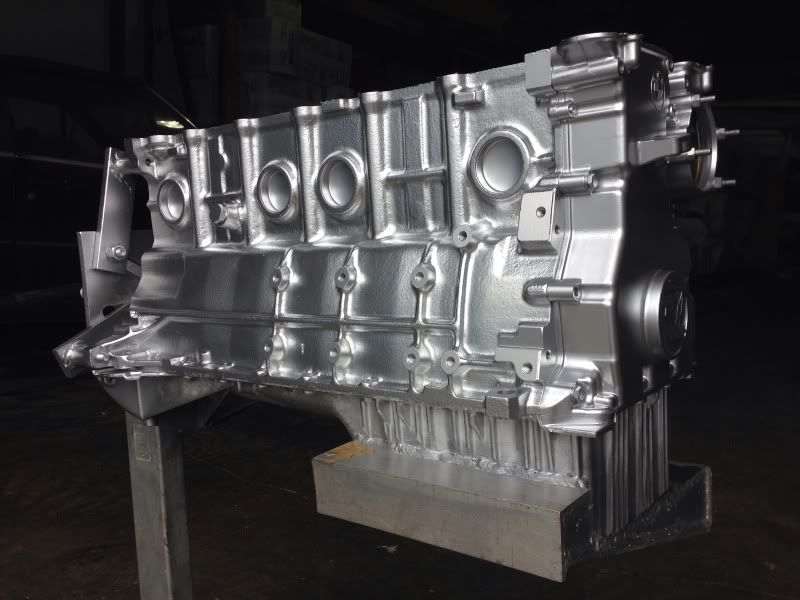
I asked my kids what color should I paint the engine block. They choose silver. Not a bad choice, should help with seeing oil leaks in the future:
Brain Storming with Parts in hand
Zeal Daughter Board Building
This is how the board looks like all wired up for boost control, fan control, tach output and VR signal conditioning
Now to make the adapter harness:
Start up Circuit - design credit goes to Goathumper
Grounds
Injectors
Almost complete adapter
CRANK REMOVAL swapping S52 crank in its place


More Brainstorming


Cleaned up Turbo
Before:
After:
Head has been at a Buddy's Shop since November waiting for the valves to be lapped. Decided to do it myself. Decked flat and finished to 40Ra.
Valves all removed ready for port clean up and valve lapping. First got to check the valve to guide tolerances. Wiggle test felt good, but 0.02" of an inch is a little hard to feel accurately.
Interesting BMW Trivia, The factory knife edged the port divide and blended the bowls on the M50 non vanos heads:
So far valve to guide clearance are all well within spec
And me lapping the valves:
Picked up some heavy metal wrapped in plastic
and some other things:
This is an interesting engine
crank scraper built into oil pan:
I think I have a little problem ;)
So after all the measuring and designing I dropped it off to my welder friend. Now I turned my attention to the piston ring gaps.
I searched the internet for a base line for ceramic coated Hypereutectic pistons used in a turbo application and didn't really find anything conclusive about what my ring gaps should be. There is a general consensus that a typical NA street car should be 0.004" x bore diameter and Turbo/Blown setups should be 0.006" x bore diameter
84mm divided by 25.4 = 3.307"
3.307 X 0.004 = 0.01322" NA Ring Gap
3.307 X 0.006 = 0.01984" FI Ring Gap
Factory Spec = 0.01574"
CP Piston Spec:
Mahle Clevite Spec:
I decided to go on the loose side, because of the extra heat, the thermal coating on the pistons and the fact that the rings are chromed steel.
This is what 0.019" looks like:
Some racers believe that opening up the 2nd end gap even more can improve overall ring sealing by allowing trapped gases to escape before they blow past the top ring and cause ring flutter at high rpm (say above 5000 to 6000 rpm).

The second compression ring is a napier style (hooked) that helps scrape oil off the cylinder wall.
Jack Bishop of NPR says napier rings create a vacuum between the rings, so it’s a good idea to open up the gap on the second ring. He recommends the second ring end gap be 0.2 mm(.00787") to 0.25 mm(0.00984") larger than the top ring end gap. Bishop also notes that the thermal expansion rate of steel rings is less than that of cast iron rings. Consequently, you can generally run somewhat tighter end gaps with steel rings than cast iron rings.http://www.enginebuildermag.com/2011...ct-horsepower/
The 2nd ring I went with 0.007-.008" bigger, 0.026"-0.027" to prevent the top ring from fluttering and losing seal.
Oil Ring I went with 0.018"
I used this procedure: http://www.circletrack.com/howto/1818/
Interesting information I found along the way. Metric Mechanic says BMW in line 6 pistons run at different temperatures from the front to the back of the engine:
The front and rear cylinders run cooler on a 4 and 6 cylinder BMW engine because the water pump is located in front of the #1 cylinder and water discharging from the pump cools it off the most.
Next, water flows along the intake side of the block to the rear cylinder and then takes a 180° turn around to the rear cylinder which causes it to run cooler than the middle cylinders.

If that's the case shouldn't the piston ring gaps in the middle cylinders be slightly larger to make up for the extra thermal expansion?
So I made the middle piston ring gaps 0.020" :beerchug:
Test fit:
No dice - modified oil pan needs to be trimmed
It's alright - that's why it was test fit. Meanwhile I picked up my pistons from Kool Coat. Ceramic coating looks good. Hopefully its not all hype. I've been told that the heat resistance of the aluminum is improved enough to increase my boost level by at least 5 psi.
I asked my kids what color should I paint the engine block. They choose silver. Not a bad choice, should help with seeing oil leaks in the future:


 592whp
Comment