
That's pretty neat! Haha
No real progress on it, put the rear end back together and got the e brake working. Took apart and cleaned and repolished the power steering pump, alternator and ac compressor, so that looks good. Slowly working on the cab, smoothing up the bodywork. School is in full swing so I don't really have time to touch it even though I park my e30 right there and walk past it all the time ugh. Might post pics later if I have time after tax homework ugh
-
Here goes nothing. I've been avoiding bodywork so I did something not related to that Had a slight breather in the homework and projects in school so got a little bit done.
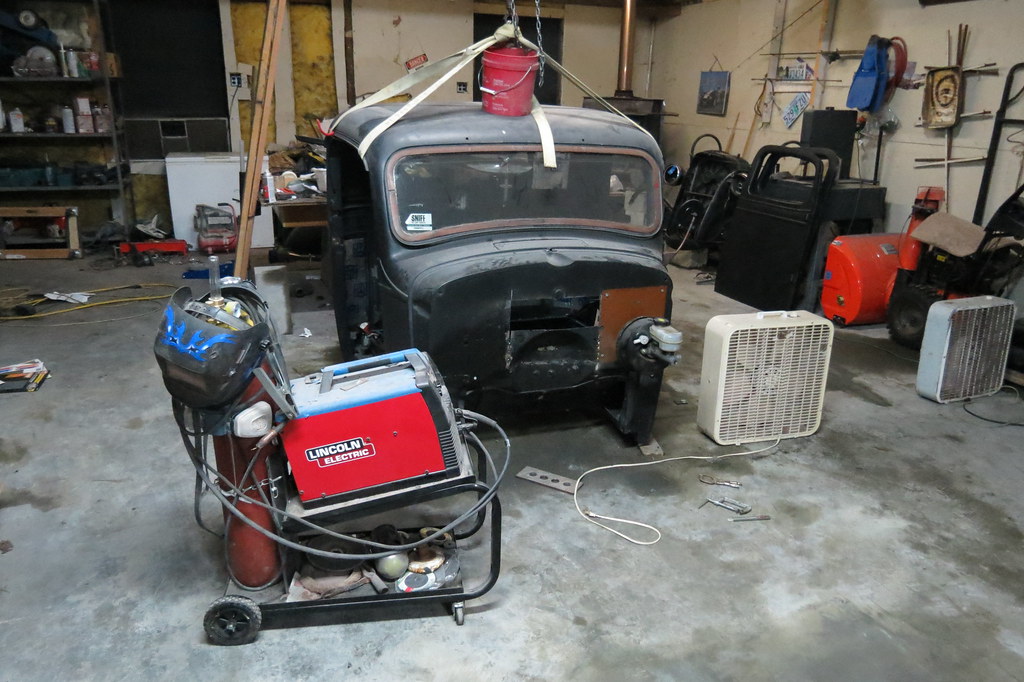
Started here.
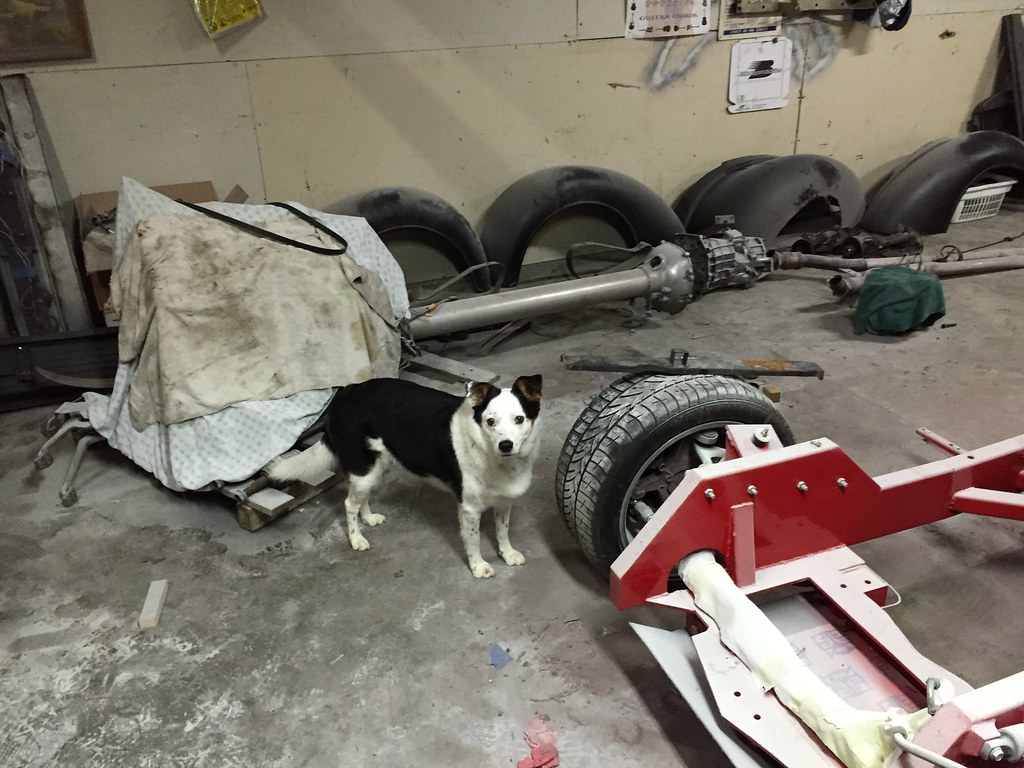
My helper the PO PO He's black and white so he's the popo.
About 45 mins later
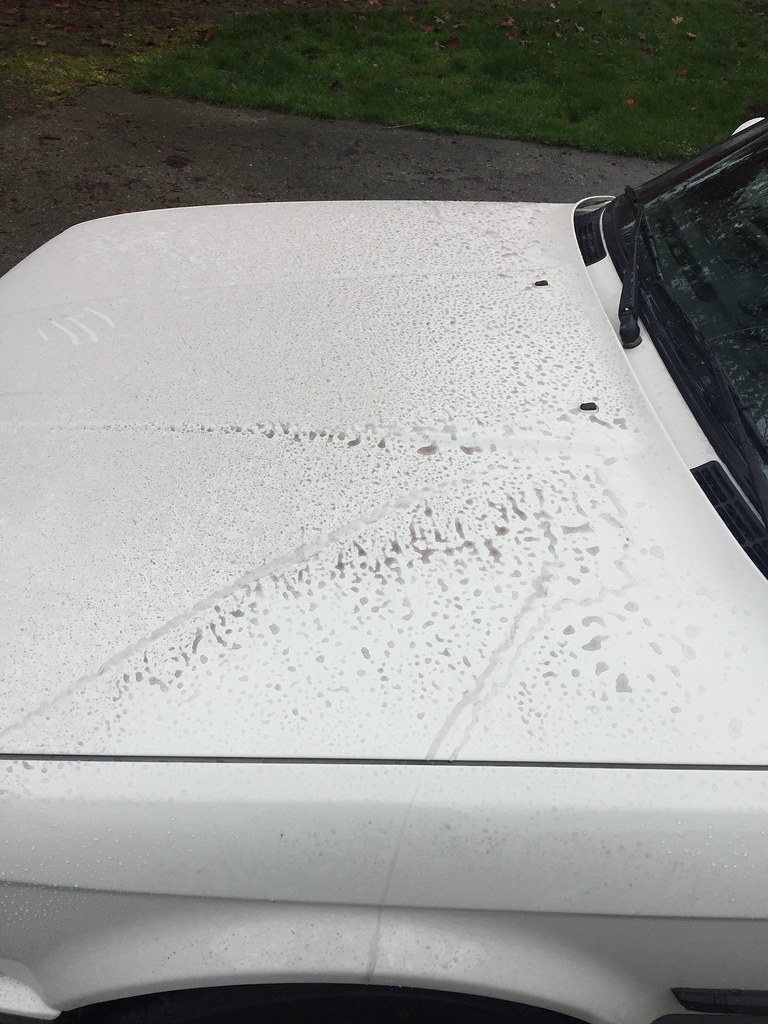
IN the middle of this I blew out the shop with leaf blower and this is how my poor e30 looked the next time I washed it...
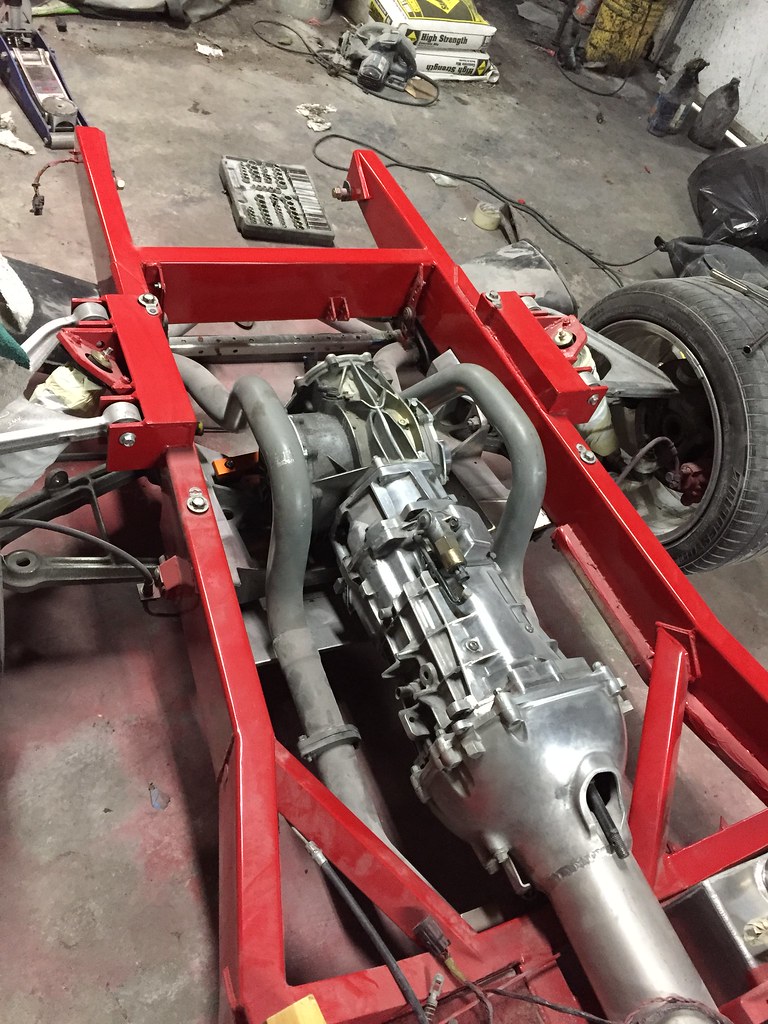
Back started to hurt after holding trans up one handed while feeding the bolts in T56 is one heavy SOB one handed.
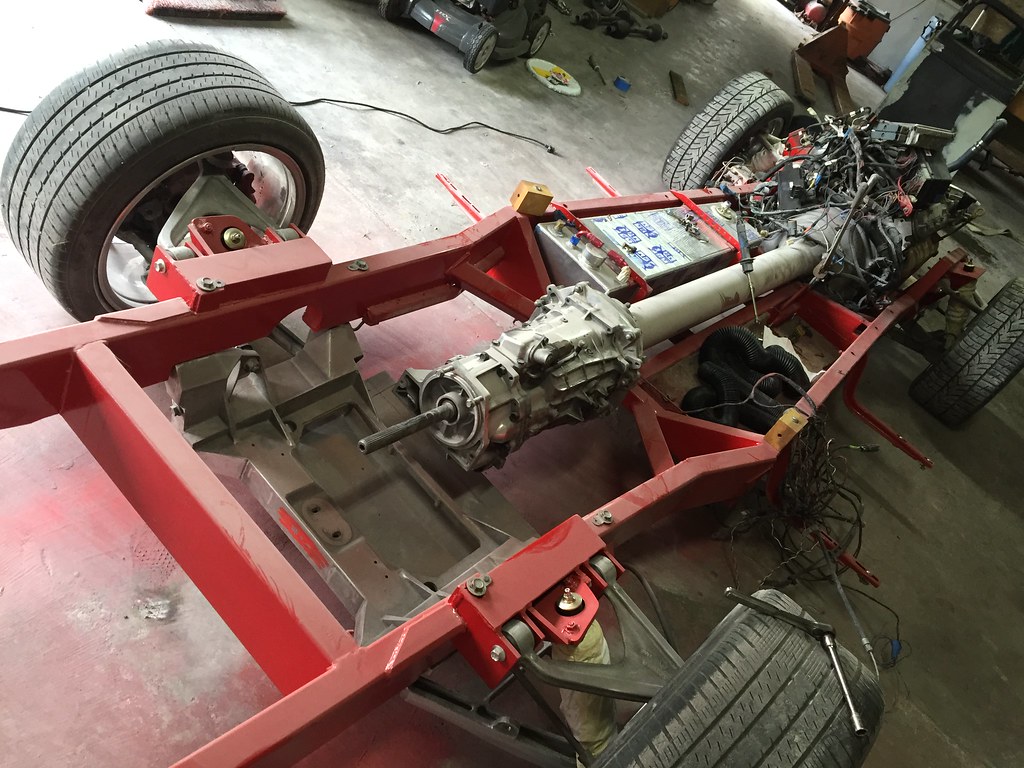
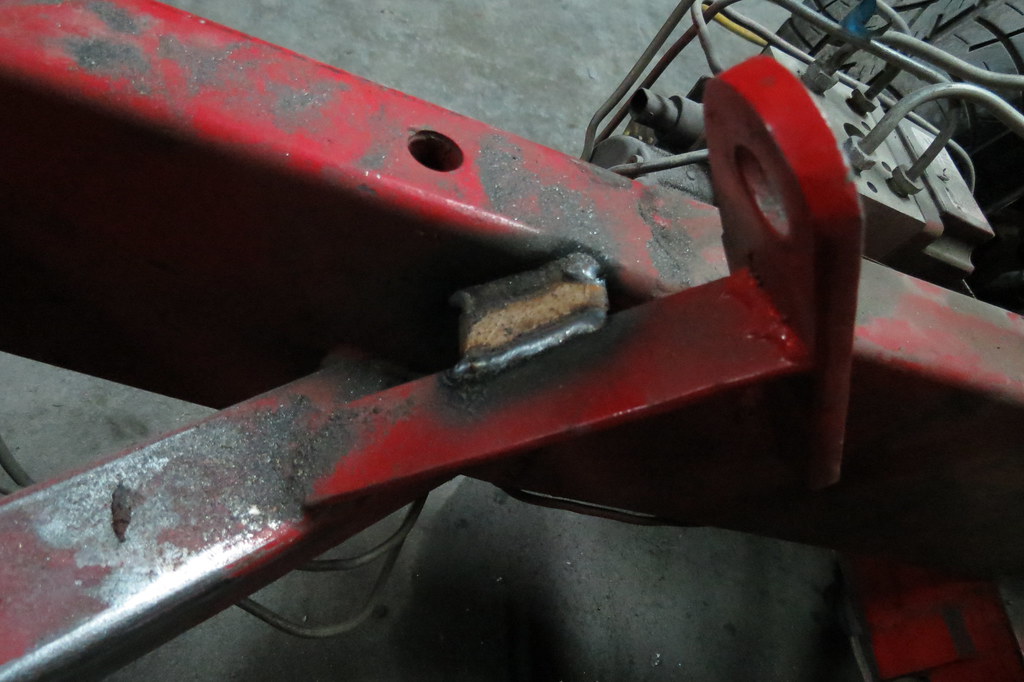
Diff in too, check out that freshly washed diff mount!
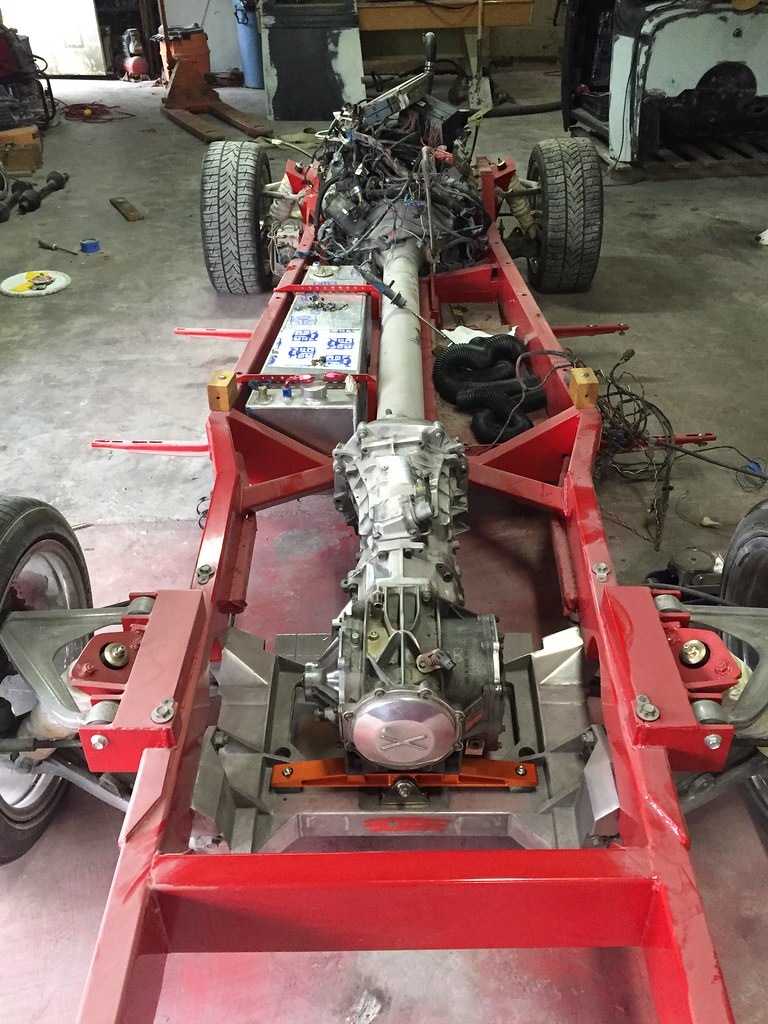
Shiny trans
Exhaust mid section in
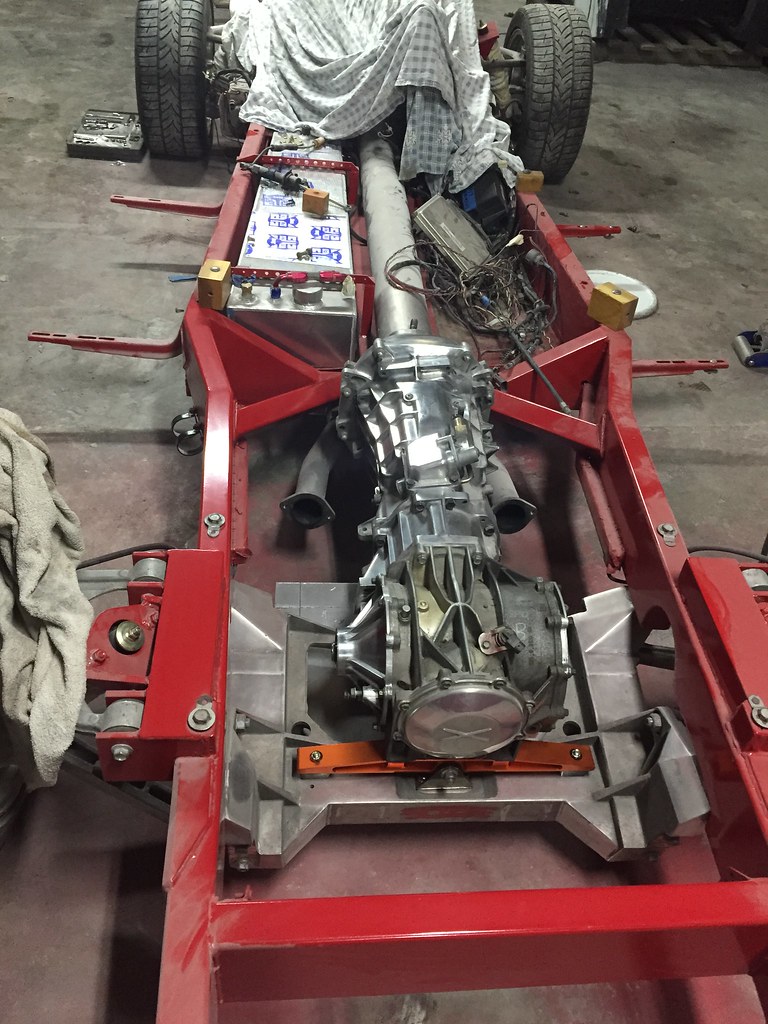
Tail parts in, also sound deadened the skid plate in the background at some point in the days preceding.
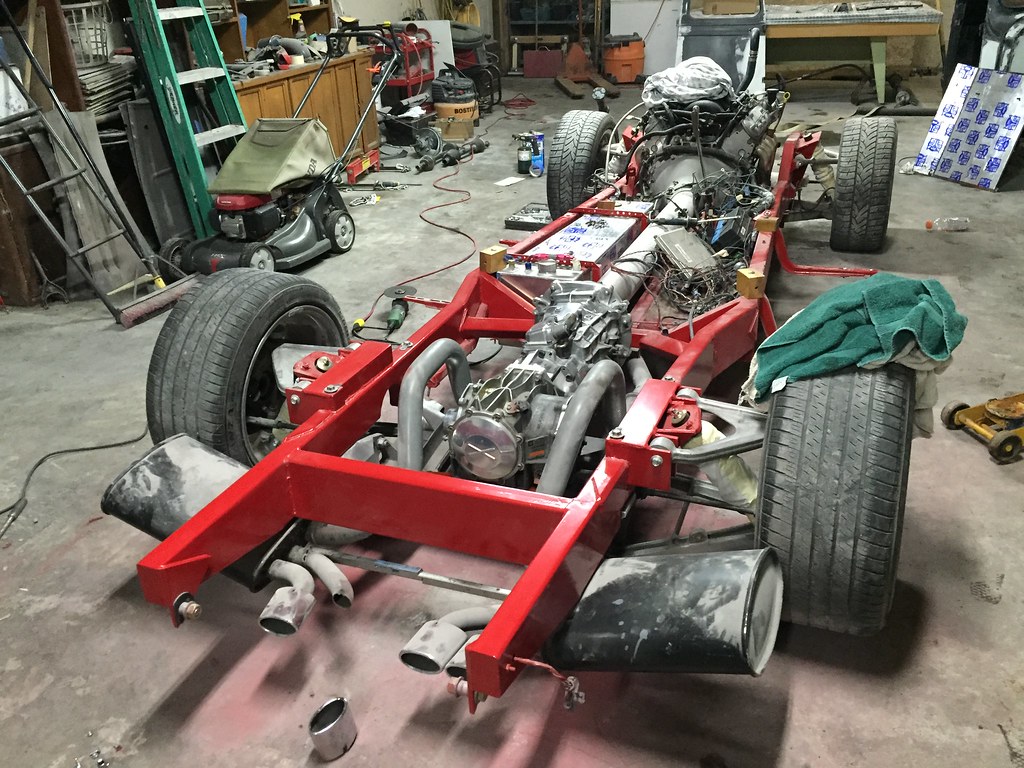
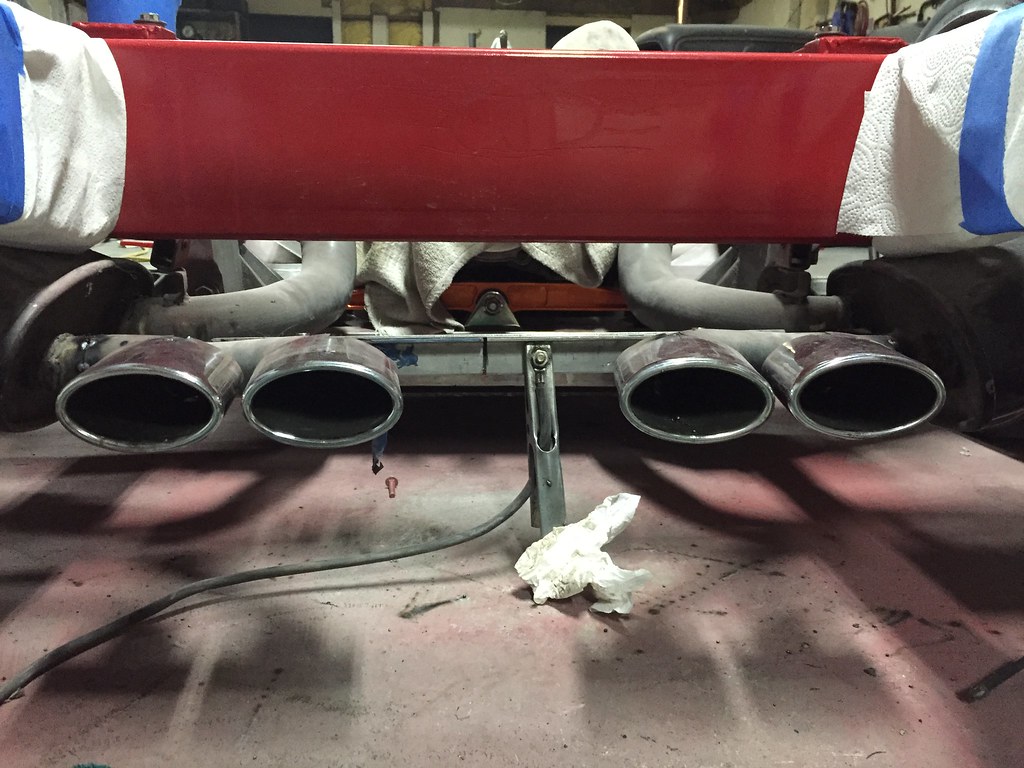
Sexy
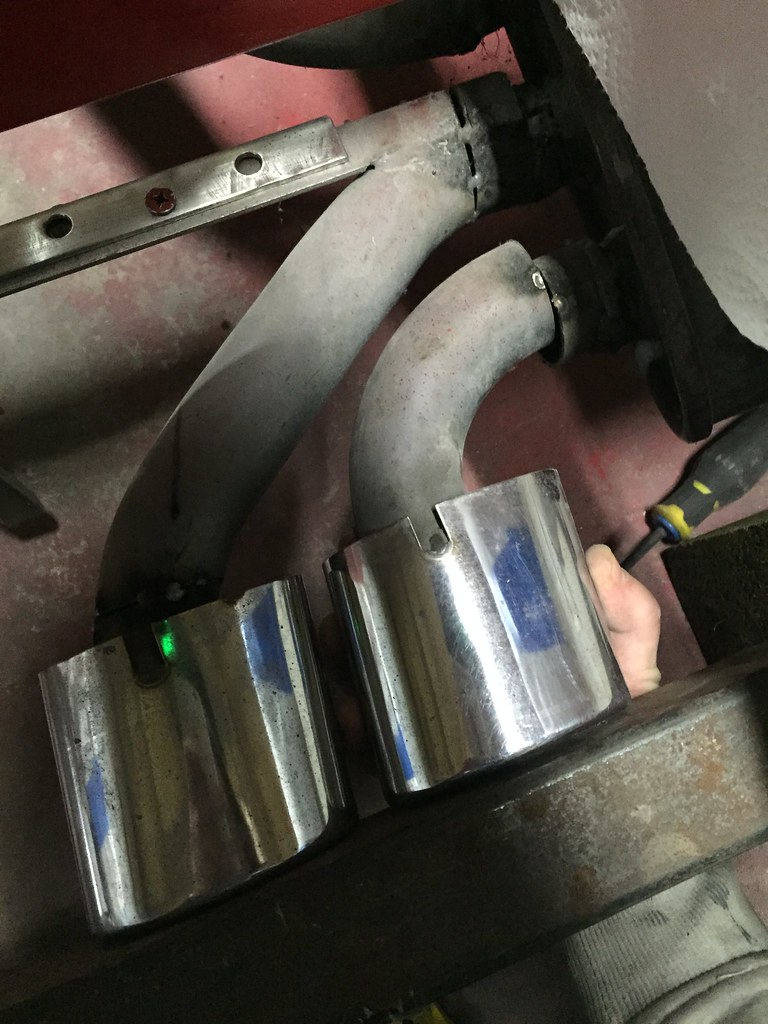
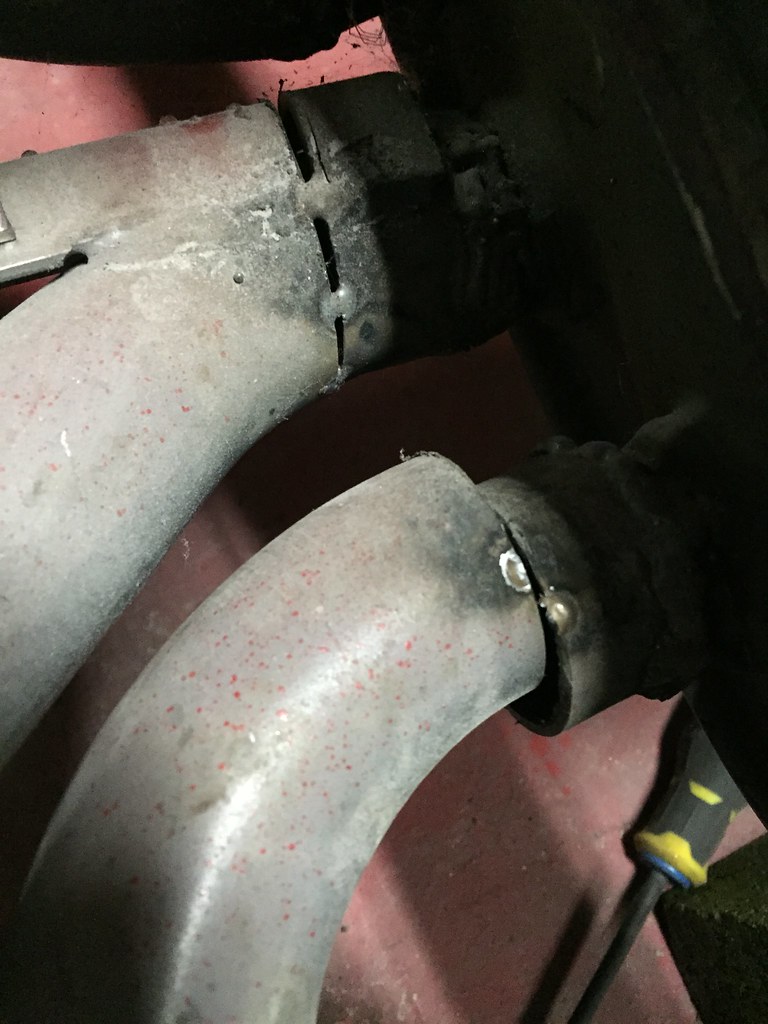
A few days later... Those tips are wacked from all the cutting and welding. Must fix!
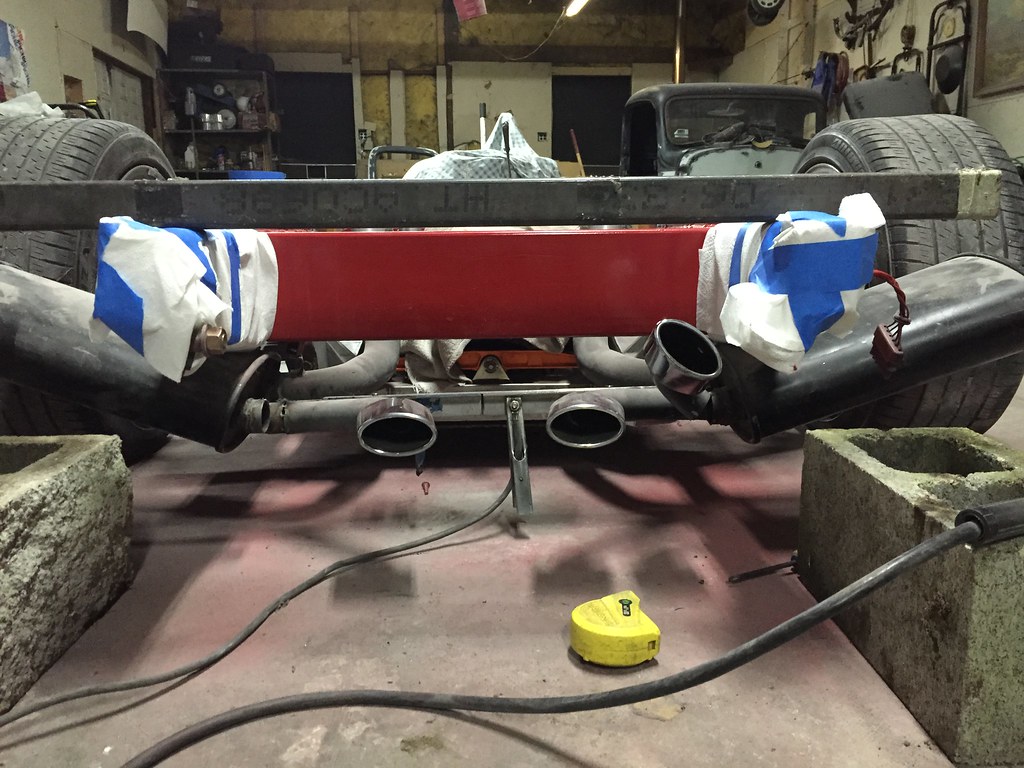
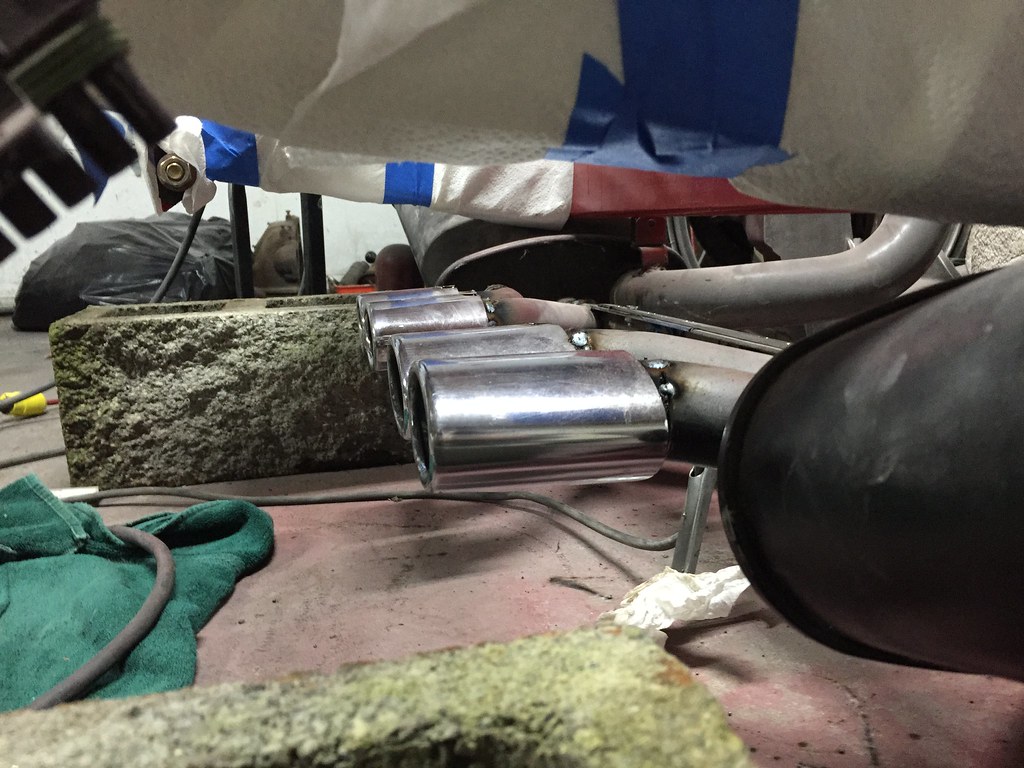
Cut off basically all the tips.
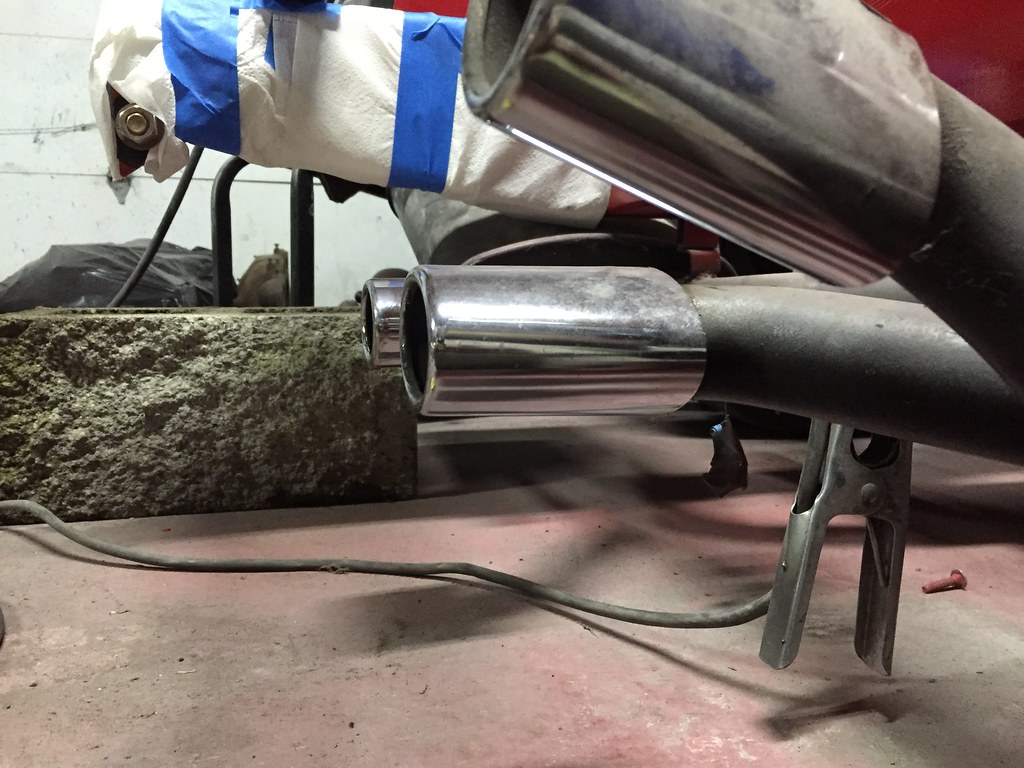
Some assembly and cutting required.
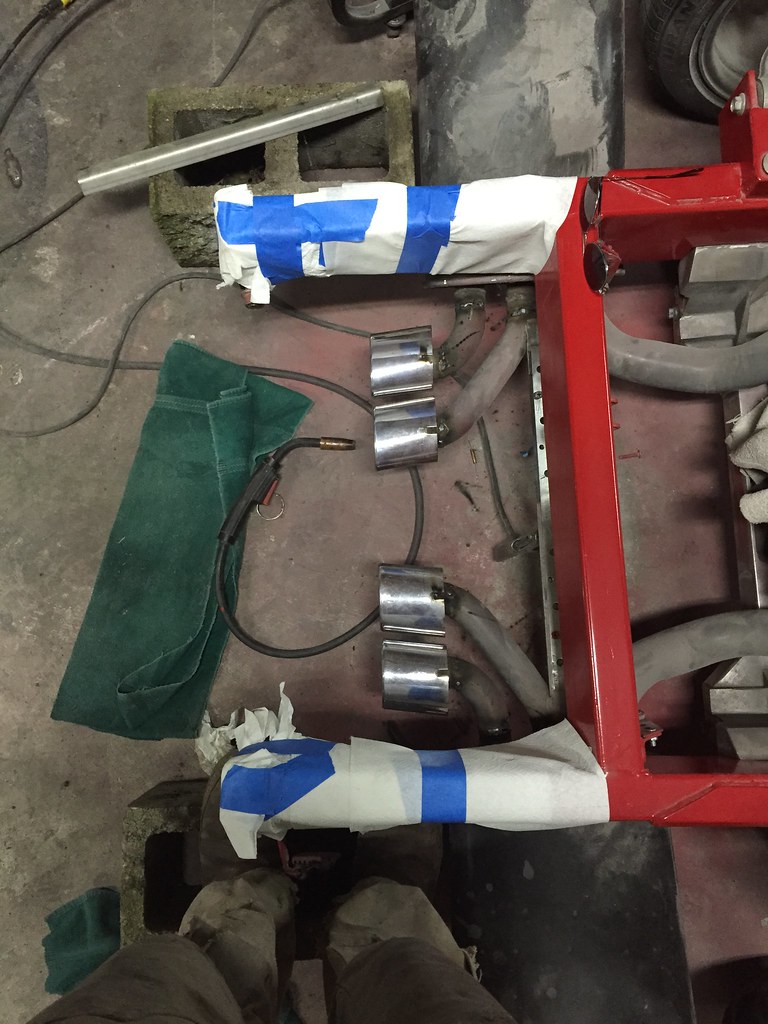
Using straightedge on two sides
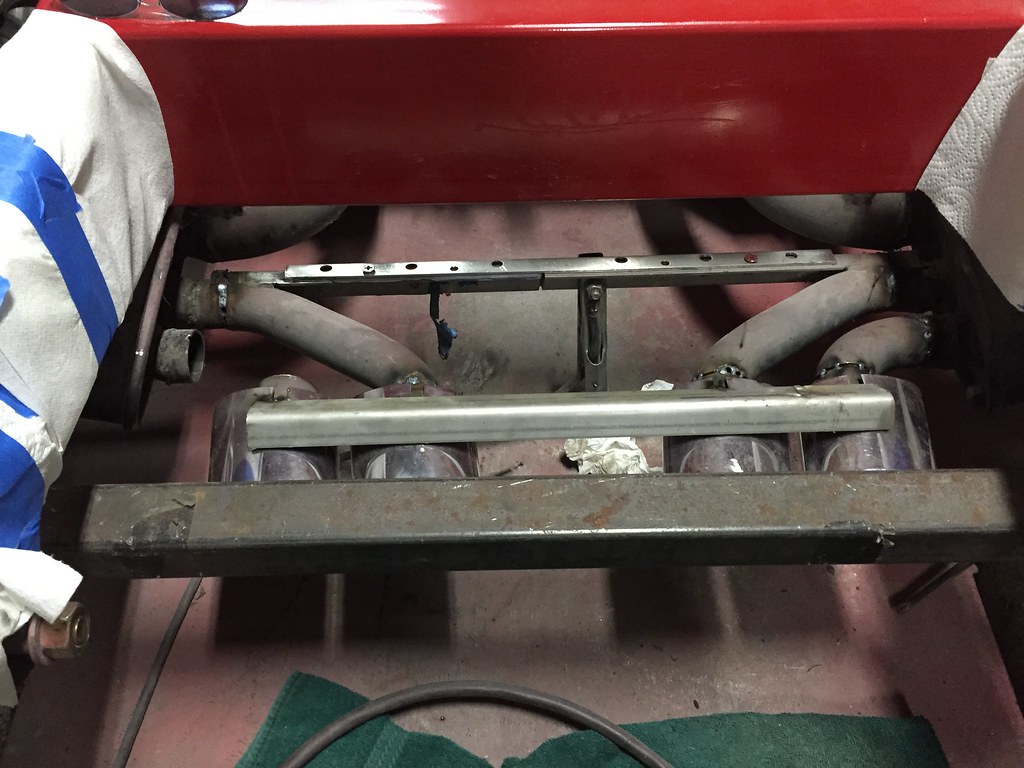
I tacked that last tip to the angle iron so it would be straight. If I were to do this over again that's what I would have done from the beginning
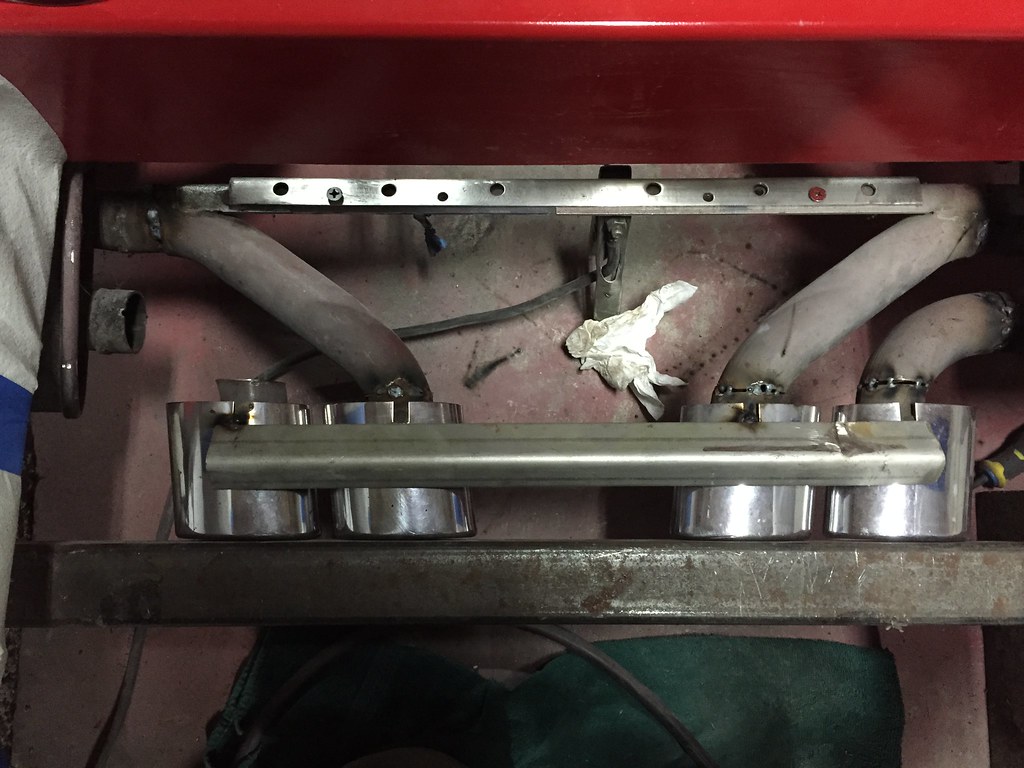
Pretty happy with this.
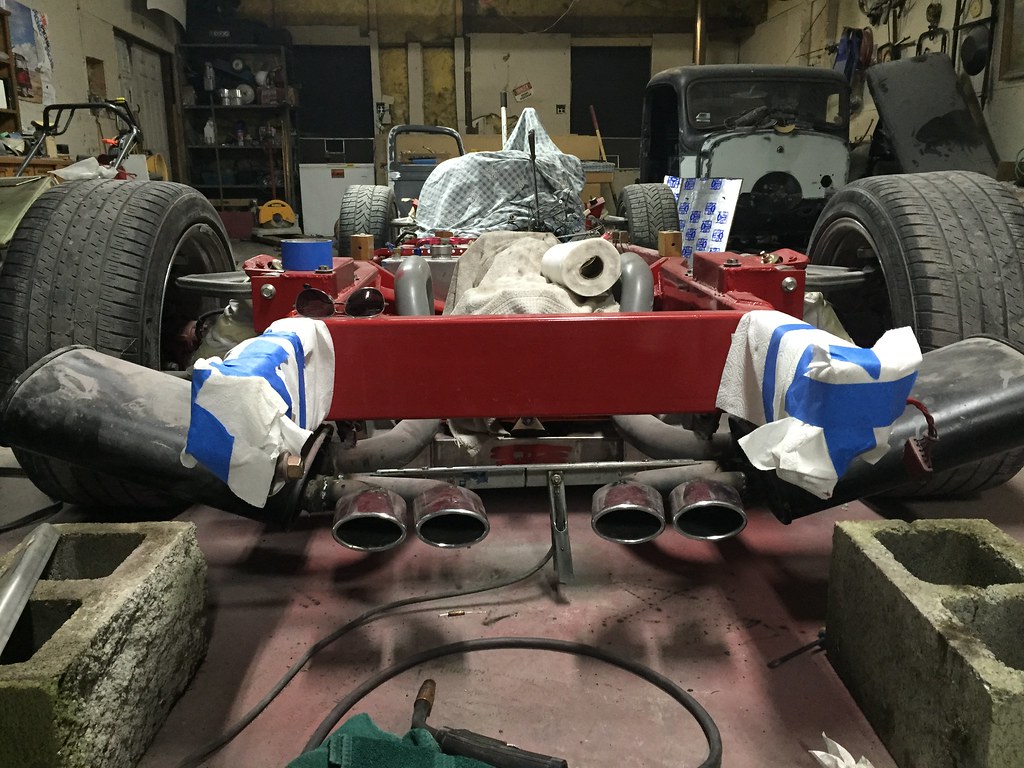
This brings us to current. Hoping to sneak out for a few hours this weekend if I have time.Leave a comment:
-
-
I'm supposed to be at work but instead I've been trapped here reading this unreal thread! I just bought an old Toyota 4x4 and was pretty proud that I located and sanded/primered/wet sanded a door and fender yesterday. Hah!Leave a comment:
-
Thanks!
Sorry its been a while! I've been busy with summer!
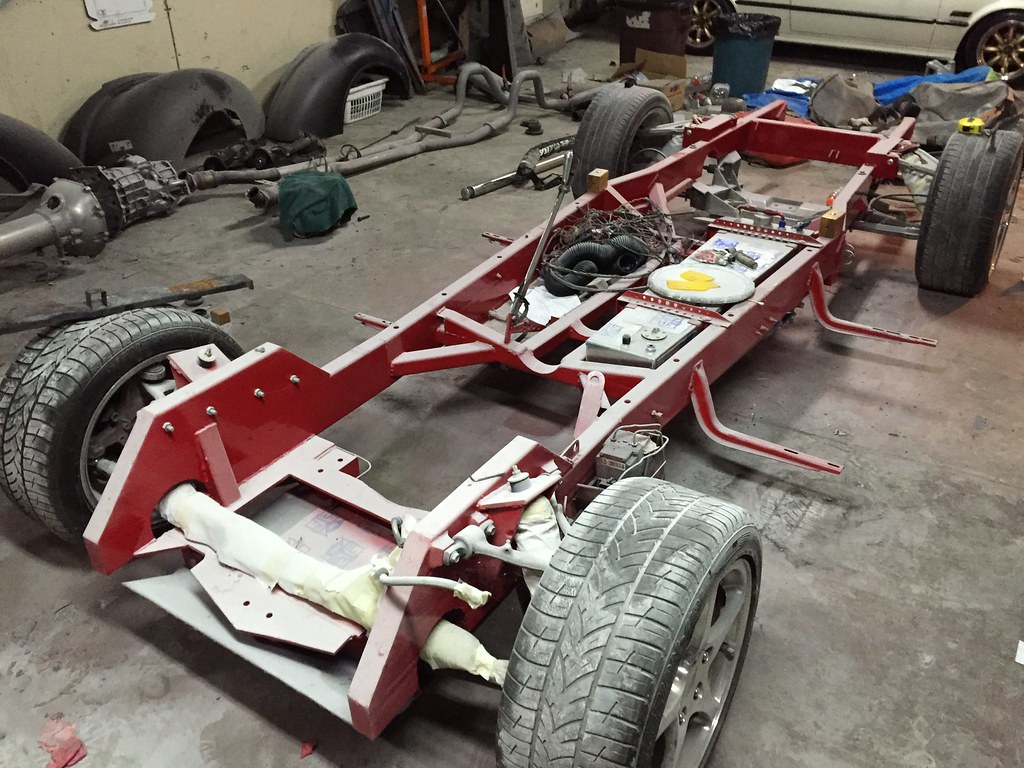
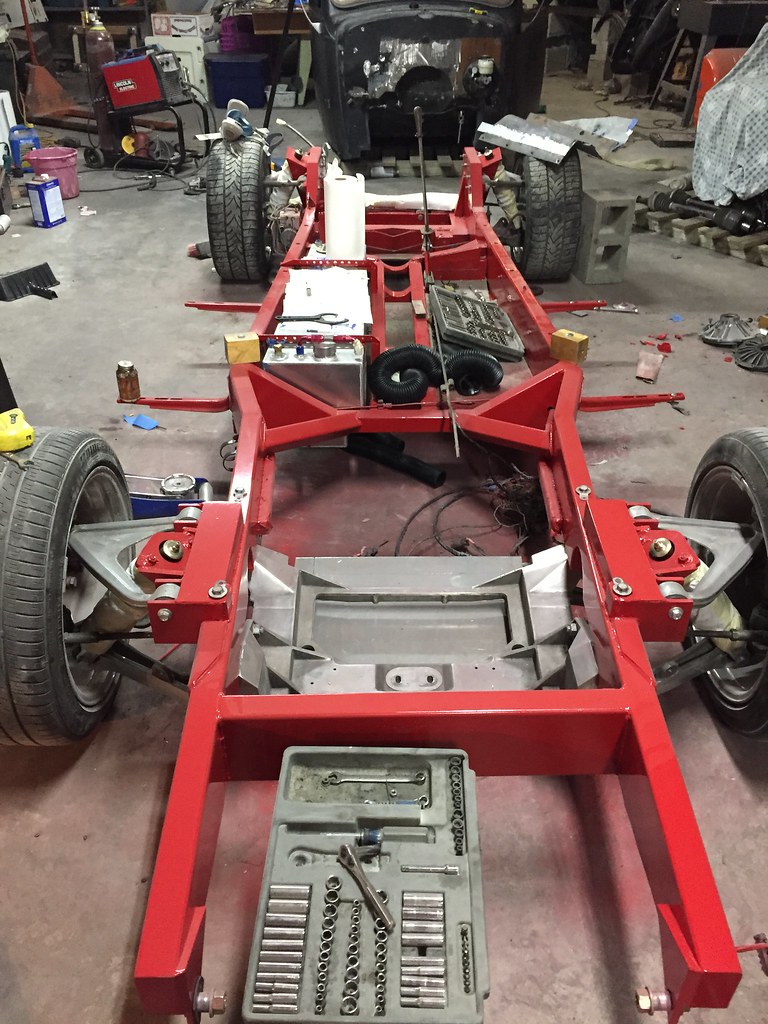
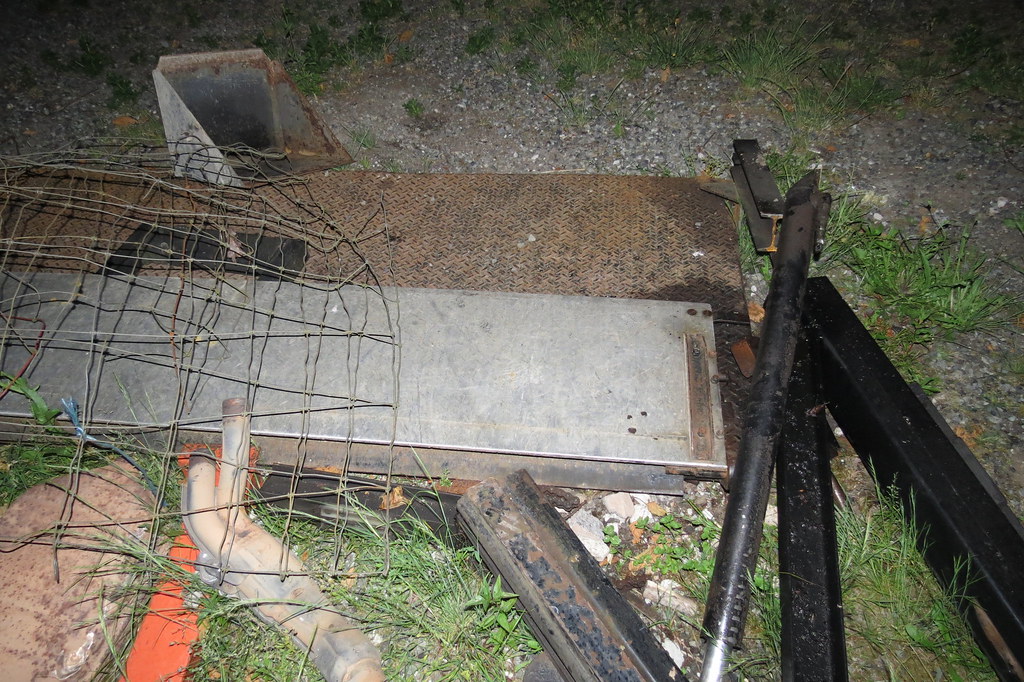
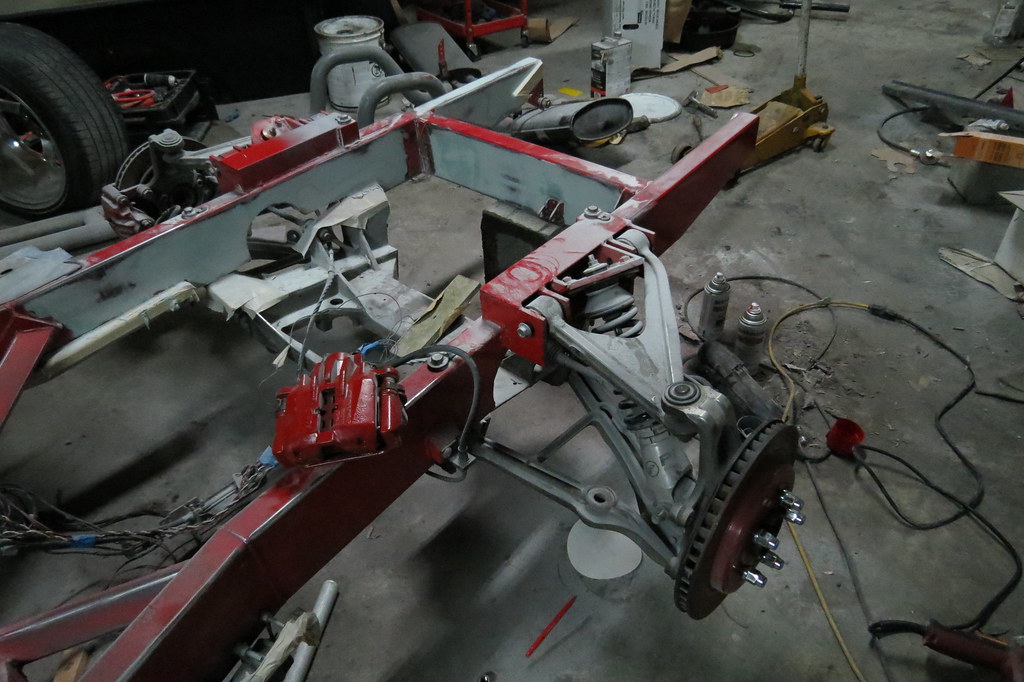
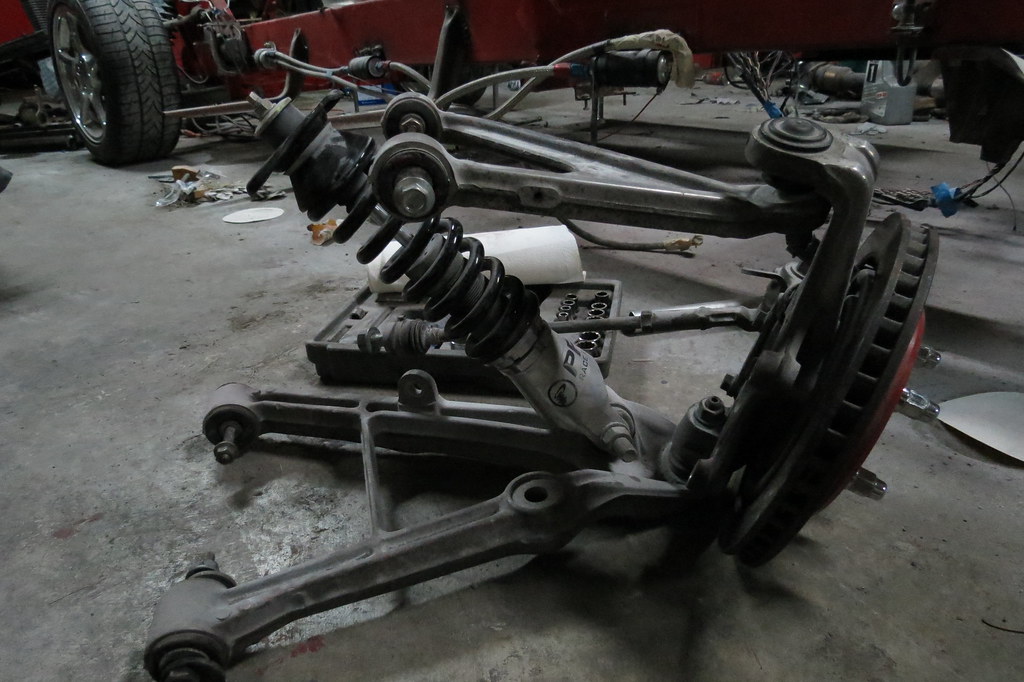
Uhh apparently I didn't update that I had put the rear suspension parts back on the frame, so here's some pics of that back when it was clean...

Also say hello to my new skid plate chilling back there:D
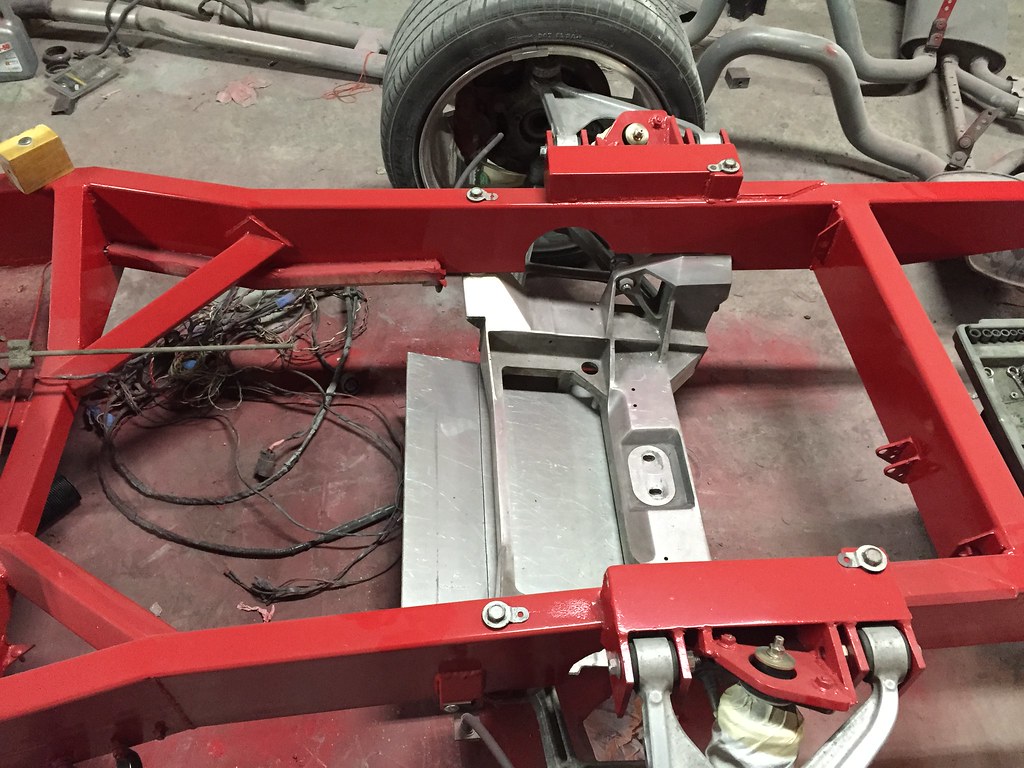
Iin the background the firewall is bare metal
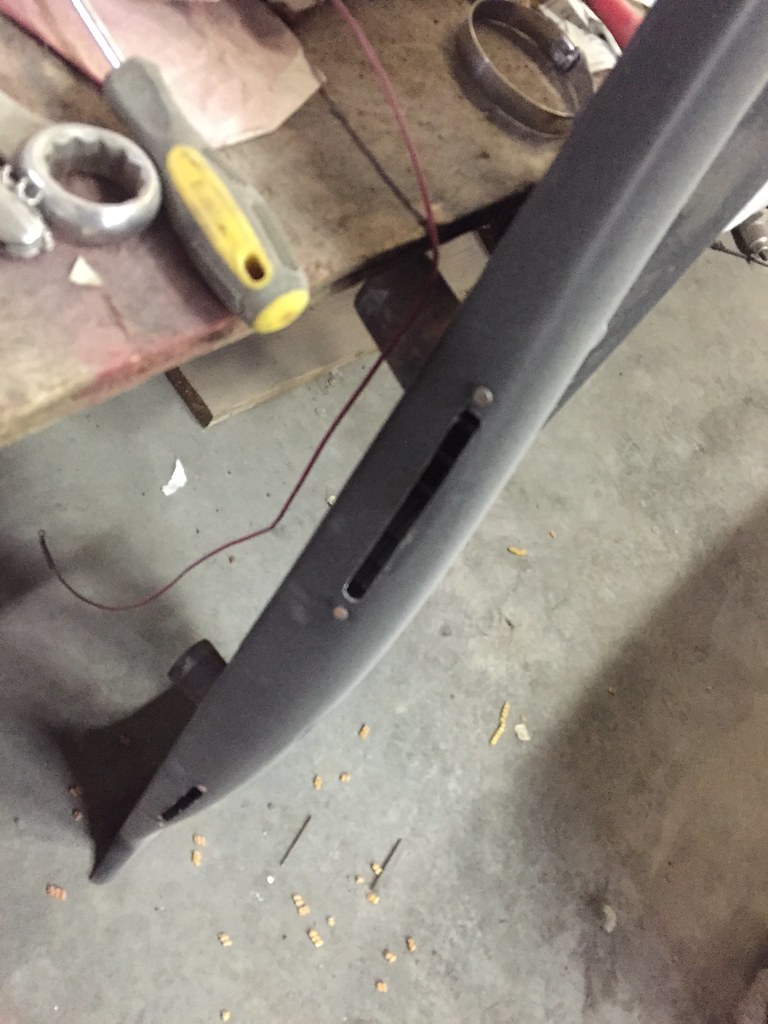
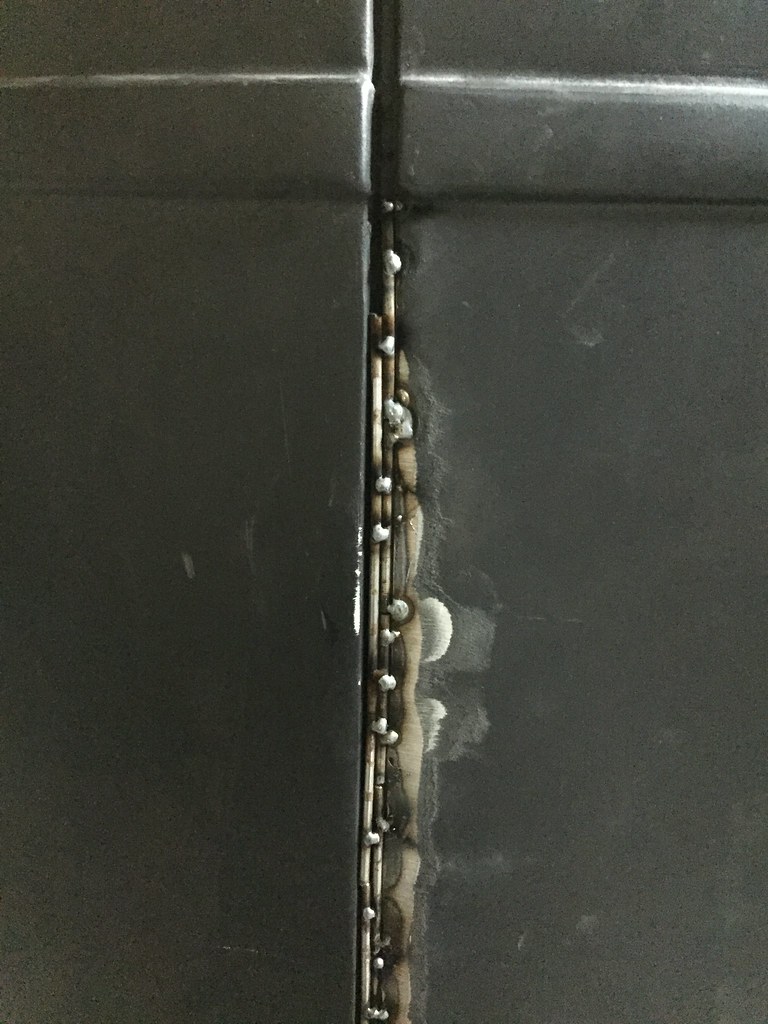
Something I did and still have to finish is defrost vents which seem like an easy task, but aren't because of the windshield and a bar under it... I really want the vents to be as inconspicuous as possible, so they're not going to have any bezels or anything, this is basically done, but imagine the nailheads gone.
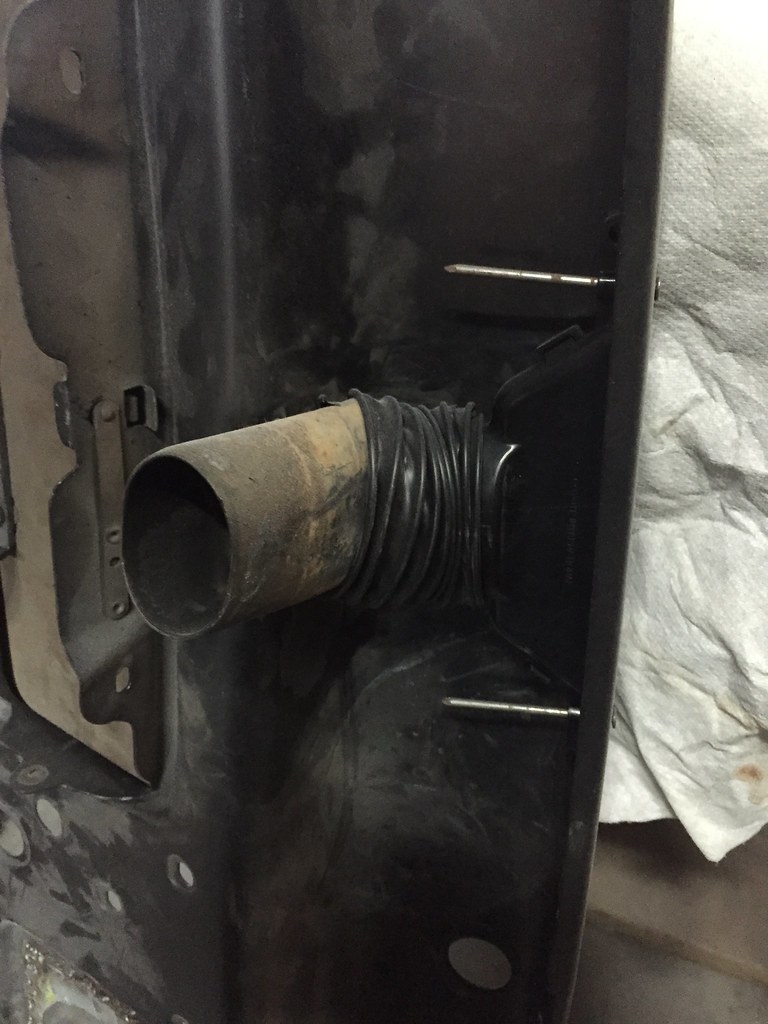
This is how the inside is going to be connected, there is a bar right in that area so these have to be both flat and make a 90 degree turn, as well as having a spot for the air hose to connect to.
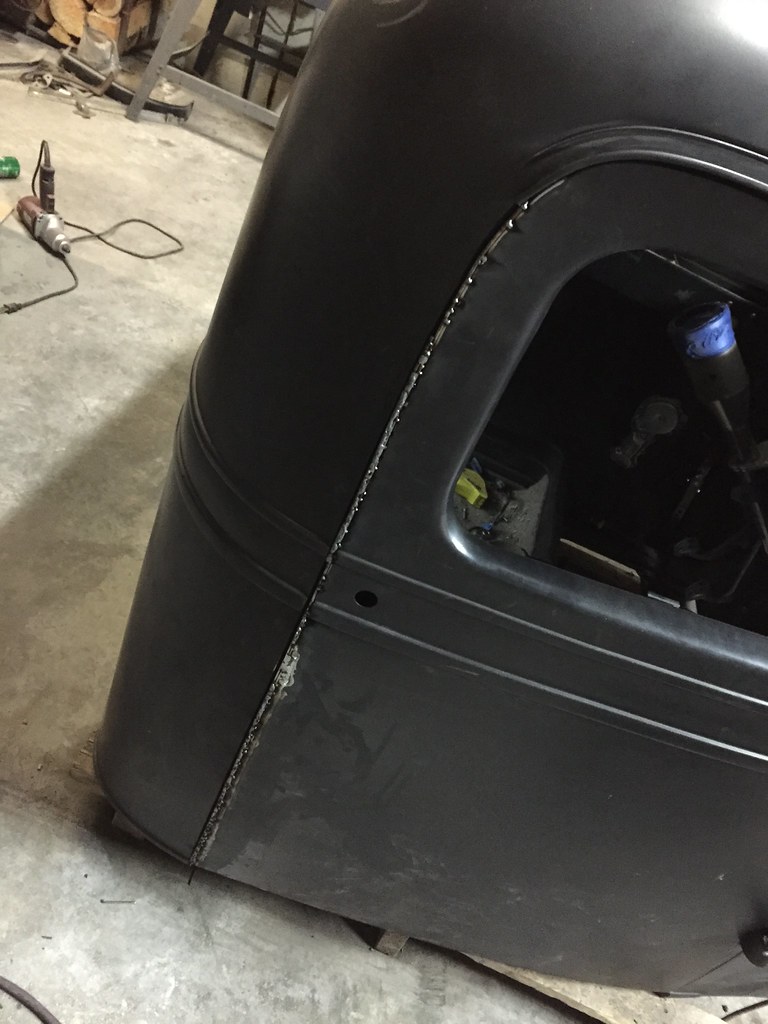
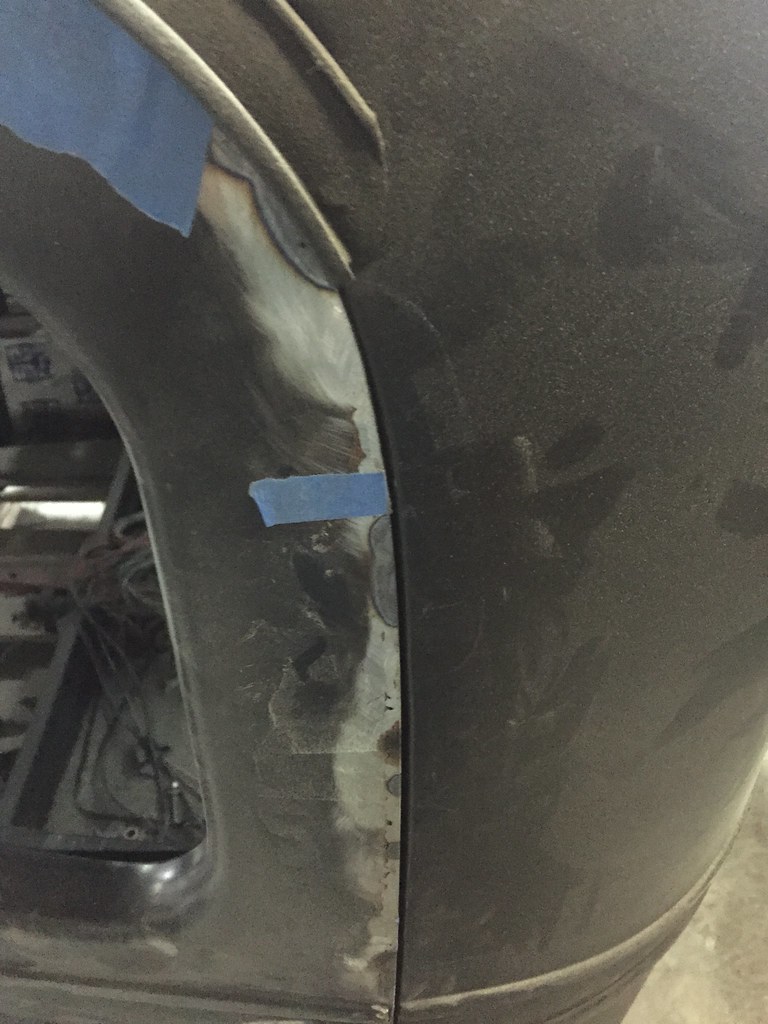
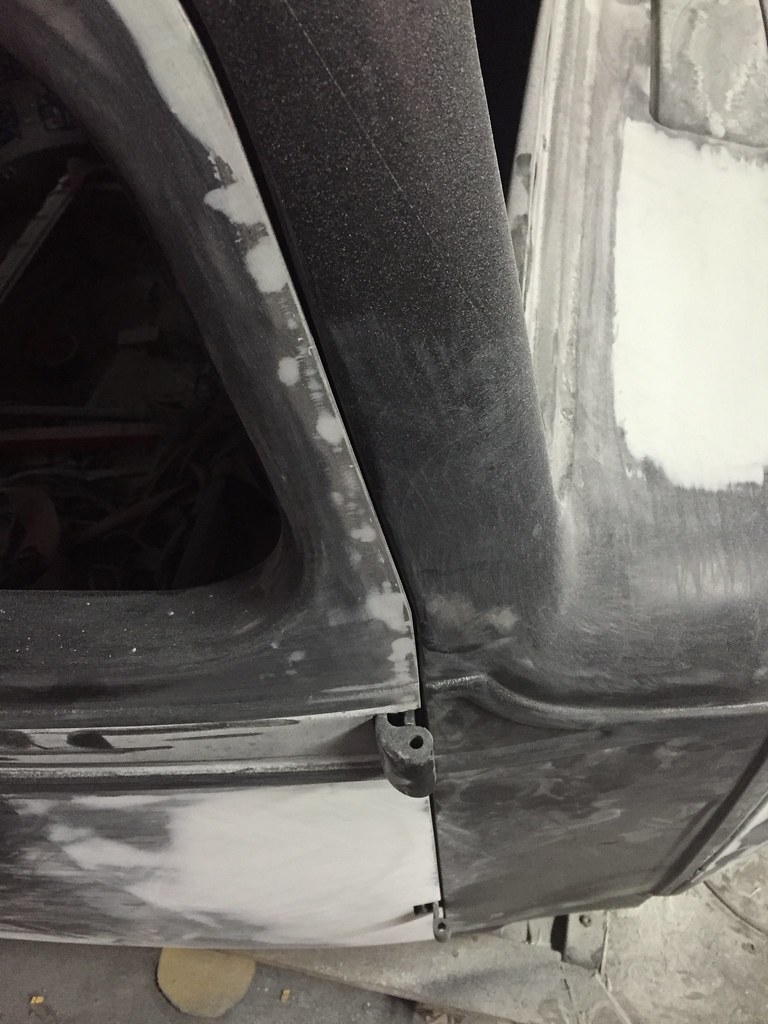
I somehow got it in my head that the door gaps were ridiculously large, and they were, opening up to almost a half inch in one spot, and I could literally shove my pinkie into this gap... Well stupid me decided that this needed to be remedied... (don't get me wrong, its a great idea to shrink the gaps, but after figuring out its at least 40 FEET of welded and ground edge, it seems like a massive PITA for a small visual gain.)
Pretty horrendous ~10mm gap there...

Buzz, buzz. Fun fact, those are actually 16 penny nails without heads or pointy ends 
Buzz buzz more.
Extend!
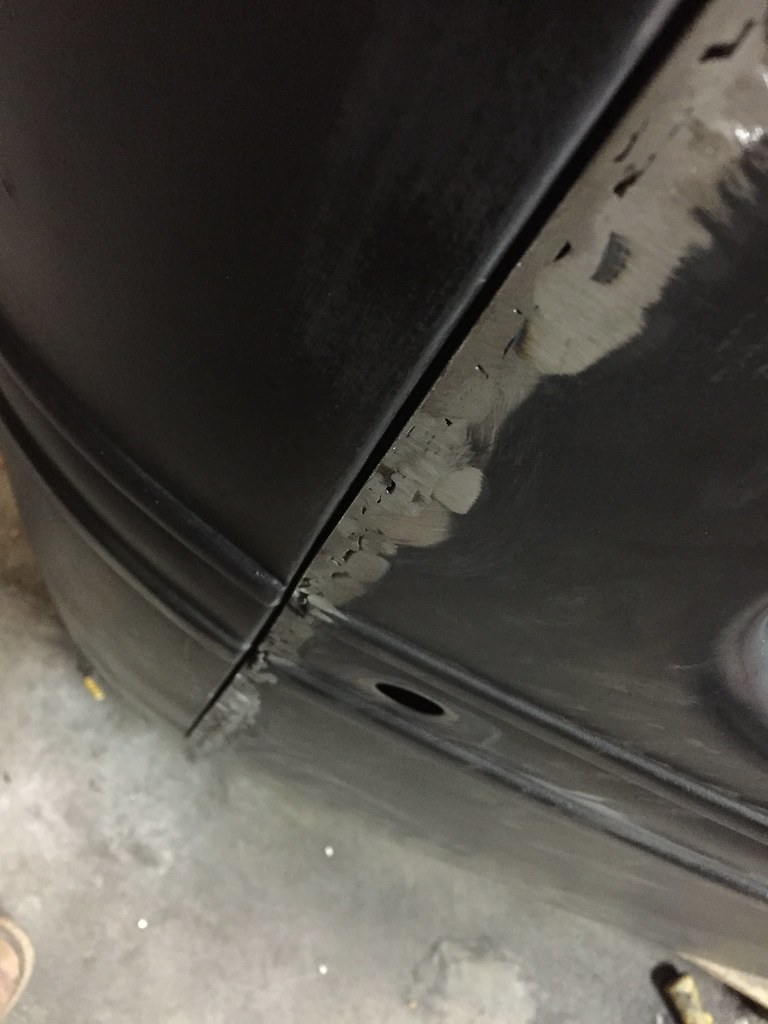
Repeat the weld and grind for many hours and this appears. This is a ~2mm gap in the door, or about half what my e30's panel gaps are:D
Driver's side. I'm using a large flat grinder blade to make the door edge straight.
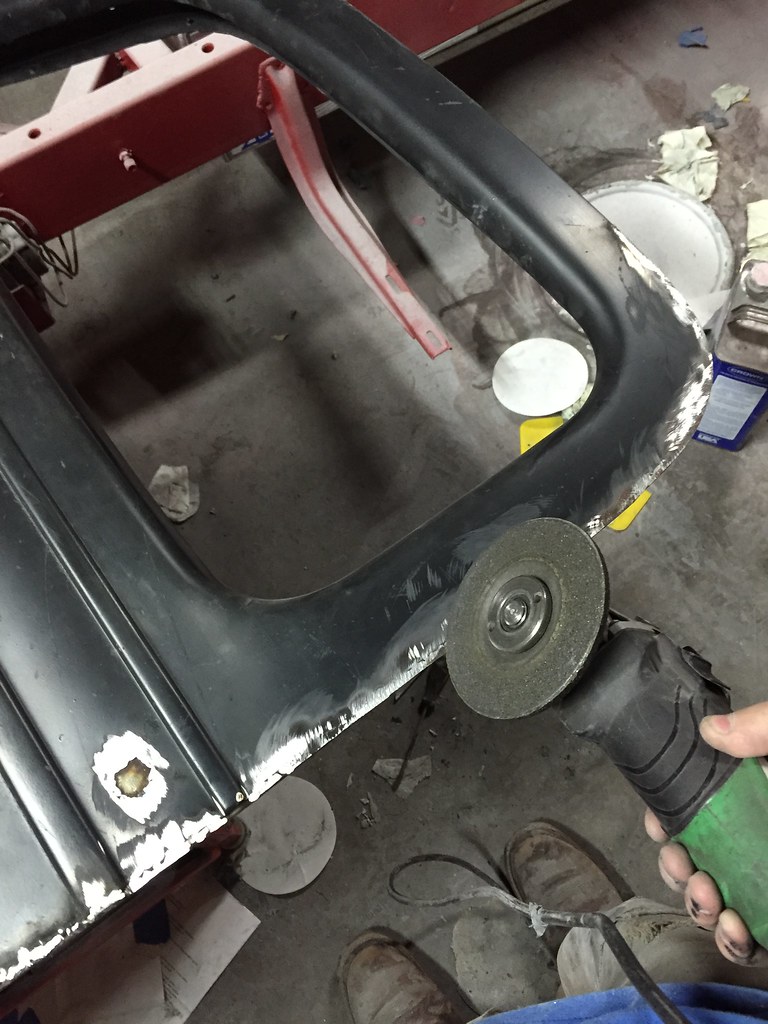
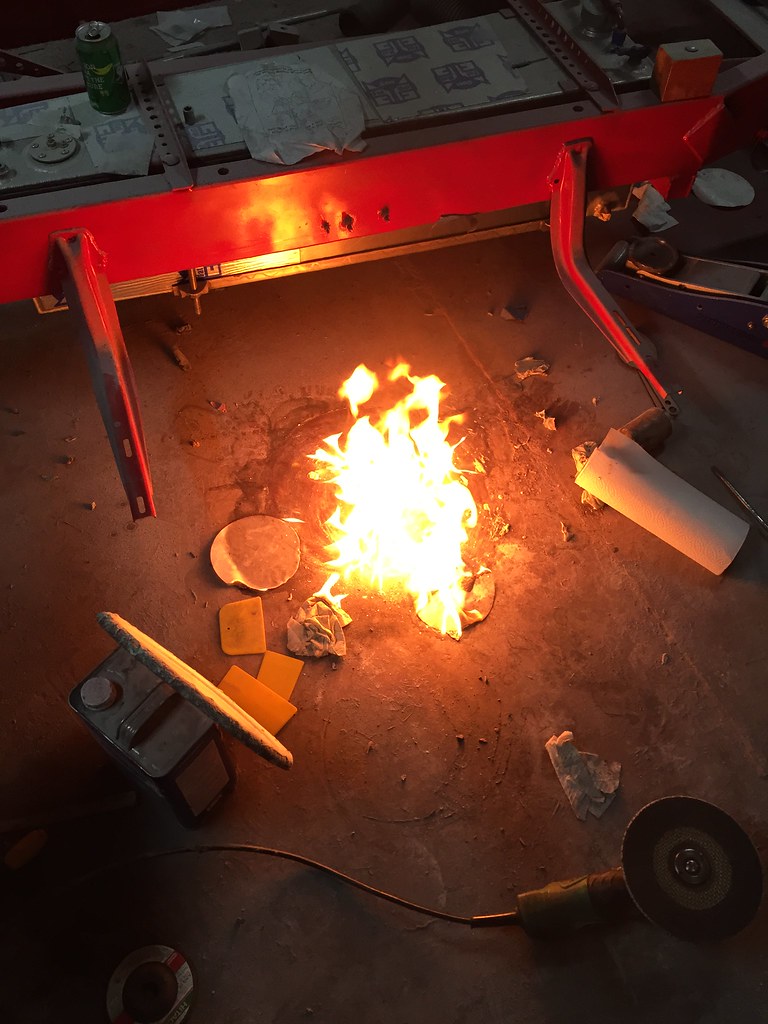
If you happen to clean your bondo board with paint thinner near where you are grinding on the door, you can make fire unintentionally!
Random pic in middle of body filler on the firewall.
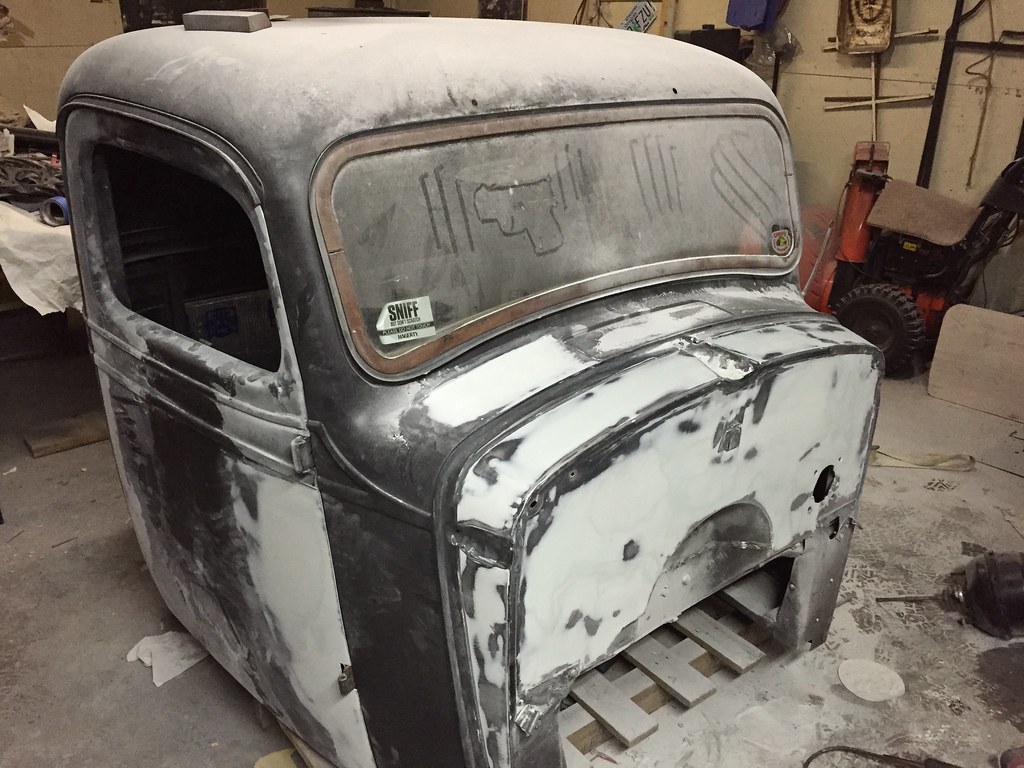
To now...
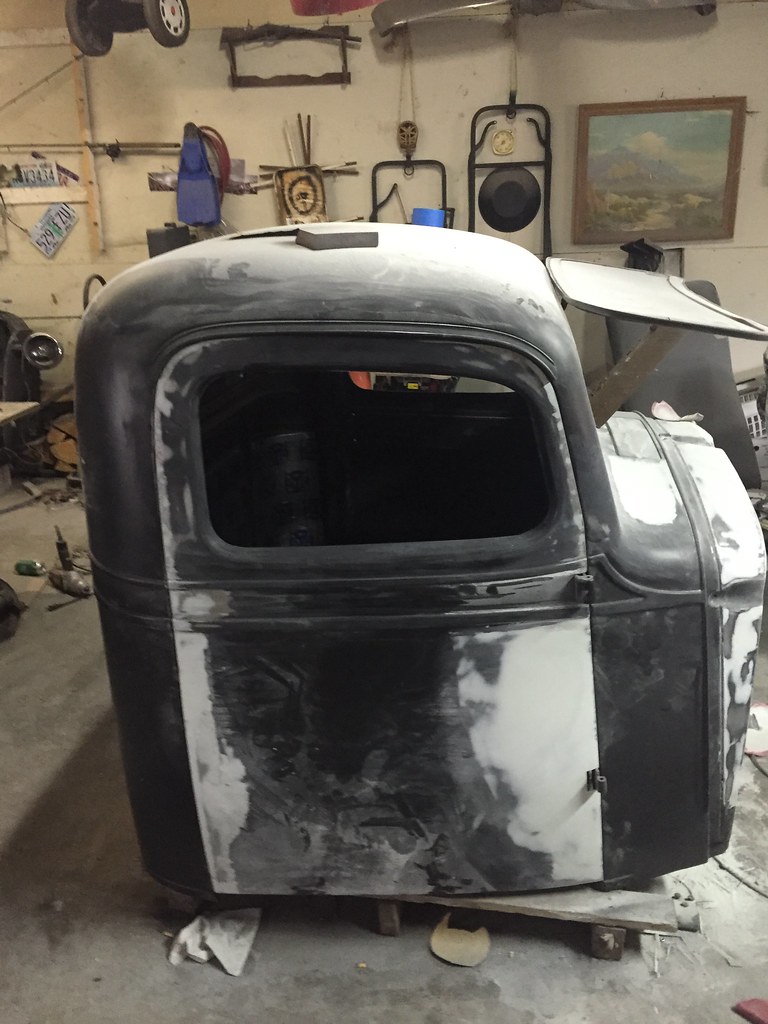
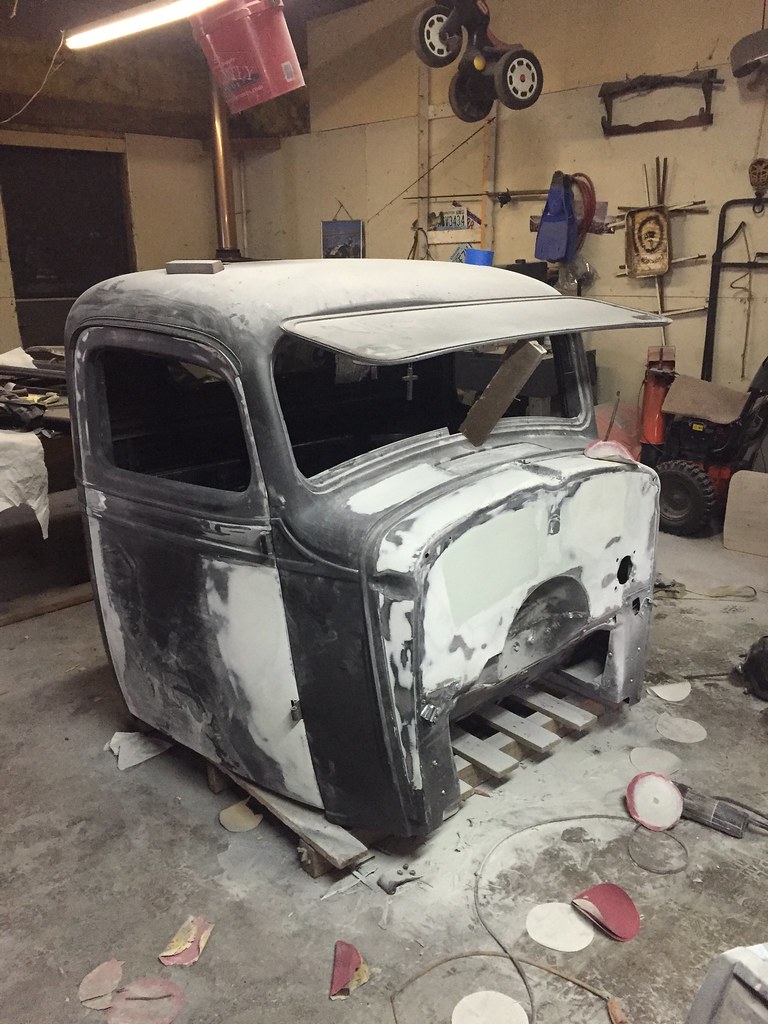
The shop as a big mess with body filler dust on everything, progress is slow but happening.
I'm still working on the driver's door edge. The firewall is nearly done, a few more skim coats and it should be nice. I'm thinking about going to talk to a local about having a seat made, and will hopefully make some primer fly next week. Lots to do.Leave a comment:
-
Ok guys, this is sort of a pic dump.
Cleaned up the back of the rear lower arms so they'll look neat when you're behind me Done vs undone.
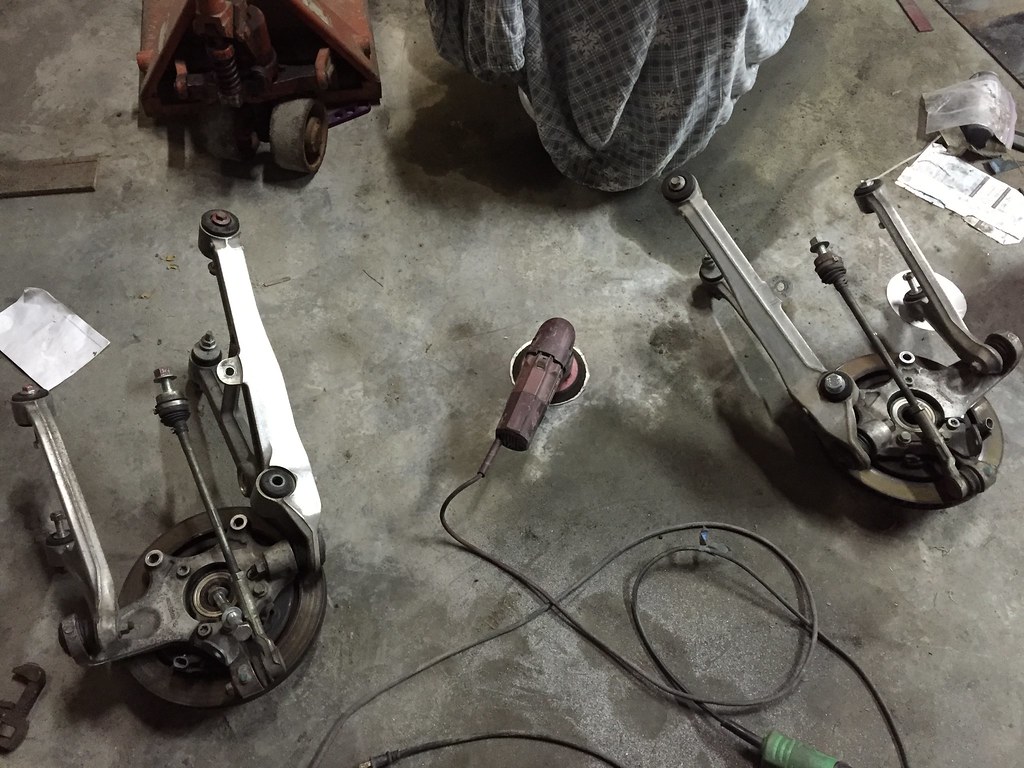
Front skid.
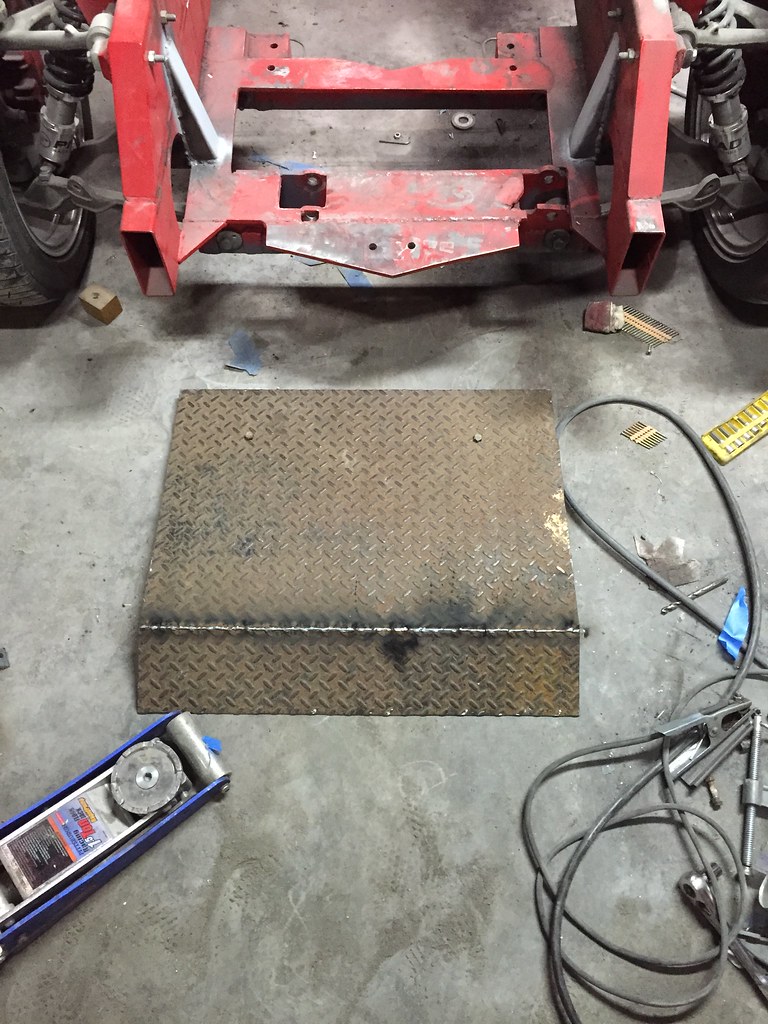
Deleting some weld seams seams on the side rails and capping the ends
Several days later
The front half looks worse than the back as it is hidden under the truck and basically keeps the frame from rusting. The back half where the bed opens was wet sanded and painted repeatedly for a much smoother finish...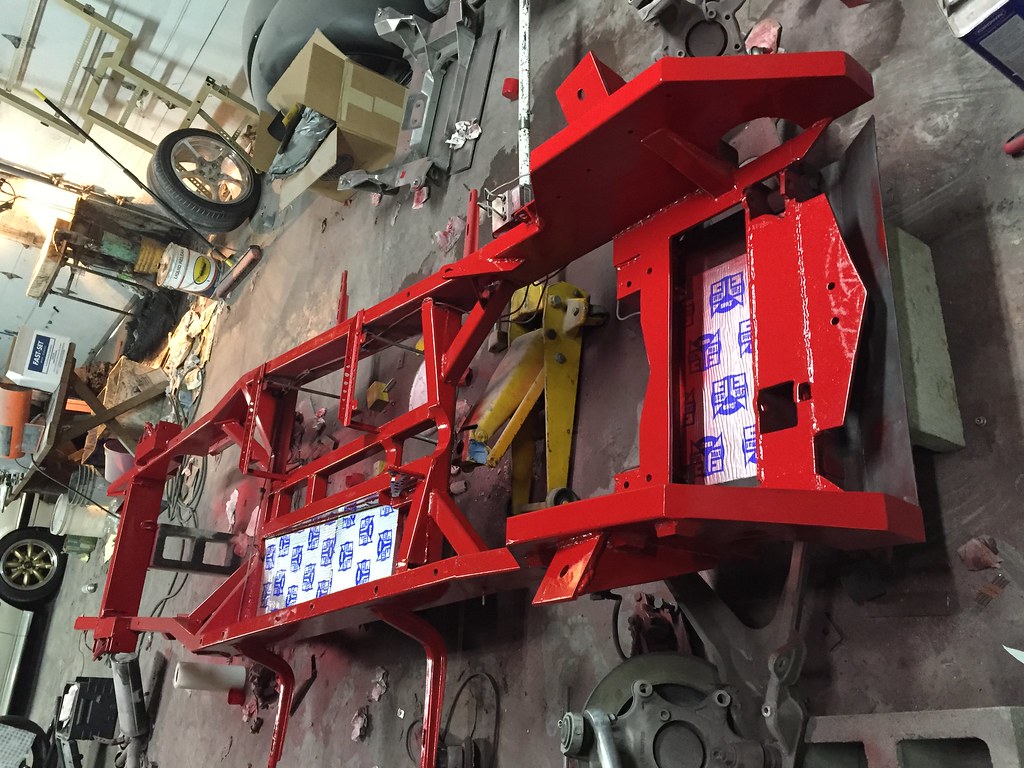
Added sound deadener so parts don't ring when hit.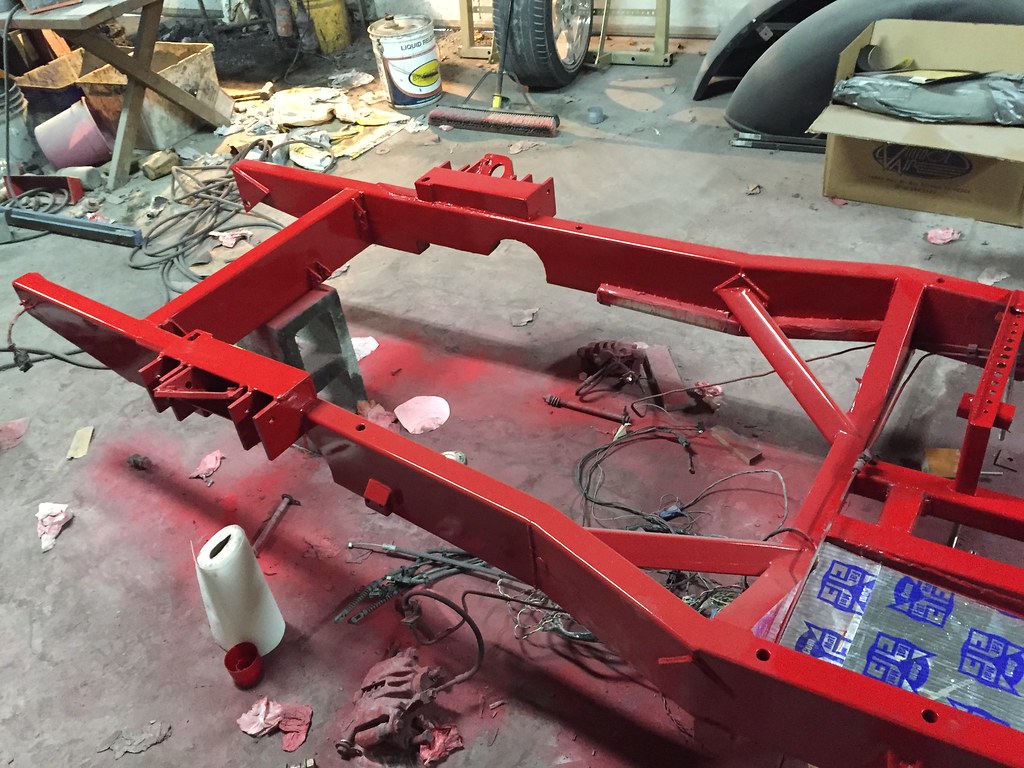
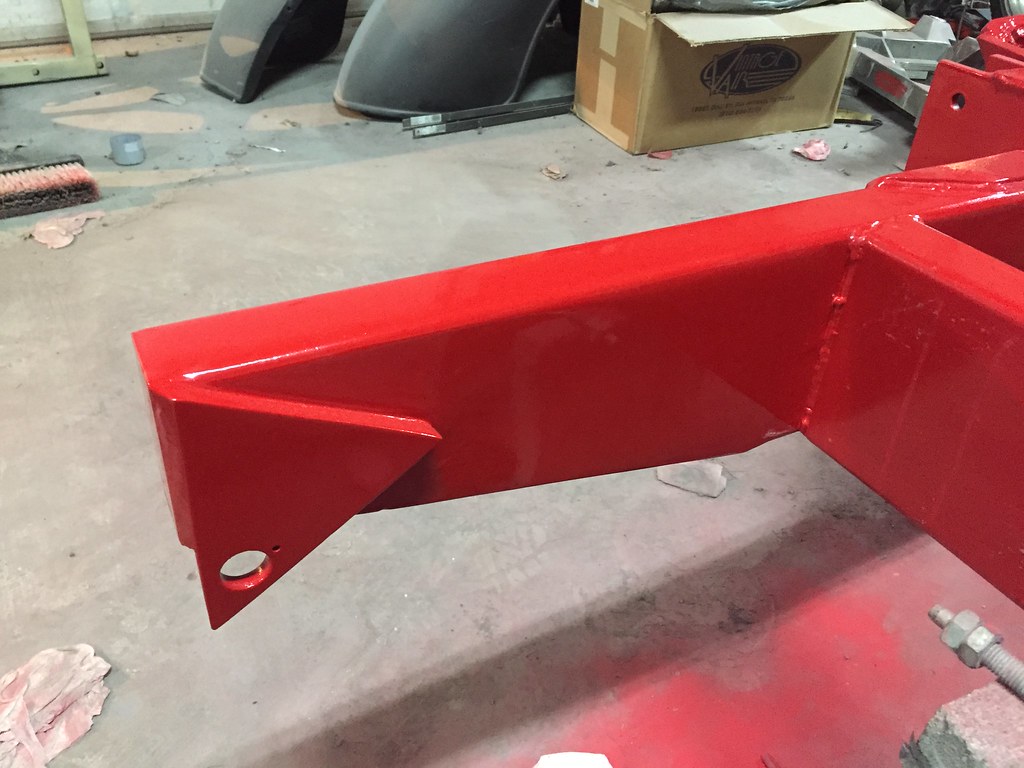
Details of the rail ends.

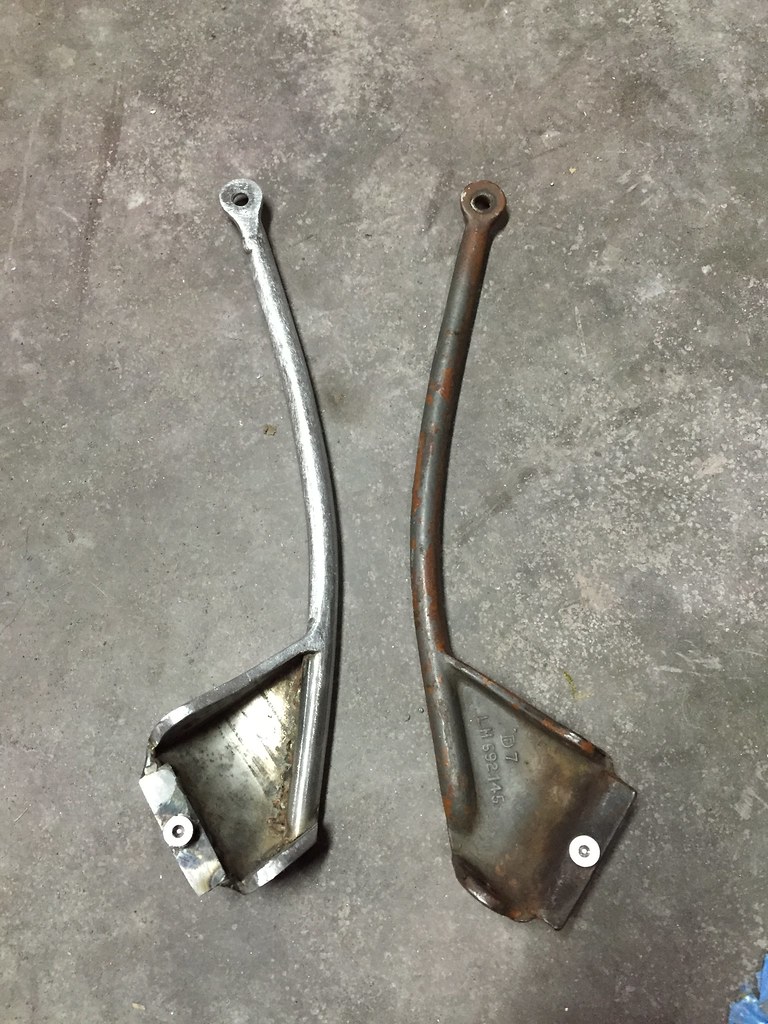
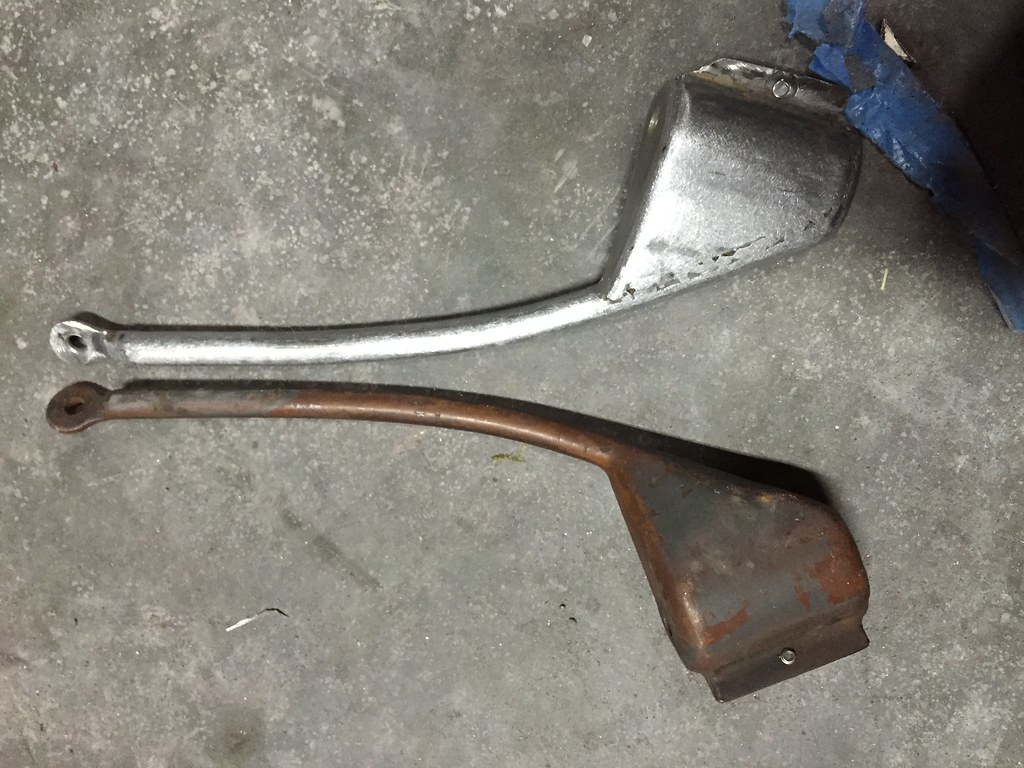
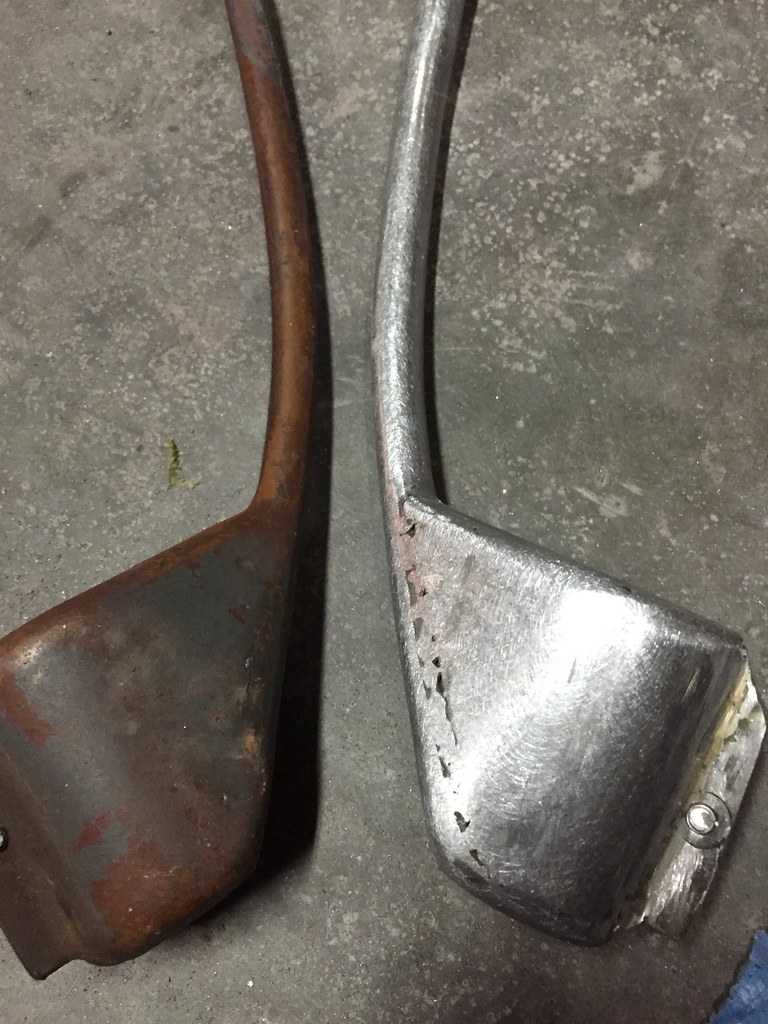
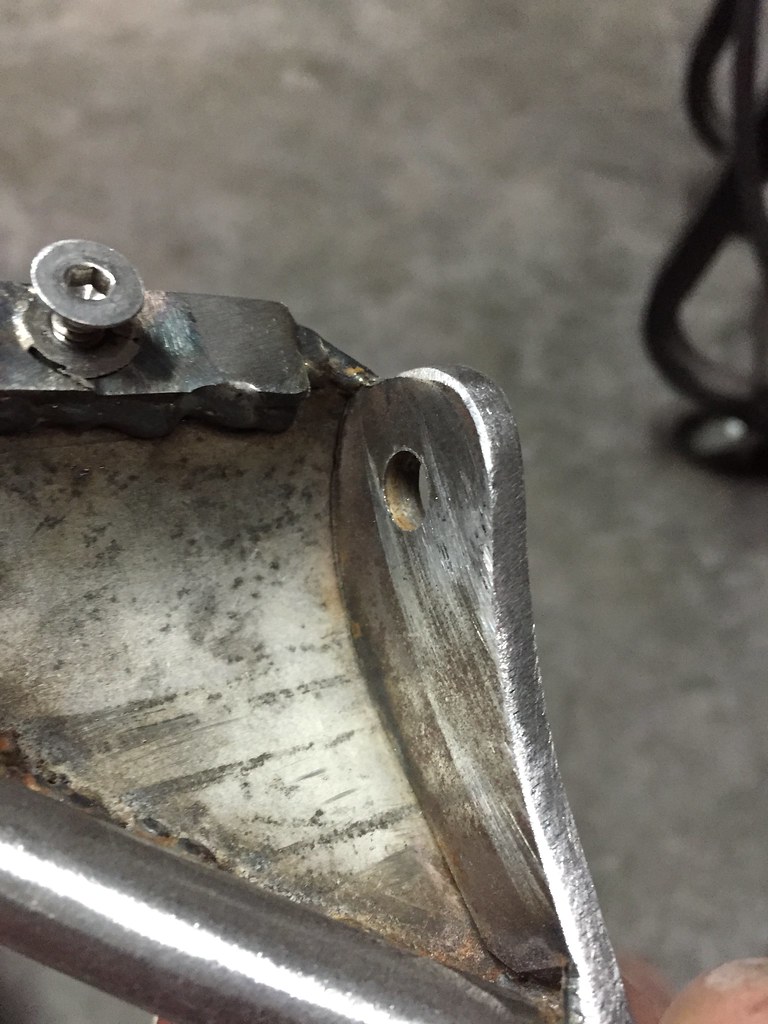
Something I made on Sunday/Monday, A new passenger side mirror arm. Repro mirror arms have straight arms, which looks stupid, and are cast pot metal that breaks if you try to hammer it into the correct bend... (ask me how I know) Anyways, I made this new one. It isn't exactly perfect but its a dang good match for a piece of exhaust pipe, rebar and some flat stock I found on the floor...
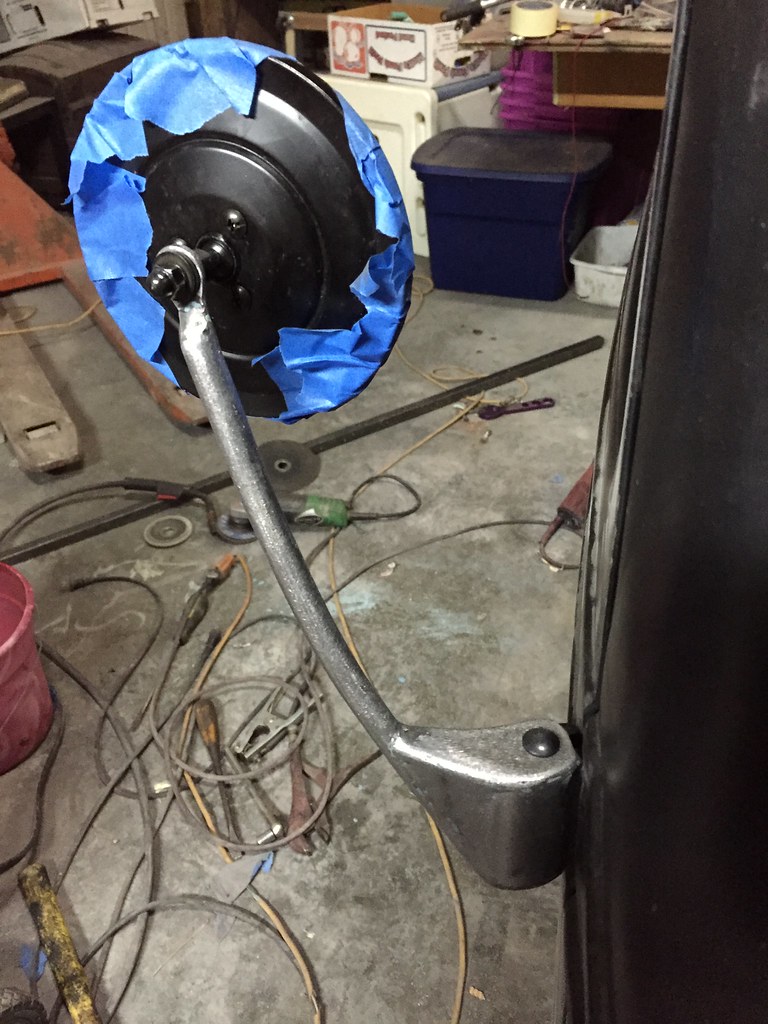
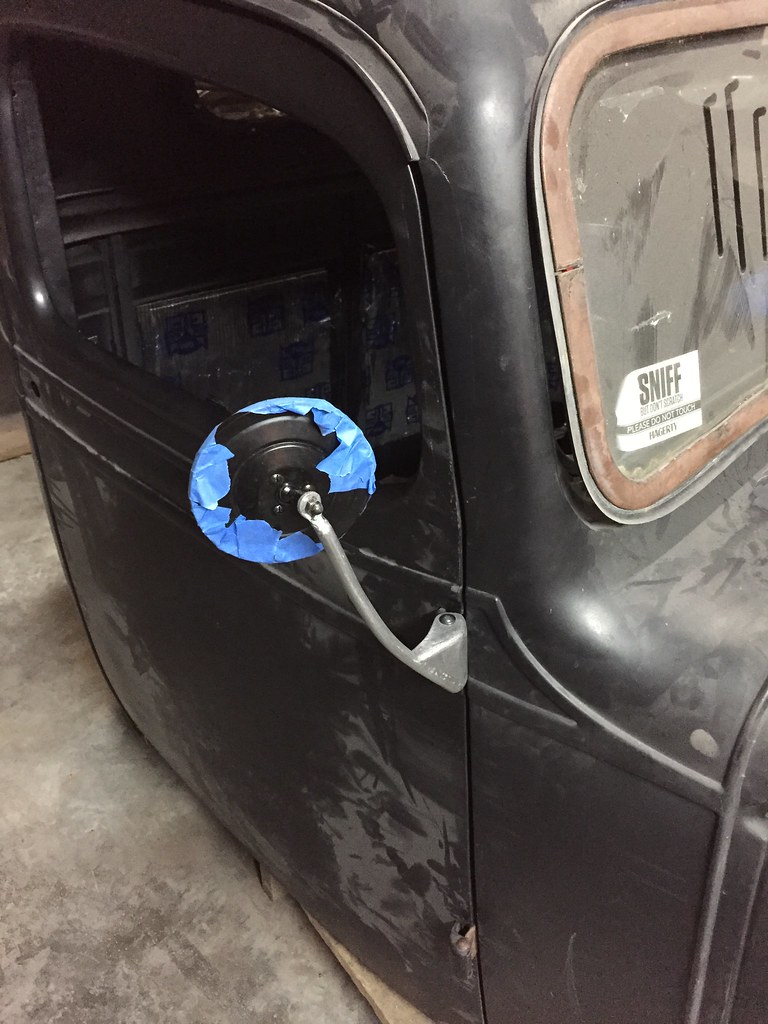
And no, paint hasn't happened yet, still have lots of work to do including tightening the door jambs...Leave a comment:
-
Yesterday...
Those stupid triangle shaped parts behind the bars are a pain bc my DA doesn't really fit in there so have to hand sand
The previously mentioned rear arms that are clean
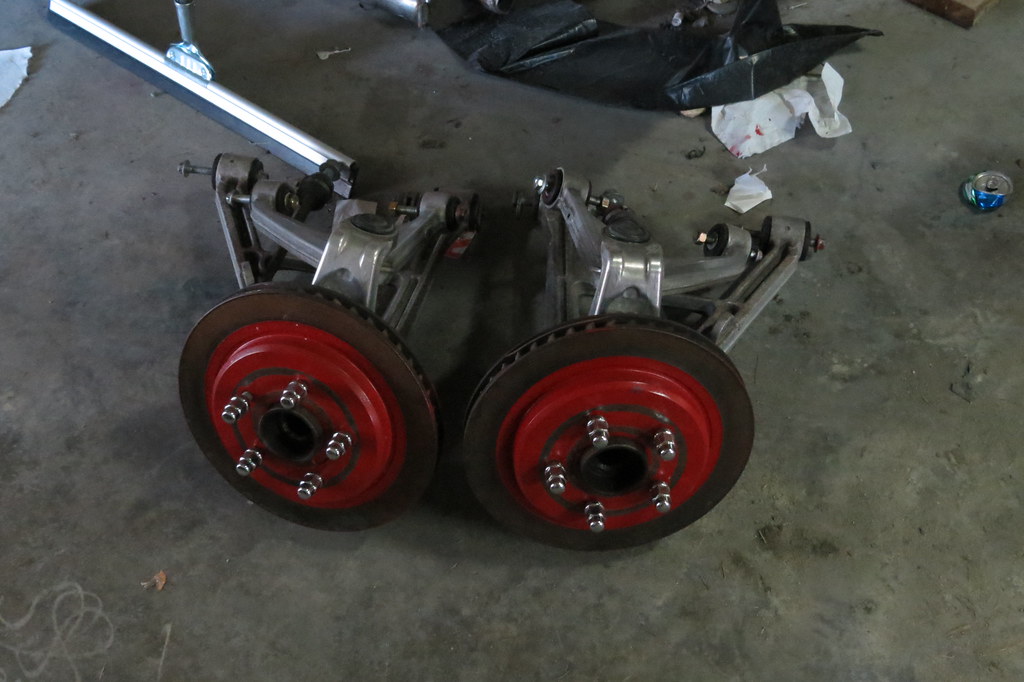
Immediately put the towel back over them
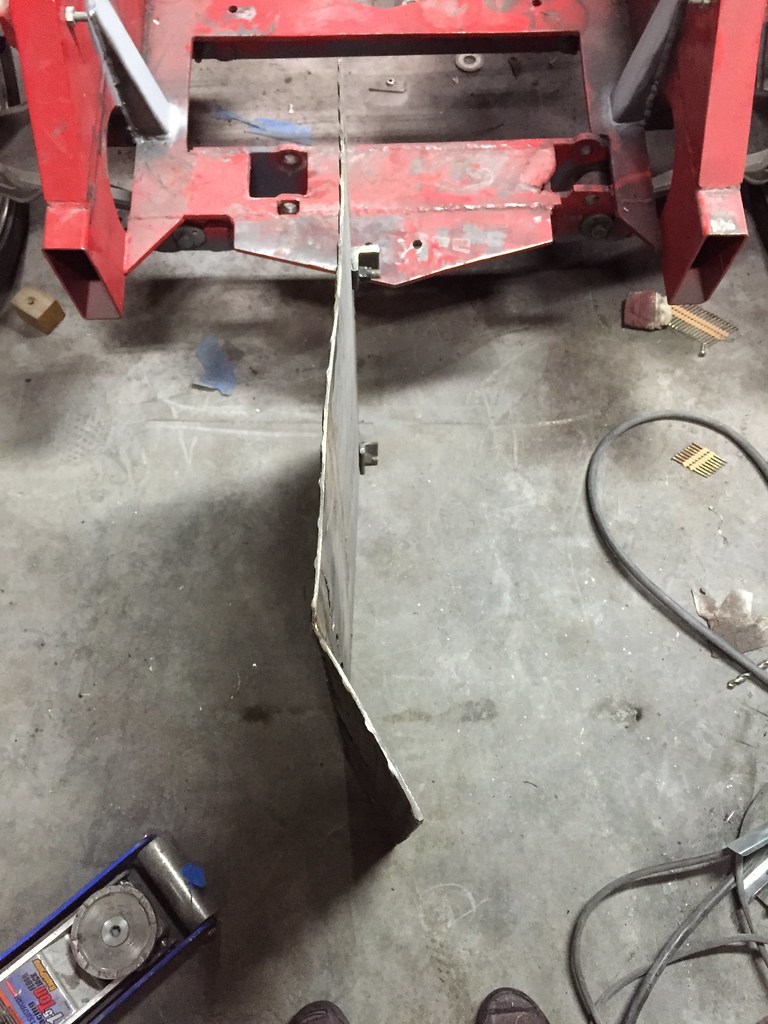
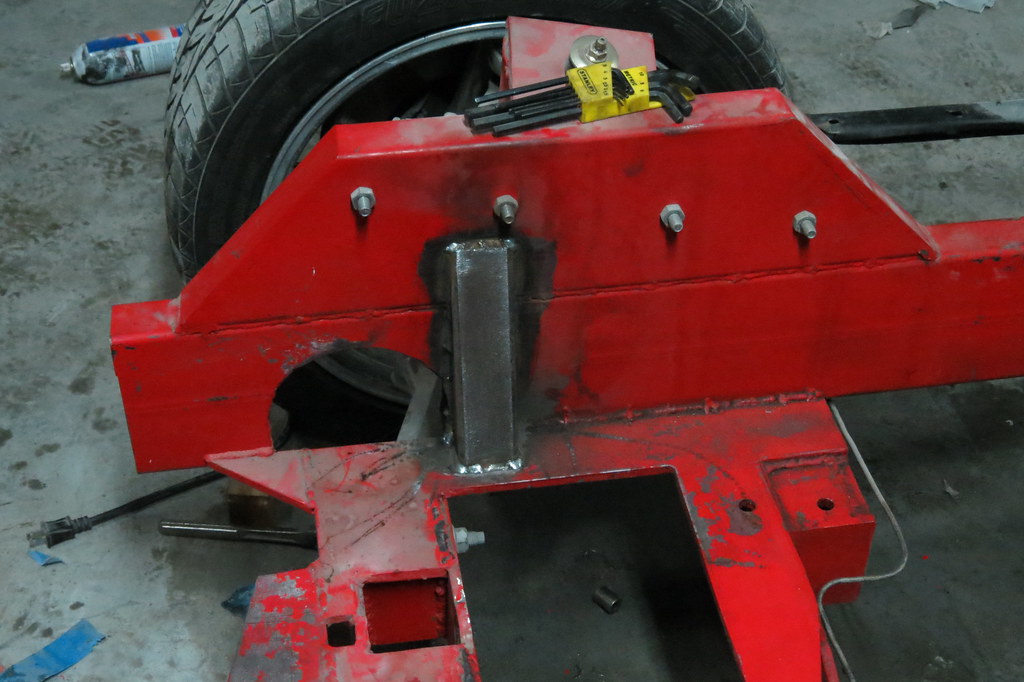
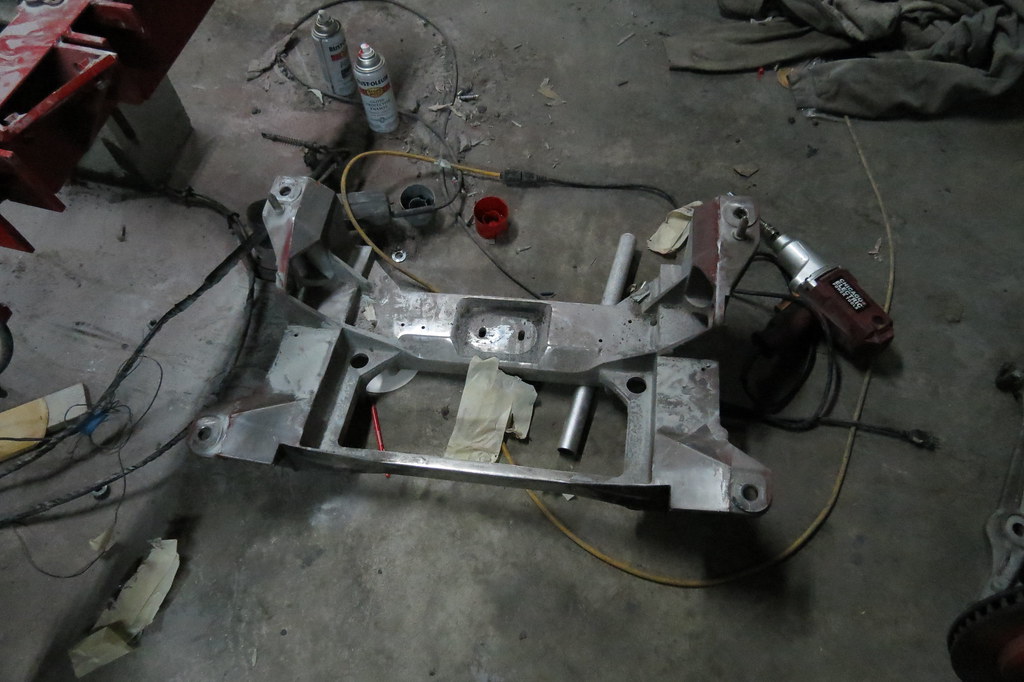
At like 1:30 am I decided those four bolt holes in the subframe need something to hold!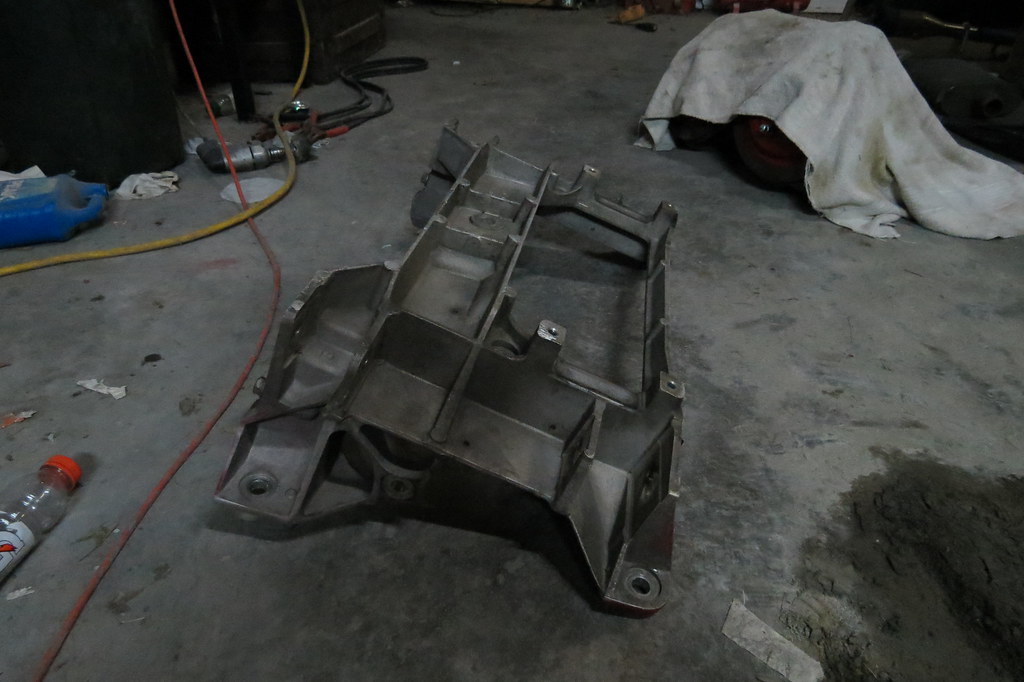
Likely suspect...
Making skidding device, I've only tagged the subframe on one thing, a manhole cover in road construction that stuck out... I don't need to be lowered more with those square edges there to catch on stuff:rofl I've seen cars totaled by manhole covers Gonna make one for the front also
Slowly turning colors
Leave a comment:
-
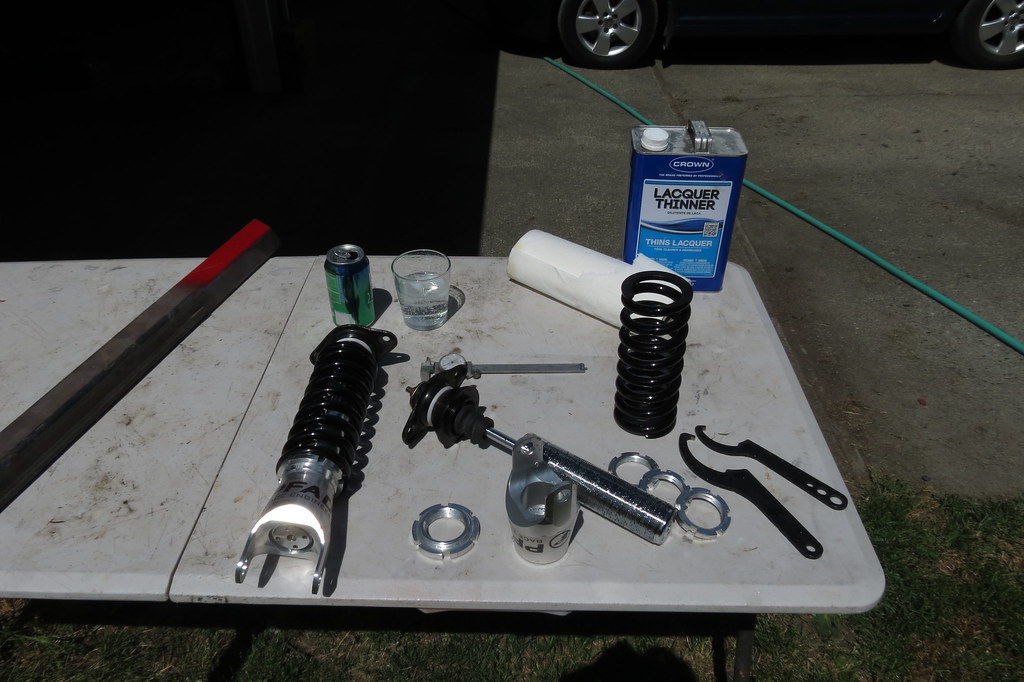
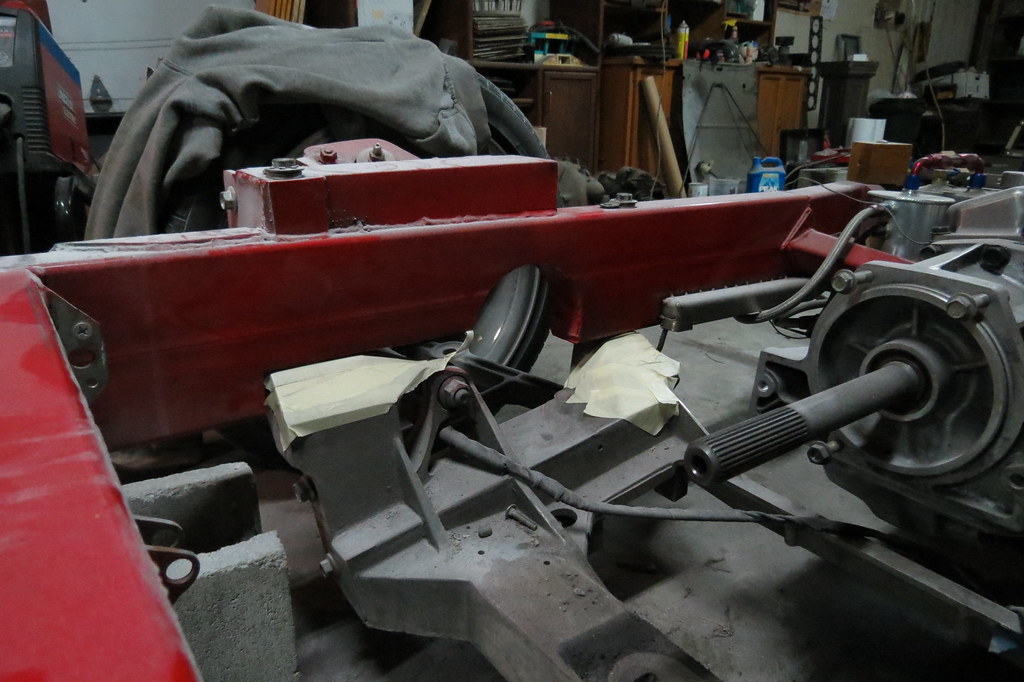
I washed the rear arms and suspernsion, as well as took apart the coils for cleaning, then reassembled them without one of the collars... So the coils are ~10mm shorter and the truck should theoretically tuck wheel in the back just a little.
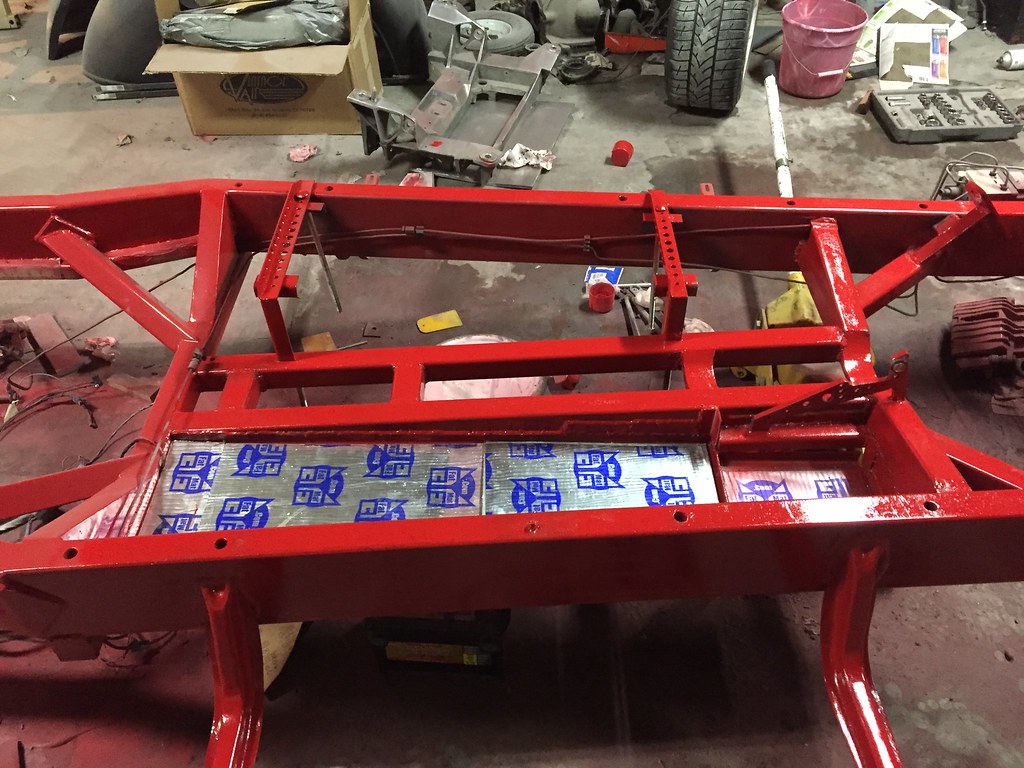
The frame under the bed is getting closer to primer. No, that's before I started sanding most of that.

Little brace here.
Leave a comment:
-
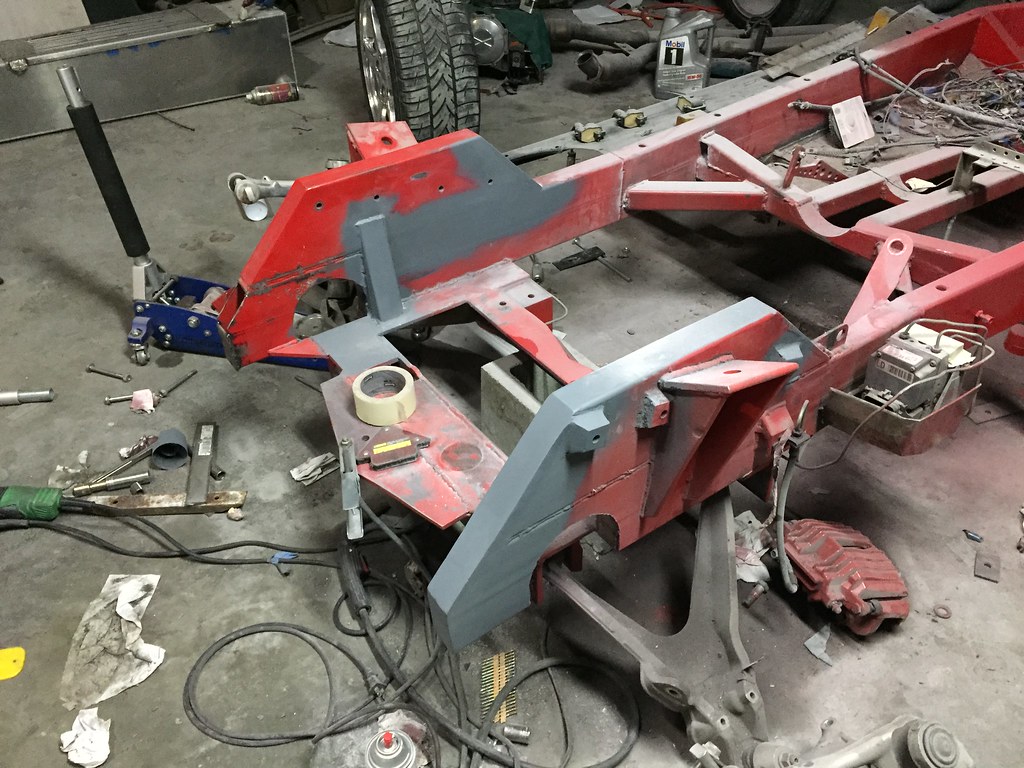
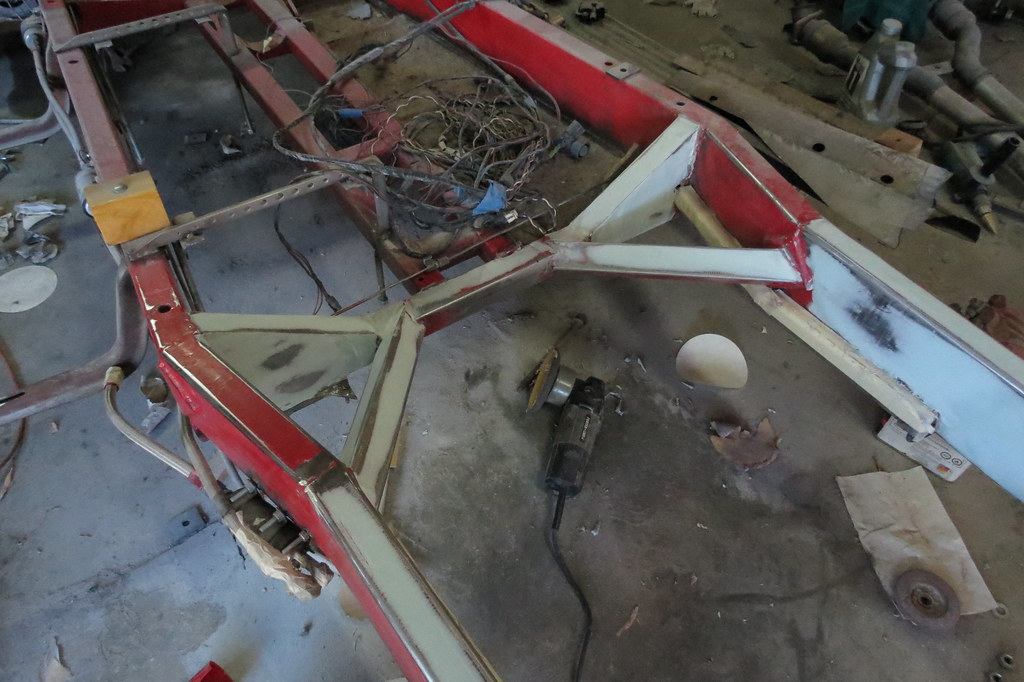
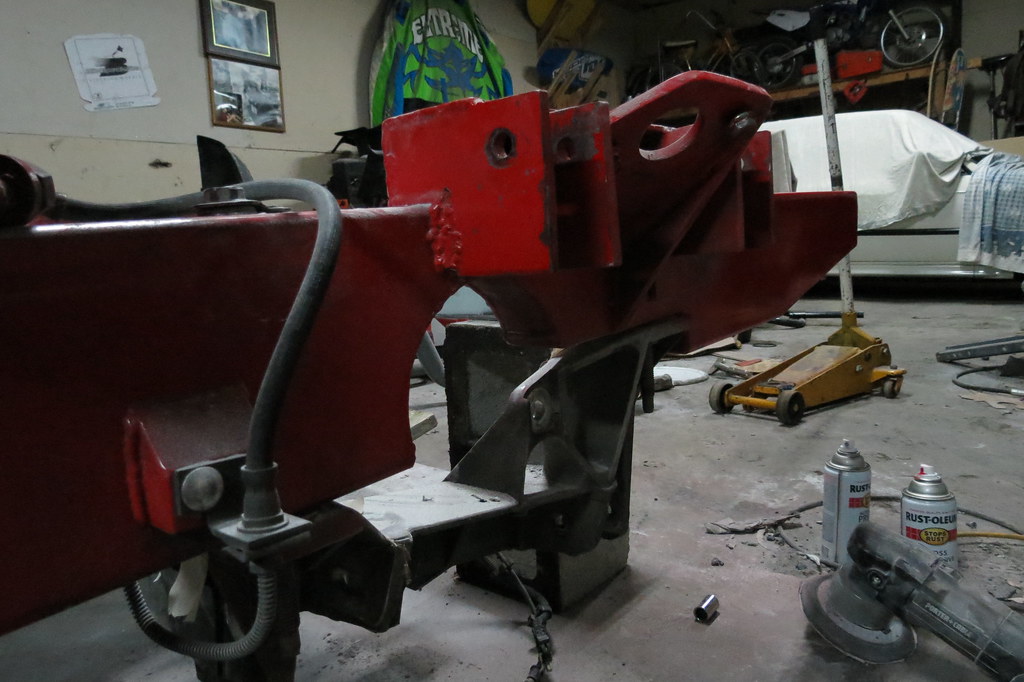
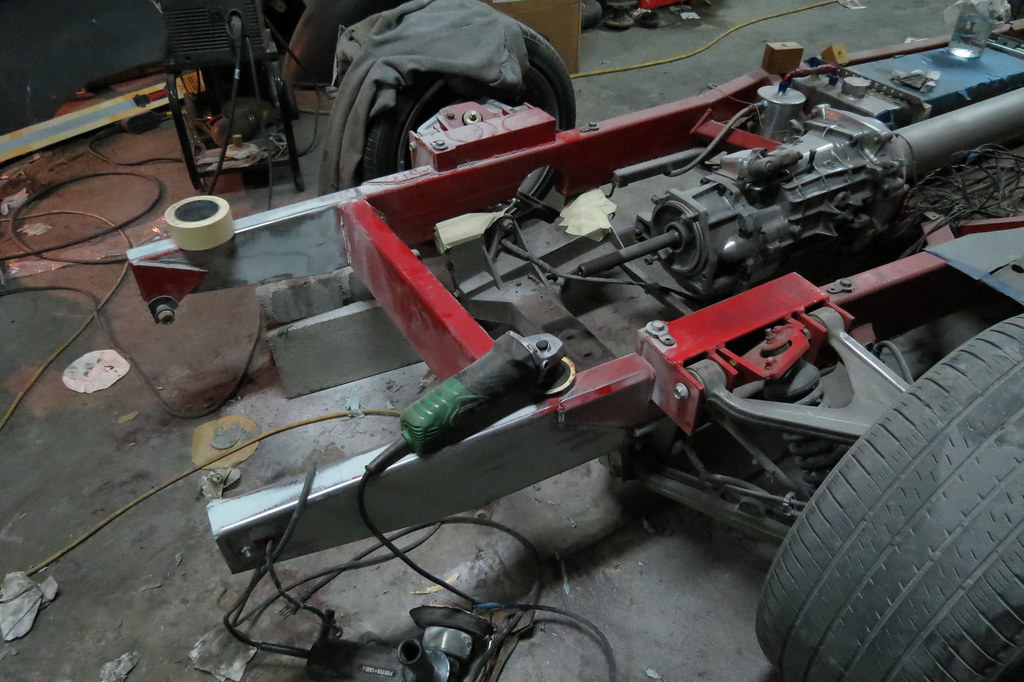
Little update! I made these gussets because I felt like it needed them, probably pointless but whatever.
#cambergang
No, it doesn't really go that far, note the lugnuts on the ground...
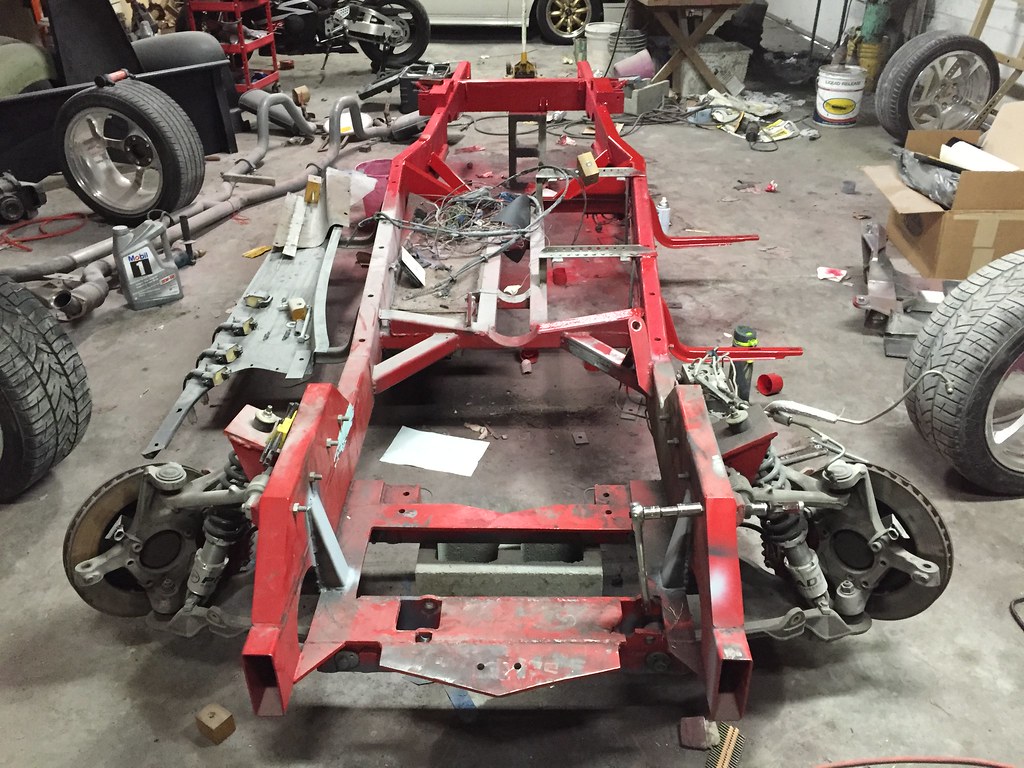
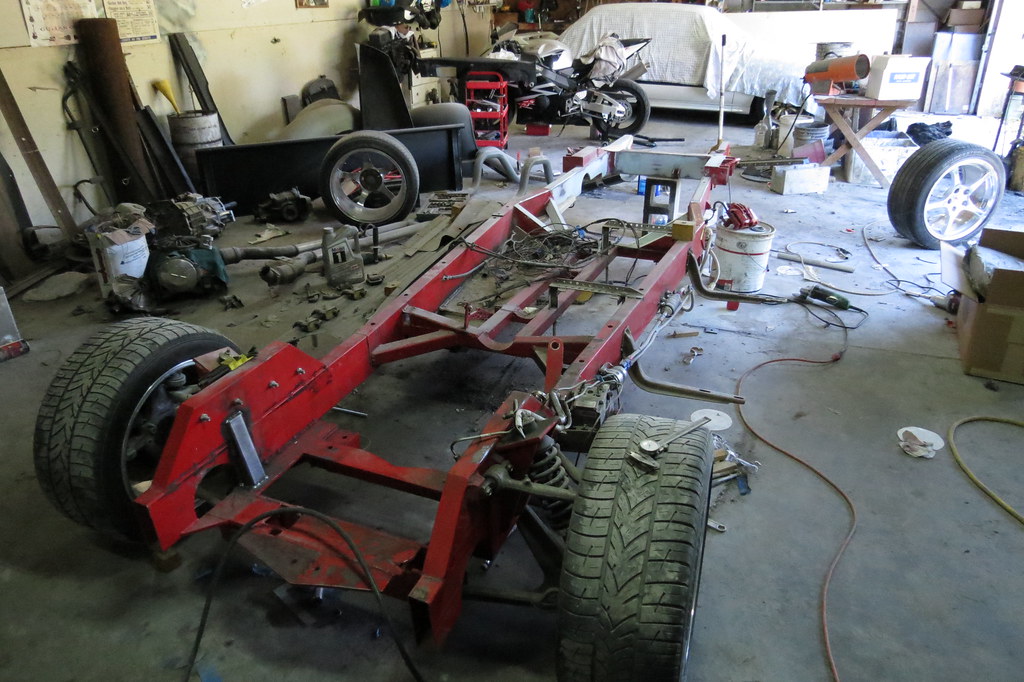
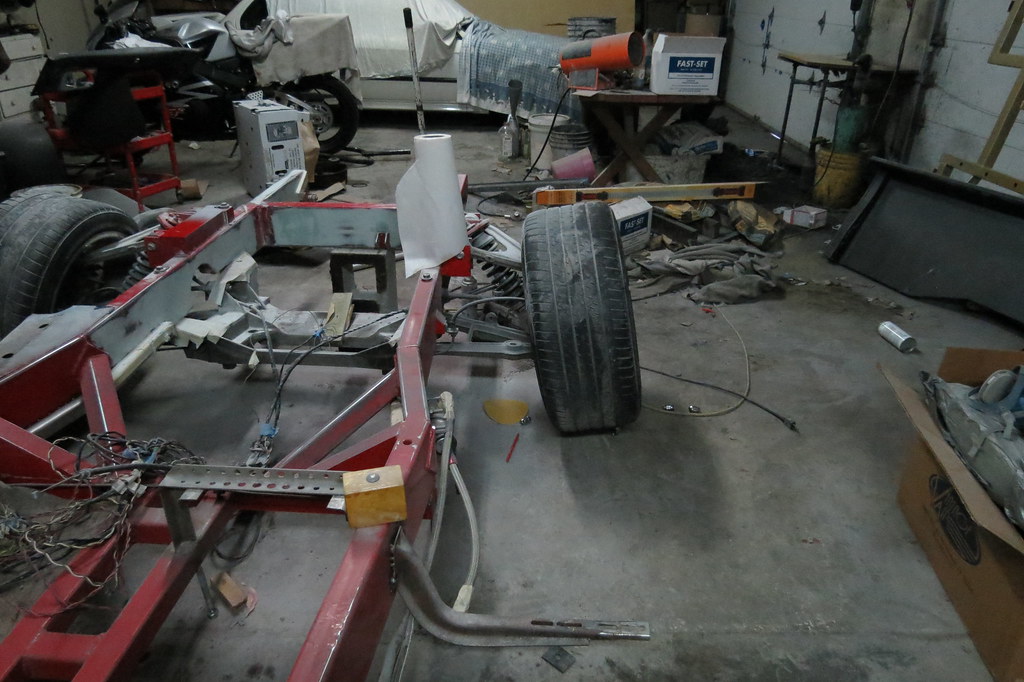
Took off the back wheels
This happened.
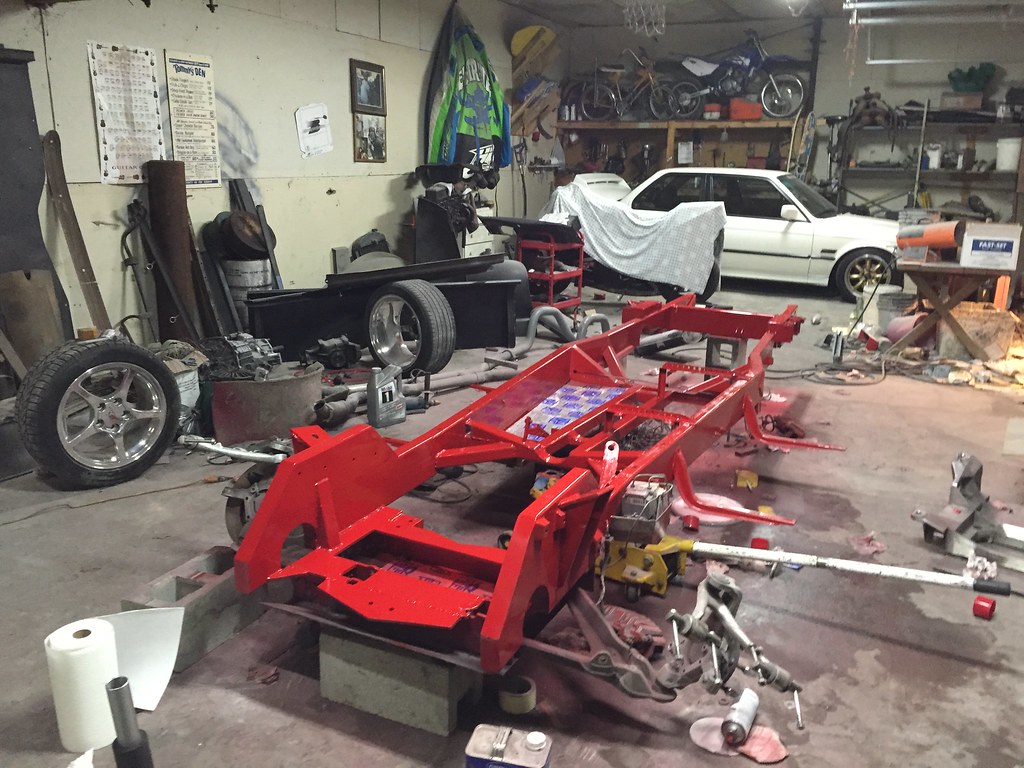
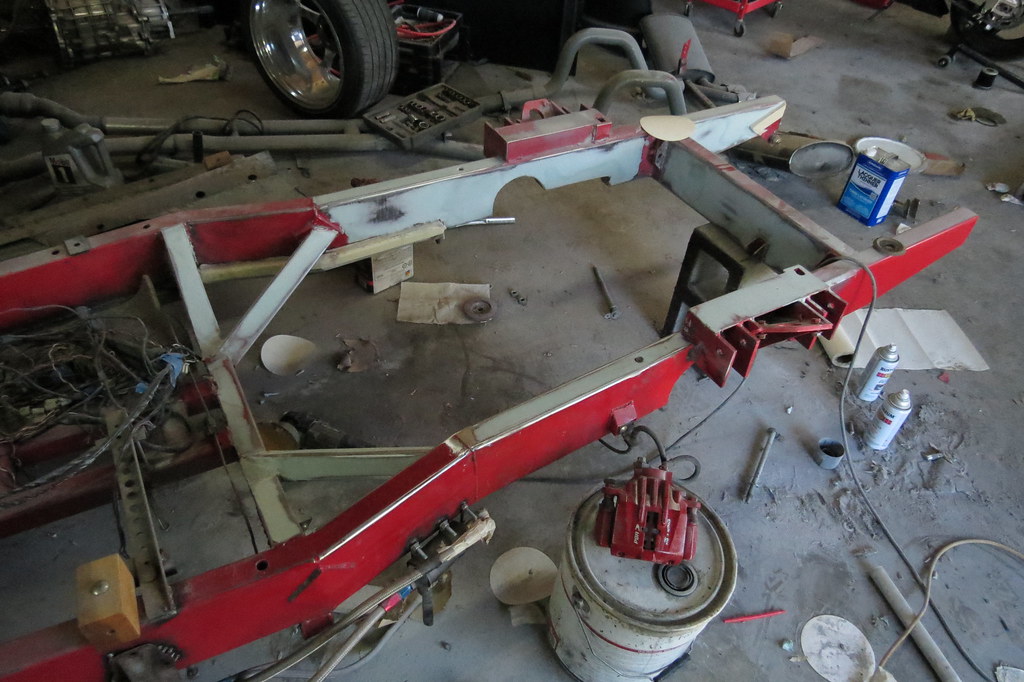
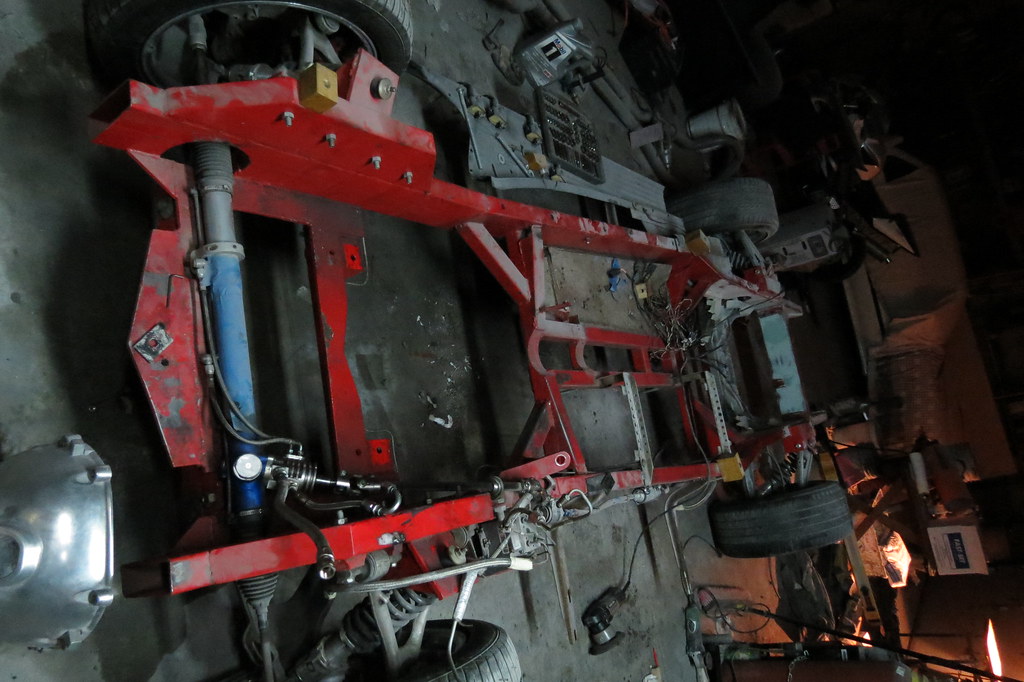
SOme pics of the frame.
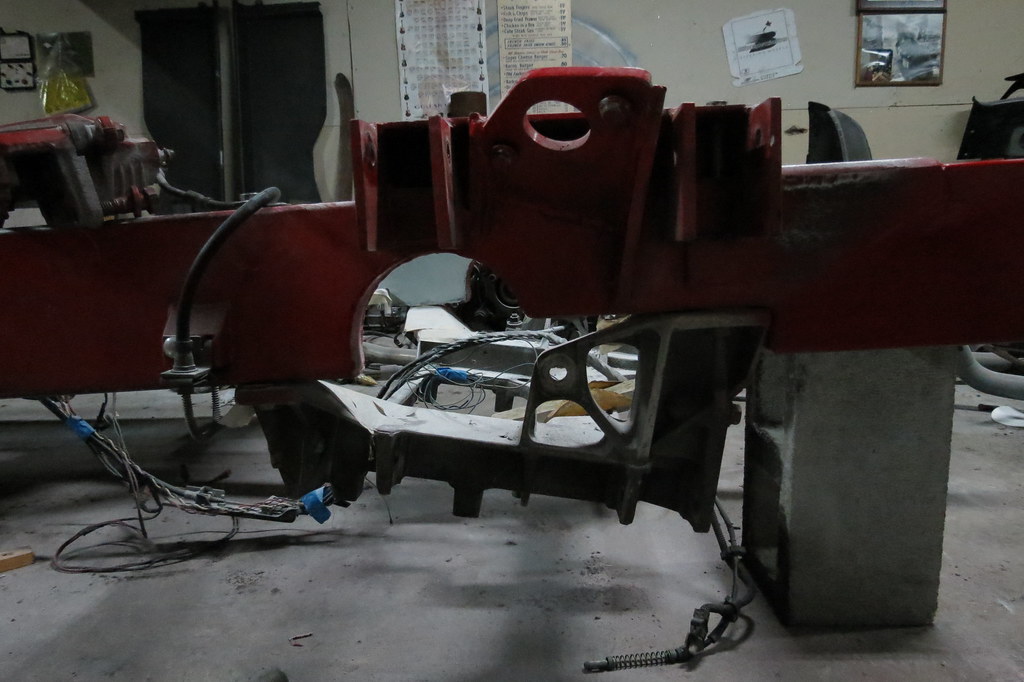

Gonna be cleaning all this stuff up, cause its nasty.
 Last edited by DER E30; 06-12-2015, 10:46 AM.
Leave a comment:
-
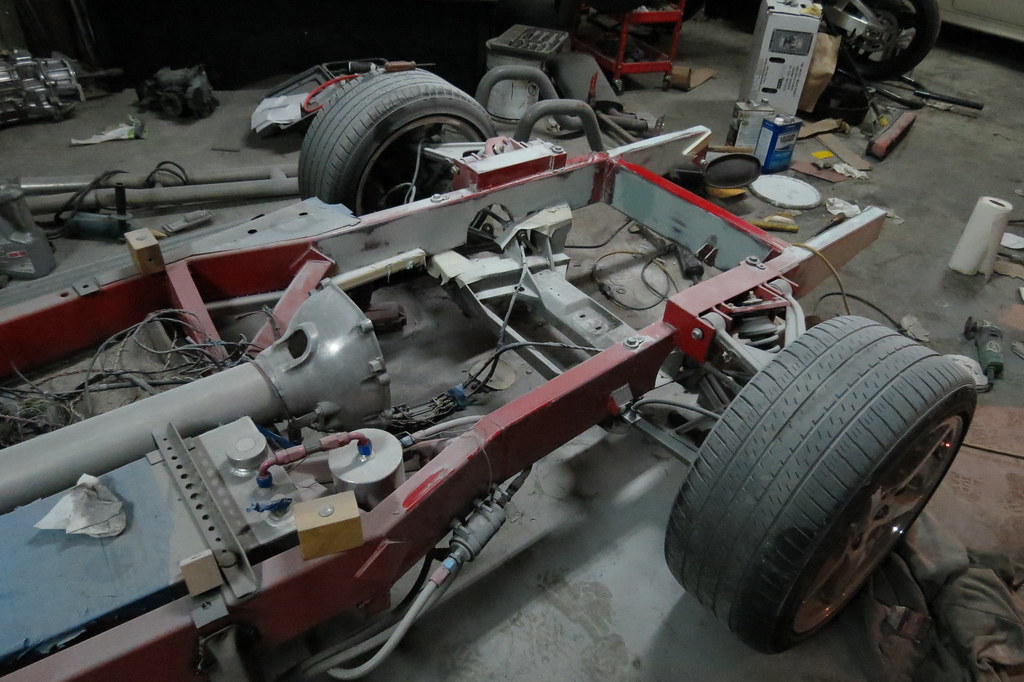
So school's out yesterday, time to get back to work!
I'm gonna delete all of the weird lines in the frame from the welds that are from when the tube is made, like on this rail.
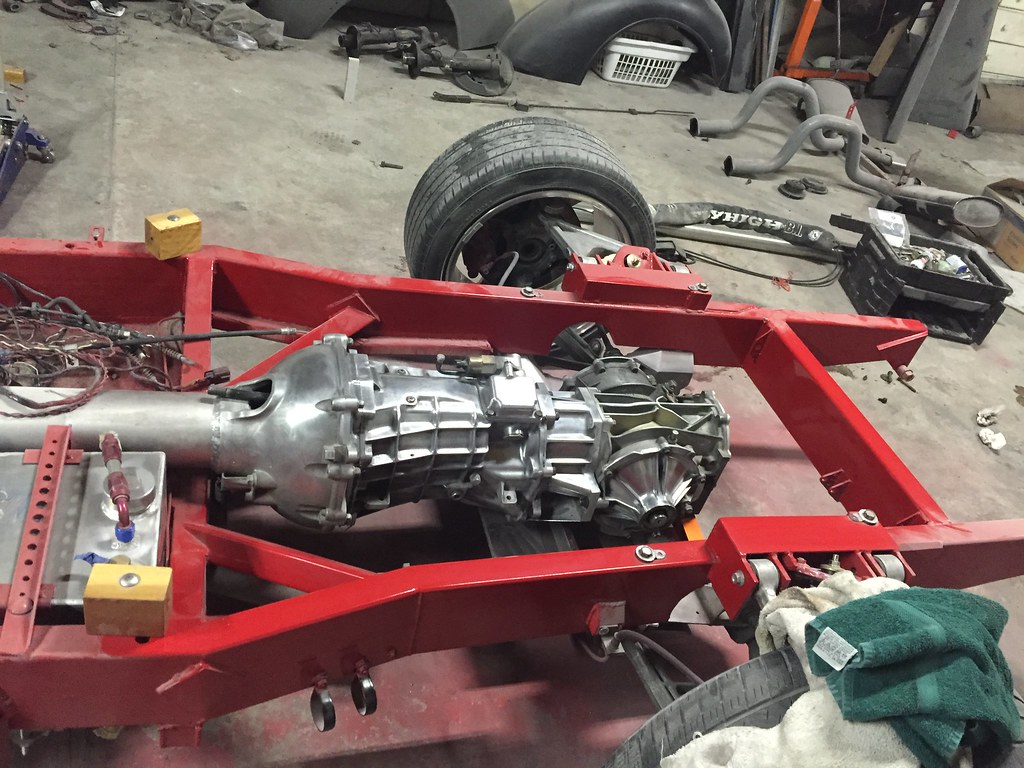
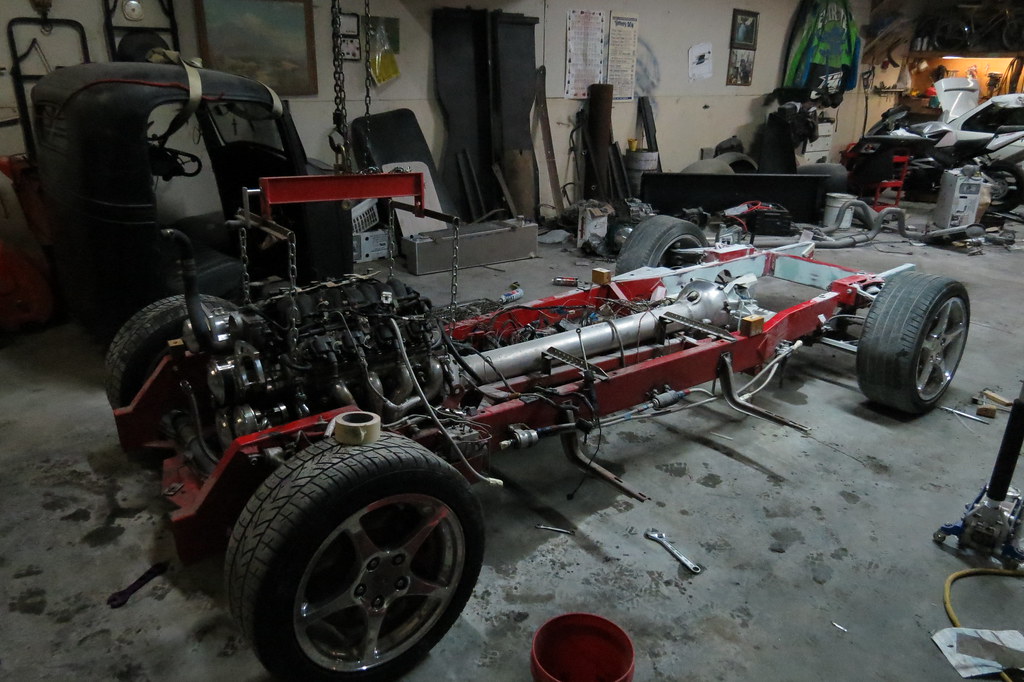
Pulled the trans again as it was in the way.

No, I'm not done with the filler anywhere here, but aI started pulling the fuel tank so I could get to the bars under the back of the torque tube.
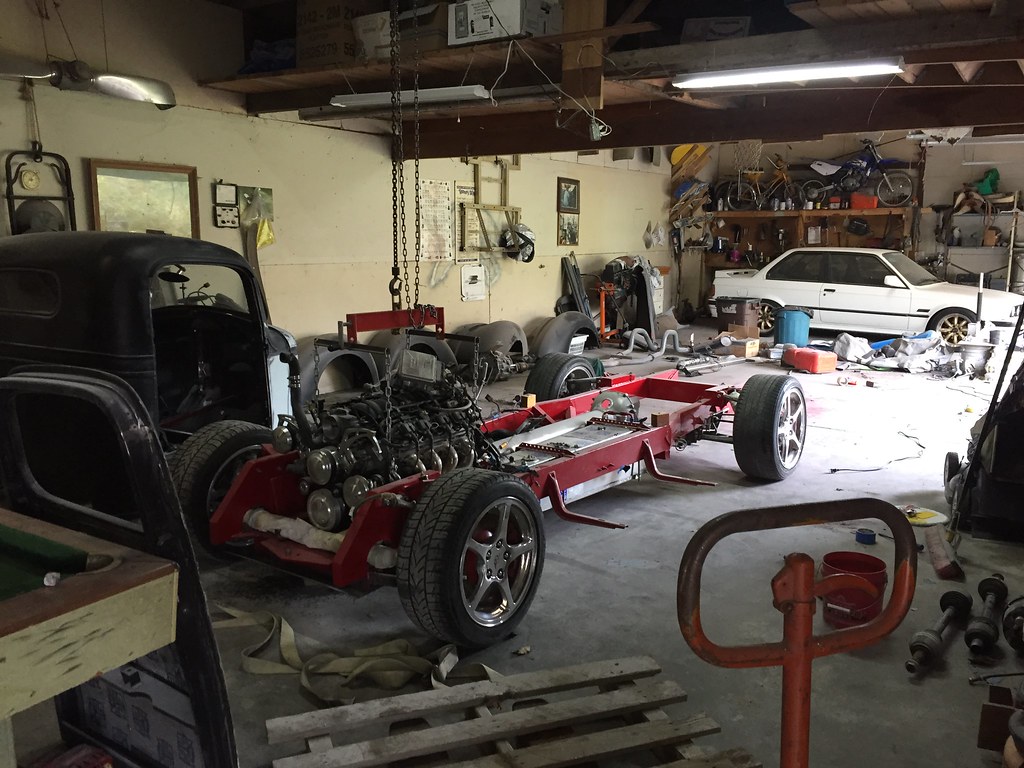
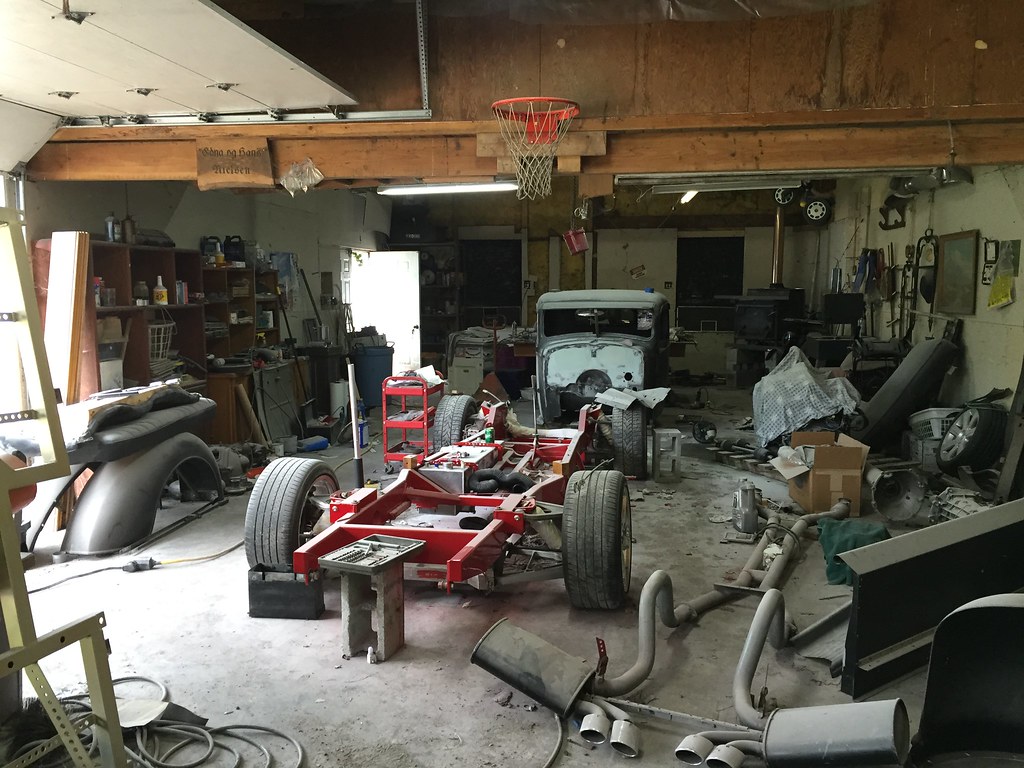
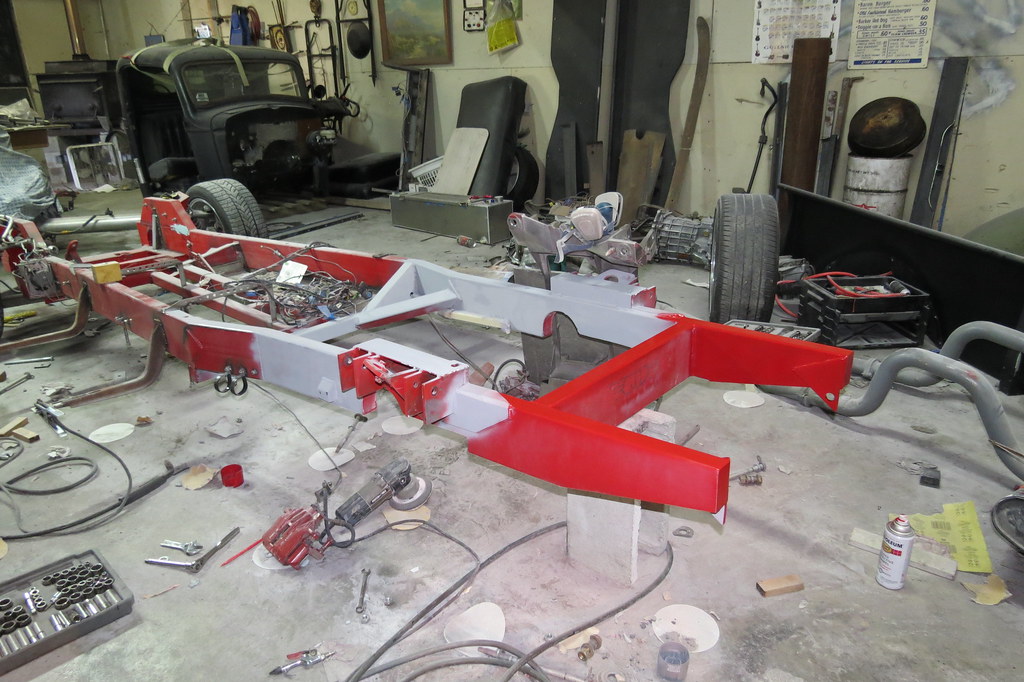
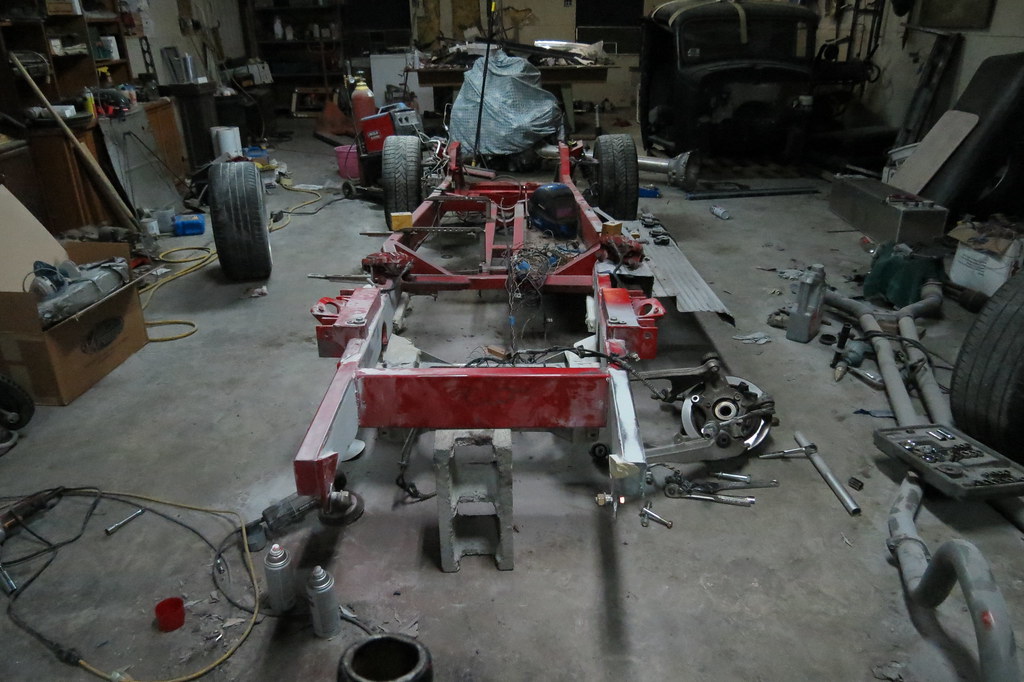
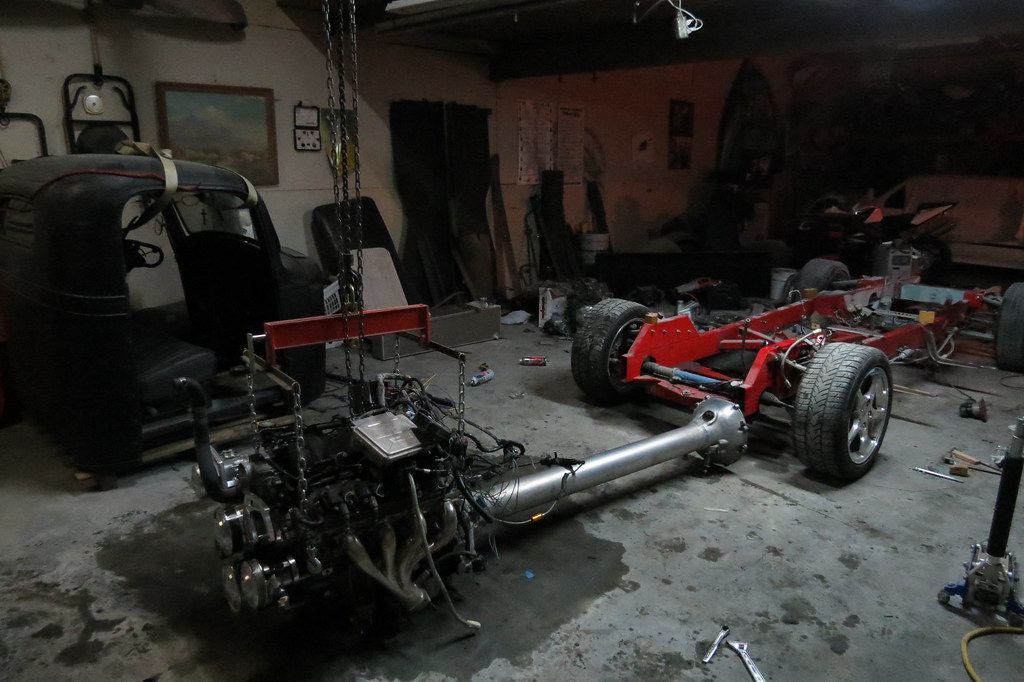
Dragged the pallet jack out from behind the shop and put the cab on a pallet and moved it out of the way for something you might guess...
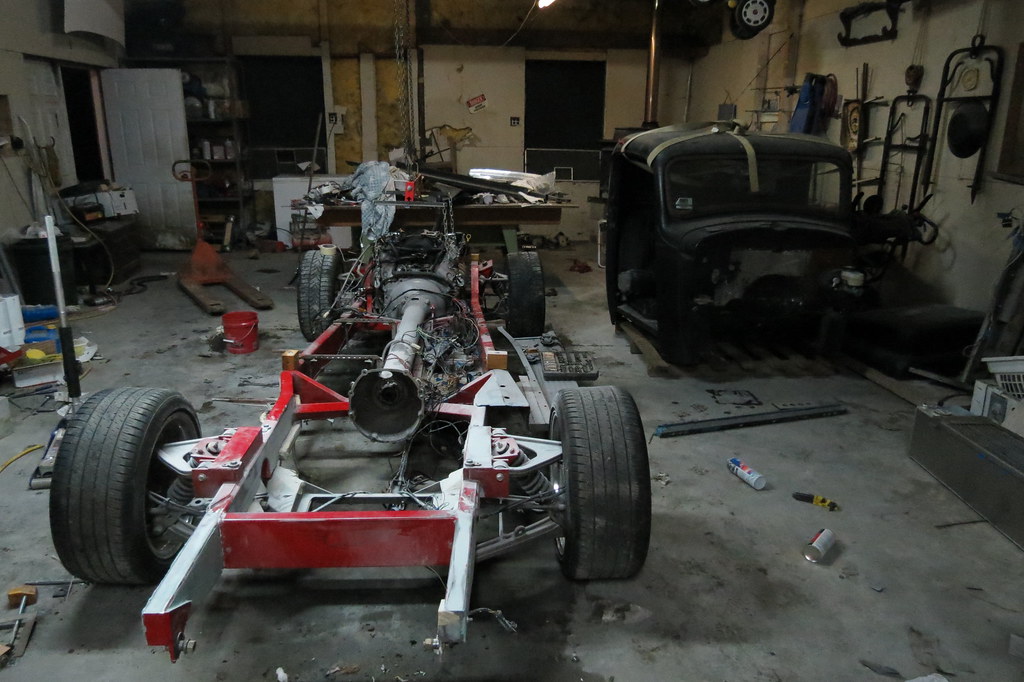
Didn't drop anything expensive! The reason its so dark is that I was just turning off the lights, as it was like 1:20 am.
Planning on respraying the frame this week hopefully, going for a slightly darker red.Leave a comment:
-
Thanks!
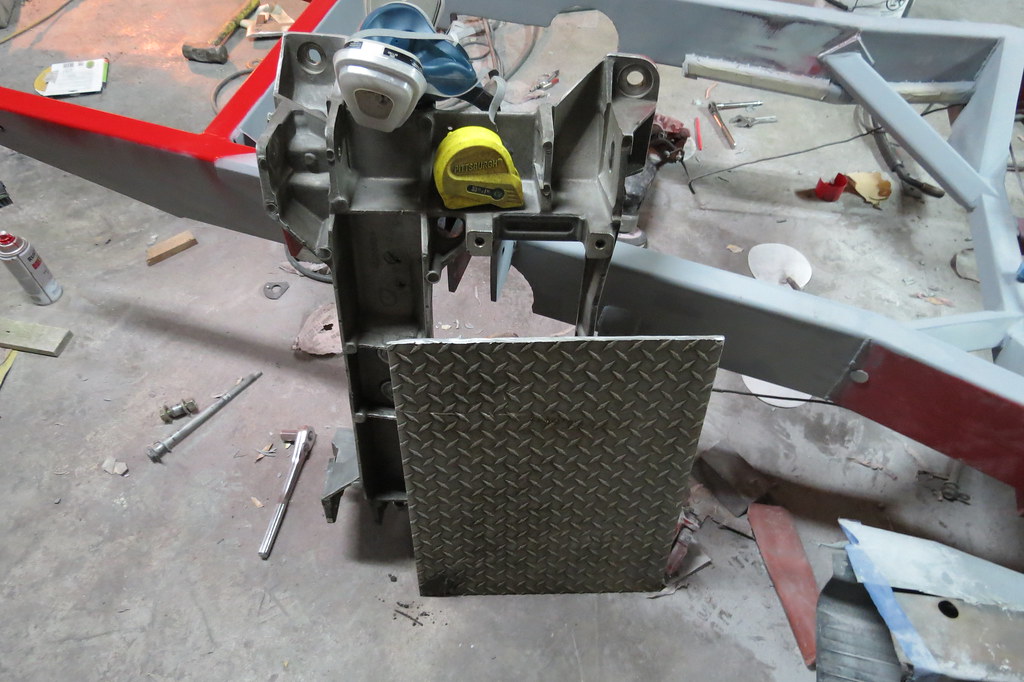
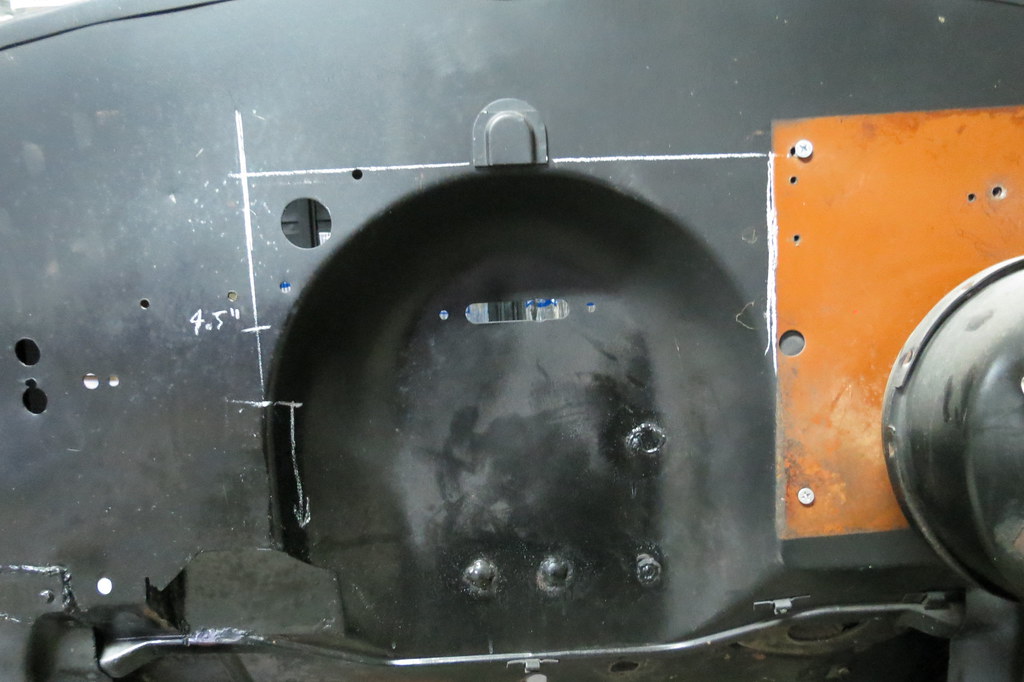
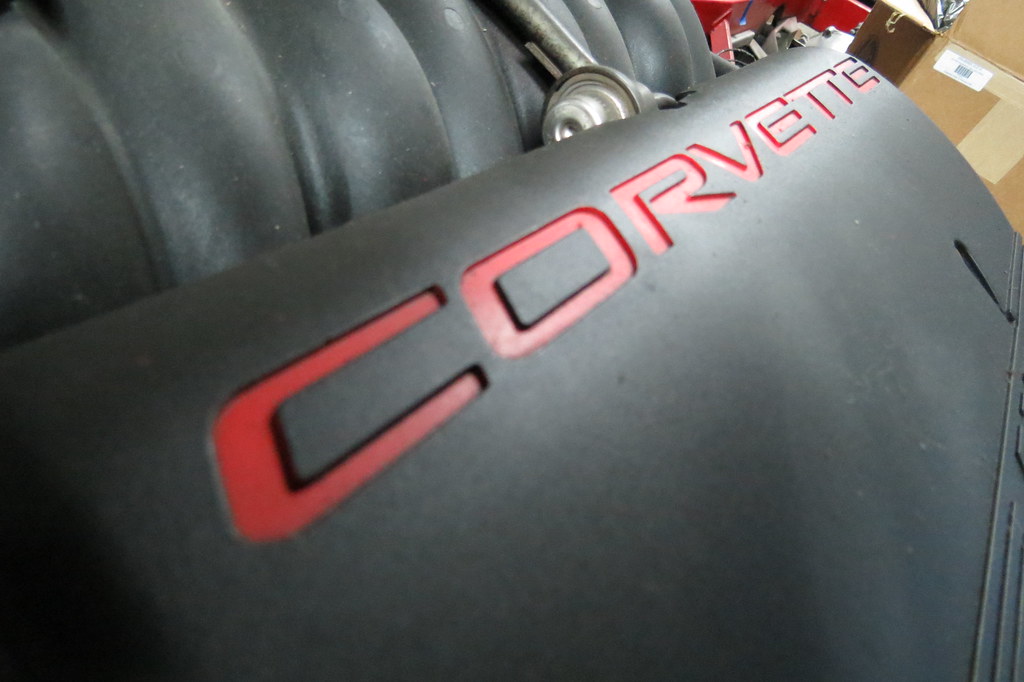
So I bought a thing and cut a big hole to fit it... But first, this is what I started with.
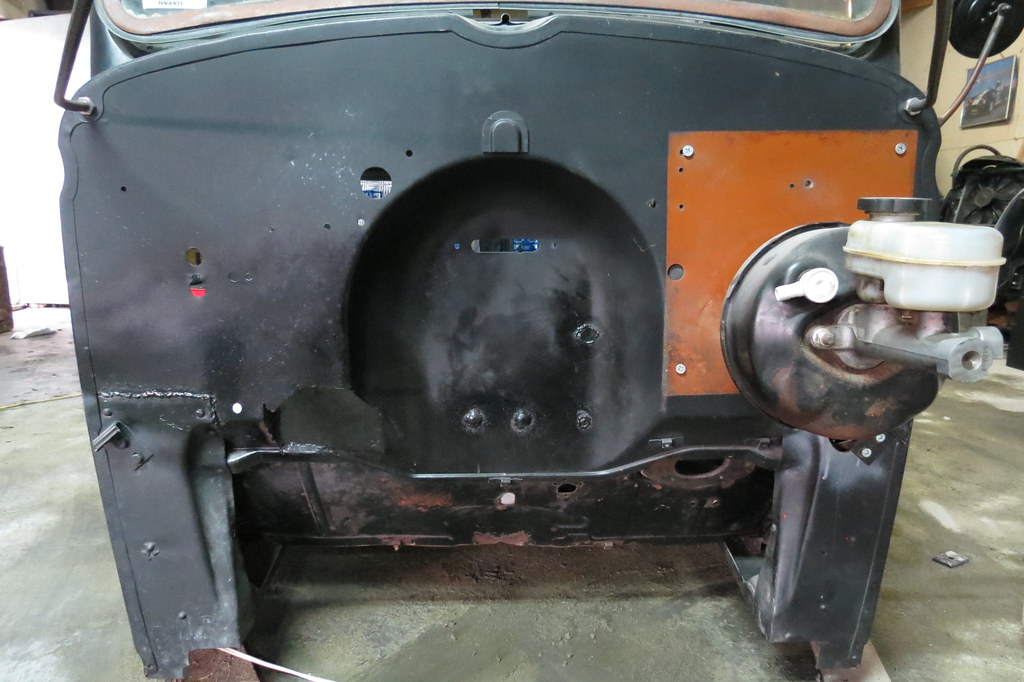
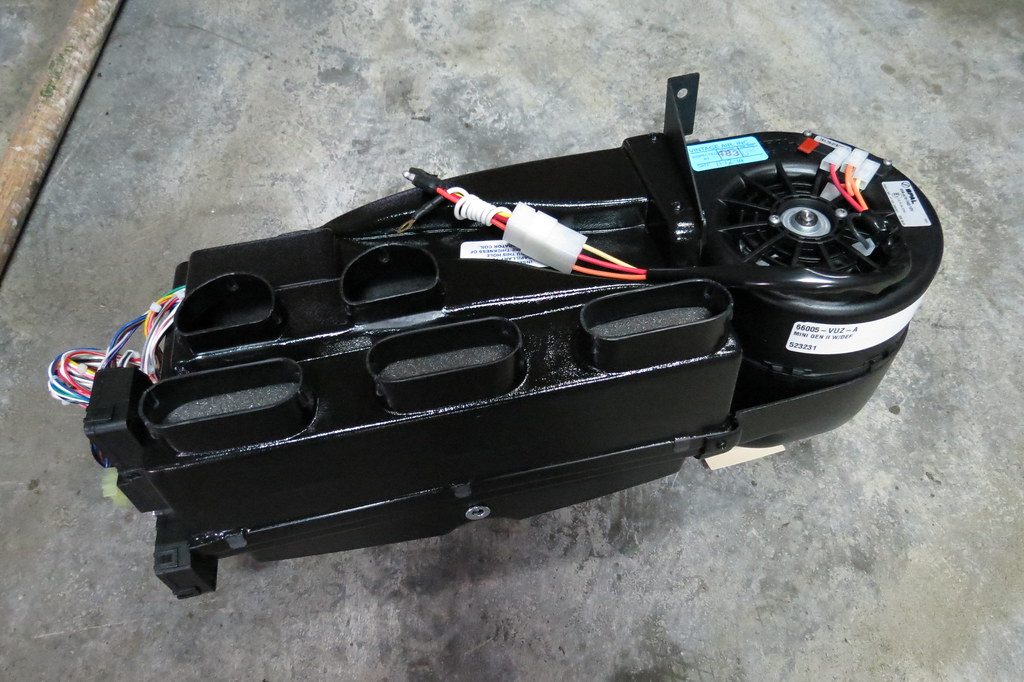
New toy that doesn't fit that well under the dash with that big bump in the firewall. I'll move it down to fix this small problem, this will also look better with the engine there also...
Mark a line with chalk-welder's pen thing
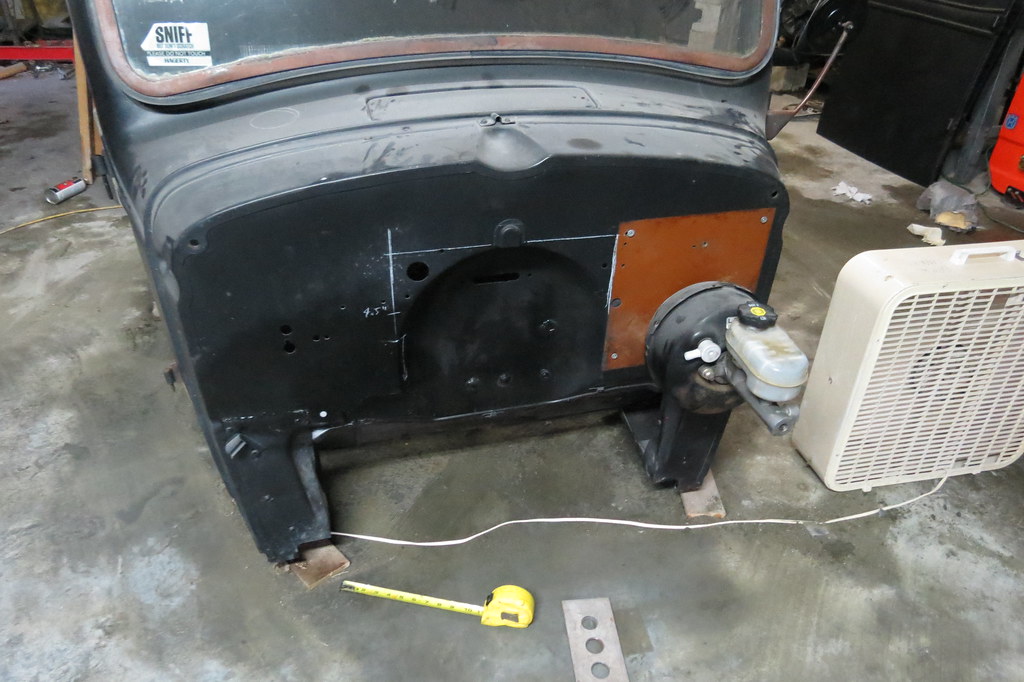
Made some noise!
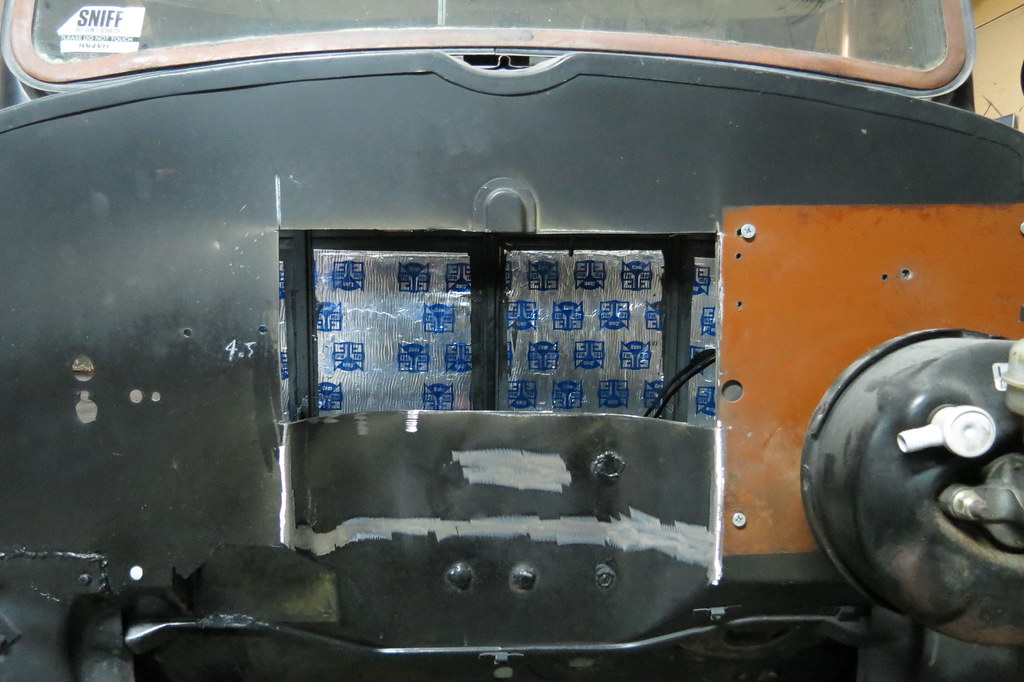
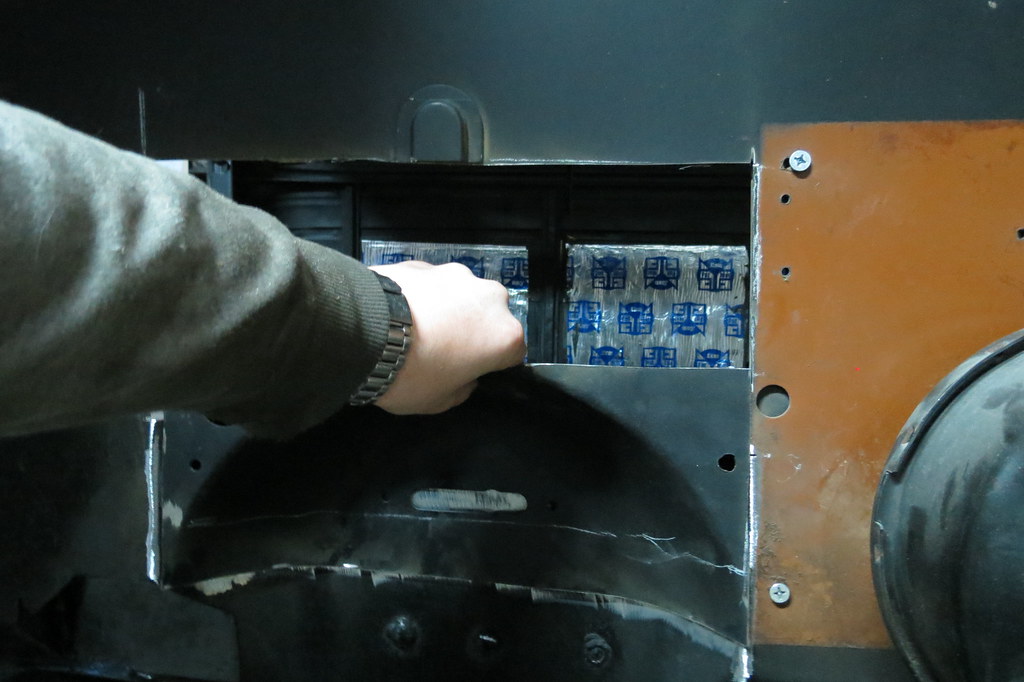
Idea of where I'm going with this!
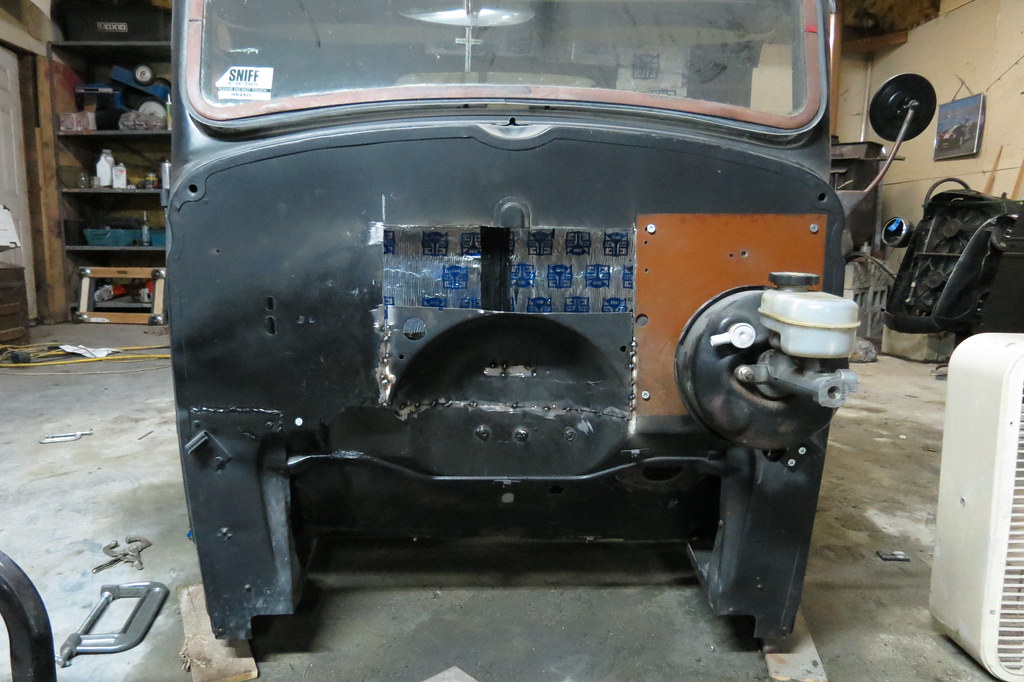
Didn't have a piece of steel big enough to patch the hole, so this is the end for today...
Until another day! Or tonight...
Leave a comment:
-


Leave a comment: