Announcement

Collapse
No announcement yet.

1991 BMW 325i Alpine White II Coupe BUILD/RESTORATION

Collapse
X
 
  • Filter
  • Time
  • Show
Clear All
new posts

    1991 BMW 325i Alpine White II Coupe BUILD/RESTORATION

    So I thought I would give it a go to post about my E30. I had an 86 325e 4 door i painted silver, put Weapon R harnesses, racing seats, and a roll cage in it made of steel. Ended up trading it for a lowered 97 Audi A4 with some Motegi 17" rims and upgraded muffler. It was a 5 speed, heated seats all leather, etc.

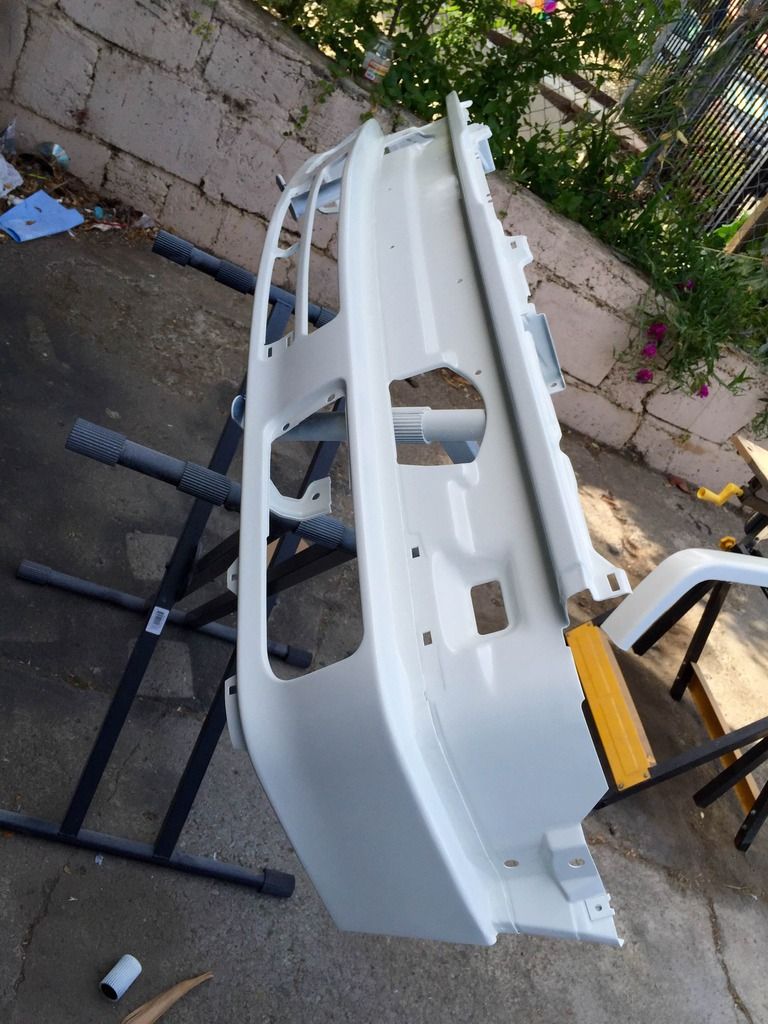
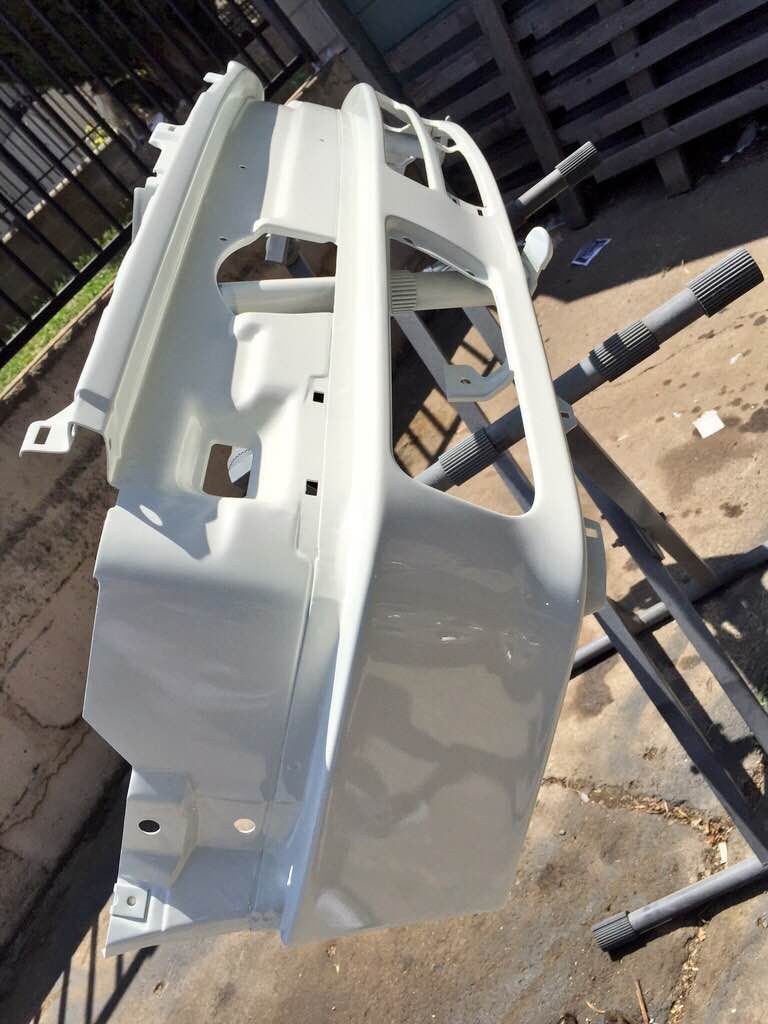
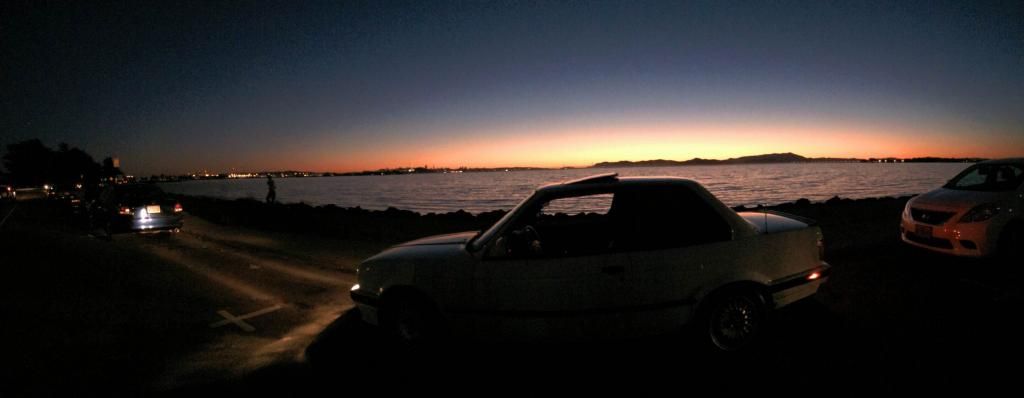
    Ended up trading THAT for this 1991 BMW White 325i E30 Coupe. ;D Its lowered on springs, upgraded shocks, runs fine. Just had to buy a new MAF..driving home from the bank and the MAF descended into Heaven as it left me in the middle of the street lol.


    http://www.bornfrompassion.net/

    #2
    UPDATE**
    Sooo I've been busy with work, recently got a new job in SF as an AV Tech @ W Hotel SF and going to school (Im 18 so yes I'm still in school LOL) so my time is crunched but more money i make the more things I can buy with for my E30 haha

    Both Rear Trailing Arms, Wheel Bearings, and Differential have been replaced. Luckily I found a machine shop in Oakland that can press wheel bearings in for about 40 each from what I remember. I got a 3.73 Open Diff for $60 with low miles.

    Found some BMW Style 5 14" 4x100 wheels, 4 for $80 getting those this week when they guy is available to meet

    ** Interior update!! Tan -> Houndstooth Black w/ Sport Seats progress
    Thanks to R3v members, I bought Houndstooth door panels in 9.8/10 condition
    Black Rear seat I actually got for free
    Still searching for grey carpet...junk yard find maybe or just buy a tan then dye it?
    Front Sport Seats are paid for, just waiting on the R3v member to ship them..hopefully soon


    http://www.bornfrompassion.net/

    Comment


      #3
      Found my old tan carpet soaked in water by the drivers foot area as well as the passengers foot area, so ill be taking out my heater core and changing the valves and O rings at once before I finish putting the interior back in, E30's are such complicated beauties


      http://www.bornfrompassion.net/

      Comment


        #4
        So update on my progress YESS I HAVE MADE MAJOR PROGRESS LOL

        Okay so I haven't updated my build since I've been too busy but my E30 is still getting love and attention. So my interior is done well 95% done just a few clips and buttons left but so far so good!

        I changed my old air bag steering wheel and got a Sport Steering wheel and used a spacer I ordered online from the BMW, since the steering wheel horn didn't work but the spacer trick worked.

        I found a good condition carpet with excellent padding from the Junkyard for like $30, the carpet was so good that the adhesive to the carpet wasn't dried out lol. $30 better than $500 like some people that wanna overprice carpet on here lmao.

        So me and a buddy sprayed the carpet to a nice grey.

        My Heater Core was leaking so I replaced that too since it was there when I was replacing the carpet
        Attached Files


        http://www.bornfrompassion.net/

        Comment


          #5
          Interior Gutted out

          Luckily there's no deep nasty rust
          Attached Files


          http://www.bornfrompassion.net/

          Comment


            #6
            Oh ya did I mention I replaced majority of my rear suspension??

            So after months of finding parts for a reasonable price and waiting, I got the chance to replace a lot.

            It took time but I changed it all by myself, #1 since mechanics are expensive and I'm a car guy that fixes everything myself , if I don't know I learn and save $$$$ and I think people who take cars to mechanics are lazy lol and #2 I don't trust other people touching my car lol

            So I changed...
            Read Subframe
            Both Trailing Arms
            Both Rear Wheel Bearings
            Rotors
            Brakes
            AND the differential (I used Royal Purple when I changed the fluid and it runs smooth and quiet)
            Attached Files


            http://www.bornfrompassion.net/

            Comment


              #7
              NEW OEM Late Model Valance Respray

              So I decided to finally order a new oem front valance from BMW of South Atlanta, their online parts store. Cost me almost $400 total..sheesh but I wanted new without the bumper rubbery protection. Even cost me $175 to ship it. So it took about a month and a half to get it shipped.

              I popped that sucker out and sanded it down with 320 grit.

              **Local auto paint supplier recommend me a 2in1 primer that is used for metal and plastic parts, the primer was a type of flexible primer. **

              De greased and used Prep Solvent on the front valance.

              Made sure there was no dust, then I laid down a 4-6 coats of primer. Nice even coats. I made sure it was not too thick when I laid it down but I wanted to have a good amount for when i sanded it down.

              I let it dry overnight just for good measure.

              I then got 600 grit then sanded it all down. Wiped it down and checked for any areas, then sanded down once again.

              My OCD kicked in and used a Tack Cloth and carefully wiped it down making sure all the dust was gone.

              I pulled the valance into my driveway directly into the sun on the nice day no wind what so ever. Win Win!

              I laid down a couple coats of the Base Coat. Giving flash times in between each coat making sure not to get any runs.

              ** The Base Coat actually smells like base coat from a quart. This stuff is LEGIT!**

              ** The color is a perfect match!**

              So I used about two cans worth of base coat for the front and back of the valance.

              Let it dry for a bit. About 30-40 min wait while the sun dried my base coat.

              Went across the valance with a tack cloth VERY CAREFULLY taking off any bugs or dust that may have landed onto the base coat

              Then I took out the SprayMax 2k Clear Coat. Shook it for about 4 minutes. Took the red cap from under and flipped the can and activated the hardener. Proceeded to shake the can for another 3 minutes.

              I sprayed nice even wet coats.

              I used pretty much the entire can to cover my valance front and back for about 3-4 wet coats and extra which i used to clear coat my OEM IS Lip as well.

              This is my finished product!! I havent mounted it yet since I still have to finish painted a couple other parts.

              I'm planning on using this stuff to paint my Hood , OEM IS side skirts, and OEM IS Lip.

              **A FEW DAYS OF DRYING IN MY GARAGE UPDATE!
              ..The clear coat feels good, doesnt feel soft. The shine is still there. I had no heated or lamp, just nature. The sun and a garage (THAT DOESNT EVEN HAVE INSULATION) and it turned out GREAT!

              --FYI , if you plan on painting and relying on weather just check your weather and see how the week will be, its always good to have a warm night or non humid/super cold night when you plan on painting things
              Attached Files


              http://www.bornfrompassion.net/

              Comment


                #8


                Last edited by jkma707; 05-08-2015, 07:33 PM.


                http://www.bornfrompassion.net/

                Comment

                Working...
                X