-
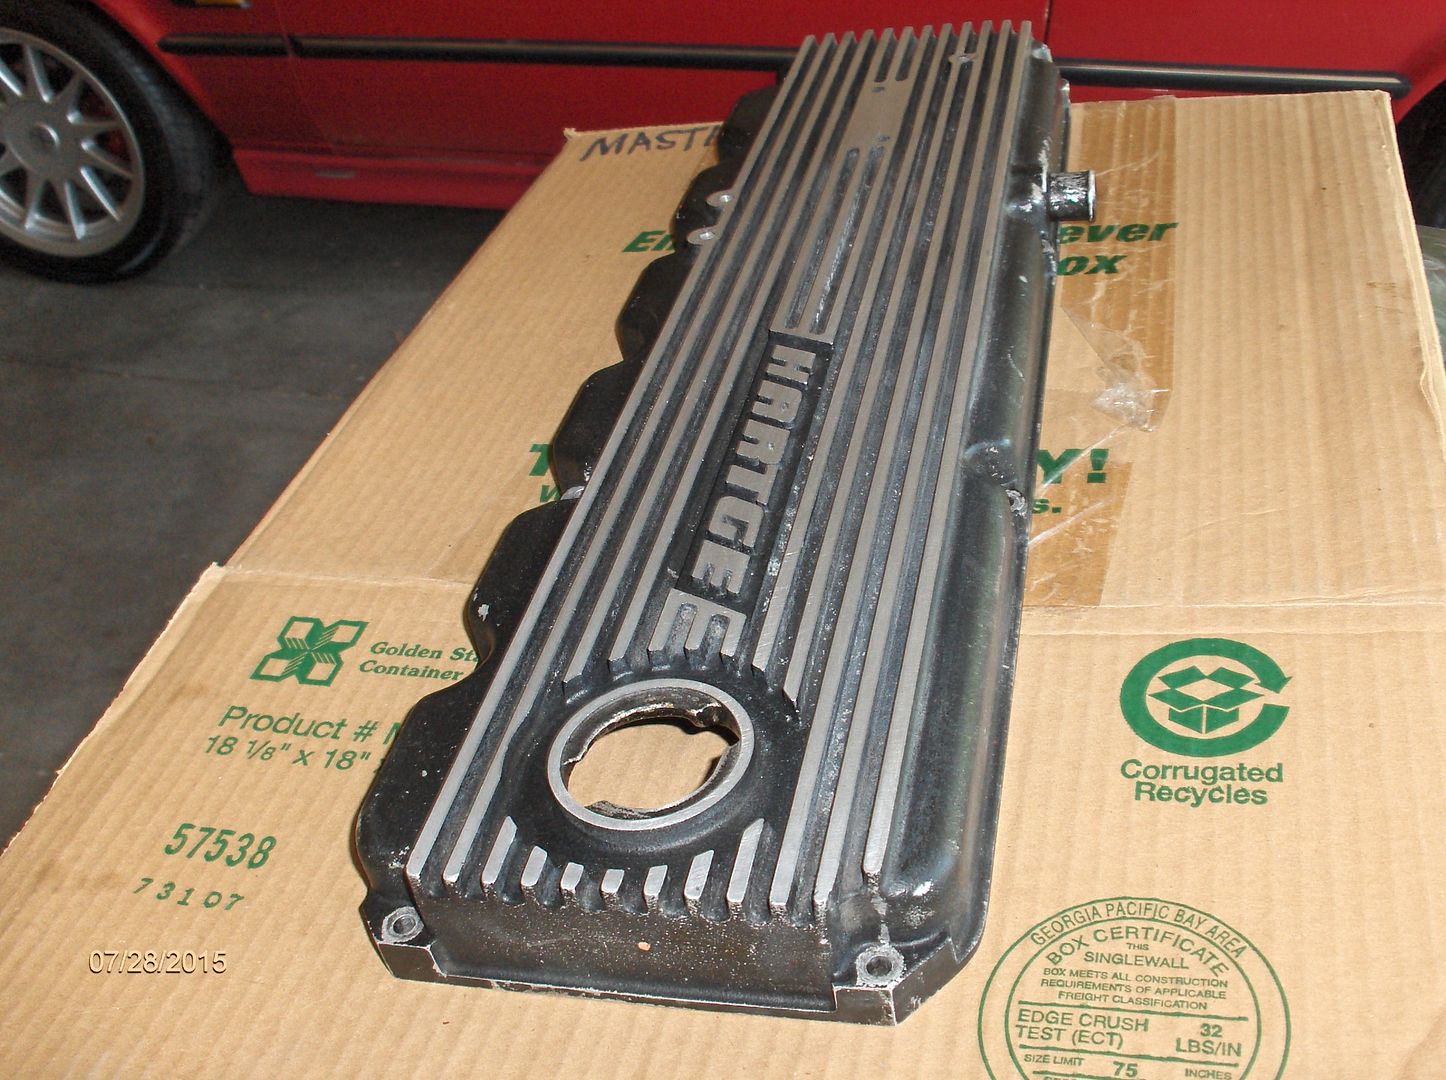
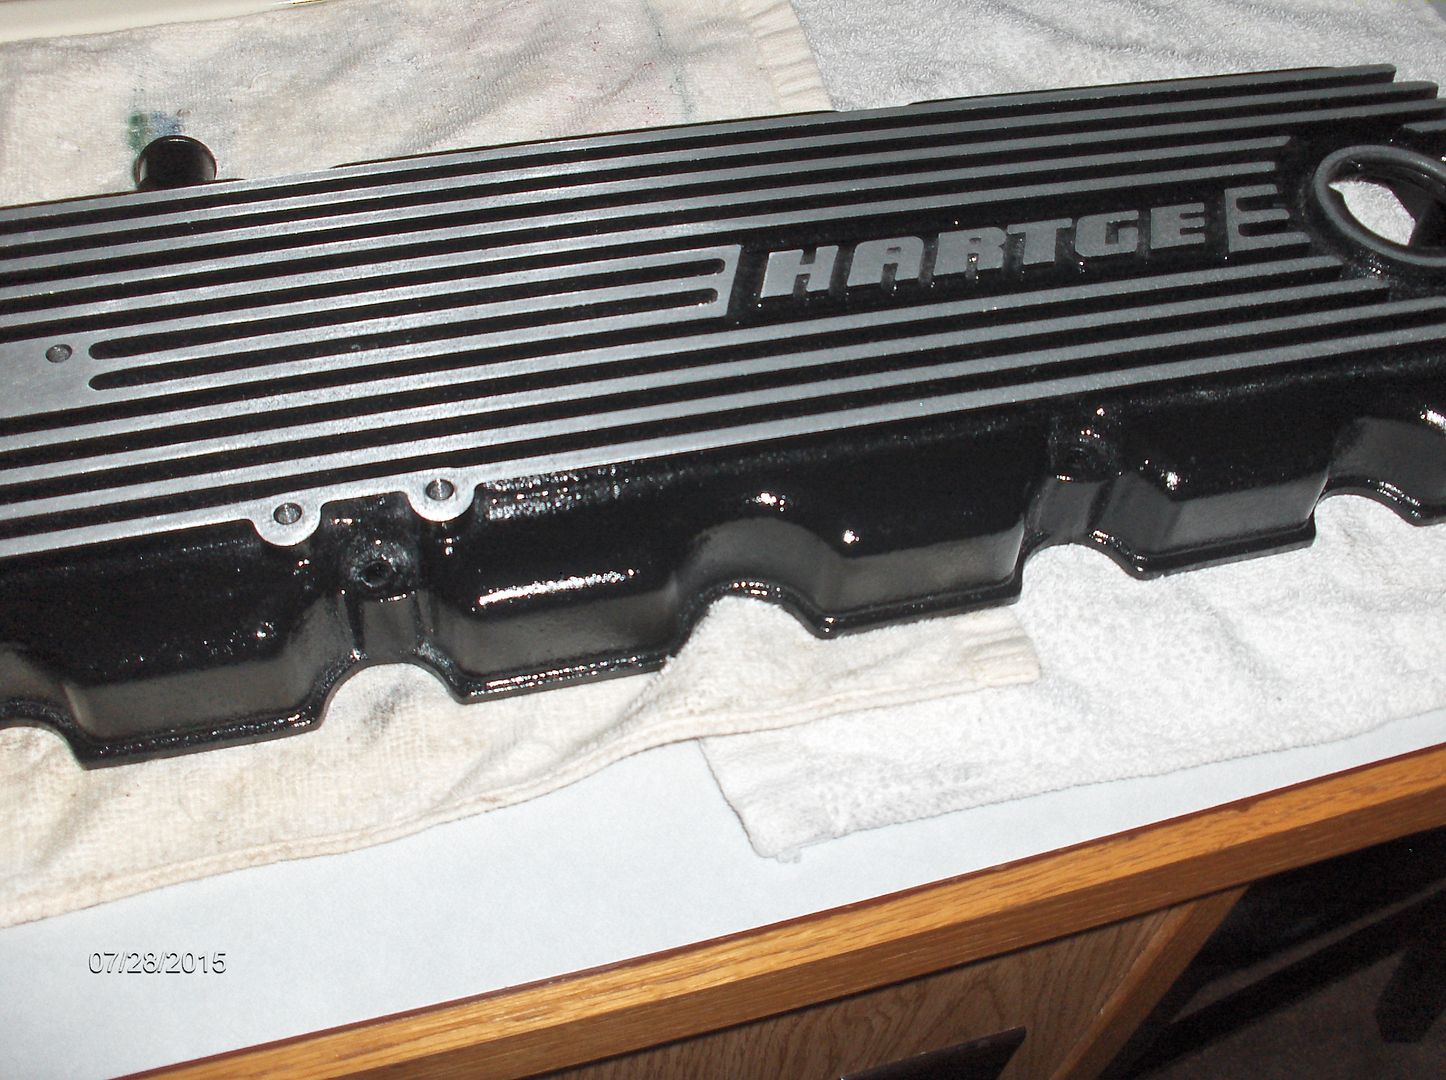
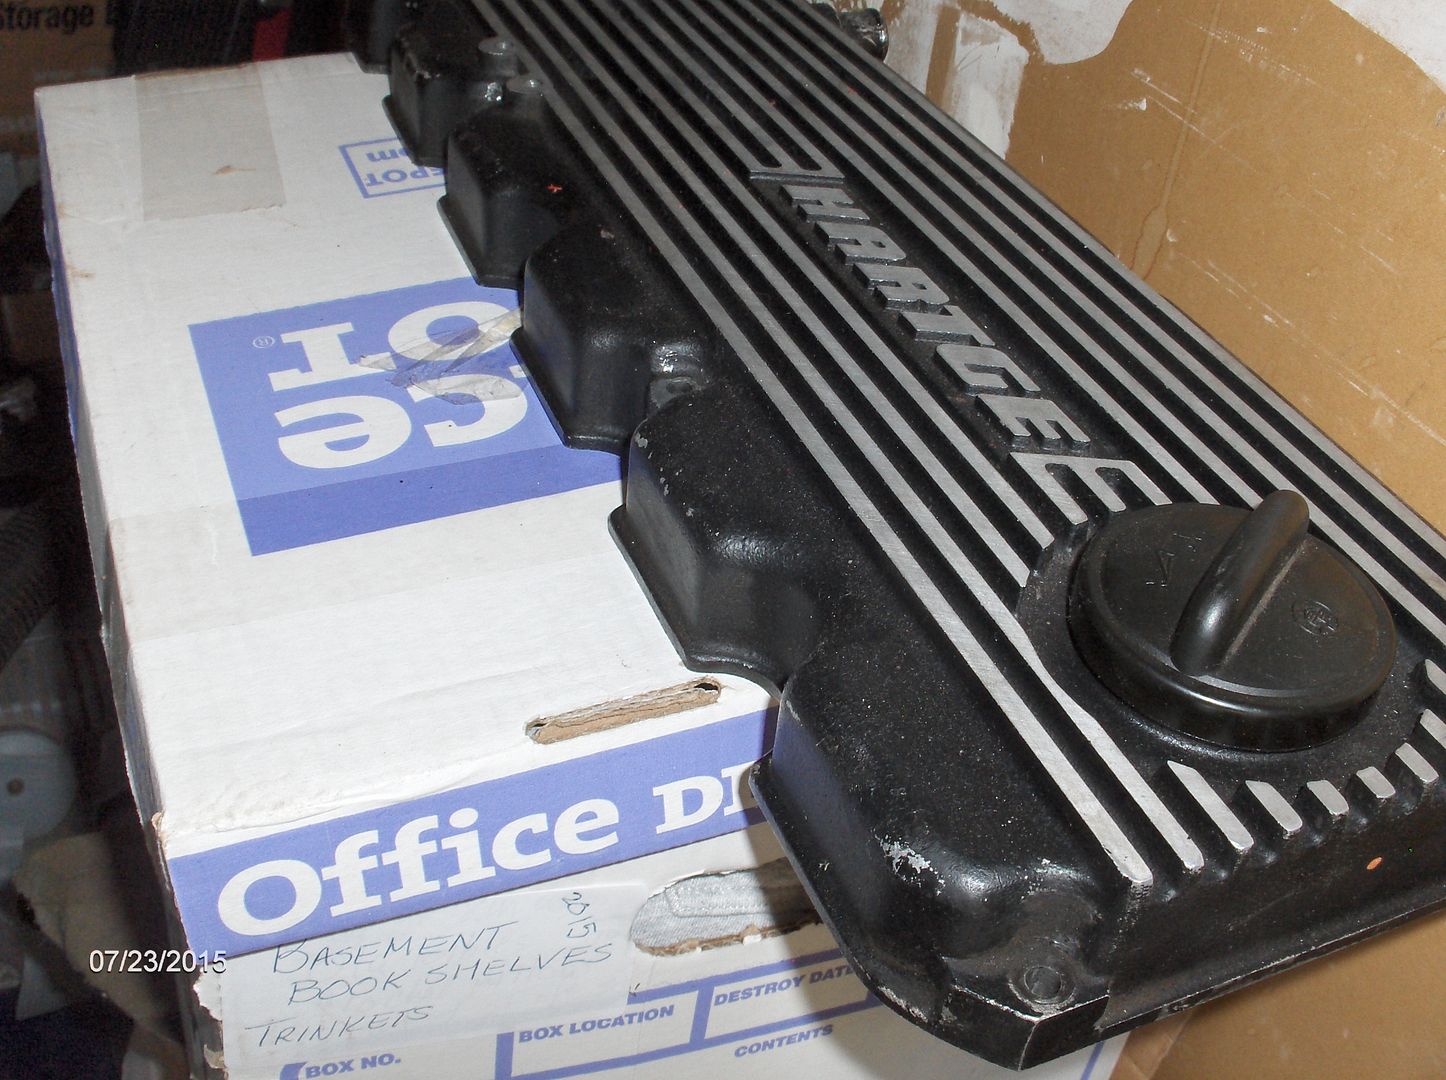
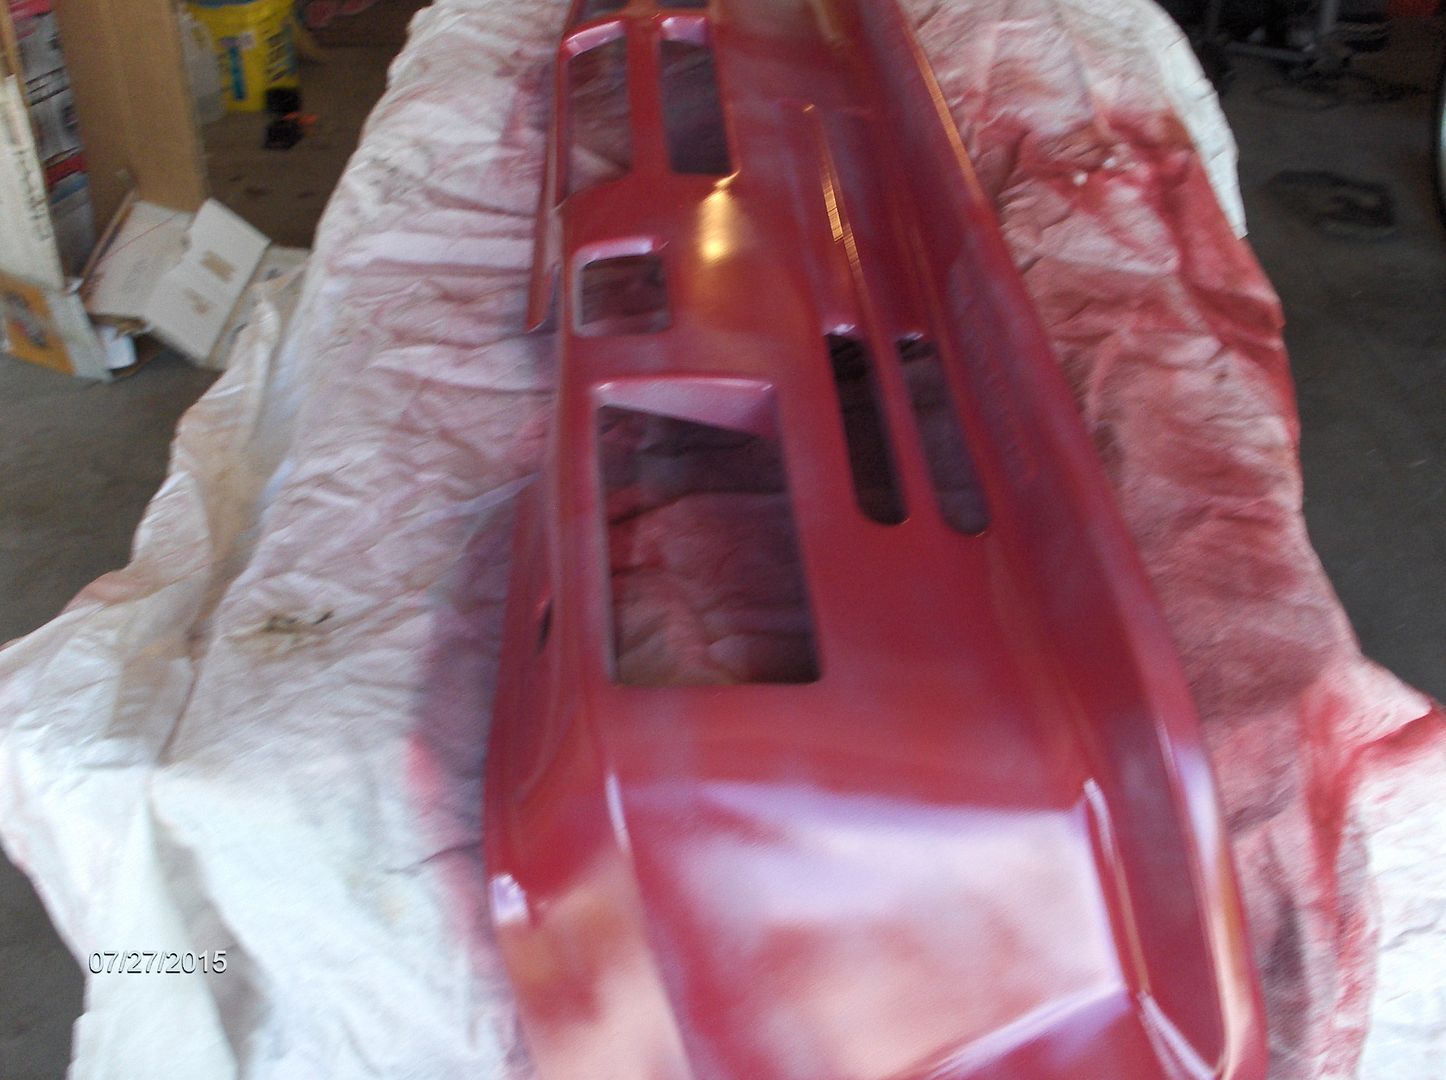
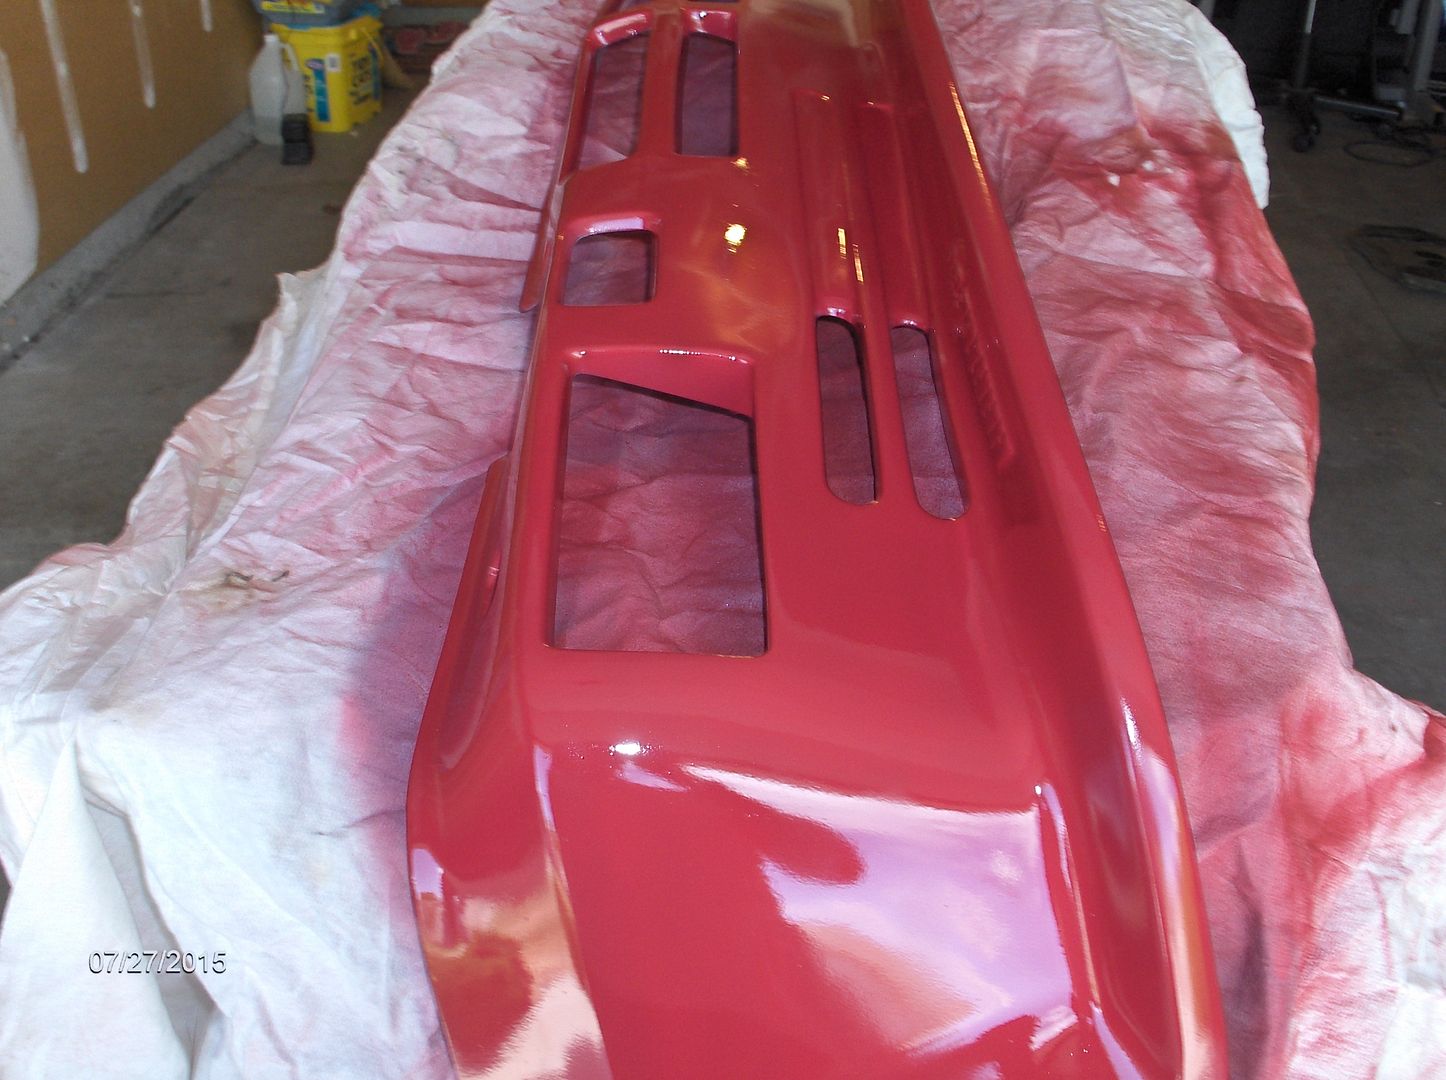
valve cover done
Got the valve cover painted, will get pictures up soon. Turned out pretty good...not as good as powder coat, but will do for now....
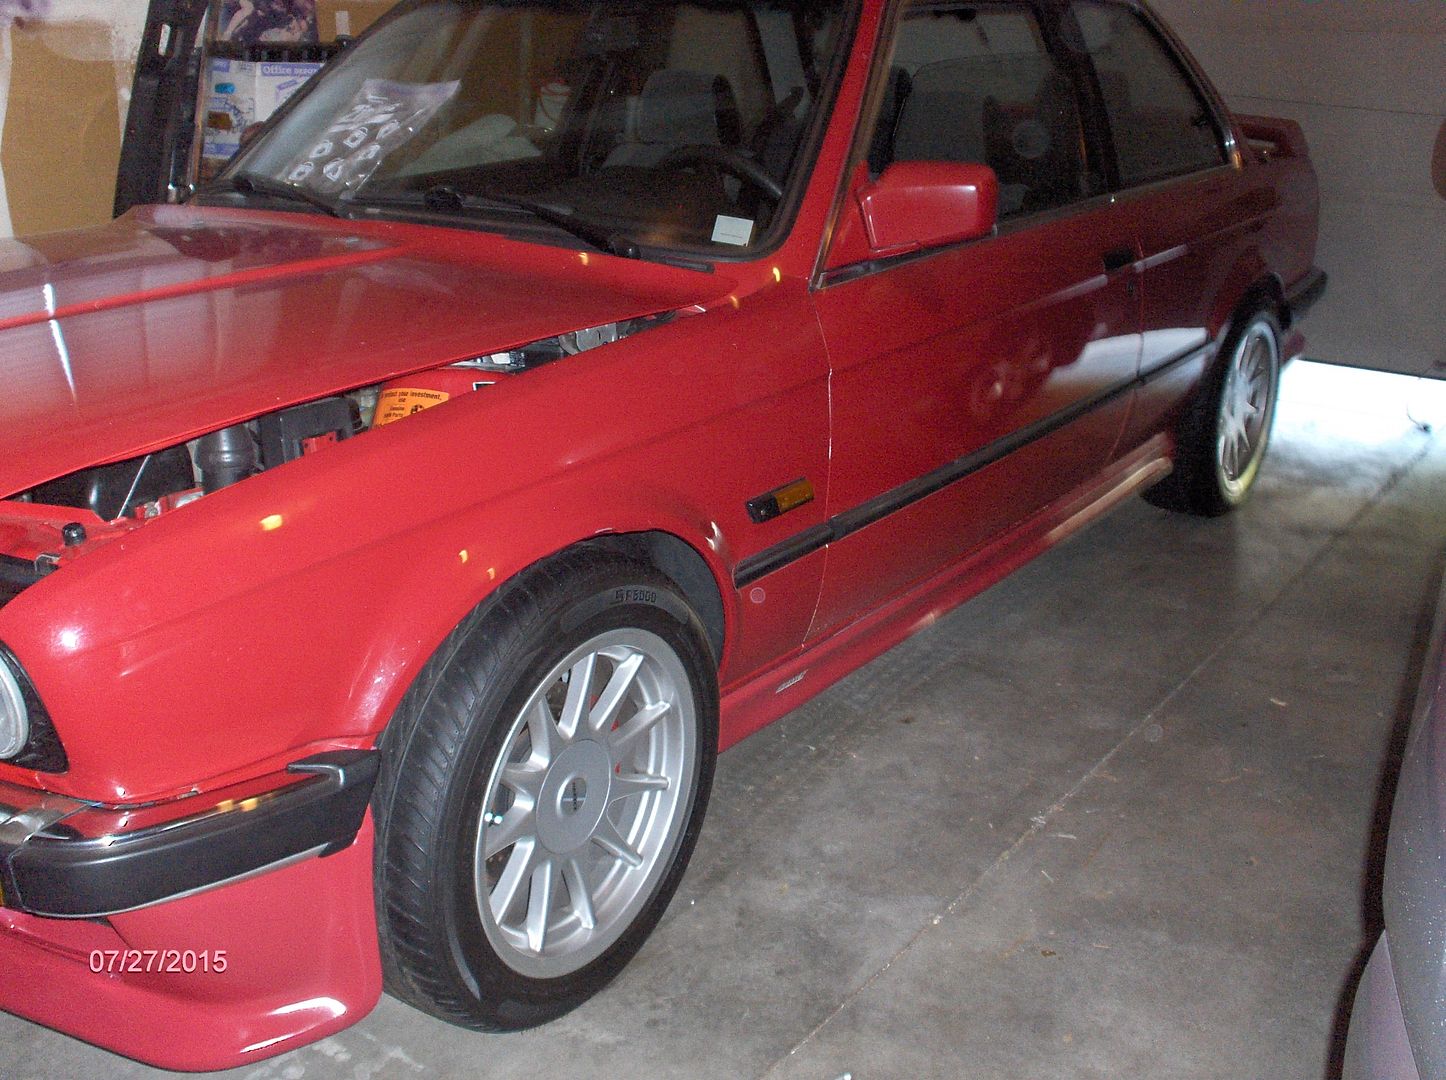
Will take it out tomorrow for a little fun drive....finally:)
jm
Little sanding and cleaning.....
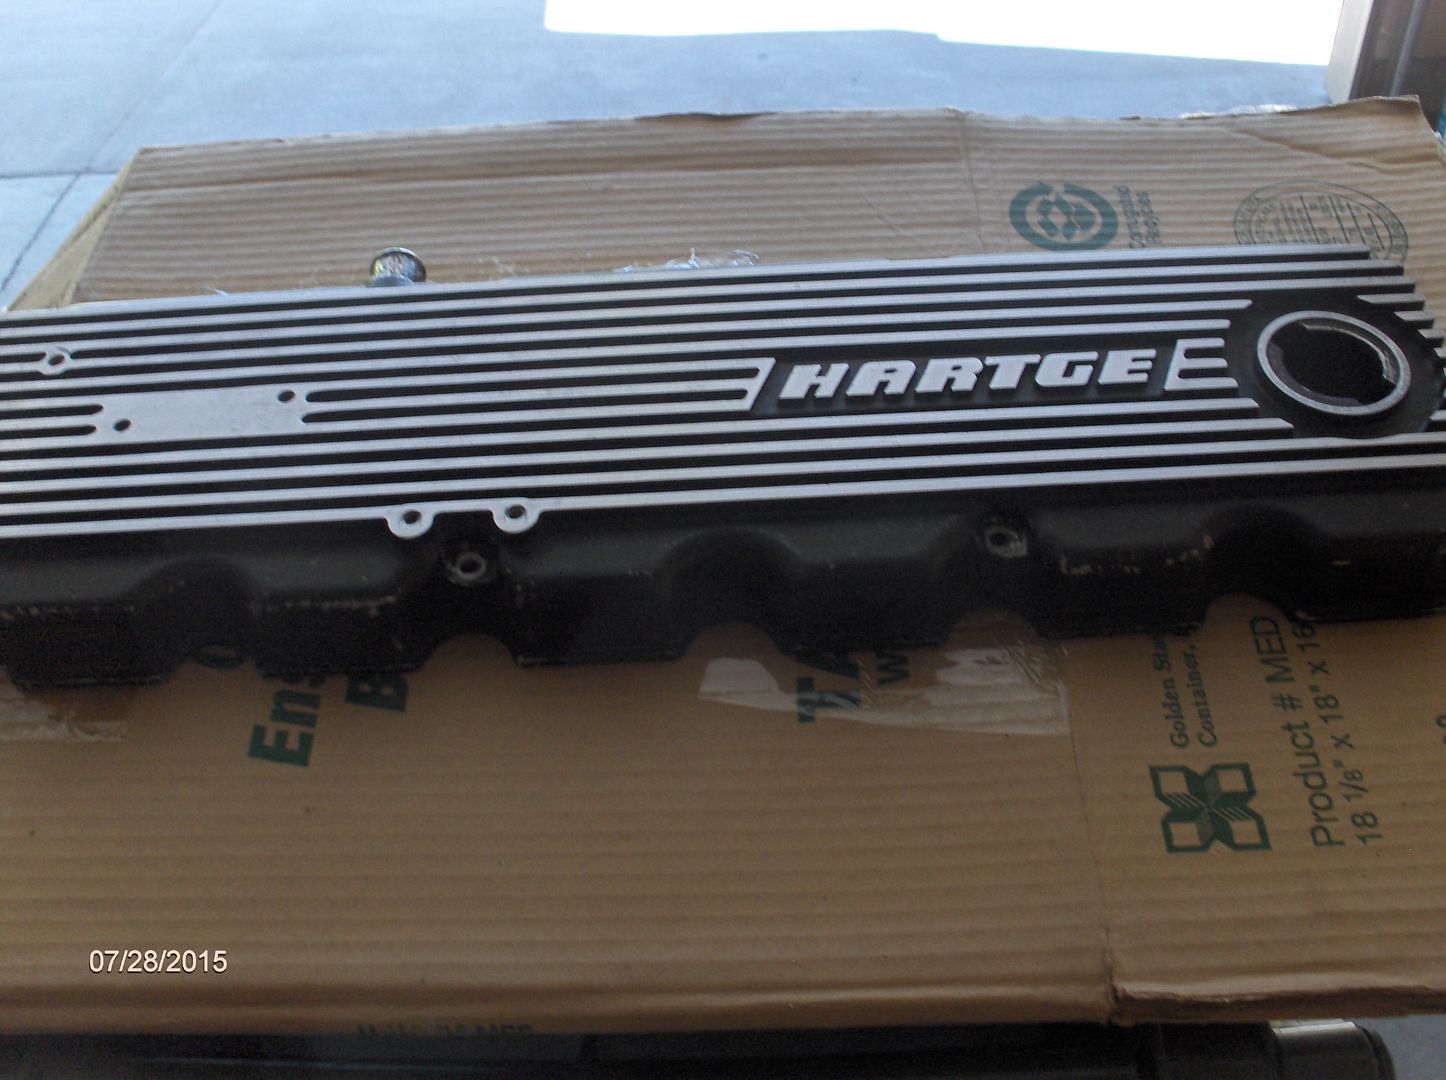
Little paint

time to drive this car:)
 Last edited by 2002jm; 07-28-2015, 07:41 PM.
Leave a comment:
-
On my 85 323i and with the hartge spoiler, I had to remove the lower front valance. You can do a test fit and see if your's will go on. I would have liked to have left the valance on, but the spoiler would not go on at all. No reason to use tape on mine..... 4 bolts will hold it in place. Not like it can fall off driving down the road....unless you hit something:)
I lined everything up and made sure I had the driver side where it should go. The lip of the spoiler has to go inside the lip of the fender. Then you can see the fender hole and bumper hole. Use a very small drill and drill below where you think the hole for the bumper will line up. You can measure the space between the spoiler and fender if you like. Then your drill bit should come out at the bottom of the bumper hole. Then use bigger and bigger bits until you have the hole big enough for the bumper screw, or bolt to go on. For the most part you are not going to get a perfect fit, because the cars are old and out of alignment.
Most important thing is to use the clamp, or you will have not be able to keep anything aligned. The bumper bolt will keep everything in place while you drill the spoiler hole using the same method. Note the spoiler bolt is the one closest to the wheel well. the bumper bolt is the one more to front of the car.
Maybe it is obvious, but if you drill in the wrong place with the spoiler not aligned you are going to hit yourself in the head with a hammer; or a least want too:)
Hope that helps,
jmLeave a comment:
-
Thank you for the post with the front dam install.
The front and rear ACS pieces are similar, I imagine, for installation. It just gets screwed into the valence. I intend to use some double sided tape, too.
How did you line it up? Just eyeball? Measure? Template?Leave a comment:
-
-
that exhaust tip look nice.
nothing wrong with some rattle pain on the valve cover. i rattle painted my style 5 wheels temporarily.Leave a comment:
-
next project
Here is the next item to be put on the car after the valve cover goes back on tomorrow.......
Might just paint the valve cover for now. Power coat is 95.00 plus shipping.....

Leave a comment:
-
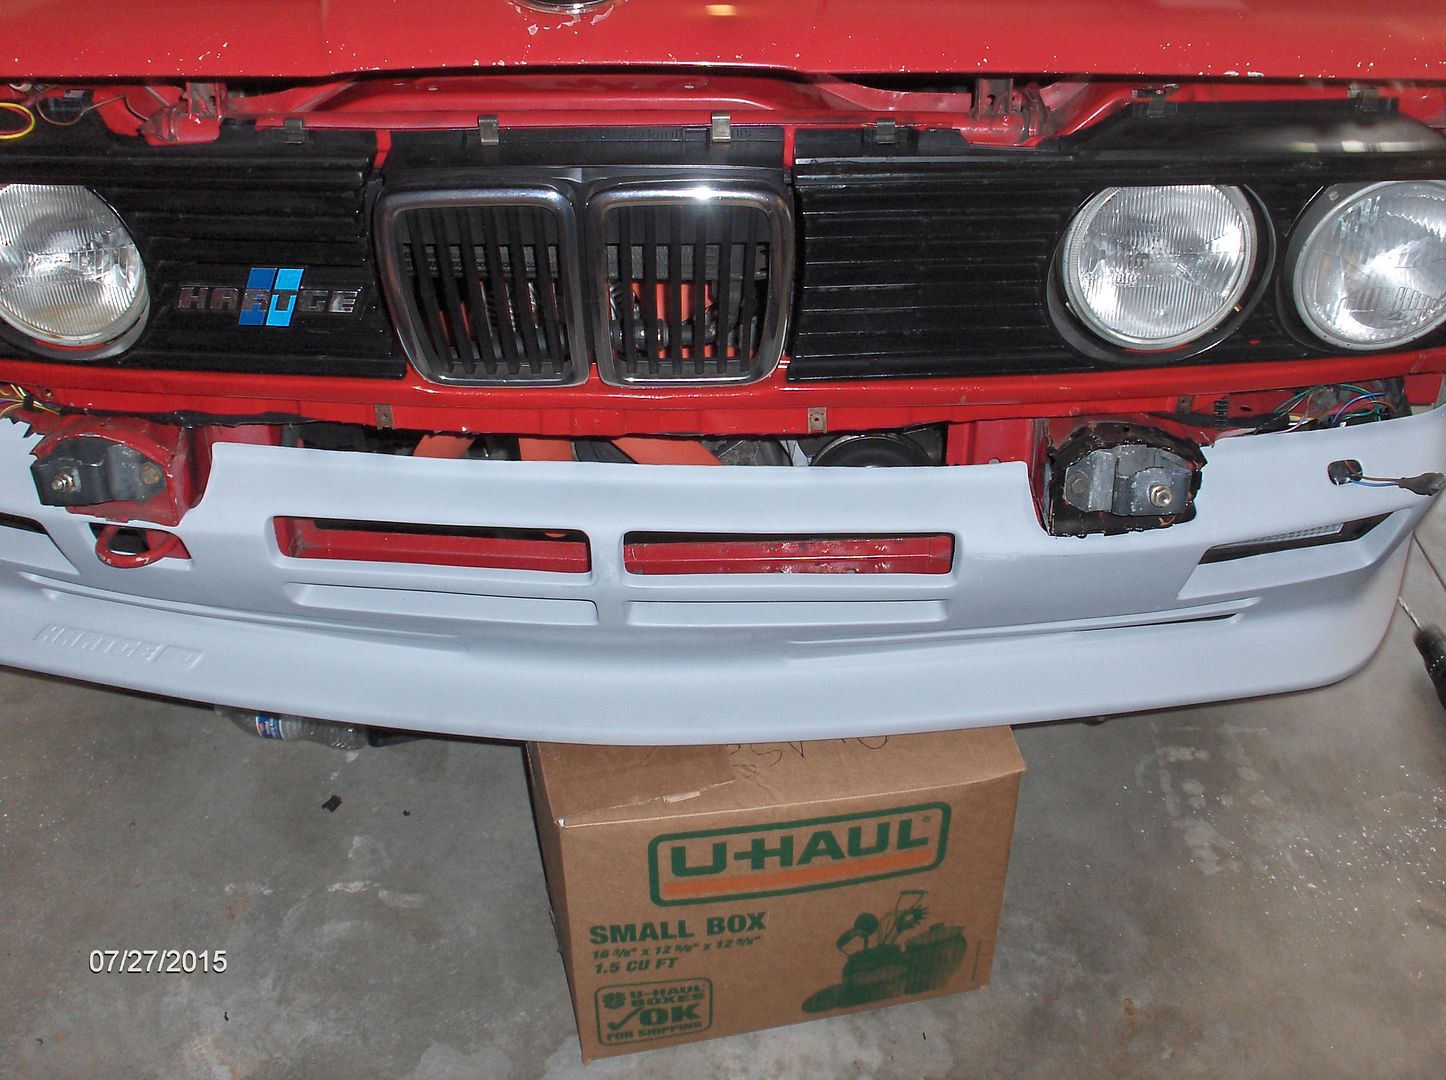
h26 spoiler on:)
Well, spent the day getting the spoiler on....here is what I learned in the process.
1985 euro 323i is the car I have with hartge conversion parts:)
First, read Barron's post above!! It is very helpful and I used the same tools...
Second be sure the euro brake ducts are moved back out of the way, or the spoiler will not go on. also, be sure the black plastic surround for the radiator is removed.
Use a box or two or a friend to hold the spoiler in place. The spoiler will fall forward and it is a pain if you can not hold it in place.
I started on the driver side, because the spoiler fit very good on that side.
Put the clamp on, then the bumper bolt on and then the fender/spoiler screw, or bolt. It works much better that way. Then once you have the bolts on tighten down the spoiler, fender bolt and remove the bumper bolt. You now can move to the other side.
Now since my car had a low speed impact in the front the fender is off a little. Expect to 'make it fit' if your car's front end is not perfect.
Once you have both sides on you can check for clearance and make sure the fog lights are in correctly. They fit right behind the spoiler, not inside the spoiler.
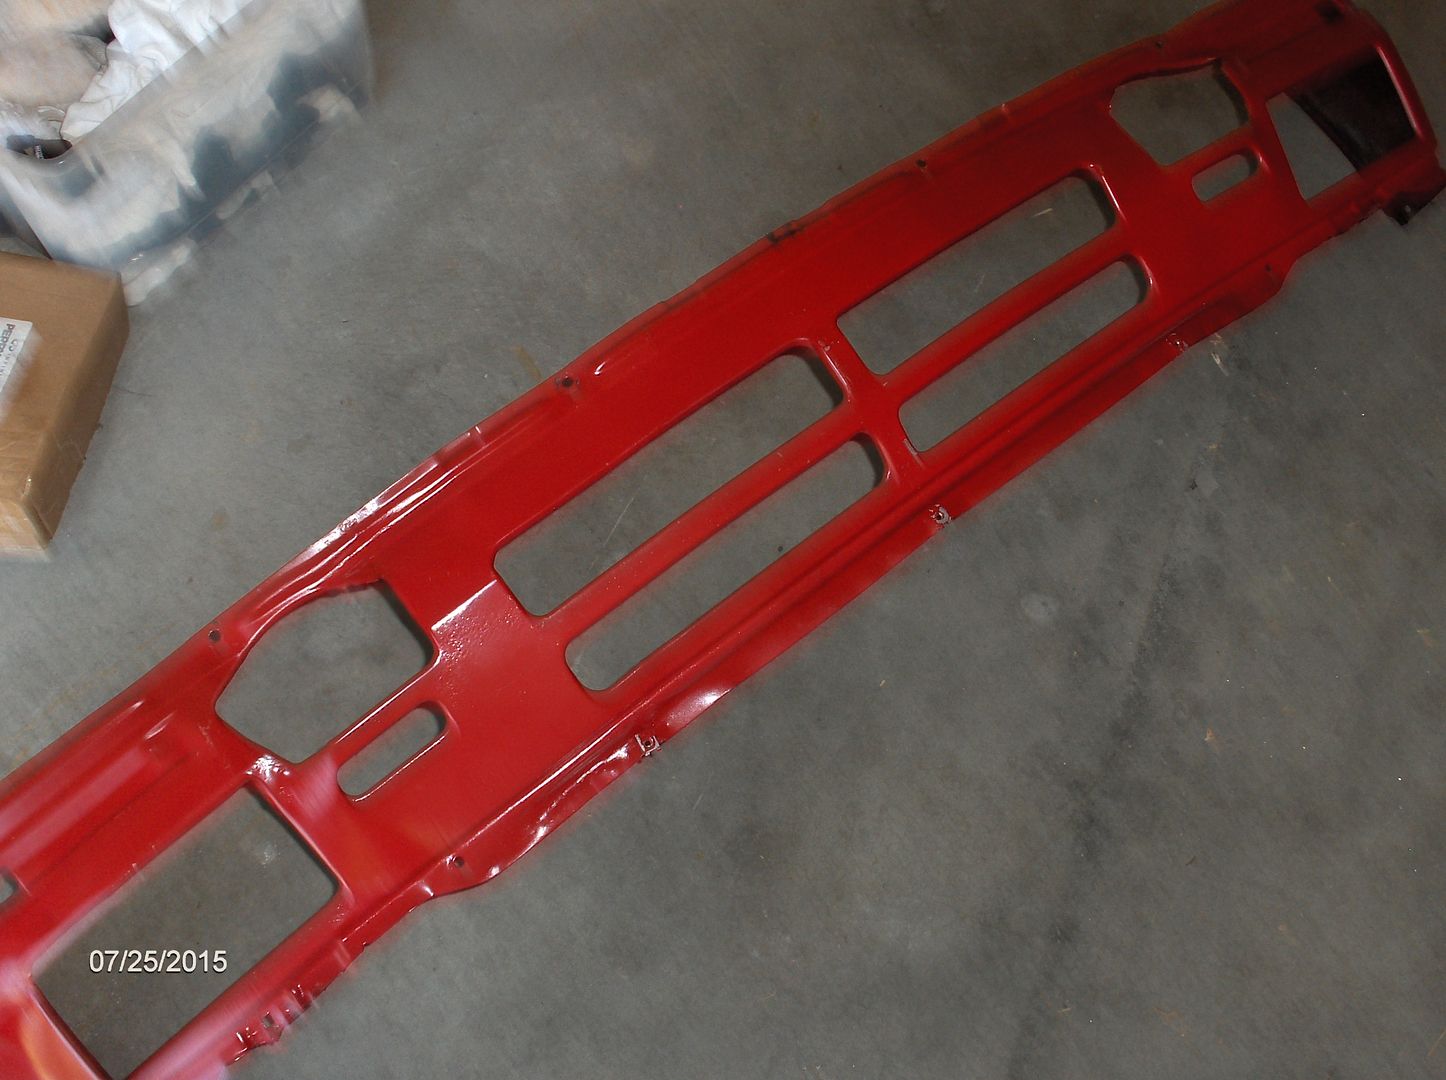
Ok now it is time to take it all off and paint the spoiler. You can take it in to a shop, or for much less you can paint it with a rattle can. Since my car will be taken apart in the future and repainted...that is the plan for now, I just used a rattle can to see what the spoiler would look like in red:)
You will have paint that is very soft, so you can wait a few days and scrape the spoiler up when putting the euro bumper on , or you can do it in a few hours and scrape the paint up a bit when the bumper goes back on:).
I will touch up my paint later....
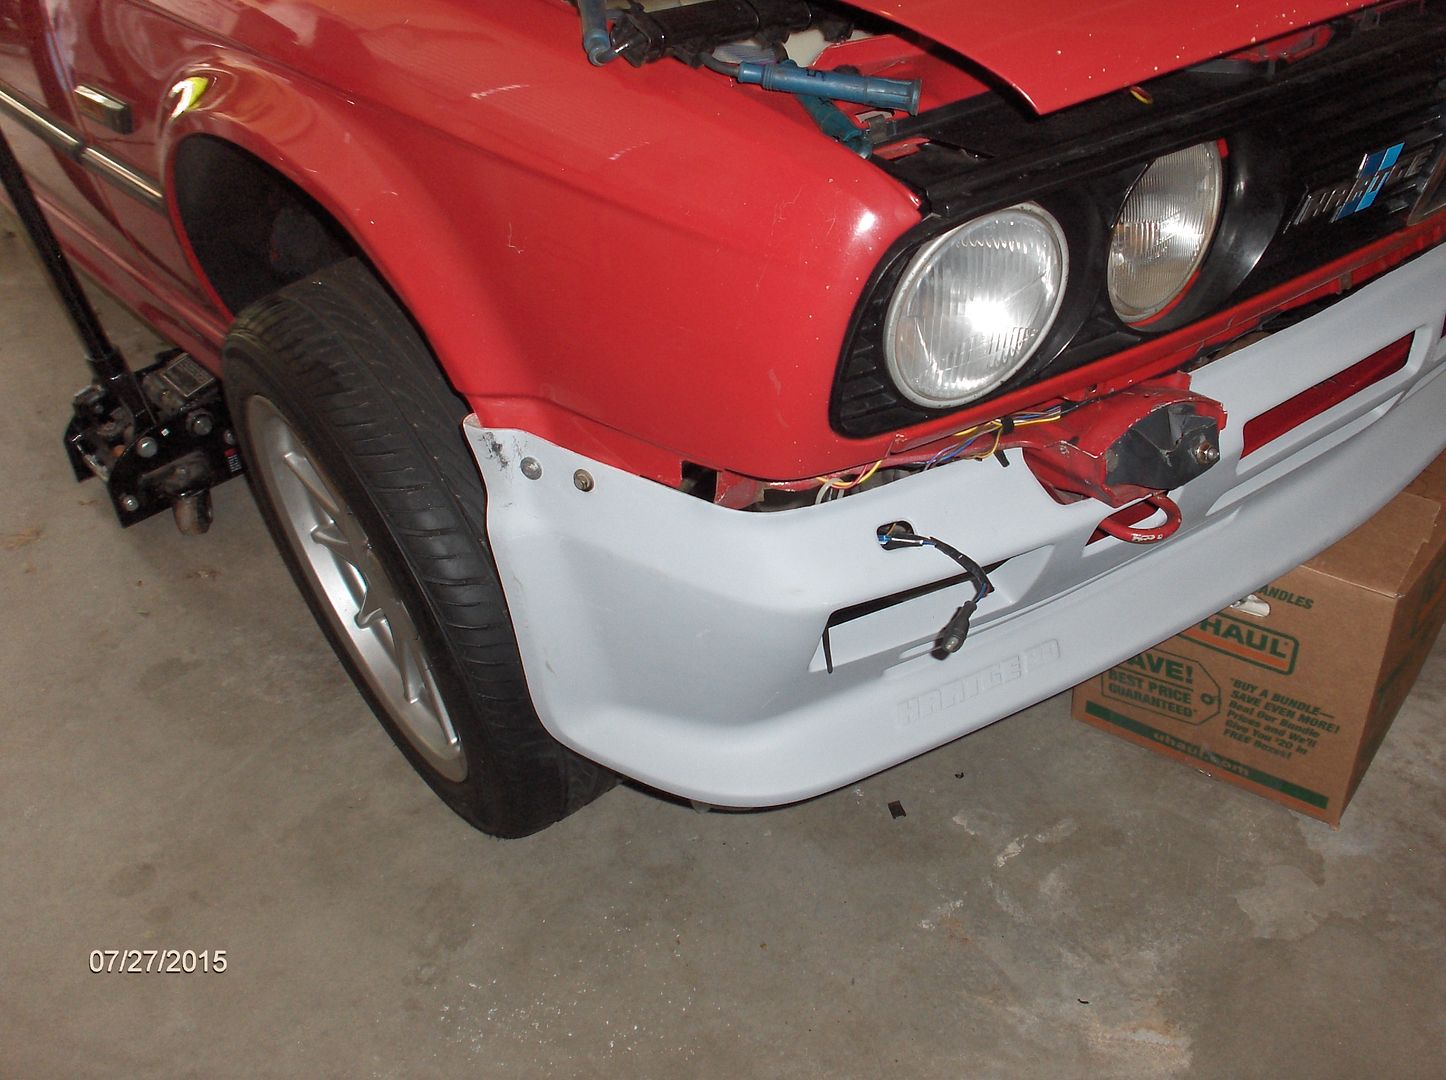
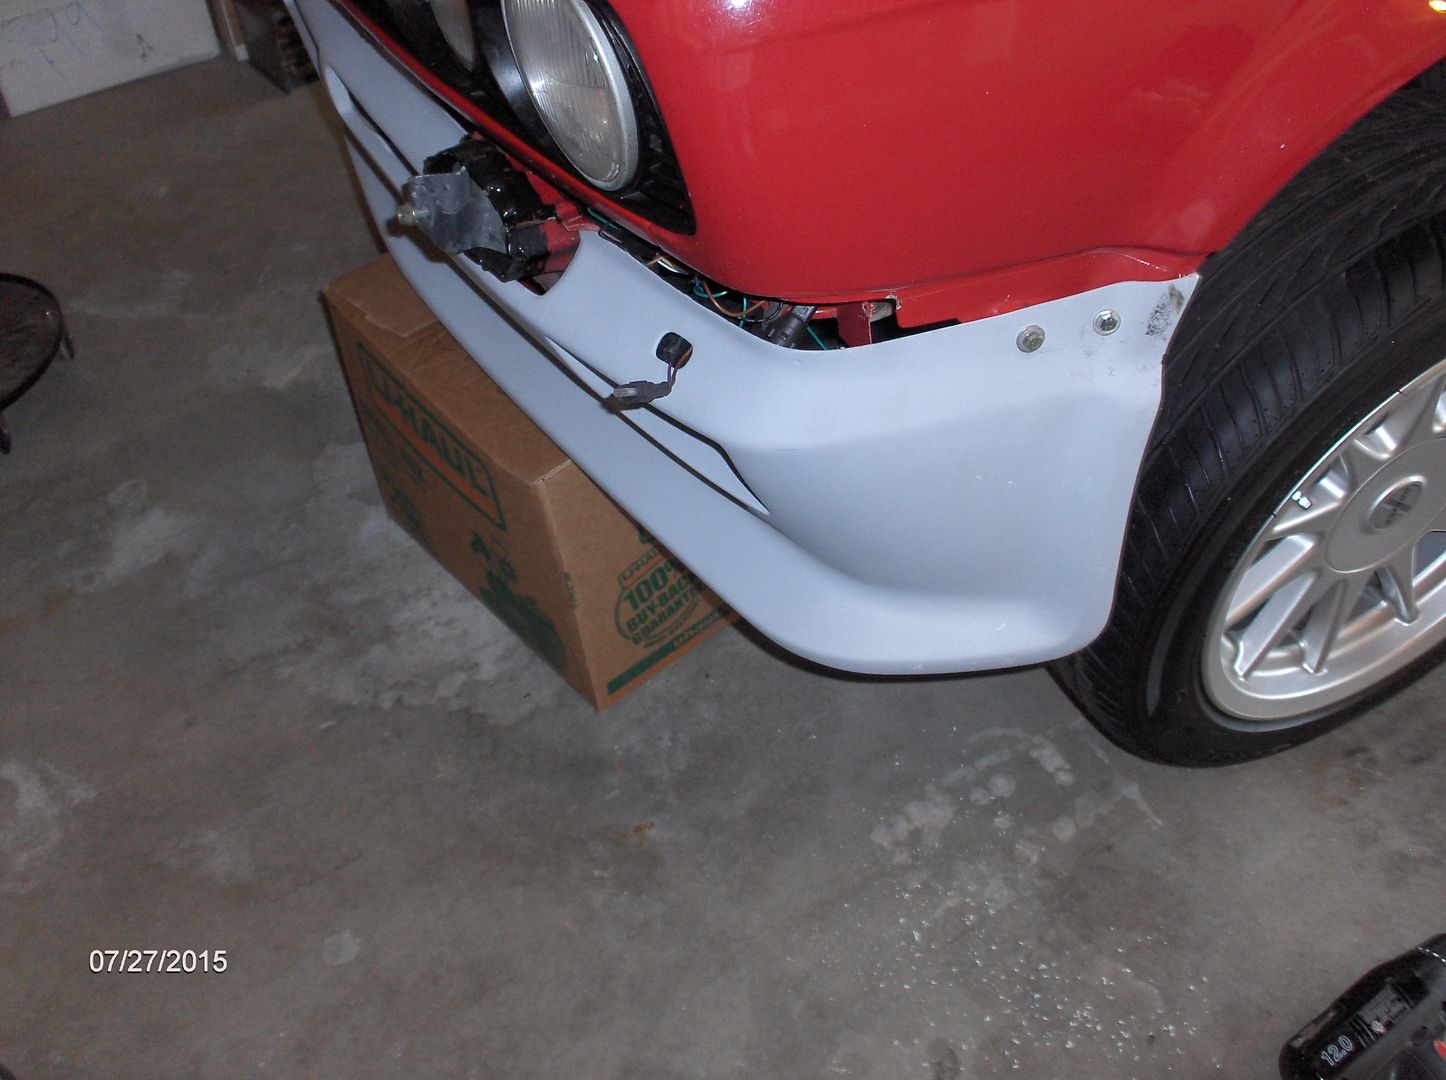
Now when putting the bumper back on you need some boxes to hold it up and be sure to connect the turn signals before you place the bumper all the way on.....it is really handy to have a second set of hands to get this done without bumping the spoiler.....not good to bump the spoiler, paint will come right off!!!:)
Make sure the side of the bumpers are lined up correctly or you will never get the bumper on right.
Now it is time to put the brake ducts back on and lower the car.....
Took me 6 hours to do this project....most of the time was for painting since you have to wait about 15 minutes between coats.
Only problem I had was the passenger side did not want to go on, and the brake ducts were in the way...oh and don't force the spoiler on....you will hear a crack and it all over!
Now a real spoiler is rubber type material and would go on much easier. If you have a real hartge h26 spoiler sitting around let me know:)
All and all the car looks better and now has all the parts expect the mono wiper that it had back in 1985. I used the paper work that came with the car to determine what needs to go back on the car.......next project rear exhaust tip:)
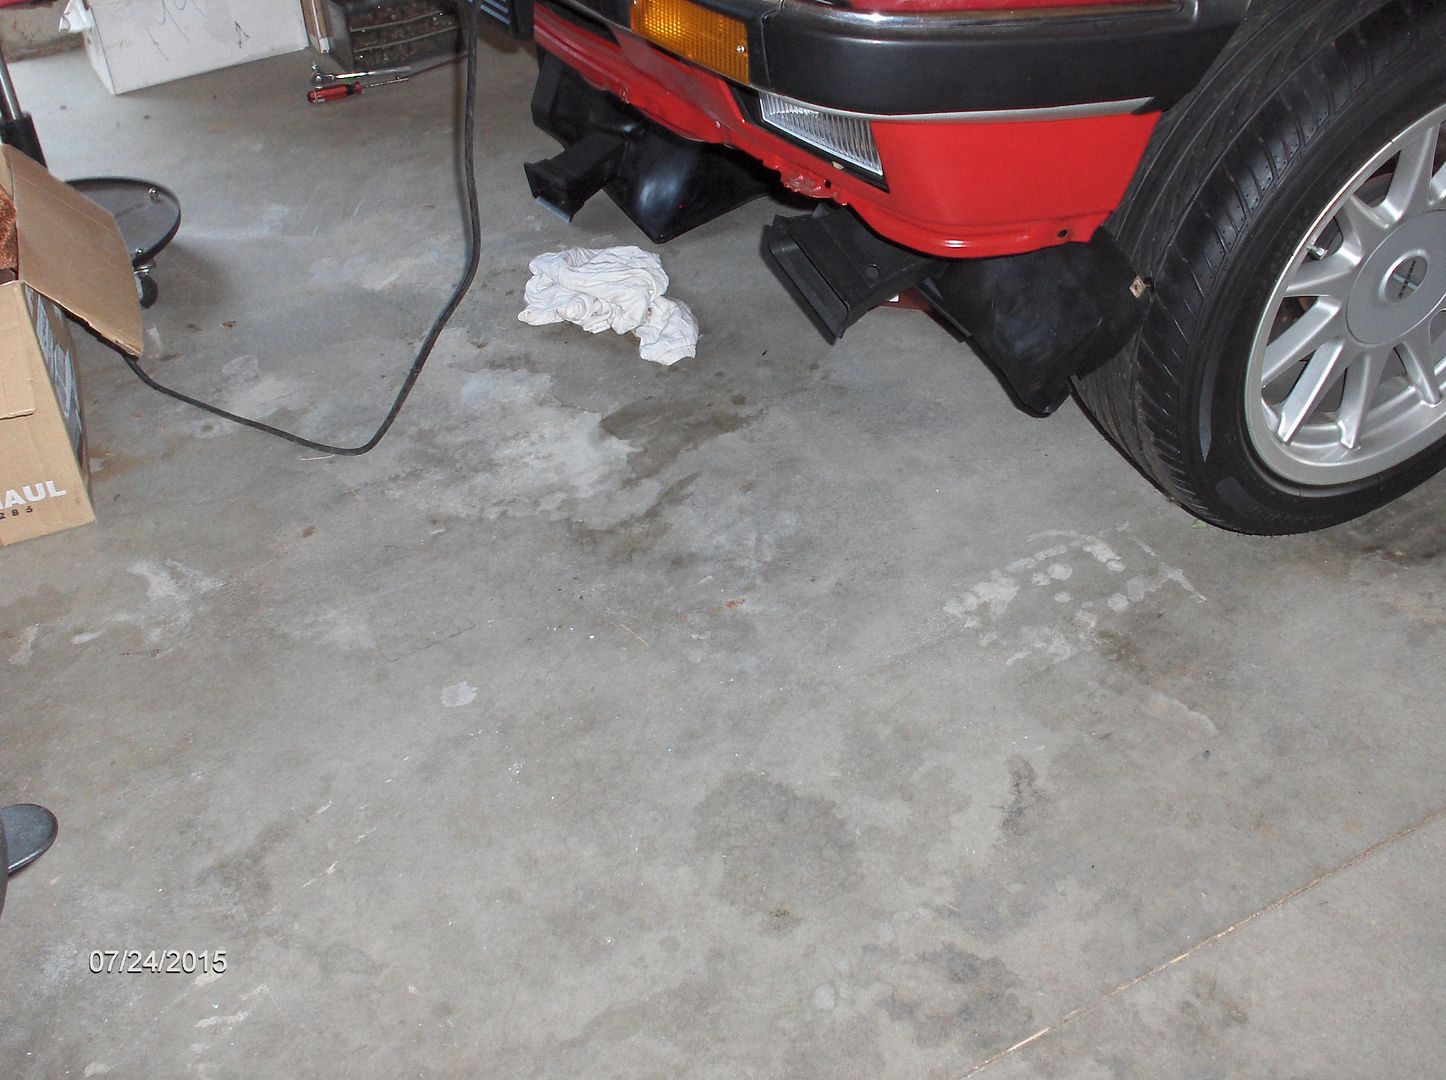
These ducts need to be moved back out of the way
This valance has to come off.....maybe I should sell it:)
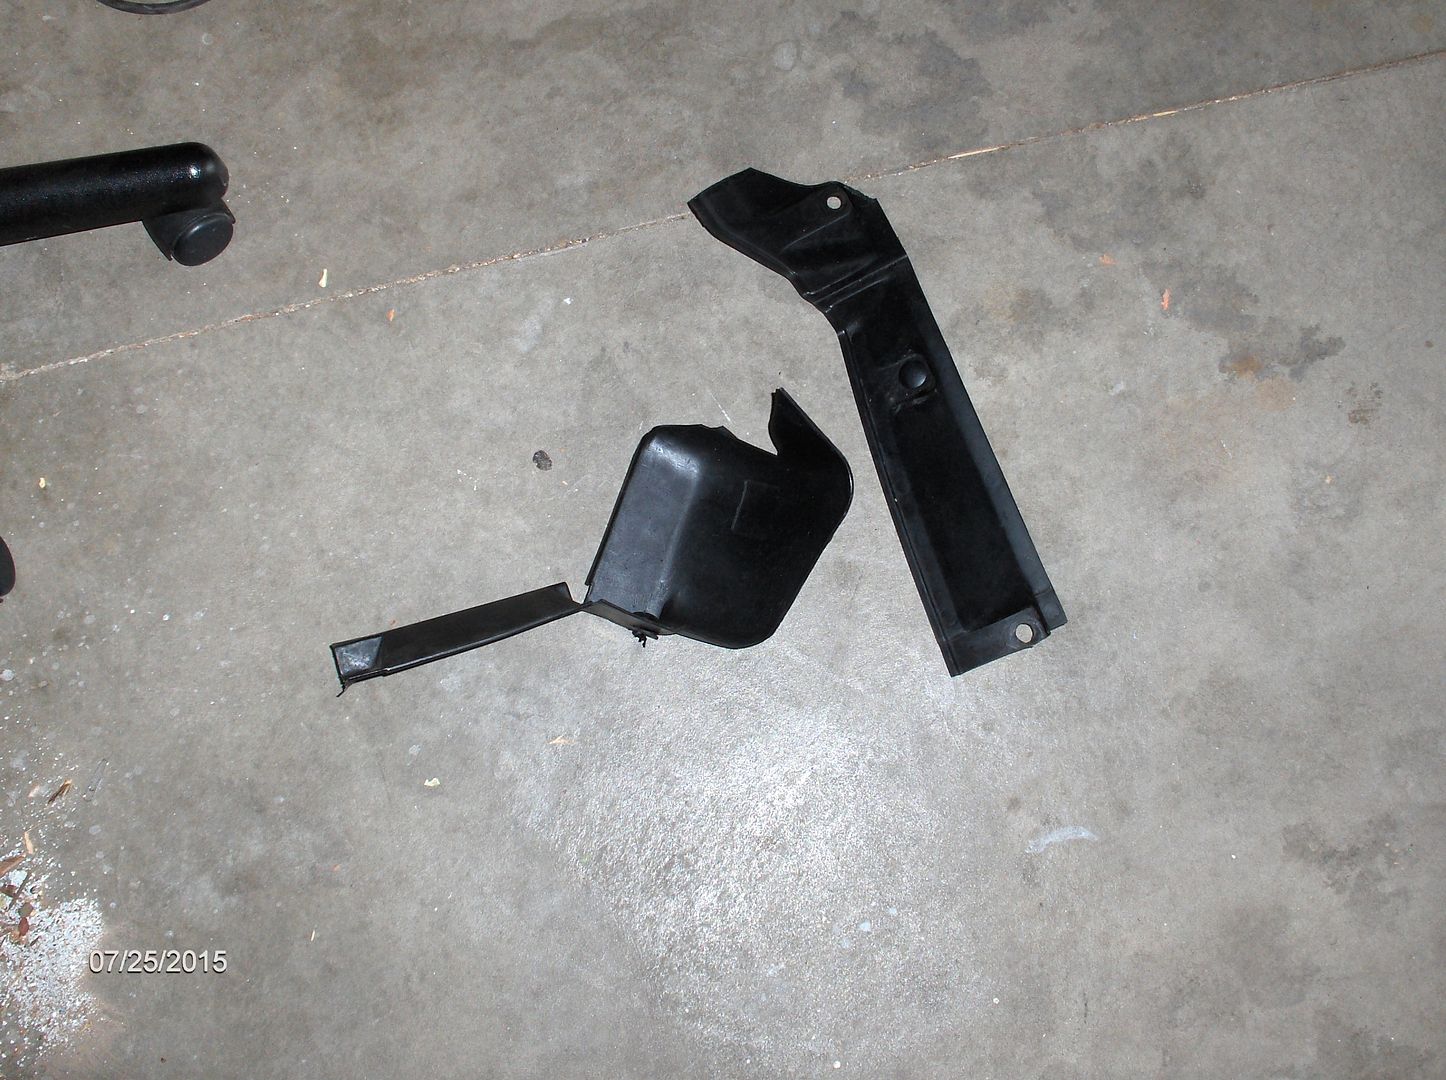
These have to come off!!!
Be sure wires for turn signals are pulled through...note books and carpet to keep the spoiler back!!! Or use a wife, friend:)
Note: Both bolts are in, but the forward one has to come back out before you put the bumper on.
Driver side fits better than other side.
Painting time 3 hours later......
Looks ok, shop will do better but will cost about 500:)

bumper is ready to go on
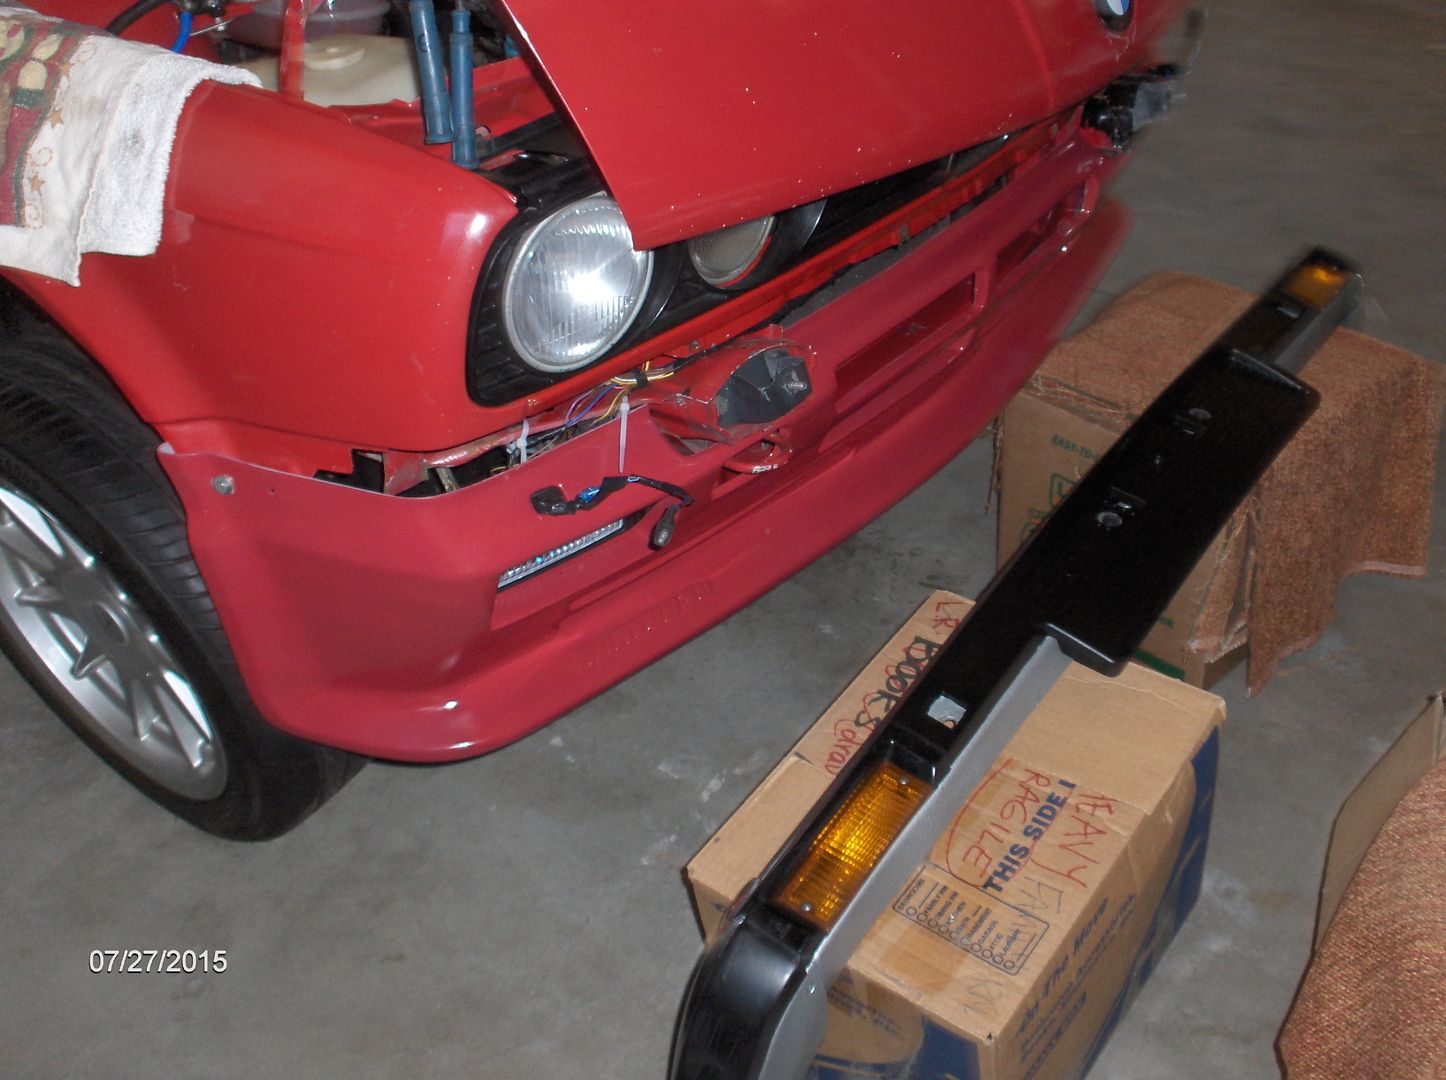
Other side, note one bolt on!!! Don't forget to take the other one out!!
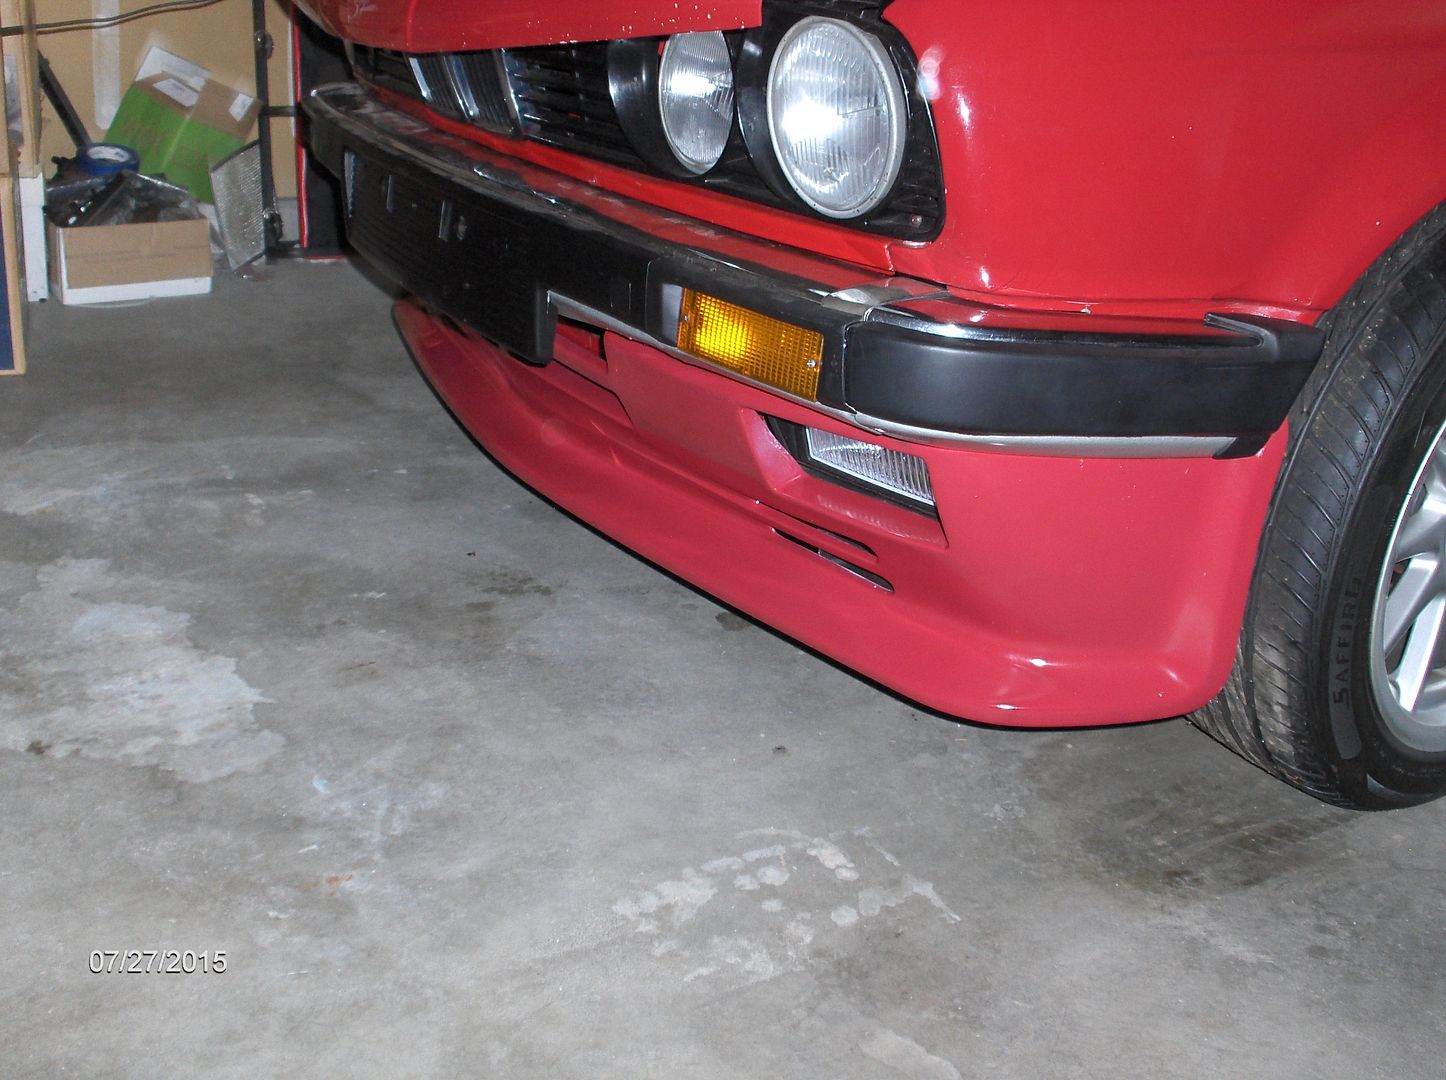
bumper on....well not tight
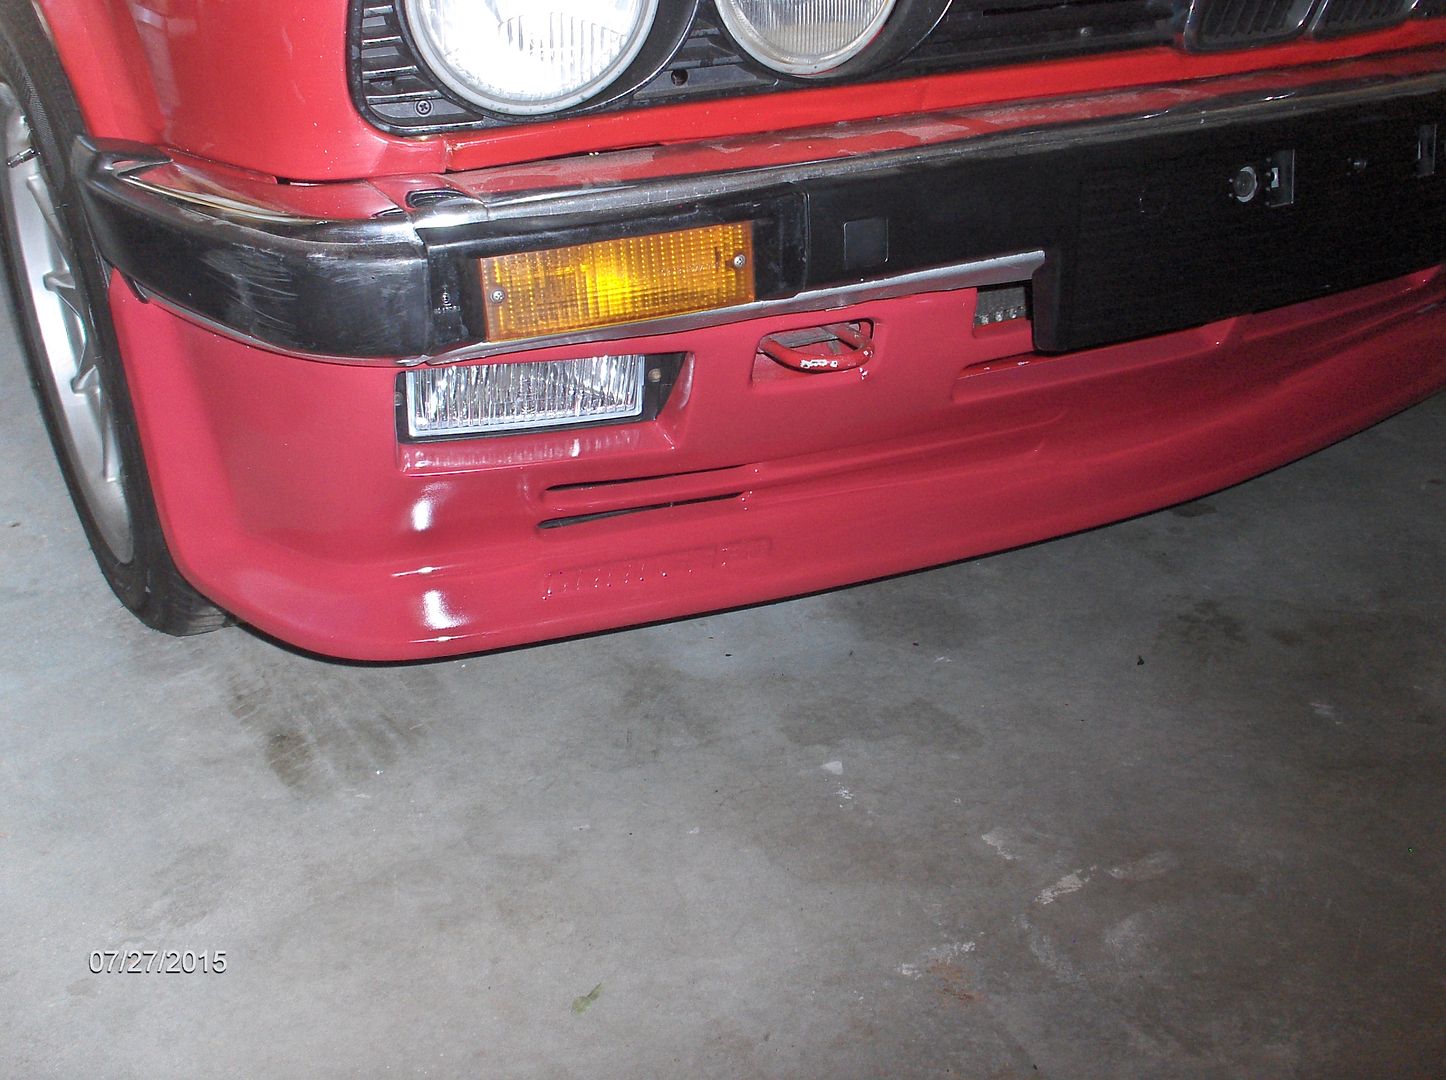
other side, my fog light bracket broke:(, so it does not fit right

Car on the ground and ready to go:)
enjoyLeave a comment:
-
That is pretty much all you got to do before putting the bumper back on.
It's getting late here on the east coast and I will finish this off tomorrow, so if you have any questions I will be glad to answer them tomorrow .
cheers
Barron
This pic shows the air dam attached with the upper valance installedAttached FilesLast edited by 411; 07-23-2015, 07:29 PM.Leave a comment:
-
-
This DIY was done a while ago so some pics will show a few steps in one.
First thing to do is clamp the out sides
Pilot holes should first be drilled first with a small drill bit
Then drill the hole that has no bolt in it (this where the "euro bumpers are secured) ( the hole on the fender already exists)and use a couple large fender washers and bolts to float into position. Once you have the fitment right then......
Next you will drill the hole where the image shows the screw The hole on the fender already exists, this will be screwed permanently (the use of washers is recommended when working with fiberglass)
When this is complete you can remove the fender washers and bolts from the bumper securing spots( those holes should be enlarged to the same size as in the metal)Attached FilesLeave a comment:
-
-
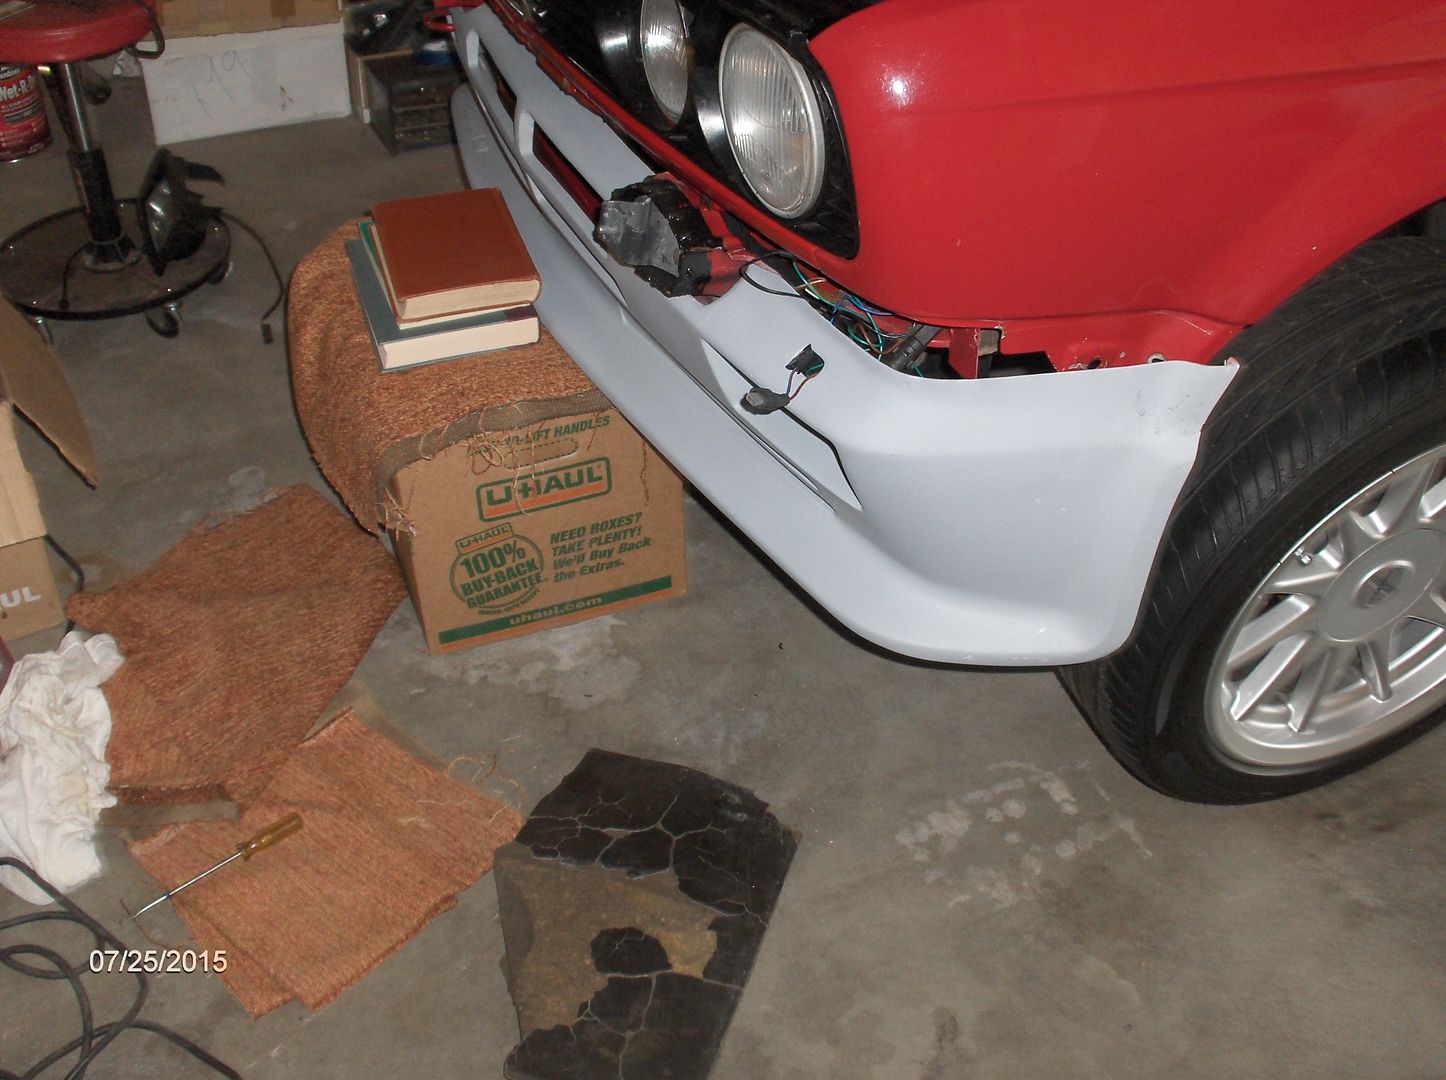
Since the airdam wants to slip and slide, (& the lack of friends )I found something to stabilize it.
Attached Files
)I found something to stabilize it.
Attached FilesLeave a comment:
-
-
Let's get started😈
Bumpers and valance have been removed ( at this time I did not have upper valance yet.
Since I don't have any friends a box and carpet will have to do
Attached FilesLeave a comment:
-
-
Basically all the tools & hardware you will need:
Drill & 1/4" bit & small pilot bit
1 or 2 clamps
4 nuts & bolts
Asst washers & fender washers
(Something to put under valance to get it to the right height/ or a friend to give you a hand)
Dremmel & accessories is also very handy ( optional)Attached FilesLast edited by 411; 07-24-2015, 04:54 AM.Leave a comment:
-
-
looks good
Just sent a message to renewedfinishes. We will see what the cost is for the hartge valve cover....yours do look great!
jmLeave a comment:


Leave a comment: