Announcement

Collapse
No announcement yet.

1990 325is restomod project aka "Klaus"

Collapse
X
 
  • Filter
  • Time
  • Show
Clear All
new posts

  • Staszek
    replied
    She is pretty much ready for the engine. Once that is done I will tow it over and get to work on putting it in. Performance Eurowerks is helping me drop it in, they are completing all the hoses and wiring as well as programming out the EWS and tuning it for the set up I have. I am not going Alpha N, going to use the stock MAF as well as the stock airbox.

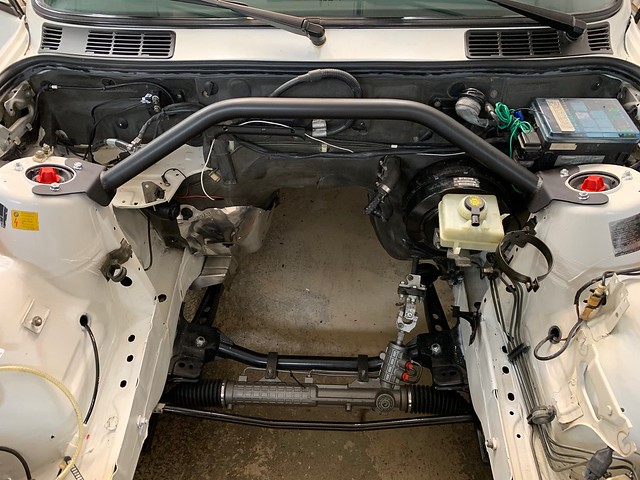
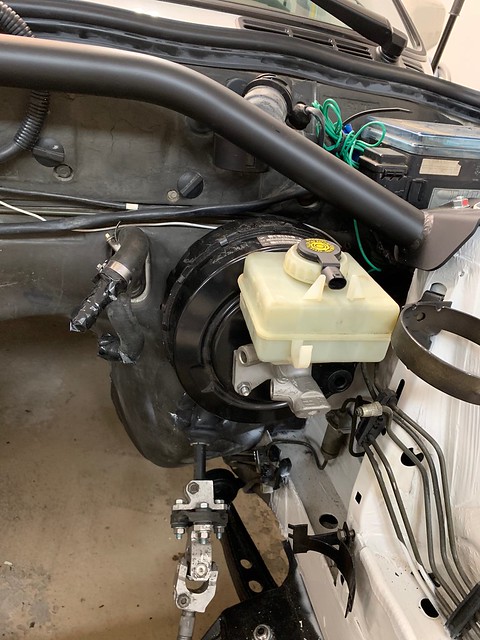
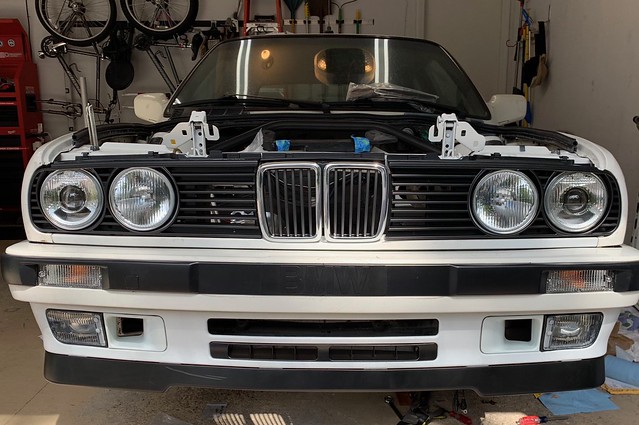
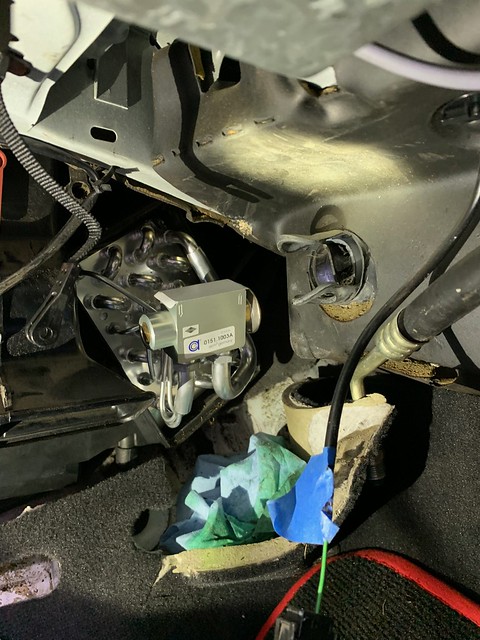
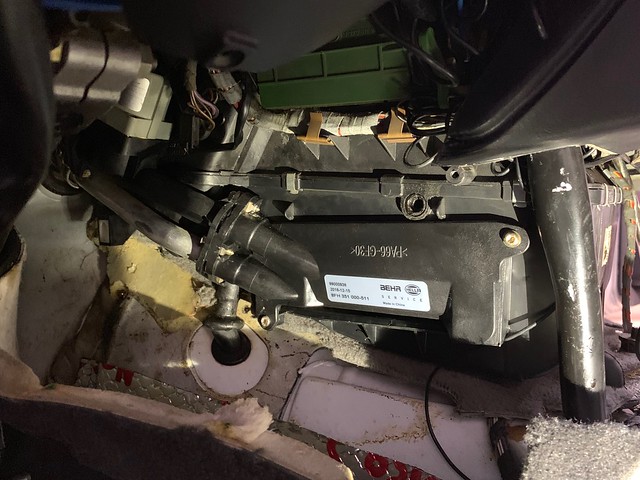
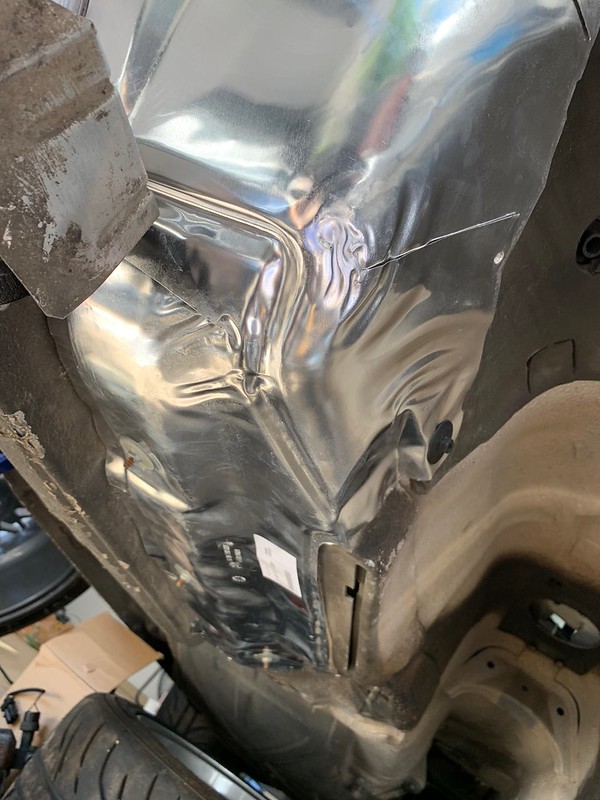
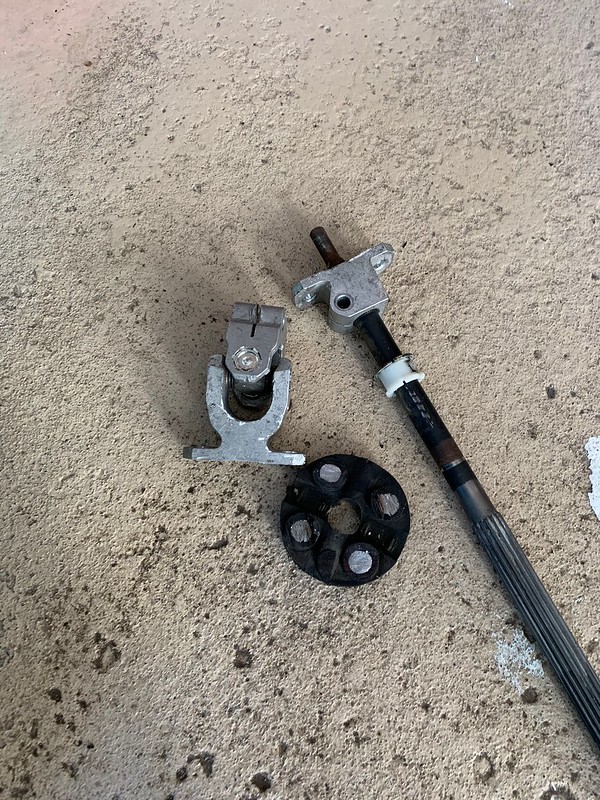
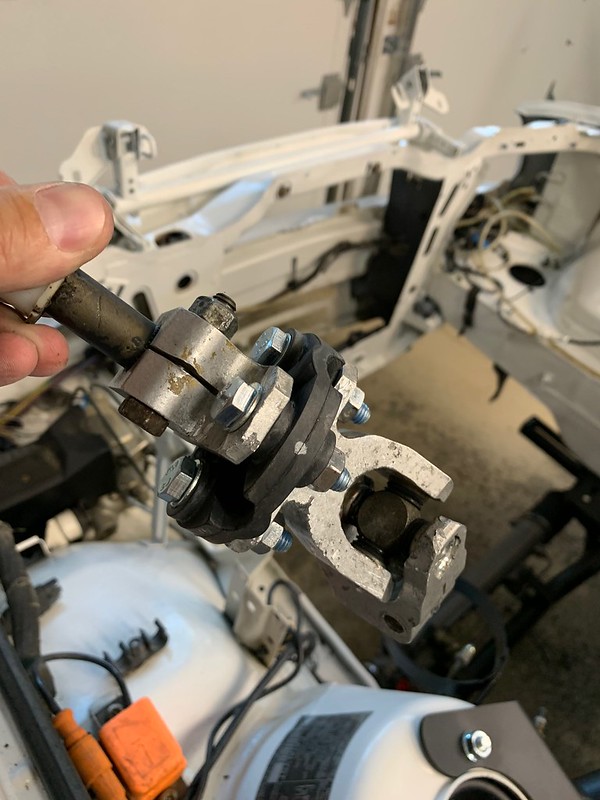
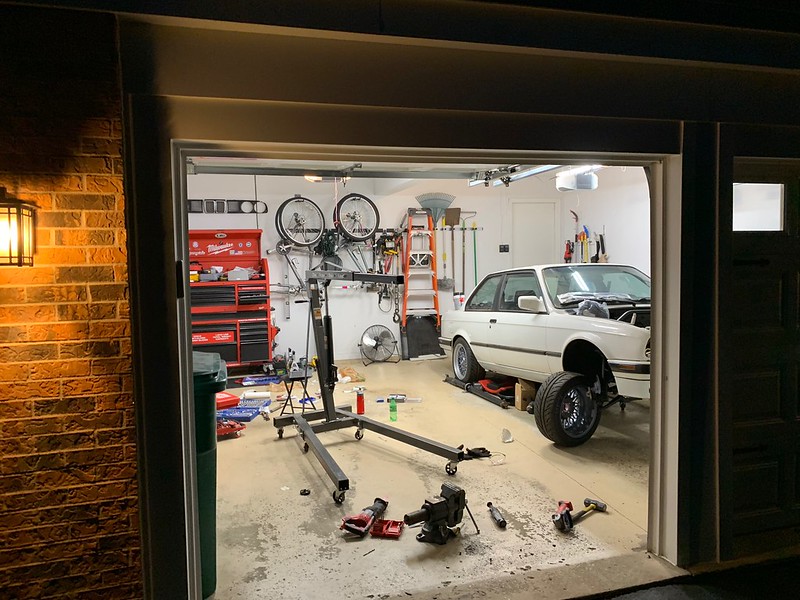
    The booster is in for now. We will see if it fits with the manifold, there may be some slight adjustment and trimming but I am ok with that, I would rather have the better brake feel.

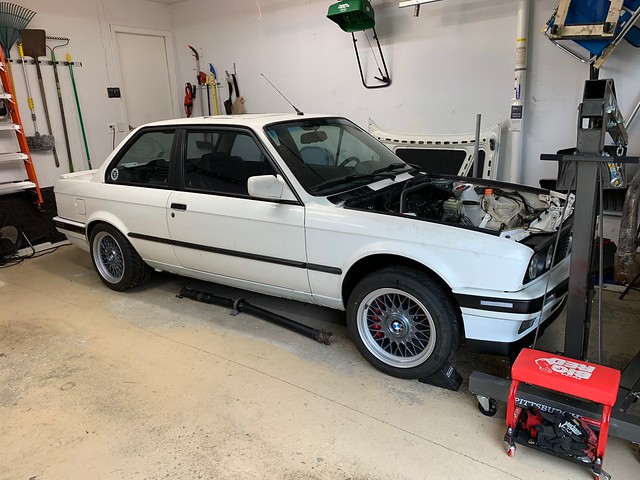
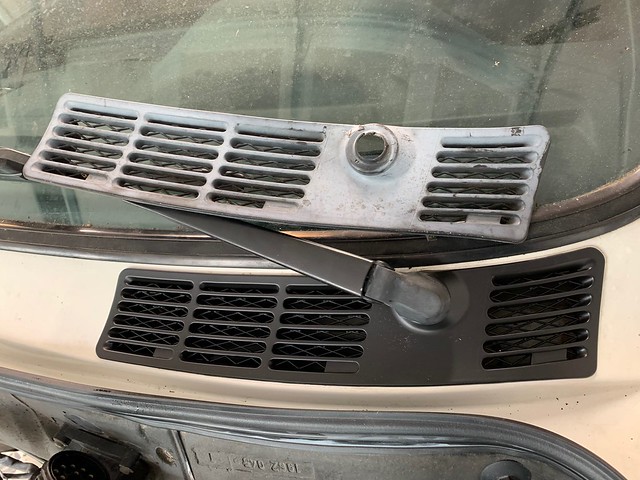
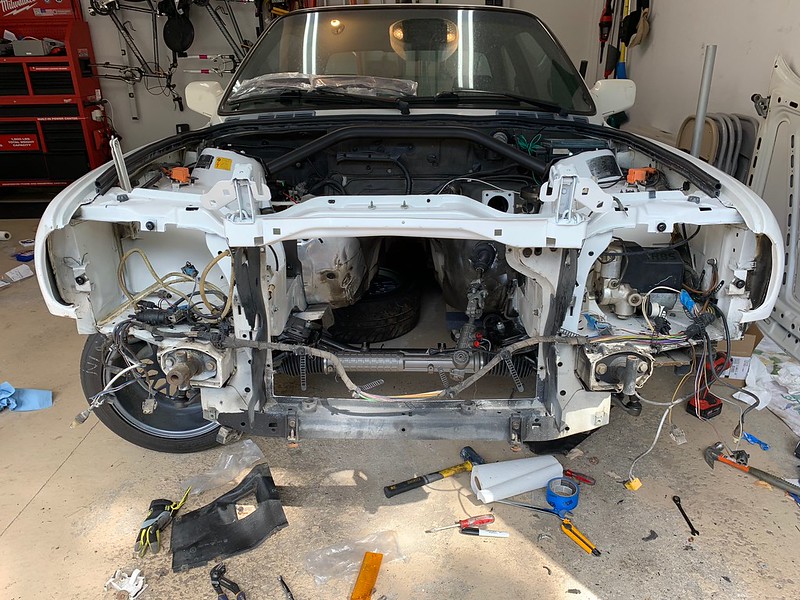
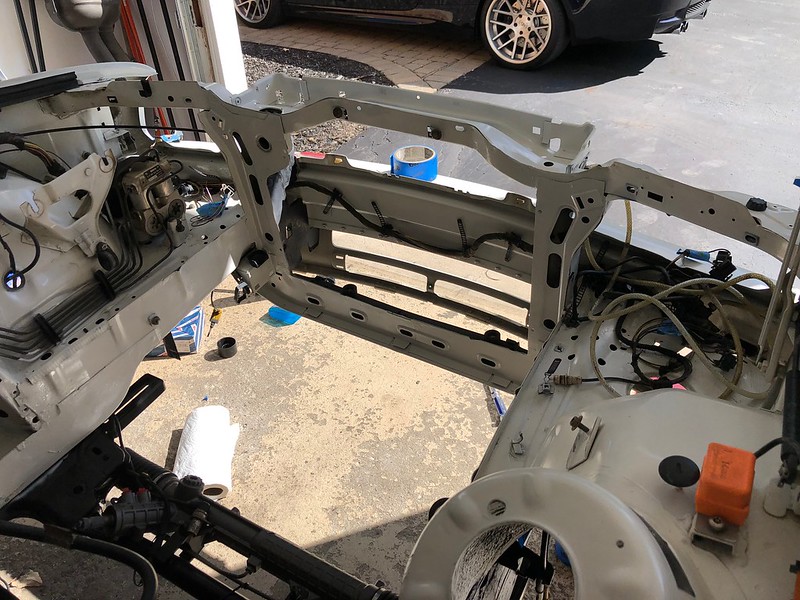
    All I need to do right now is get the hood back on and wash him up before he goes over to the shop.

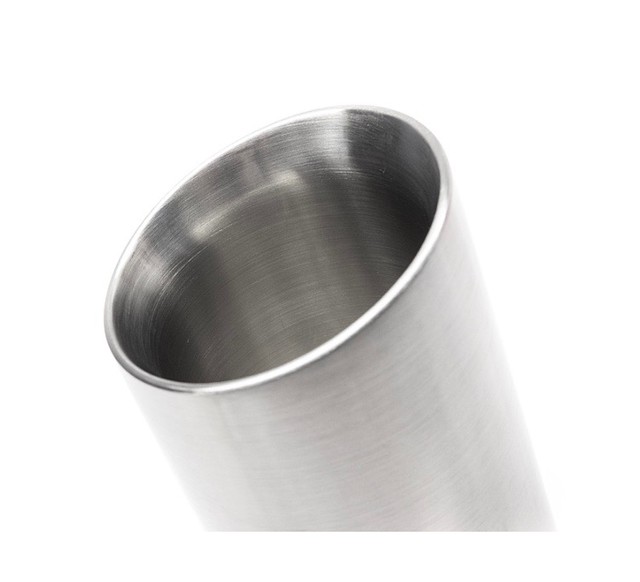
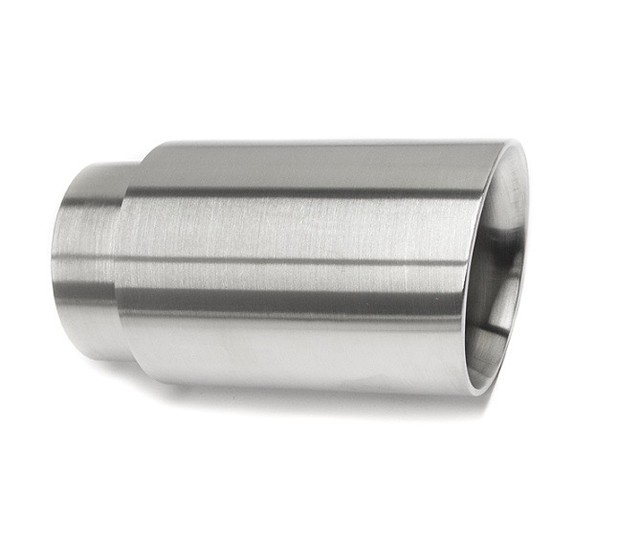
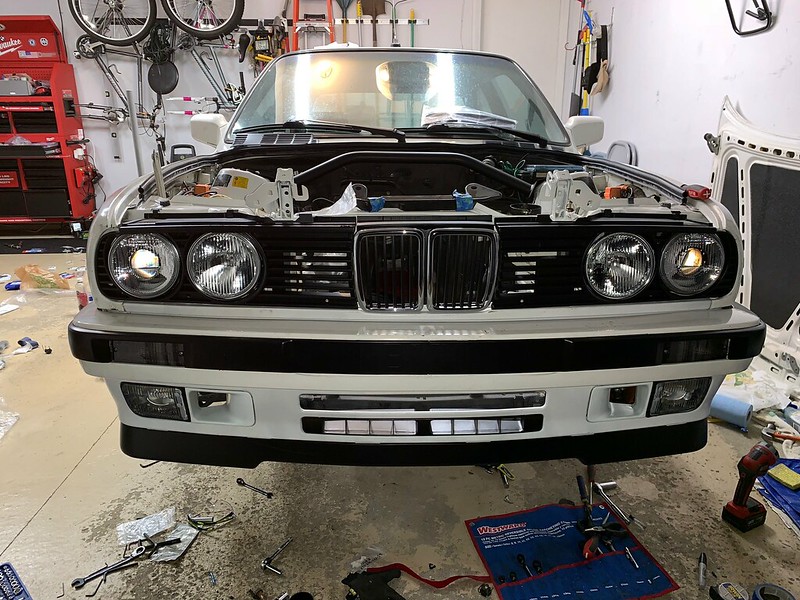
    Oh, I bought some new tips for the E36 M3 Exhaust as well, I wanted brushed tips that had a little less slant to them. Got them from 42 Draft Designs.


    Leave a comment:


  • Staszek
    replied
    While I am waiting on the tie rod situation I started working on a few other things. Finished the wiring for the HID's I put in last night. I am using Morimoto Minit Stage III bi-xenon projectors with squared adapters inside Depos (thankful got them before he disappeared). I was going to use OEM lights but since I was taking them apart to put in the new projectors I didn't want to spend that money.


    Moving on replaced the cowl grates. I was going to paint them instead of replacing them but the plastic was so brittle they were going to crack up eventually, so new ones it is. Looks so much better. Although definitely think there was a mouse in the driver's side one. Took me a while to clean that all out and Lysol the hell out of it.


    Next continuing onto to my R134 conversion, I can only do the inside of the car for now since the compressor is on the engine and I need to have new AC lines made to the S54 compressor.

    That being said the BMW engineers are sadistic, the last screw to get the cover the regulator is in the back behind the firewall and its really hard to get too. Tip for anyone doing this job, remove the two A/C lines first. BTW, put some towels and stuff down, there were some remnants of the freon dye that drips out.


    The evaporator was pretty dirty, I probably could have cleaned it but I bought a new one and put it in.


    New evaporator and regulator in.


    All back in, I had to buy new foam since the old one was a mess. Forgot to take a pic of that.


    Last thing for the day I replaced the heater core. The valve was recently replaced it looked pretty new, the core looked to be original. Wasn't sure it was bad or not but I figured why not. This is another one where the last screw is so hard to get to, it's up at the top and it's almost impossible to fit anything but the smallest crescent wrench on it.


    Here is another area where you need some towels and a small bowl to catch the excess antifreeze. There is still some left in the core as well as a little bit in the lines.


    New one going in.


    While my hands are all beat up, I feel accomplished today, last few things need to be buttoned up and then she heads over in a few weeks for the engine drop!

    Leave a comment:


  • Staszek
    replied
    Did some more today. Although I ran into a problem and I am not sure what I did wrong. put the rest of the suspension in, tightened up the control arms and tie rod nuts, and put the rotors and brakes back on. The only issue is the rotor is basically touching the tie rod rubber. This wasnt like that before I put the E46 rack and E36 tie rods on. E30 tie rods dont work, maybe it will shift under load but it doesnt seem like it.

    Dont mind the rusted rotors they got wet this winter when they sat out side.


    Threw a new heat shield in, actually, I have all brand new heat shields for the entire car.


    This is what the face looked like this morning. Took the valence off to give it a good paint. It looks pretty good even from 5 feet away lol. It will be covered by the Mtech II bumper down the road, just wanted it to look presentable for now.


    She has a face again!


    Dont mind the mess.

    Leave a comment:


  • AWDBOB
    replied
    I did the same thing as you- it's been holding up fine! I made an adapter plate out of some steel sheet but didn't end up using it.

    Leave a comment:


  • bradnic
    replied
    Yeah wish Garagistic or someone made an adapter plate and template for the rack swaps.. mine ended up looking similar.. agree on retaining the OEM steeering giubo
    Last edited by bradnic; 11-21-2018, 07:17 PM.

    Leave a comment:


  • Staszek
    replied
    Got what seemed like not much work done even though it took half the day.

    Getting the steering guibo off is a pain. I cut through it with my angle grinder then drilled them out. I used some grade 8 M6 bolts to put in a new OEM guibo. I thought about going for a poly or solid, but decided I wanted the the OEM feel.


    I have an airbag car (well I used to have one till I removed it) so I had to adjust the firewall for the new ZHP E46 rack I put in.

    As you can see it if you dont adjust it touches the firewall and cant line up correctly.


    I cut a little at the bottom left (right if you are inside the car), and I cut the plate too. I used silicon adhesive to get the boot to stay on nicely. I didnt make a new plate like others have, I dont have that kind of skills lol. It stays in nicely with the silicon so it should be fine.


    I also got the tierods on, so YAY I can turn the wheels again. Thats all for tonight, tomorrow I will get the brakes and wheels back on and start buttoning up the rest of the little stuff. Need to finish the inside part of the A/C R134 conversion and a couple of other odds and ends before its time to get the engine in!!

    Leave a comment:


  • Staszek
    replied
    Originally posted by R3VM3UP View Post
    Just an FYI since I see you already have the subframe and steering rack installed, but dropping the S54 in with the subframe installed is pretty much impossible. I just dropped my S54 into my 318is this weekend and learned a few things. The Arc Asylum oil pan is enlarged on the drivers side and it interferes with the subframe on that side. I ended up having to drop the subframe to get the engine positioned. Then bolt up the trans brace to get the engine at the correct angle while it was hanging from the engine hoist, then bolt the subframe back up with all the mounts loose to allow some slop. Once everything was aligned I snugged it all up. Now I understand why some people install the engine from the bottom. I'd still probably recommend installing from the top and bolting up the subframe though. Once I knew what to do it wasn't all that bad.

    As for the brake booster, I'm not sure about that, but I'd be very interested to find out. I have a 2002 booster that I was planning to use, but I still need to modify it. If the e90 one can work that would be a great alternative though. What about the E60 master, would that work?
    Thanks, I think I will install from the bottom, but its really easy to drop the subframe all connected once its altogether (minus the brakes). I need it connected, I am going to tow it to a shop with a lift to complete the rest of the build.

    I tried the E60 booster its the same exact size as the E83 booster, in fact, it looks exactly the same minus having a flat reservoir vs a slanted one.

    Leave a comment:


  • R3VM3UP
    replied
    Just an FYI since I see you already have the subframe and steering rack installed, but dropping the S54 in with the subframe installed is pretty much impossible. I just dropped my S54 into my 318is this weekend and learned a few things. The Arc Asylum oil pan is enlarged on the drivers side and it interferes with the subframe on that side. I ended up having to drop the subframe to get the engine positioned. Then bolt up the trans brace to get the engine at the correct angle while it was hanging from the engine hoist, then bolt the subframe back up with all the mounts loose to allow some slop. Once everything was aligned I snugged it all up. Now I understand why some people install the engine from the bottom. I'd still probably recommend installing from the top and bolting up the subframe though. Once I knew what to do it wasn't all that bad.

    As for the brake booster, I'm not sure about that, but I'd be very interested to find out. I have a 2002 booster that I was planning to use, but I still need to modify it. If the e90 one can work that would be a great alternative though. What about the E60 master, would that work?

    Leave a comment:


  • Staszek
    replied
    Hmm had a bit of a hiccup this weekend. I thought the E83 X3 Master cylinder would fit in the E90 booster, at least thats what I read. It does not, its about 1-2mm too big. I can use the E90 one but its reversed and the lines are on the wrong side.

    Any suggestions or anyone know of any other masters that fit?

    Leave a comment:


  • Staszek
    replied
    Originally posted by R3VM3UP View Post
    Which version of the Garagistic strut brace fits over the S54? Is that the M42 version?
    Its not the M42 version, they said the regular one fits over the S54.

    Leave a comment:


  • R3VM3UP
    replied
    Which version of the Garagistic strut brace fits over the S54? Is that the M42 version?

    Leave a comment:


  • Staszek
    replied
    Originally posted by Cha Ching View Post
    Great pics of the build. Curious where you got the lollipop tool, or did you fab your own?
    I was going to make my own, and I should have, they are not hard to make, I just didnt have time so I picked this up on Amazon.

    Leave a comment:


  • Cha Ching
    replied
    Originally posted by Staszek View Post
    Next I was able to get the new lollipops on the new control arms.

    Great pics of the build. Curious where you got the lollipop tool, or did you fab your own?

    Leave a comment:


  • Staszek
    replied
    Got some more work done today. In the home stretch before I start working on the actual engine drop. That is going to a shop to be refreshed, then I will drop it in at said shop, they are going to help with the wiring and programming.

    I wasnt planning on painting the entire bay since it came out so clean when my wife cleaned it. But I thought ok I will just hit the towers because you can see them, then it was like ok I will hit this part then that part, by time i was done I basically painted 80% of the bay lol.


    Next I was able to get the new lollipops on the new control arms.


    New Springs and strut tubes are in.


    That's all for today, I also threw on the Garagistic strut bar just to see it.


    I have a few days off coming up. Hope to button the rest up, get the tie rods and brakes back on, adjust the firewall for the steering column, I need to tighten a few things down and finish part of the AC conversion then we are close!

    Leave a comment:


  • Staszek
    replied
    Originally posted by Jokester View Post
    Make sure to document your full installation of the ZHP rack. It would help me and many others in the future. Keep up the good work!
    Yep that is next, the rack is in, although I haven't hooked up the tie rods or the steering knuckle yet.

    Leave a comment:

Working...
X