Announcement

Collapse
No announcement yet.

My first project car

Collapse
X
 
  • Filter
  • Time
  • Show
Clear All
new posts

    My first project car

    Picked up my first project car, a 1986 325e. Doesn't run, and has lots of work to do, but hopefully she'll make for a sweet college build.

    The goal, I hopefully graduate in December and want to drive her to graduation.

    Memebers Ride Thread:


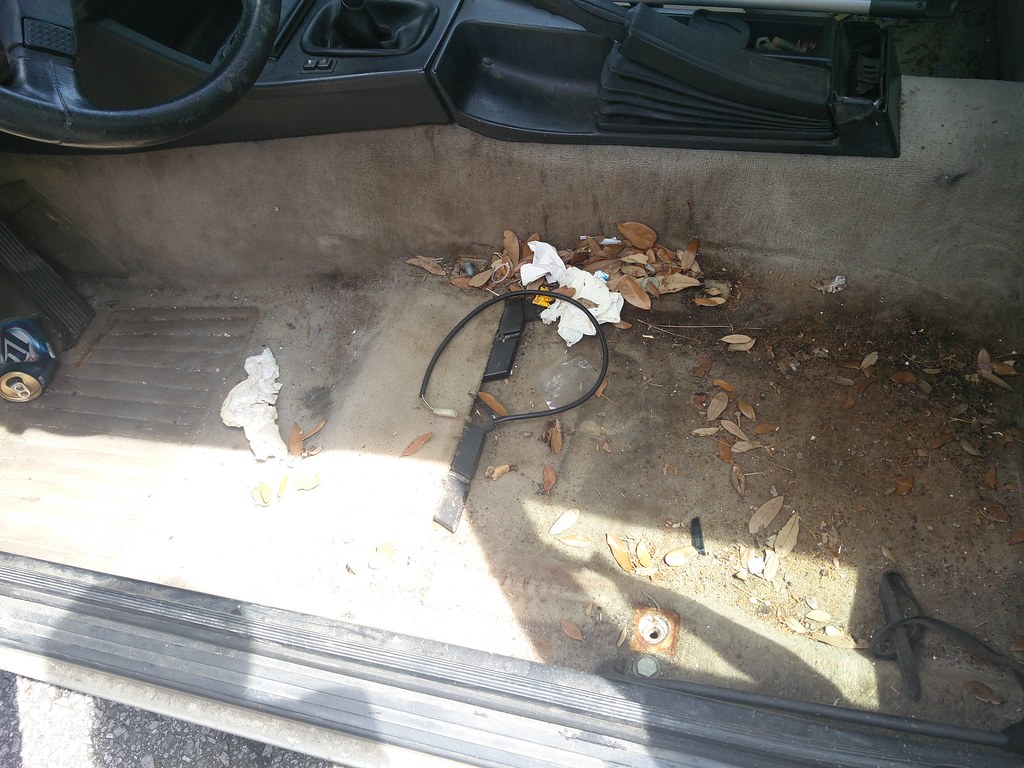
    First things first, cleaning it up....

    Shampoo the carpets heavily.


    New shift boot my landlord helped me make with some left over full grain european leather(I live above an upholstery shop, gotta love college right?)
    Last edited by PerryJ; 09-29-2016, 08:22 PM.

    #2
    Update 2

    Had some time to dedicate to the project this weekend, and Friday was payday haha. Managed to get the intake manifold and valve covers off. After a lot of cleaning of both, the painting has begun. The new fuel injectors and spark plugs arrived this week as well. My original guess to why it would not start was the fuel injectors, so we will see soon if that holds true. Now just to wait for my gaskets and other items to come in for reinstall.


    Last edited by PerryJ; 09-29-2016, 08:22 PM.

    Comment


      #3
      Welcome to the community Perry! Slowly but surely you'll get it there. Good progress so far.
      '91 318i (Alpine) - daily
      '88 325ix (Zinno) - drive here and there!

      Comment


        #4
        Welcome aboard! Looks like a good project.

        COTM

        Comment


          #5
          Welcome! I'm in the middle of a 86 325es build myself. First project car since I was 15 (1970 Dodge Dart). Looking forward to seeing your progress.

          Sent from my XT1585 using Tapatalk

          Comment


            #6
            Update 3

            Gaskets on the way from FCP and a new door handle to replace the coat hanger internal door handle "mod" is on the way from ECS. Also the fuel injectors came in along with new NGK plugs. Hopefully this will get her running. If I get my FCP order by Friday we will find out this weekend!


            [url=https://flic.kr/p/KkcBJ5]
            Last edited by PerryJ; 09-29-2016, 08:21 PM.

            Comment


              #7
              update 4

              alright, valve cover and intake manifold are back on the engine after paint (Still need to sand the high parts to give the two tone finish). I also had a little bit of time this morning to refinish the mirrors. The car club I'm apart of has a sponsor, and they hooked me up with a trim restoring product for the mirrors. New gaskets also came in from FCP, and I'm expecting a few parts from ECS this weekend as well, so I might do a second update this weekend.

              Also fun note, sharpie permanent marker doesn't stick to ducttape so now I need to figure out which injector cable went to which injector :)

              Thanks to everyone that is following!

              [url=https://flic.kr/p/JVVtX7]
              [url=https://flic.kr/p/JVVufG]
              [url=https://flic.kr/p/KrmBzy]
              Last edited by PerryJ; 09-29-2016, 08:21 PM.

              Comment


                #8
                Looks nice man. What is the name of the trim resto stuff?

                Sent from my XT1585 using Tapatalk

                Comment


                  #9
                  Trim resto

                  Originally posted by BFT_Boyle View Post
                  Looks nice man. What is the name of the trim resto stuff?

                  Sent from my XT1585 using Tapatalk
                  Hey XT1585, the trim resto stuff is by CroftGate USA, and is called Rejuvenator. Warning ahead of time, it takes a very very very small amount of the product to do the mirrors. I think I used about a quarter size from for both mirrors, so one bottle could probably do 50 cars (not exaggerating). I think both mirrors took me about 2 minutes total, just dab it on a microfiber and rub in well.

                  Comment


                    #10
                    Update 5

                    Okay, its been a few weeks since my last update. After a little bit of help from a few gearhead friends, including the forum's fresh_TD, it runs! Thank god, I got a little worried whether or not it was ever going to run again for a week or so there. However, a set of fuel injectors, new spark plugs, a battery, and a little bit of starter fluid and it cranked.
                    Up next, timing belt tune up kit. The parts came in from ECS Tuning today, and hopefully I will find time to have them in this weekend.


                    O, and it's amazing what a difference a nice camera makes. I think I'll take the update photos with my nice camera, rather than my phone camera, from now on.

                    Last edited by PerryJ; 09-29-2016, 08:20 PM.

                    Comment


                      #11
                      Nice, post some pictures of the door handles and the engine bay with the lettering sanded! I always loved that look, how hard was it to remove the intake? about to do mine this weekend.
                      sigpic1990 325IS,
                      2.7L bottom end, Shrick 272 Cam, and a heck of a lot of bald tires.

                      Comment


                        #12
                        Excellent start.

                        I love seeing old, dirty E30s get a makeover!
                        My previous build (currently E30-less)
                        http://www.r3vlimited.com/board/showthread.php?t=170390

                        A 2016 Toyota Tacoma TRD 4x4 Offroad in Inferno is my newest obsession

                        Comment


                          #13
                          Intake Removal.

                          Originally posted by Dirty_30_IS View Post
                          Nice, post some pictures of the door handles and the engine bay with the lettering sanded! I always loved that look, how hard was it to remove the intake? about to do mine this weekend.
                          The intake isn't too bad if you have the right tools and a little bit of patience. The first time I did it, I took about two hours to take it off. Since then I have taken it off twice and I can now take it off and put it back on in probably 30 minutes. Take your time, and you'll be fine.

                          Comment


                            #14
                            Update 6

                            Another month has passed, and I'm not sure I'm closer to being done... I managed to change the thermostat and its housing, change the water pump, change the timing belt and its tensioner, and bring the timing belt cover to a shine.
                            Unfortunately I am also going to have to change the head gasket now...o and the head. Something went wrong with my timing belt change and I bent the valves on start. No loud noises were made, and nothing sounded crazy; I'm also almost certain that my timing marks were lined up exactly. The best guess at this point is that the timing belt wasn't tight enough, and the belt skipped at startup.

                            Regardless, here are a few photos of the negative progress being made.


                            o, I've also decided to put a little bit of my creative side to use and 3D print some parts for the car. I won't say what they are, but I'll let you guess and I'll post a picture of them on the car when it's all back together.
                            Last edited by PerryJ; 09-29-2016, 08:25 PM.

                            Comment


                              #15
                              Looking good man, you'll enjoy it that much more knowing everything is done properly :)

                              Ignition lead organizers?

                              Comment

                              Working...
                              X