-
Oh man, I'm stoked to see what she'll look like when she's all assembled and painted. Awesome beginning to this thread. -
-
call me crazy, but i kind of want those 3 spokes. too bad I'm super far awayLeave a comment:
-
Thank you!
And as of now i didn't add any body filler to it yet its just bare plastic where i welded it . But for the plastic body fillers i use a flexible filler designed for plastic. Really awesome filler never had any problems. I can get you more details about it if needed. But back to the welding, I simply cut the bumper straight and measured off perfectly and just used a soidering iron with a flat tip and just went away. Added metal paperclips melted inside the plastic to reinforce where its cut. Works really well.Leave a comment:
-
Yea i did think about that. And I did do an m50 swap before on my first e30 and ill be honest it wasnt worth the amount of work and money if you already have an m20. Might as well do s50/s52 But picking up the plastic bumpered car already had awesome running m20 in it. Possibly will be boosting but for now its not gonna happen right now but we will see what the future holds for it. My main motives for this car is to make it a clean daily and the stock motor is just fine for me. Thanks for your imput!Leave a comment:
-
-
Nice work! The color you picked is stunning.
Tell me more about the plastic welding. What filler material did you find to be successful with the late style bumpers?Leave a comment:
-
Looks awesome so far! Great progress. I'm so glad I don't have a space like that, or I would buy parts cars as frequently as you do.
One thing: You're going through all of this work to make the car look incredible, but you're just putting a stock M20 back in it? I feel like it doesn't do the rest justice. You could do an M52 for cheap..... or something along those lines? Maybe? Sell one of those e30 parts cars for a 328 parts car and go to town.Leave a comment:
-
Alright the most exciting thing about this build so far is this! I got the engine bay all sanded and prepped and ready for paint. Finally!
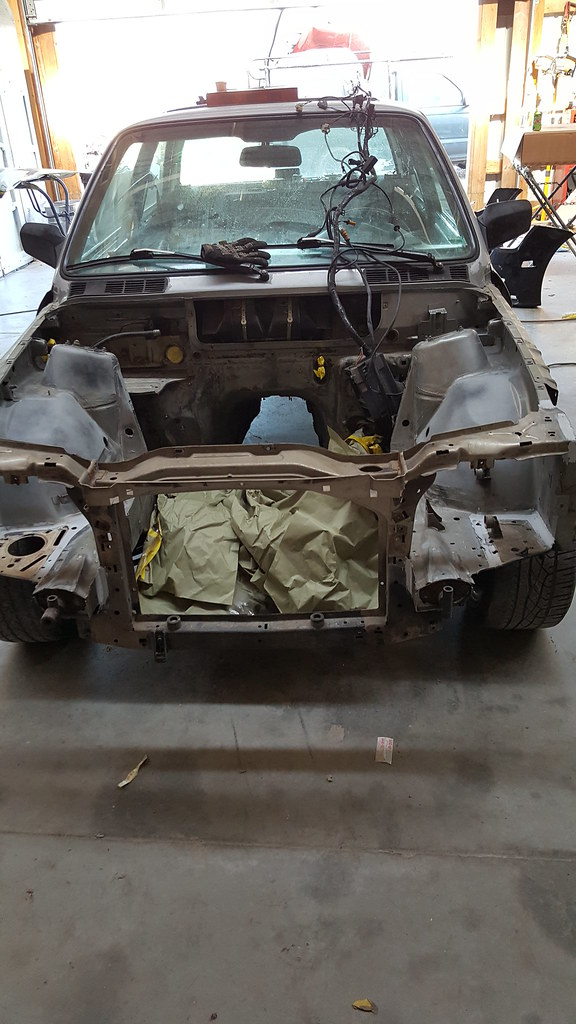 20170304_122354 by Daniel Pak, on Flickr
Started masking up the engine bay
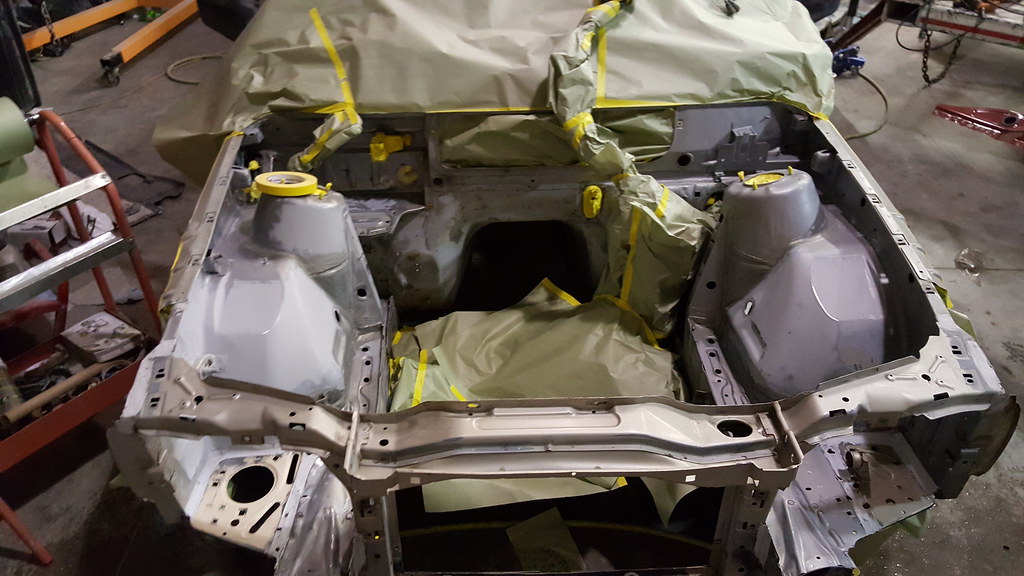 20170306_205724 by Daniel Pak, on Flickr
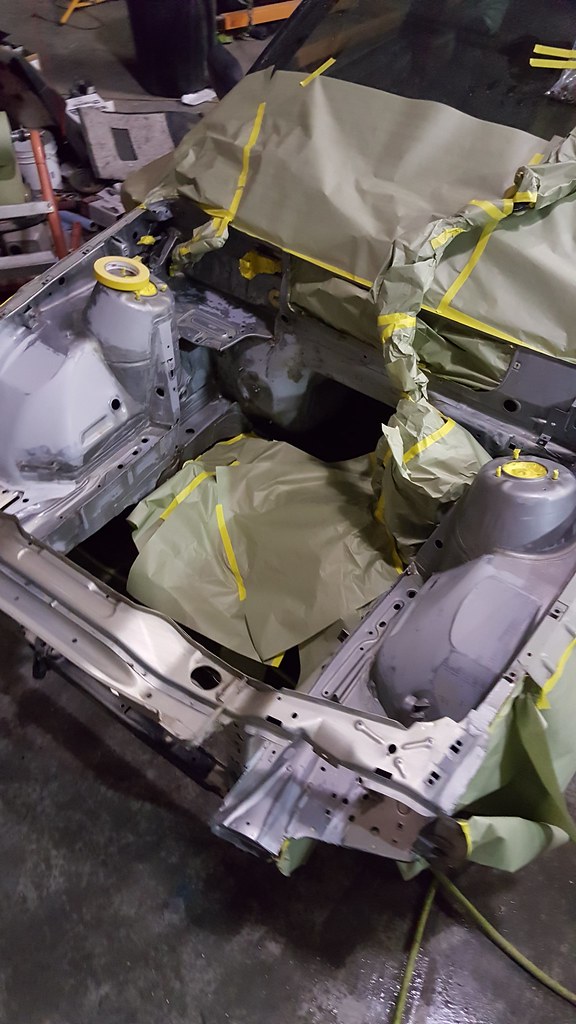 20170306_205730 by Daniel Pak, on Flickr
Rolled the car in the paint booth
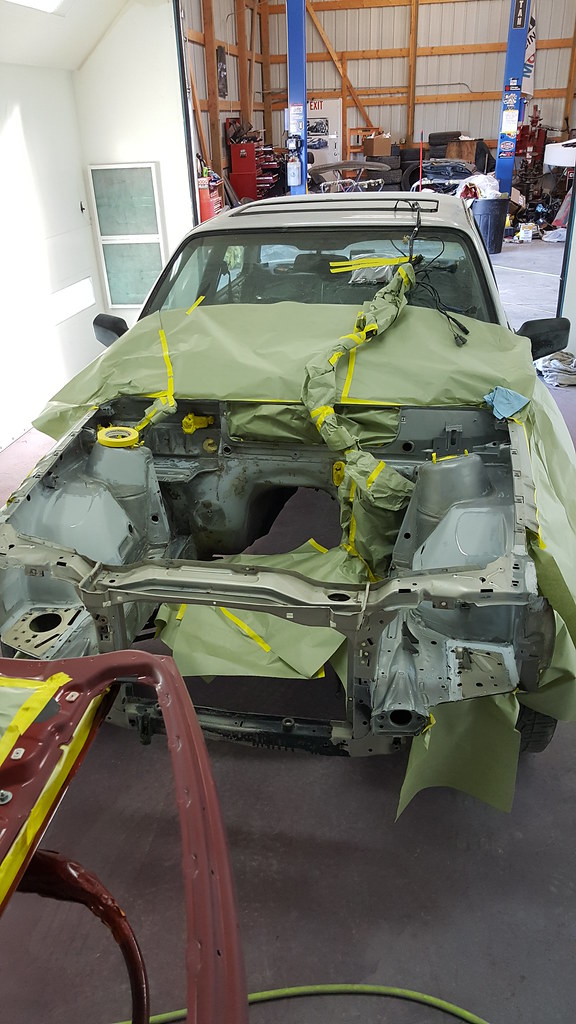 20170307_100637 by Daniel Pak, on Flickr
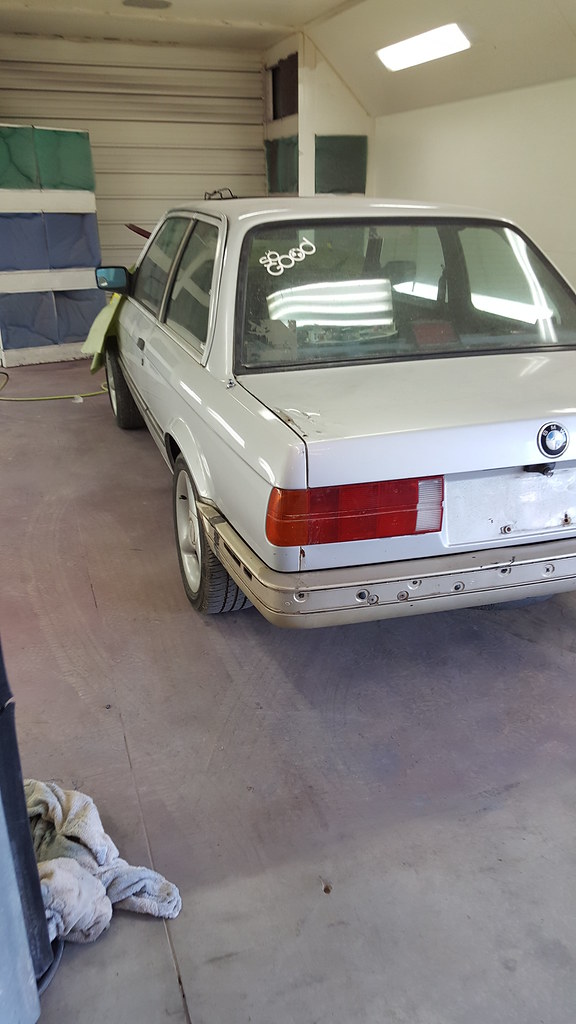 20170307_101314 by Daniel Pak, on Flickr
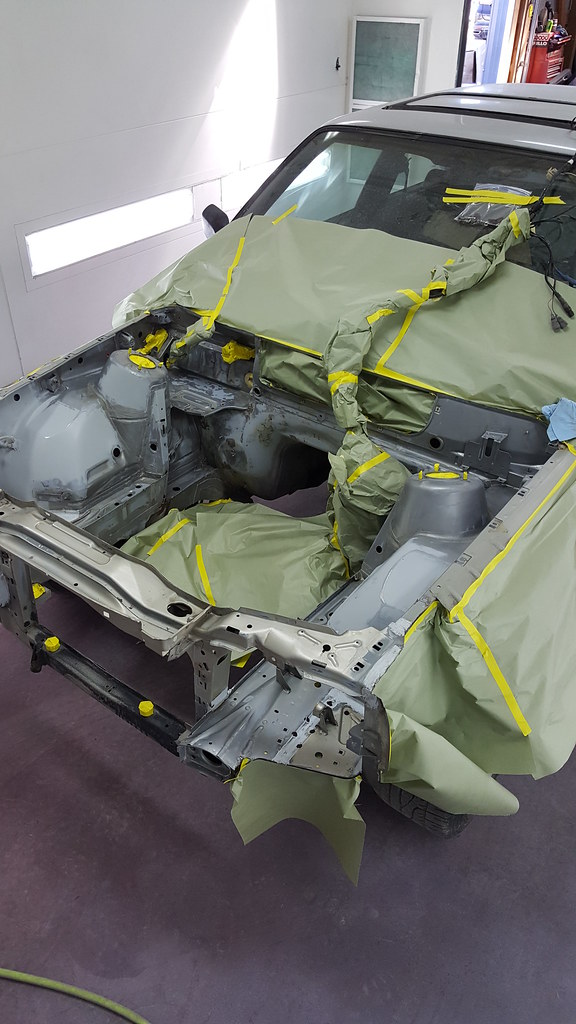 20170307_101323 by Daniel Pak, on Flickr
Aaaaaand here we go.. My brother shot sealer as the first coat and then base coat right after.
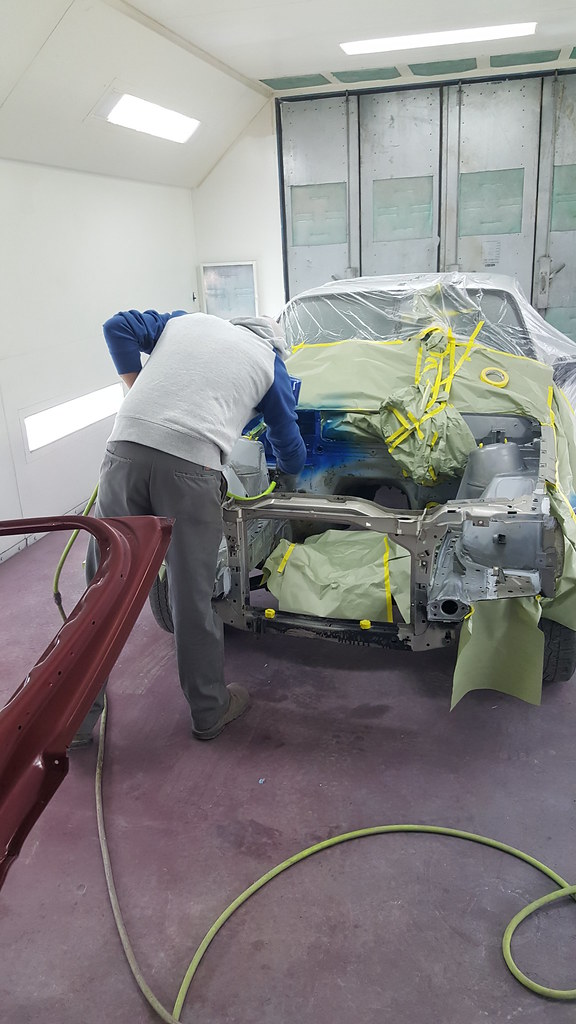 20170307_104848 by Daniel Pak, on Flickr
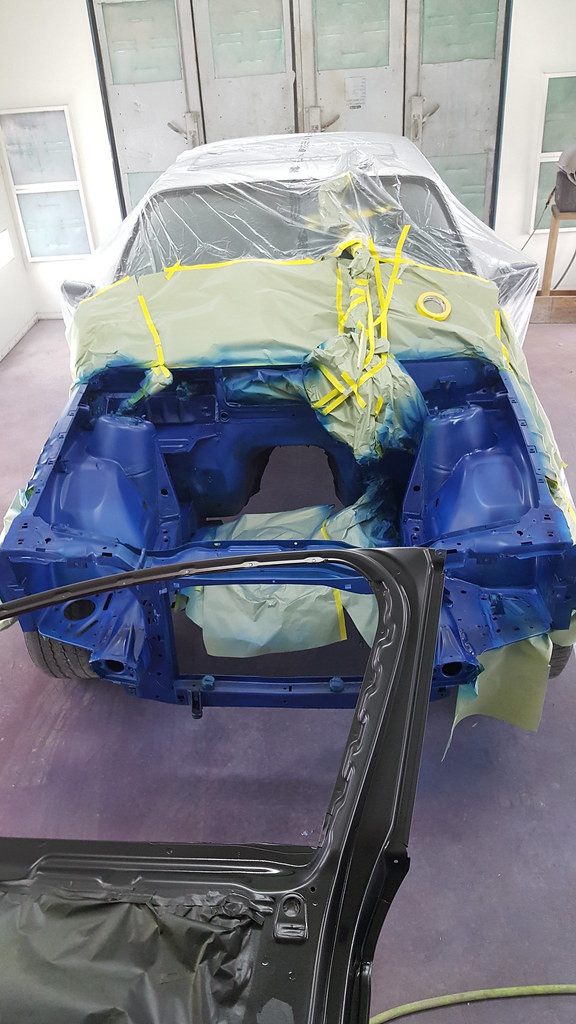 20170307_110426 by Daniel Pak, on Flickr
There is the first coat laid down nicely.
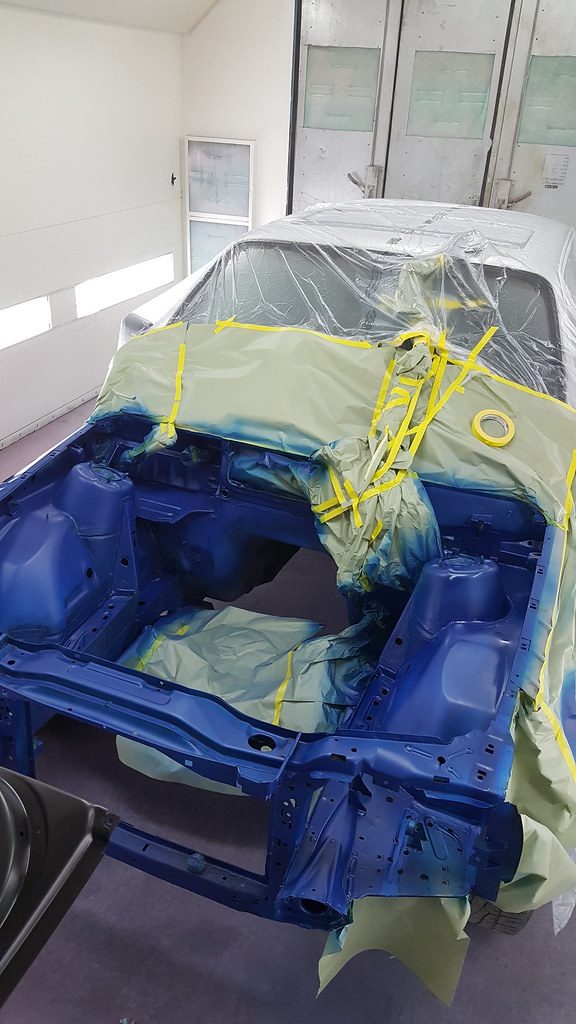 20170307_110431 by Daniel Pak, on Flickr
And here is the finished product! Color came out much much better than i had expected!
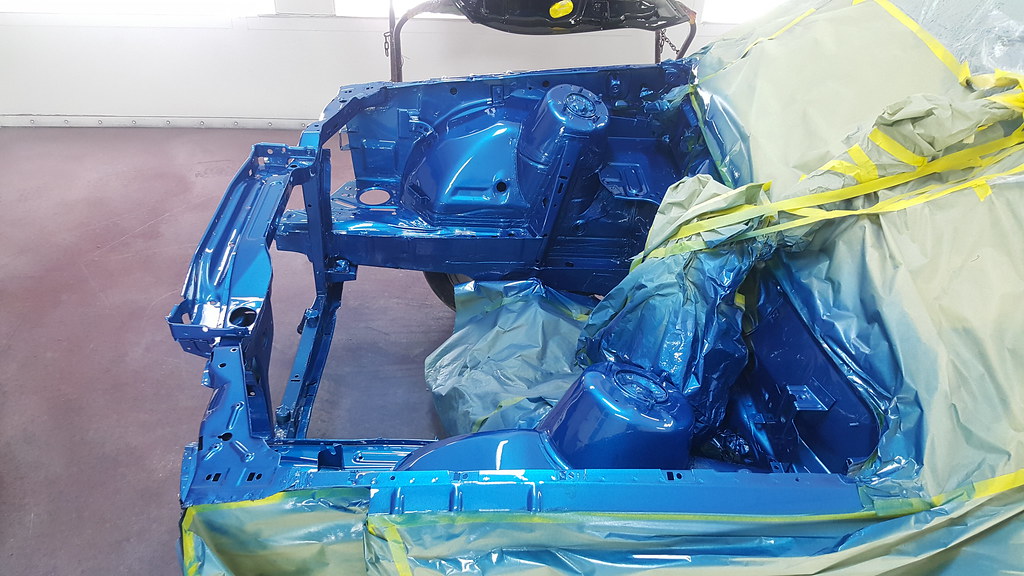 20170307_154049 by Daniel Pak, on Flickr
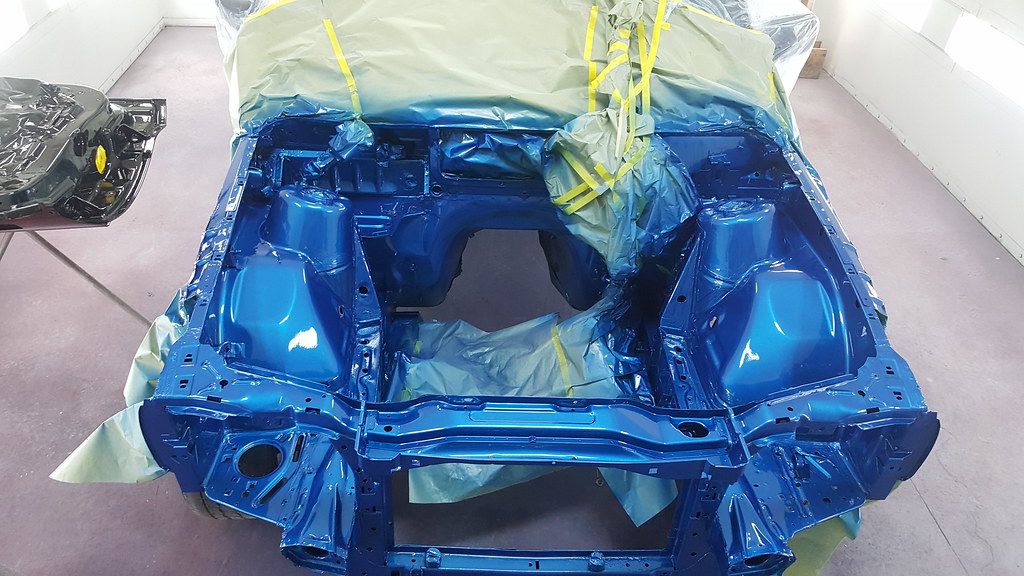 20170307_154055 by Daniel Pak, on Flickr
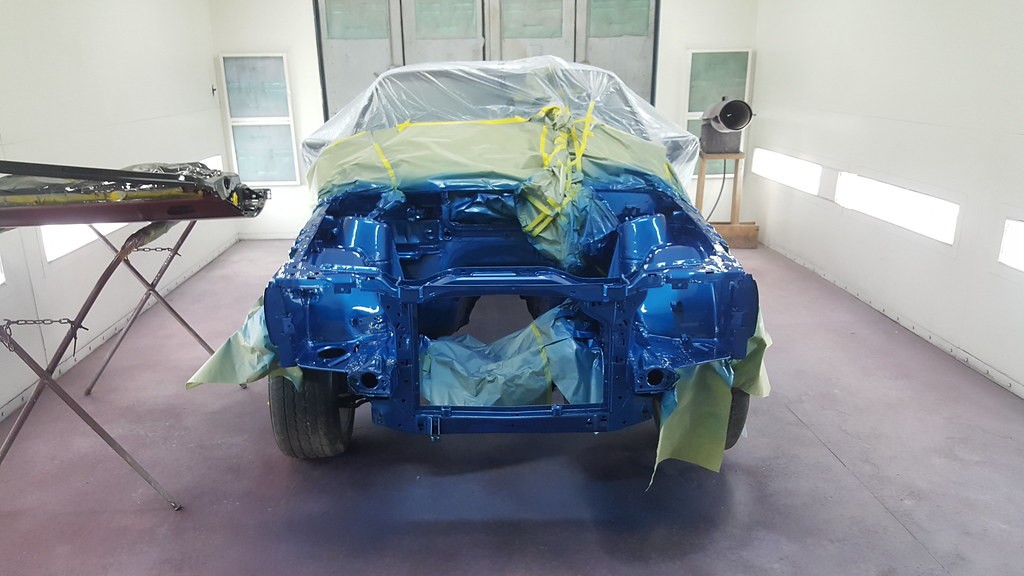 20170307_154125 by Daniel Pak, on Flickr
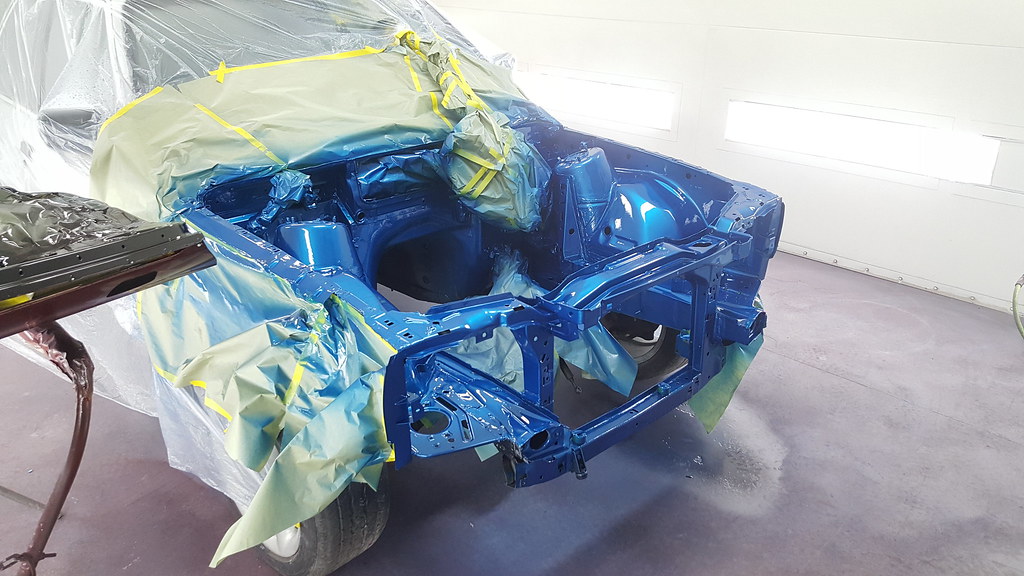 20170307_154131 by Daniel Pak, on Flickr
So the engine bay is all done. My next plan so far is to start reassembly of the bay and start pulling the motor from the donor e30 and refreshing the engine! Can't wait! Stay tuned for more updates R3v!Last edited by danielpak_ek9; 03-25-2018, 01:07 PM.Leave a comment:
-
So far progress is realllllllllllllllllllllly slow. not much has been done for some time but i finished welding in the radiator support and the corner piece where the ac dryer sits.
Seam sealed the welded parts in and time to apply filler in all necessary spots. While i was doing that i thought about shaving some of the brackets off that i wasnt going to use since im already in here messing with the engine bay.
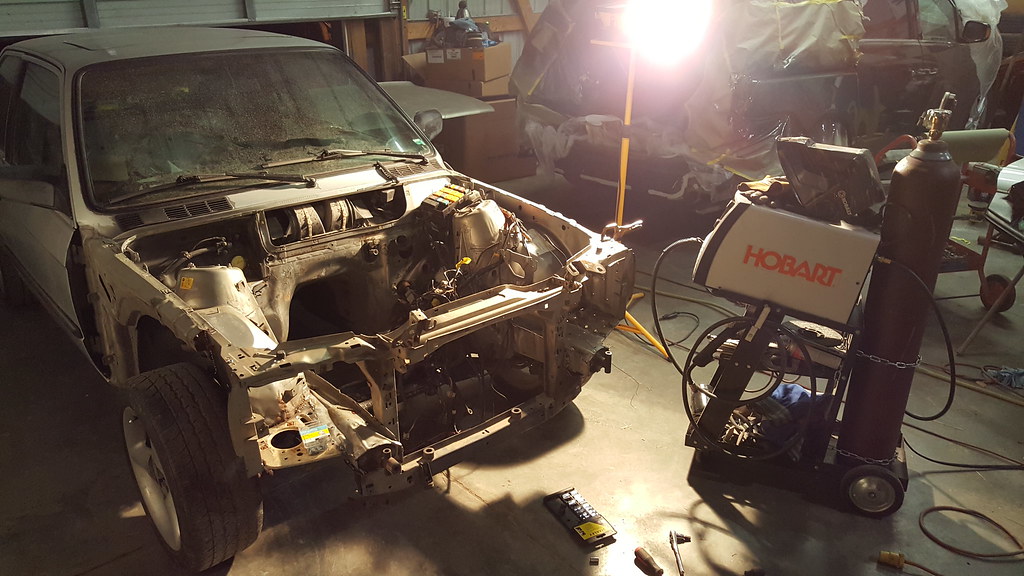 20170228_200615 by Daniel Pak, on Flickr
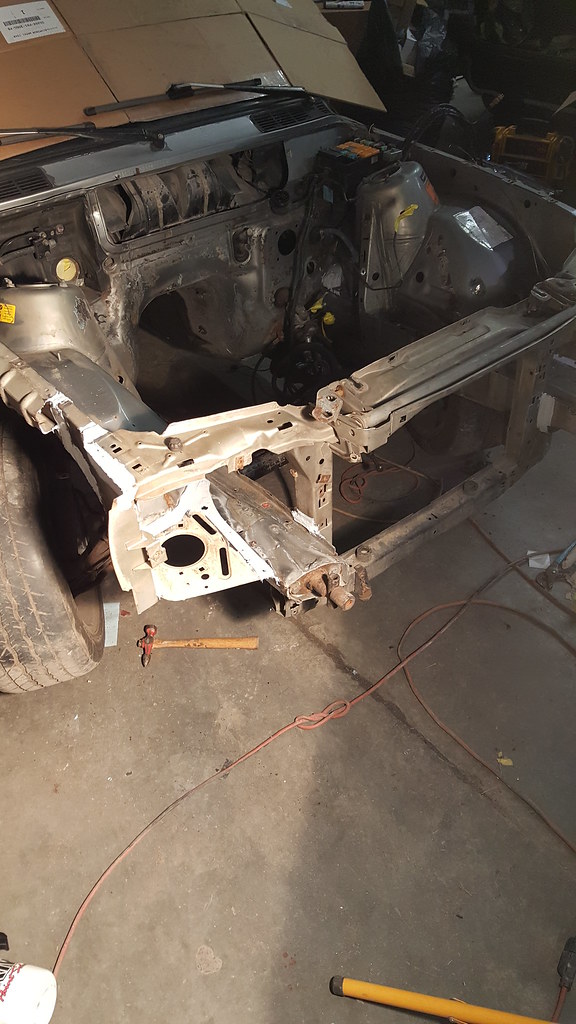 20170301_202826 by Daniel Pak, on Flickr
Filler Applied and seam sealer all nice and dry.
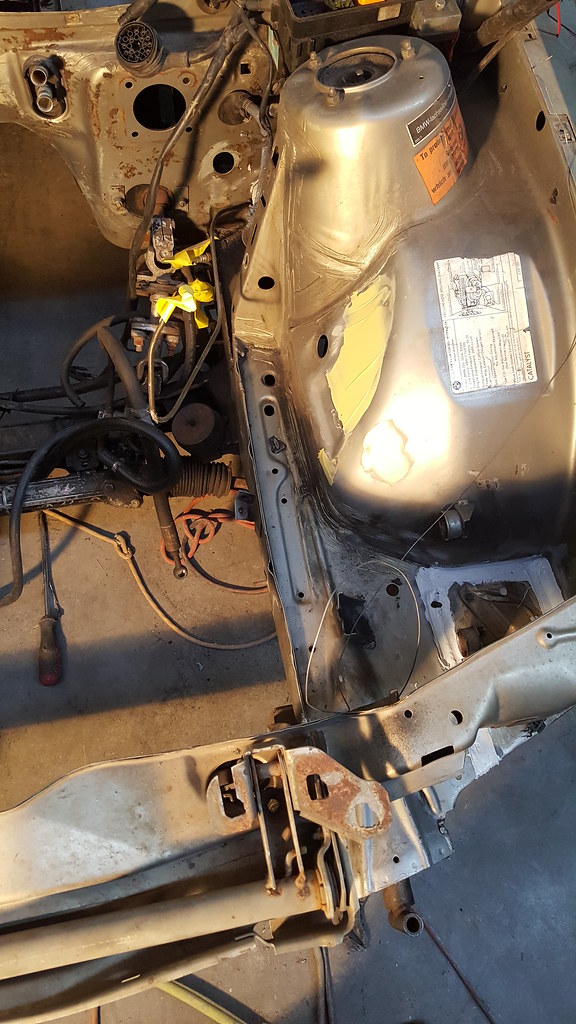 20170302_094410 by Daniel Pak, on Flickr
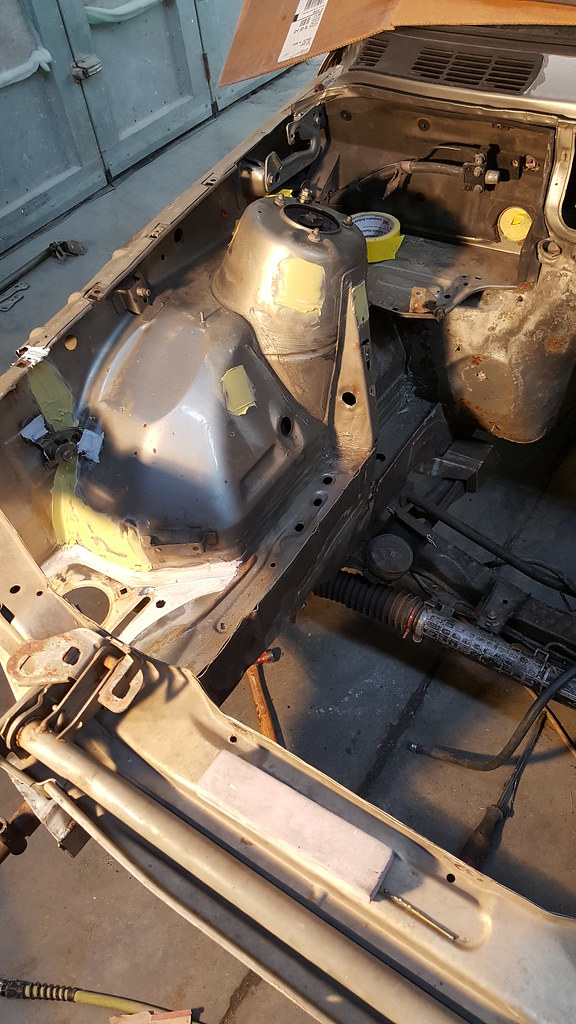 20170302_094414 by Daniel Pak, on Flickr
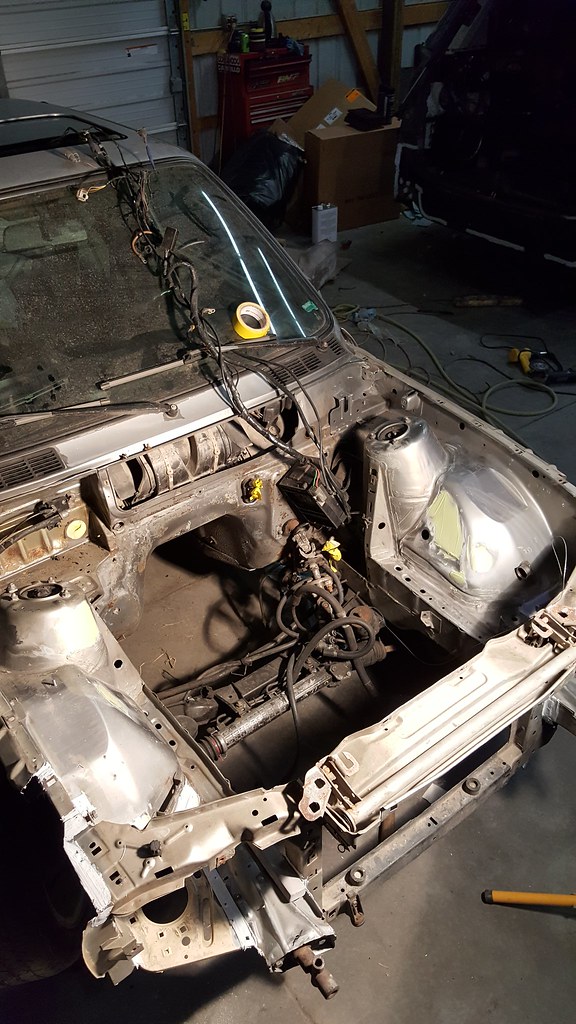 20170302_212714 by Daniel Pak, on Flickr
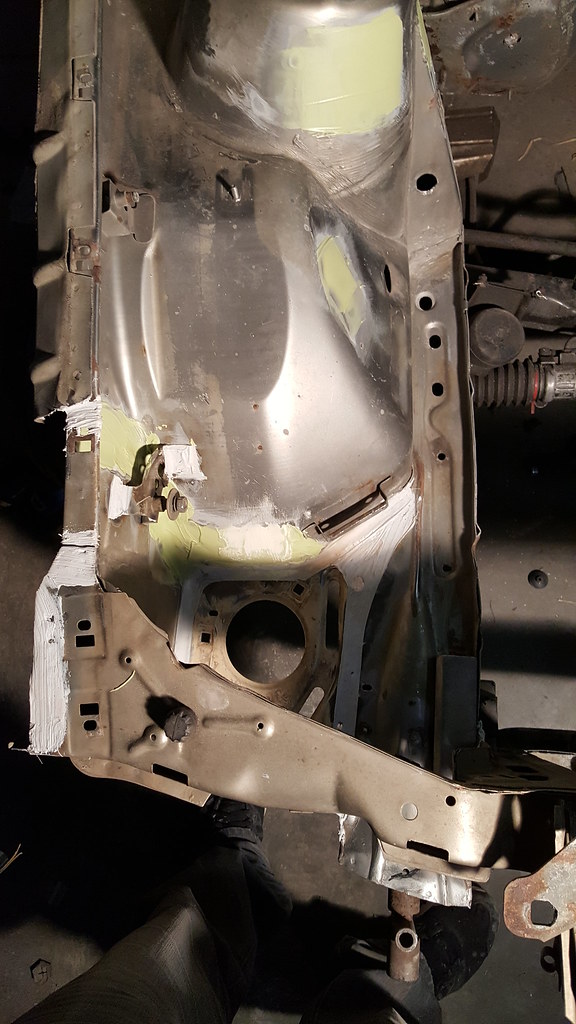 20170302_212719 by Daniel Pak, on Flickr
Sanded down smooth
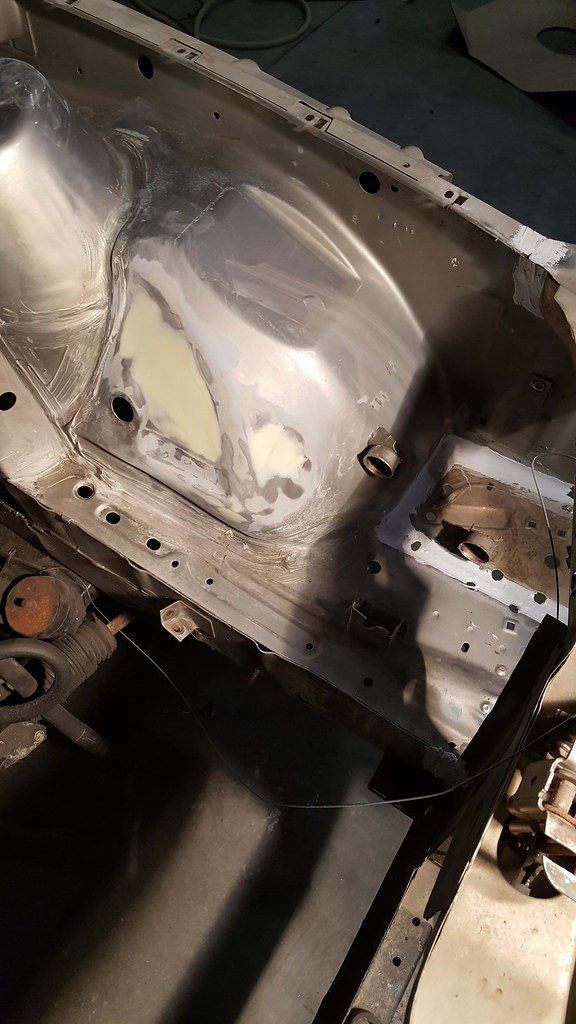 20170302_221445 by Daniel Pak, on Flickr
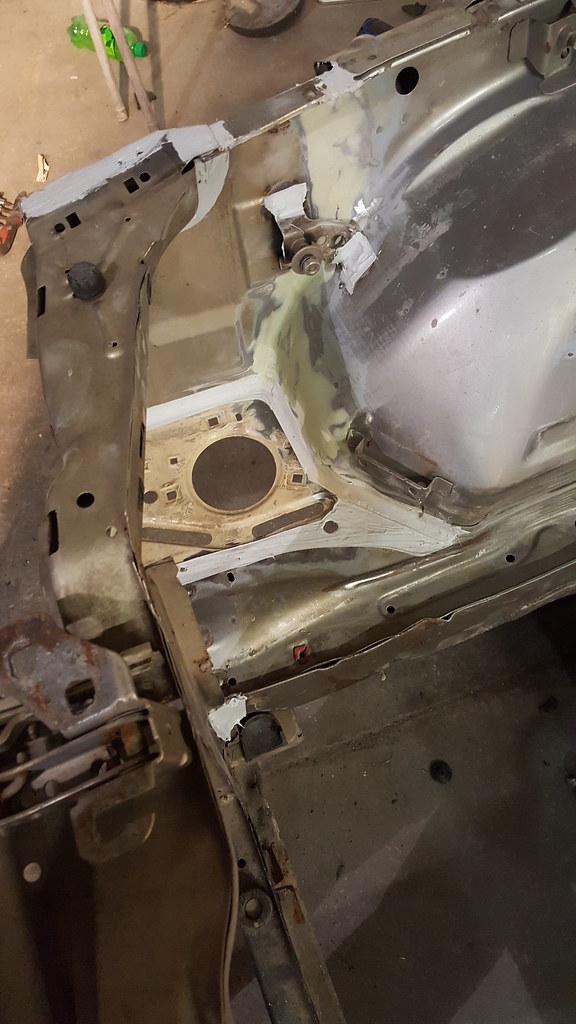 20170302_221448 by Daniel Pak, on Flickr
I have all the filler all sealed up and primerd
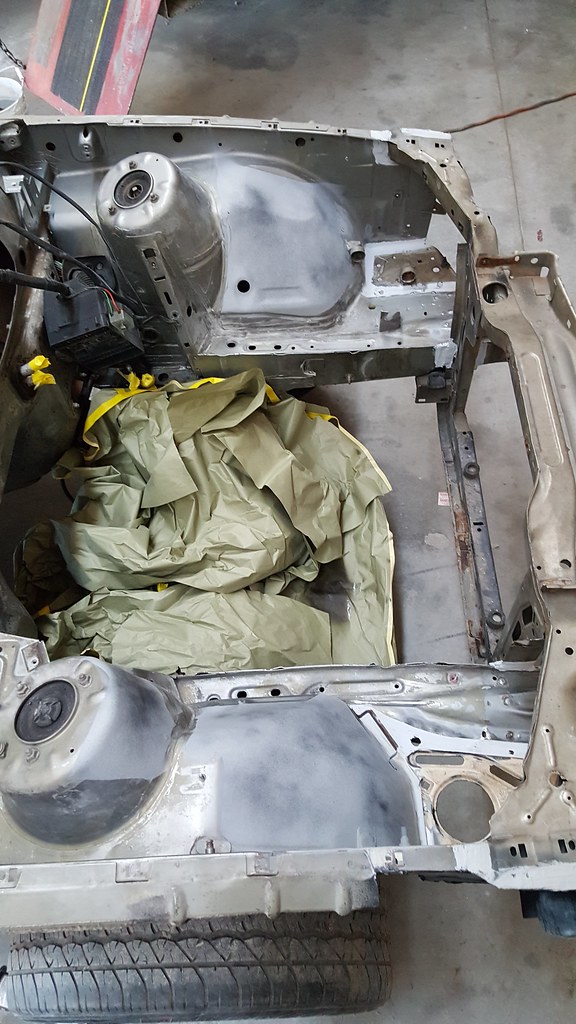 20170304_122347 by Daniel Pak, on Flickr
Started to undercoat the insides of the welded in radiator support.
wire brushed down and cleaned up nicely
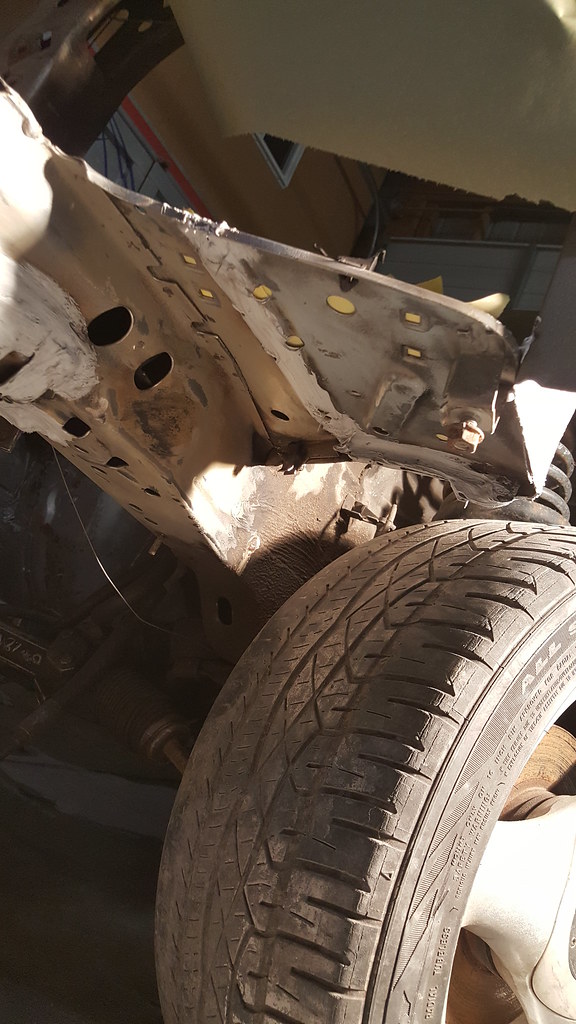 20170302_230553 by Daniel Pak, on Flickr
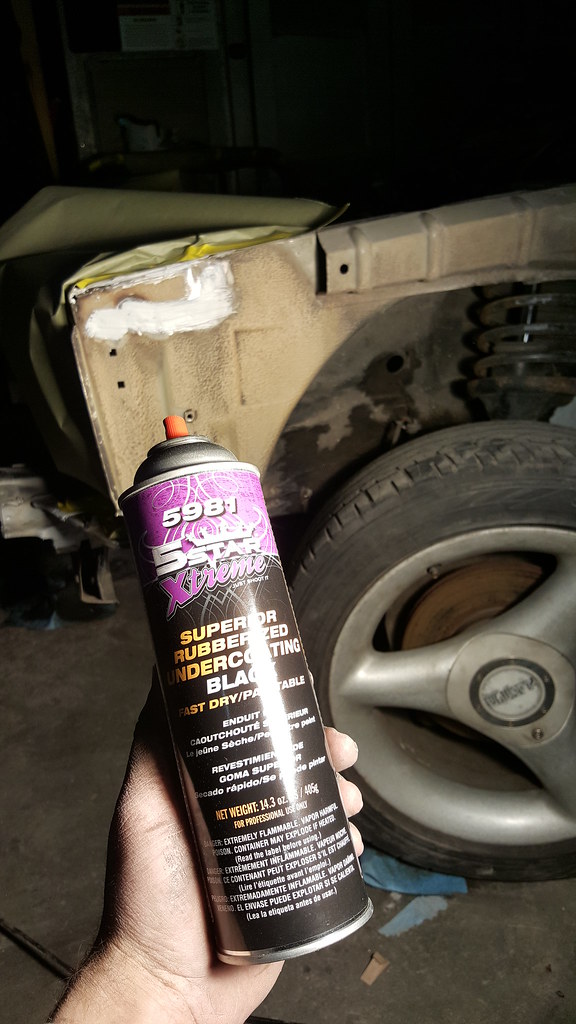 20170302_230546 by Daniel Pak, on Flickr
Annnd i forgot to get the pics of the finished undercoating but will later. Thats all for the update for now. Next thing i need to tackle is painting the bay Asap! will keeep you all updated.Last edited by danielpak_ek9; 03-25-2018, 01:02 PM.Leave a comment:
-
picked me up some style 5s
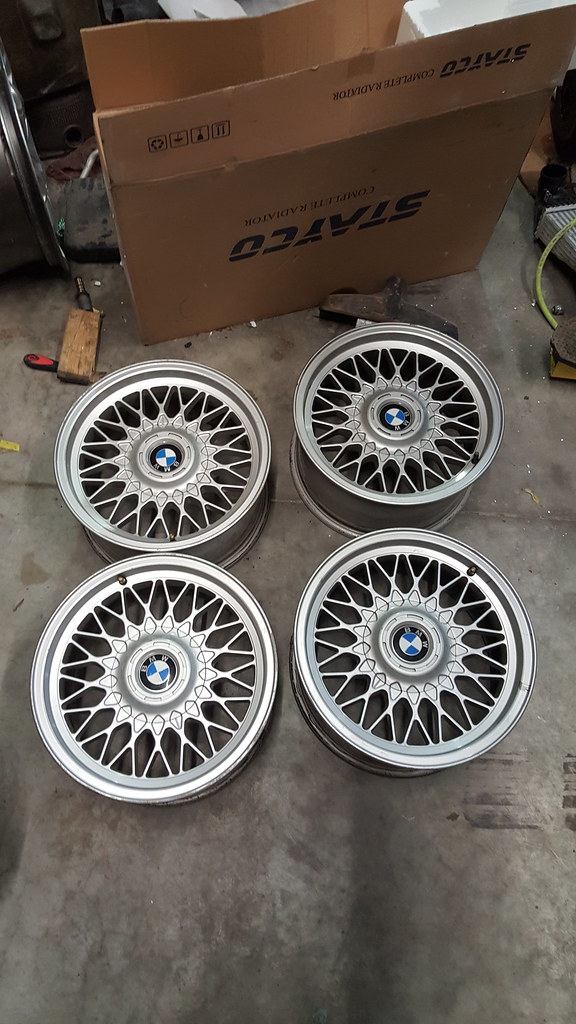 20170222_210211 by Daniel Pak, on Flickr
I will pay someone to take these 3spoked wheels out of my sight!
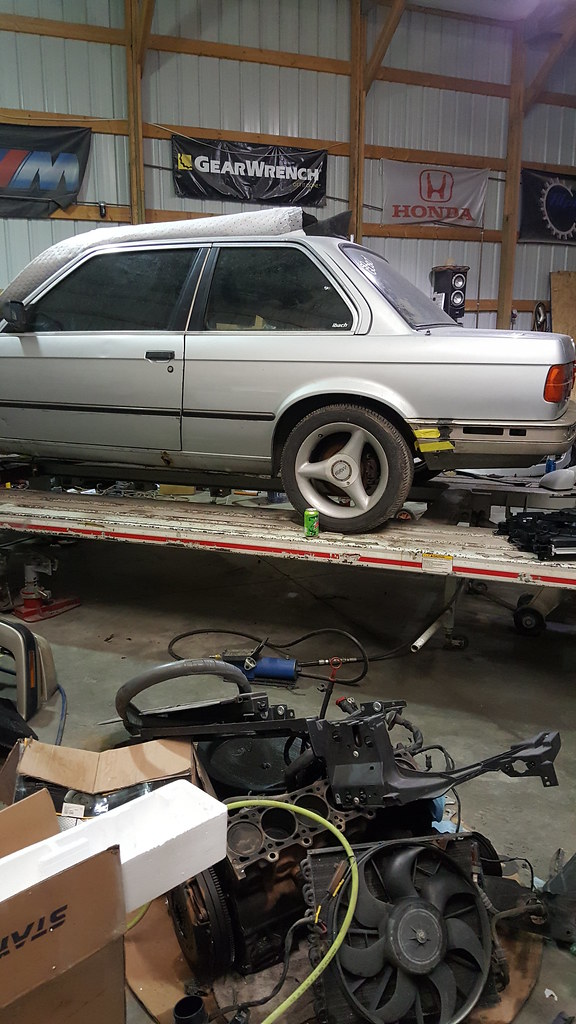 20170222_210220 by Daniel Pak, on Flickr
Just a test fit on 1 Lug. Jack is supporting the car dont worry. Dont try this home.
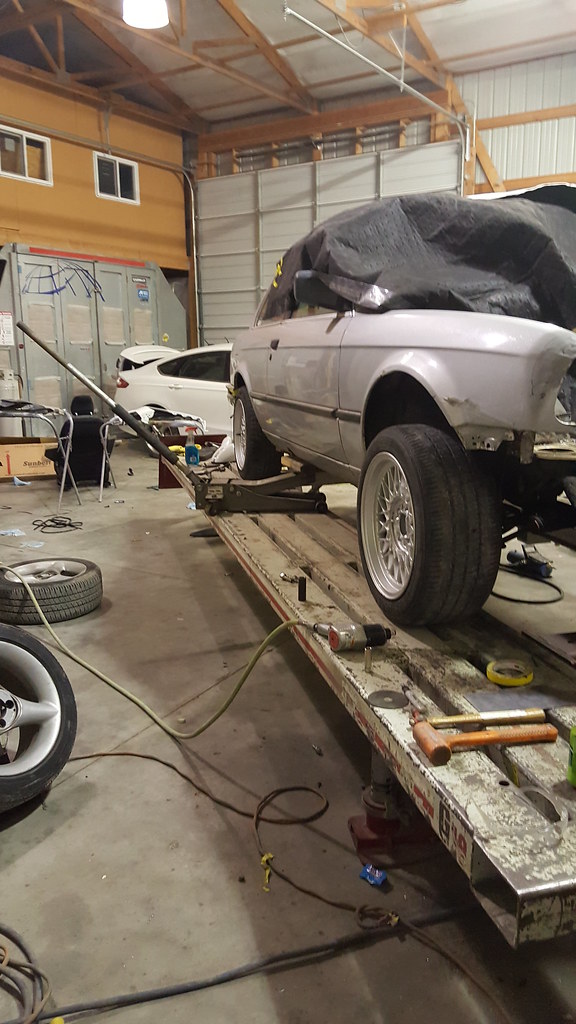 20170222_215037 by Daniel Pak, on Flickr
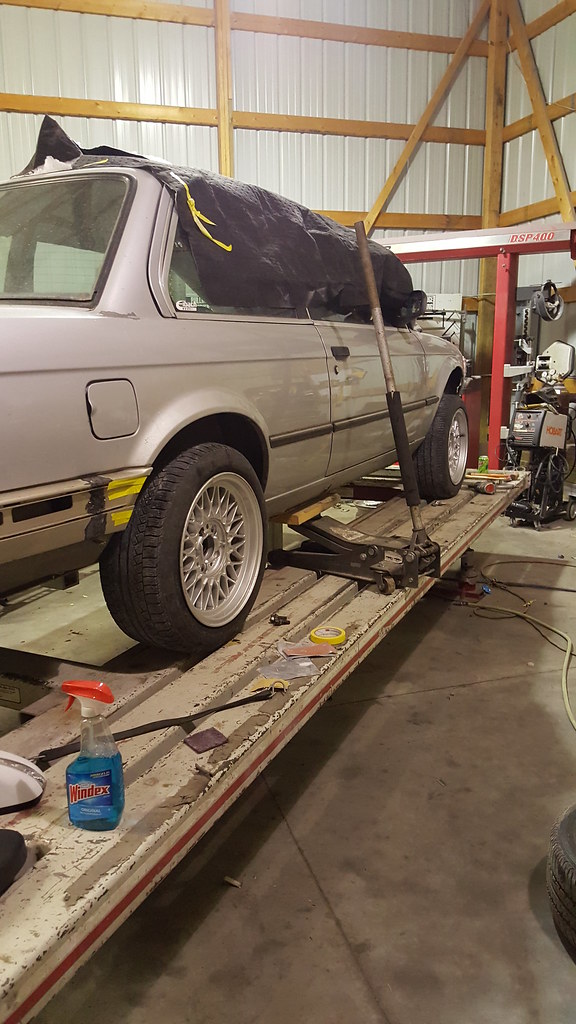 20170222_215859 by Daniel Pak, on Flickr
Really happy with the wheels and just overall where this project is going and just pumped to seeing this car done! Stay tuned for more updates!Last edited by danielpak_ek9; 03-25-2018, 12:52 PM.Leave a comment:
-
-
Not much of an update but just a pic of the seats ill be using.. Picked them up a long time ago before i got these cars. ill be redoing the drivers bolster.. ill leave the mtech centers the way they are for now until i can source that material. Anyone know were i can find it??
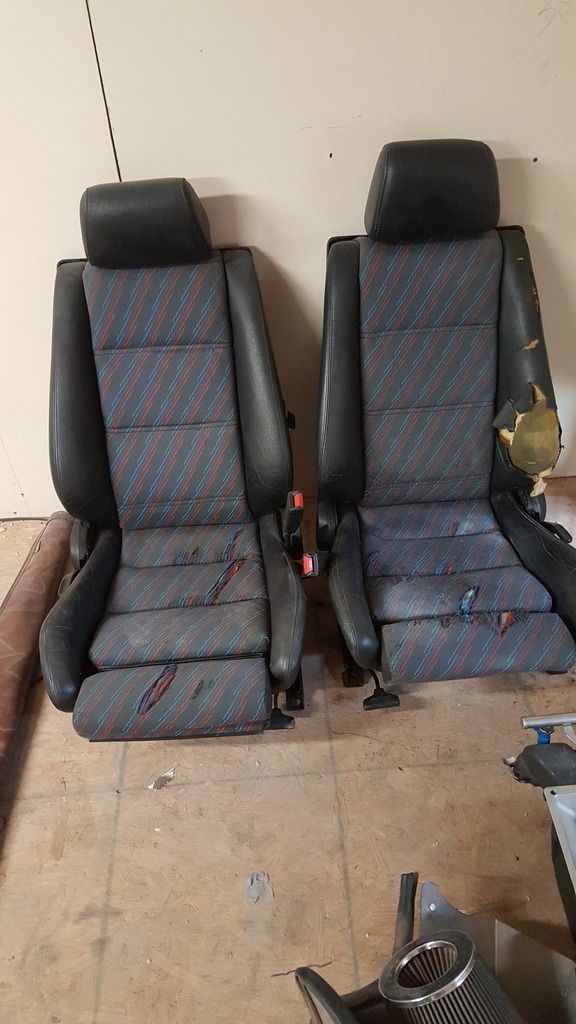
Leave a comment:





Leave a comment: