-
Wow I wish I could multiple quote...
Altstadthof: Thank you. I appreciate it.
NY2MYE30: I am glad you found it also. Thank you.
e30nub: Thank you.
Lukem23: Thanks again
Jamese30: Thank you. Anything I could do to help motivate anoyone is my pleasure. I have been motivated my many people on these boards for so long, that I am glad to do anything I could to help others out, and also learn a lot along the way.
I was not too big of a red on gold fan, but I wanted something different. Honestly I walked in the paint shop planing on buying gunmetal, but once I gotthere and I was looking through the colors, gold just stood out.
If once I get it on and done, I dont like it, I will paint them Gunmetal for sure.
I hope it looks good though, lol.Leave a comment:
-
looking good so far.
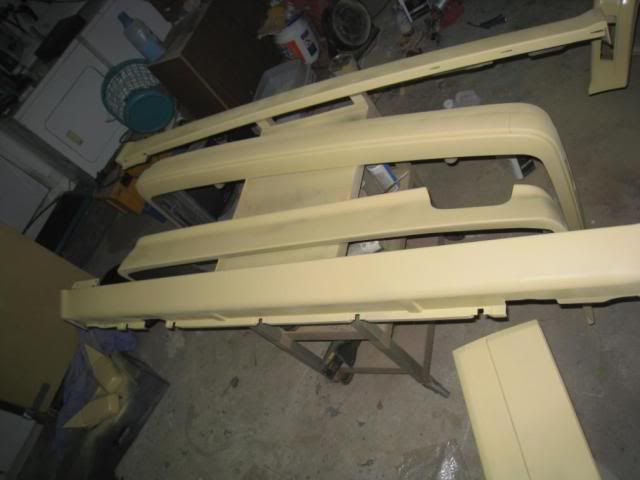
If you are insterested I have a replica back bumper.
just the upper piece..Leave a comment:
-
Just read this whole thread.
Great progress!! Keep up the good work, you've definitely motivated me along with plenty of others I'm sure, to keep up the DIY approach. Can't wait to see it all shiny on those new wheels.
Although I'm not a fan of red on gold (I was kind of hoping you'd go with gunmetal), I'm sure it will look awesome none the less!Leave a comment:
-
Im not sure how I missed 14 pages of a great build but im glad I found it. Im watching now!!!Leave a comment:
-
keep up the excellent work! bet its gonna like banging when its doneLeave a comment:
-
-
your going to spray another coat of primer on there before you spray your color.
its a urethane sealer. When you spray that you have about 5 days to spray your color before you have to sand the car back down to spray color.Leave a comment:
-
Here is a really small update. I am still waiting to weld in the rust in the trunk area so I could primer the car. It is just I have to take it to my friends house and the weather has been terrible. If all goes well tomorow I will weld it up and then primer it soon after.
I just smoothed out the peices I have primed since the last time.


Oh BTW is it fine for me to leave these little sections that got sanded down this way? Or should it be one uniform color of primer?
Leave a comment:
-
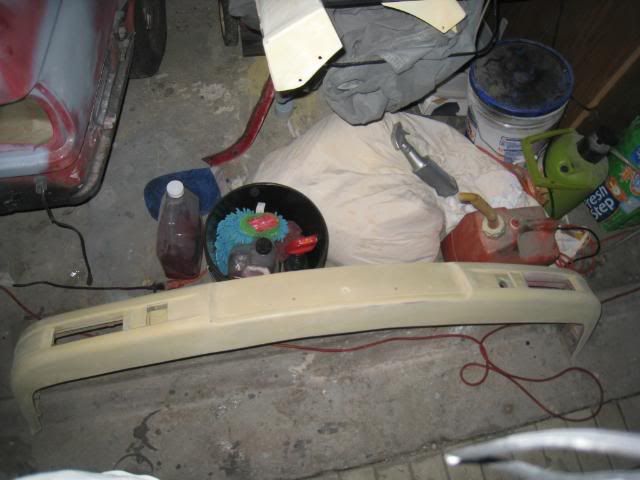
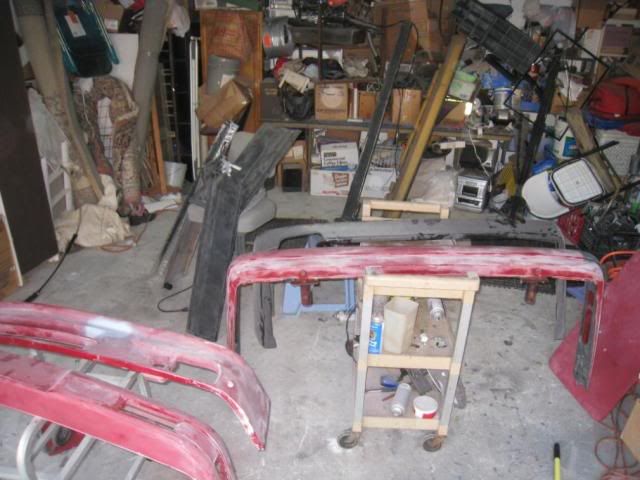
Well I got some work done today. I started to clean out my garage and havent seen it so clean in a while that I decided to start painting.
I am almost finished with the sunroof area
Lying down filler


It is almost done. It looks better in person and a lot more round. I am going to work on it more though.
Anything that has been touched by your skin make sure to clean it off first. You could use paint thinner, or reducer. I chose to use PPG cleaner.

I painted the small accesories on the car.
Painted

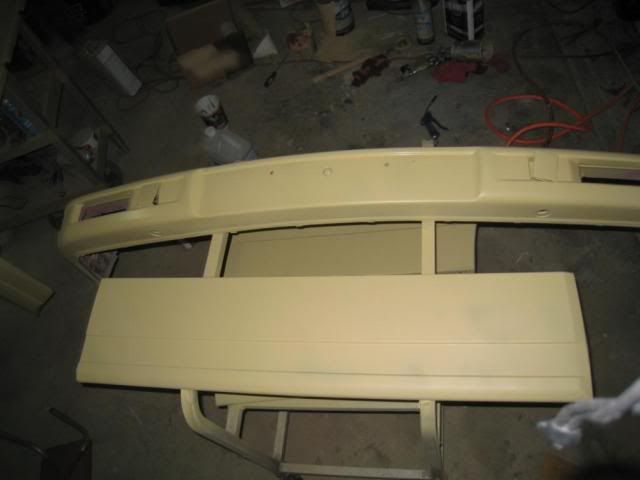

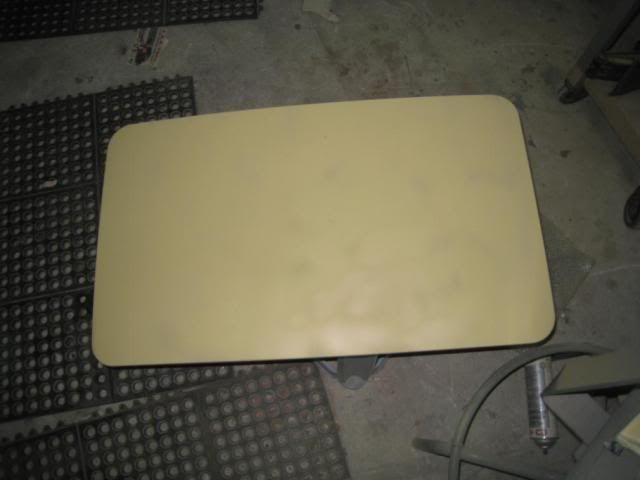

This was my first time painting with the primer. They came out pretty well. I am going to smooth them out and maybe touch them up when I do the car.
I have to now finish fixing the rust on the trunk area and start to tape up and cover up the car. I also have to start to make my make shift booth.
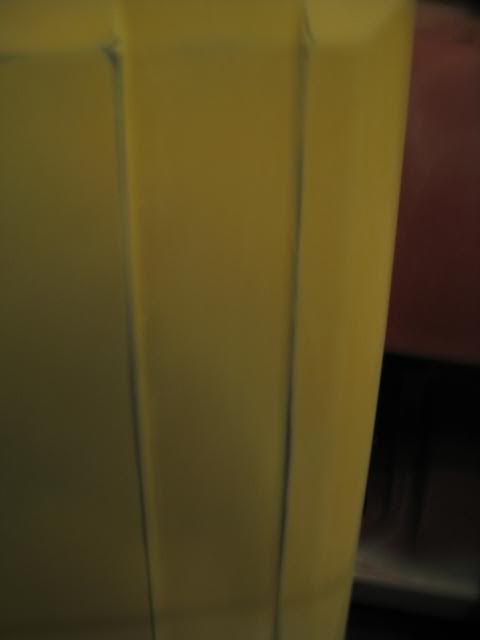
Just a warning to anyone who may try to attempt this. This stuff is extremly hazardus. I had my garage closed and the garage had a yellow cloud inside of it. When I was done the floor was filled with a yellow power due to the over spray. I had my mask on, but with out it, it is very hazarous and I would never reccomend anyone to attemt this with out a mask or safty equipment.
This is the back of the fan I am using. Note the yellow on the rear of it from overspray. I can not stress this enough. If you do not have proper safety equip this should never been attempted.

Remember all this work is for illustration purposes only, and I miss some steps with the pics. This should not be attempted by anyone but a professional, and all work is at your own risk. If anyone has any questions feel free to ask. ;)Last edited by motorsports_3; 08-20-2008, 11:57 PM.Leave a comment:
-
I started to smooth out the antenna hole
Finished the MT2 pod, I smoothed it out more after this pic
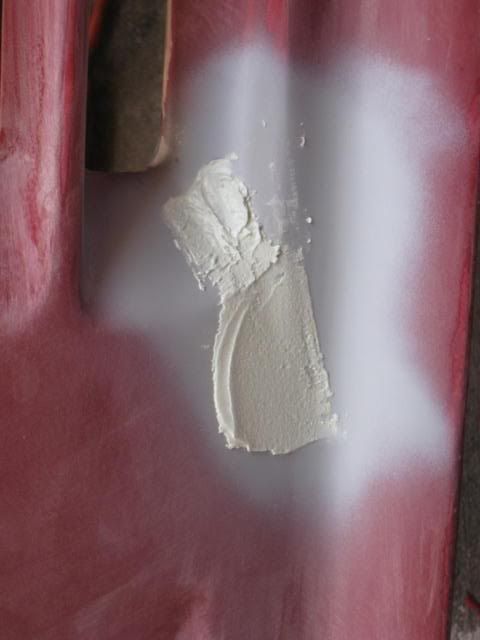
Working on the door

All nice
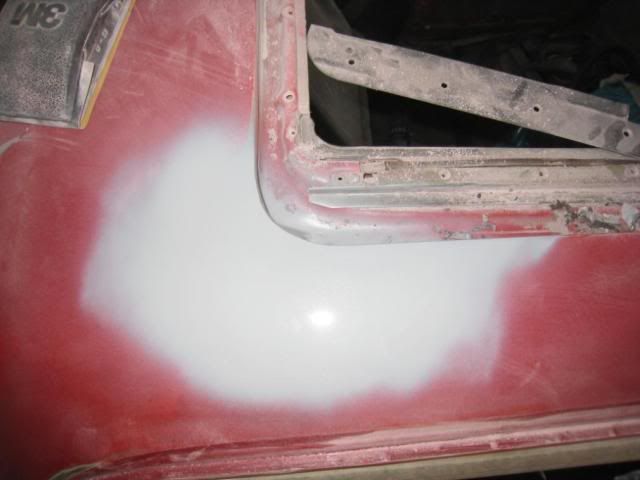
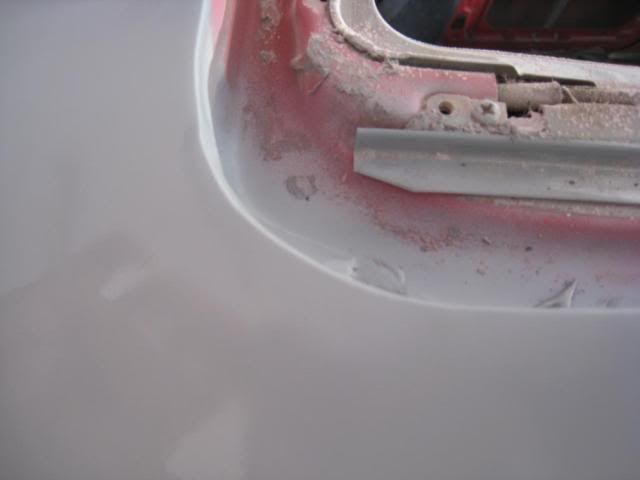
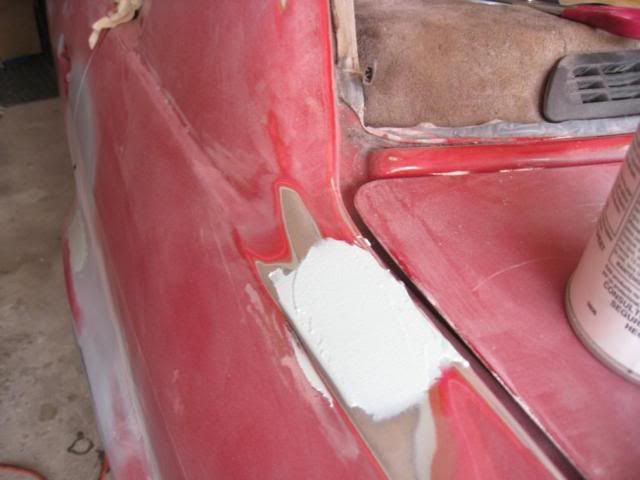
This was an area where the last paint was lifting

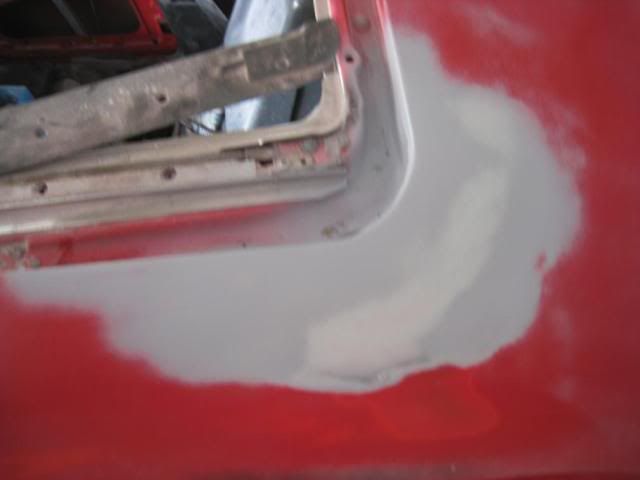
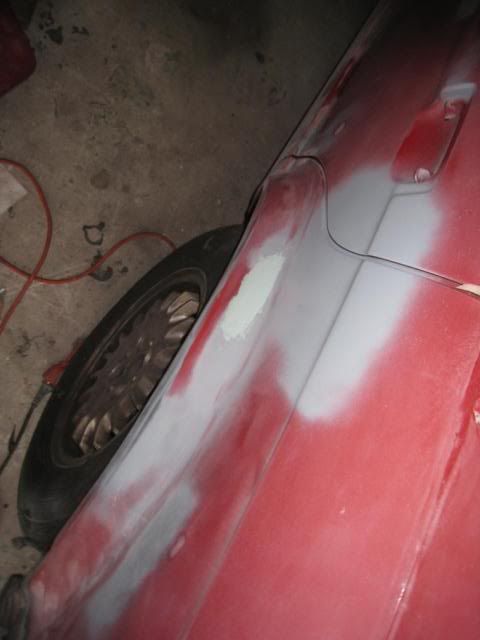
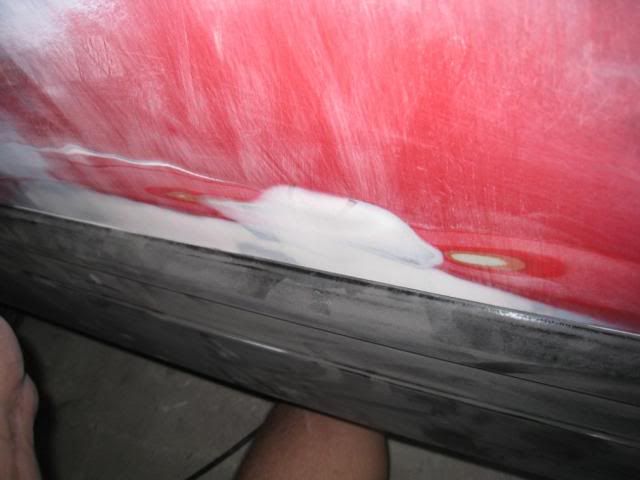
I sanded the lower half of the car


Finished the ding on drivers side rear 1/4 panel

Drivers side fender
Applied more filler to antenna
Door again

Testing the MT2 pod
No gap

Working on the front valence. I am not expecting this to be perfect, just better than before


Hood is done

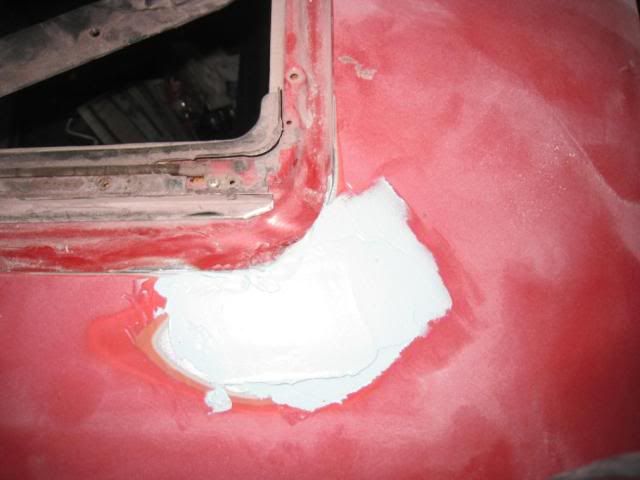
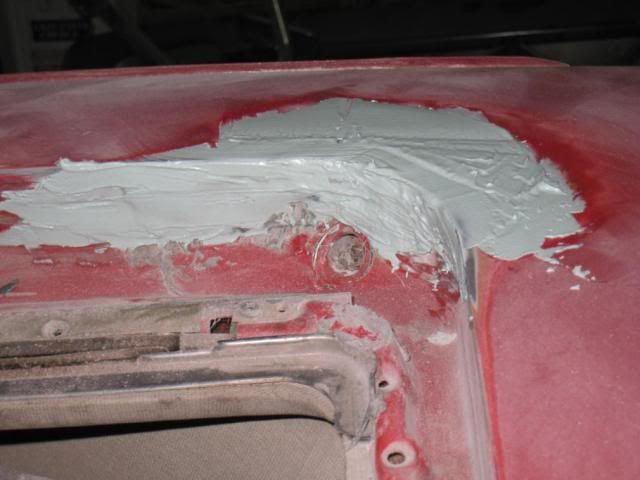
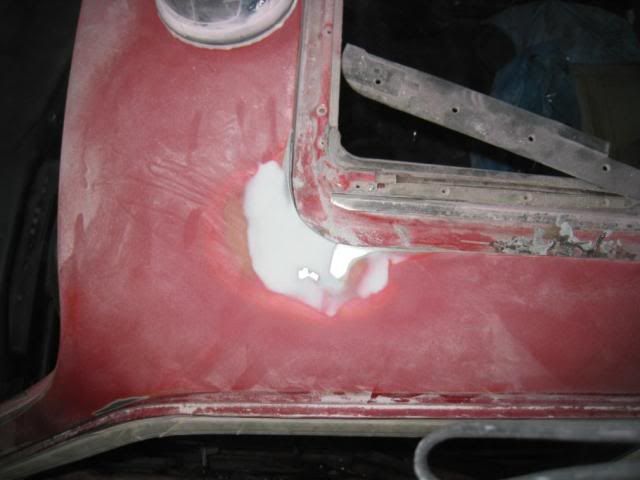
Roof rust

My camera went missing at this point, so I couldnt keep you guys updated. What I did was cut out the rusted areas. Put down some Bondo fiberglass putty, smoothed that out and I am working with the filler now.
Smoothed out


This side it looking better
And I put down more filler


Leave a comment:


Leave a comment: