My 2002's resurrection - 56k go die

Collapse
X
 
  • Time
  • Show
Clear All
new posts

  • Justin B
    replied
    Some more progress today, enough to take some pictures of-

    Decided to tear out all the wiring out today, it went a lot faster than I thought it would. Could be because there was barely more wires in the whole car than what I took out of my e30 when I removed the premium sound to redo it.
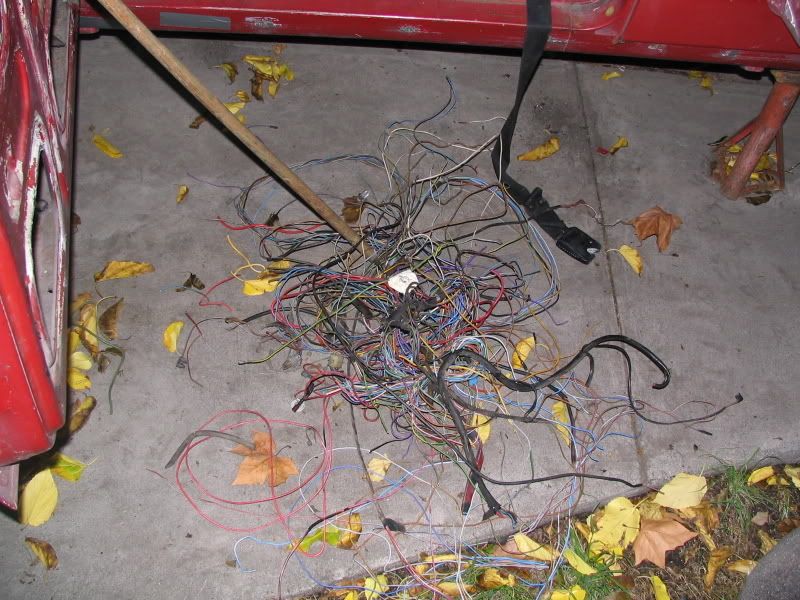
    Not much left, just a little left on a couple of switches-
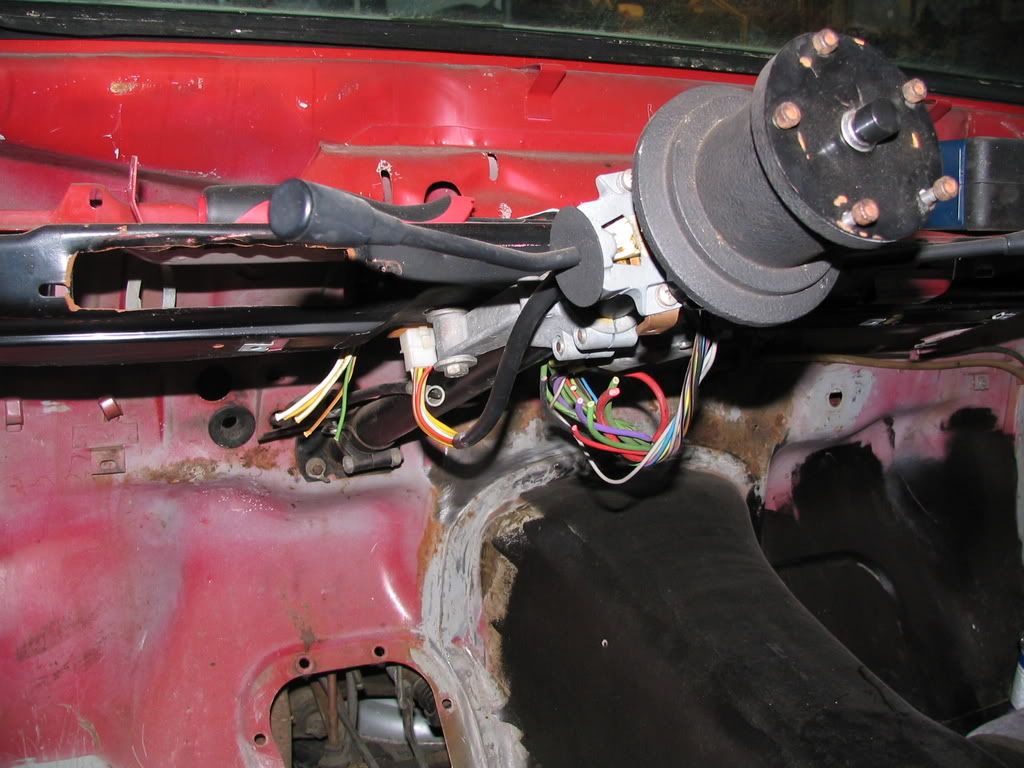

    The trailer-
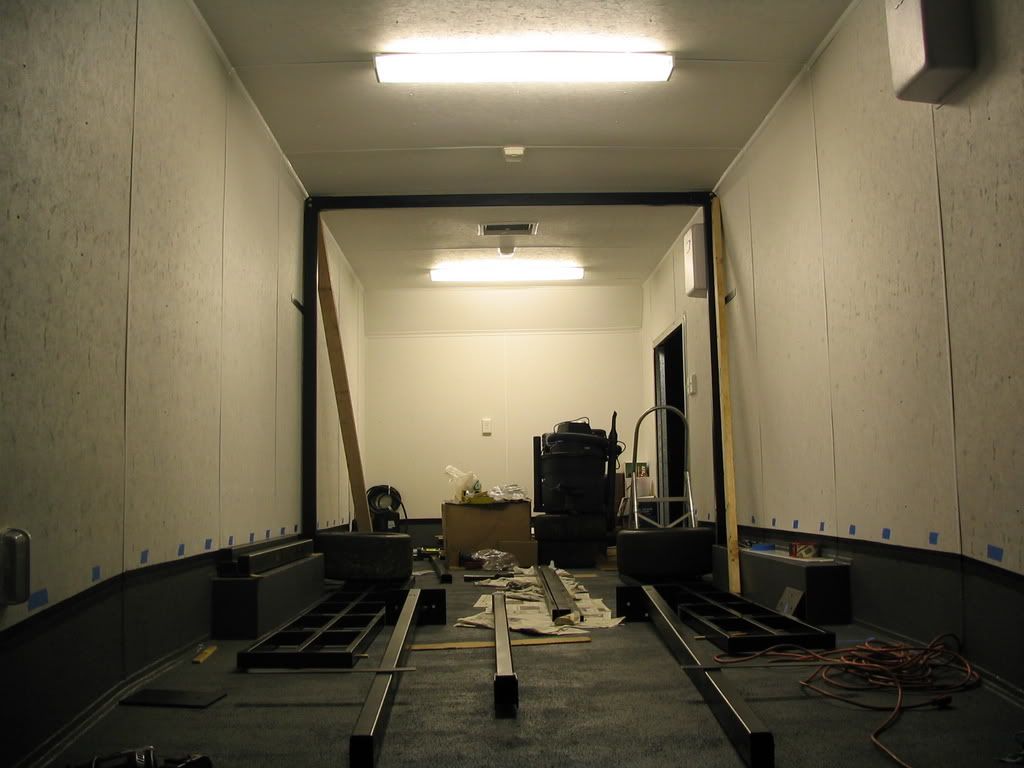


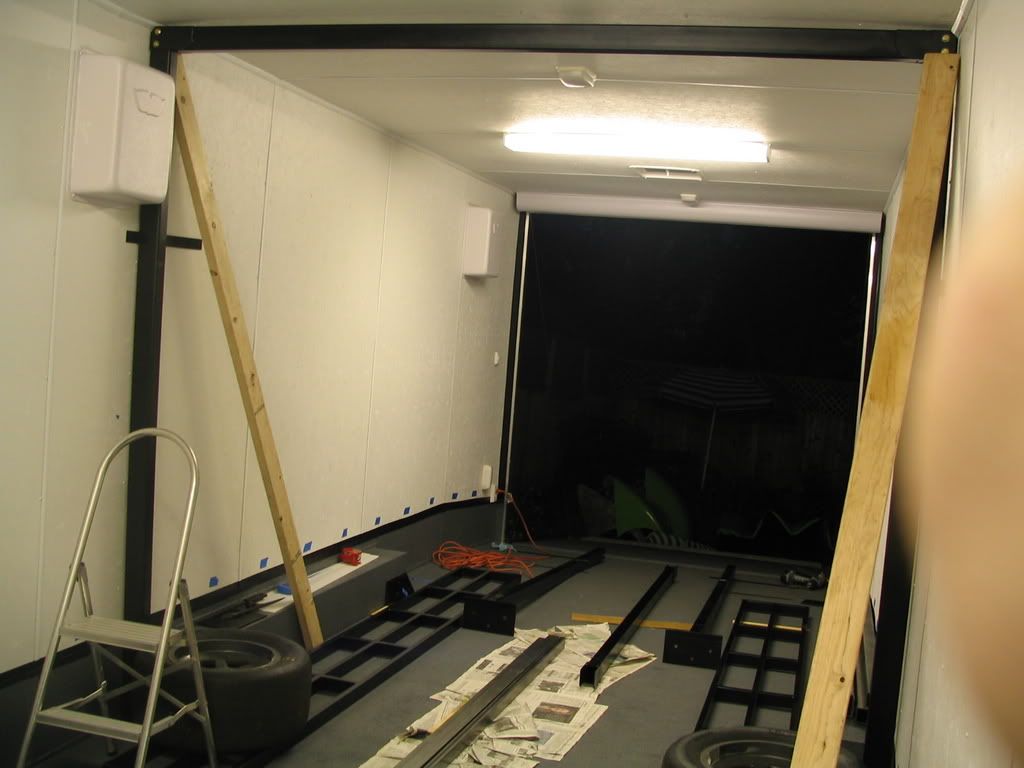
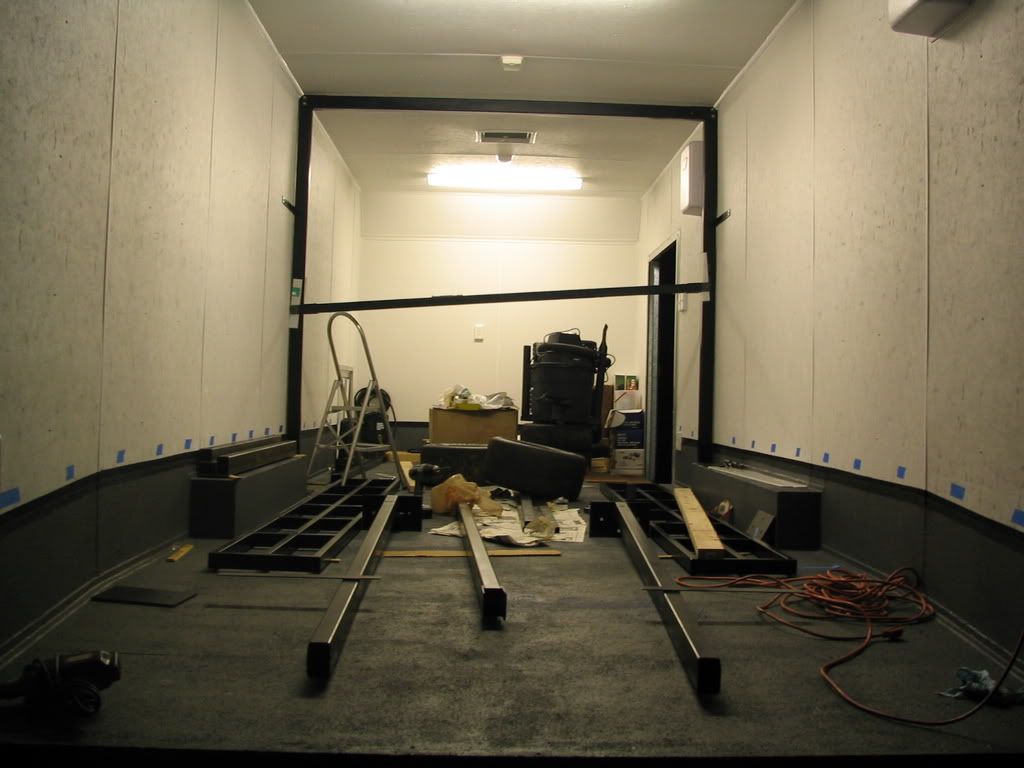
    You can see the ramps, they'll be covered in aluminum tread plate. One side is put up entirely and square, but the sliding piece needs the ears spread out a little though so it can slide. We have eight 8' pieces of plastic for the ears to slide on, and need to bolt on the winches and figure how we're going to route the cable.

    Leave a comment:


  • Justin B
    replied
    The car is still considerably complete. The rest will be taken apart once it gets inside, or once I can find someone to take the parts away, ORR, I have enough room to put it...............perhaps in a dumpster! I'll be taking some measurements though shortly so I can build a dolly with some 6" swivel castor wheels. Maybe I'll make it simple and just do it so it holds the car up along the length of the rocker panels so I can keep one of the two front sub frames in to allow mock-up's. Suspension is getting torn off probably the first day it's in the garage, and stripping down the bottom will begin. The estimated time frame for that will be just a couple of weeks, I'm trying to light a fire under this project to get it DONE. Any day off and most days after work you can count on me working on it. I absolutely cant stand stuff that just drags on forever, and this already has.

    Leave a comment:


  • nefarious7907
    replied
    Schweet project, i'm staying tuned

    Leave a comment:


  • Justin B
    replied
    Ok, a couple more pics of the basic stuff.

    As I mentioned yesterday the seat rails are out, uncovering three holes on the drivers side, and accidentally making two on the passenger side. I tacked them closed tonight. The zerorust paint is spotty because I only did a rough outline of the floor at the time, very little at all actually benefited from it, and just where I could reach it easy. I'll probably be going over the entire inside again with it anyway. I've certainly got more than enough. All that wiring is getting torn out right quick too, that's something I can do in the dark. I'll probably attack that tomorrow.


    I was thinking about cutting out the shelves sticking out of the transmission tunnel to lower my seat more, or even cut into it some to move both seats closer together, but the tunnel is already pretty damn narrow, I still of course have an ebrake, and the CSB is located dead center under them. I could probably figure out how to use a 1pc drive shaft, one without the center u joint, but I think it's more effort and money than it's worth. I'll mock up my sparco seat in the car again shortly to see if the shoulder bolsters would allow much gain towards the car's centerline anyway. They're pretty wide seats at the top.


    And this is the complete.CLUSTER.FUCK. that I'm trying to get the car into. It's not as BAD as it looks, but it's got a lot of crap in it. Race car goes into trailer, gokarts behind race car go into trailer temporarily (psh, we dont even use those..wtf), the toolbox will probably will go into the trailer, various other things, and a LOT LOT LOT needs to just get thrown the hell out. Too much emmeneffin garbage in that place. Some of which is my crap, like engines and parts, but there's way too much shit stuck in way too small of a space in general. It needs to be thinned down and organized STAT.

    In the end, I wish I had a shop to do this work in. It would get done sooo much faster. :drink::(

    Leave a comment:


  • Bill-B
    replied
    I like the R3V in the background

    Leave a comment:


  • Rob
    replied
    Originally posted by boom-monkey
    You should have the cluster so the tachometer is in the middle. More baller that way.
    bingo, so choice.

    Leave a comment:


  • Justin B
    replied
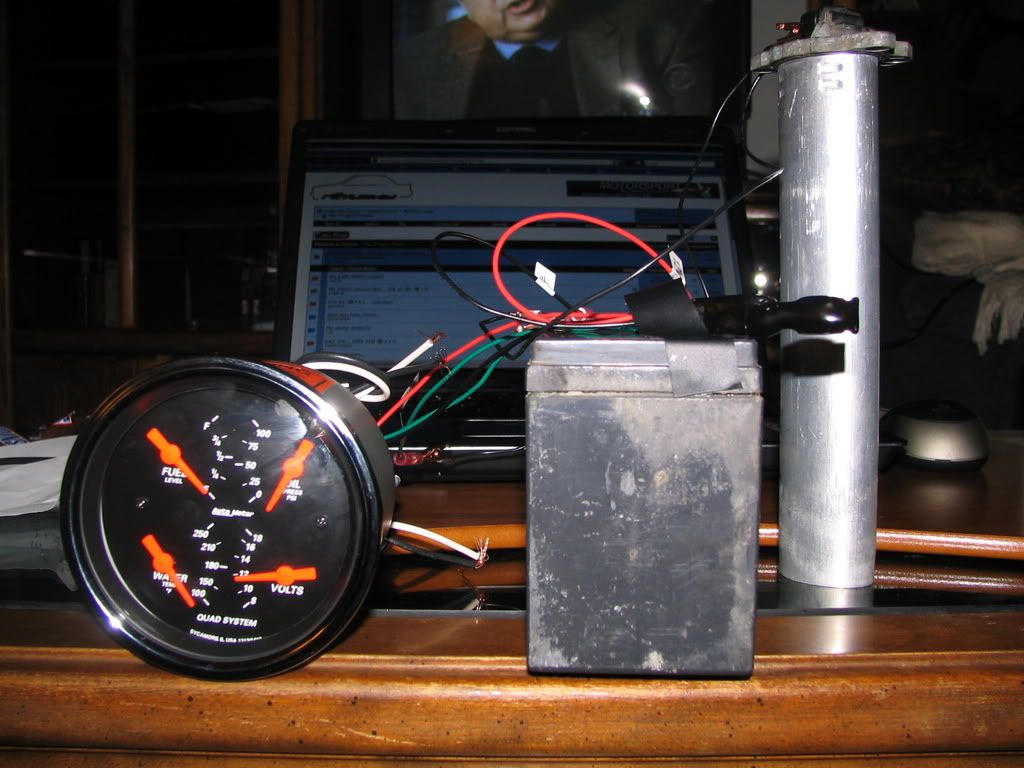
    Working picture of the gauge, I tried it about an hour ago and realized I put the thing together wrong. Somehow managed to put in a 3.9k resistor instead of 39ohm. Woops. Got that swapped out to what I tested it originally as and got this-

    Looking straight at it, the needle is directly on the E line-

    And this is "Full". Works for me-

    There's actually one more tweak I can try, but I dont think it'll work right, or enough. Other than that, lowering one of the resistances closer to 0 just heats stuff up faster, and the difference in the reading height is exponentially less. I'm glad it reads empty properly, and pretty dang close to full without any heat sinks. A different transistor that has some sort of better suitable gain I guess and zener, I can always tweak it and try different parts down the road. It works for now. Good thing it's just something that plugs into the middle though.
    Last edited by Justin B; 11-08-2007, 11:11 PM.

    Leave a comment:


  • Justin B
    replied
    Just a picture, nothing special. Not much happening yet really. But just proving there really is something going on. lol.

    More diagrams and mock ups to follow in the next few days while I think about how I'll deal with some issues regarding new seat rails, among other things.

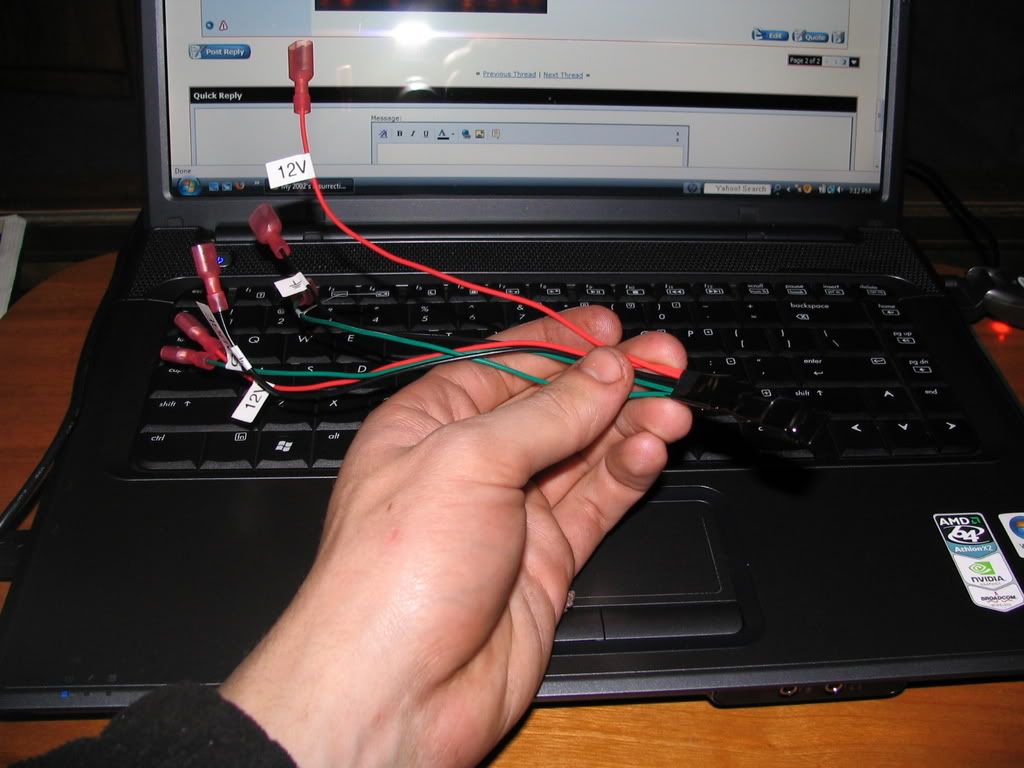
    Sender to gauge "Fix" circuit-
    I kinda made it free form then dipped it a few times in liquid electrical tape. The components don't even really get warm, so I think that it should be safe enough encapsulated. Two resistors, a zener diode, and transistor...and a bunch of wire to fit it in the middle.


    It goes-
    Sender to Circuit at "SENDER"
    Circuit to Gauge at "GAUGE"
    Chassis Ground to Circuit at (GND Tree) M Spade
    Circuit Ground to Gauge at (GND Tree) F Spade
    +Batt 12v to Circuit at "12v" M Spade
    +Batt 12v from Circuit to Gauge at "12v" F Spade
    *+12v and Grounds are just Y's

    Pics of the ever so interesting car without rails tomorrow maybe if its not pitch black when I get home ;p
    Last edited by Justin B; 11-08-2007, 07:28 PM.

    Leave a comment:


  • clavinZERO
    replied
    zees wud be bettehr wit how you say, moar pics!

    Leave a comment:


  • Justin B
    replied
    Well, I got a very simple circuit built that will allow the main e30 fuel sender (one of two, the one that actually goes in with the pump) to work with my autometer gauge. It's pretty damn close to perfect. Empty reads perfectly empty when reduced from full, but the maximum reading is about 7/8ths of the tank on the gauge. I can live with that though. Better than nothing at all!

    I also removed the stock seat rails a couple days ago and conveniently cut my hand open in the process on a shard of metal. All the way through my skin on my ring fingers first knuckle. I only had troubles with two spot welds though that pulled through, so I have a couple little holes to tack up then I can get to it--probably tomorrow after work.

    The rack in the trailer is 95% complete. Basically it just needs to be installed into the trailer and put together.

    Leave a comment:


  • Justin B
    replied
    Yeah, M20. It's a stock rebuild for now but before I put it in I may find myself a Schrick cam or something simple. I want it relatively easy to tune too. I may turbo it later, or build it up N/A. I've been thinking about piecing together some ITB's. All that would happen AFTER the car itself is all done and drives. So as far as I'm concerned it will stay all stock till I am concerned about it having any more power. Having all sorts of power-making stuff won't do me any good if I'm spending money on that instead of getting a car to use it in :)
    Oh edit-it's the M20B25, not an eta motor of course.
    Last edited by Justin B; 11-01-2007, 10:01 PM.

    Leave a comment:


  • BenM
    replied
    Love it man! So your putting an M20 in huh? What are the specs on the engine?

    Leave a comment:


  • Justin B
    replied
    Cary, how do ya figure? Actually the way I have them set up there is they way it would be originally. Or as close to as possible anyway.

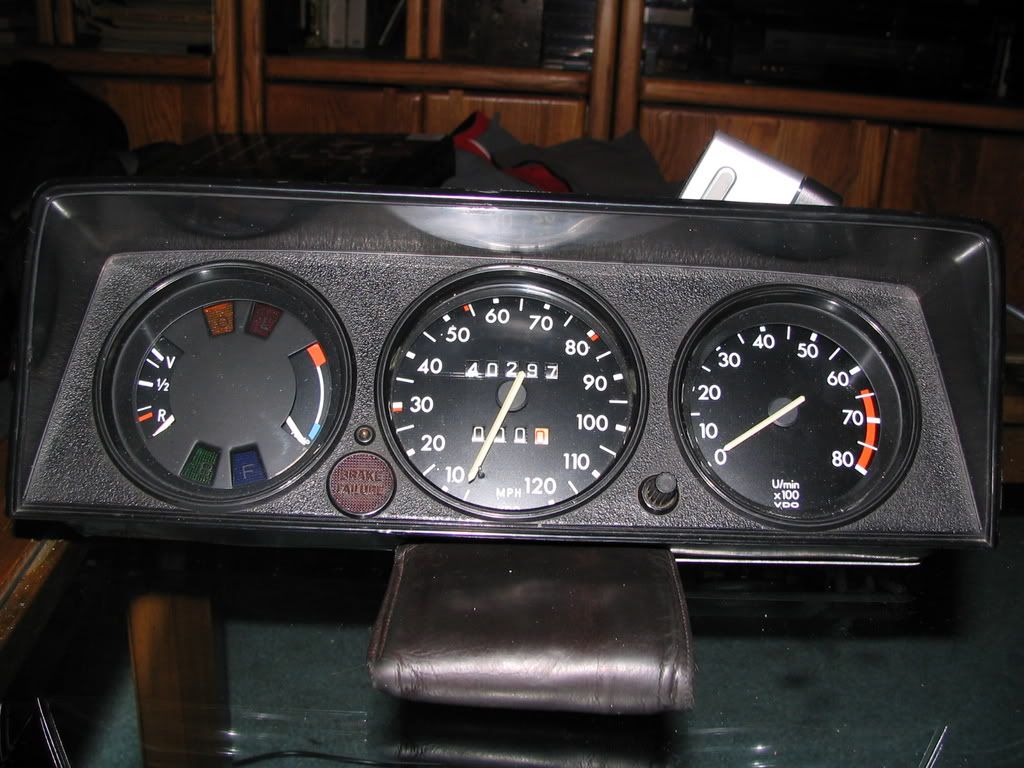
    This is the gauge cluster I bought off ebay some time ago for this project. I wont be using it all so it'll be for sale. :) It's really clean, that's just a reflection on the speedo glass.

    Leave a comment:


  • golde30
    replied
    OEM look would be the multi-meter in the middle, the tach on the left, and the speedo on the right...

    Leave a comment:


  • Justin B
    replied
    I've actually gotten that suggestion once already. Fortunately they all use the same mounting hole size so I can do that. Trust me, I've certainly thought about it! Good idea though, that's two votes then :D

    Leave a comment:

Working...