-
So that pile of spaghetti...

I coiled up each leg of the loom and secured with a zip tie...

Until I ended up with something like this

Bagged up all the seperate looms and it all fit on the shelf like so

Next was removing the pedal assembly and column. These breakaway bolts were right little buggers. I've dealt with them before on other cars without issue. Tried knocking it round with a hammer & punch, then cut a slot in for a screwdriver, then ground some flats on for a wrench. Nothing, nada, wouldnt budge. In the end I had to cut the washer out from behind them and then they spun out finger tight.

Got my monies worth out of this Dremel disc!

After this it all got a bit dirty so no pics I'm afraid. Basically got the column & pedal assembly out, most of which all fit in a box with fasteners bagged.

Then got the firewall stripped of the heatshield and insulation, all of which is in good condition and perfectly servicable. Had to move the car over a bit to make space for a friends car this week, so first time it's been out of the shop in a while. Gave me chance to sweep up all the dirt and broken clips & fasteners that amassed under the car during teardown!

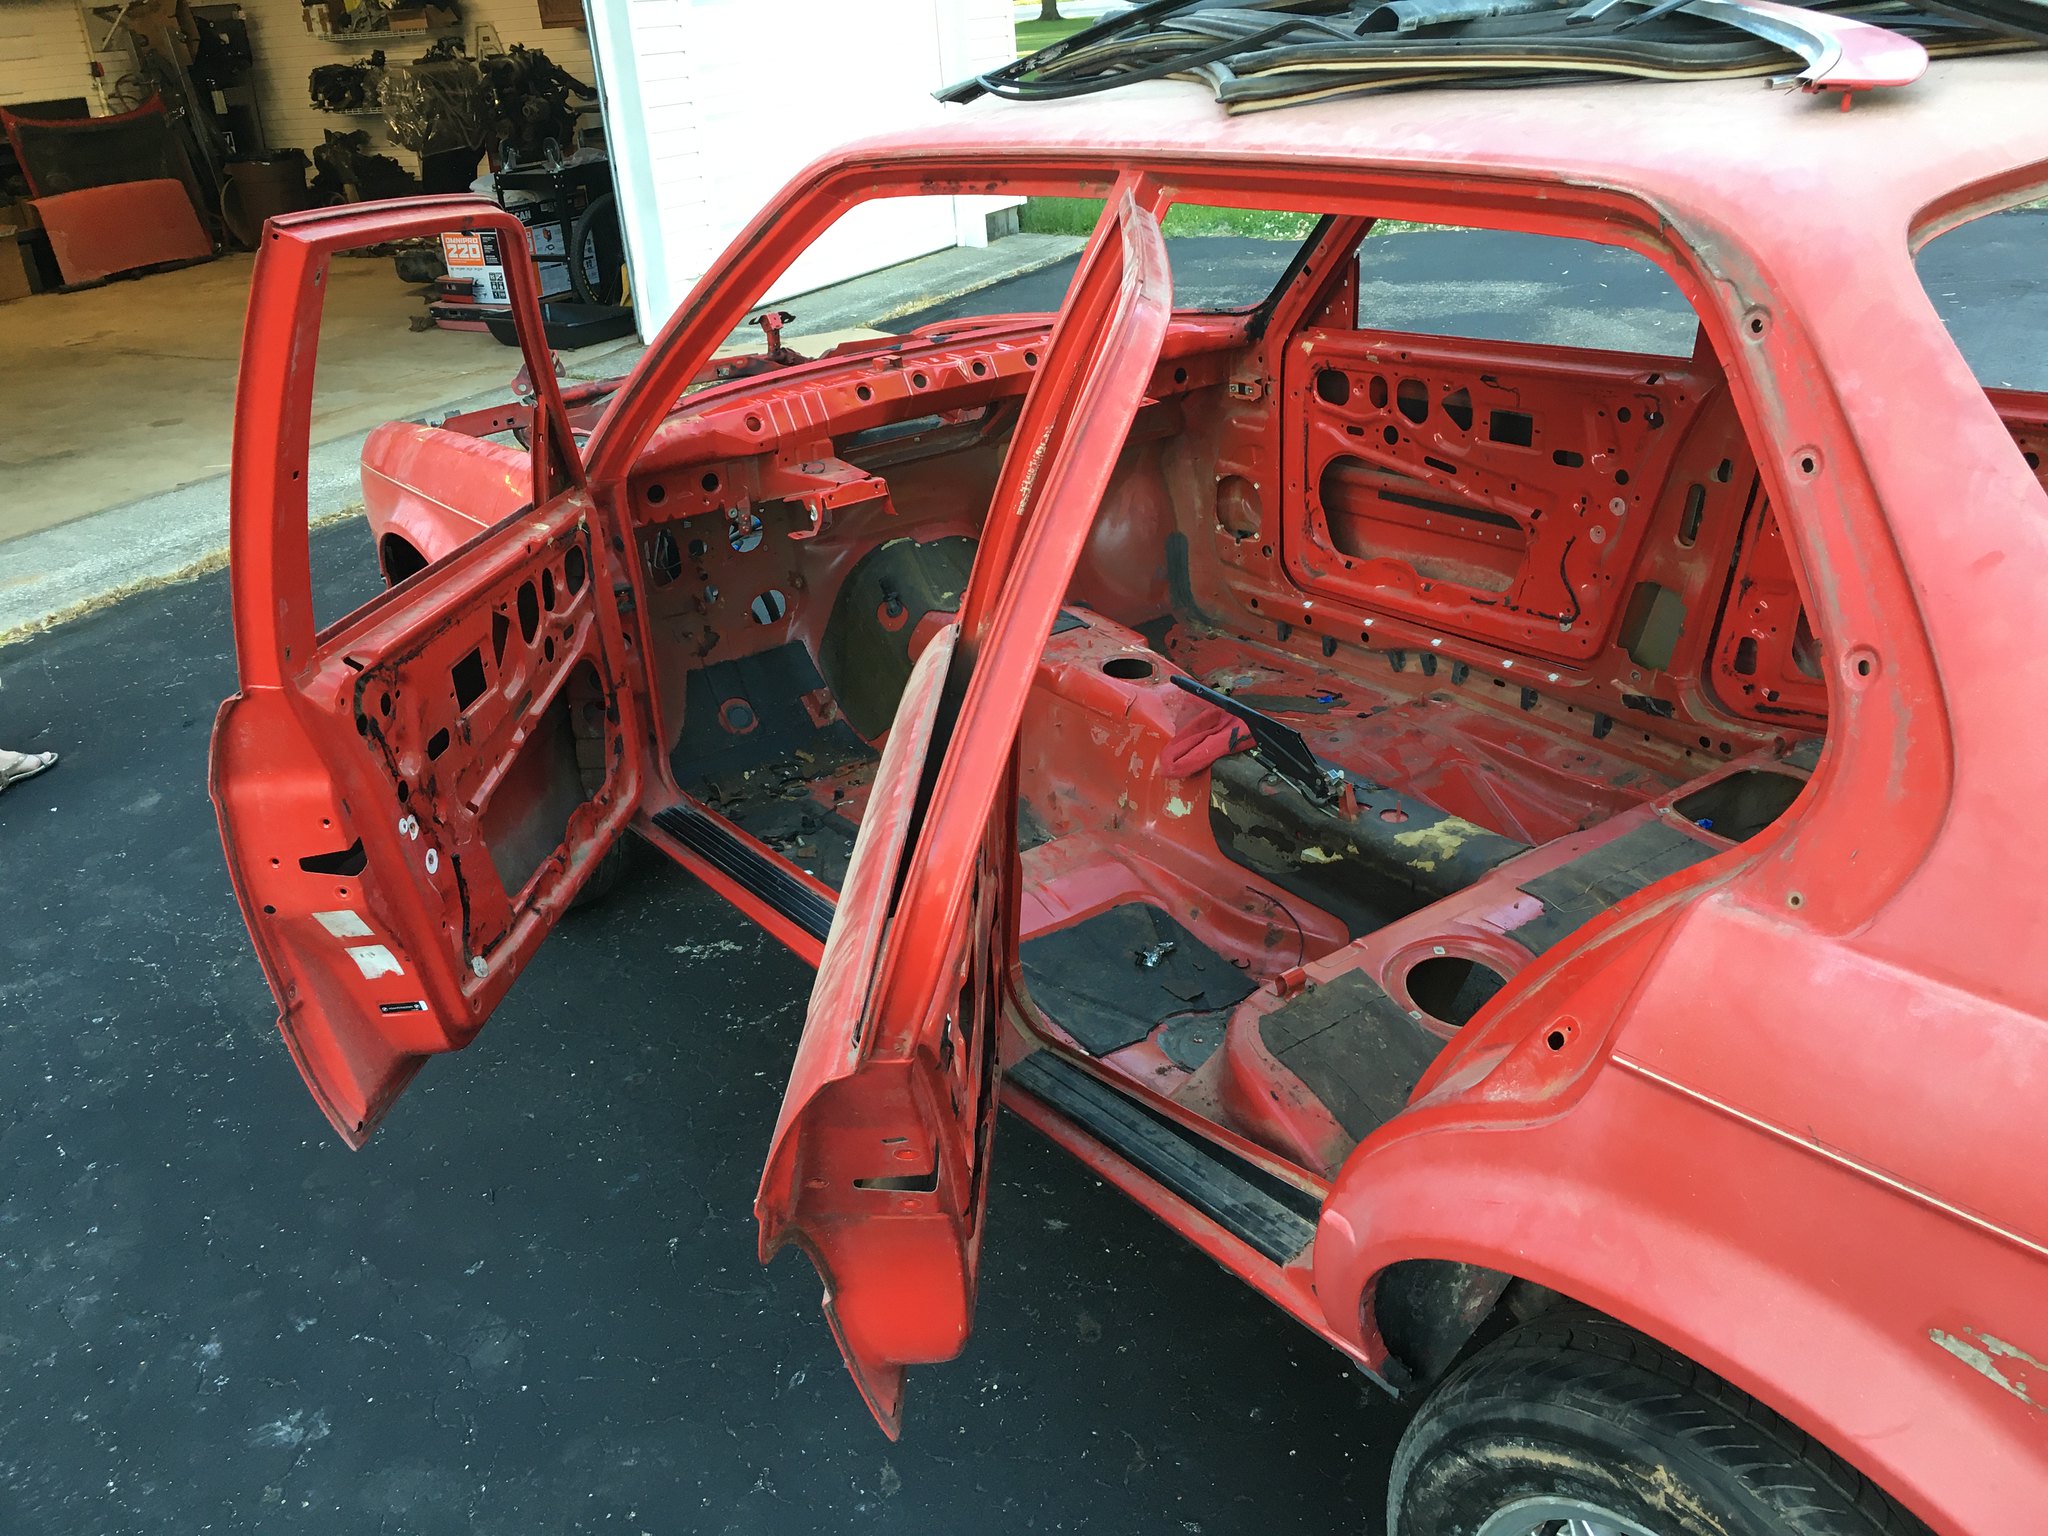
Just a few more bits to pull out of the bay, along with brake and fuel lines, then we can get the shell cleaned up to start on panel work.
Leave a comment:
-
-
Sounds like a good plan and it should be a desirable/fun car. You might end up liking it enough to keep it once you realize how fun an E30 is to wheel around....
Looking forward to your updates on this and maybe I'll see it around someday....I'm down South of Indy and sometimes get up North for C&C and CCA stuff.
MJ
Leave a comment:
-
Ultimately the goal is a tidy, cost effective restoration for resale. Something you could drive everyday, use as a weekend car or just take to shows.
So pretty much stock 318i, tho I have a vinyl interior vs the cloth original (per VIN spec) and the 14” weaves over bottlecaps. It already has power windows and central locking, but I’ll see if I can add any further mod cons along the way without loosing the ‘classic’ feel and appeal.
I may deviate away from the original red in favor of something more unique, though I understand red is the easier option for resale. However, I want it to be something I will enjoy in lieu of sale.
Well, up to this point I’ve never owned or even ridden in an E30, so this will truly be like LEGO when it goes back together! Luckily, I freakin love LEGO.Zip lock bags, painter's tape, and a sharpie are the primary reasons I can put things back together after I've taken them apart. :)
Thanks for following along. Appreciate the support.Leave a comment:
-
-
You are making lots of progress - what are your plans for this project?
MJLeave a comment:
-
This weekend I tore a bit more out, making final preparations for pulling the loom.
Took its face off.

All the A/C lines out...

...and the condenser. Still labelling connectors as I go.

Then this evening, she was finally de-loom-inated. I pulled the master cylinder and booster which gave me a much straighter shot out the firewall. Another job that was significantly aided by the absence of windshield!

Almost down to bare bones.

Now need to sort out how I'm storing the looms and pluck out all the cable guides & clips. I think I'll be able to get this done, strip the steering column and get all the insulation pads removed this week, so hope to be washing the shell at the weekend! Feels like progress.Leave a comment:
-
Last couple of weeks have been busy around the house; finished up a bedroom remodel, washed the outsides of all the windows Memorial day and was up on the roof cleaning the gutters this morning Took some time last week to put together a little car washing caddy. Needs a couple of tweaks but the concept is sound. Nice to have home car washing capabilities at long last.

Got my arse into gear this week and cracked on with pulling the dash. The RTS Auto guide was a huge help.

I labelled all connectors with blue tape and a Sharpie as I went, bagging & tagging fasteners, clips and components as they were removed. I keep all the plain, bubble and ziplock bags I can lay my hands on. Invaluable for around the workshop.

After much fastidiousness, out came the dash.

I'm laying out all the loom branches as I go for now. They'll probably all get coiled up and bagged for later testing. Just trying to avoid a big pile of spaghetti until I get it organised.

There followed a bit of tugging and grunting (quiet at the back...) to remove the IHKS. Note much labelling.

I did, however, fail to acknowledge that the heater core would still hold some coolant and it promptly pee'd all over the floor. And my ratchet.

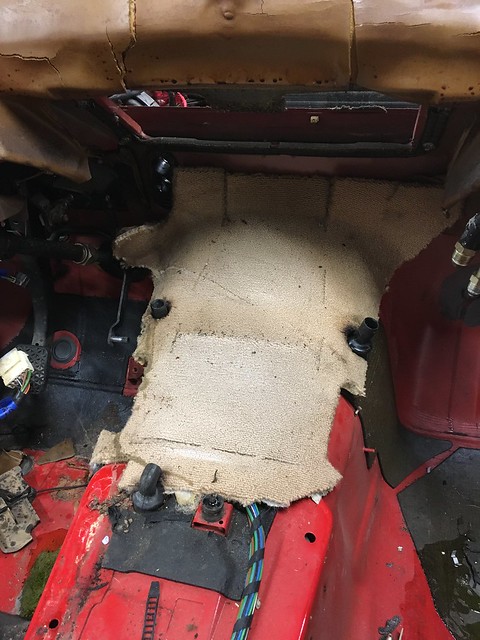
This also allowed me to finally remove the lingering flap of carpet.
Woohoo!

While going at the cowl area, the vents and wiper mechanism were removed.
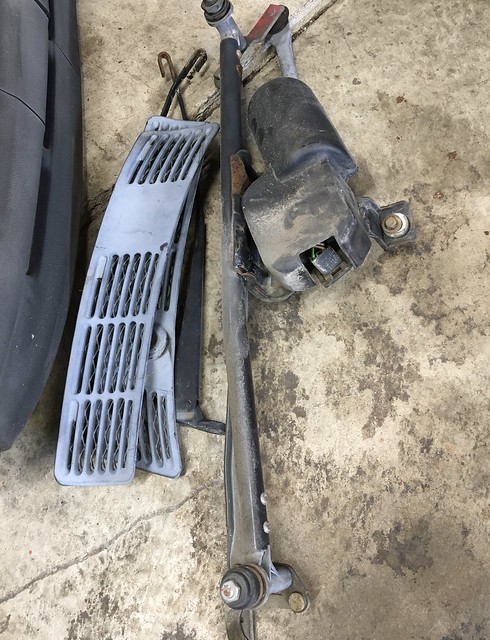
It's a bit dirty in there, but not too bad. The cowl panel is rusted out around the corners of the windshield from the bodged seal/lock strip job. I'll replace the panel if it comes to it.

Took a moment to find a home on the shelves for everything that was removed. From there I carried on labelling wires, pulled the battery cable out through the trunk and released all the loom from the right hand side of the car. Starting to look like something. Or nothing. Depending upon your perspective.
 Last edited by Matt@EDC; 05-30-2020, 06:06 PM.
Leave a comment:
-
just found this from the new topics feed. the more long form a project is the more fun if you have the capacity to do it.Leave a comment:
-
Sub'd! Curious to see how far this goes - your fortitude for mechanical projects is way higher than mine, I can already tell. I would have pushed this off a bridge by now... Thanks for the entertaining posts!Leave a comment:
-
Mystifying as to the actual reason for that protective tube hacking. It's worth thinking about how you can improve fueling speed and maintain expansion safety in the fuel system since you have everything out.
Also, while the exhaust is on the other side, fuel spills on or around the rear brakes during a pit stop can be a hazard. Perhaps consider some sort of cover that you can use just during fuel filling.
Converting to twin pumps, or a lift pump from the other side of the the larger stock tank that you'll hopefully install is also handy.Leave a comment:
-
Pulled the rear calipers off this evening. Gave everything a squirt of PB Blaster at the weekend and it all came loose without a fight.
All the EVAP stuff up inside the passenger came out too, along with a couple of yards of dirt. Made a right mess. Took the vapor tank and filler pipe outside and sprayed off the loose dirt with garden hose. All the flexible lines went in the bin.

More hackery was found under the foil tape and a bunch of melted plastic. Question is, were they fixing the cause of the fire? Or were they the cause of the fire!? The two plastic pipes were cut clean in half behind the tape. Grinding through a fuel vapor line would be exciting...

Leave a comment:


Leave a comment: