If this is your first visit, be sure to
check out the FAQ by clicking the
link above. You may have to register
before you can post: click the register link above to proceed. To start viewing messages,
select the forum that you want to visit from the selection below.
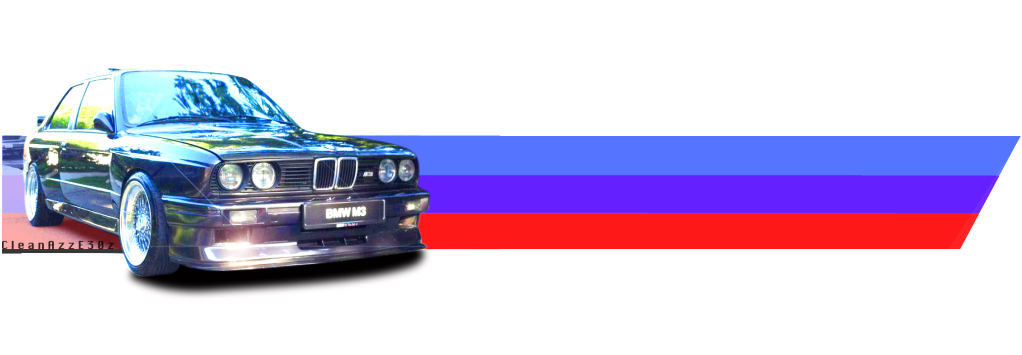
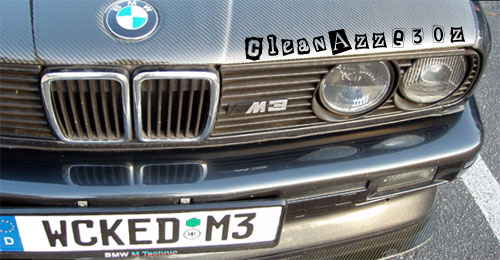
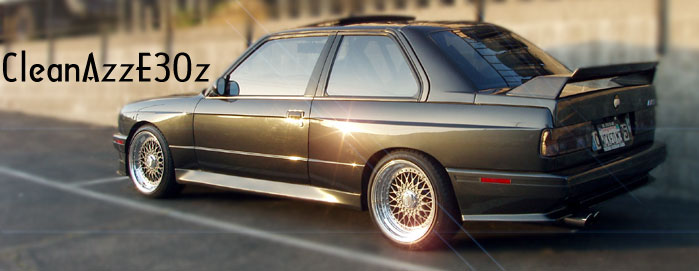
Pierced, thanks so much. Is it possible to change the font on the 2nd one?? Perhaps something more squared and fuzzy? Thanks a bunch man!!! And anyone else who would care to have a crack is welcome.
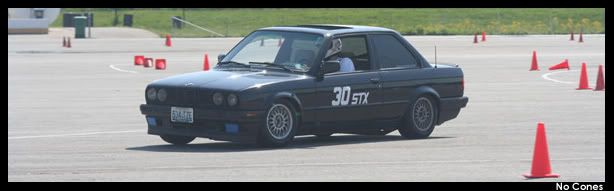
I like the font of the previous one but keep these borders? Thanks guys!! Plus where the "3" is it looks like a "B" due to the backround. But yeah it keeps looking better!!!
Would somebody mind giving me a quick tutorial on how to do a simple border like that?
The way I do it is:
1. open the image in photoshop
2. go to, "Image"> "Canvas size"
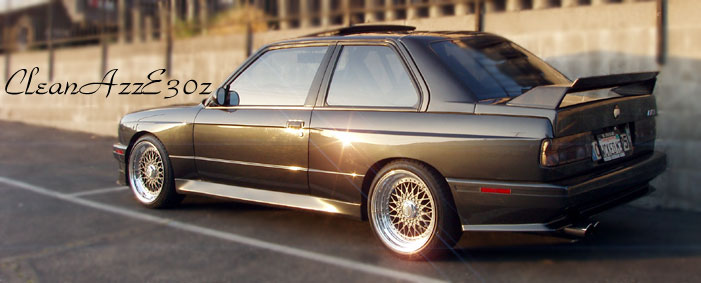
3. change the drop box from inches to pixles and add how ever many pixles you want in your border. In the one above the pixels were 450x174 so I changed the canvas size to 452x176 (how much you add depends on how thick you want your border, in this case I did a 2 pixel border)
4. go to, "select"> "load selection" and hit ok.
5. again go to "select" and press "inverse".
6. take your paintbrush and paint the top, bottom and sides. Don't worry about being precise, you can't paint anything inside the box selection, only the 2 pixels outside of it :-p
7. hit ctrl+d to unselect it. Woot, you're done!
-press Ctrl+A to select the entire image
-In the top toolbar, click "Select", "Modify", "Border"
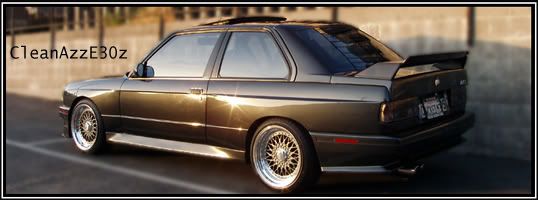
-It will prompt u to enter a pixel amount for the border, a good size, like the one pictured above is 5 Pixels. Click "OK"
-The selection wil decrease all the way around by 5 pixels from the edge of the image.
-Click the PaintBucket tool (quick key G), and fill the edge with the color of your choice, usually black.
This technique gives u a nice border and actually feathers it into the image a bit around the edge... See my Signature image for reference.


Comment