

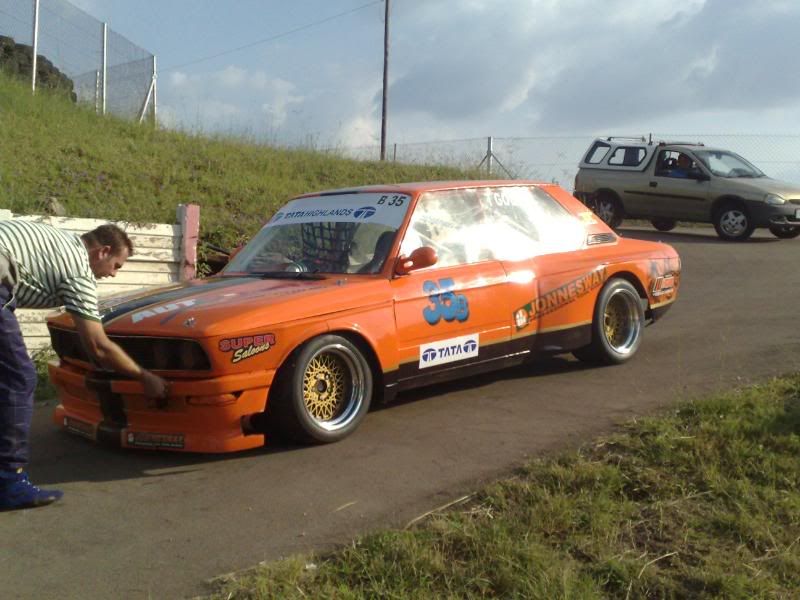
Ok, So I've had a few PM's asking me about this build so I figured I would just post up about it.
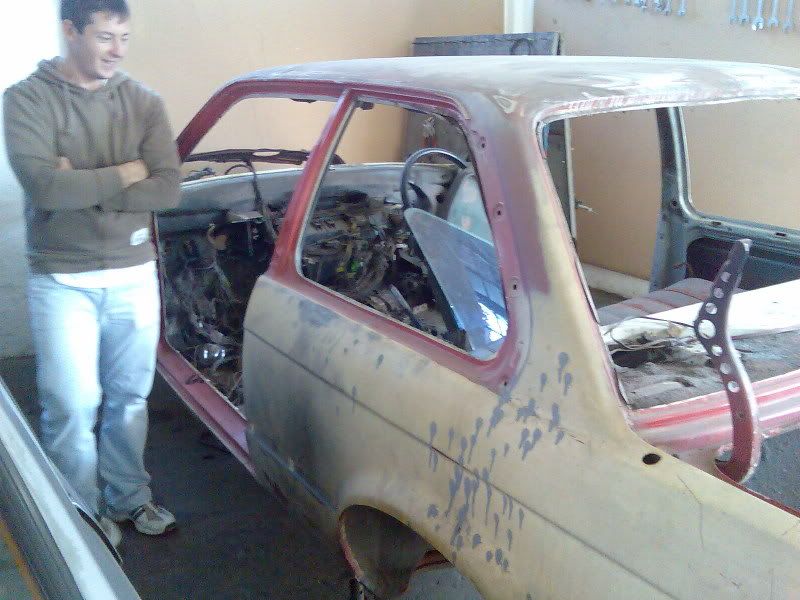
Initial Purchase
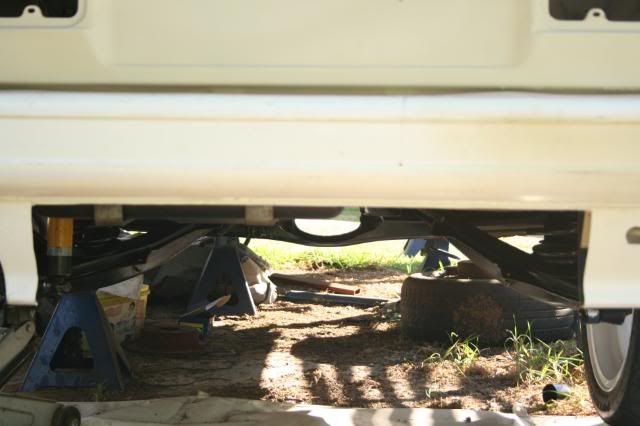
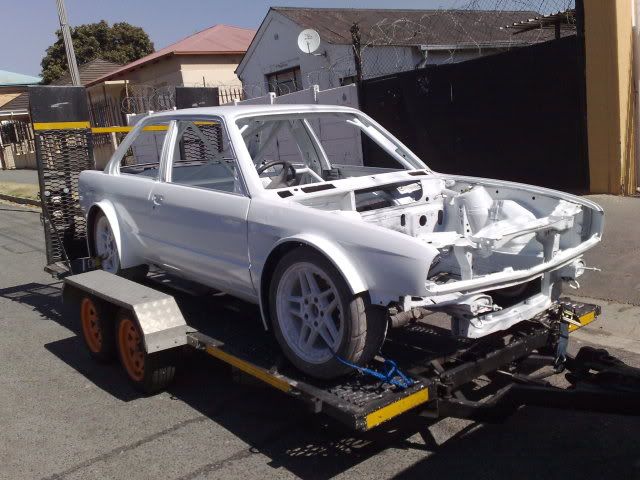
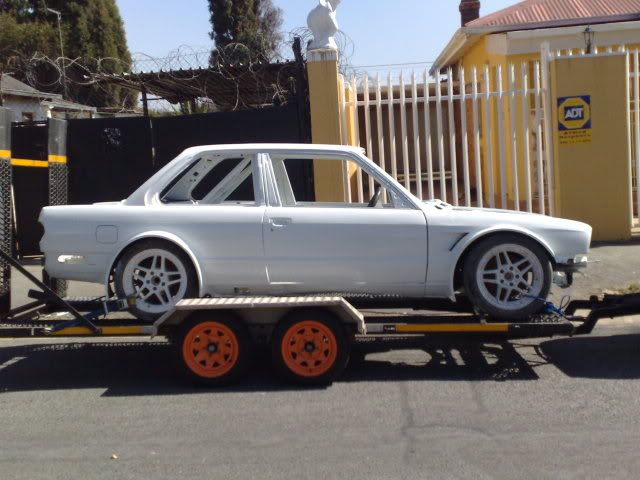
The car was basically bought as a rolling shell. The body although not all that pretty looking was straight and mostly rust free. The two main concerns. Although the dimbulb that owned the car previously had hacked the front frame rails a bit and the transmission tunnel to fit in some American muscle. This was easily repaired though.

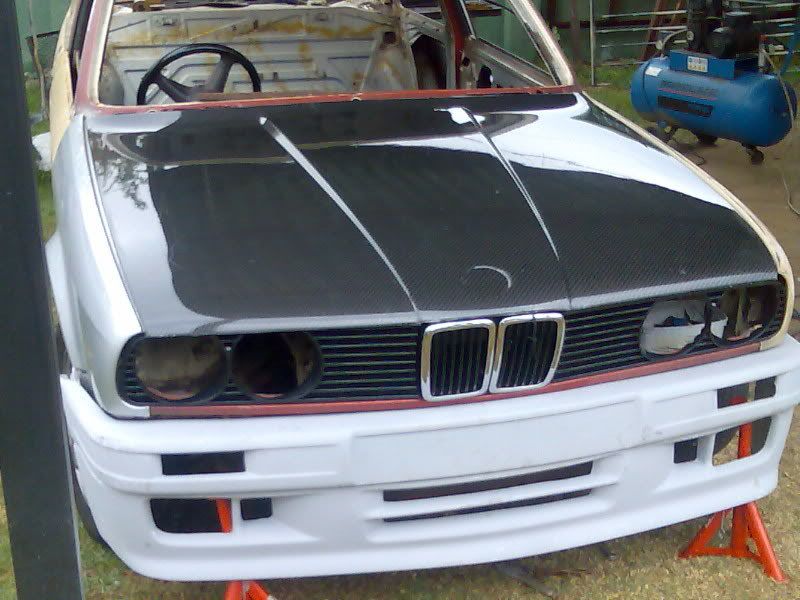
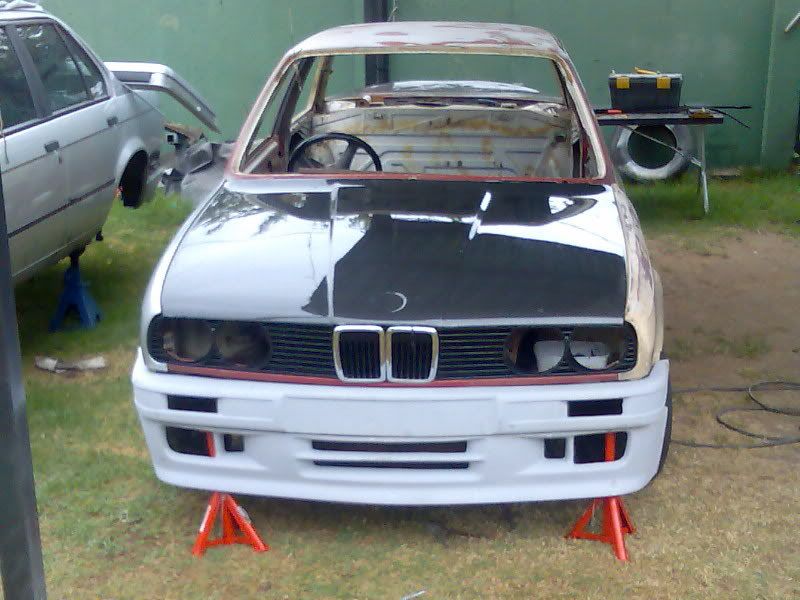
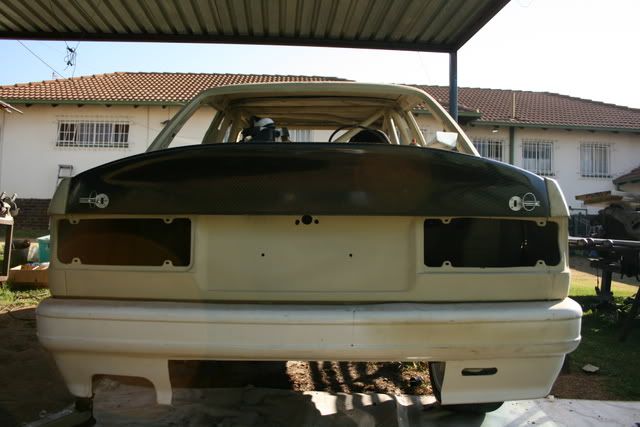
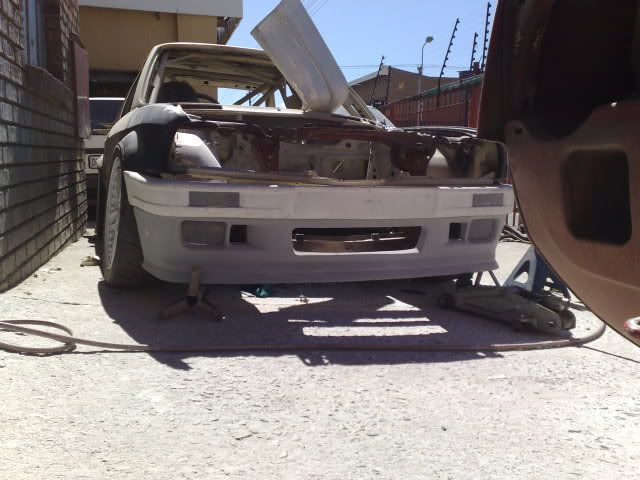
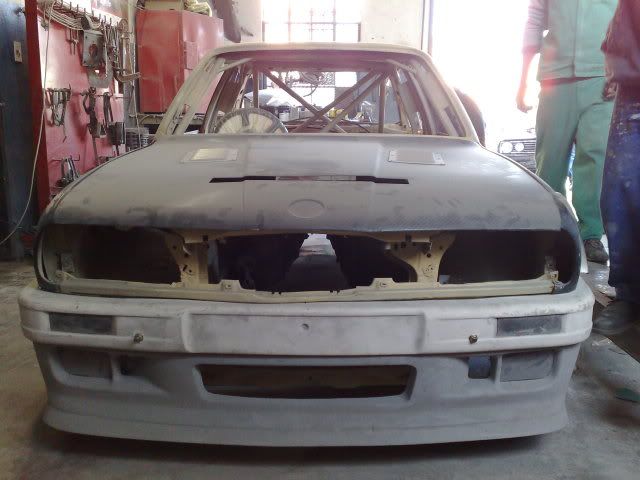
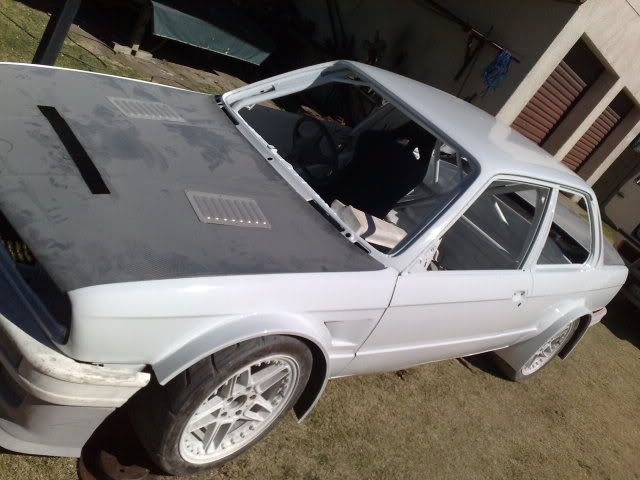
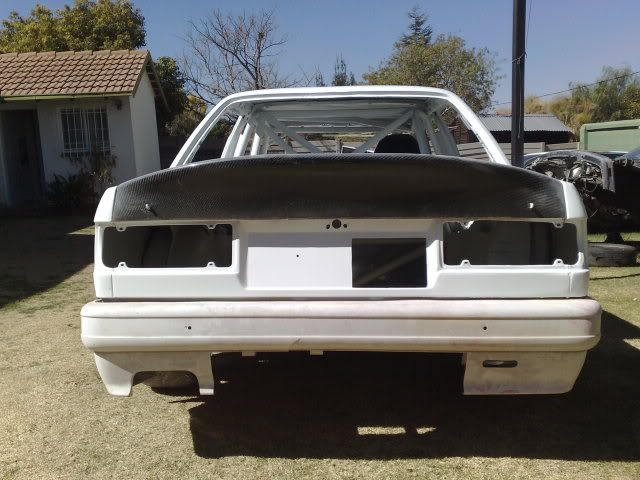
The first body panels arrive
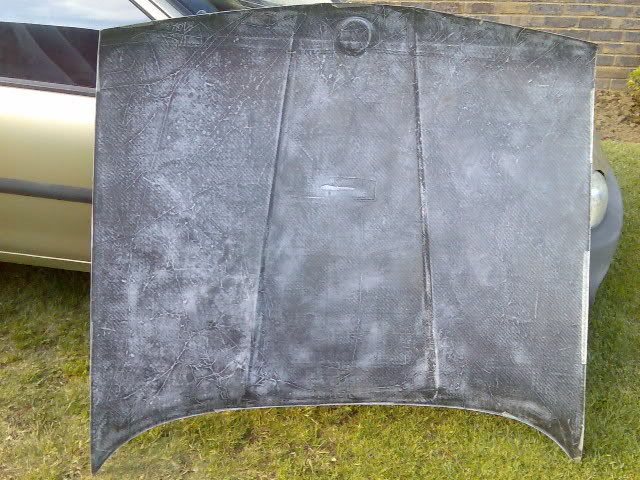
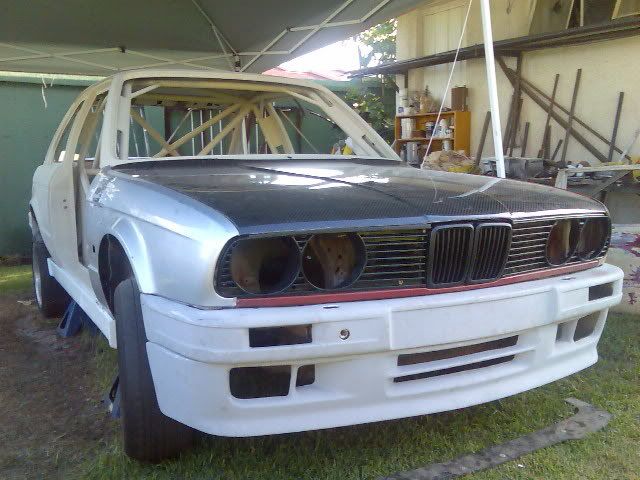
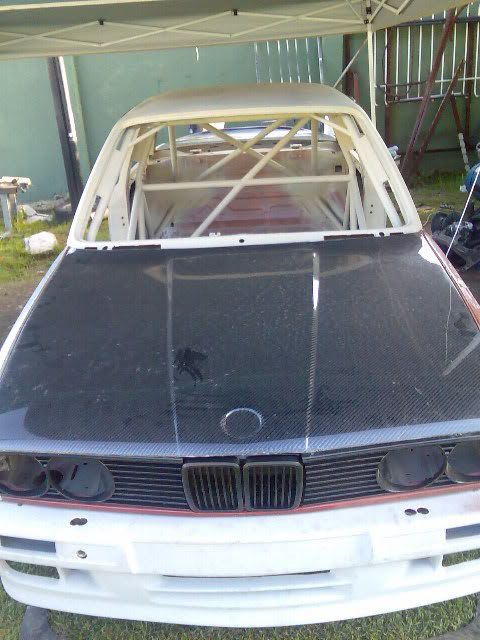
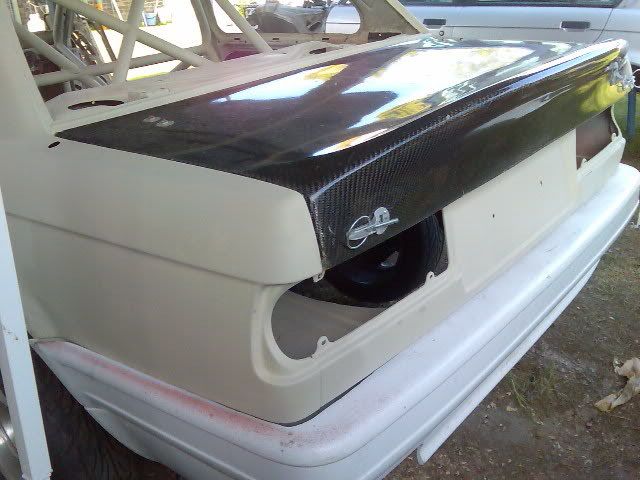
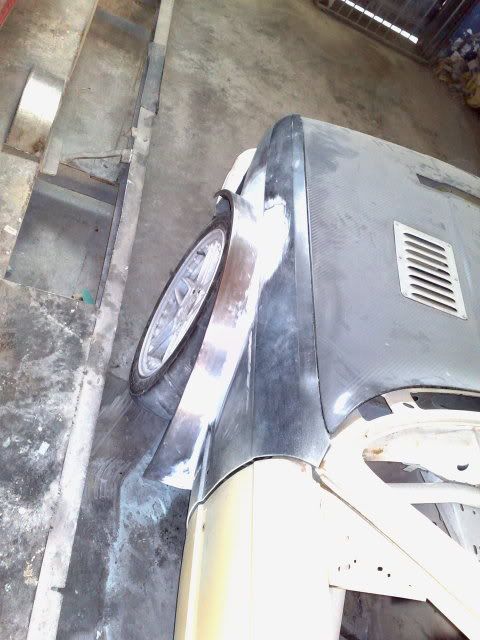
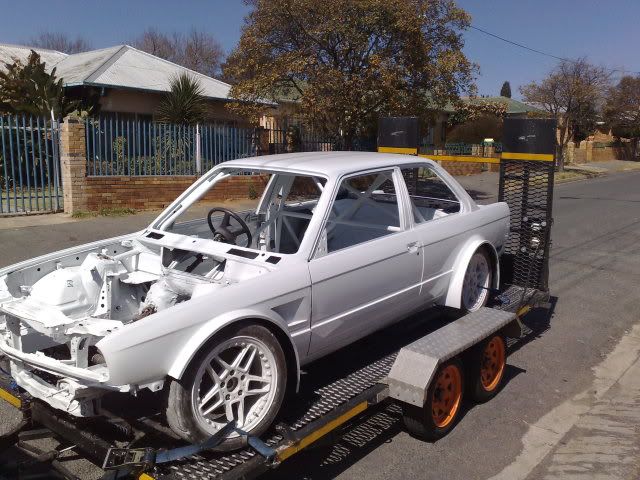
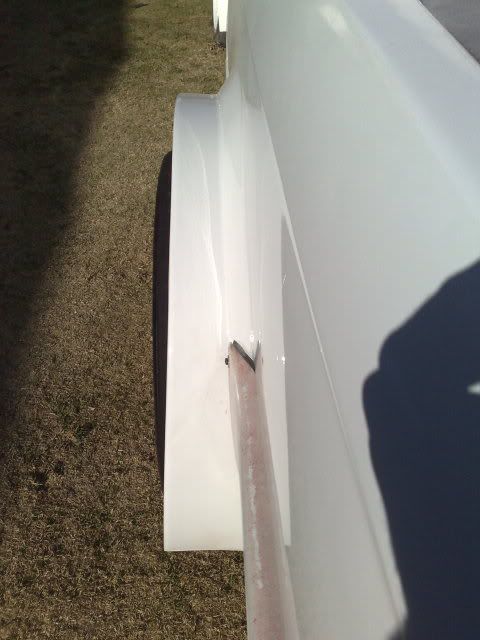
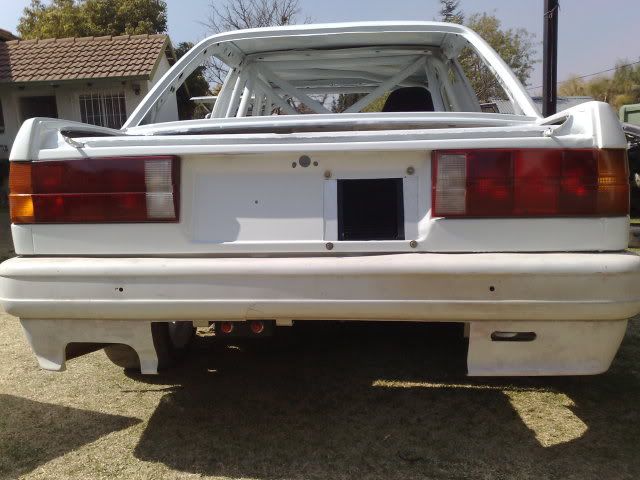
So after a couple of weeks of not much happening with the car. Most of our body panels had arrived. Fiberglass M-Tech 2 front Valance and Bumper Cover, Rear Valance, and Skirts. The single skin carbonfiber bonnet (hood) and boot (trunk) finally arrived as well as the new front grills and kidneys. Of course a test fit was in order.
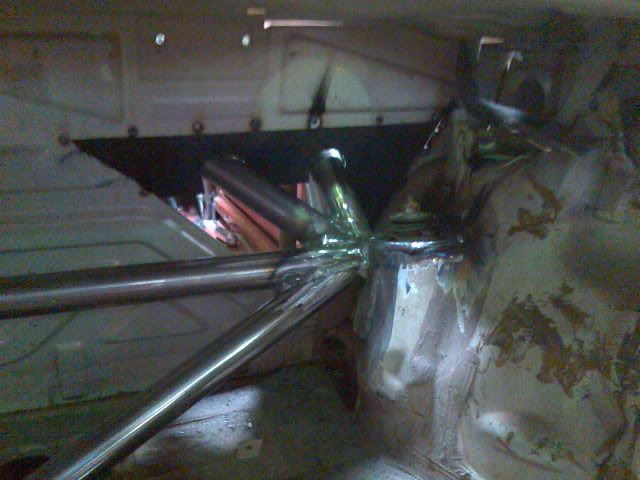
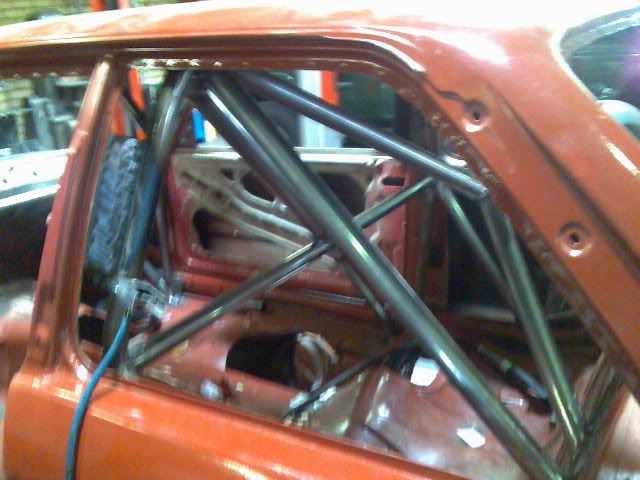
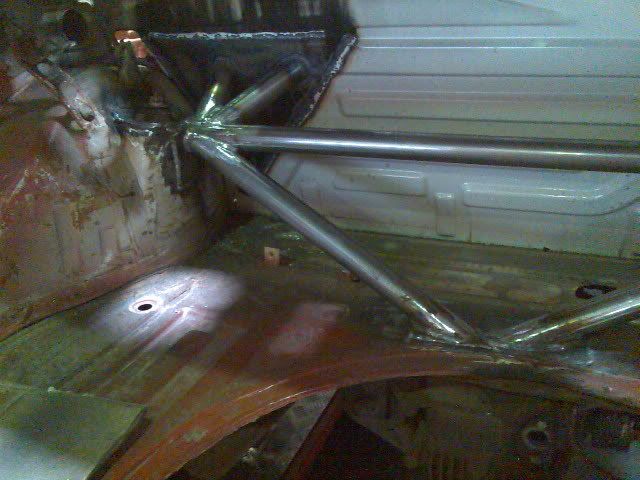
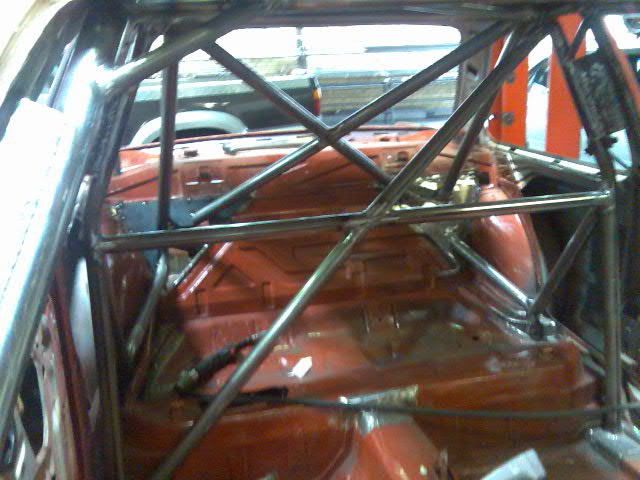
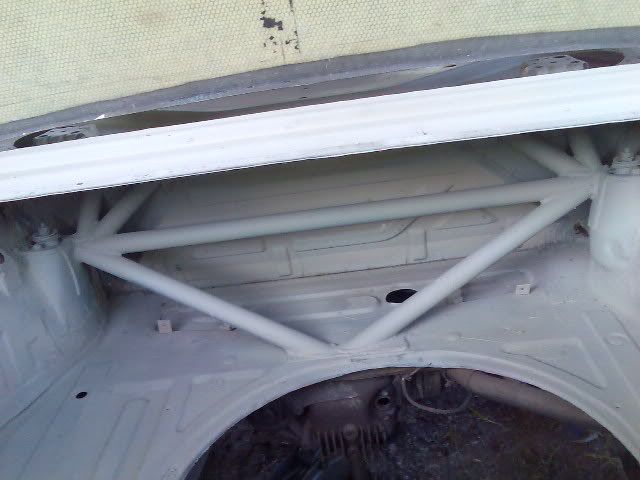
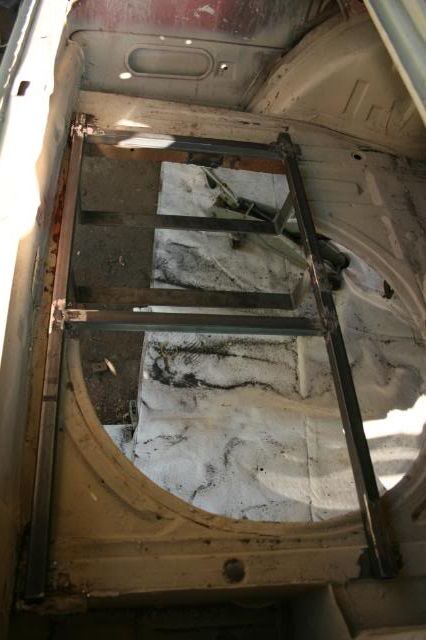
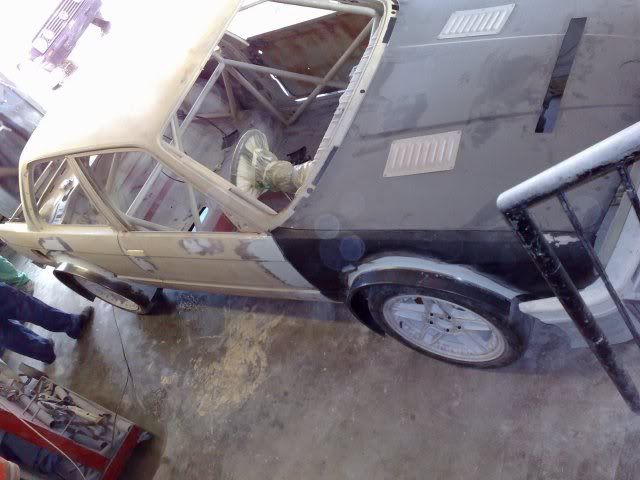
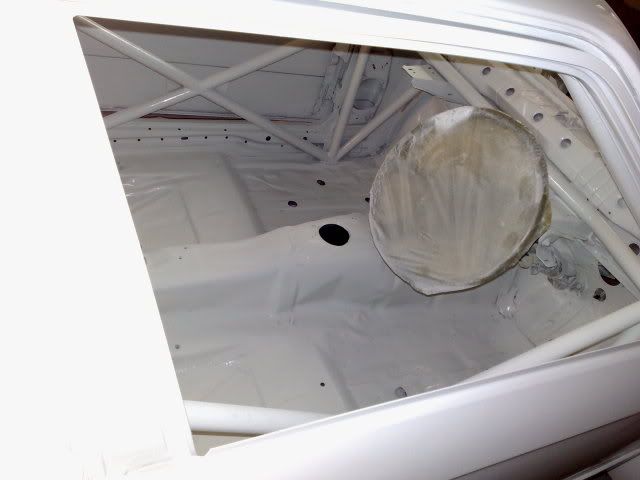
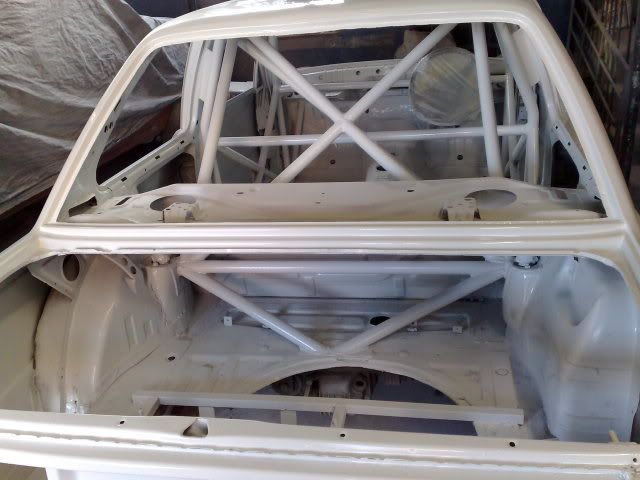
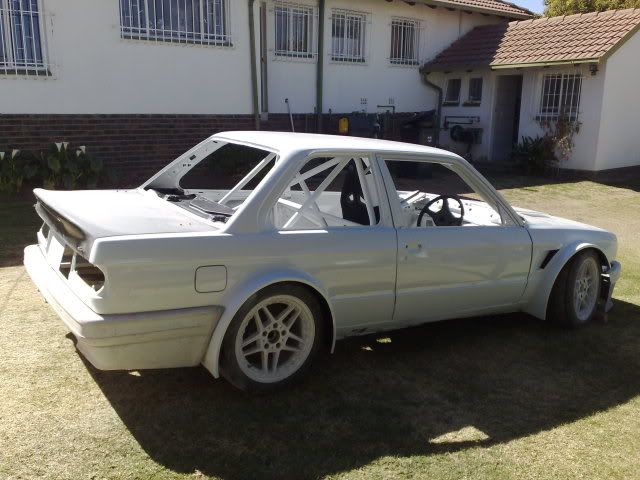
Roll Cage Installation
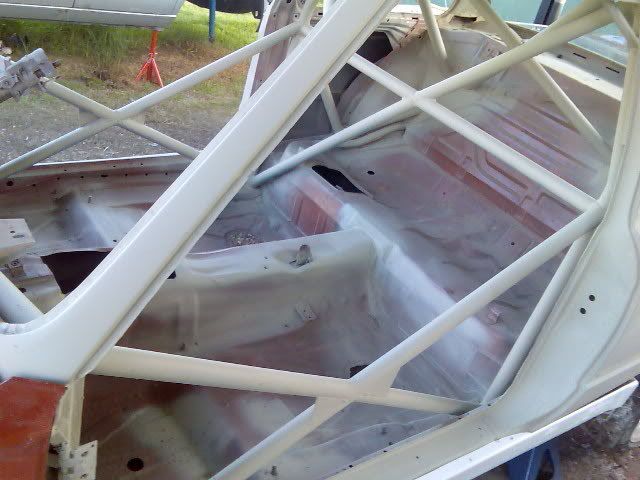
The car finally left us for it's short journey to the roll cage fabricator. It was his first e30 roll cage. I think he did a half decent job of it. There are some things I would like changed but that will have to wait.
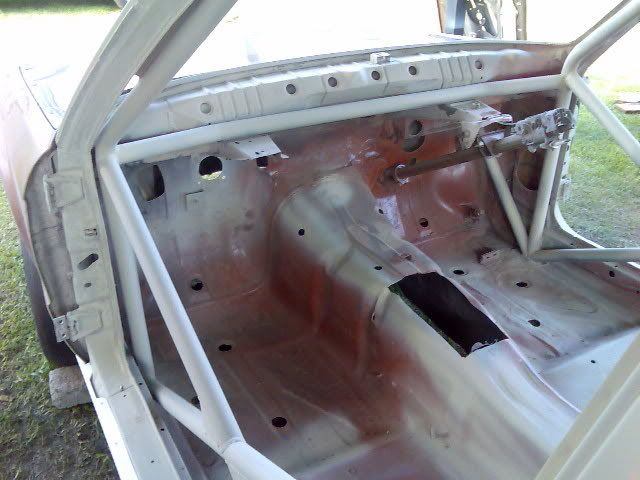
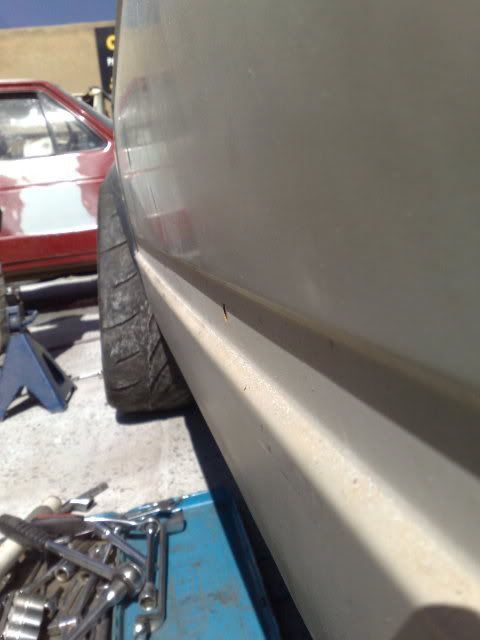
Lets strip some paint
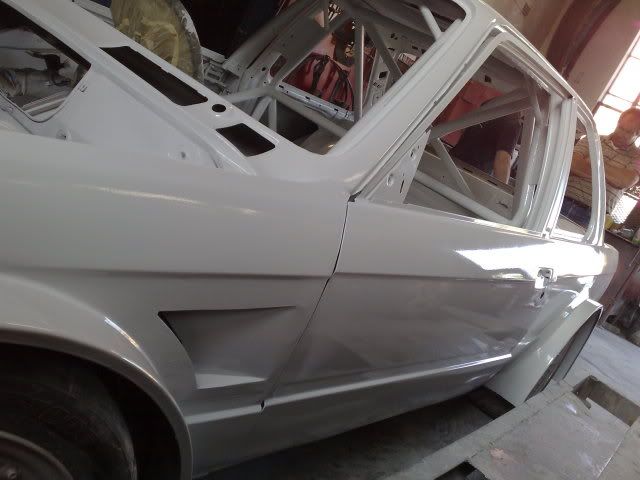
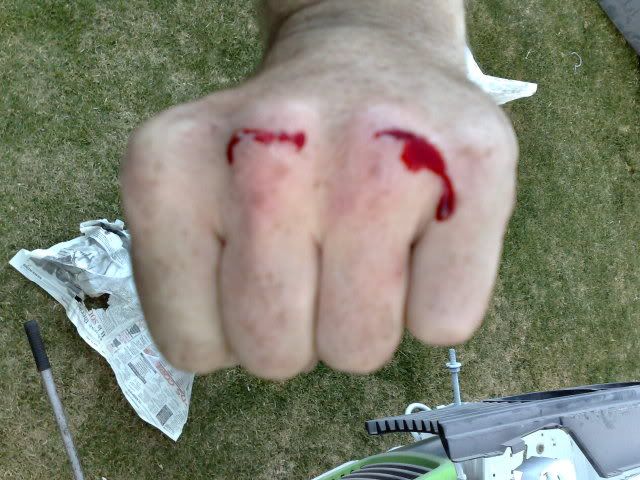
If ever there was a job I hated more than anything on this car. It had to be this. It took my father and myself a weekend of copious amounts of paint stripper and many chemical burns later to strip this cars entire body of paint. Although it was one of the worst damn jobs. The weight loss must have been substantial. I kid but the had 4 different colours on it. So glad we got the extra paint off of it. Once we stripped the paint down we just hit it with some self etching primer to stop rust.
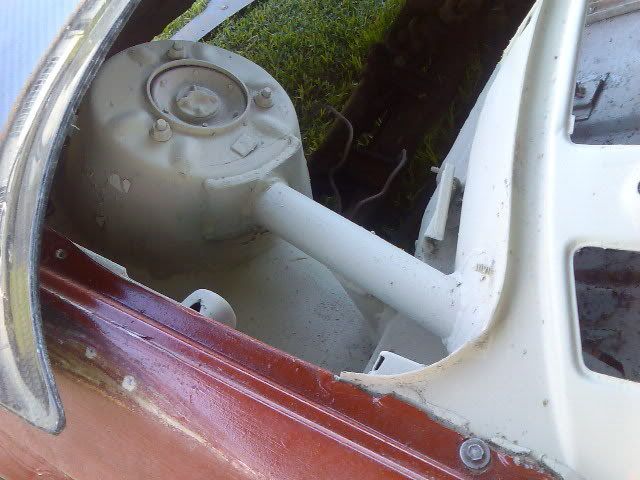
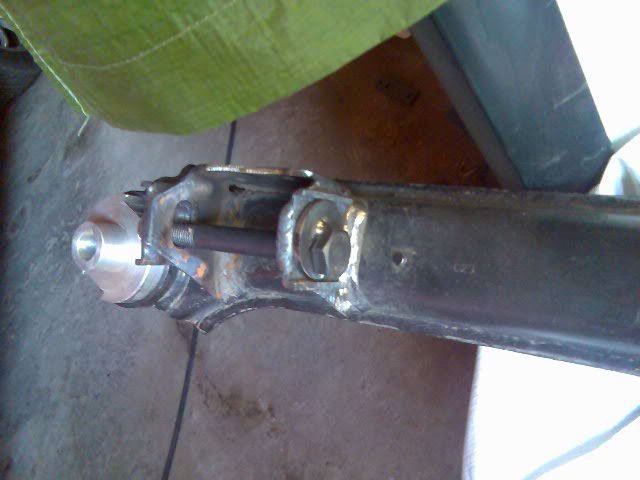
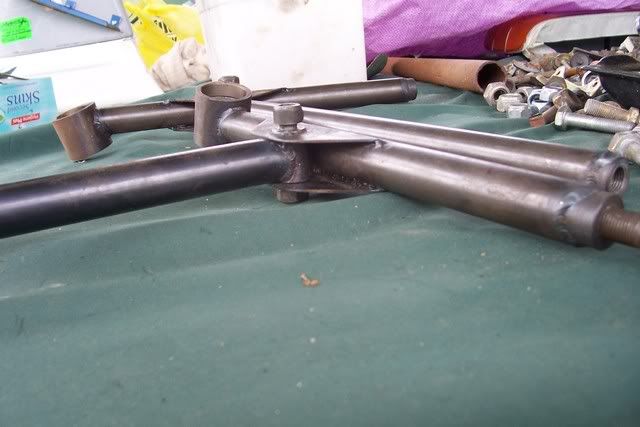
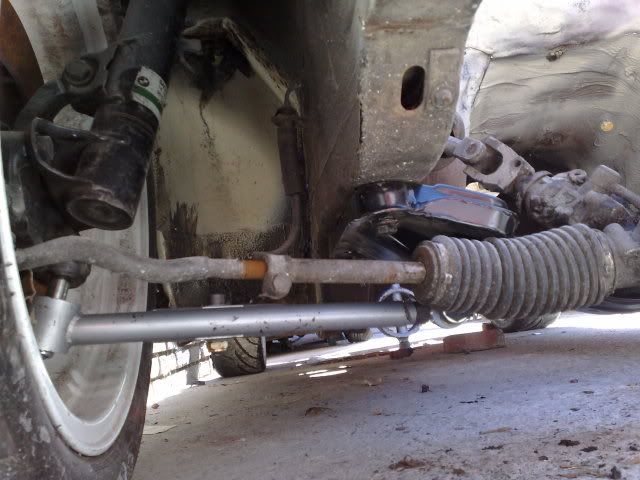
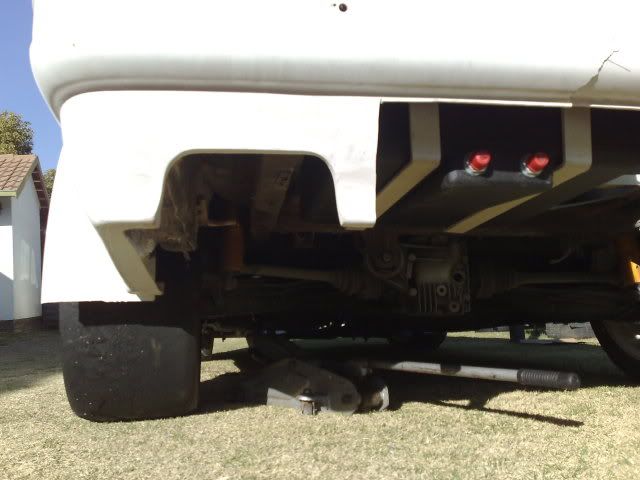
First assortment of suspension goodies
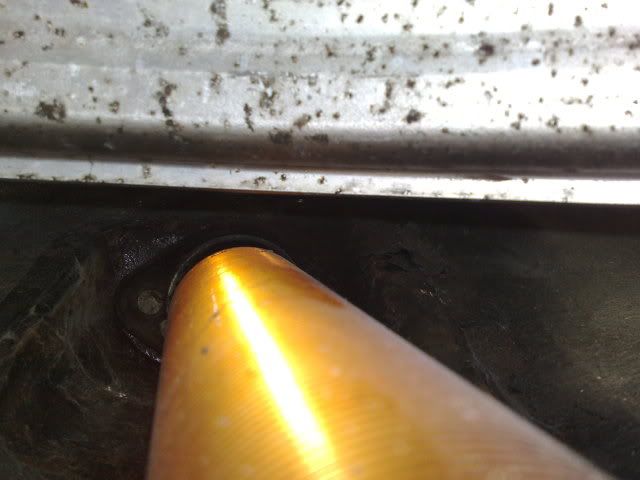
Although it was nothing major it felt good. We took delivery of reinforced front subframe, had a good friend make us some solid aluminum rear subframe mounts which we later modified to raise the rear subframe up 12mm.
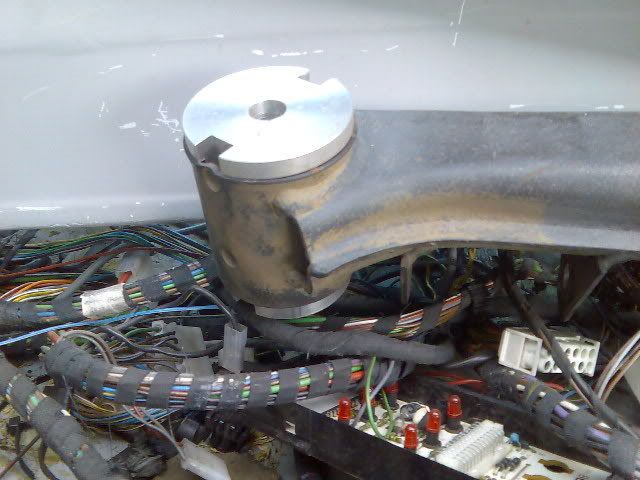
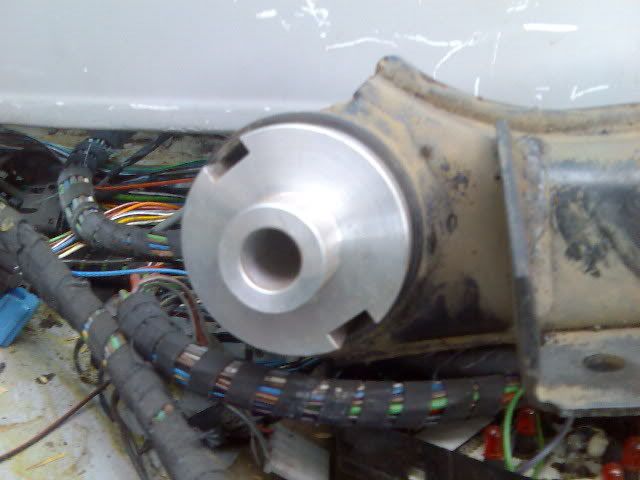
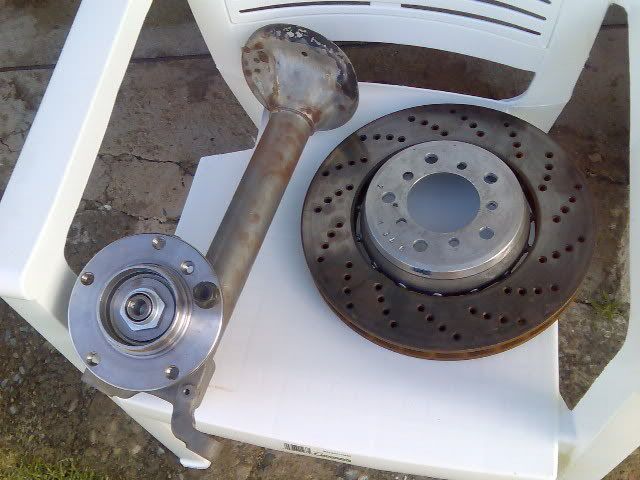
Pictured here is also one of our discarded projects. If you look closely you will notice that it is a standard e30 strut but with a e36 hub mounted onto it. What was done was a new sleeve was machined to press fit over the standard kingpin and then be welded at the back. These parts are still kicking around at home and I will try them out on my road e30 to see how well they work.
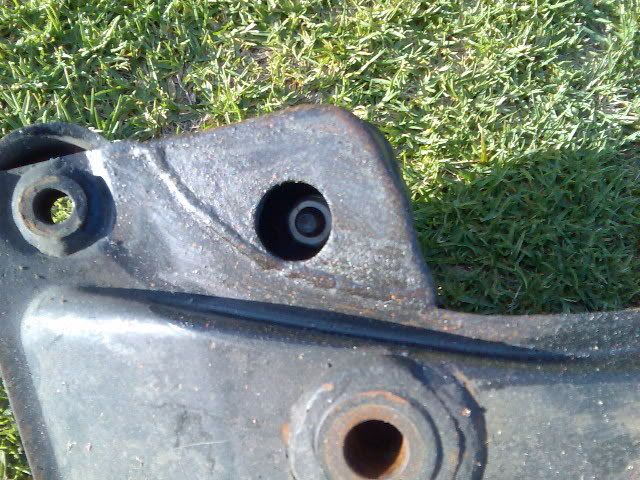
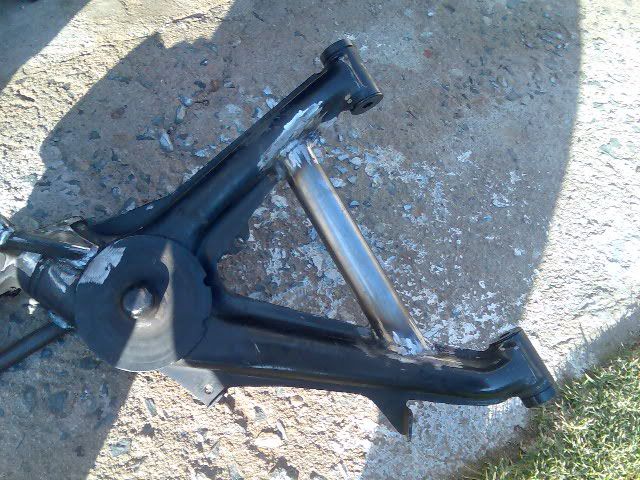
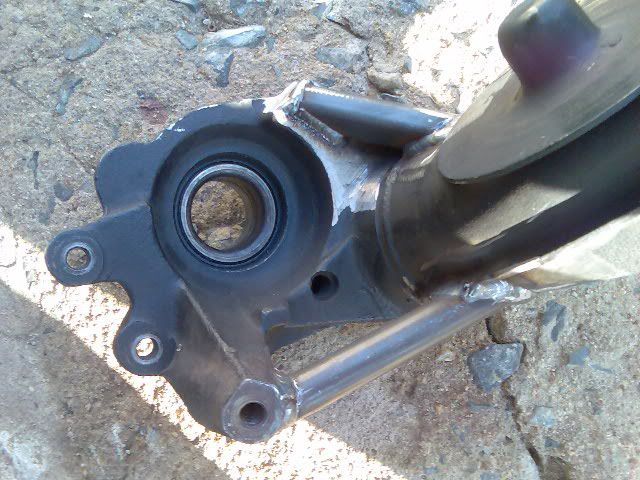
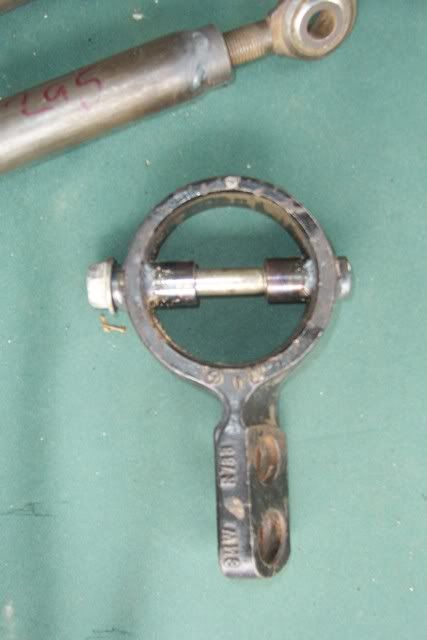
Rear Trailing Arms and Camber/Toe Adjustment Subframe
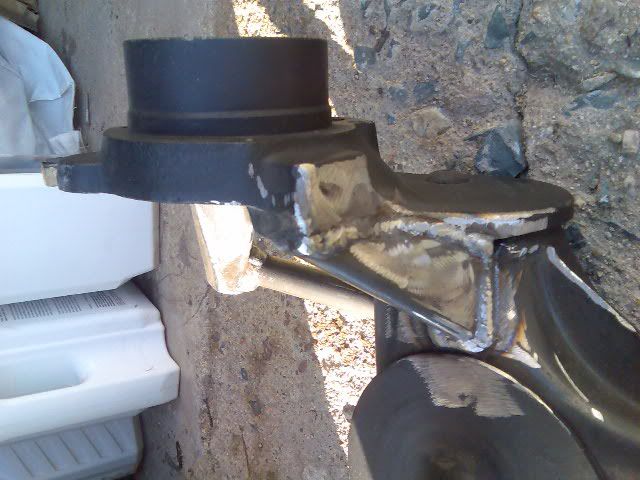
After doing loads of research on this point. I went and had the rear trailing arms reinforced. This goes along the lines of the early Group A and DTM cars as well as similar to what was done on the M Coupe. It incorporates added triangulation and gusseting of the hub housing to prevent camber and toe deflection under load.
We also got some custom made Poly Propelene bushes made up. Although I'm not certain as to how they will perform. The guy that made them was adamant that they work and that he uses them on his offroad cars.
We also had the rear subframe modified to all adjustment of camber and toe. This is the same concept as the kit the some vendors in the USA sell. It seems like an easy enough solution.


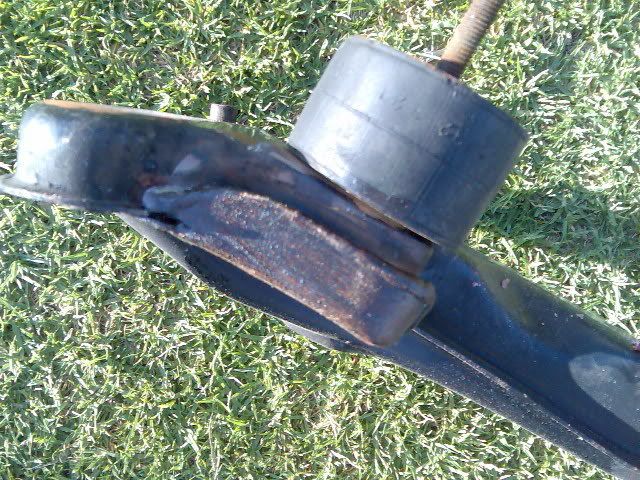
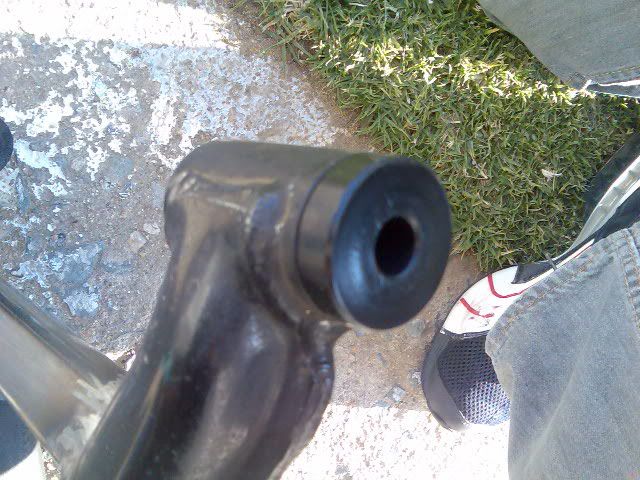
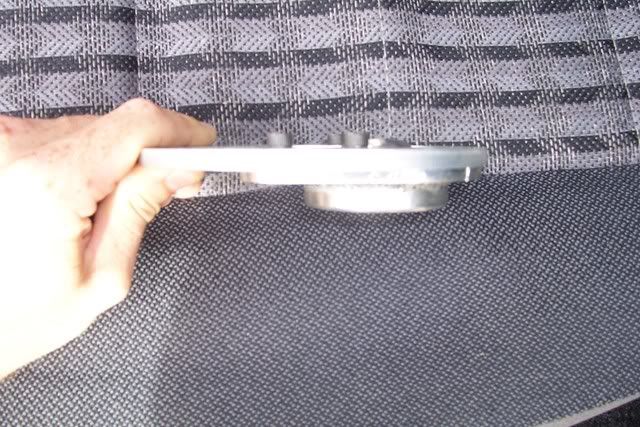
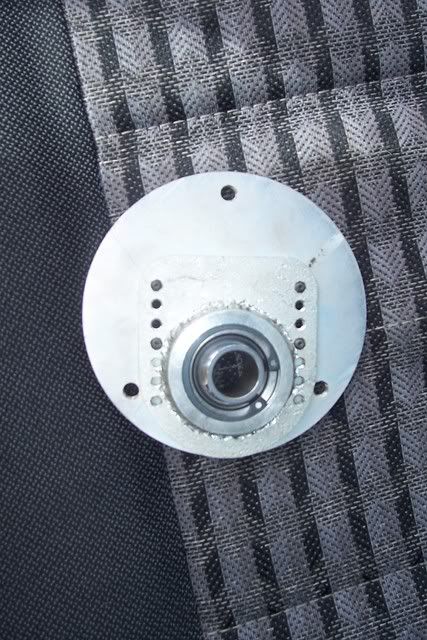
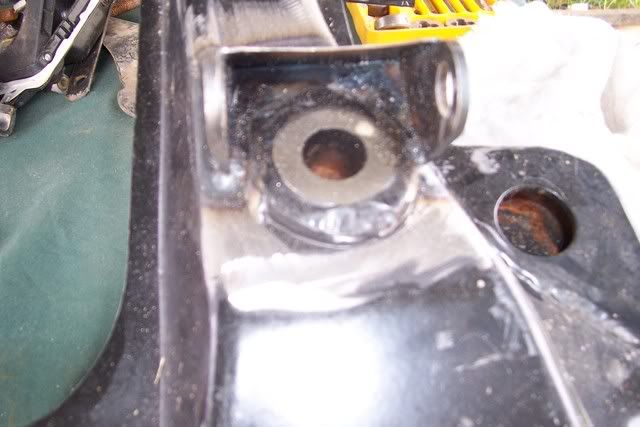
Here is an image of the Poly Propelene bushes. I need to get hold of another set of trailing arms though. As in the future the plan is to convert these bushes to a Spherical bearing (mono ball) setup.
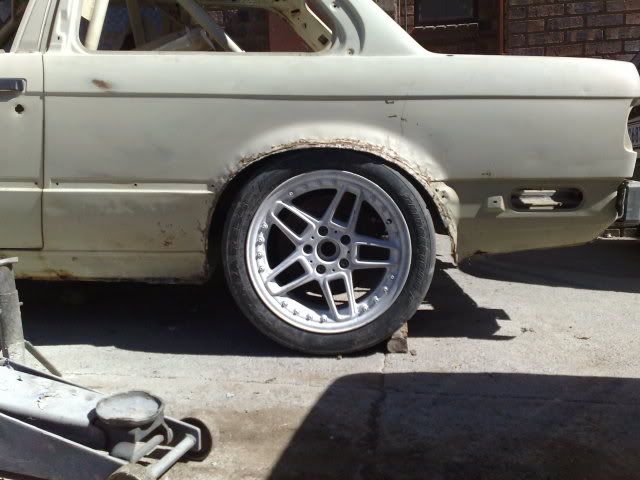
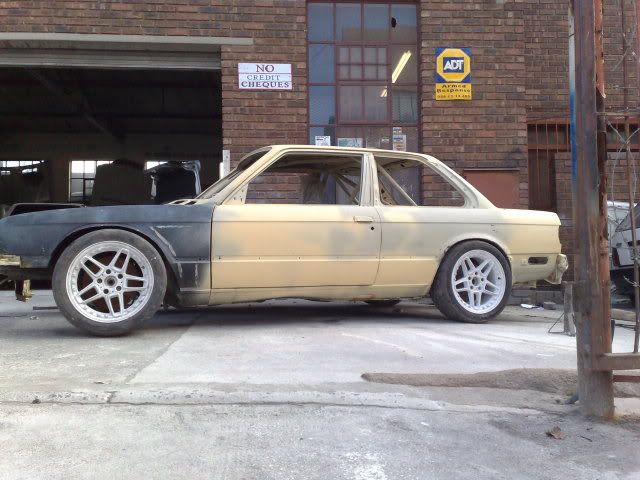
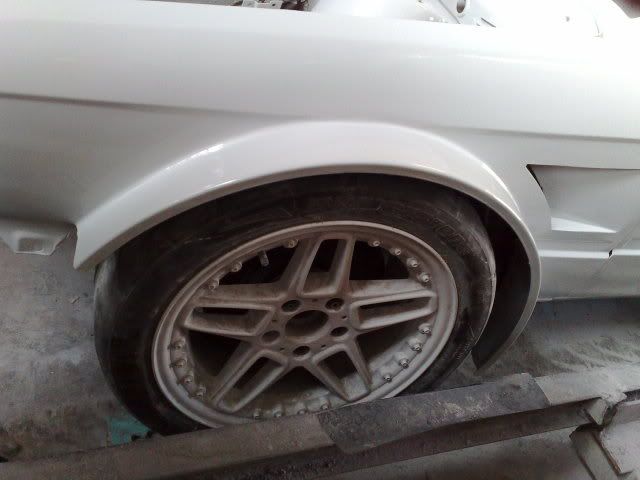
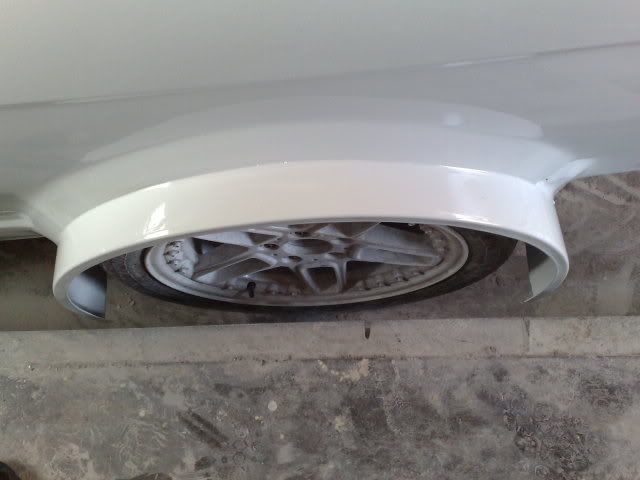
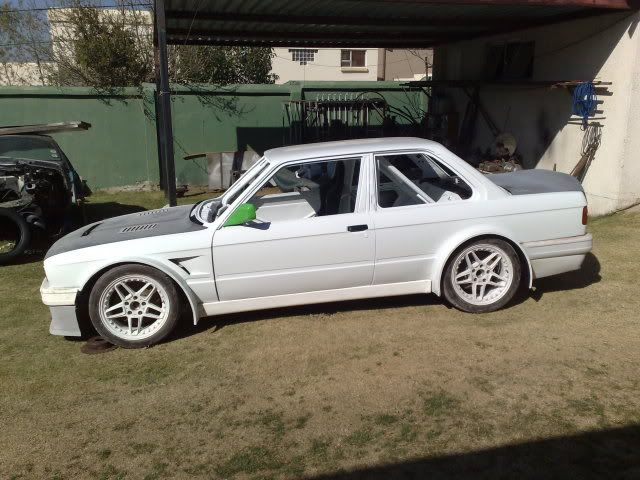
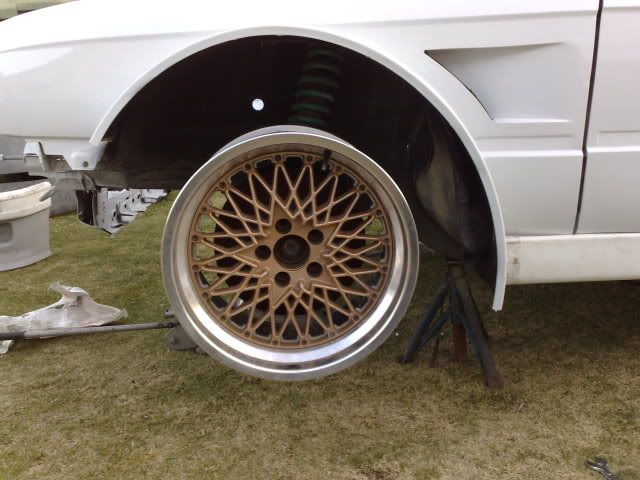
Lets get rolling - Wheel talk
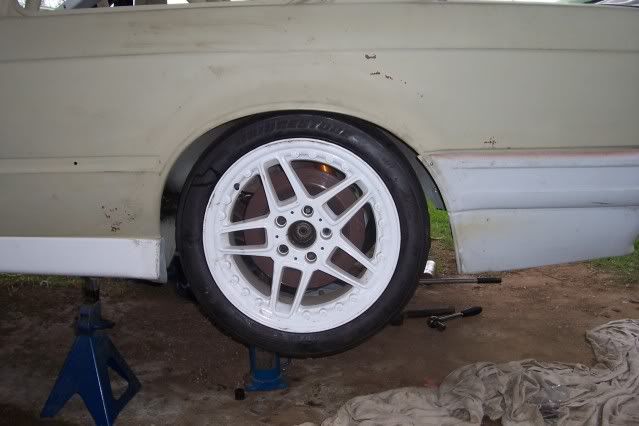
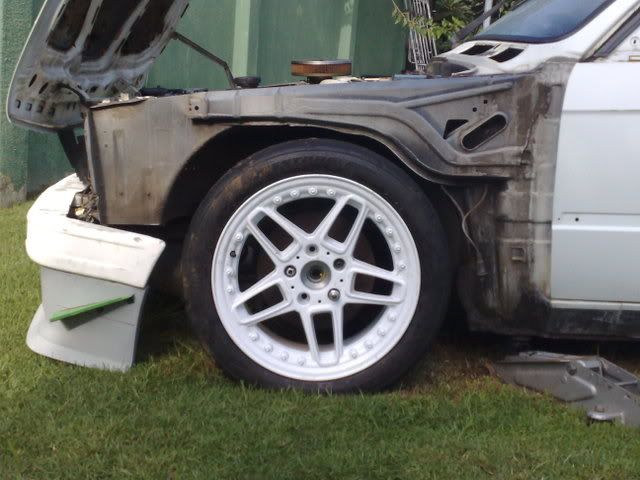
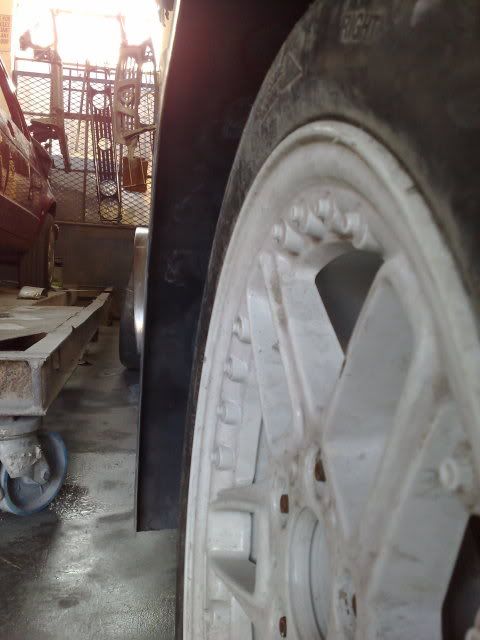
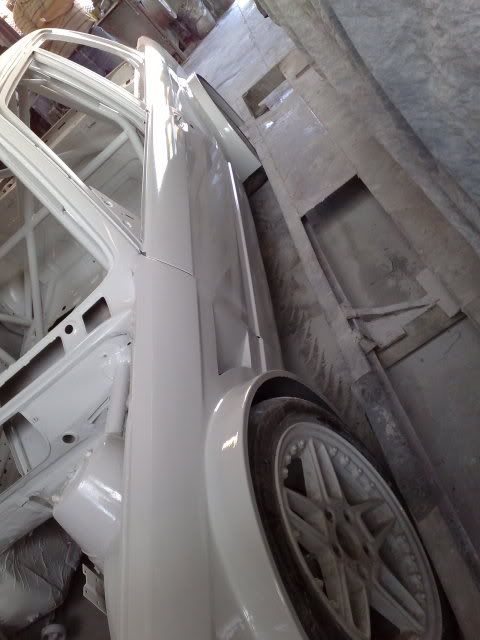
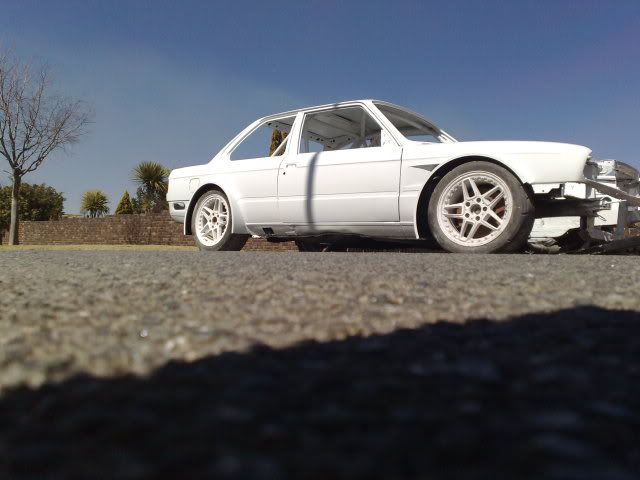
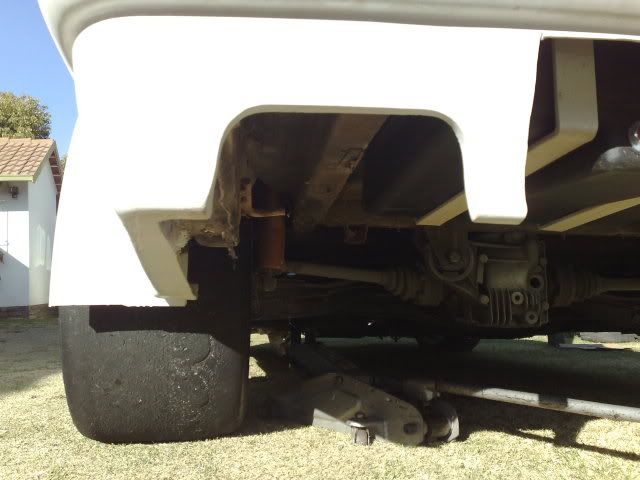
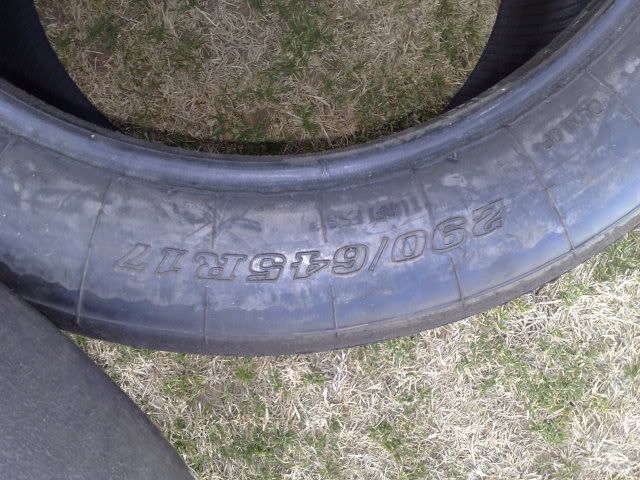
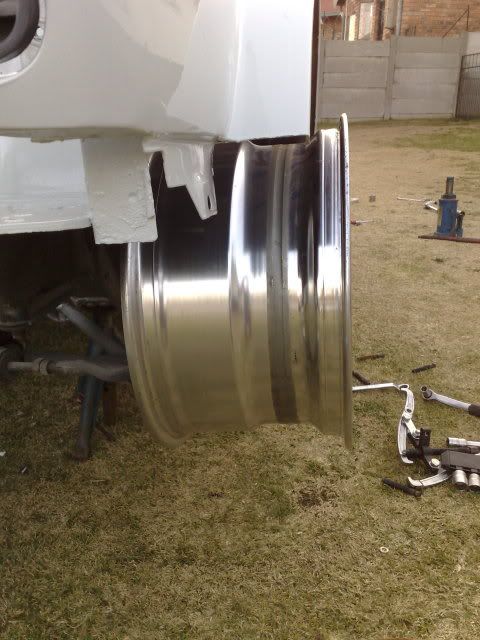
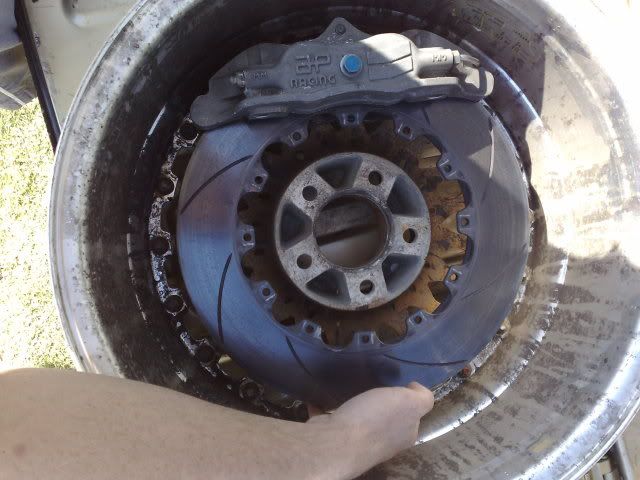
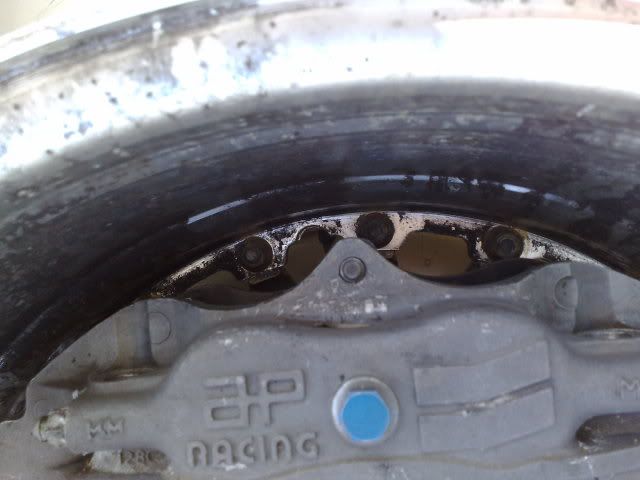
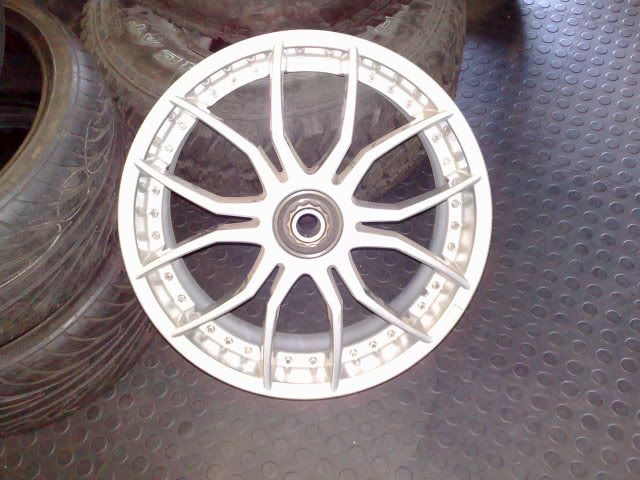
Ok, so after much searching about and a tip off from a friend. We came across these rims. Ac Schnitzer 17x8 rims. Very nice but they looked much better once they had been powder coated white.
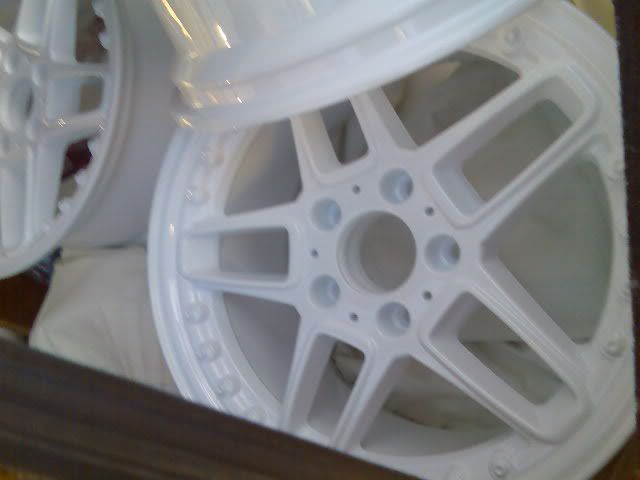
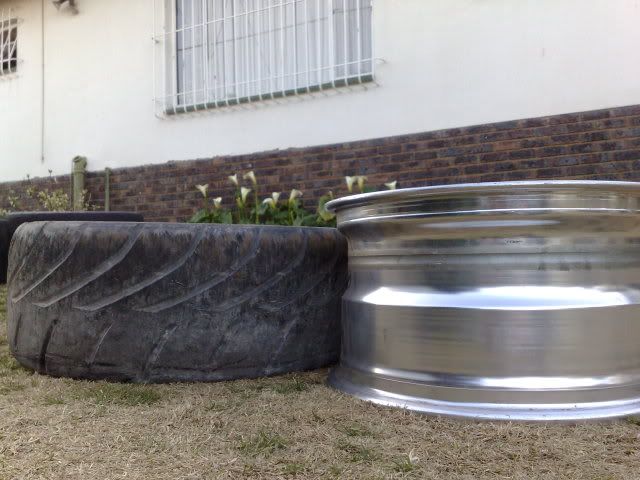
The sad part though is that they are now so frigging heavy. I'm sure the guys who did the powder coating put on like 4mm of the stuff. It was so thick that the wheels no longer fit on the centre bore of the hub.
We have made some plans and will get them stripped back down and we will paint them ourselves in an even better colour.
Initial Purchase
The car was basically bought as a rolling shell. The body although not all that pretty looking was straight and mostly rust free. The two main concerns. Although the dimbulb that owned the car previously had hacked the front frame rails a bit and the transmission tunnel to fit in some American muscle. This was easily repaired though.
The first body panels arrive
So after a couple of weeks of not much happening with the car. Most of our body panels had arrived. Fiberglass M-Tech 2 front Valance and Bumper Cover, Rear Valance, and Skirts. The single skin carbonfiber bonnet (hood) and boot (trunk) finally arrived as well as the new front grills and kidneys. Of course a test fit was in order.
Roll Cage Installation
The car finally left us for it's short journey to the roll cage fabricator. It was his first e30 roll cage. I think he did a half decent job of it. There are some things I would like changed but that will have to wait.
Lets strip some paint
If ever there was a job I hated more than anything on this car. It had to be this. It took my father and myself a weekend of copious amounts of paint stripper and many chemical burns later to strip this cars entire body of paint. Although it was one of the worst damn jobs. The weight loss must have been substantial. I kid but the had 4 different colours on it. So glad we got the extra paint off of it. Once we stripped the paint down we just hit it with some self etching primer to stop rust.
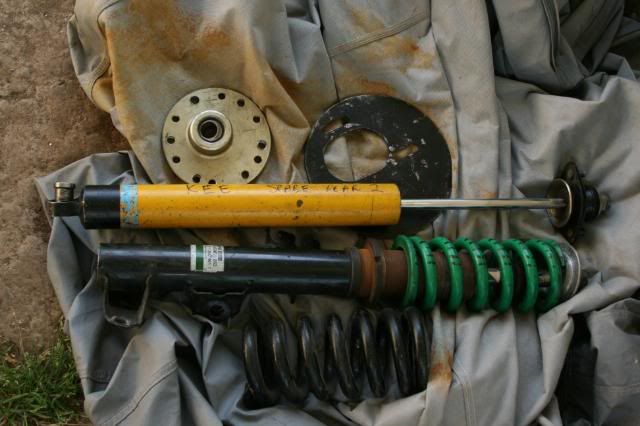
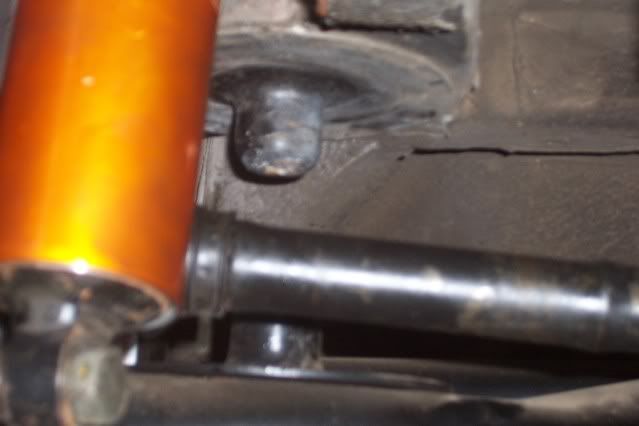
First assortment of suspension goodies
Although it was nothing major it felt good. We took delivery of reinforced front subframe, had a good friend make us some solid aluminum rear subframe mounts which we later modified to raise the rear subframe up 12mm.
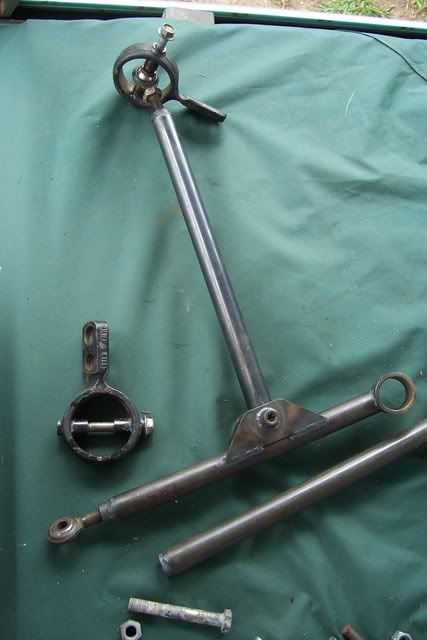
Pictured here is also one of our discarded projects. If you look closely you will notice that it is a standard e30 strut but with a e36 hub mounted onto it. What was done was a new sleeve was machined to press fit over the standard kingpin and then be welded at the back. These parts are still kicking around at home and I will try them out on my road e30 to see how well they work.
Rear Trailing Arms and Camber/Toe Adjustment Subframe
After doing loads of research on this point. I went and had the rear trailing arms reinforced. This goes along the lines of the early Group A and DTM cars as well as similar to what was done on the M Coupe. It incorporates added triangulation and gusseting of the hub housing to prevent camber and toe deflection under load.
We also got some custom made Poly Propelene bushes made up. Although I'm not certain as to how they will perform. The guy that made them was adamant that they work and that he uses them on his offroad cars.
We also had the rear subframe modified to all adjustment of camber and toe. This is the same concept as the kit the some vendors in the USA sell. It seems like an easy enough solution.
Here is an image of the Poly Propelene bushes. I need to get hold of another set of trailing arms though. As in the future the plan is to convert these bushes to a Spherical bearing (mono ball) setup.
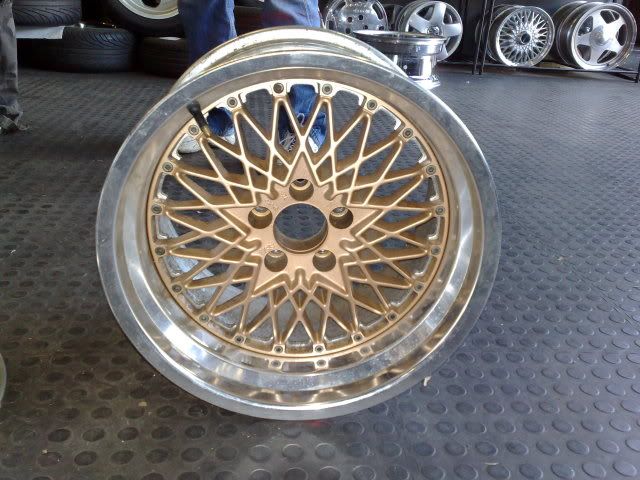
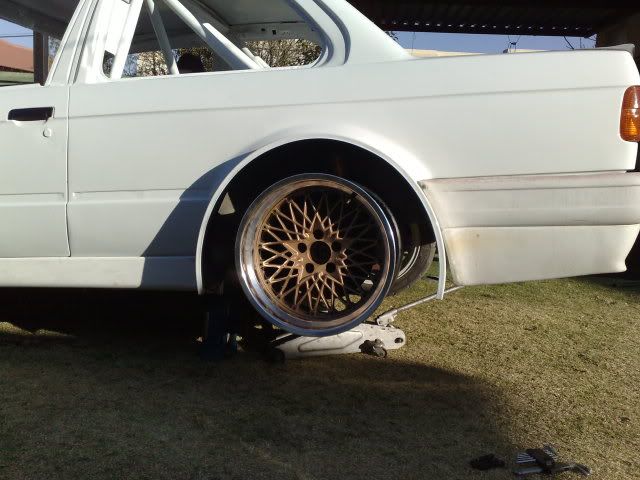
Lets get rolling - Wheel talk
Ok, so after much searching about and a tip off from a friend. We came across these rims. Ac Schnitzer 17x8 rims. Very nice but they looked much better once they had been powder coated white.
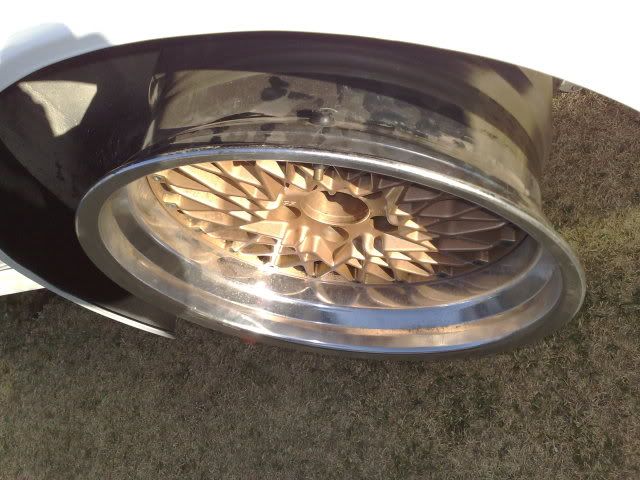
The sad part though is that they are now so frigging heavy. I'm sure the guys who did the powder coating put on like 4mm of the stuff. It was so thick that the wheels no longer fit on the centre bore of the hub.
We have made some plans and will get them stripped back down and we will paint them ourselves in an even better colour.


Comment