
I replaced the window lock strips on my henna car recently. After searching around the web I found several posts about how to do it but none had pics or much decent guidance. If this is a repost then forgive me. Hopefully it's helpful.
You will need:
Lock Strip tool:
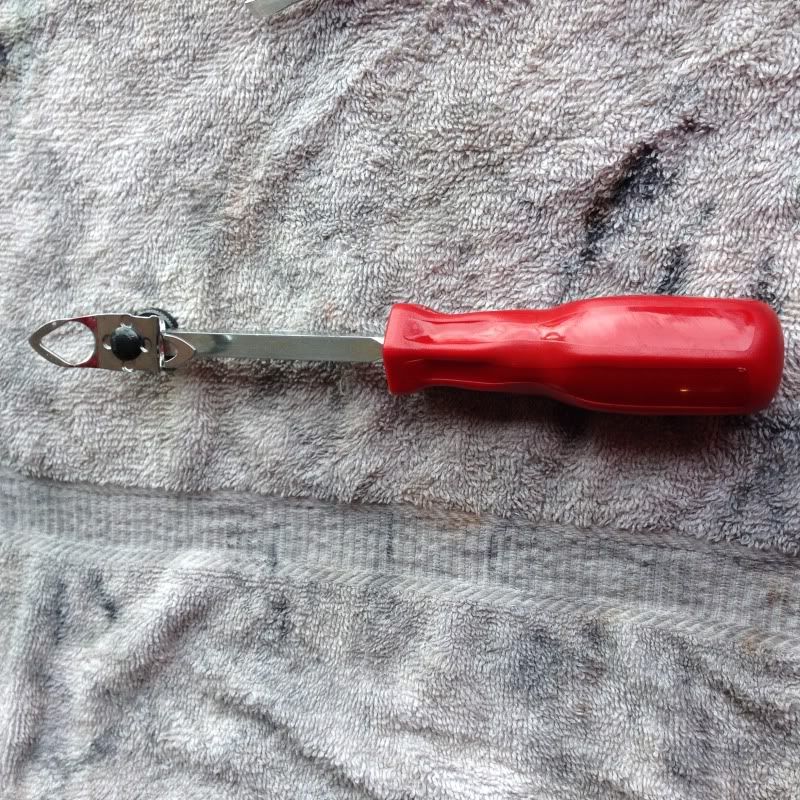
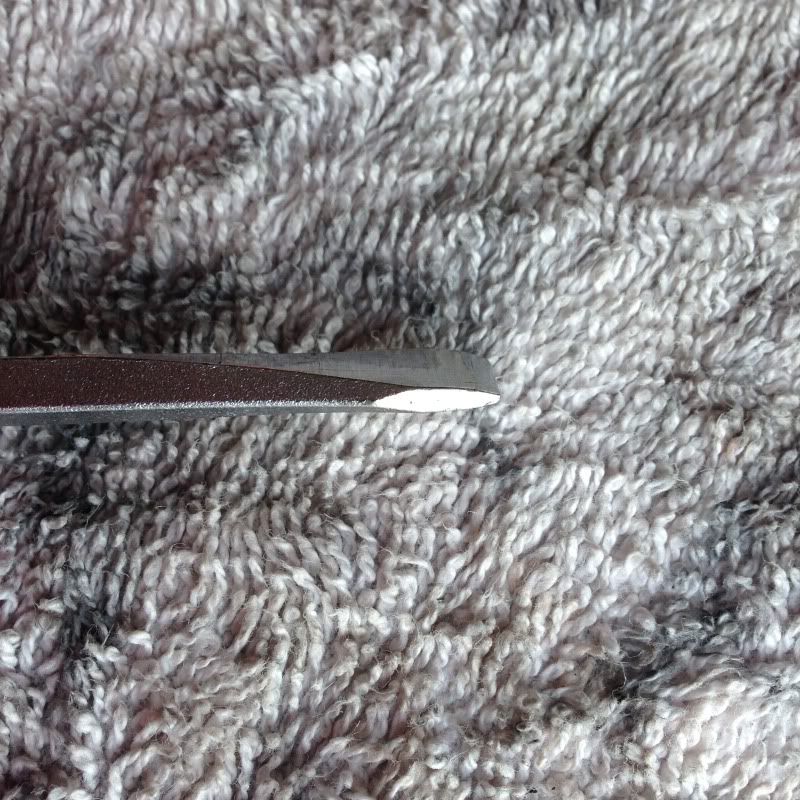
Dull screwdriver:
Lots of soap:
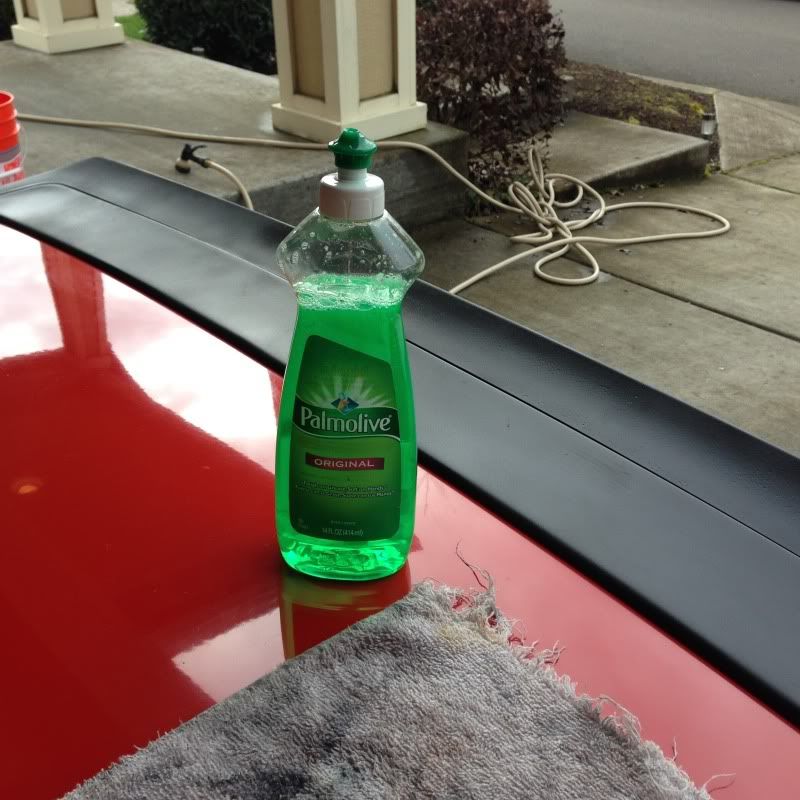
A small bowl of warm water.
First thing - if it's not warm out soak the trim in hot water. This will make it workable for installation.

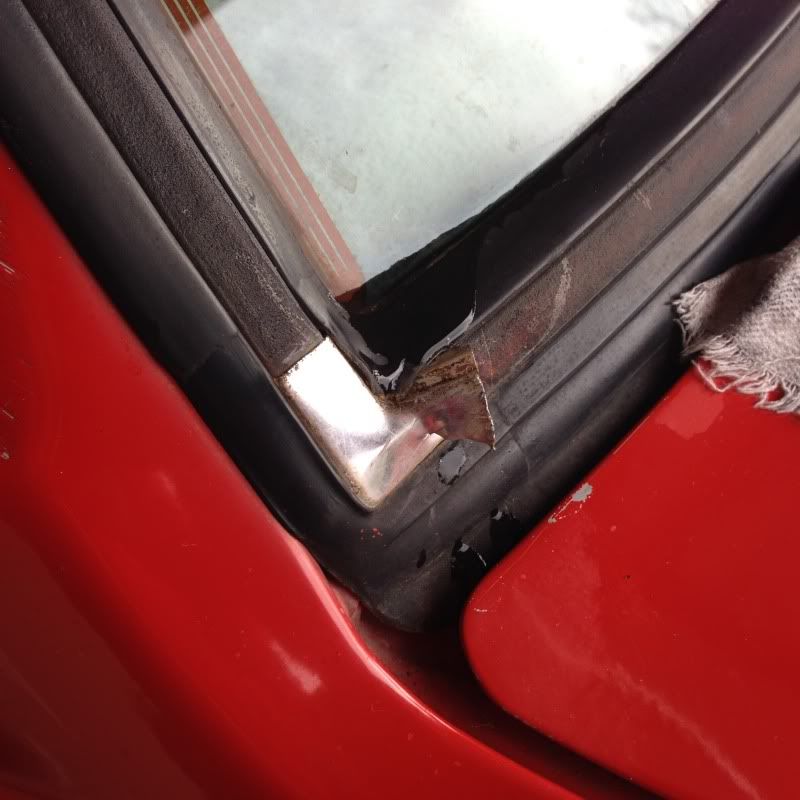
Next remove the old trim. Use the flat head screwdriver to pull out the clips from the corners. Be sure to lube up the gasket with soap and hot water to get the screwdriver in and not rip the gasket.
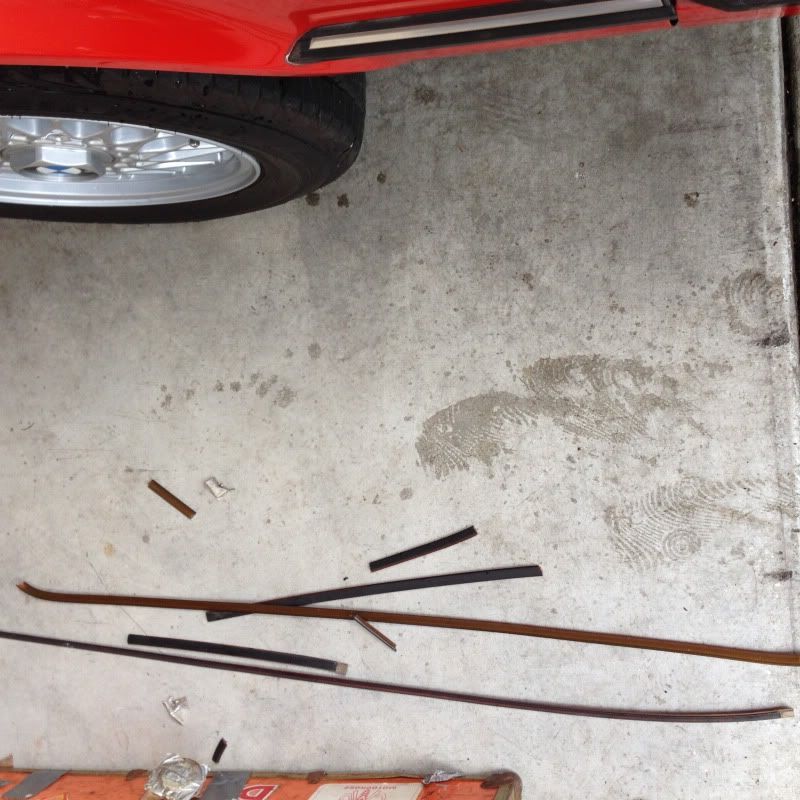
Once out you can just pull out the old trim. Mine was so shot it was brittle and cracked along the way. Remnants:
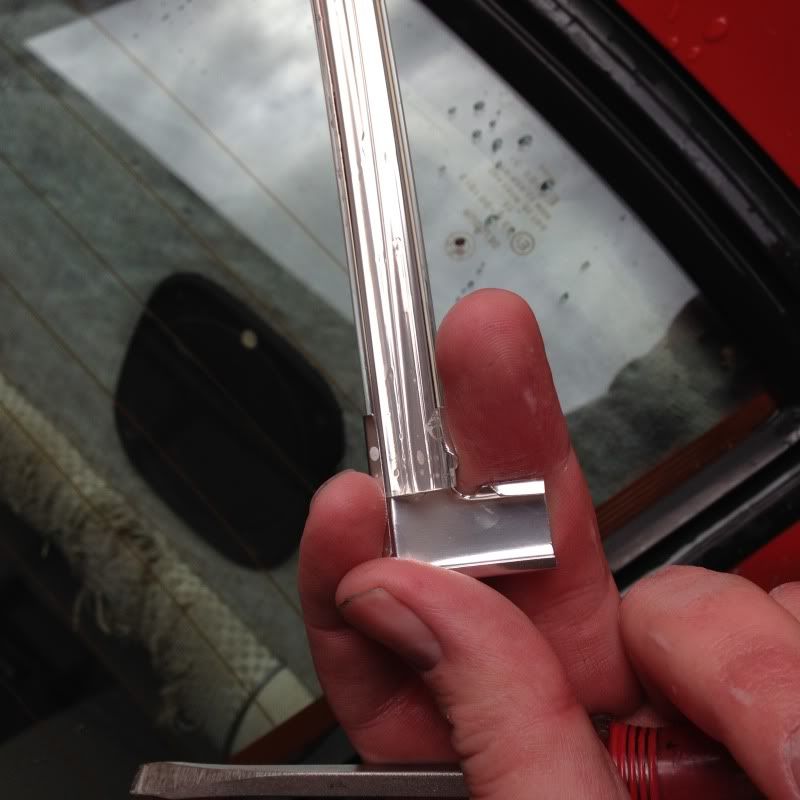
Next get one end of the new strip into the clip:
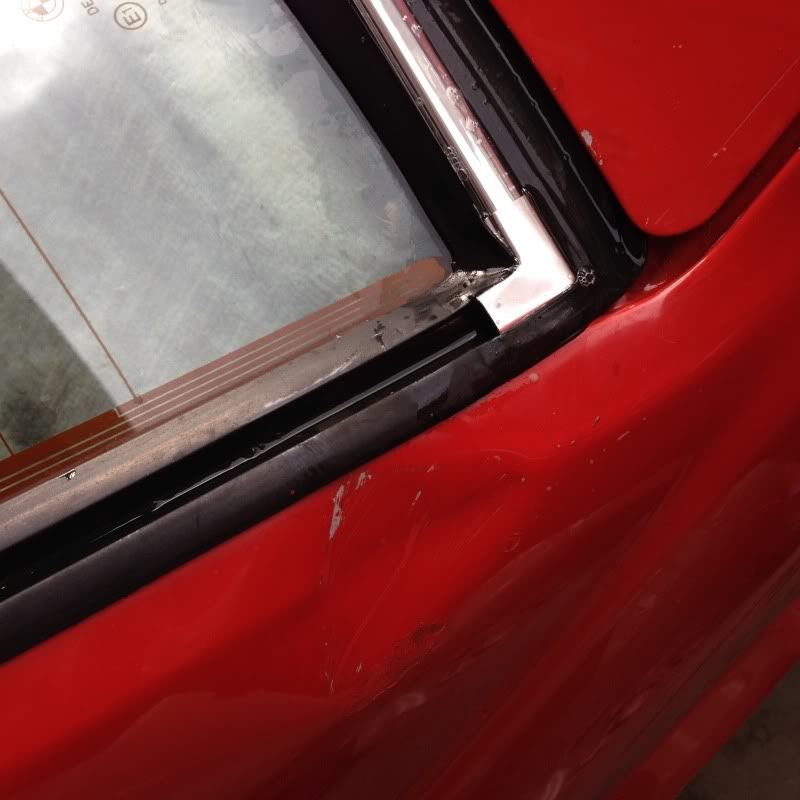
Get the clip set in the gasket (use lots of soap and the flat head screwdriver) and then do the lower piece:
Get it started with the flat head screwdriver and then position the gasket tool like so:
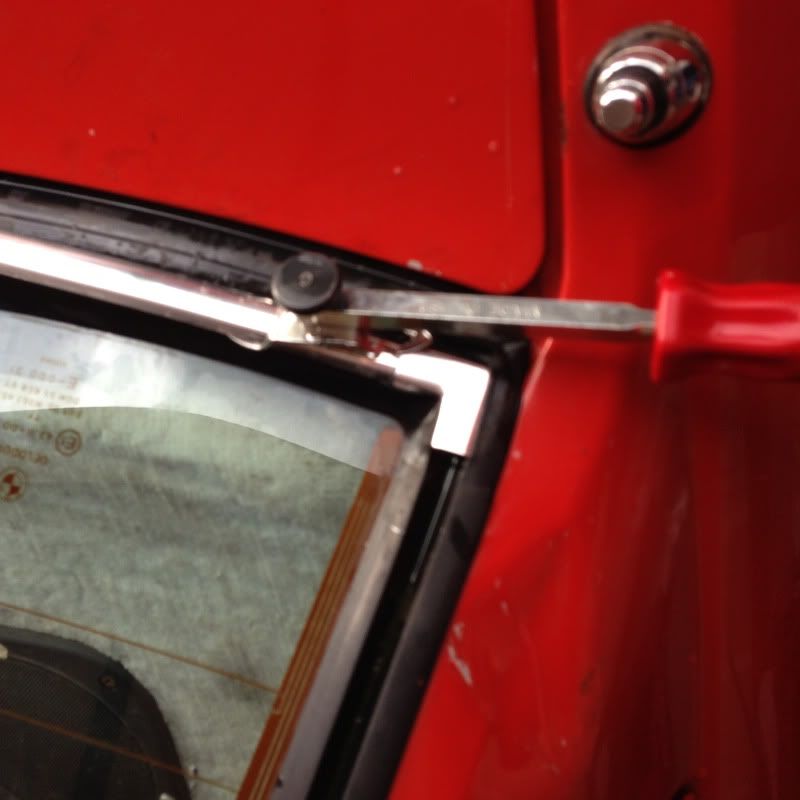
Using lots of soap, work the tool across the gasket forcing the strip in.
Once in you might find that there is a bit too much trim at the other end. Don't worry about it yet.
Then start up the top. You'll find that the trim is getting firmer now and is less flexible. You'll have to go over it with the tool a few times to "train it" to fit the mould. Don't worry if you have to make a few passes and it does click in. You're just shaping it right now.
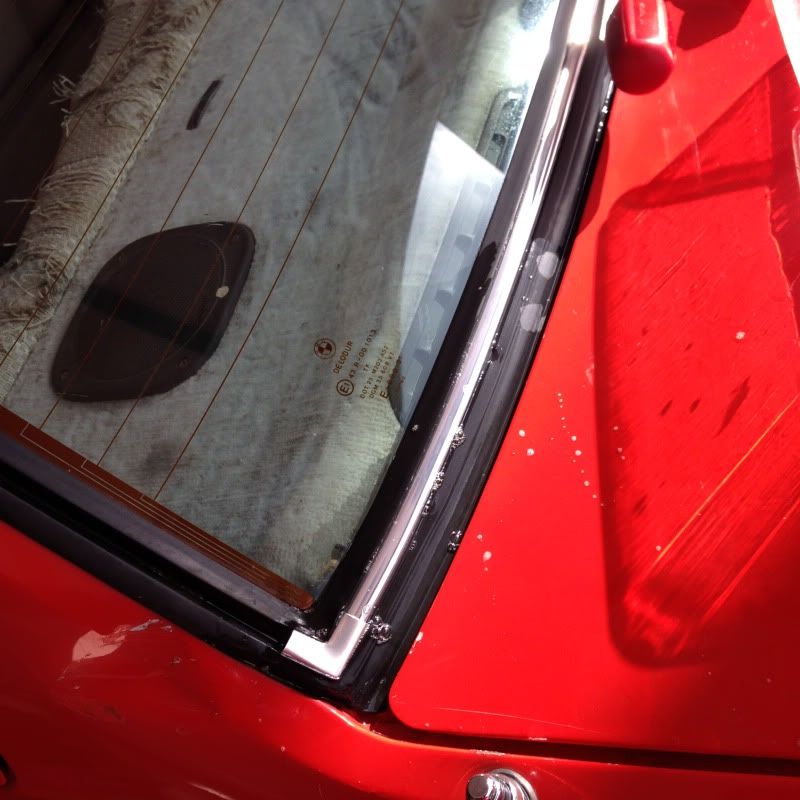
Before shaping:
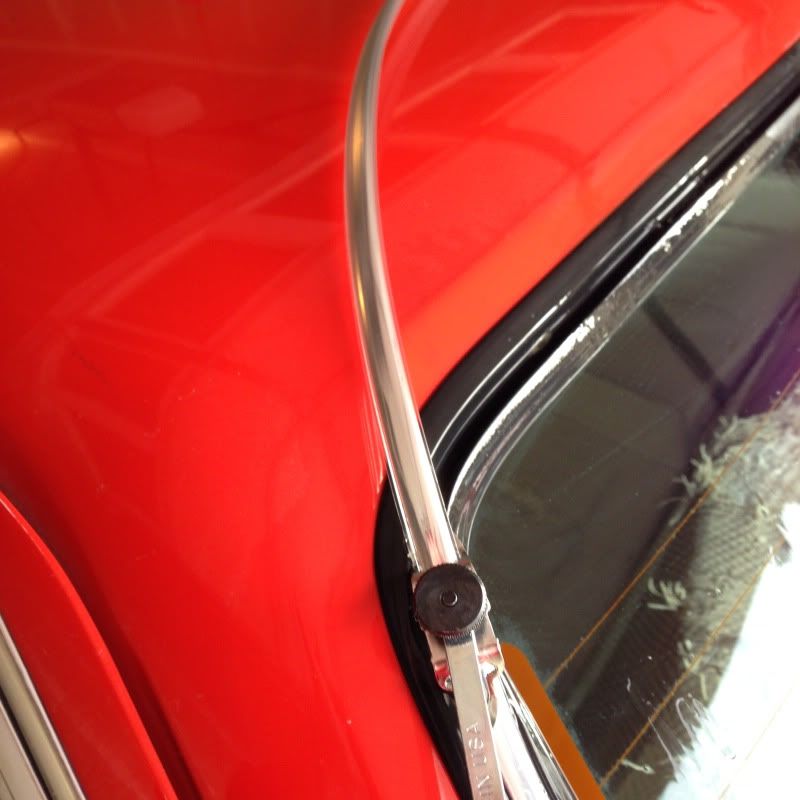
After shaping:
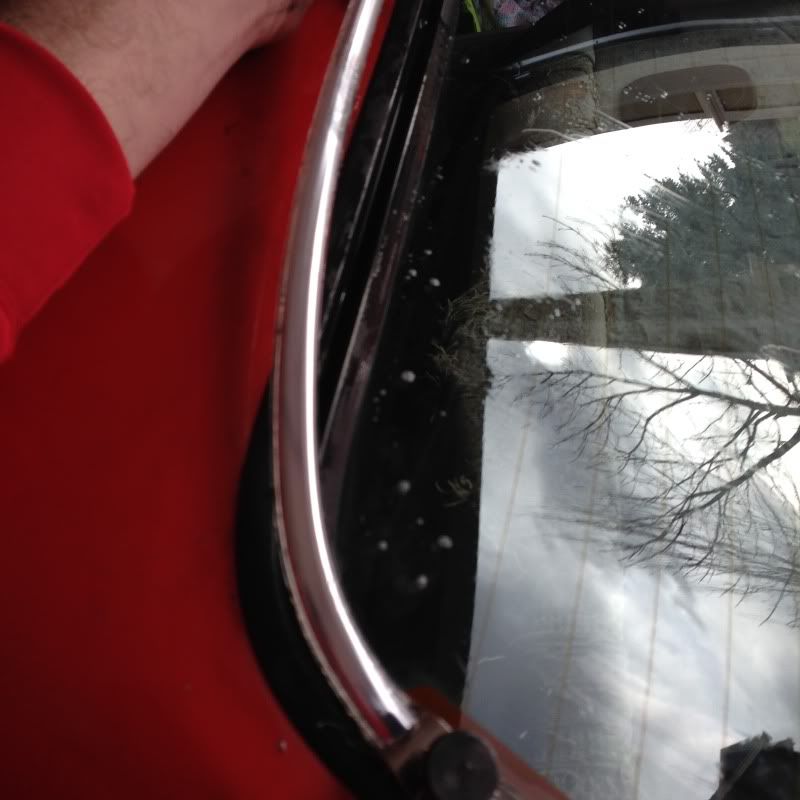
Now use lots of soap and water and work it all the way to the other end. Then you may end up with this:
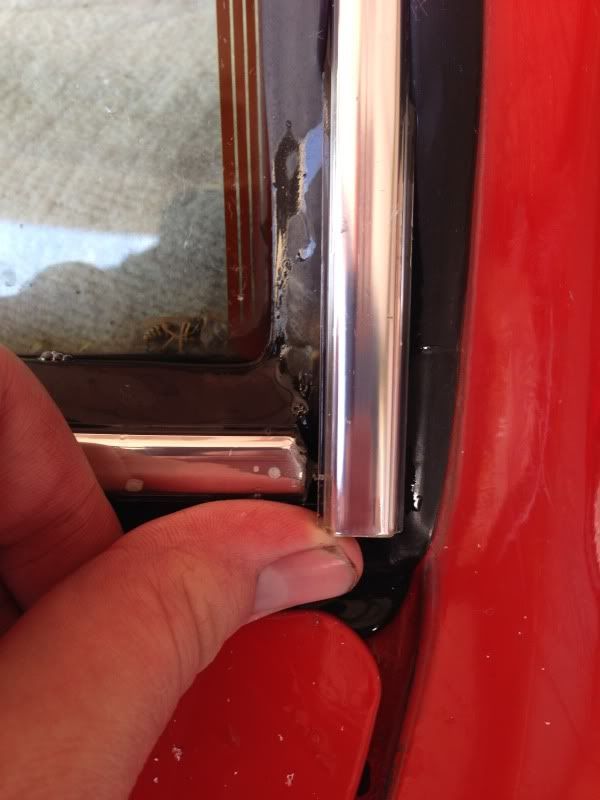
I used tin snips to cut it to size, put the clip in and then slid the ends of the lock strip into each end of the clip. Once done I used more soap and water to slip the screwdriver under the gasket and set the whole thing in place. You end up with this:
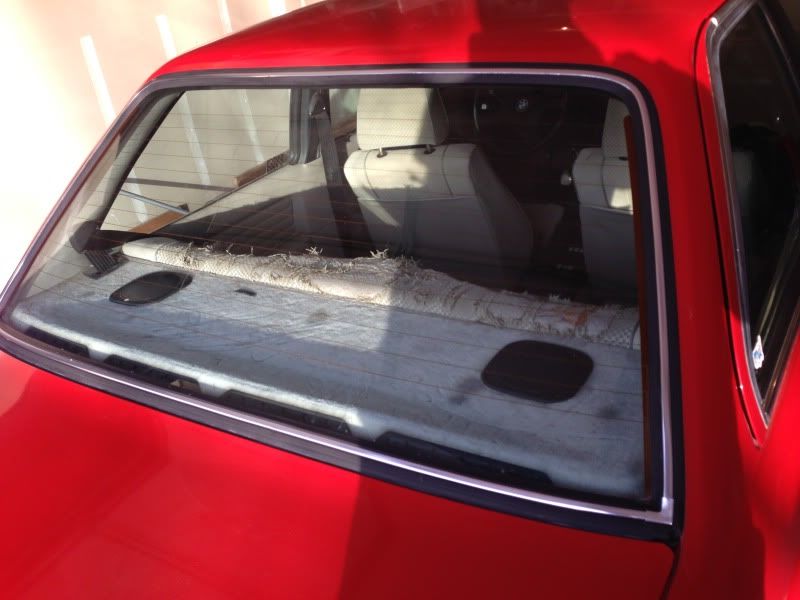
Front end works the same.
Hope this helps!
You will need:
Lock Strip tool:
Dull screwdriver:
Lots of soap:
A small bowl of warm water.
First thing - if it's not warm out soak the trim in hot water. This will make it workable for installation.
Next remove the old trim. Use the flat head screwdriver to pull out the clips from the corners. Be sure to lube up the gasket with soap and hot water to get the screwdriver in and not rip the gasket.
Once out you can just pull out the old trim. Mine was so shot it was brittle and cracked along the way. Remnants:
Next get one end of the new strip into the clip:
Get the clip set in the gasket (use lots of soap and the flat head screwdriver) and then do the lower piece:
Get it started with the flat head screwdriver and then position the gasket tool like so:
Using lots of soap, work the tool across the gasket forcing the strip in.
Once in you might find that there is a bit too much trim at the other end. Don't worry about it yet.
Then start up the top. You'll find that the trim is getting firmer now and is less flexible. You'll have to go over it with the tool a few times to "train it" to fit the mould. Don't worry if you have to make a few passes and it does click in. You're just shaping it right now.
Before shaping:
After shaping:
Now use lots of soap and water and work it all the way to the other end. Then you may end up with this:
I used tin snips to cut it to size, put the clip in and then slid the ends of the lock strip into each end of the clip. Once done I used more soap and water to slip the screwdriver under the gasket and set the whole thing in place. You end up with this:
Front end works the same.
Hope this helps!


 i have no idea what i am doing with my life

Comment