Announcement

Collapse
No announcement yet.

Need DIY Fixing Oil Filter Housing Gasket Leak

Collapse
X
 
  • Filter
  • Time
  • Show
Clear All
new posts

    Need DIY Fixing Oil Filter Housing Gasket Leak

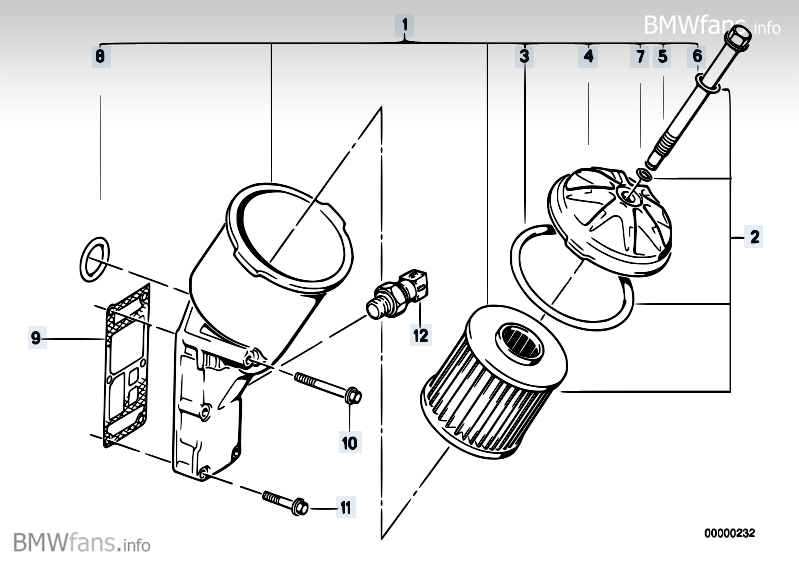
    My M42 E30 oil filter housing gasket is leaking a lot of oil. Is this a big job or an easy one?
    Could someone please give me the info or link on how to fix this issue myself?
    Thank you!

    #2
    http://forums.bimmerforums.com/forum...d.php?t=670169

    It's fairly easy, just remember to disconnect the battery before removing the alternator wires.

    Comment


      #3
      I think for me it's going to be somewhat difficult as I'll have to take the belts and alternator out. I also don't know how to adjust belt tensions once they're put back on. I'm not mechanically inclined. Some guy in another forum said it took him about 4 hours to finish this work. I went to Brake Masters and was given the price of $200 for labor to fix it. Is this a good price or not? Could anyone estimate the parts for this work? I'm told the gasket costs only about $10. Are there other parts I need besides a gasket?

      Comment


        #4
        There's also an o-ring (P/N 11421709513). Its about 2-3 hours of labor so $200 sounds about right.

        Comment


          #5
          If you have the tools and you plan on keeping an E30 you will need to get comfortable with this type of work. While $200 is not an unreasonable price, as they are probably including an oil change and filter to pad a bit, these little repairs will bleed you dry if you are forced to rely on a shop. Get in there, get comfortable working on the car and when you are done you will feel assured that you can tackle these repairs.

          None of what I said matters if you are well off, but I would imagine the average owner of an M42 powered car to be, well, average.

          Comment


            #6
            Do I use common sense when adjusting the belts tension later after I put them back on? Is there a guide I could follow. It won't be difficult, will it?

            Are there 2 O-rings? One is the one that goes on the filter housing cap and where does the other one fit?

            Comment


              #7

              Link from: http://bmwfans.info/parts/catalog/E3...tem_oil_filter

              That above as you well know is the system you will be repairing. The o-ring referenced is #8 in the diagram.

              Below is a quickie DIY I made for removing the parts up to the upper alternator mount bracket. Adjusting the belt is at the end. Hope it's not too patronizing, but I have no idea what your skill level is.

              In order to get there you will need to remove the airbox/AFM/intake tube. Do this by loosening the two 10mm nuts on the drivers side of the airbox; loosen the hose clamp on the throttle body that retains the intake bellow; remove the AFM plug on the side of the AFM; remove the vacuum hose on the back side of the intake bellow, then lift assembly out of the way.

              Remove negative battery cable in the trunk (13mm). Loosen the alternator belt by taking a either 13mm or 11mm flat wrench and putting it on the rear nut of the adjuster bracket (#12 here). Then push the alternator toward the engine, and remove belt. Remove the black cover (on back of alternator) for the alternator wiring by sliding the wiring cover (black flexible rubber) up the loom which frees the cover. Then with a 13? and 10mm socket remove the nuts which retain the two wires. With a 13mm socket with extension and a 13mm flat wrench remove the lower alternator mounting bolt (#6 & 7 here). Free alternator from mount with a little wiggling and then remove the alternator ground cable 13mm bolt on block or 10mm bolt on alternator (you may want to replace this when you do).

              (This may be a good time to clean the area around the filter housing to prevent crap from getting into the engine when you remove the housing.)

              Now you can see the filter housing and all you have to do is remove the sensor connector on the filter housing, remove the upper alternator bracket and the housing itself. The rest is covered in the DIY above.

              To readjust the alternator belt once you are done and have the alternator back in place take a 19mm socket and a 13mm flat wrench, lightly tighten #12 here while holding #10 in place with the 19mm; turn the 19mm socket on #10 counterclockwise to tighten the belt, then cinch #12 down to lock the adjustment in place. Be sure not to over tighten the belt, just use your best judgement and reference the belts current tightness.

              Comment


                #8
                OK, so it is a simple job, but if you f**k it up you will toast your engine. Here's the deal.

                - Clean both gasketing surfaces with alcohol or MEK to get the oil off. Do not get ANYTHING into the round upper hole. That is where the filtered oil goes into the engine, and any crud that falls in there will end up in a lifter or main bearing.

                - Get some Permatex Ultra Gray RTV adhesive. Apply a THIN coat to the gasket surfaces, on both the housing and the engine. Run a thin bead and then squish it with a finger to spread it.

                - If you are going to use a gasket, then carefully lay it onto the RTV that is on the engine. You don't really need a gasket with this method, though.

                - Apply a little bit of silicone-based dielectric grease to the new rubber o-ring you put onto the housing's round outlet. You could use a little clean engine oil too.

                - Before assembly, make DAMN sure that no RTV made it onto the round outlet on the housing, and that NONE is in the round hole in the engine. I have heard sad tales of guys that meant well and ended up with a chunk of RTV in a lifter.

                - Press the housing on, firmly until the O-ring pops into the hole.

                - Hand-tighten all 6 bolts. Then work each one 1/2 a turn at a time until the housing is fully secured. Do NOT fully tighten them all in one go or you will run a high chance of cracking the housing.

                Transaction Feedback: LINK

                Comment


                  #9
                  ^This

                  Its really straight forward had to do it on my M50 a while back.

                  Comment


                    #10


                    also this is really helpful, bit more user friendly I feel.
                    noobs gotta help each other out.

                    Comment


                      #11
                      As for belt tension, rule of thumb is you should be able to twist the belt 90ยบ when tight, but no more. I.E. - Grab a straight section of the belt and twist it. You should only be able to get it to turn 1/4 of a turn.

                      Comment


                        #12
                        While driving, I noticed there was a bit of smoke inside my car coming up from underneath through the hole of a torn boot of the stick shift. I'm pretty sure this is from the oil that has been leaking and thus the heated oil smokes. I hope this won't catch fire. Anybody knows?
                        Last edited by Learning; 01-22-2013, 07:15 PM.

                        Comment

                        Working...
                        X