

as I just said, after drilling the holes, you should coat the grommet that is to be inserted into them with some sort of sealant, blocker, or primer.
-
-
Wow, that's a great idea. I'm surprised I didn't think of that. lol. That's what I would do with sheet rock and door locks.
I already was thinking of sealing it with a bead of silicone sealant so water can't get through. Although, after drilling I could spray it with a little primer as well to protect the metal parts.
Thanks a bunch for the tip. I'm gonna try to work on it tonight. Will post photos.
Have a great weekend guys and dolls!Your signature picture has been removed since it contained the Photobucket "upgrade your account" image.
---------------------------------
89 E30 S52
---------------------------------
Transaction Feedback.Comment
-
I did pretty much what stephen said. Only drilled one hole and held up the rest of the skirt with the clips and double sided tape. Hasn't even budged.-AlexComment
-
subscribed. I would like a template or visual guide for this as well. I'm not entirely sure I know where all the hardware goes.I don't always wreck cars, but when I do I wreck them into trees.
91' 318is S50 swap - The Black WidowComment
-
Looking for ix jigs check this out Maximillian http://www.bmwmobiletradition-online...53&hg=51&fg=201991 325i coupe
1992 318i conv
2002 540i sedan
sigpic
What did the e30 owner say to the other e30 owner? LOOKING GOOD!Comment
-
I did it.
Parts you need:
51 71 1 947 059 Cover left (fender)
51 71 1 947 060 Cover right
51 71 1 947 063 Cover left (body)
51 71 1 947 064 Cover right
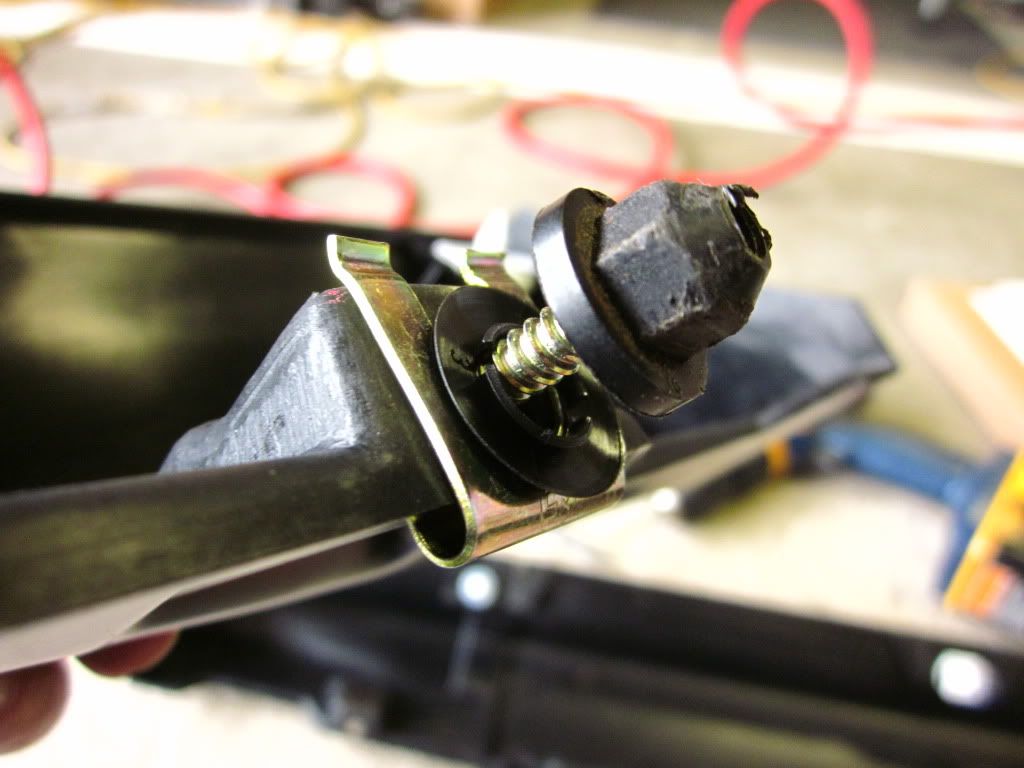
51 71 1 933 719 Clamping bolt
NOTE: You have to remove the bolt at the bottom of the fender and replace it with a similar but longer screw bolt instead of using this.
Trust me it will work better.
51 71 1 927 439 Plug (You need 2)
51 71 1 938 940 Clamping (You need 10)
51 71 1 932 996 Grommets (you need 12)
51 11 1 942 789 Rivet (you need 4)
51 71 1 959 929 Clamps (You need 12)
The whole thing will cost you about $200 including gas money to go to the dealership and lunch.
Thank you to www.bmwconcordparts.com for all the parts.
-----------
<b>My car before the install
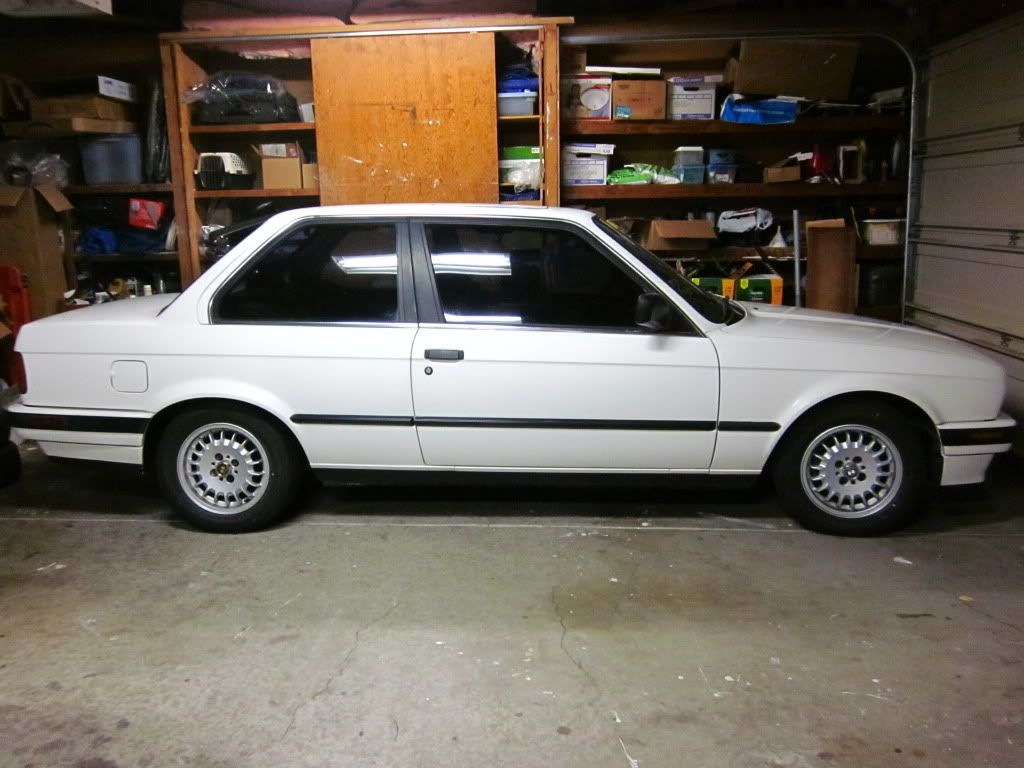
Brand spanking new, straight from the dealership
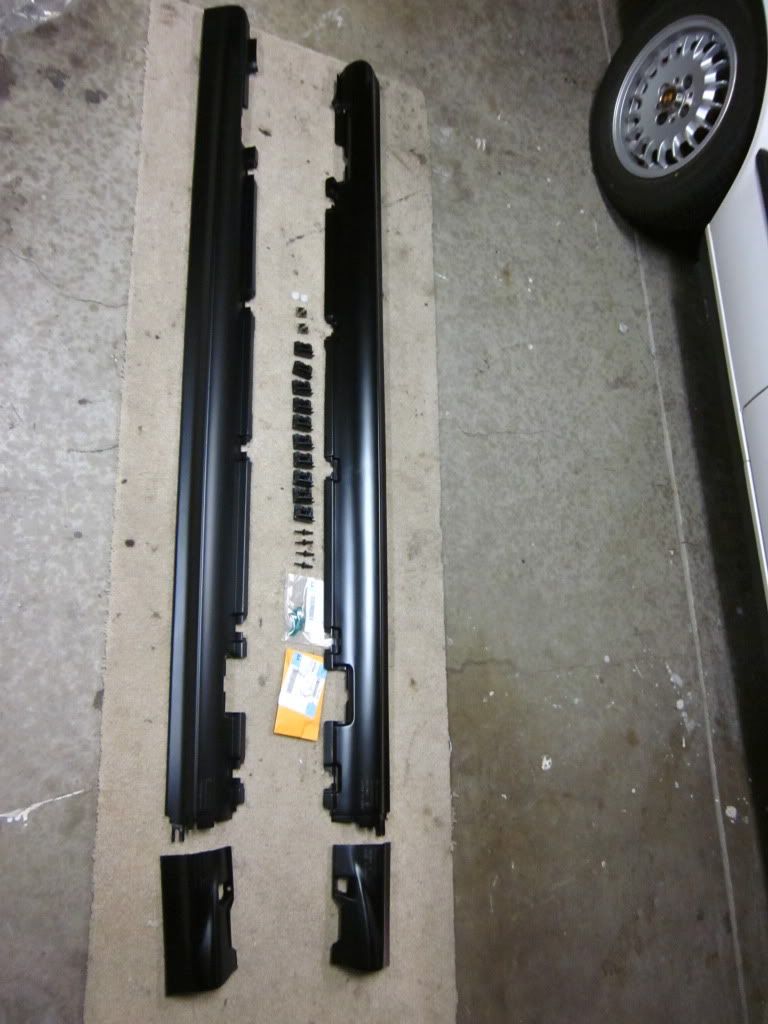
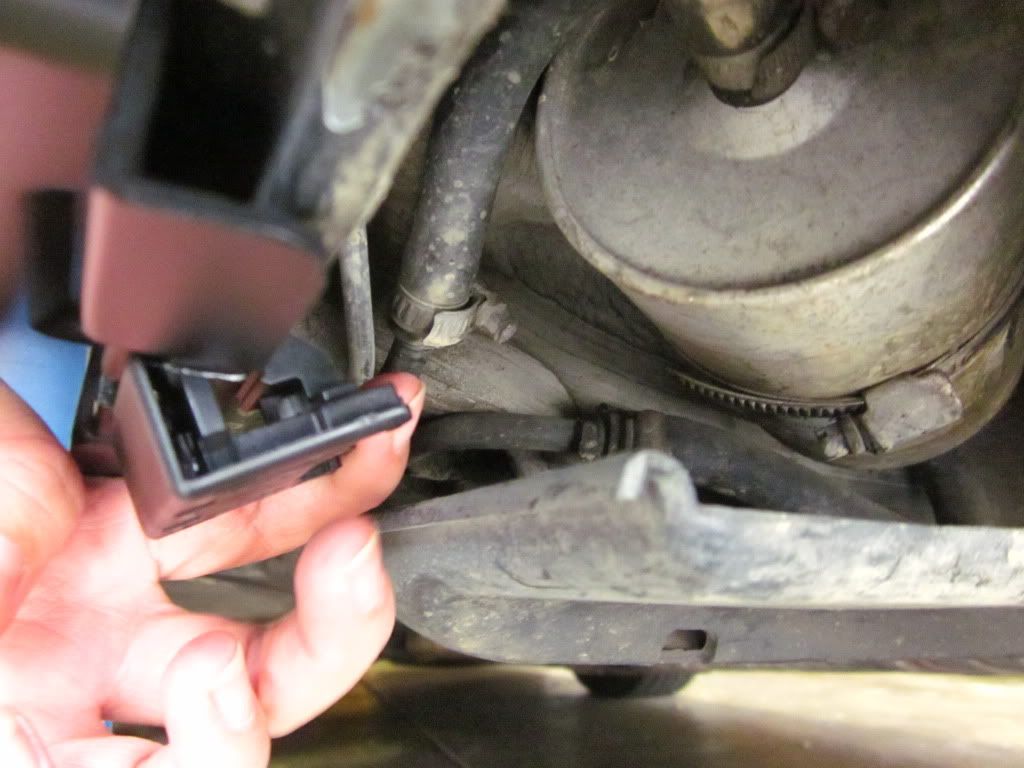
Figuring out where to fit all the clips
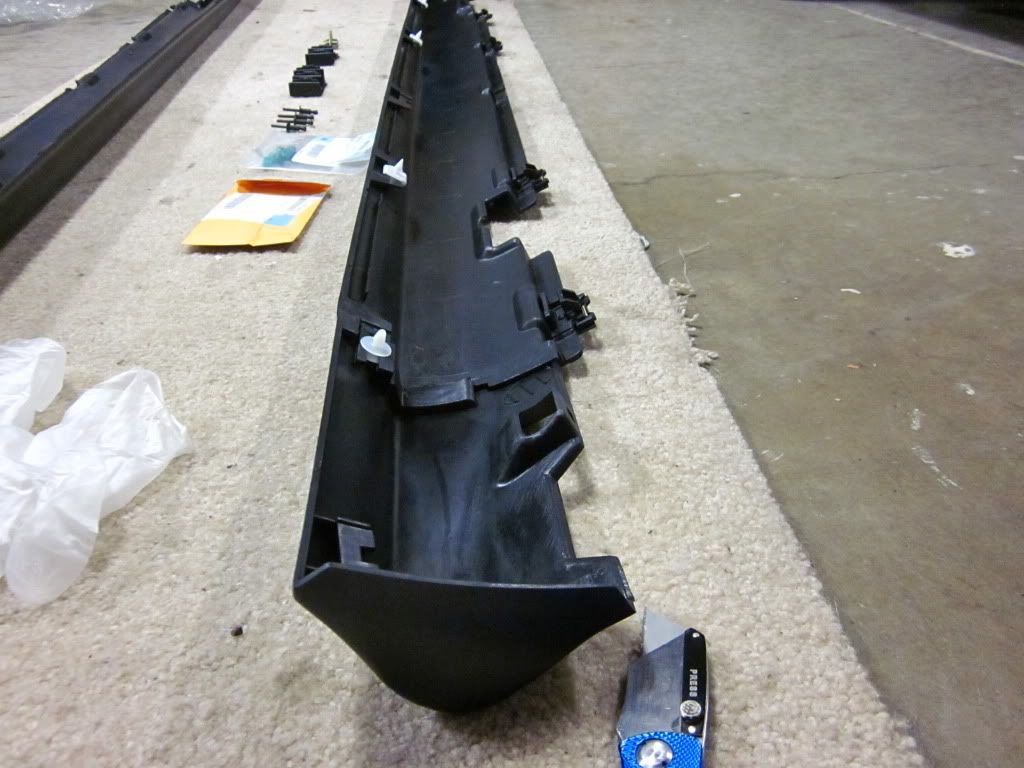
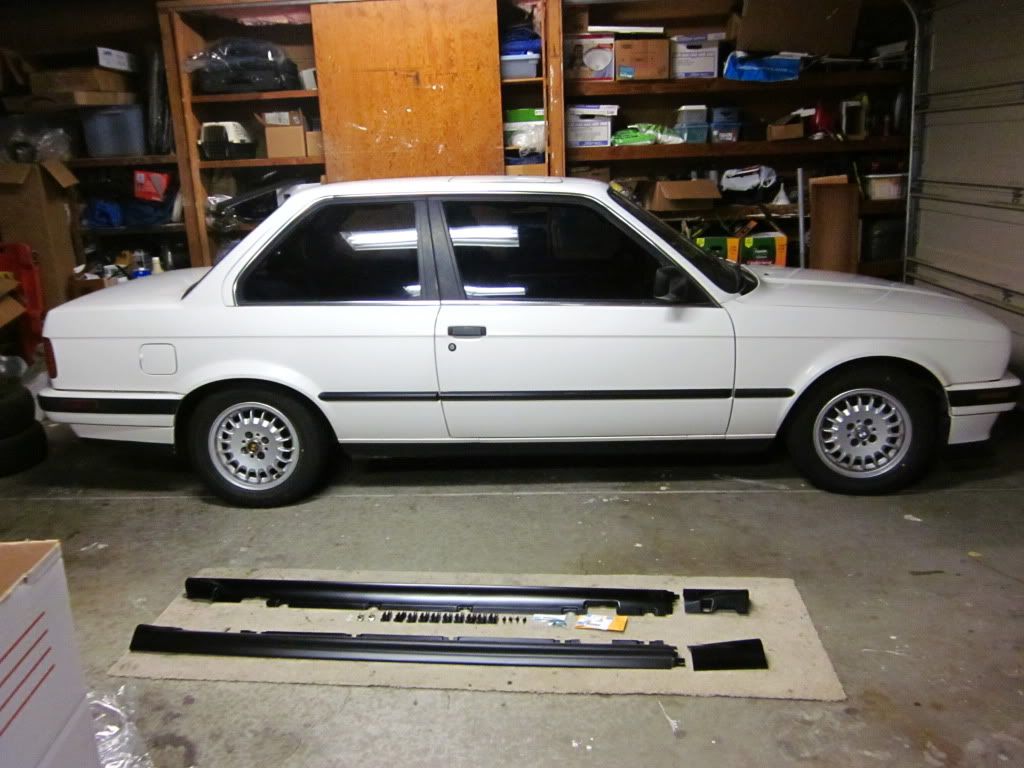
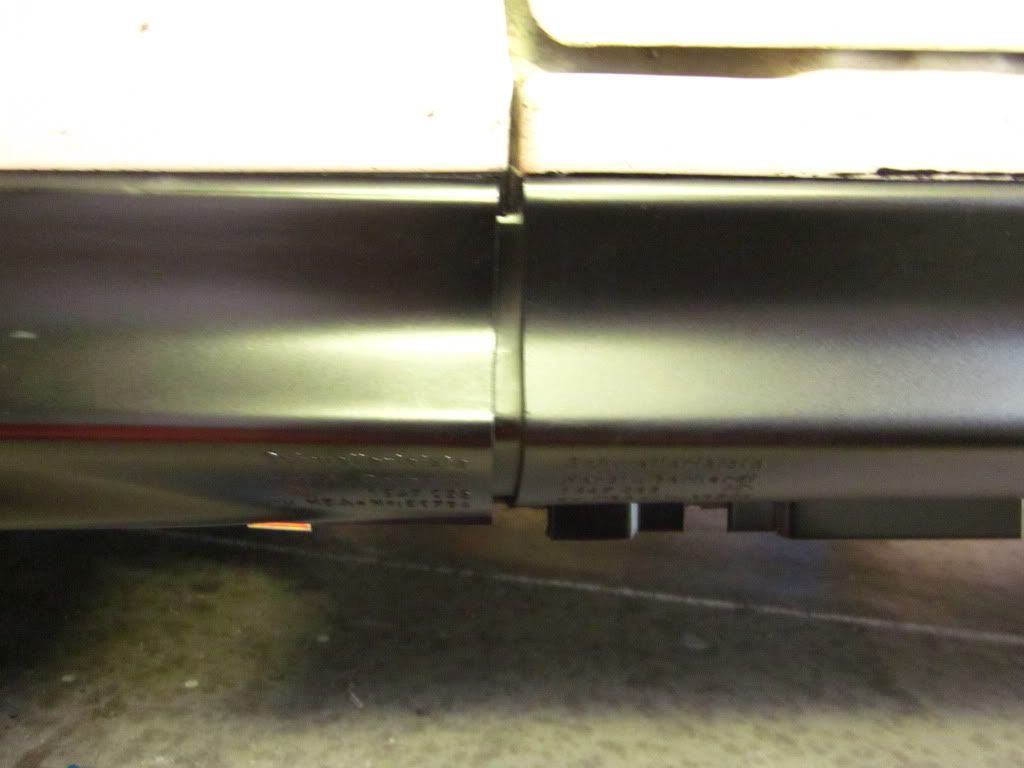
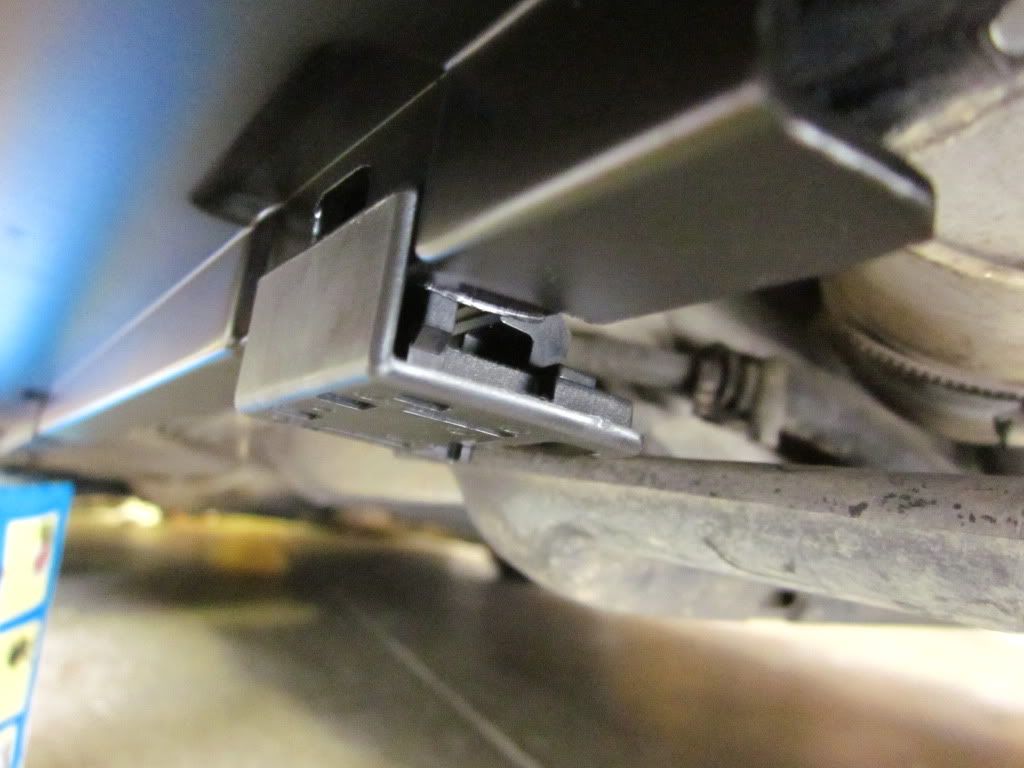
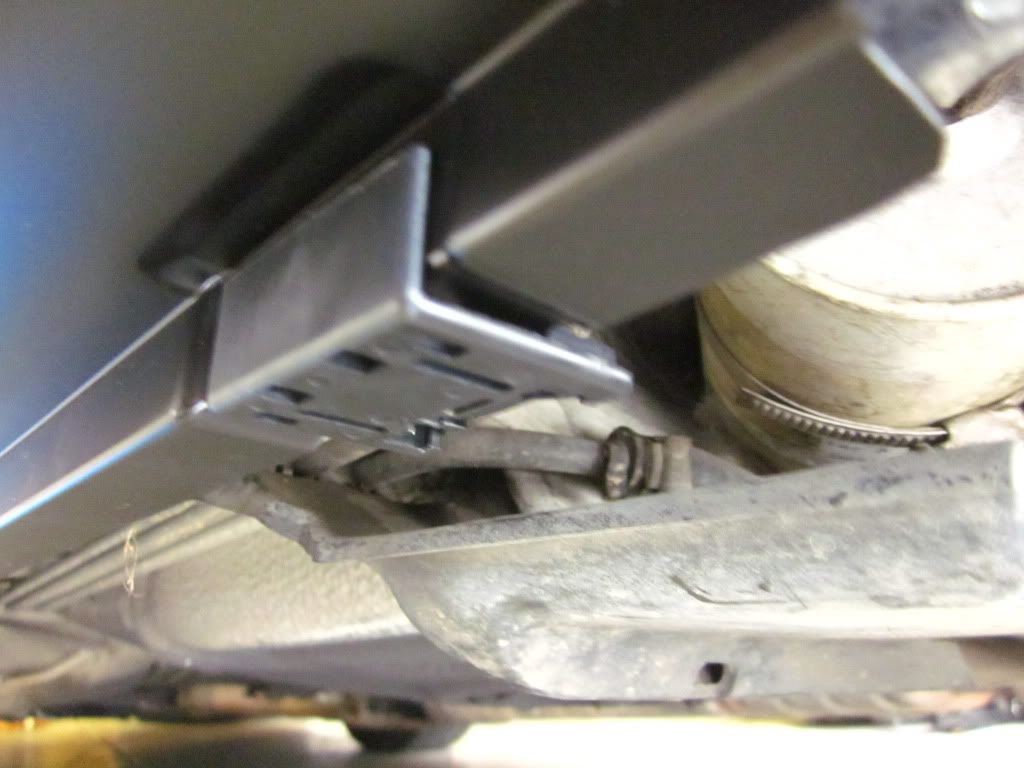
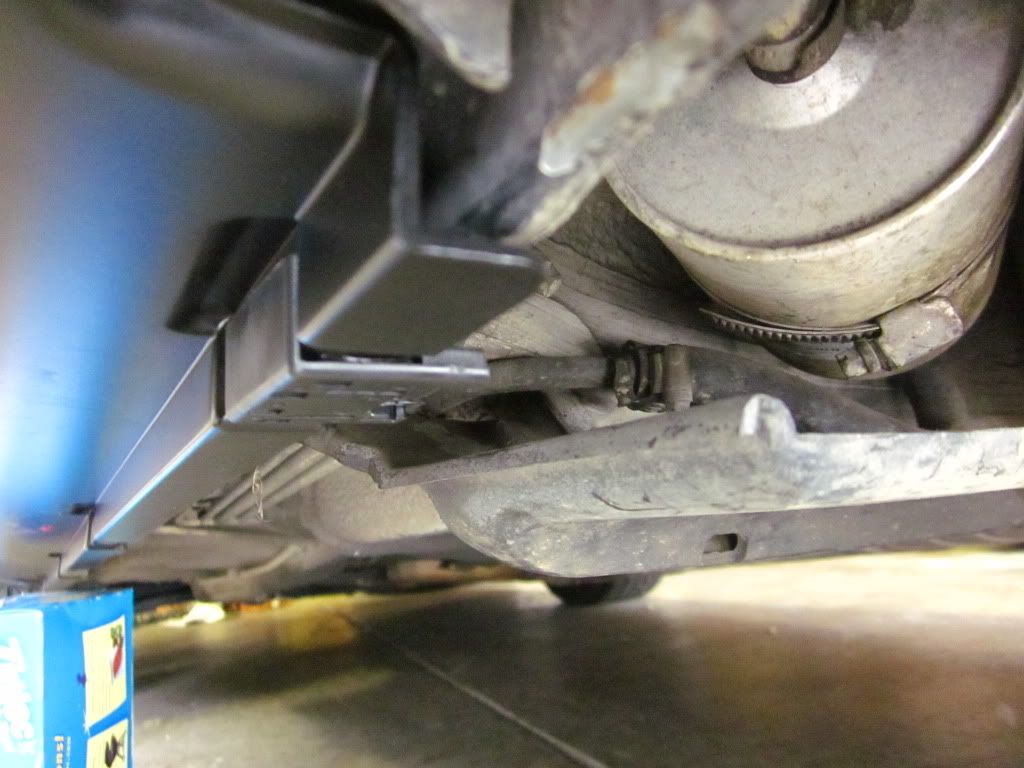
Test fitting the whole thing.
NOTE: Make sure you the both pieces TOGETHER.

Otherwise, you will get this gap
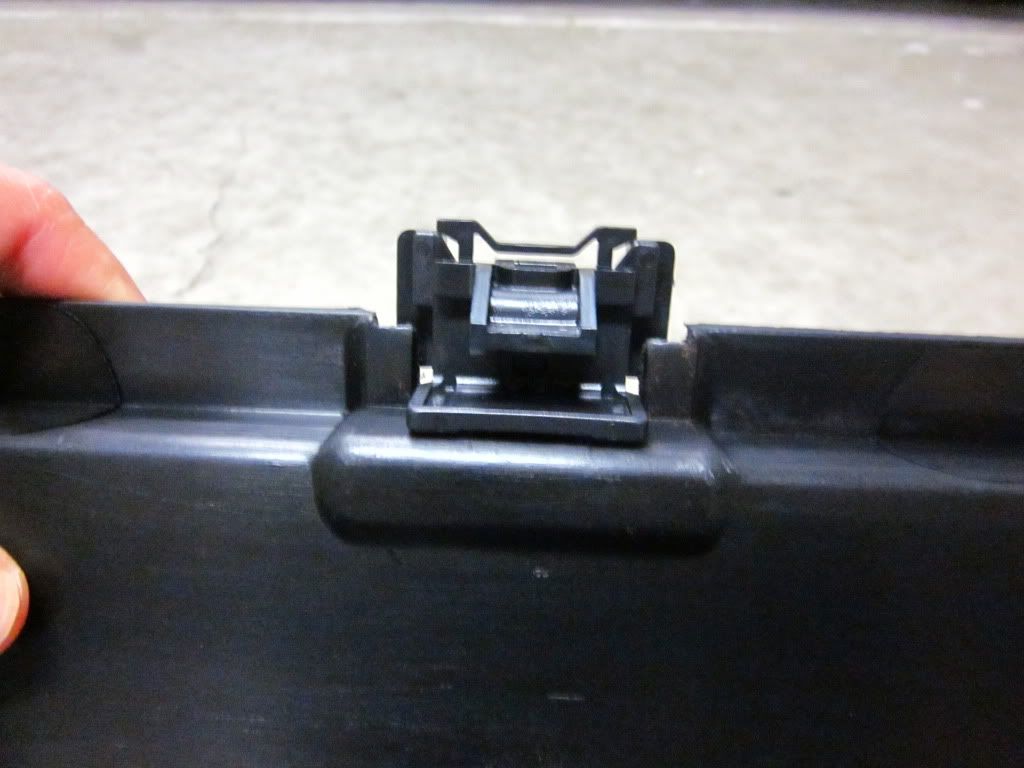
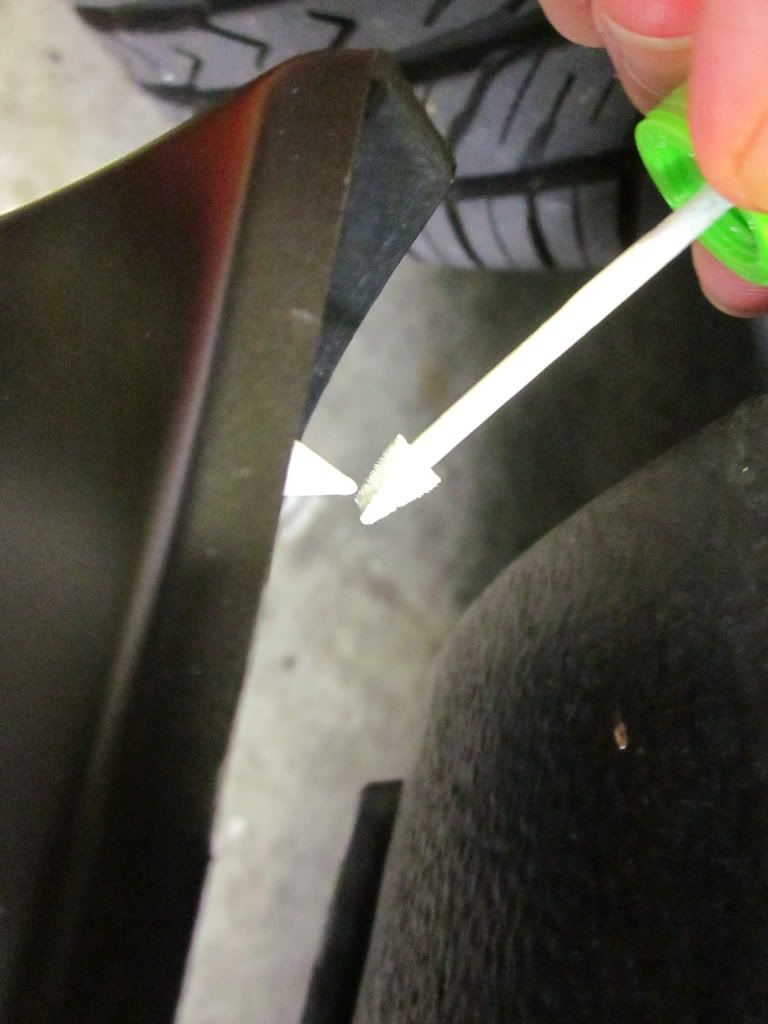
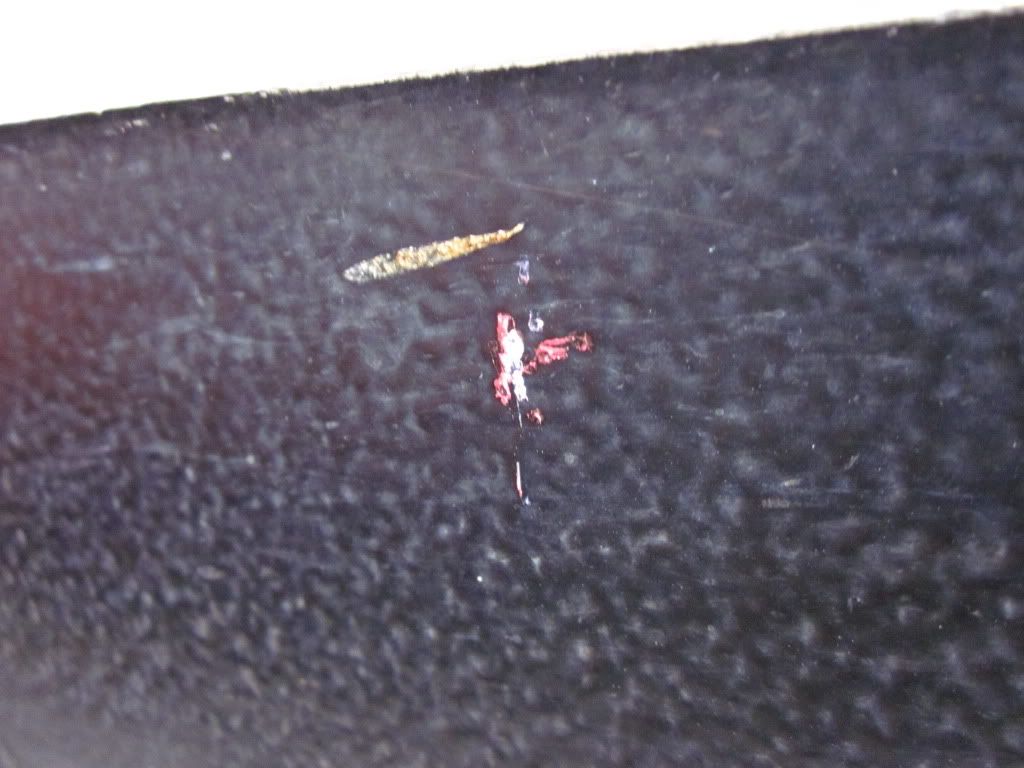
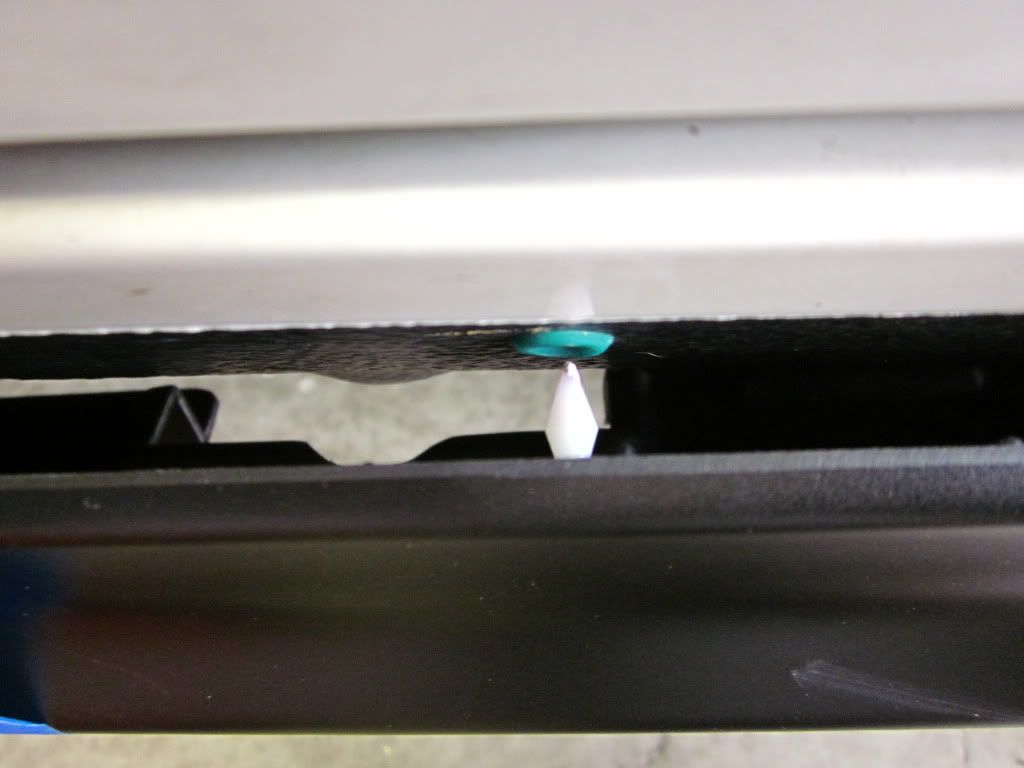
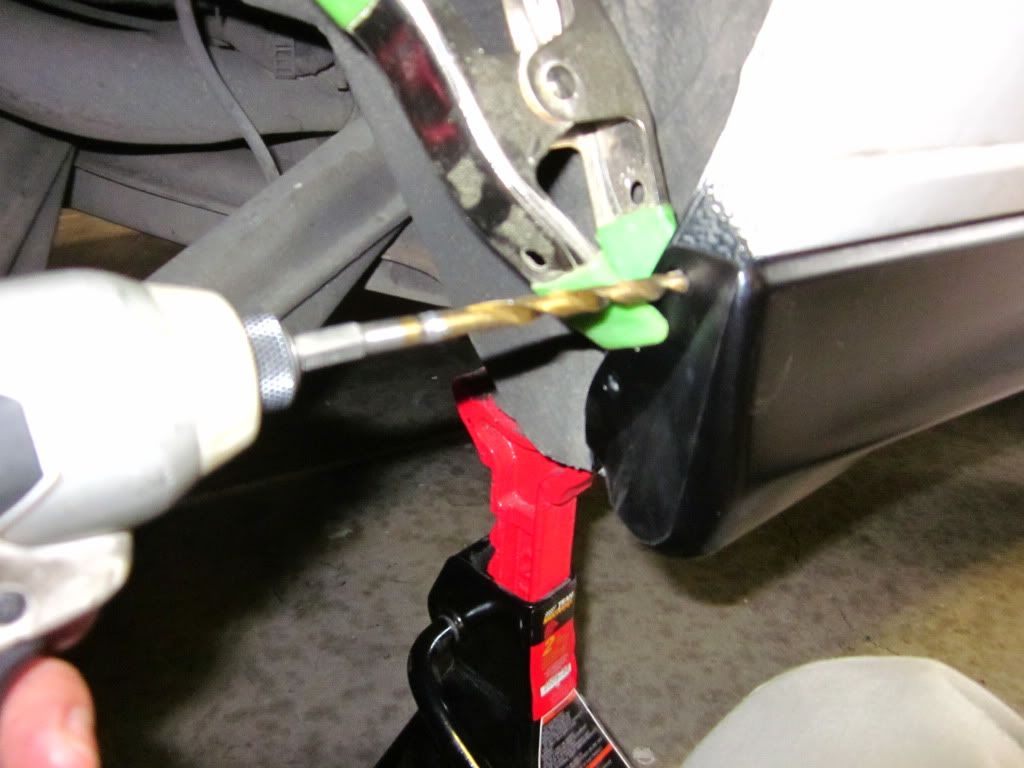
Marking the tip of the clips so it transfers to the body.

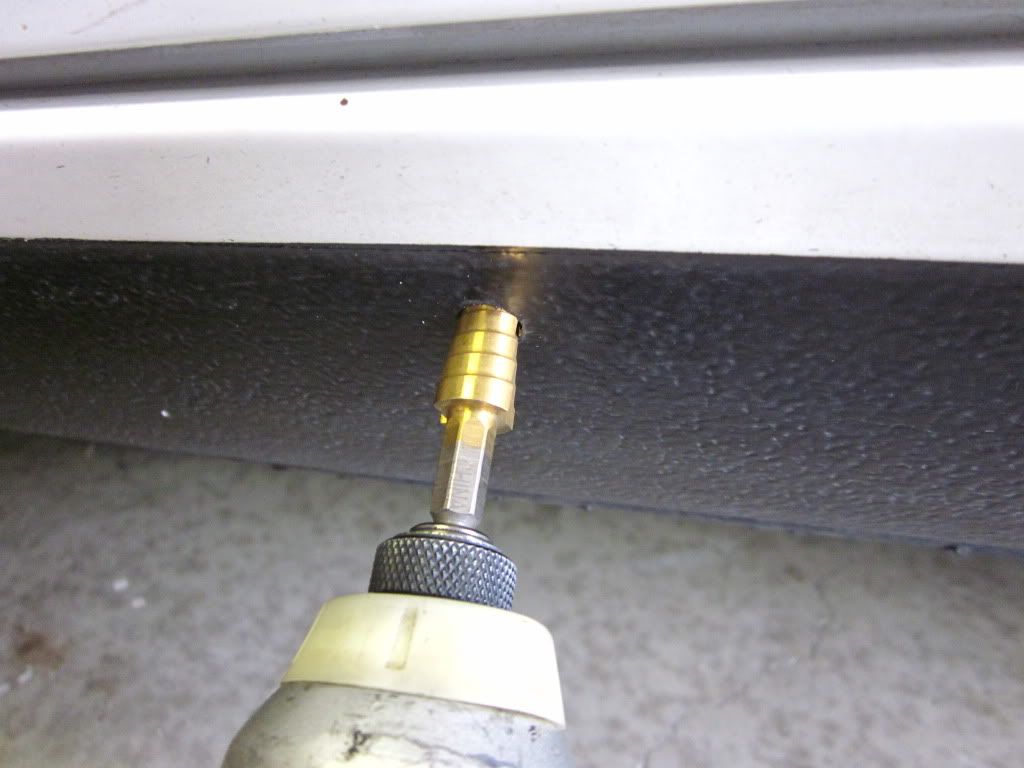
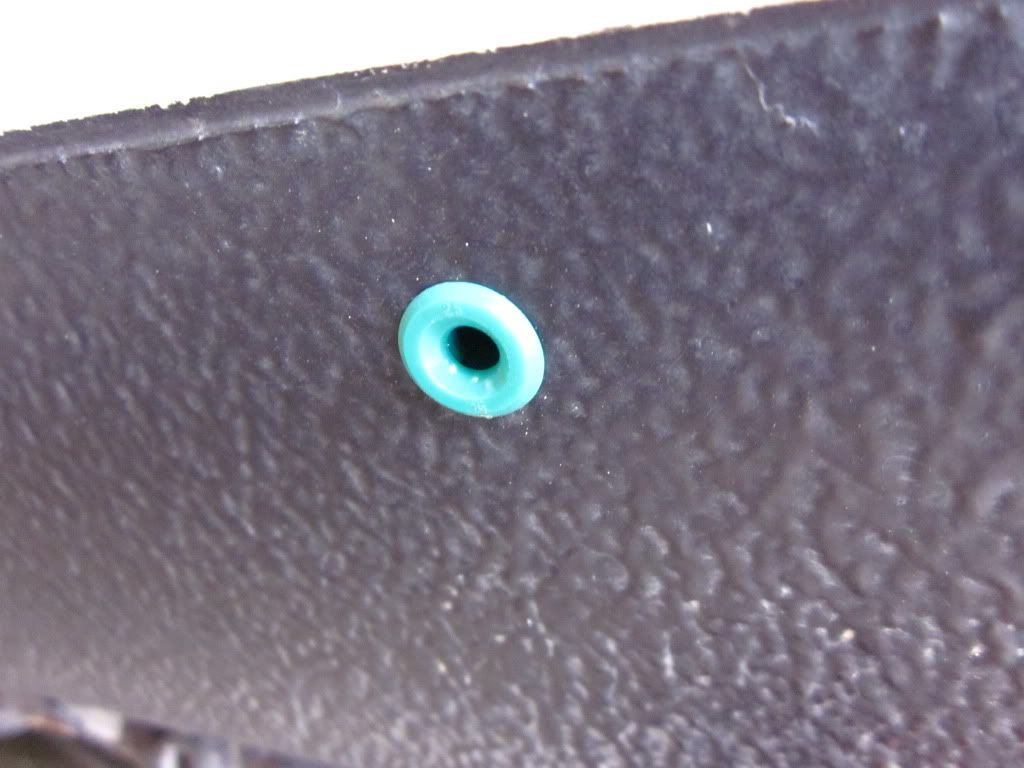
Drilled out a hole with a 3/8 step drill
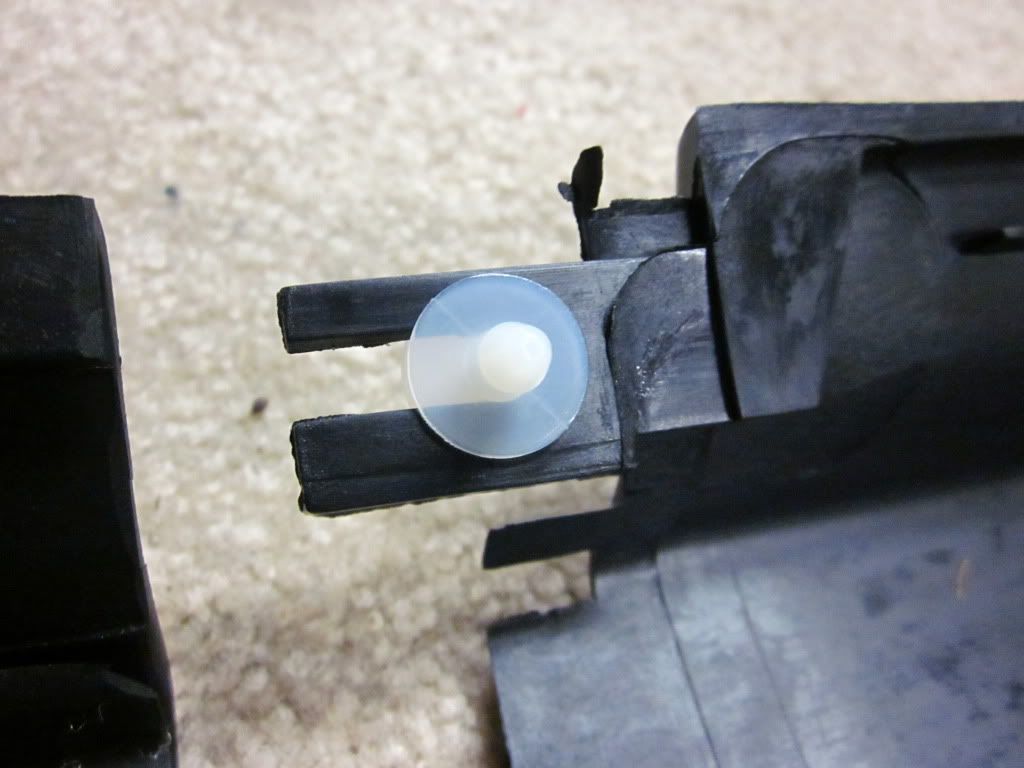
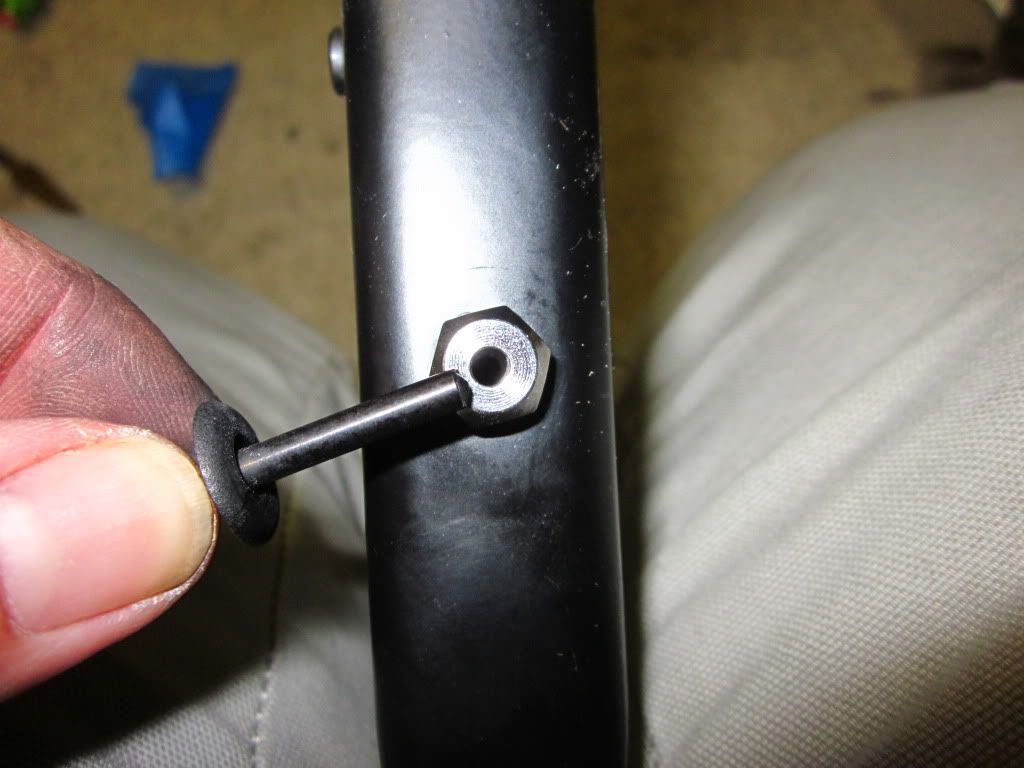
Inserted the grommet

Tap tap tap
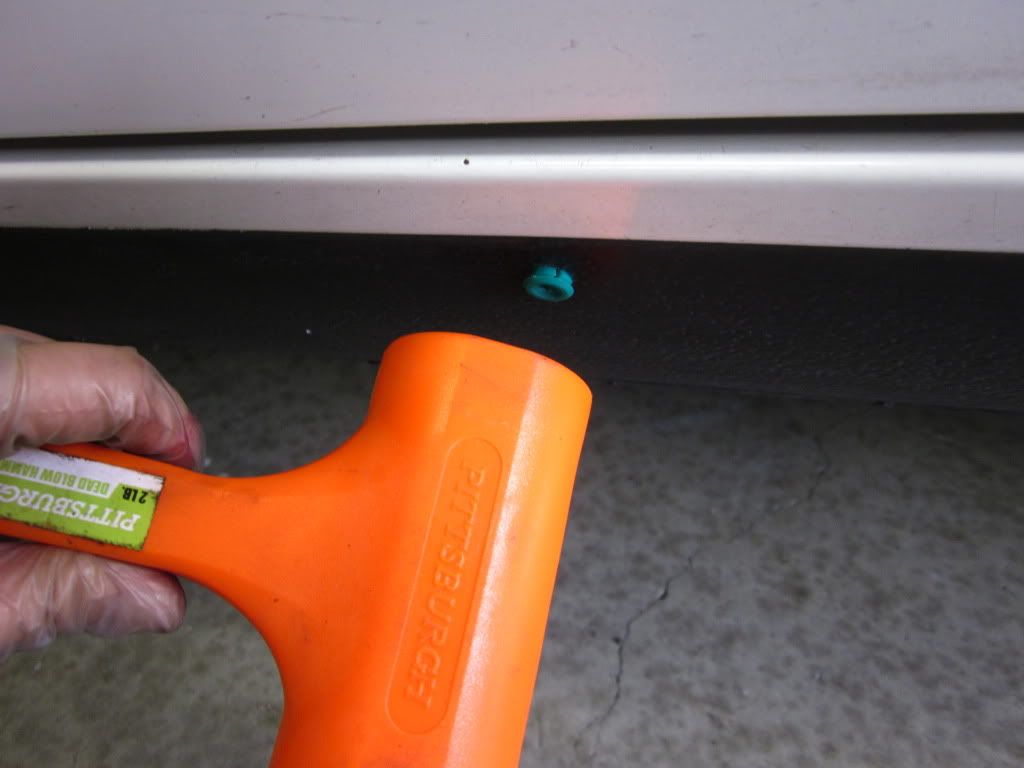
Tadah!
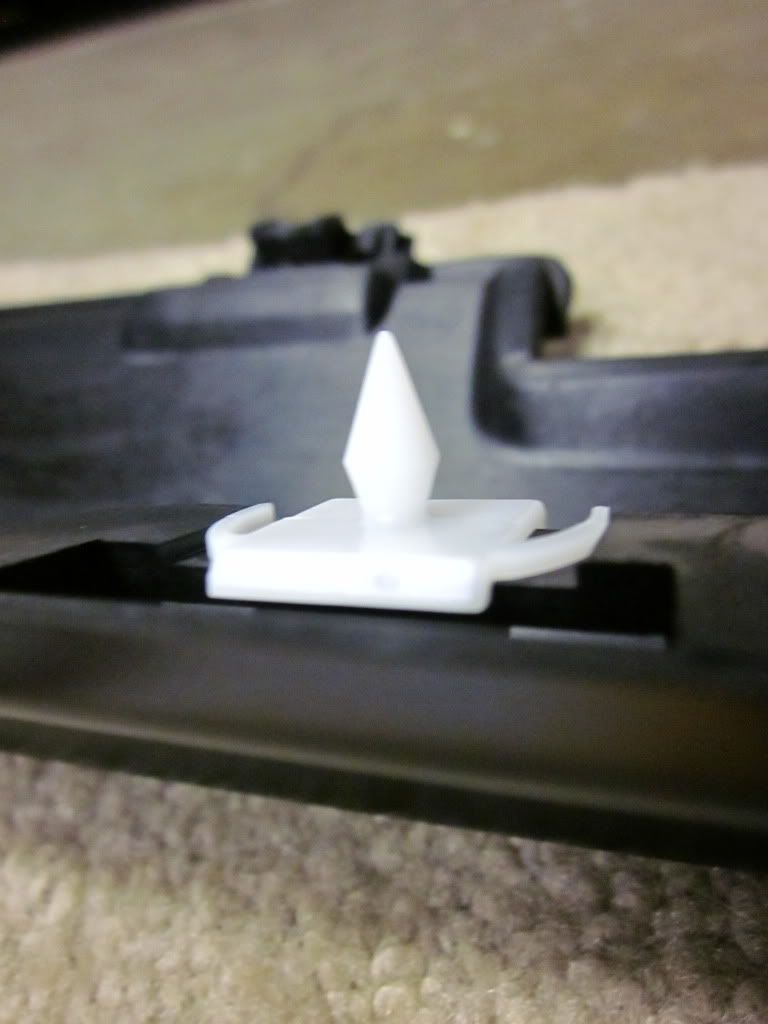
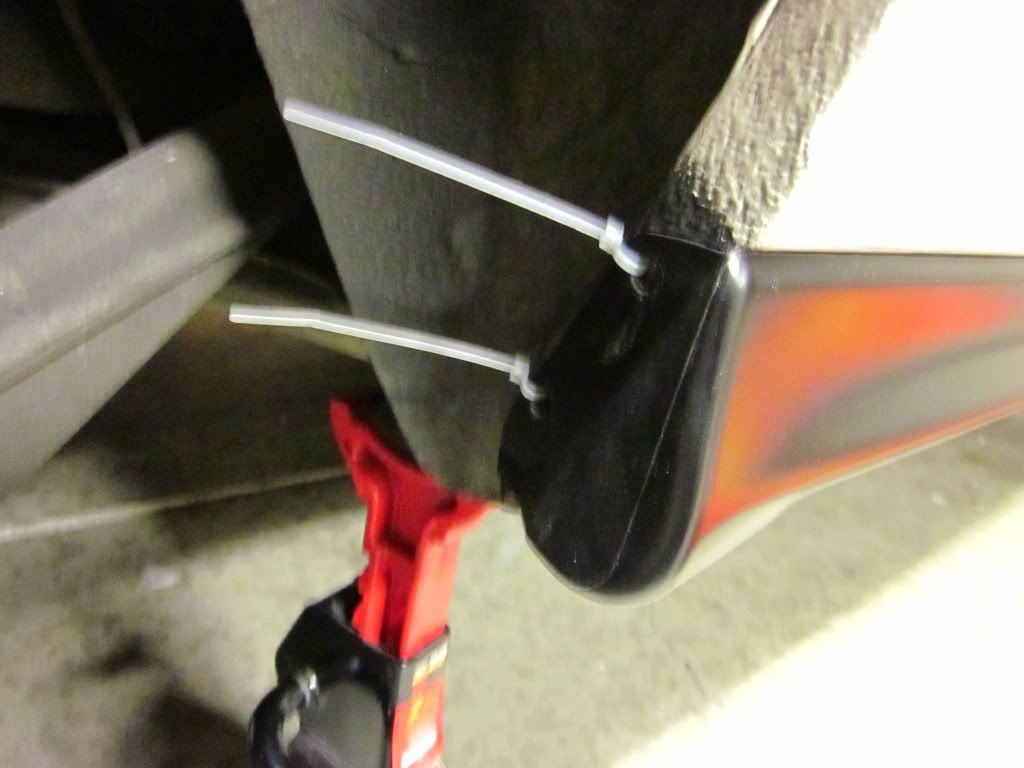
Installed the bottom clips
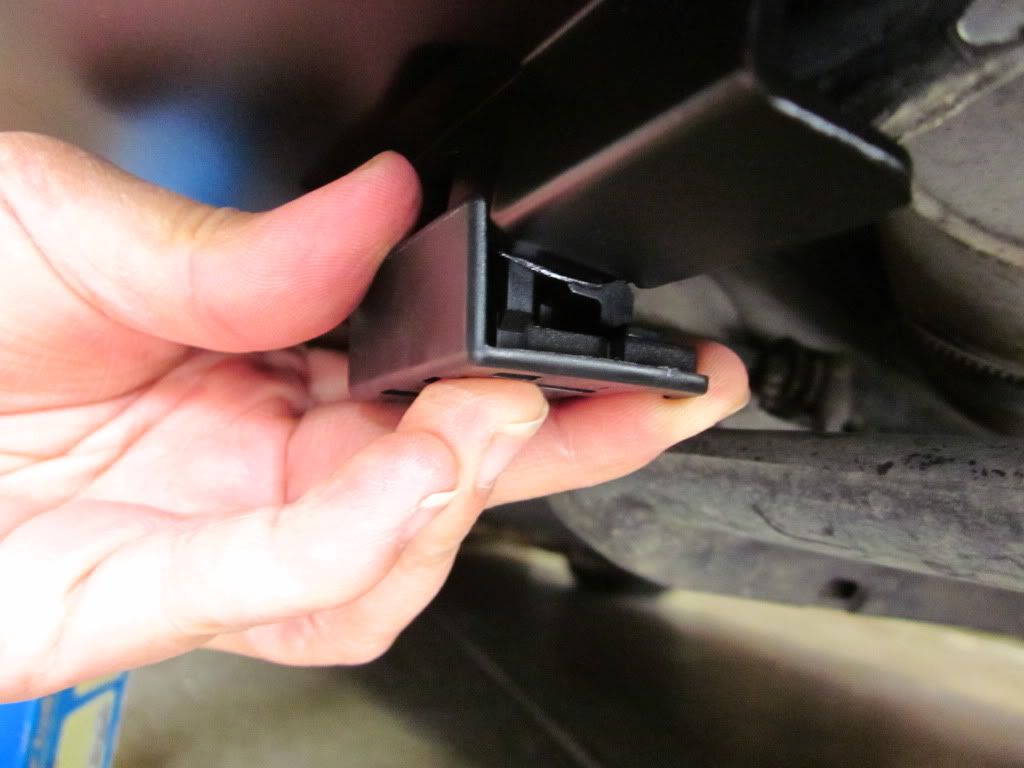
Lined up right
Making a hole for the rivet
Lined up perfectly the second time around

My riveter is too small for the BMW rivet
Temporary fix
</b>
When it stops raining, I will take a nice photo of the car.Last edited by bernzpeed; 01-21-2016, 11:59 AM.Your signature picture has been removed since it contained the Photobucket "upgrade your account" image.
---------------------------------
89 E30 S52
---------------------------------
Transaction Feedback.Comment
-
Double post of awesome. Ty Sir. can we please get a sticky on this thread or get it posted to the DIY Section.I don't always wreck cars, but when I do I wreck them into trees.
91' 318is S50 swap - The Black WidowComment
-
Very nice work, I can't wait to install mine!Comment
-
agree I vote stickyComment
-
FINALLY! Thanks alot for the writeup bernzspeed--gonna finally get around to installing mine next week. Pics to follow.Comment
-
I'm glad to have helped.Your signature picture has been removed since it contained the Photobucket "upgrade your account" image.
---------------------------------
89 E30 S52
---------------------------------
Transaction Feedback.Comment
-
What are the dimensions of those holes? Wasn't there mention of a template?Recent Rebranding!!
Visit Garageaholic for all of your E30 Swap Needs!
E30 SM62/S62
E30 M60 V8
E30 M30 Big 6!

Check out this E36 N54 Swap Build
Instagram.com/garageaholic
Youtube.com/garageaholicComment
-
Your signature picture has been removed since it contained the Photobucket "upgrade your account" image.
---------------------------------
89 E30 S52
---------------------------------
Transaction Feedback.Comment
-
Test fitting the whole thing.
NOTE: Make sure you tape both pieces TOGETHER.
NVM, I found this in your how-to thread!
Comment


Comment