
I'm in the midst of an M-Tech 1 conversion on my 87 325is and after reviewing a number of threads discussing wiring alterations to install euro bumper turn signals on a US car I decided to take a different approach. If you are more comfortable with fabrication then electrical wiring, this approach may be for you. The goal was a quick, clean, plug-and-play installation. It takes just about one hour per side plus epoxy dry time.
Euro 2 prong connector:
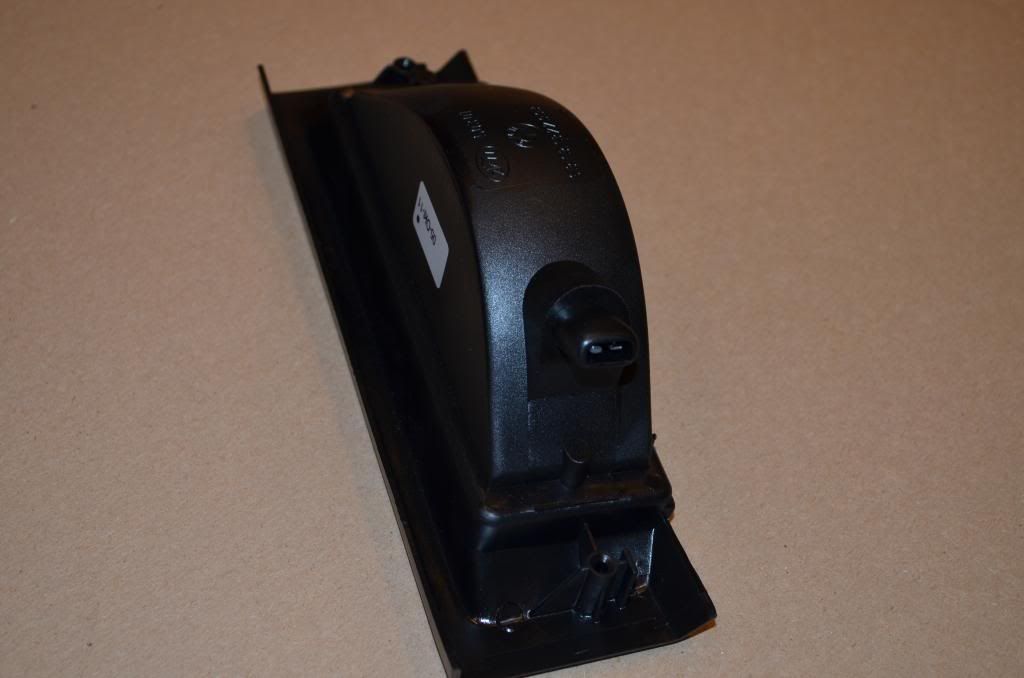
First remove the reflector from the donor US signal assembly. With a dremel you can remove the 3 prong connector from the rear of the US turn signal assembly. Overcut at first and then once removed from the assembly you can trim it to prepare for grafting onto the rear of the Euro signal assembly.
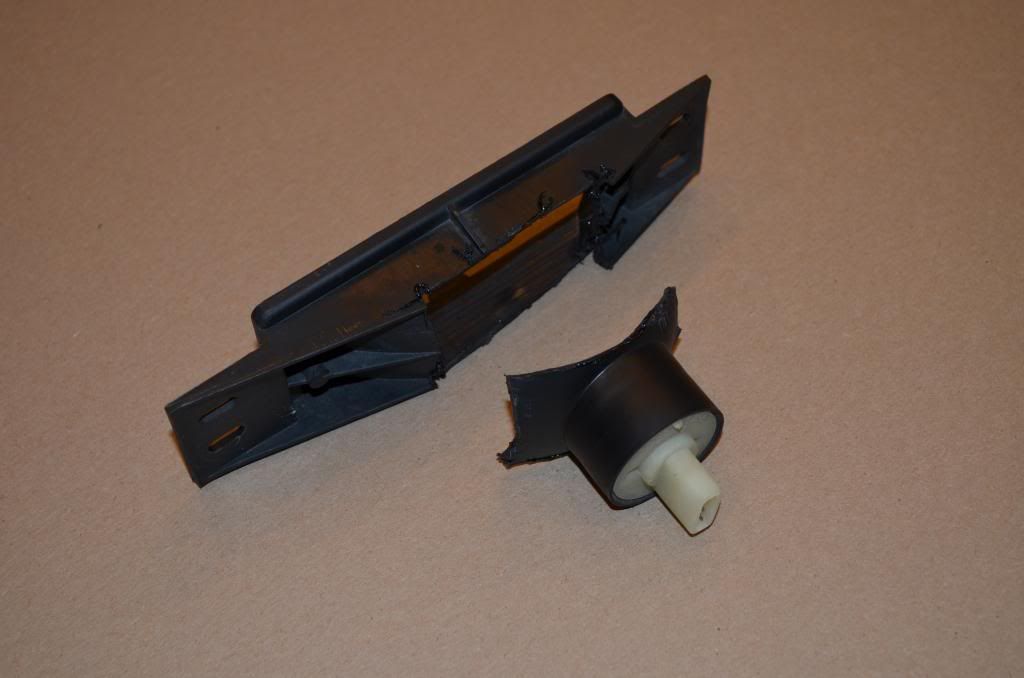
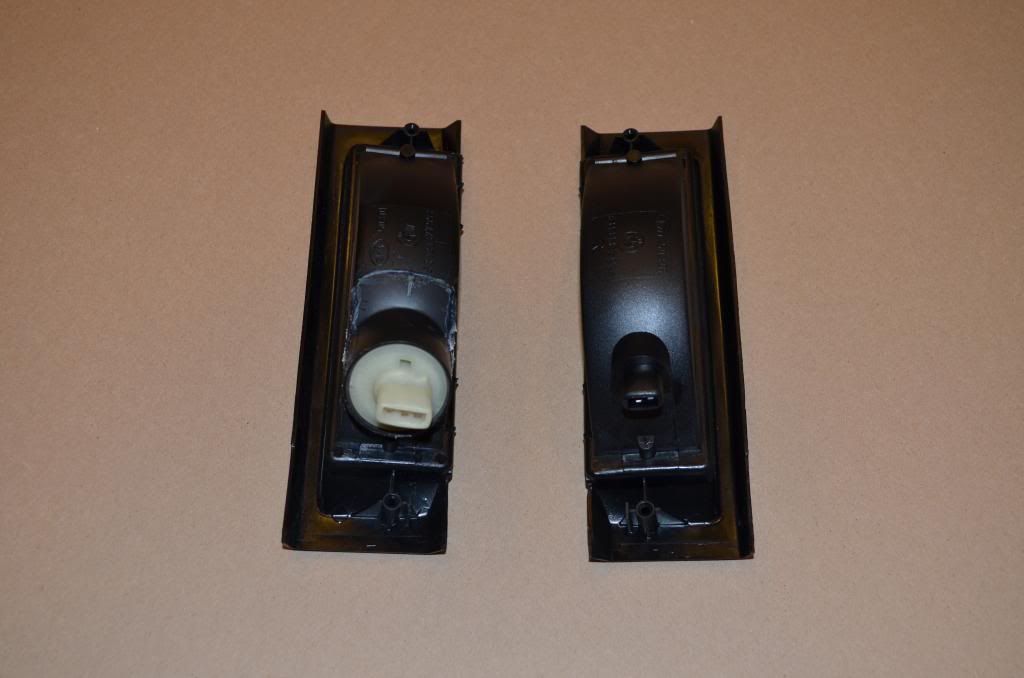
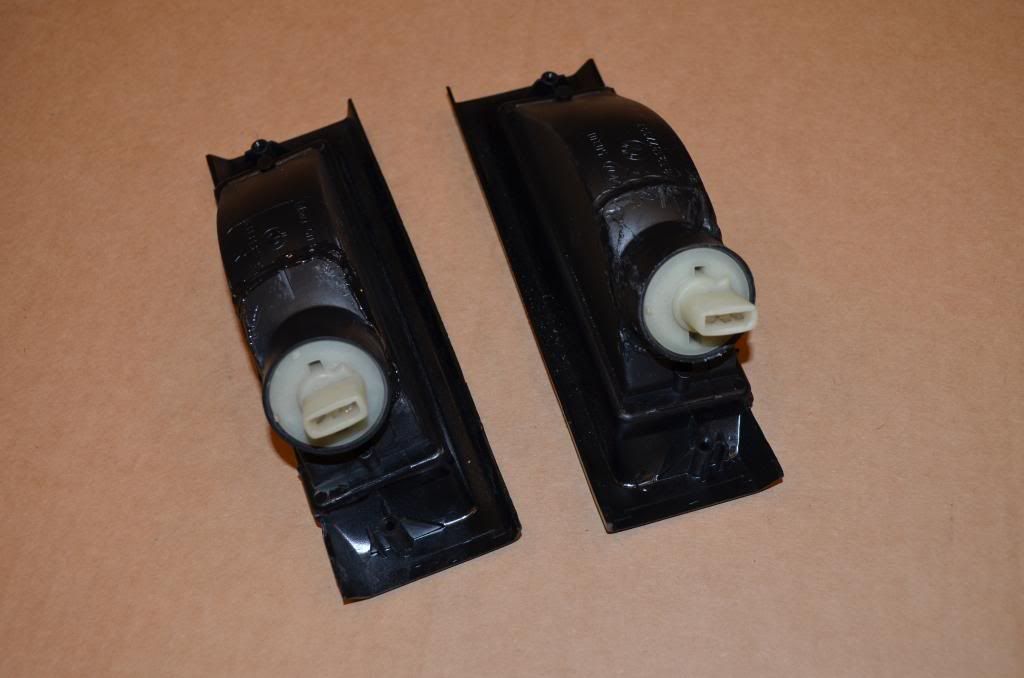
Here are the 2 connectors side-by-side

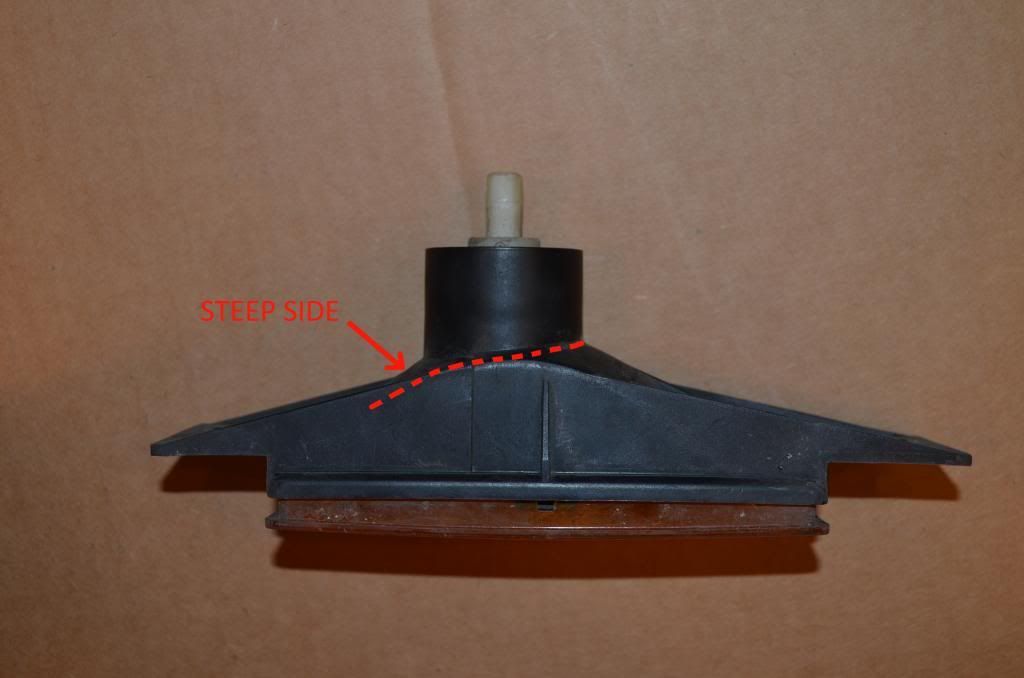
In order to get the best angle for the graft, the maintain the overcut lip from the 'steep' side of the US assembly. Cut and trim as depicted by the red line below:
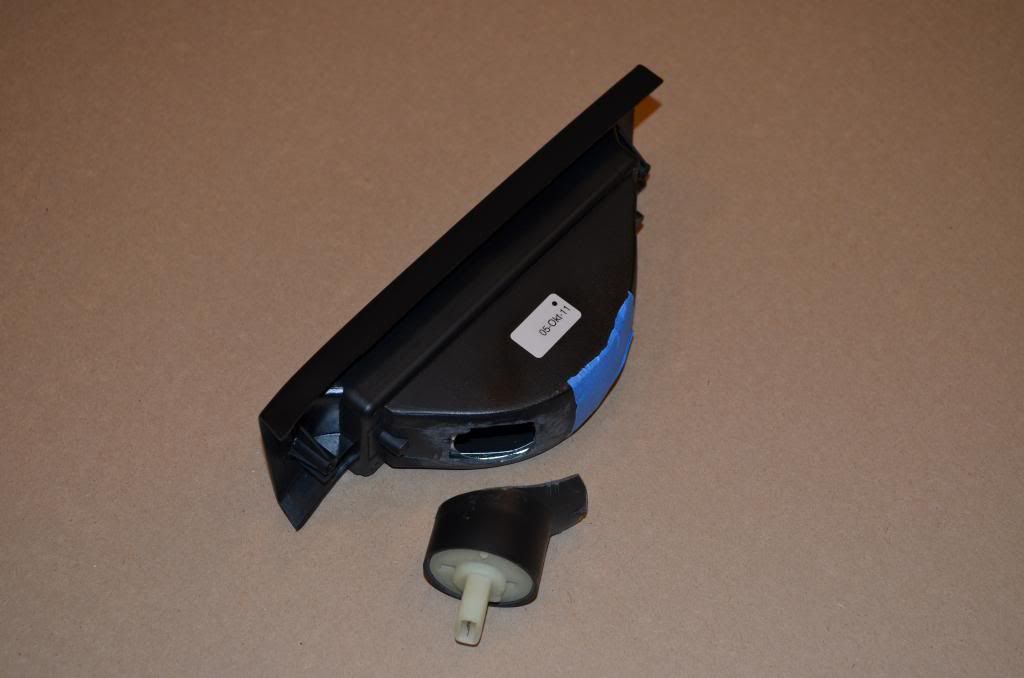
Next, use the dremel to cut-off the euro connector from the rear of the assembly. Leave the reflector in place and take care not to cut so deep that you hit the reflector. You only need to remove the protruding connector and leave a hole large enough for the bulb to fit thru. The small hole allows the US connector to be grafted to the back of the Euro assembly which provides sufficient surface area to be epoxied cleanly

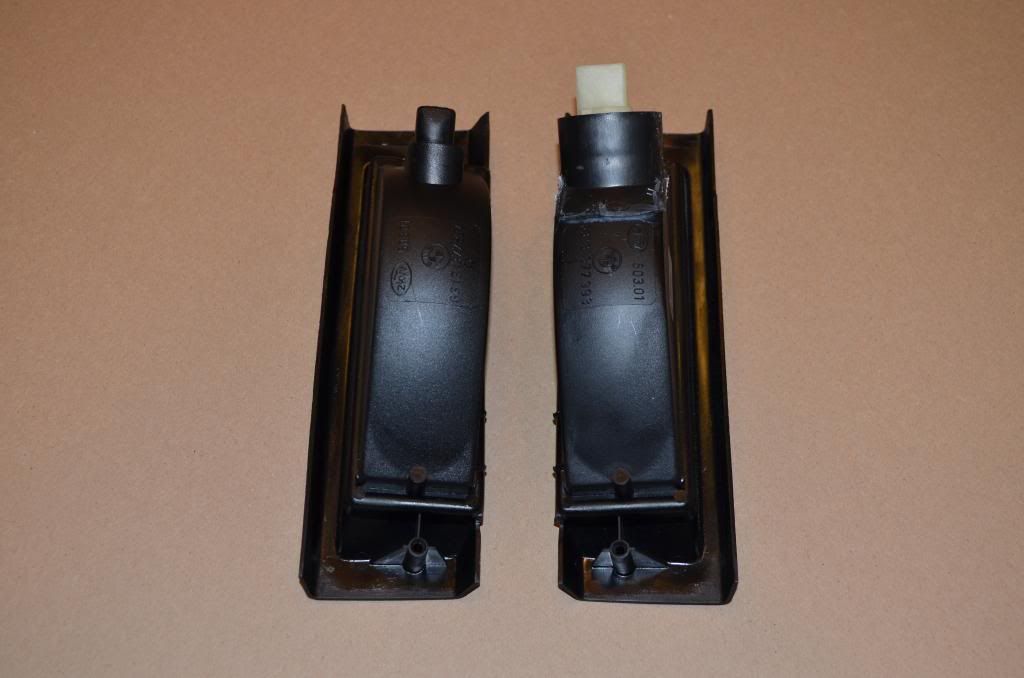
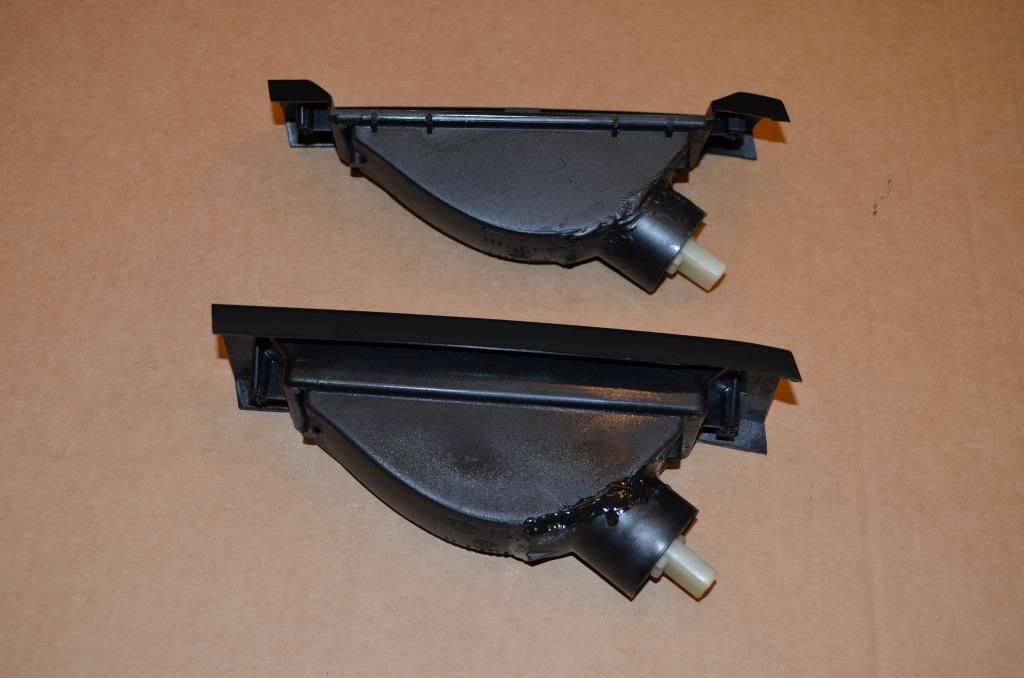
Here is a picture that shows the 2 components before the epoxy graft, scuff the area before applying the epoxy:
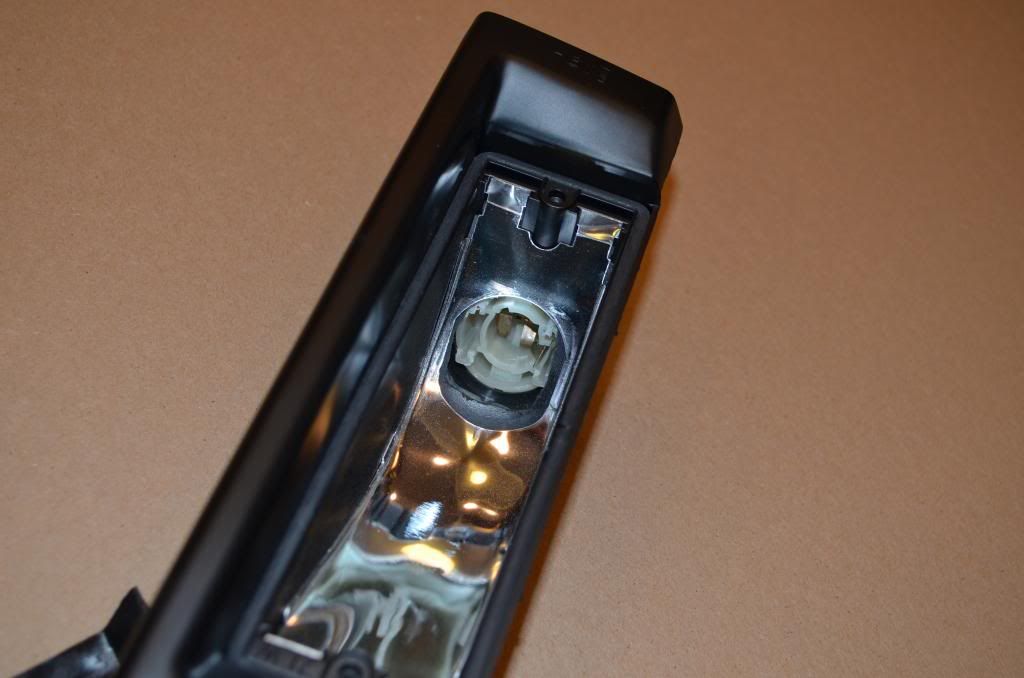
This shows the US bulb in place following the graft:
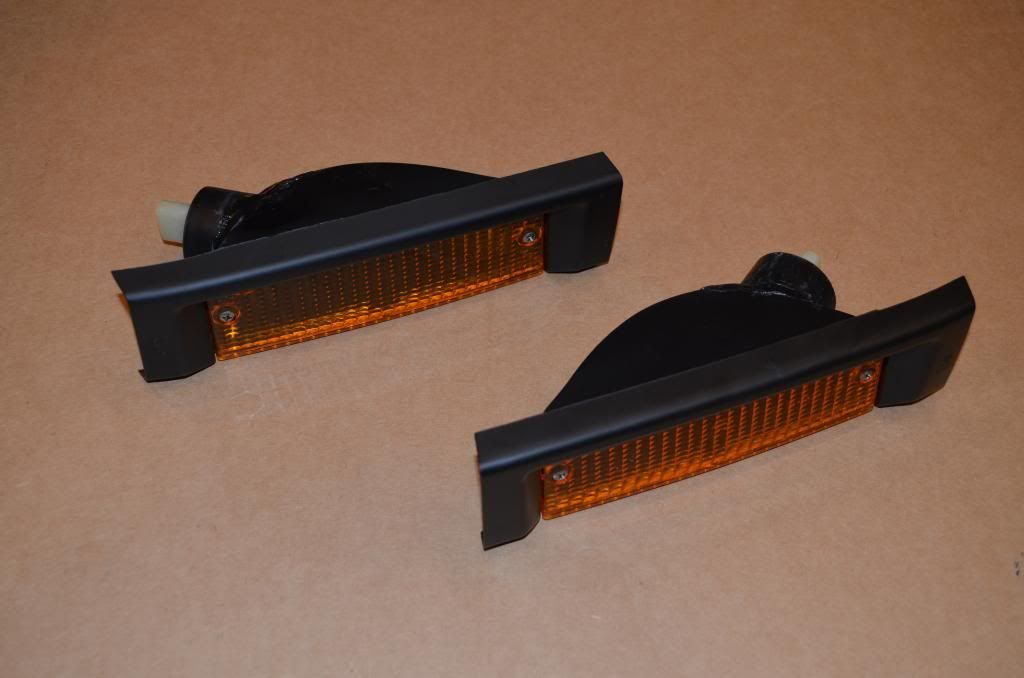
Here are some shots of a completed conversion next to a stock Euro assembly:
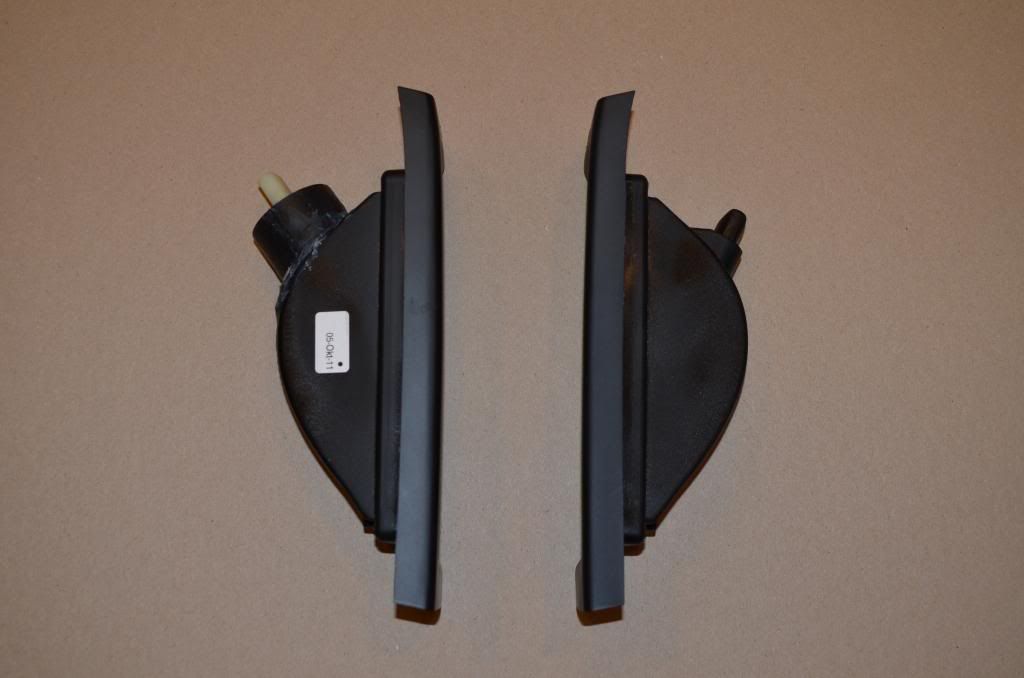
A pair of completed signal assemblies:
Tools used:
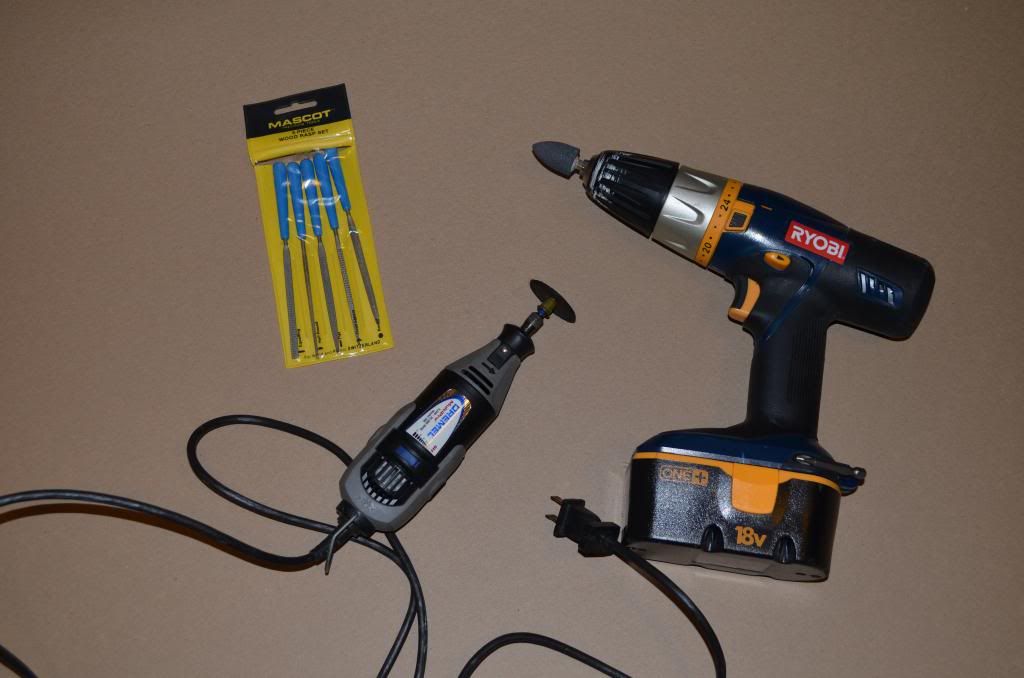
I utilized a plastic epoxy, similar to what you use to repair plastic bumpers.
You can see that the US connector is much larger than the Euro connector, but since each signal's connector exits toward the side of the car, there is full clearance for the larger connector because of the large void in the metal valance behind the bumper. Results in a very clean installation. Good Luck
Euro 2 prong connector:

First remove the reflector from the donor US signal assembly. With a dremel you can remove the 3 prong connector from the rear of the US turn signal assembly. Overcut at first and then once removed from the assembly you can trim it to prepare for grafting onto the rear of the Euro signal assembly.

Here are the 2 connectors side-by-side

In order to get the best angle for the graft, the maintain the overcut lip from the 'steep' side of the US assembly. Cut and trim as depicted by the red line below:

Next, use the dremel to cut-off the euro connector from the rear of the assembly. Leave the reflector in place and take care not to cut so deep that you hit the reflector. You only need to remove the protruding connector and leave a hole large enough for the bulb to fit thru. The small hole allows the US connector to be grafted to the back of the Euro assembly which provides sufficient surface area to be epoxied cleanly

Here is a picture that shows the 2 components before the epoxy graft, scuff the area before applying the epoxy:

This shows the US bulb in place following the graft:

Here are some shots of a completed conversion next to a stock Euro assembly:


A pair of completed signal assemblies:


Tools used:

I utilized a plastic epoxy, similar to what you use to repair plastic bumpers.
You can see that the US connector is much larger than the Euro connector, but since each signal's connector exits toward the side of the car, there is full clearance for the larger connector because of the large void in the metal valance behind the bumper. Results in a very clean installation. Good Luck


Comment