

Hi guys I've been kicking round R3V for a while now, you may or may not have noticed me. I'm just starting to get stuck into boosting my track car and thought you guys might like to tag along for the mayhem. I have a massive build thread on a local forum but will cross post here with the important bits.
I've also got a fairly tidy 318iS for my daily and I will eventually get to throwing that up as well. But this is all about the track car so lets get started. First the background info.
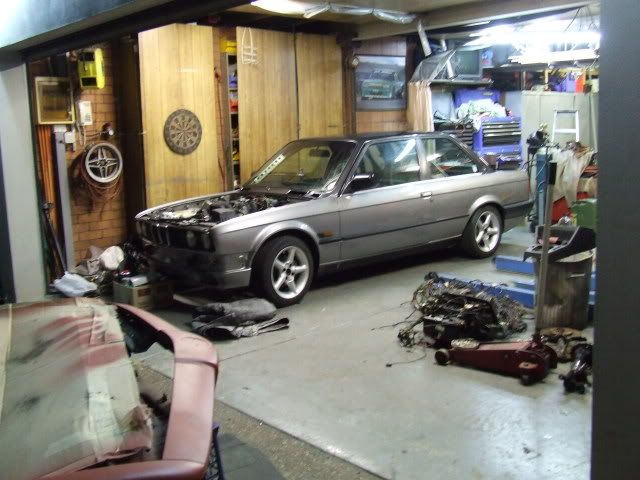
Last year in march I stacked my 318i. Lil front to back fender bender up ahead of me and I just ran out of luck, skill and time to stop. So I bought a 318iS from auction to fix it up.
Heres what was left of the front apron and bumper


Shortly after that I started mentioning dropping the M42 in the road car. Insurance premiums and being on my provisional licence meant buying a 318iS was a more suitable option. So I sold my 318i to me dad, and bought the current Daily 318iS. This left me with a car's worth of 318iS bits, plus various suspension components and the dream to build a go fast E30 was somewhat rekindled.
With a new car I had to get some rims...wogboy spec chromies weren't for me. I found some suitable 15x7's through good ol' ebay and turns out the guy was local and parting out his E30 track car. We struck up a deal and the PO will be using my bent 318iS chassis for the LHD -> RHD conversion on his M3 and I got his 325i shell as a roller.
At the moment the idea is to put together a track rat for sprints, hillcimbs and the like with minimal unrecoverable outlay. So far I've only bought bits that can be later transferred to my road car if an "abort-plan" is seeked.
I just bought my first road car unsuitable bit tonight. A Sparco Sprint that has been used all of two events.

Other items include:
Wheels, 15x8, I purchased these off a fellow forum member this weekend - $200

I will probably throw some paint on these at some stage, for now they will be going on the daily because im running out of tyres to keep up to the 14's while I'm repainting the MiM wheels that started all this race car business.
Coil on Plug kit (rob_e30) - $225
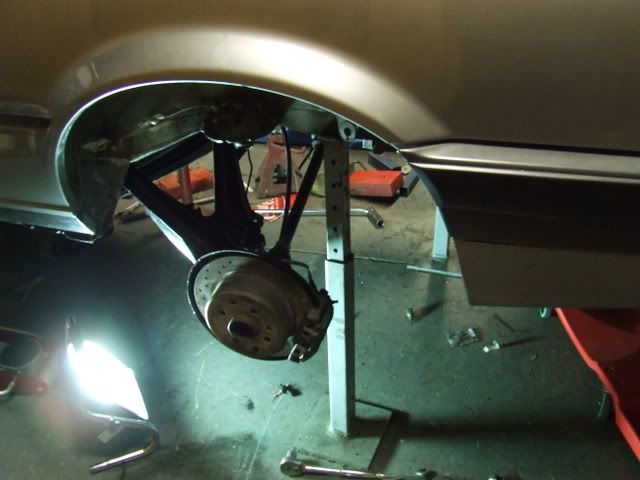
Zimmerman Drilled Brake kit: Discs, SS lines, Pads (ebay special) - $475
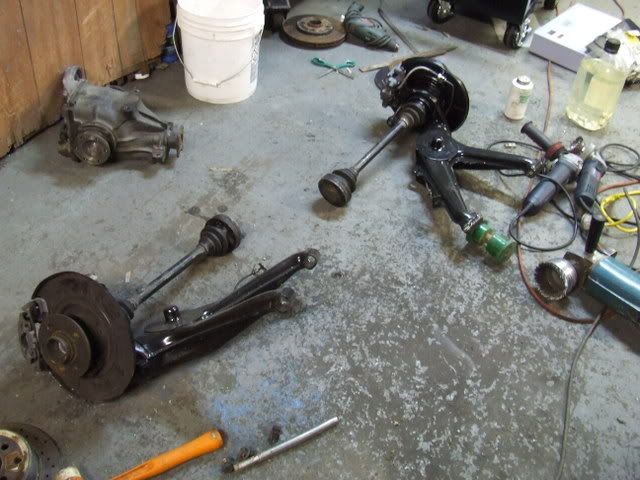
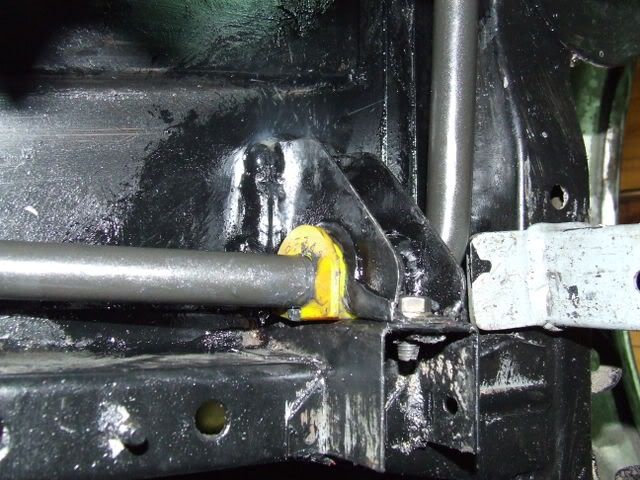
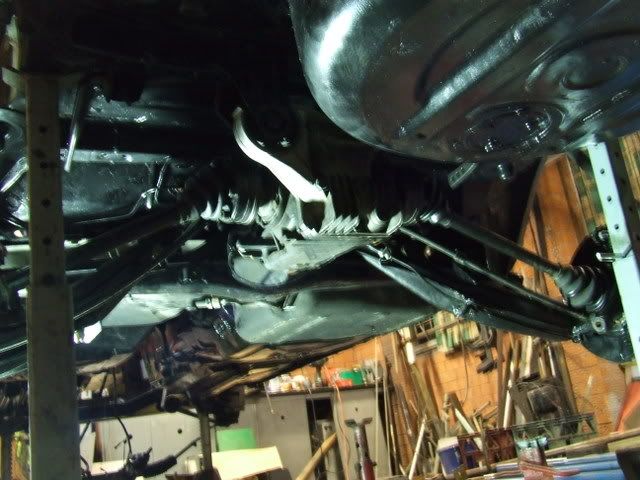
New Lower Control Arms, M3 Bushes, Tie rods (FCP Groton, ebay) - $200
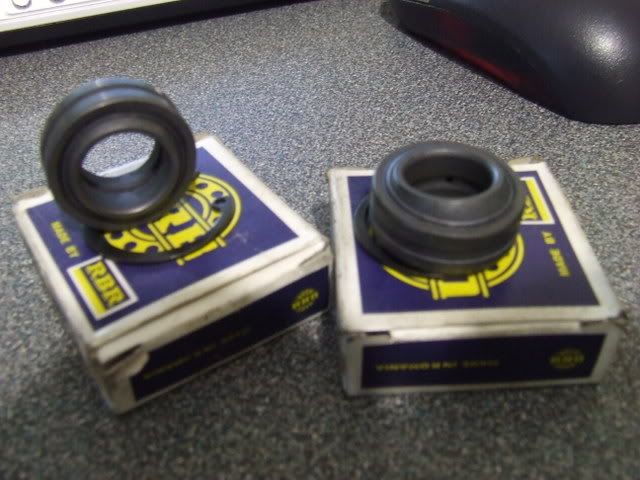
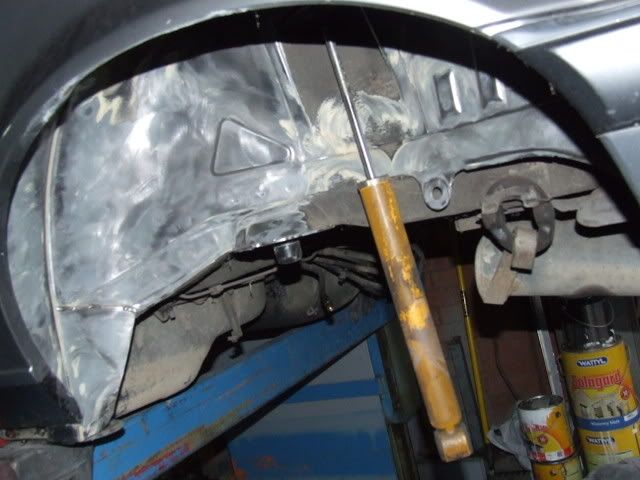
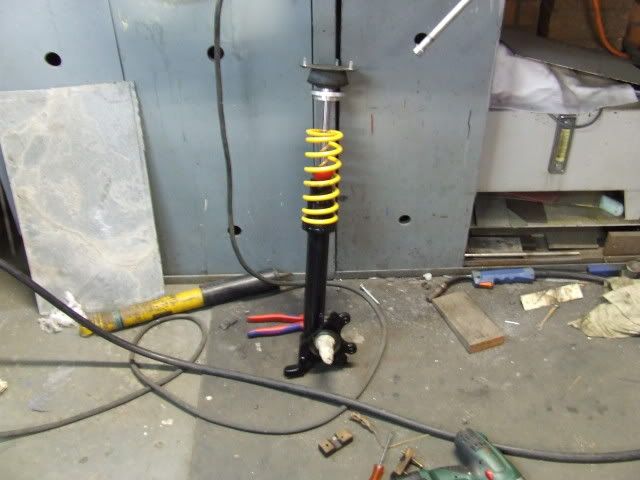
and two pedders used shocks out of a commy that my mate gave me :)
These should complement the intended stiffer springs I'll be running (thinking 300LBS) on the front coilovers i need to make yet. If it does all the right things, the same mate can get me good prices on KYB shocks.
All shown below minus the FCP Groton stuff

I realised the discs are drilled :) and that this isn't preferred for track, but I figured at the price I'd give them a go. At the end of it all if they aren't what I want I can put them on the road car (so long as they dont self destruct!) I'll be watching the holes like a hawk.
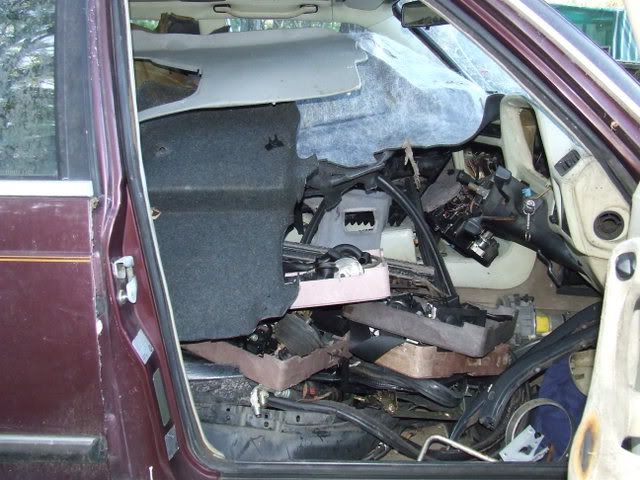
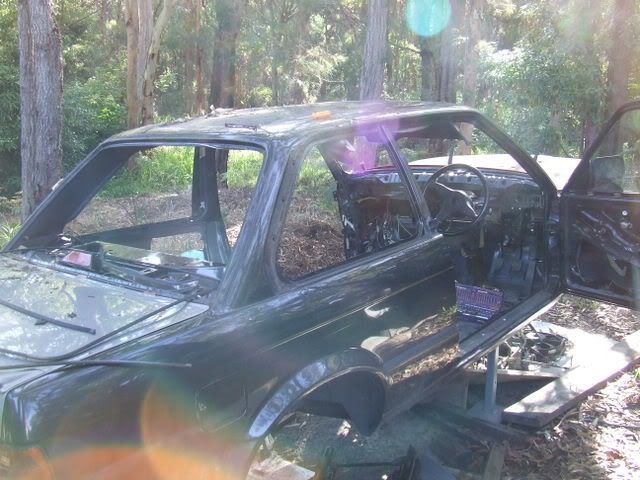
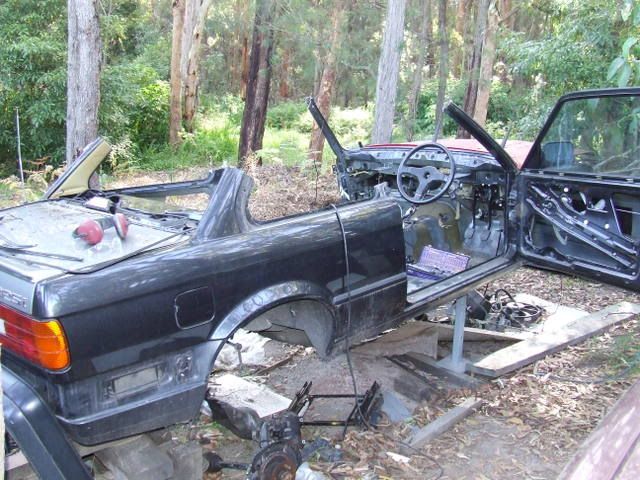
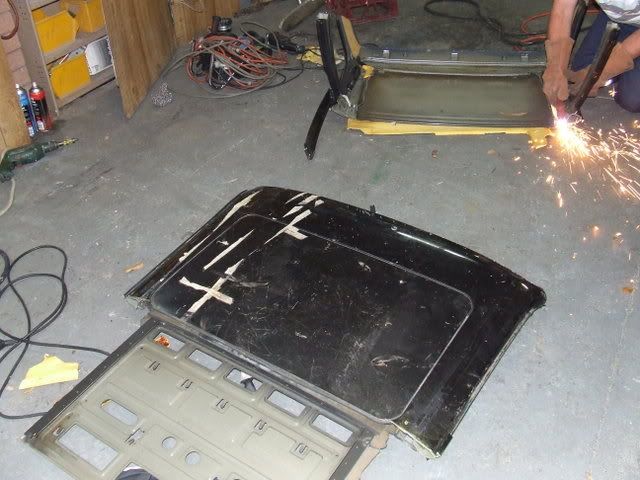
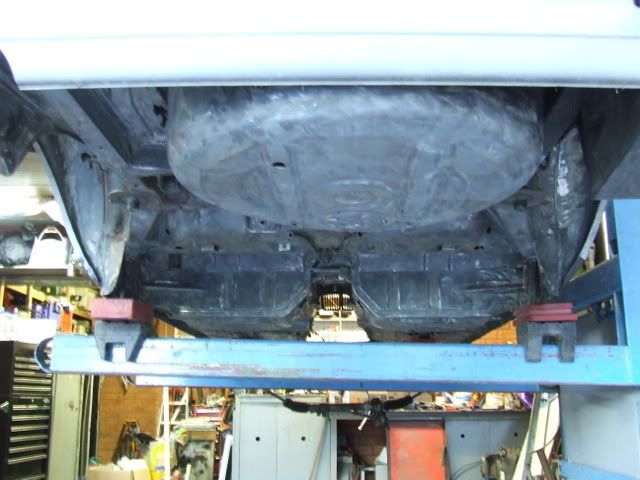
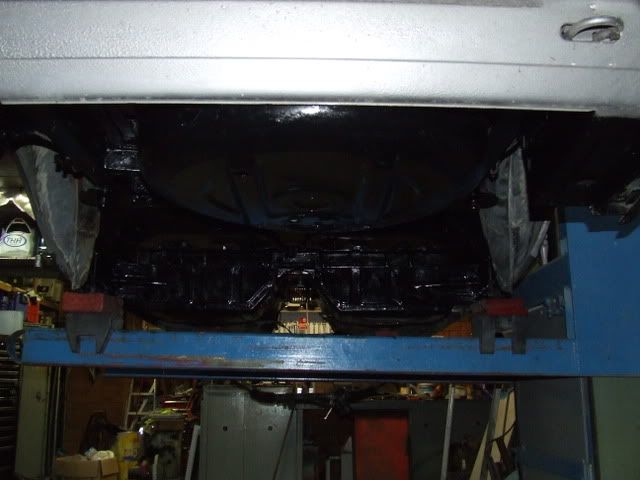
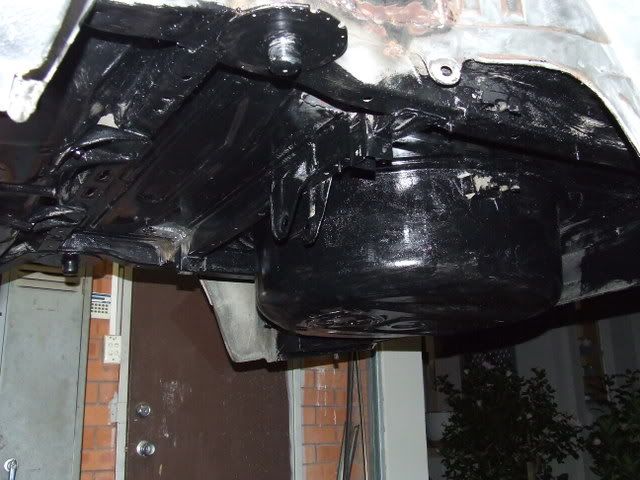
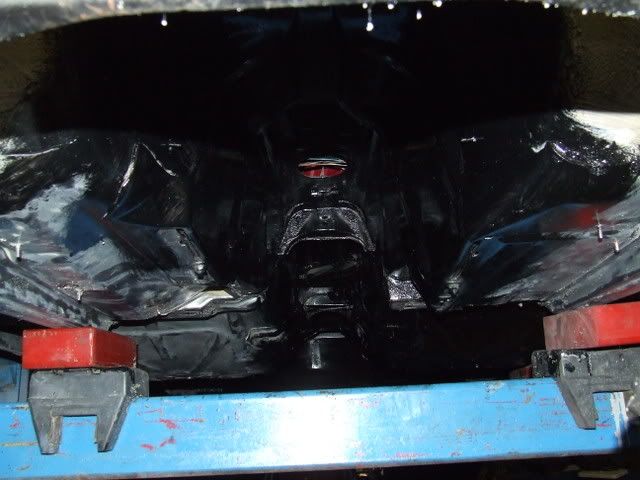
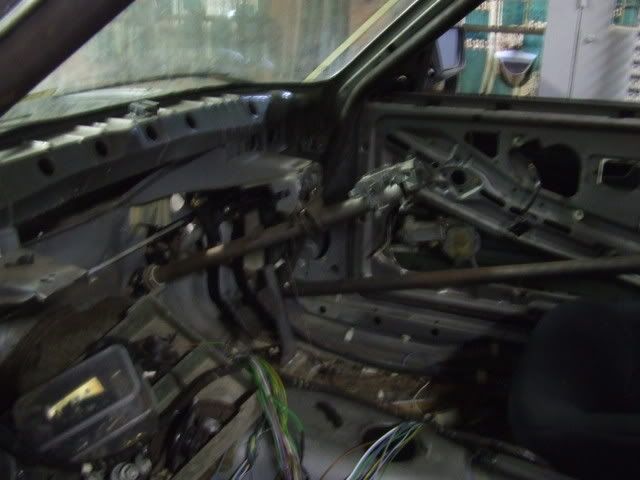
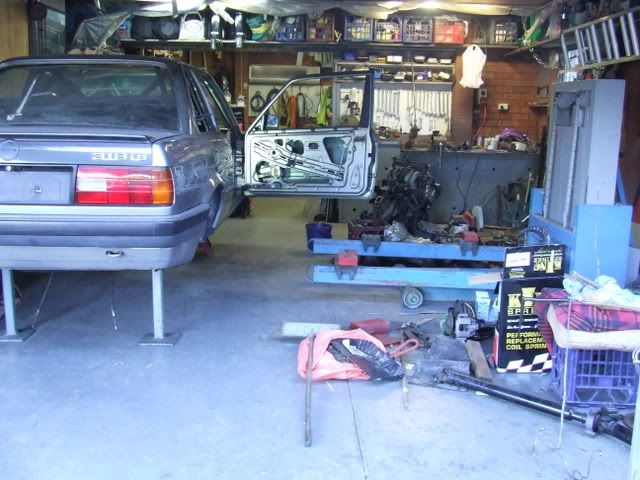
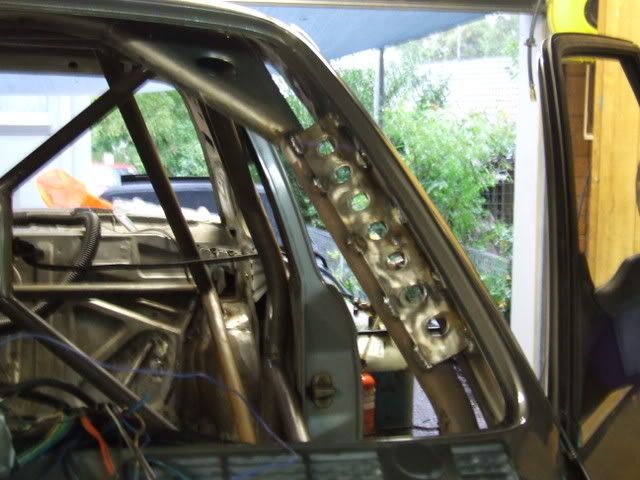
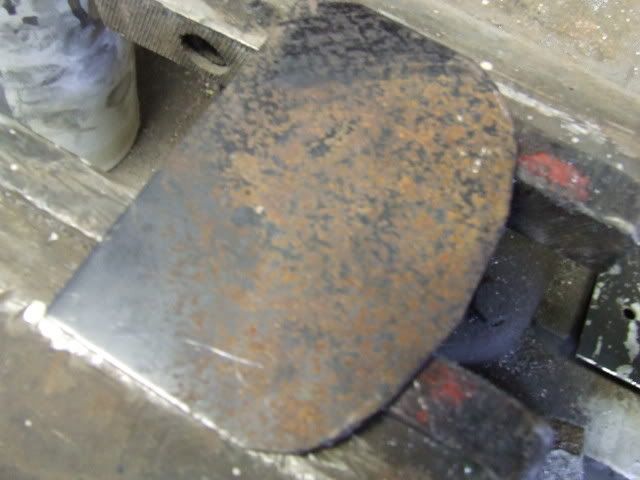
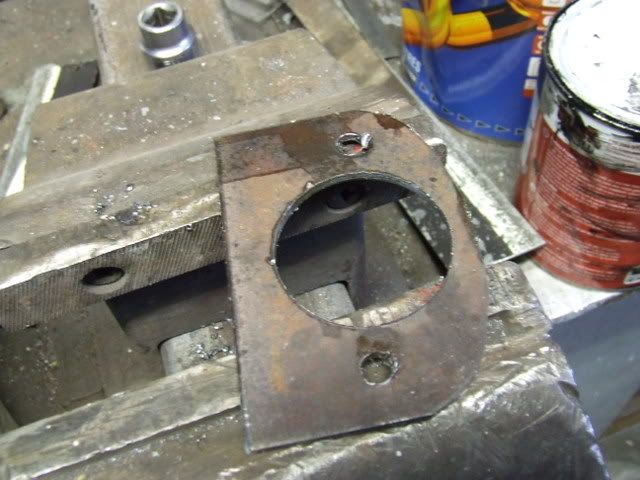
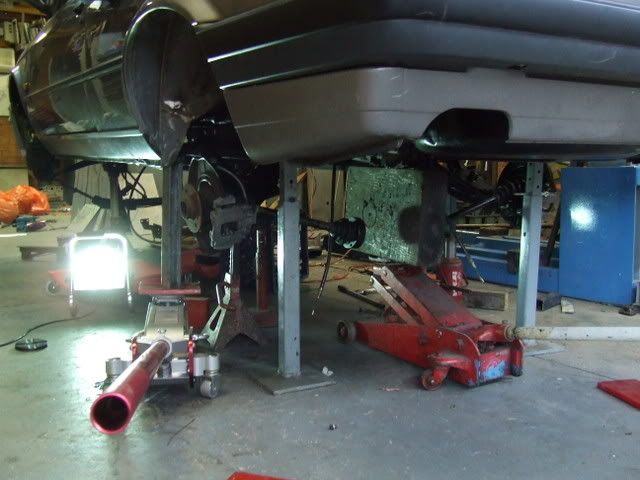
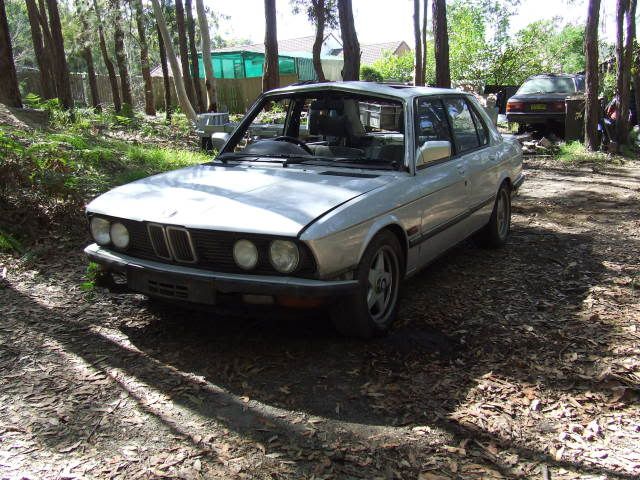
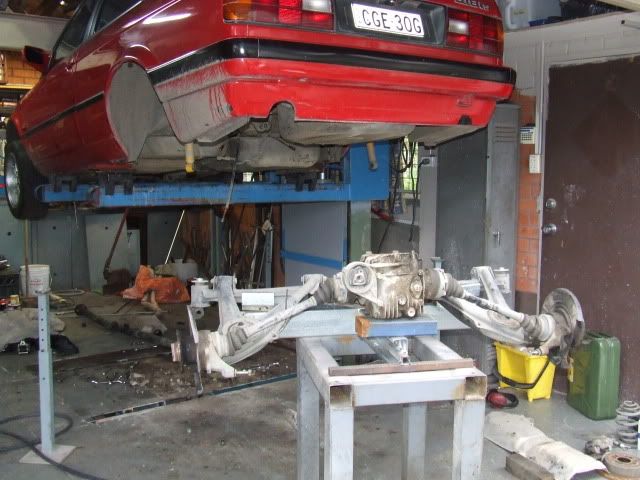
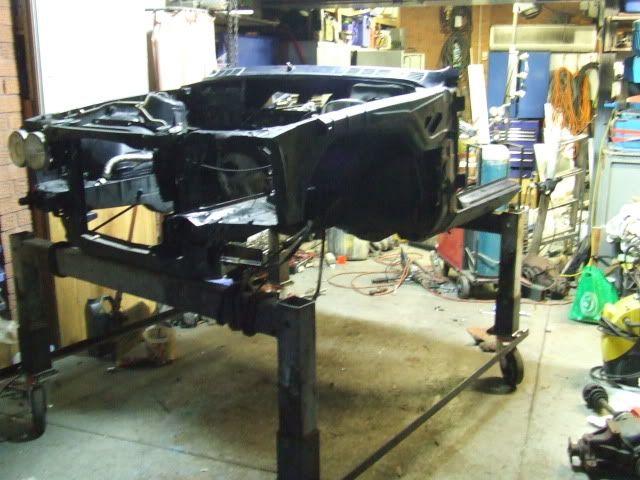
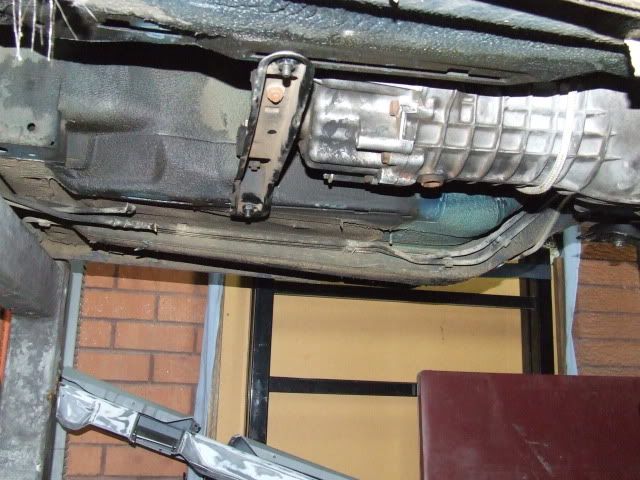
And to show you why I dont use the shell I already have sitting out the back just chillin.


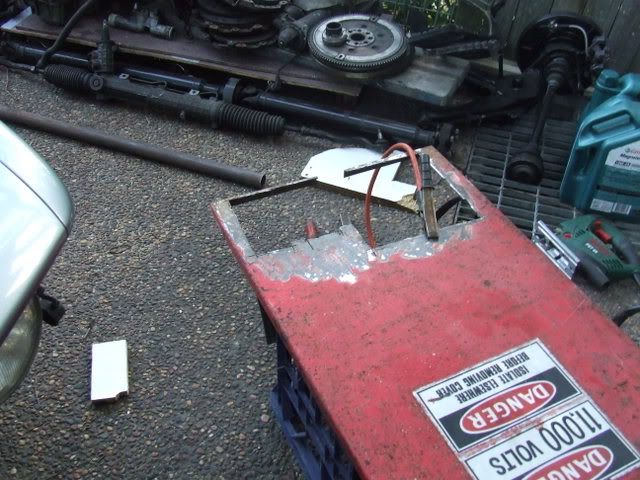
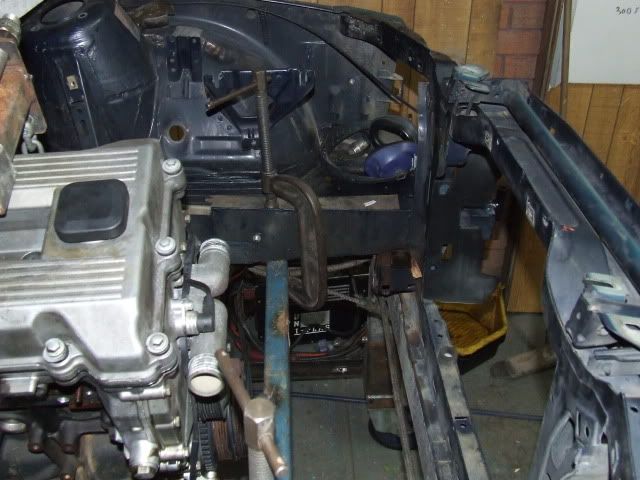
We had to actually cut that hole to smash the door lock off so we could get the door off.


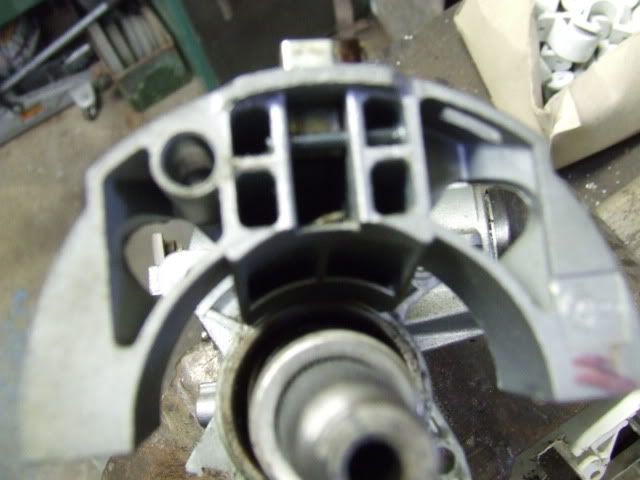
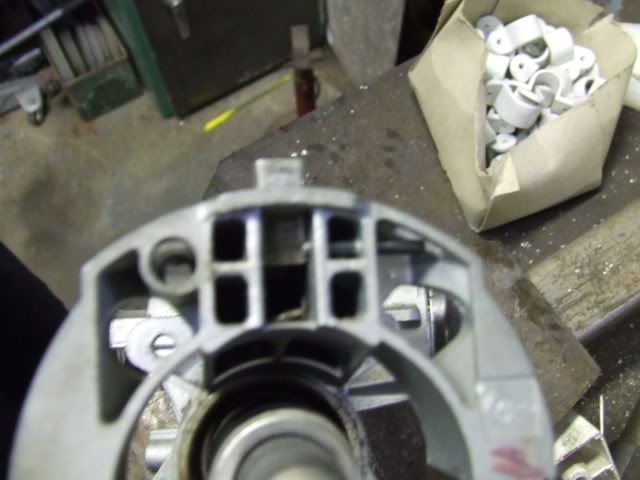
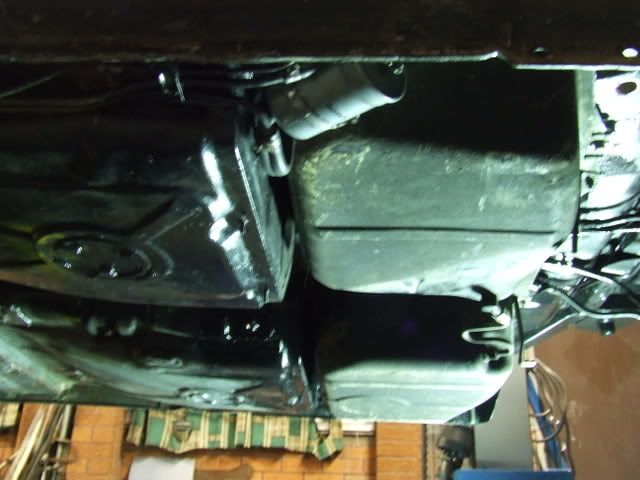
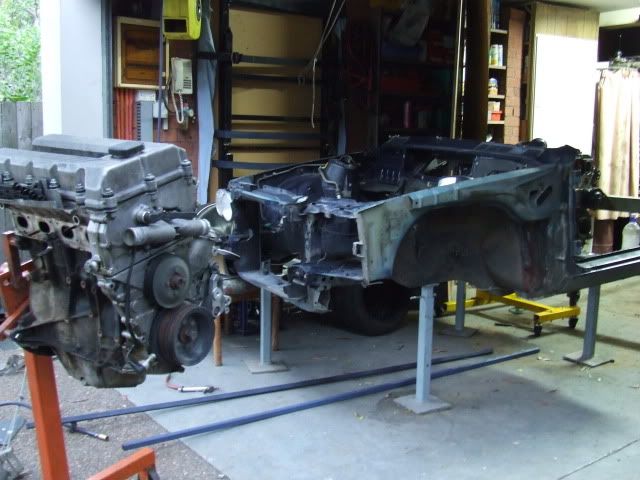
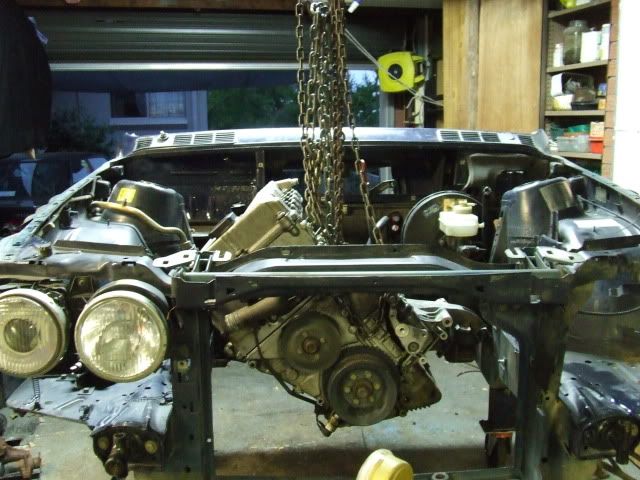
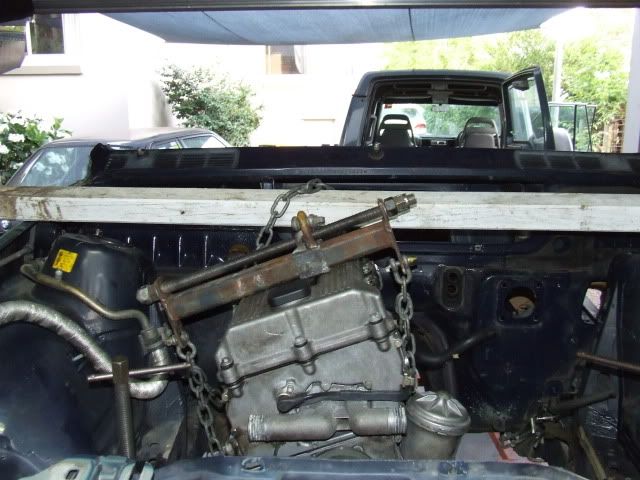
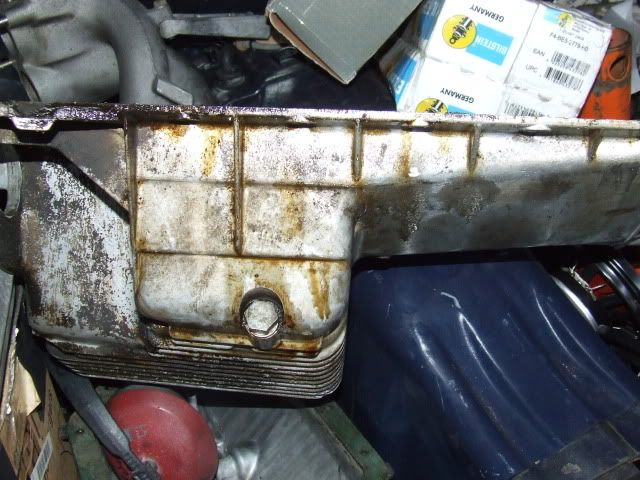
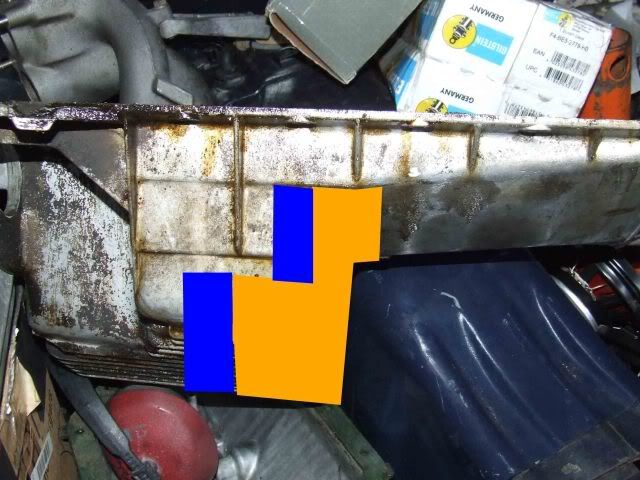
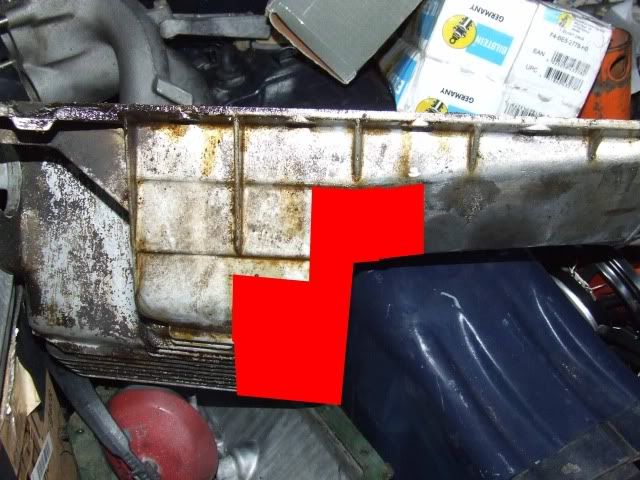
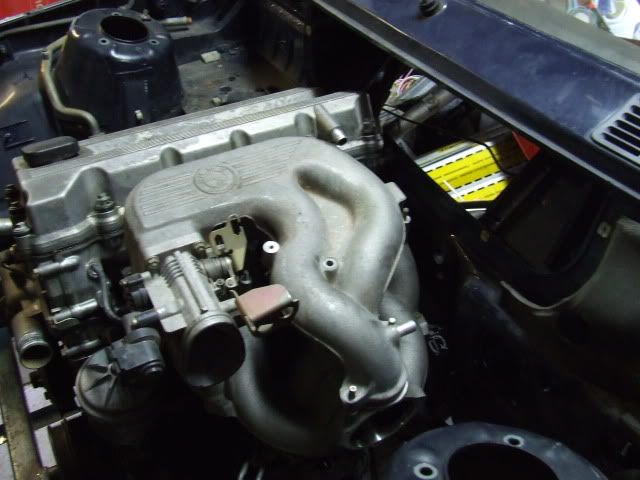
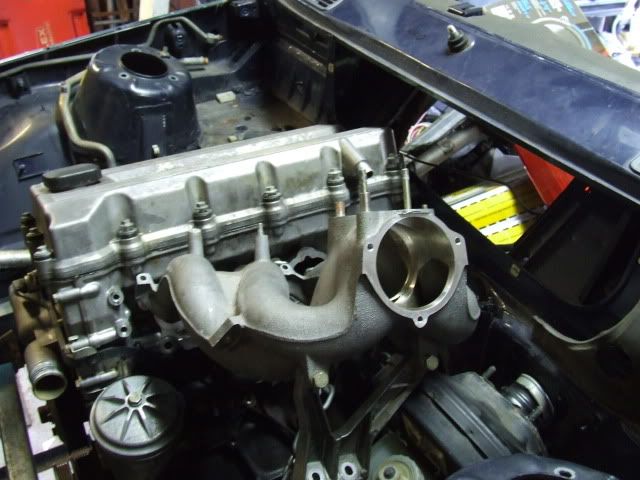
And the business end...this engine is actually going in the daily because it seems all the timing components have just being replaced! The black plastic guides are still all sharp and pointy..somebody spent a bit of cash on this car before it got written off.

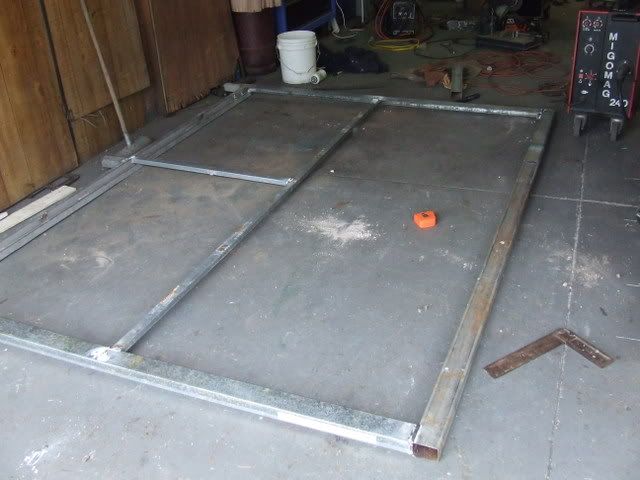
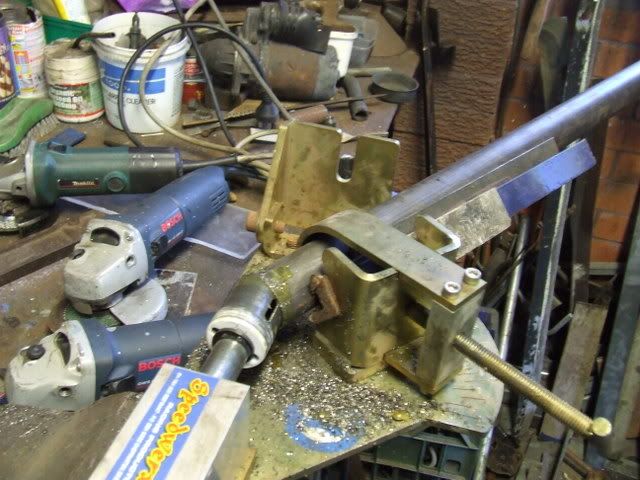
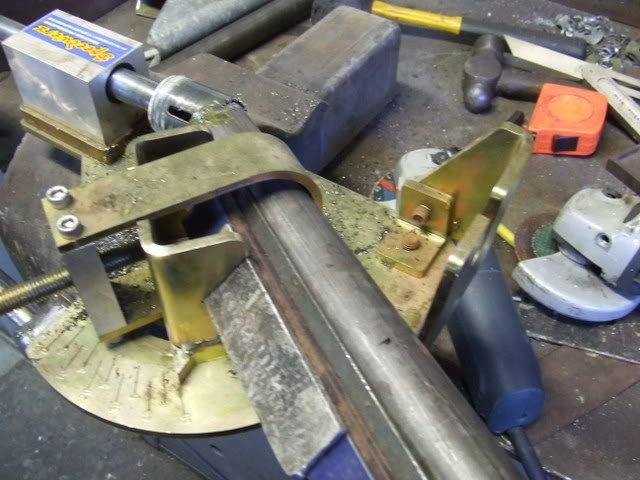
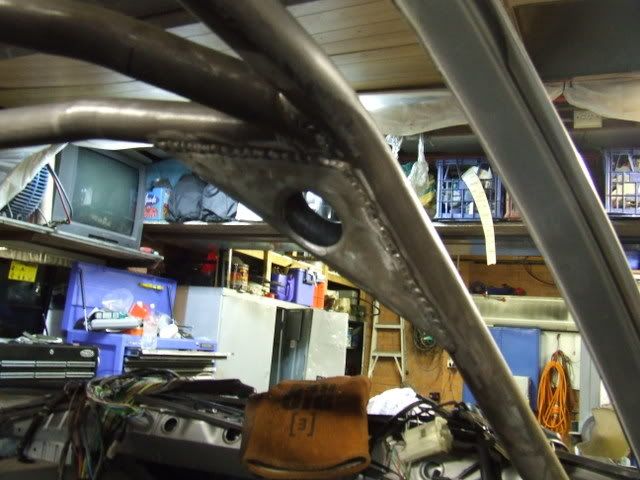
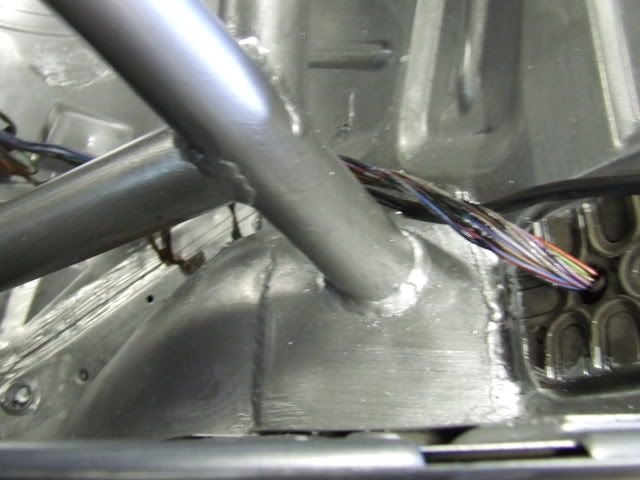
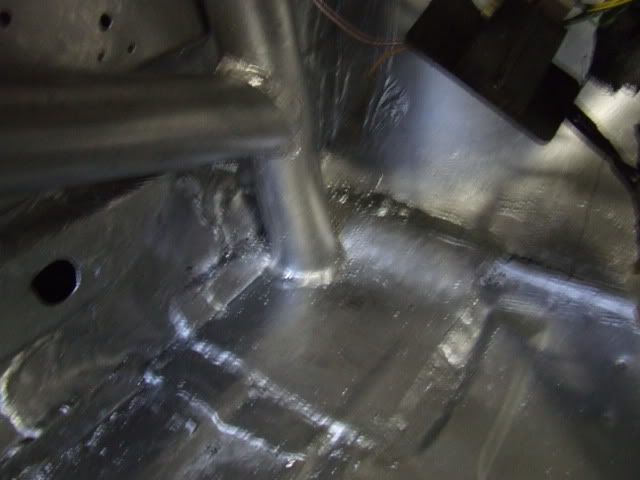
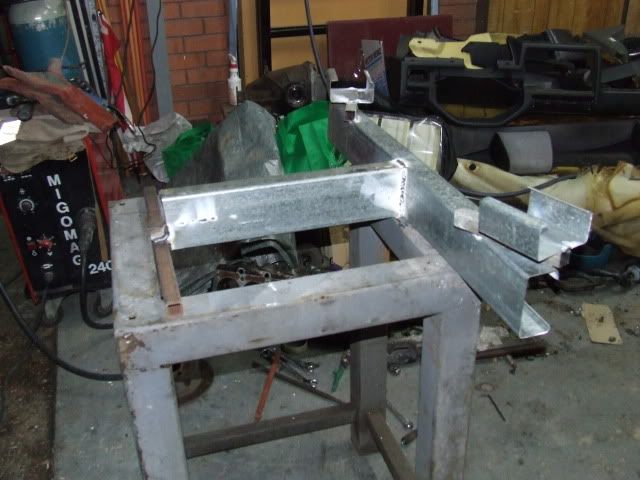
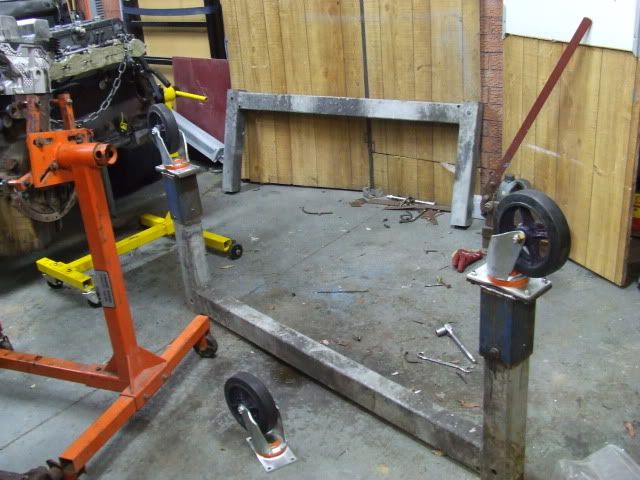
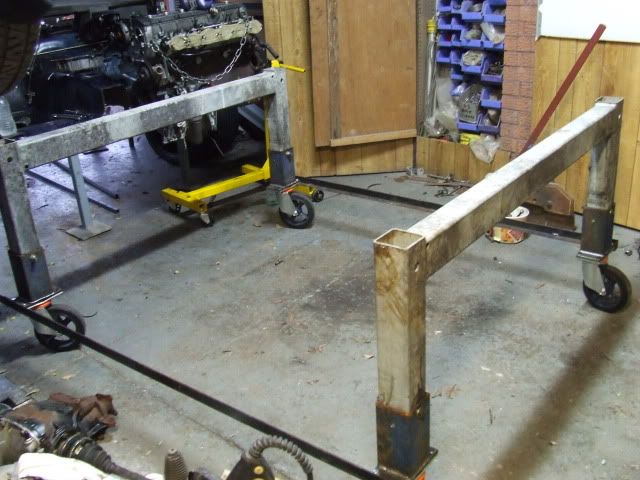
So right now, I'm just collecting bits and concerntrating on getting uni out of the way for the year. At the same time me and my father are working out a way to bend the main hoop and front legs. We are both proficient MIG welders so the welding is the easy bit. We also have a lead on a tube notcher. At this rate we may have to pay someone to bend the tube for us :(
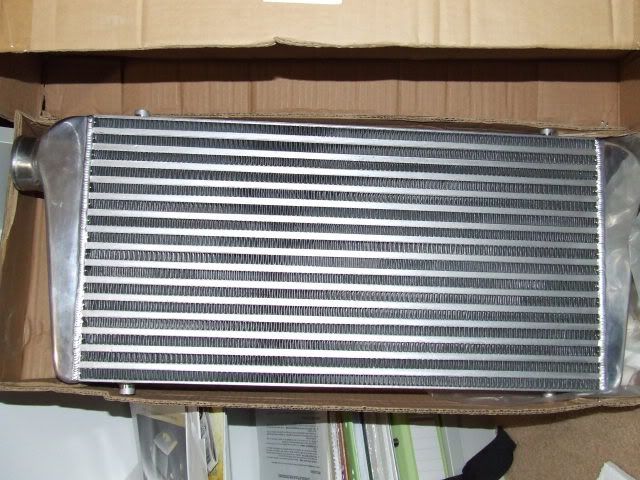
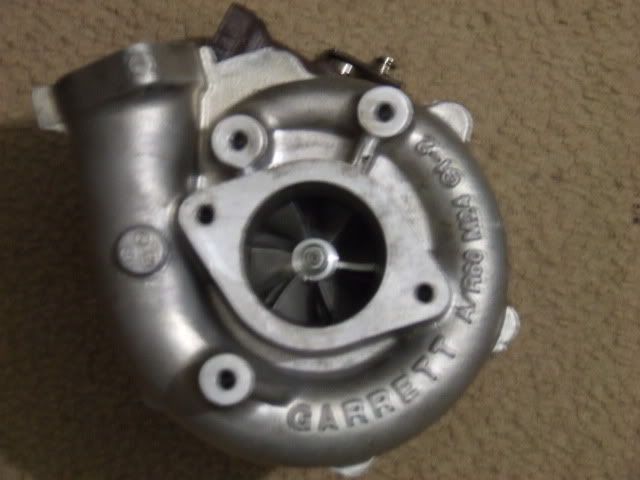
Other than that...I have this dream of one day exploring Forced Induction and bigger brakes and things...for now the aim is to have fun with minimal cash spent! :D
At the moment...its purely a go fast car :) wheel to wheel racing is quite a bit more costly as you will know. But at the same time most of the private track days run have a few cars on the track at the same time :p
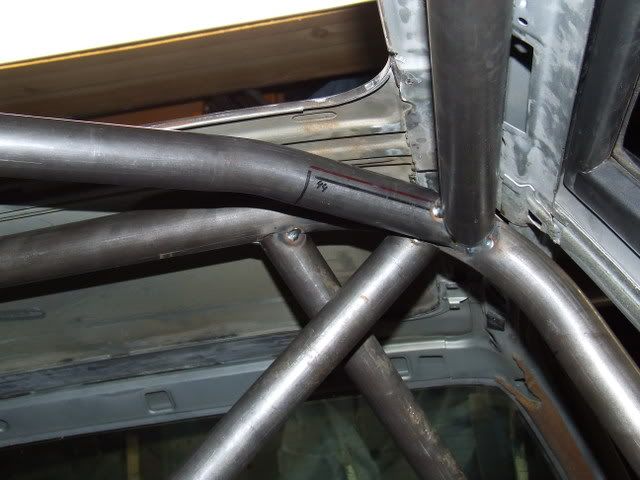
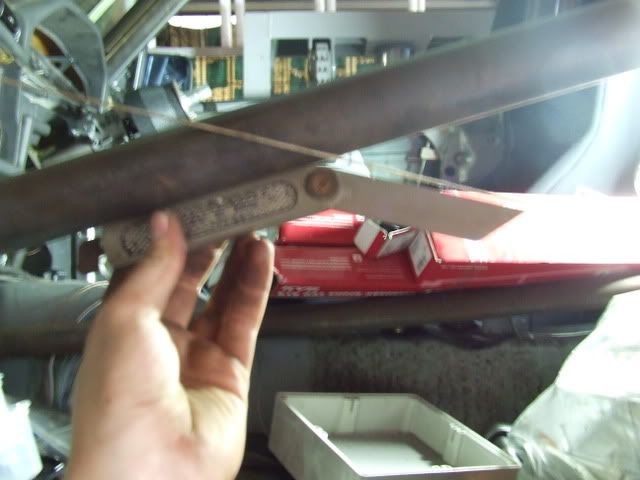
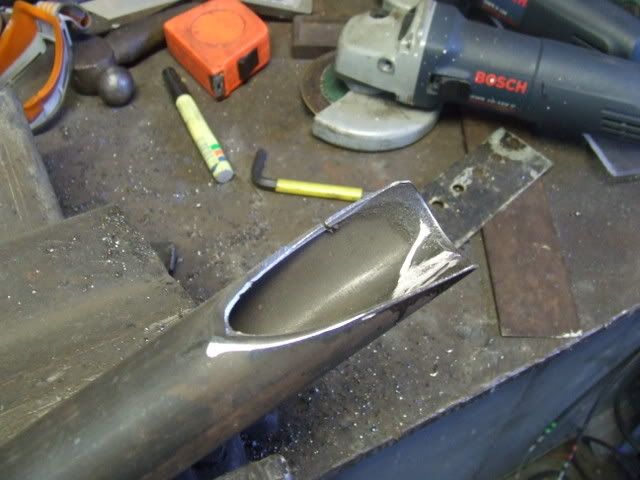
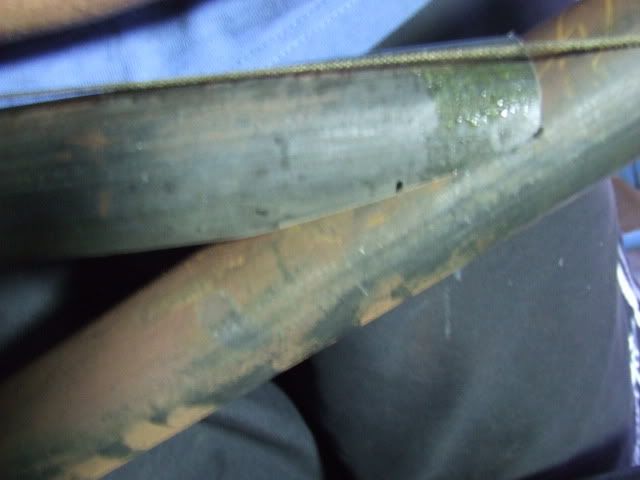
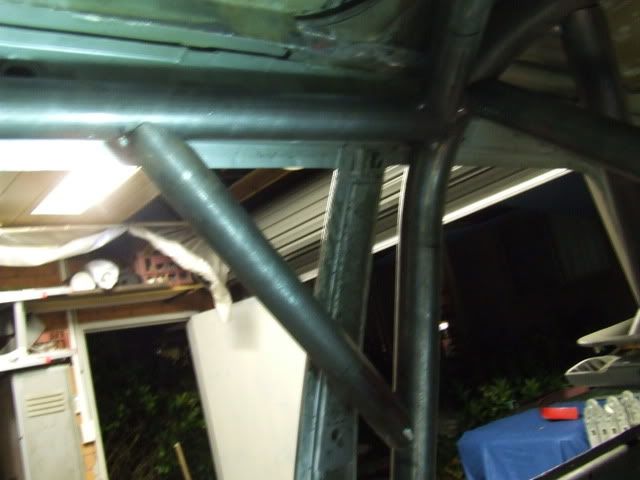
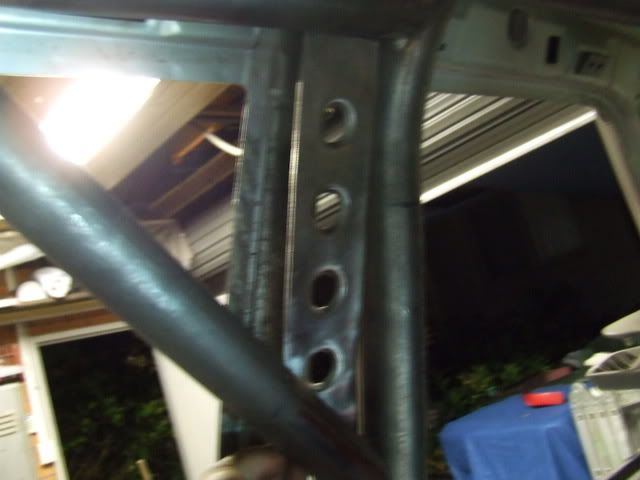
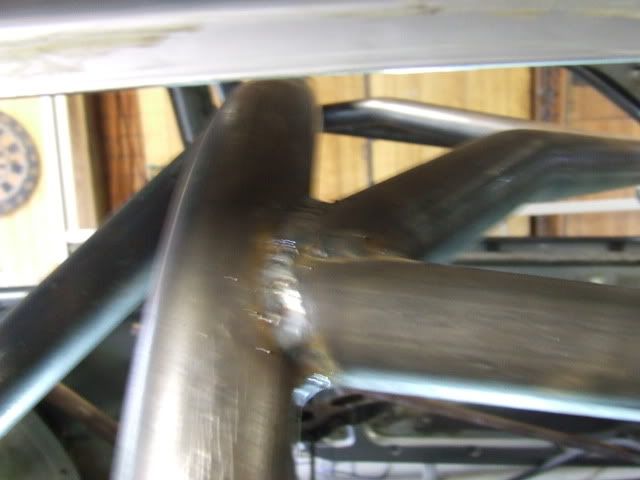
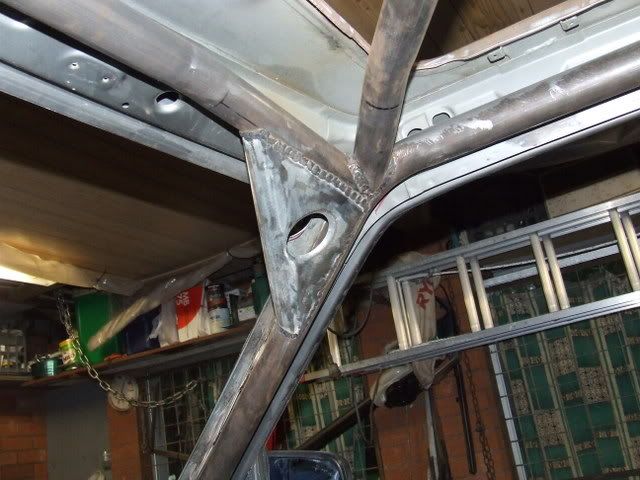
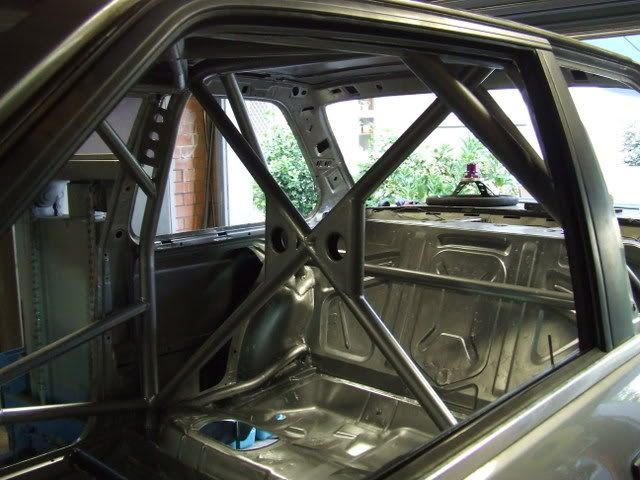
I've been reading and re-reading the CAMS manual over and over. I've got the cage requirements down pat. I have spoken to one cage builder at the moment and he mentioned that using 44mm tube all round made it difficult to weld the top edges properly. So we're pricing up about 4m of 44.45mm for the main hoop and about 25m of 38mm for the rest of it.
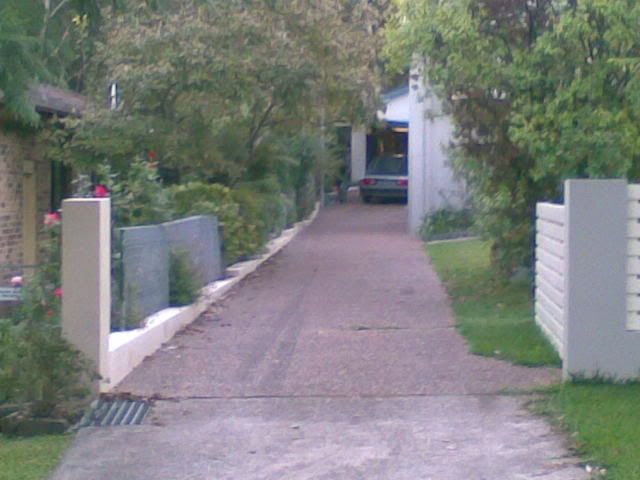
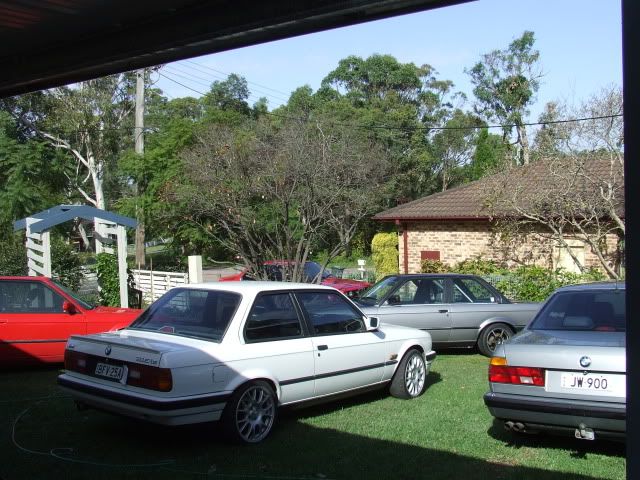
Update, the shell is now making our neighbours go "WTF is with these people." Seriously four e30's at one 1/4" acre block was pretty excessive but now we have five :p
pics tomorrow after i unload it. And ill get some pictures of the seat mounts too.
Alright progress started this week on Friday. Did a last measure of the shell to make sure I was happy with my measurements and ordered the tube from Performance Metals in Sydney. That lot should arrive mid week allowing for the guy i have lined up to bend and notch starting next saturday.
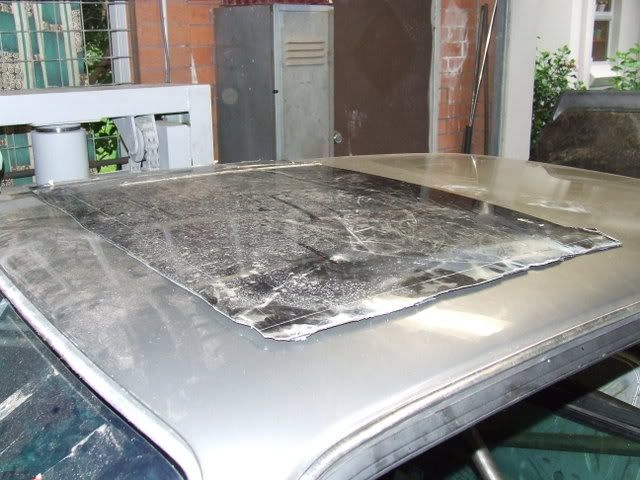
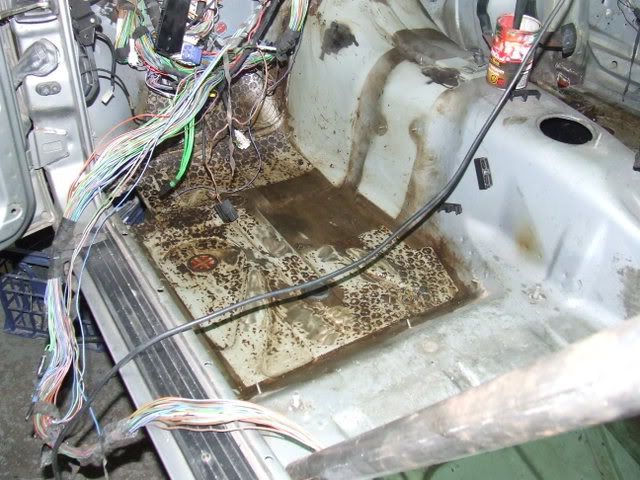
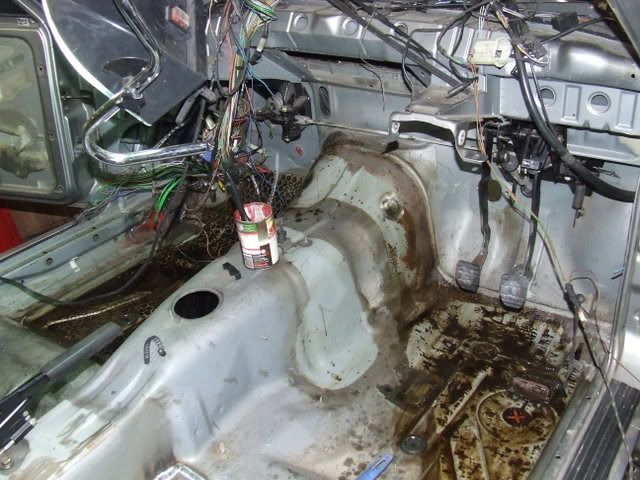
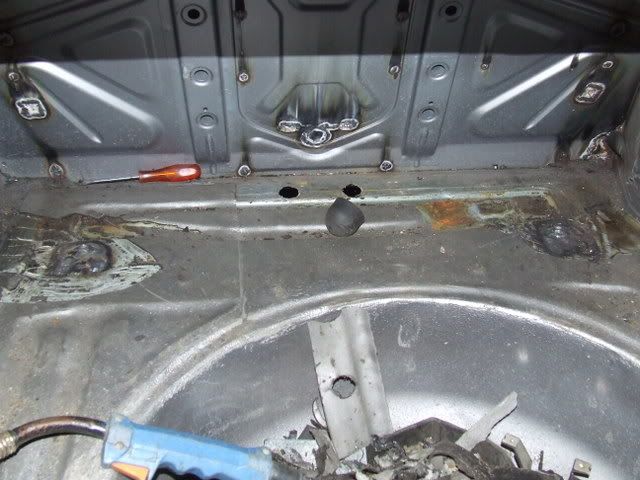
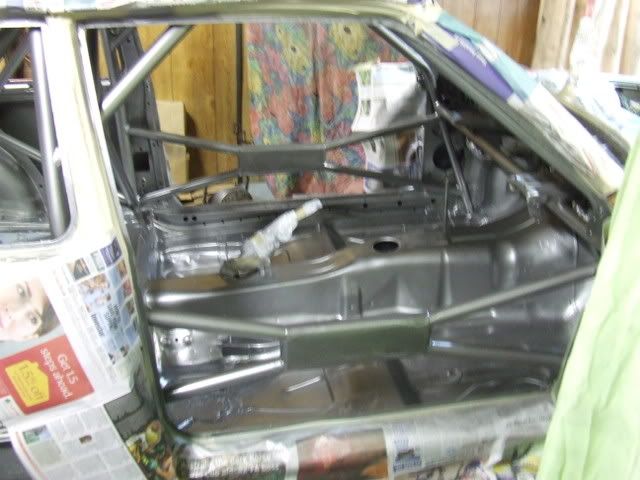
On saturday, I did some more stripping of the interior to make sure I'm ready for next weekend. Everything that unbolts and needs to be has being removed and I've removed a bit over 5 kilos of insulating tar from the floor (prolly another couple of kilos left). Ive just been heating the area up with a heat gun and scrapping with a BIG flat screwdriver. Its being coming off easily and in nice big flat sheets. I' ve also started reduced the wiring....so far this has only included things that i can unplug from the car completly like the boot/fuel cap central locking and the antenna wires, radios/cassette wires etc. Wires thats are a bit more integrated but to be removed included, the check panel, the sunroof, ABS, A/C, fog lights etc etc.
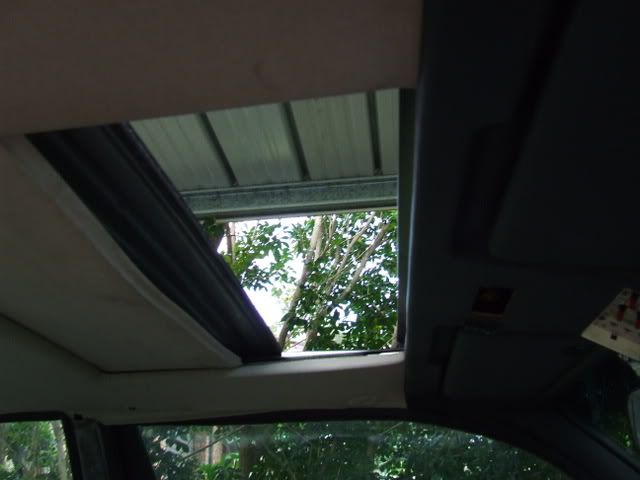
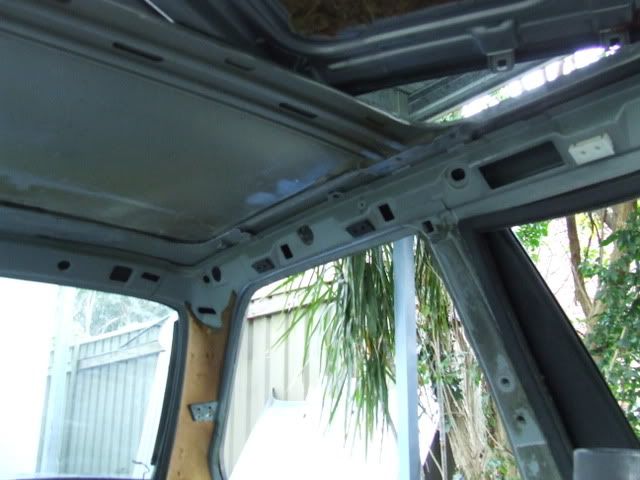
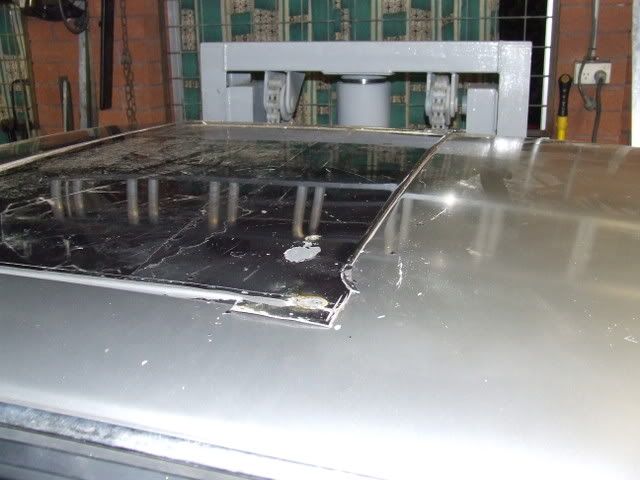
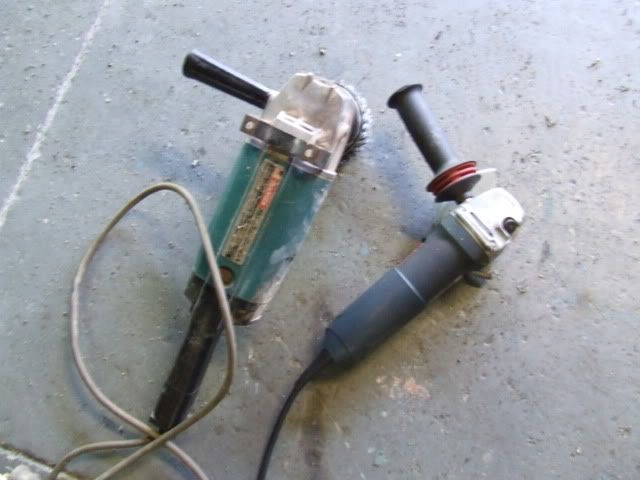
Then today i focused on suroof removal as this is critical for the cage install. So far everything bolt in associated with the sunroof panel is out. This week i will be attacking the sunroof carriage with a plasma cutter and angle grinder CAREFULLY.
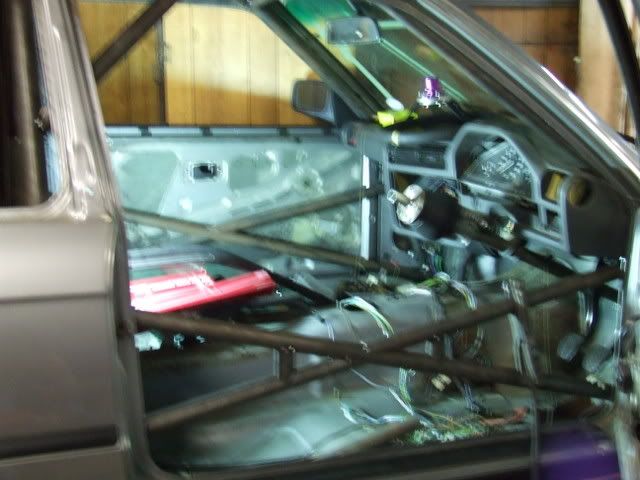
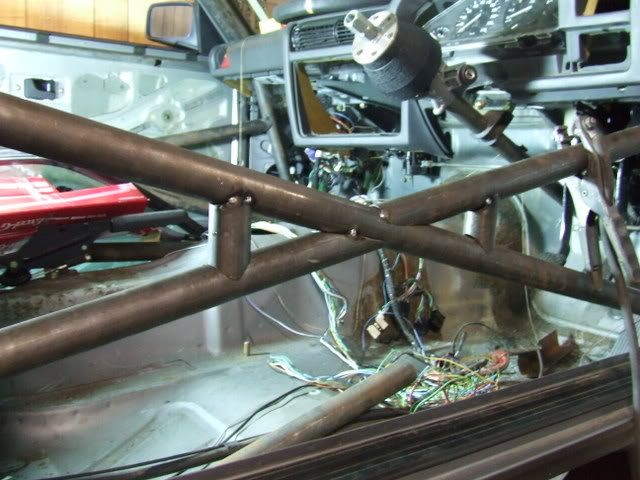
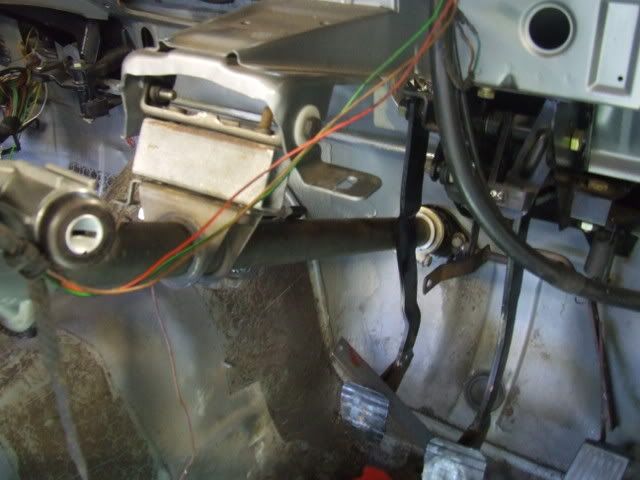
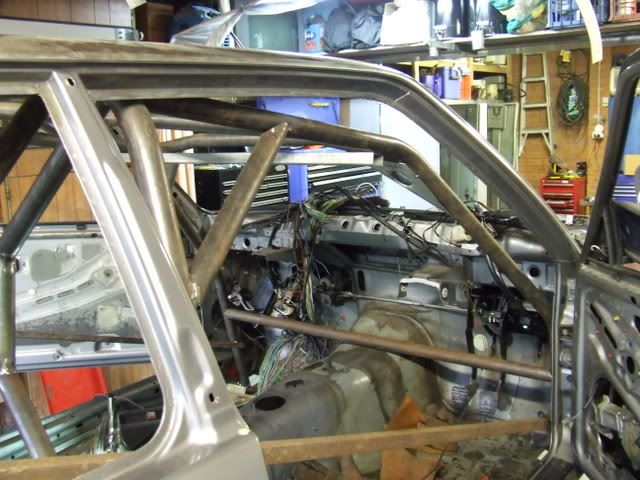
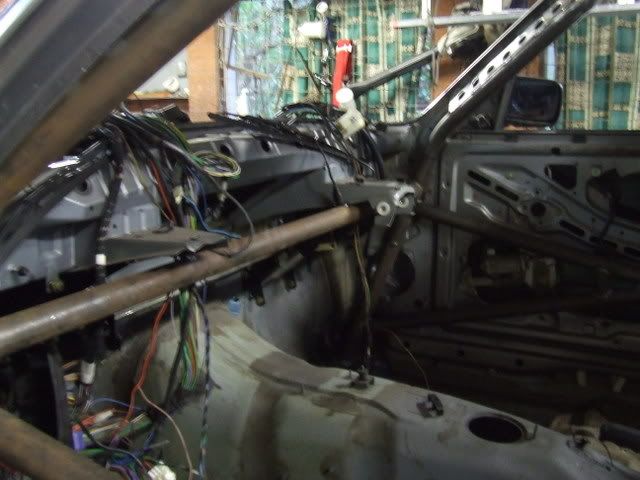
I had been carrying on but have a few things to ponder. A big one is where the front legs of the cage go, because the dash mounts may or maynot get in the way.
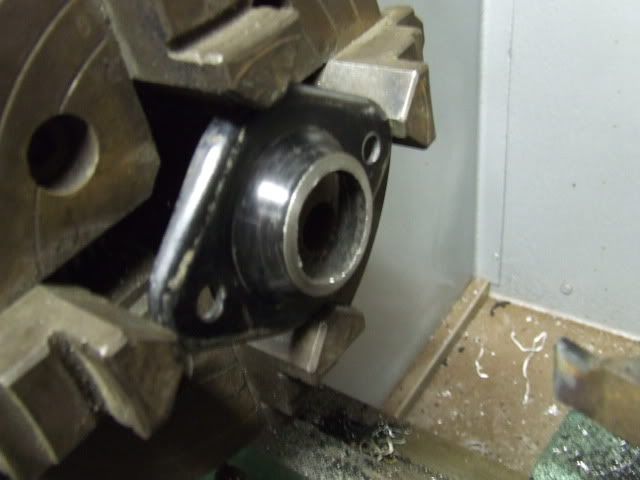
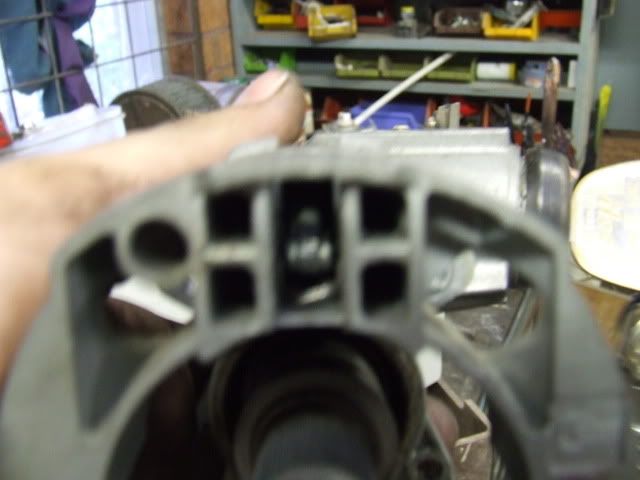
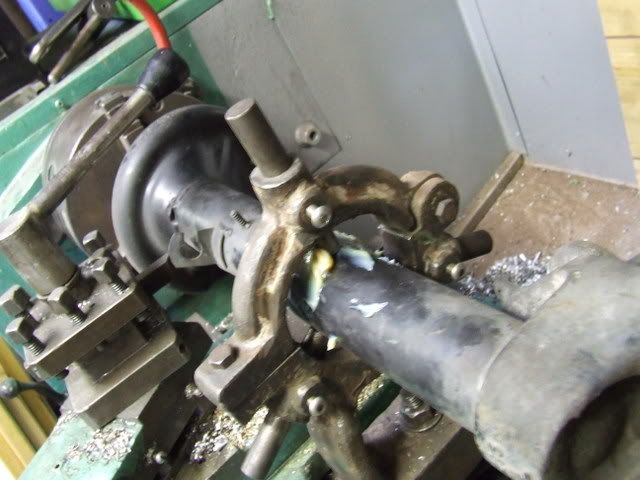
And i have also got a lead on an m20 single mass flywheel to sort out this dual mass issue. Thanks shotright/e30_320i for that. Im going to send it for machining balancing this week and get kitted up with a new clutch and such for the eventual swap. Time for the pics.
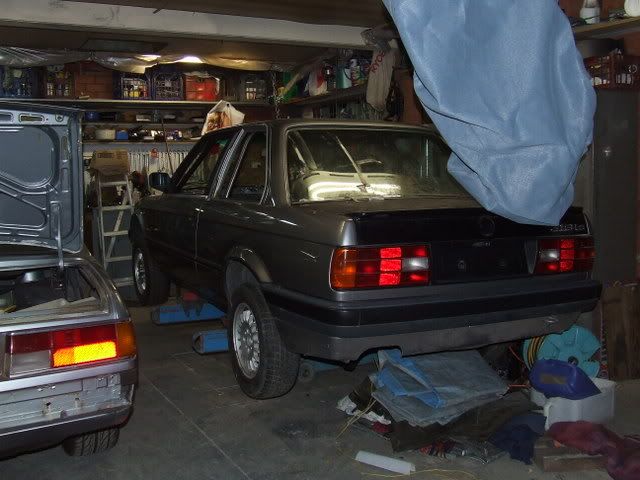
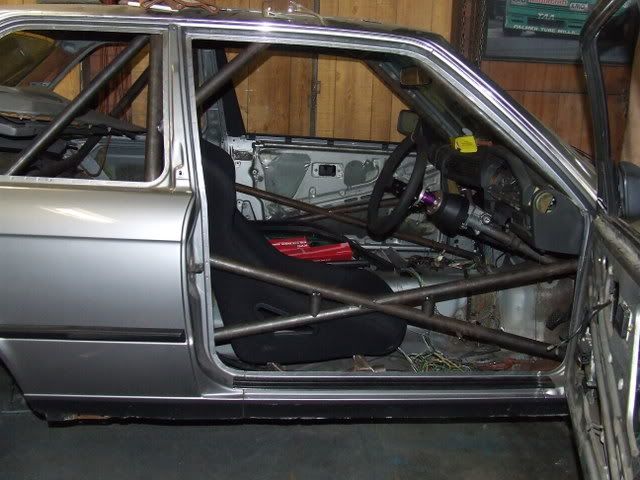
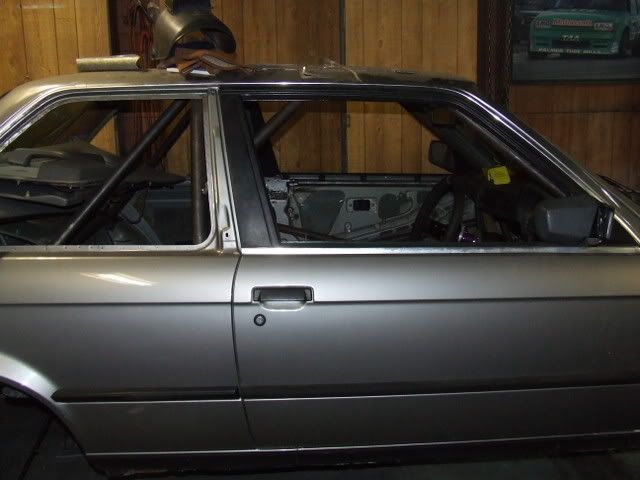
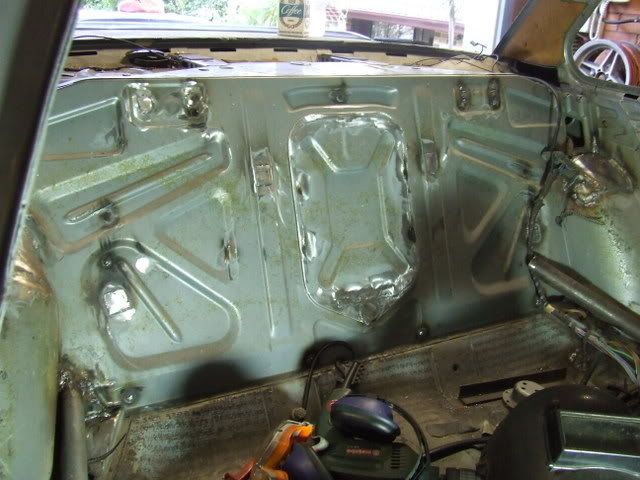
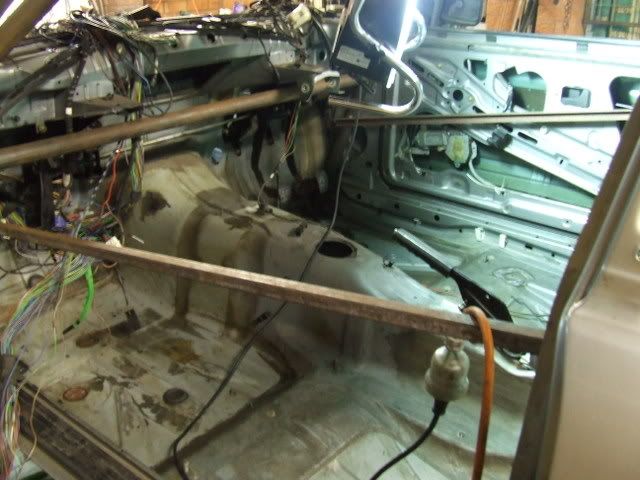
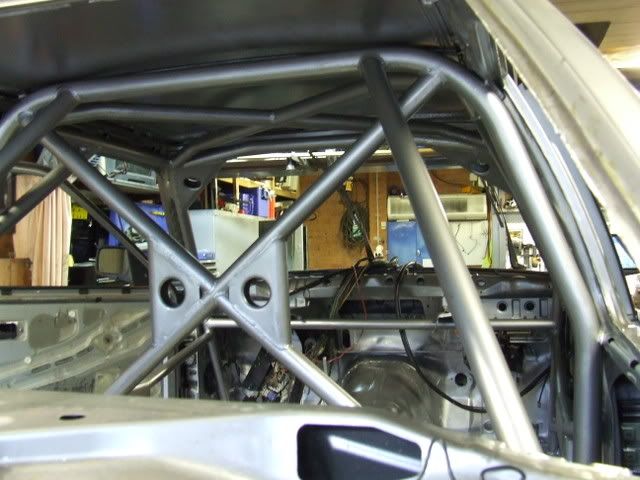
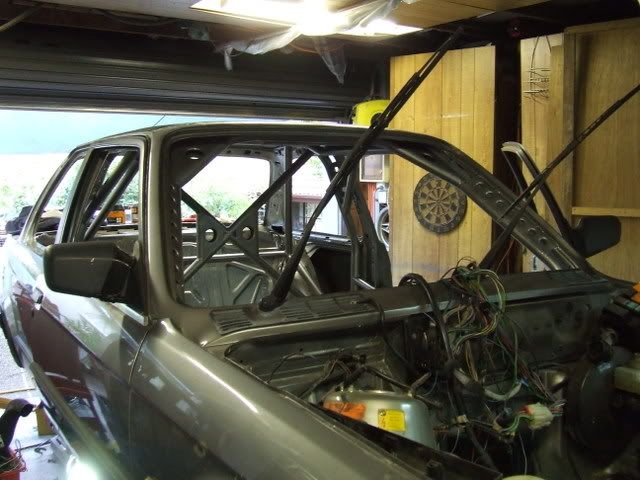
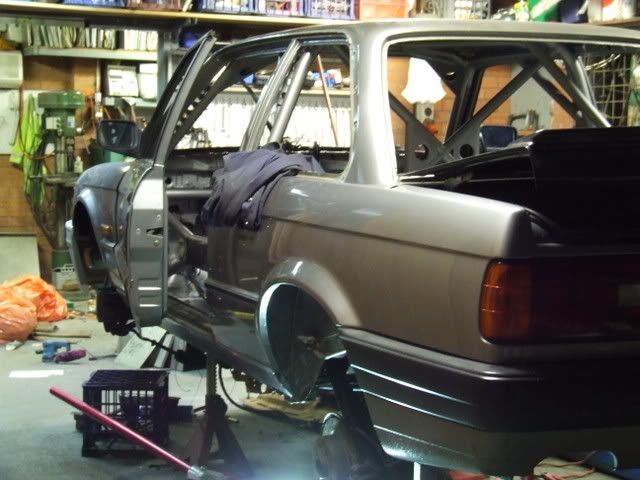
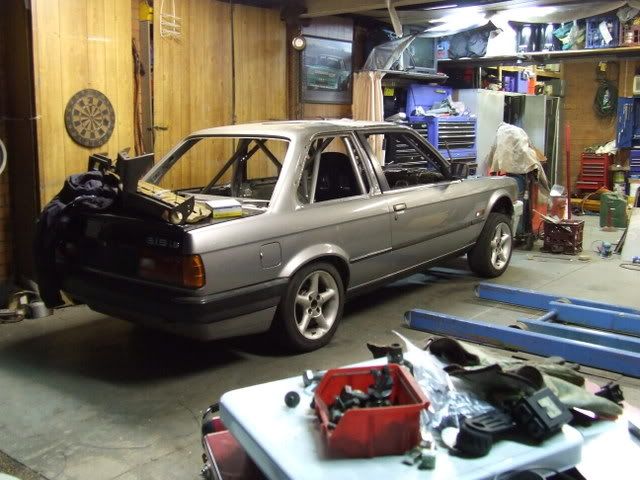
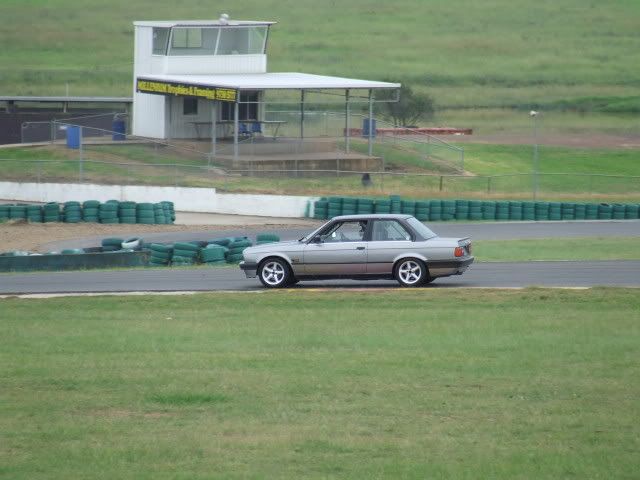
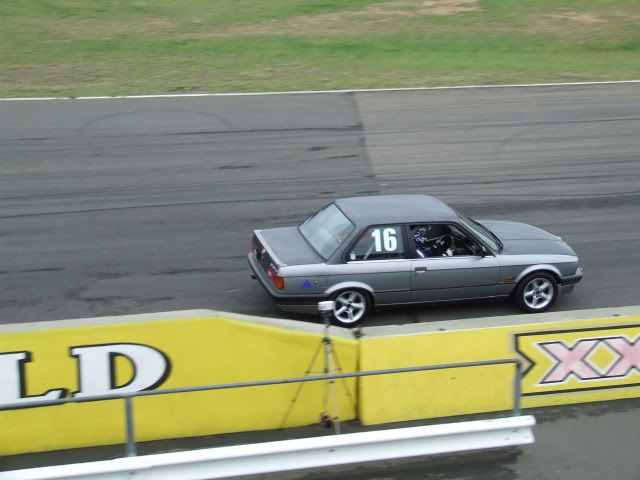
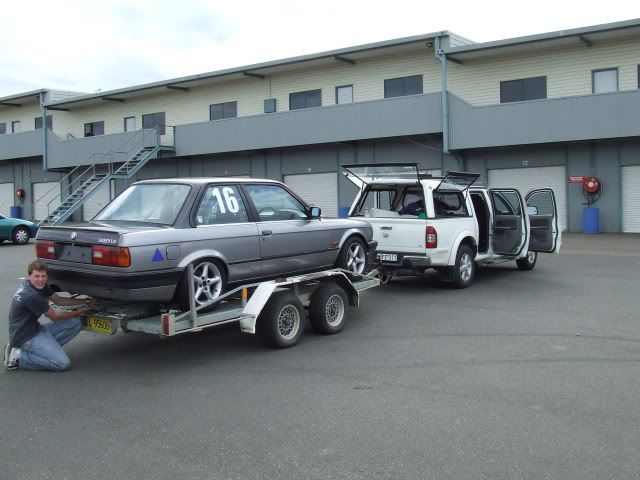
The Car:


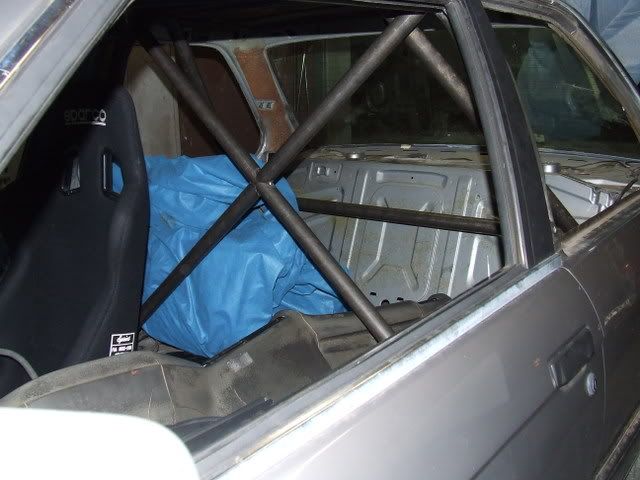
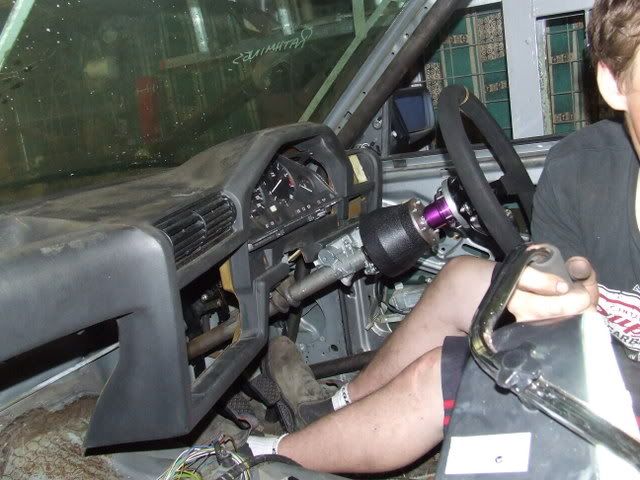
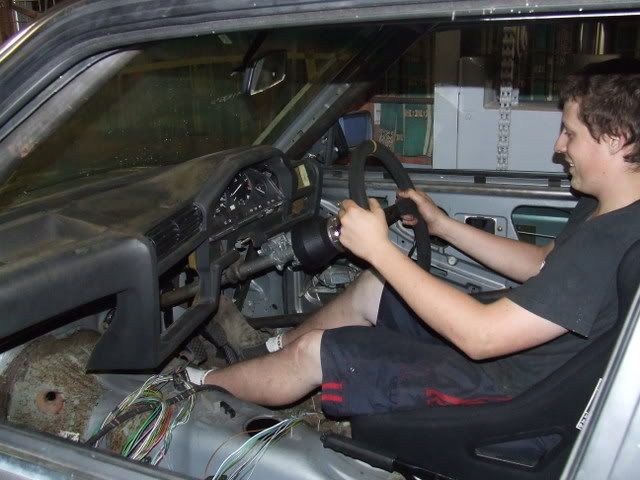
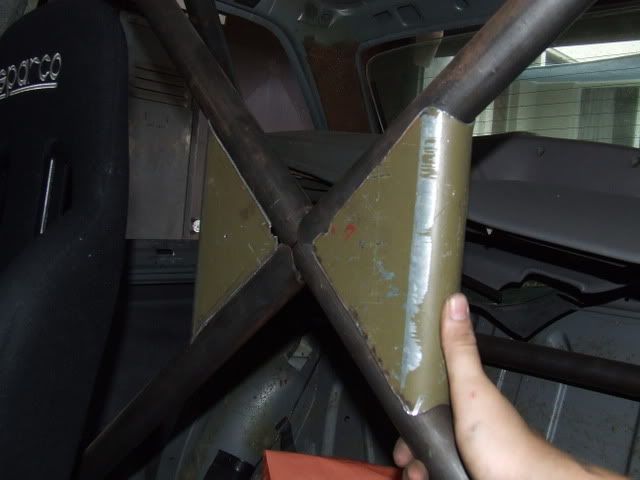
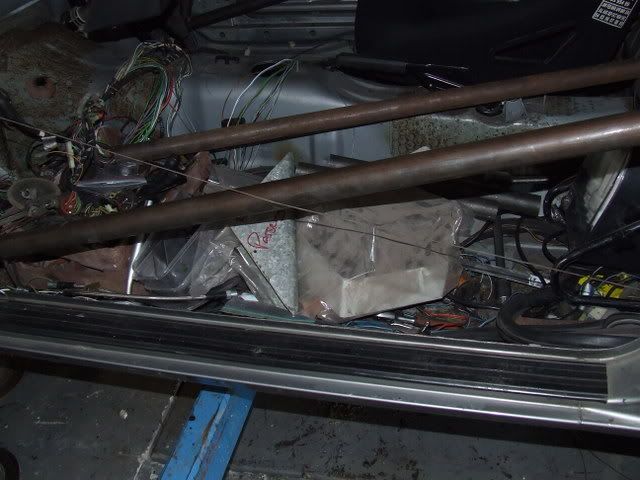
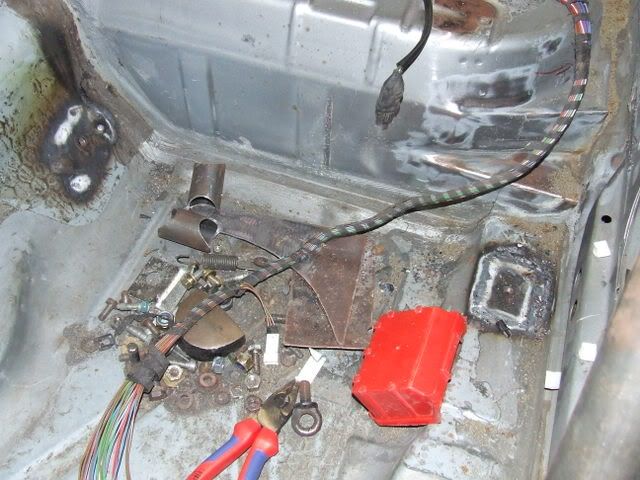
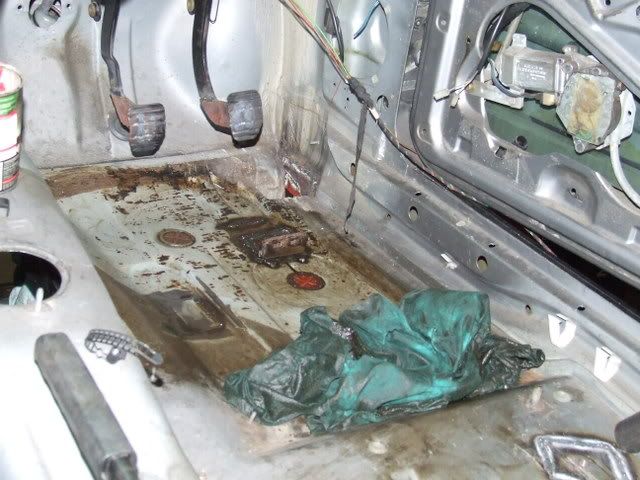
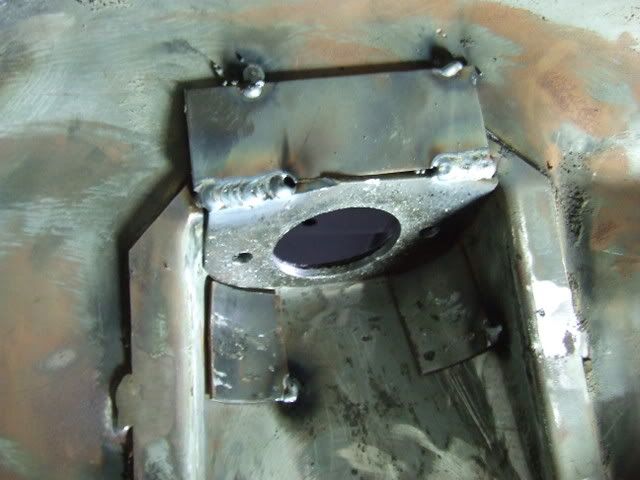
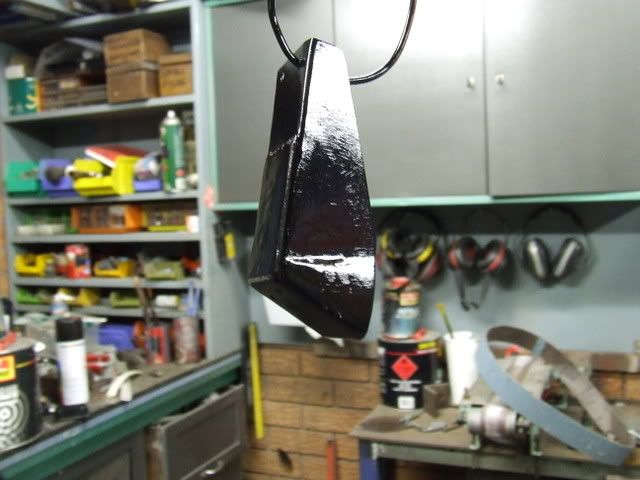
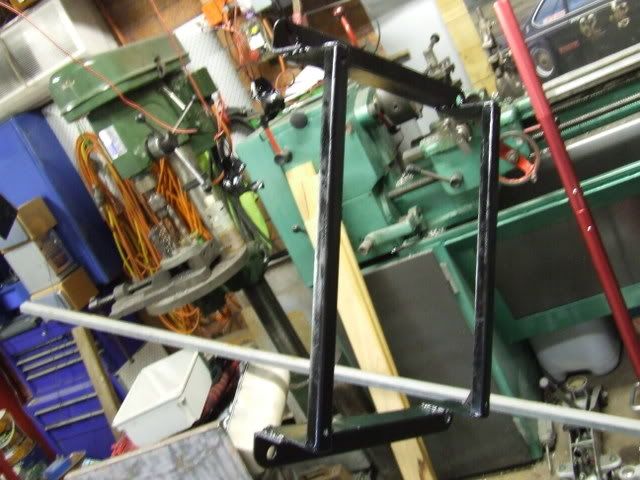
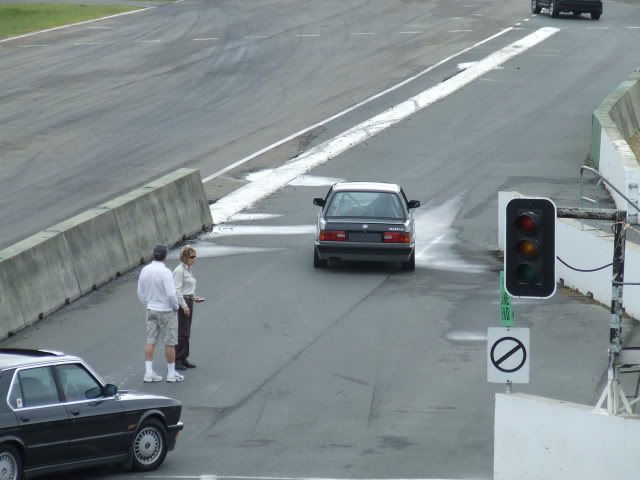
The seat position as it was for the track day (but with bolts):


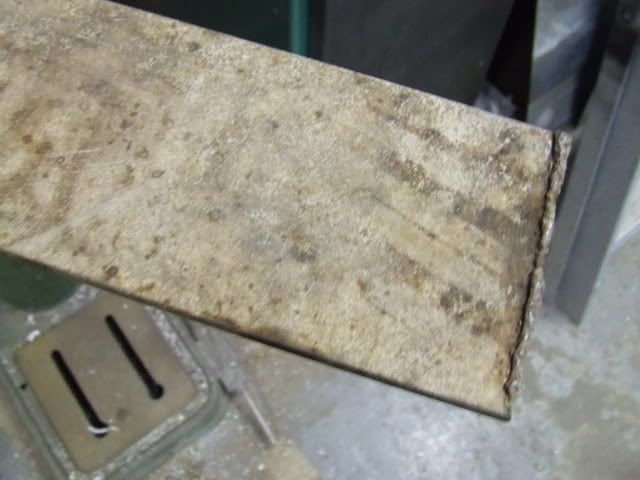
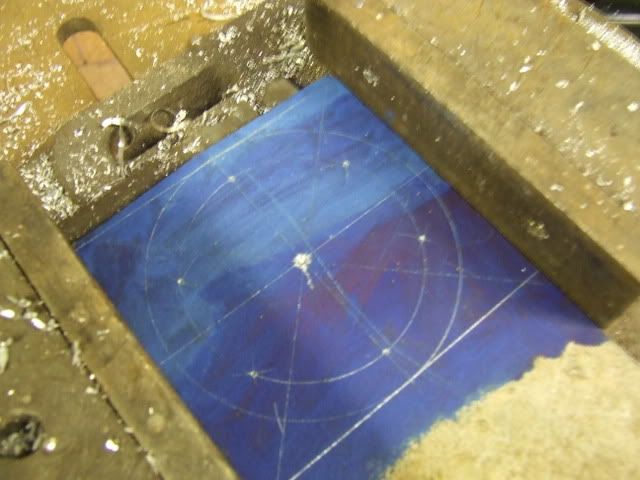
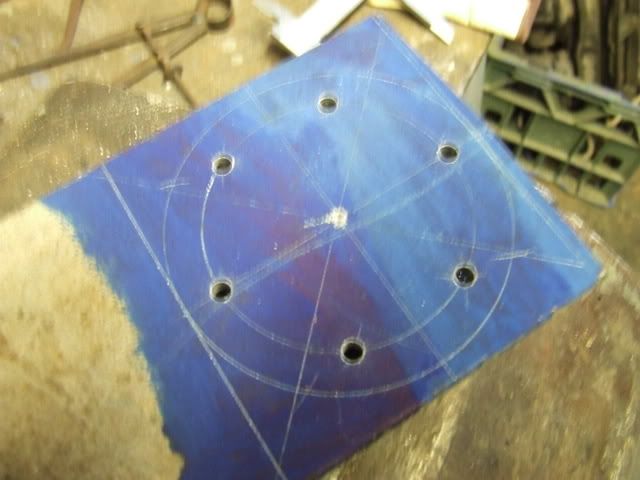
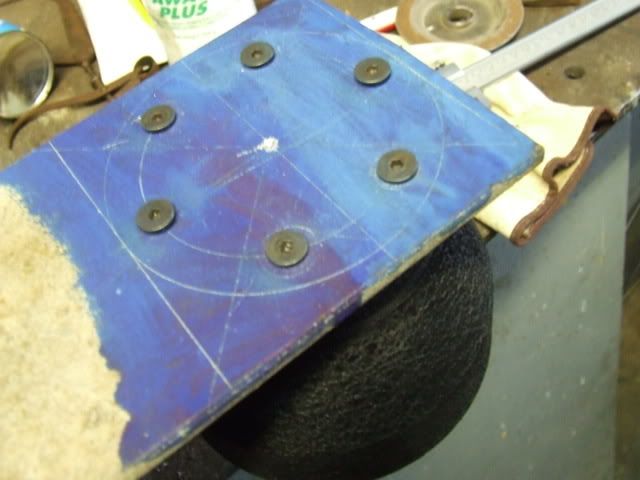
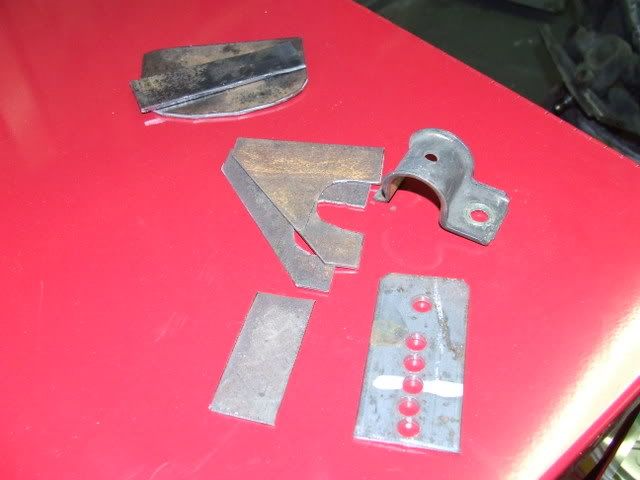
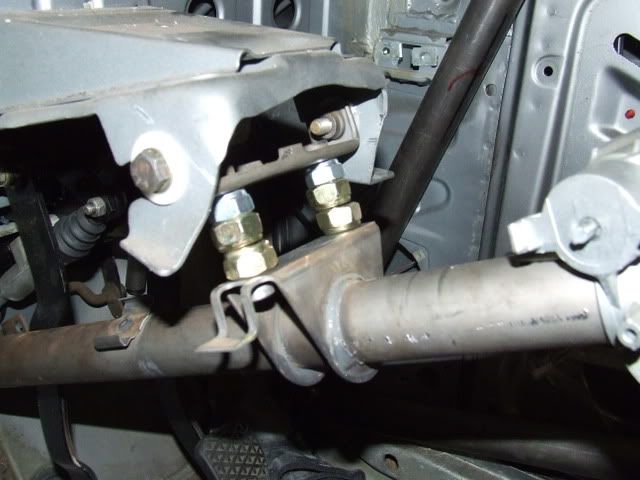
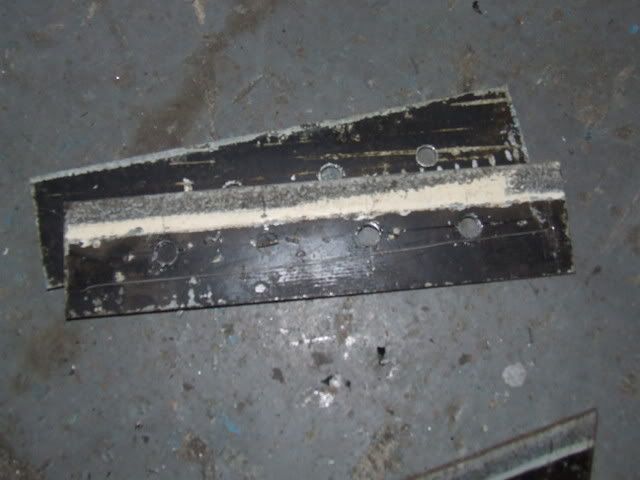
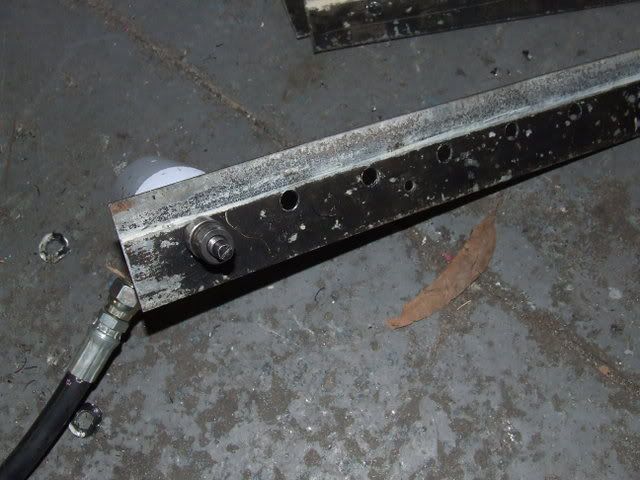
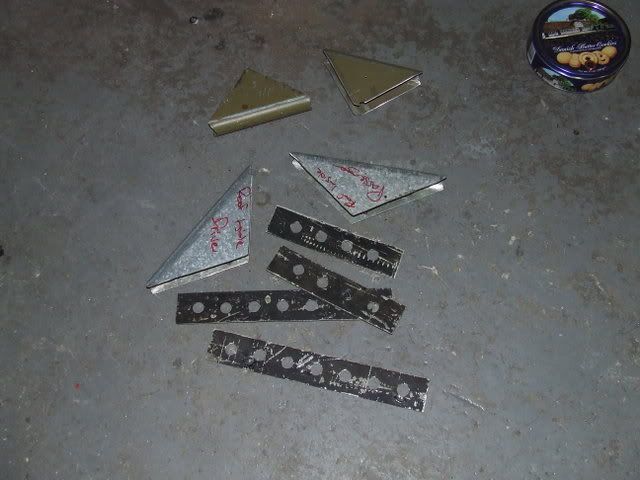
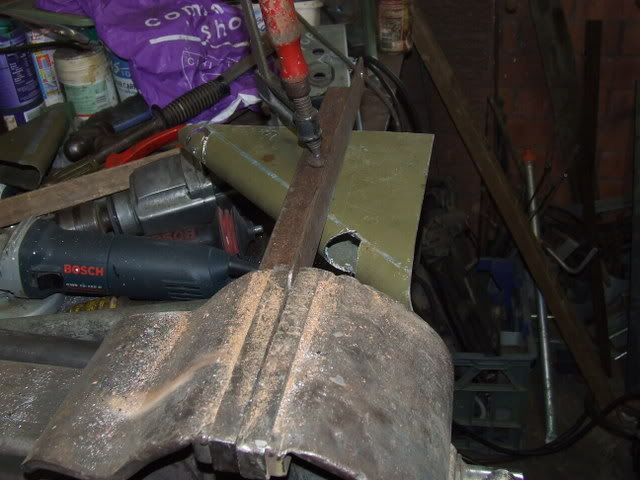
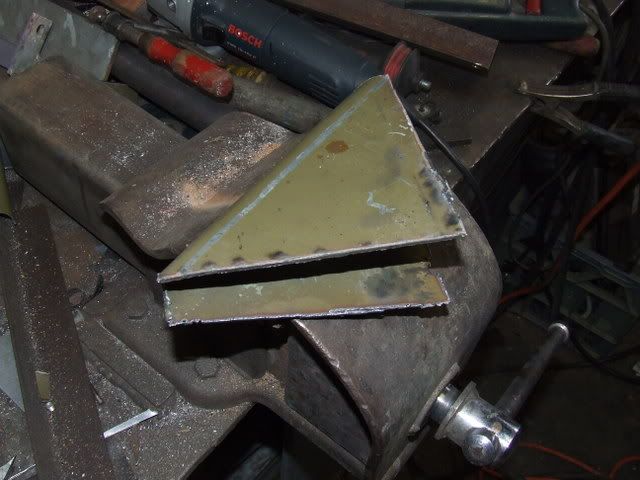
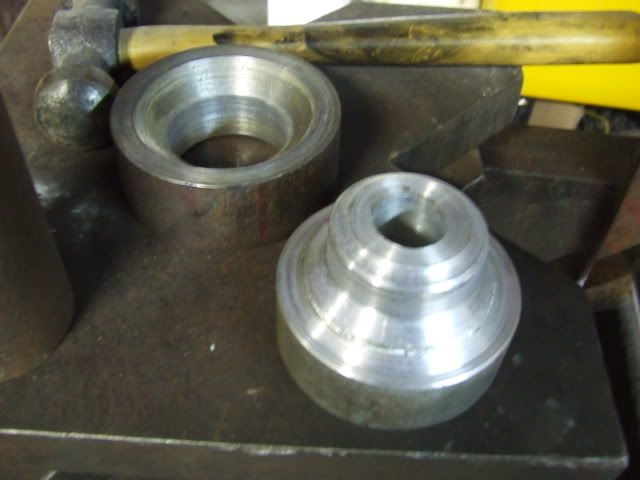
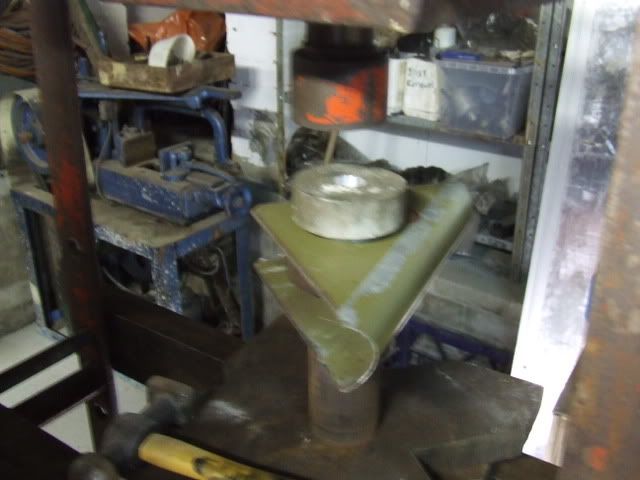
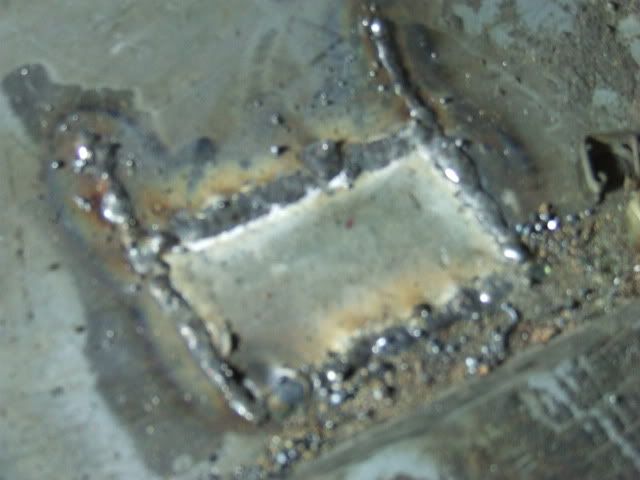
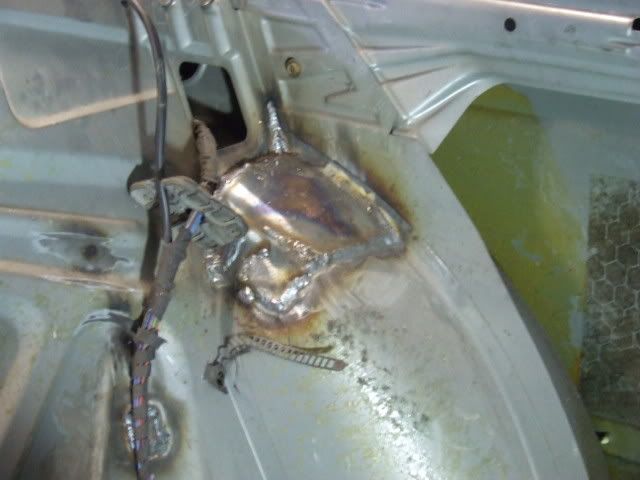
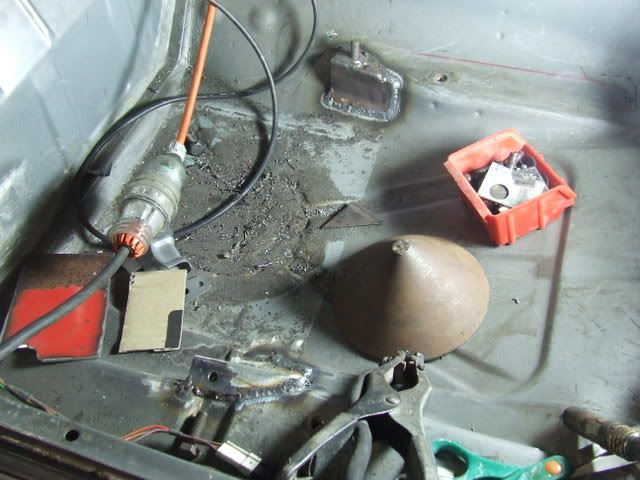
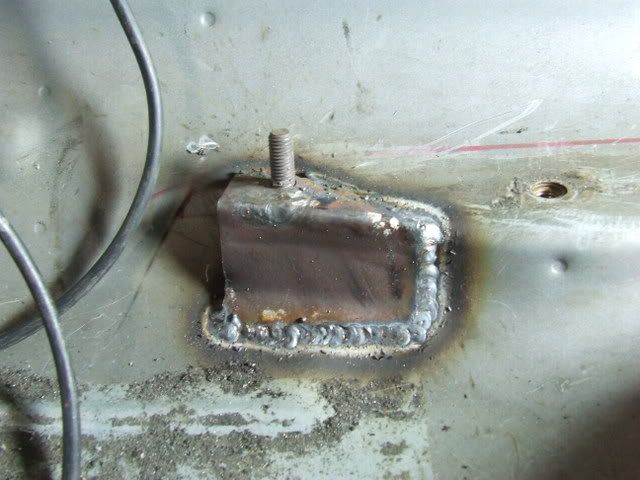
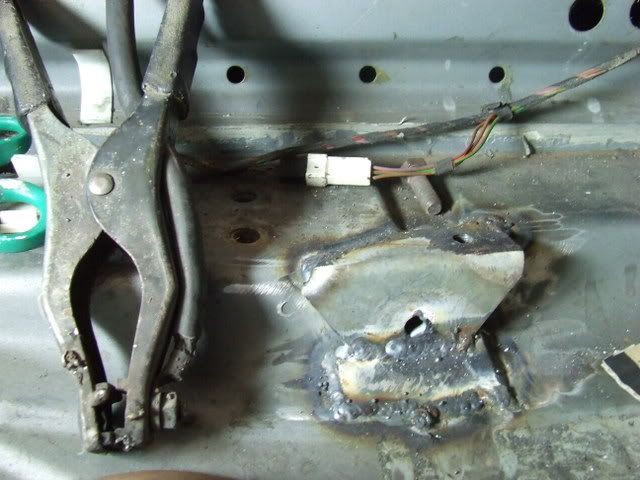
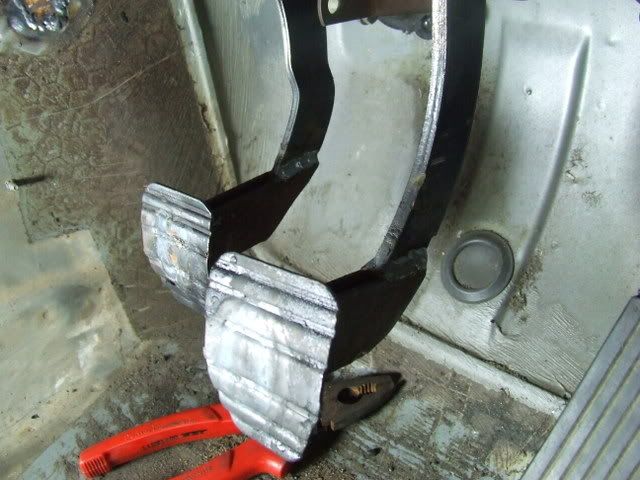
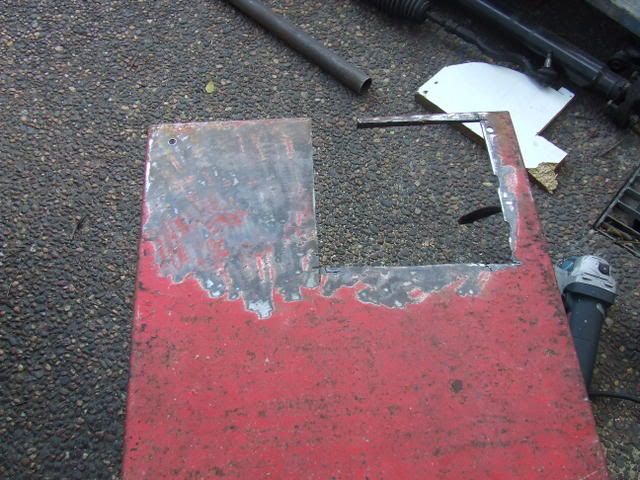
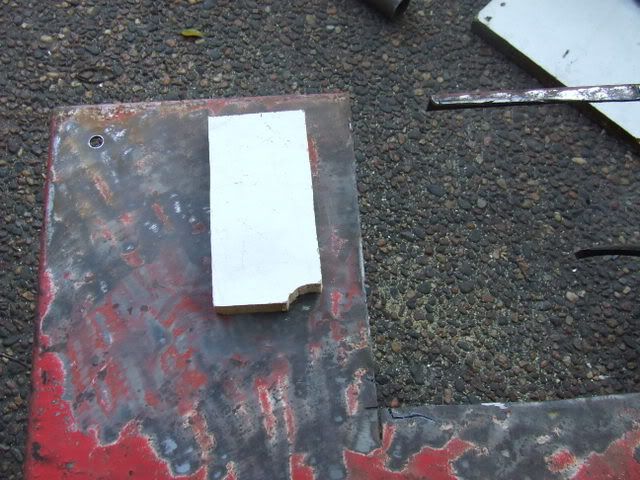
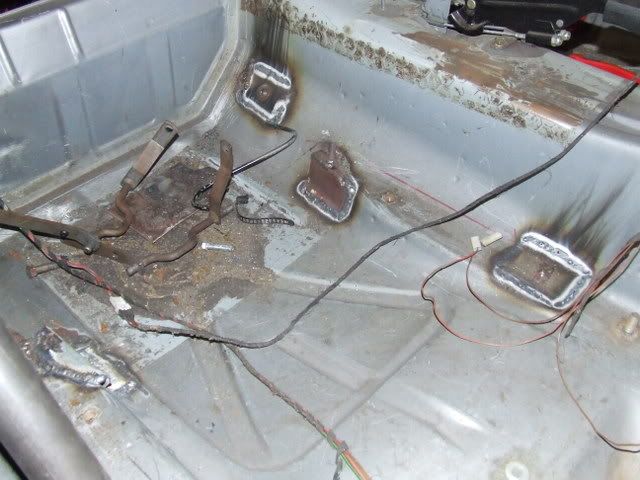
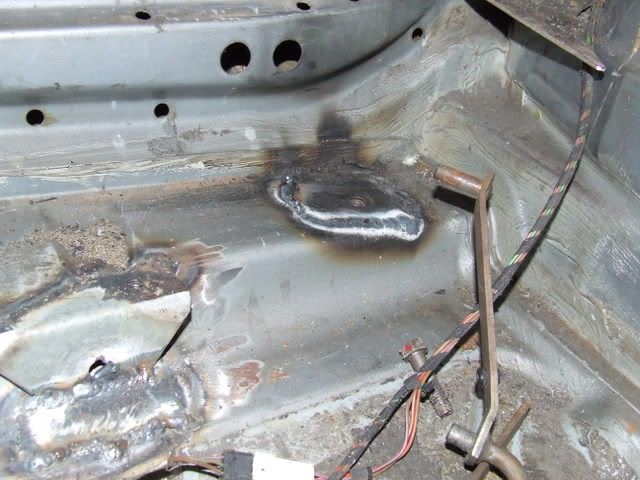
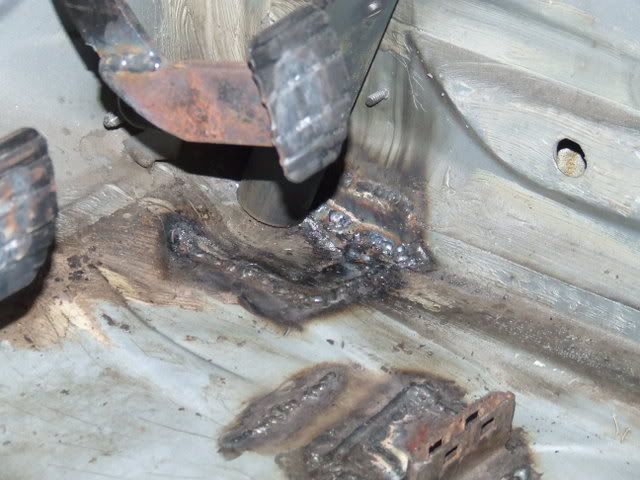
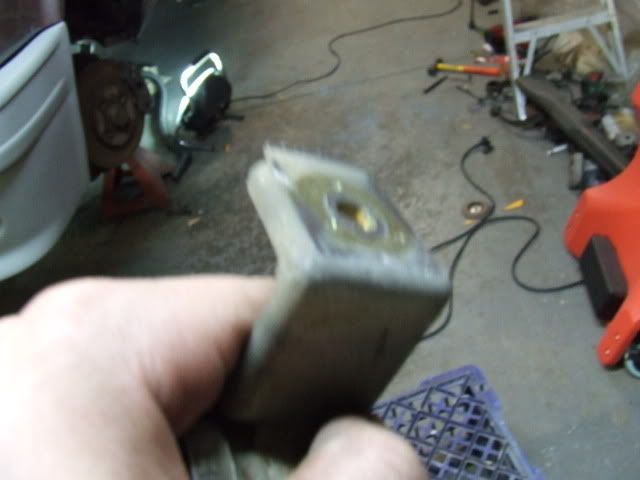
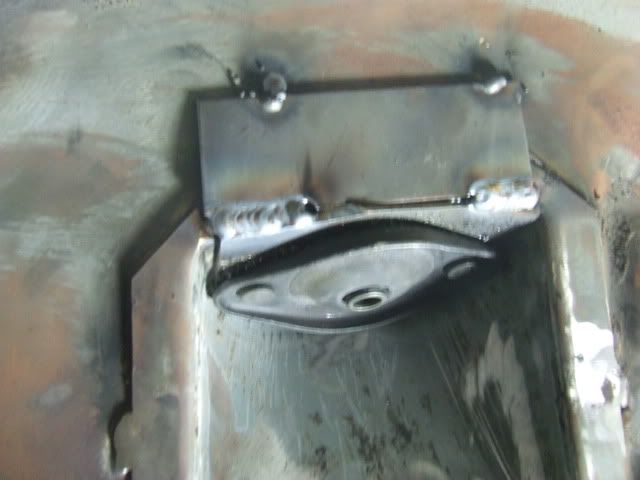
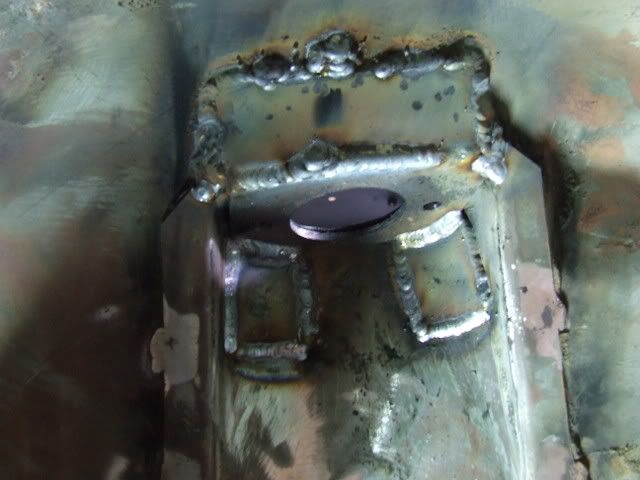
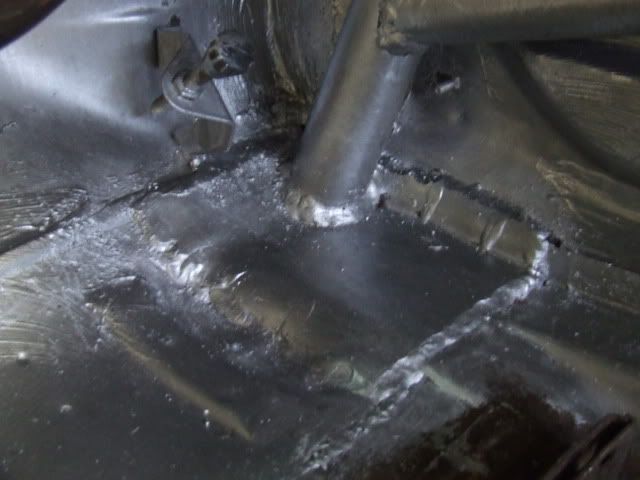
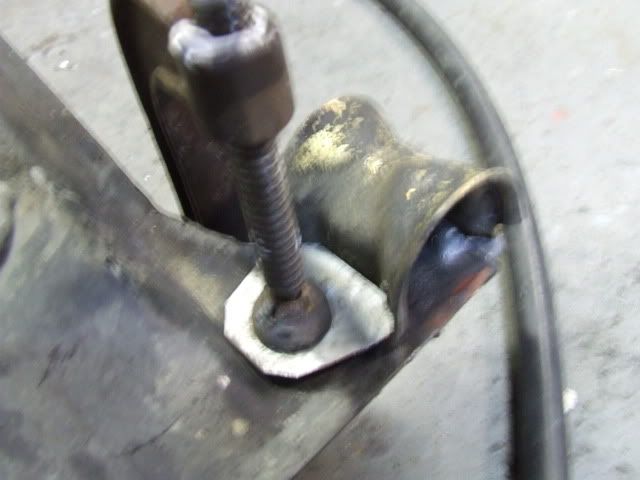
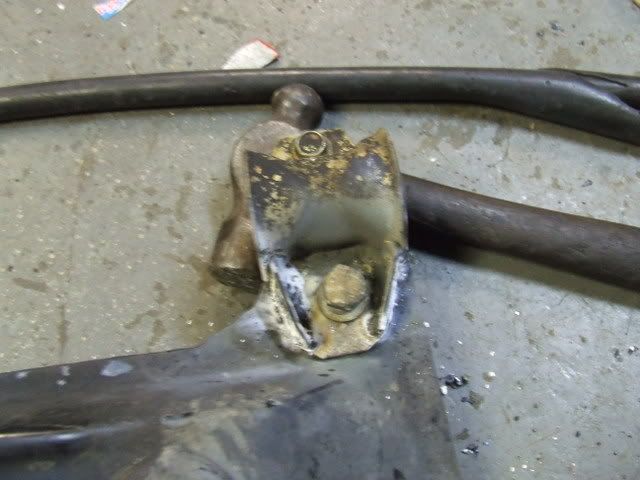
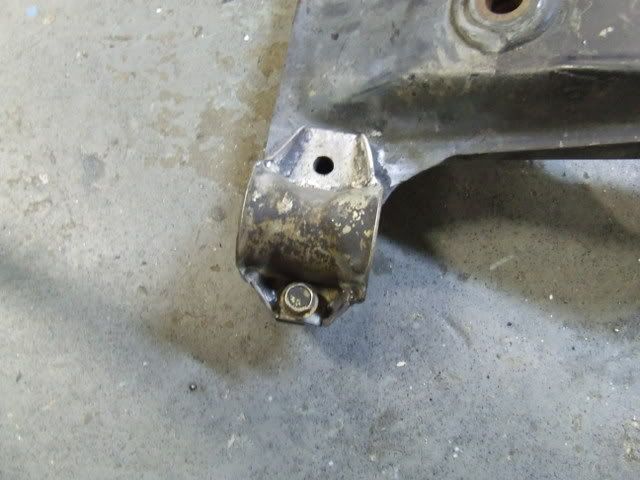
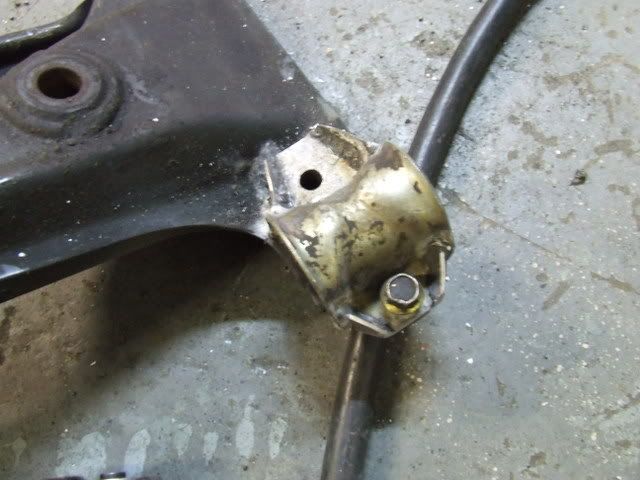
The seat mounts:


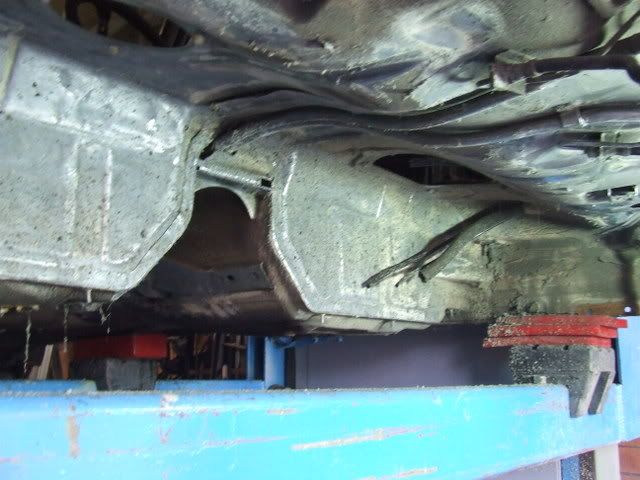
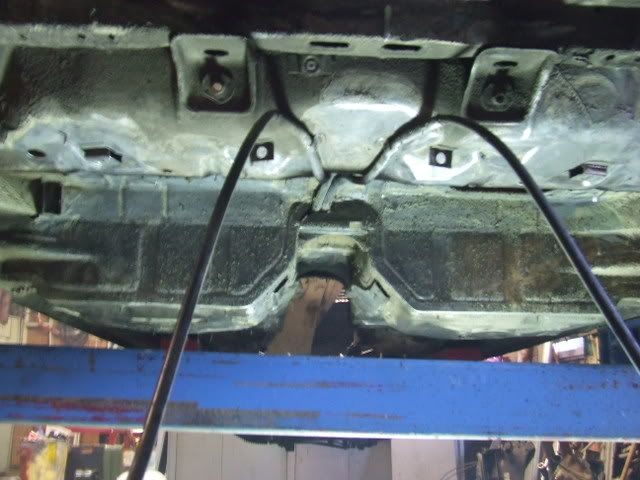
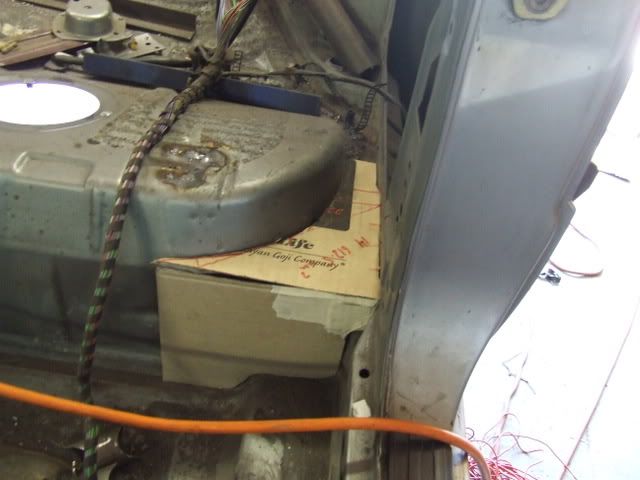
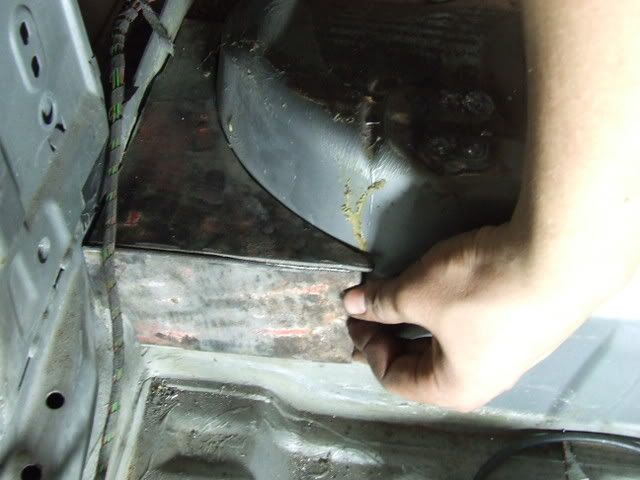
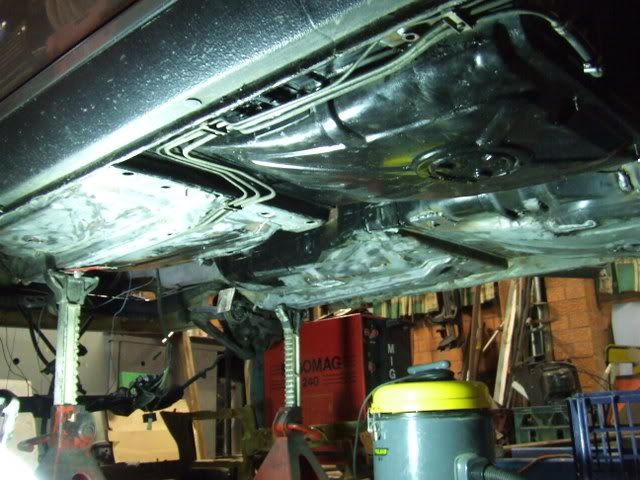
The tar removal:


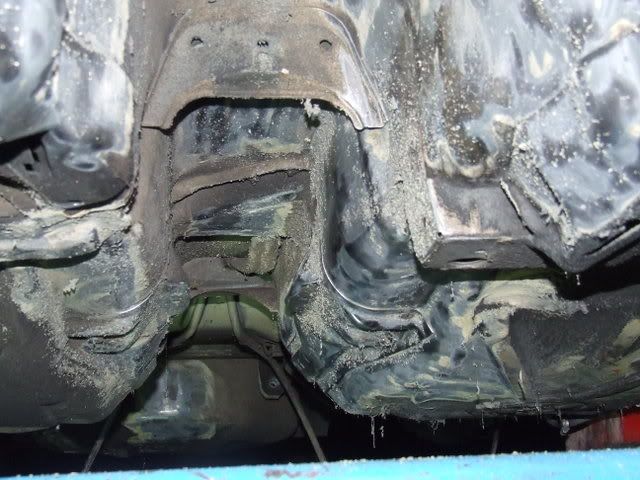
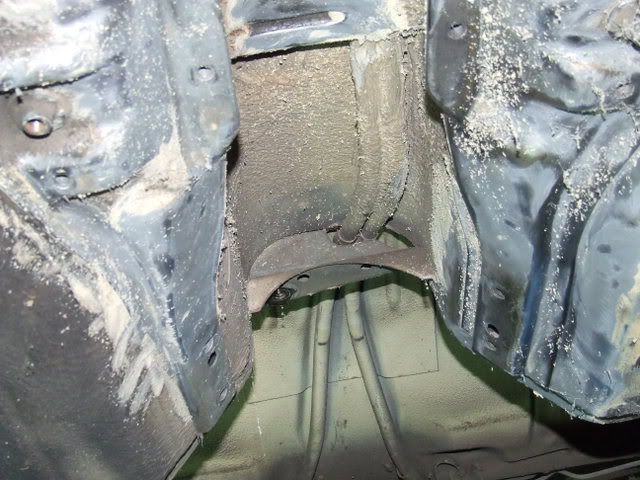
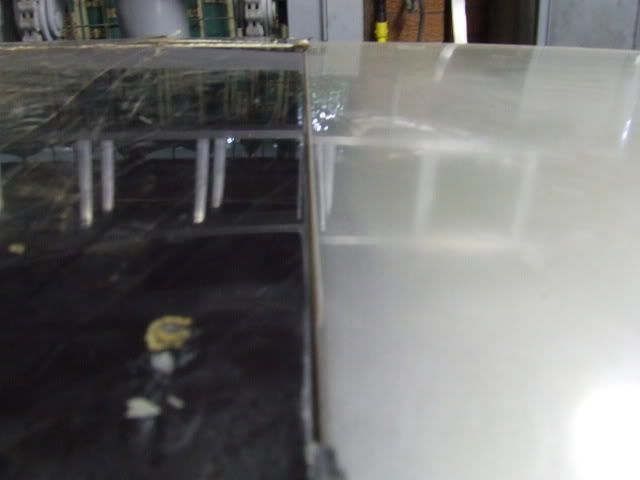
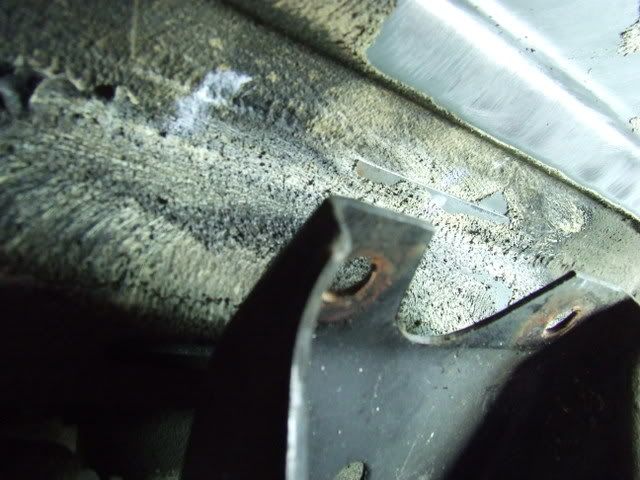
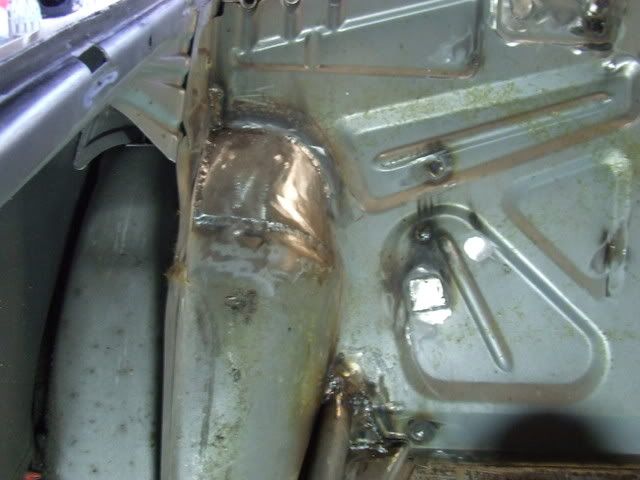
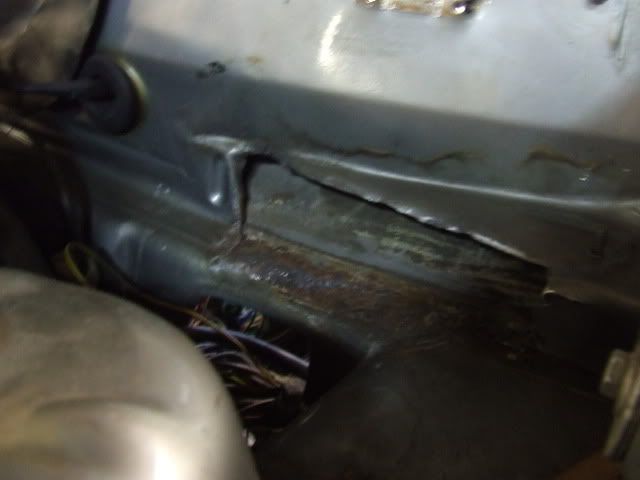
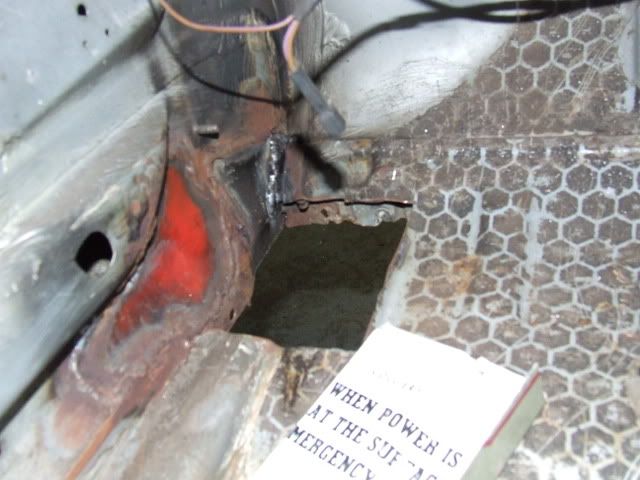
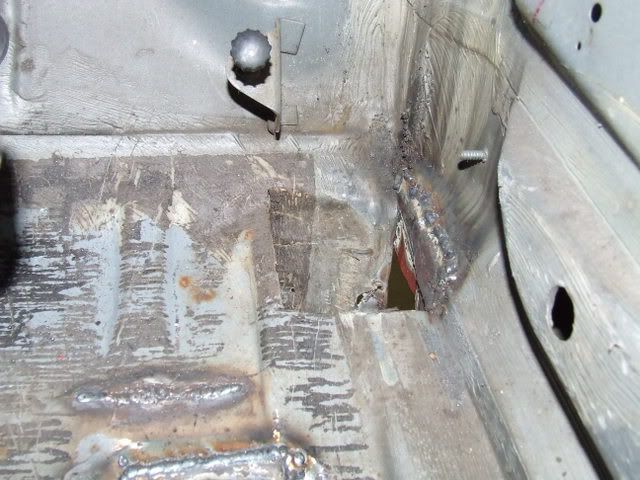
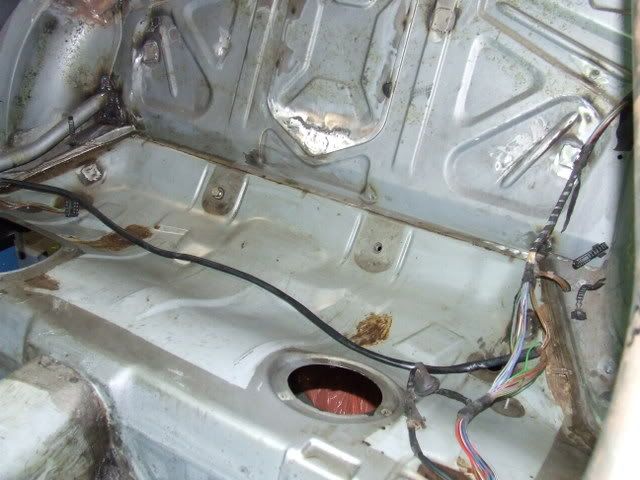
oddly this bit was only on the passenger quarter of the car:

knowing that the car has had a few hits, we're guessing the whole quarter has been replaced at some stage in the cars life. And this also explains the two spots of rust that have started in the junction of the quarter and c-pillar at the front of the boot and the junction of the taillight panel and the quarter at the rear of the boot. Niether are issues, just need to be ground out and treated, no biggie.
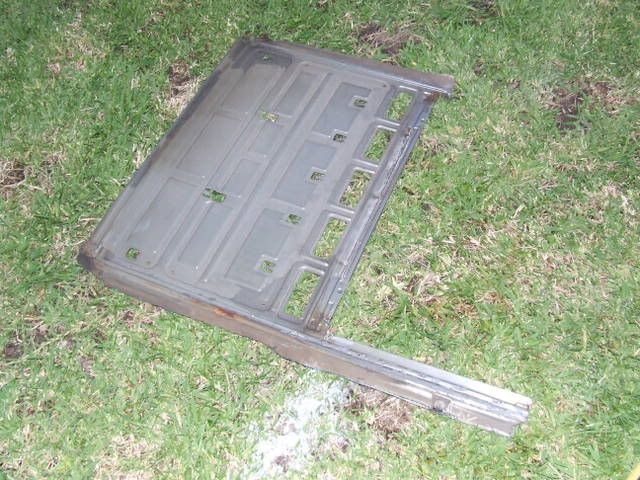
thats about it for the week. I'll get some pics of the sunroof carriage(box thing) removal mid to late week
So Pictures to come later again :p
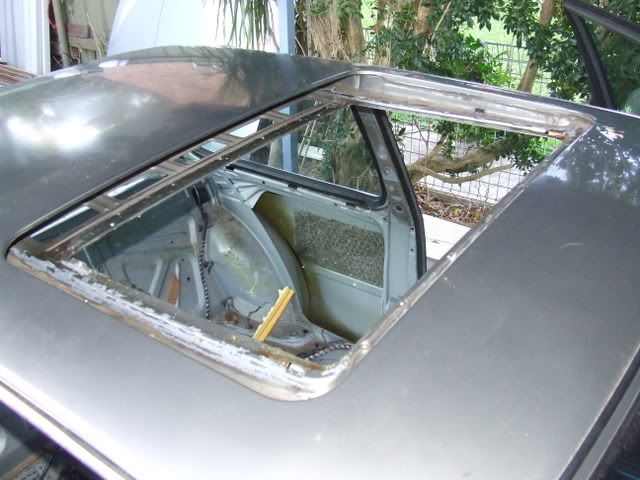
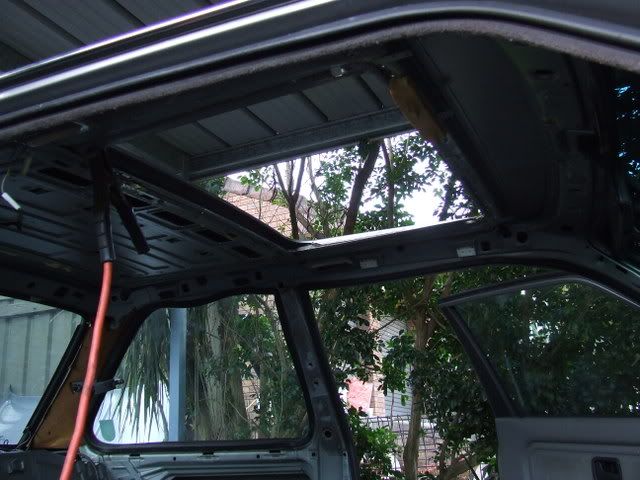
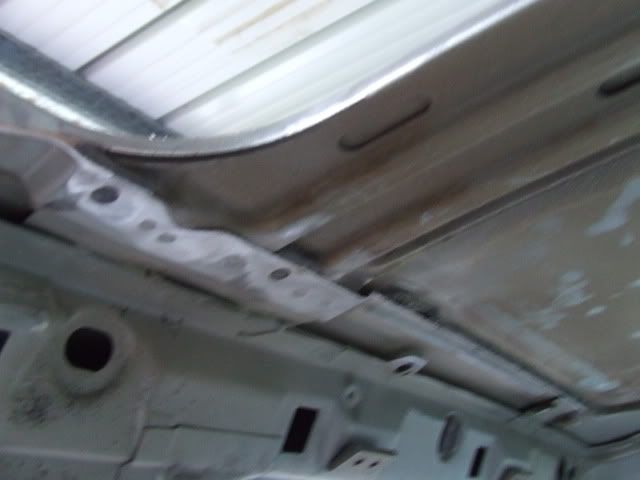
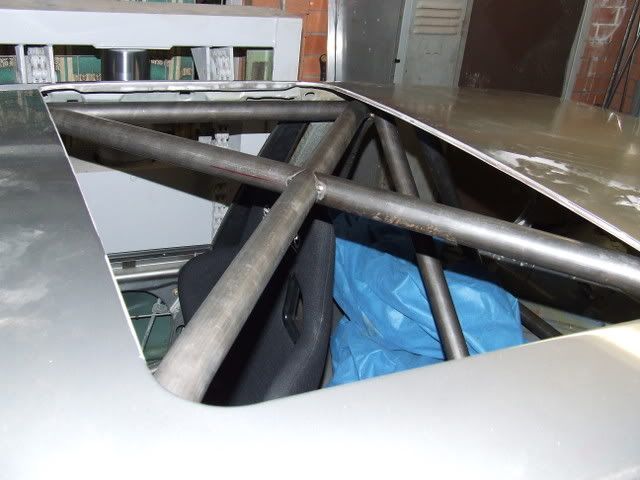
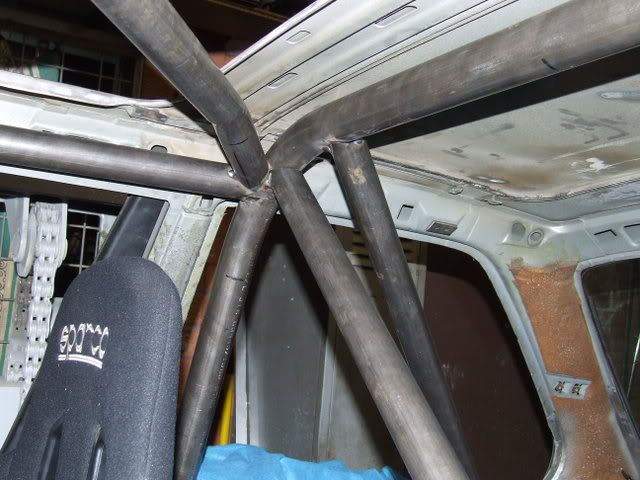
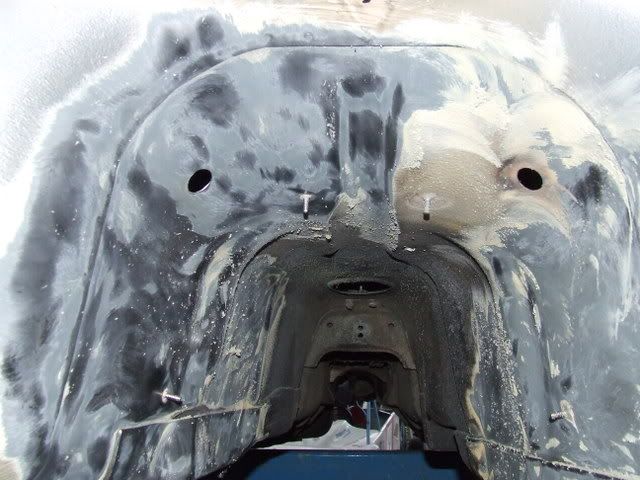
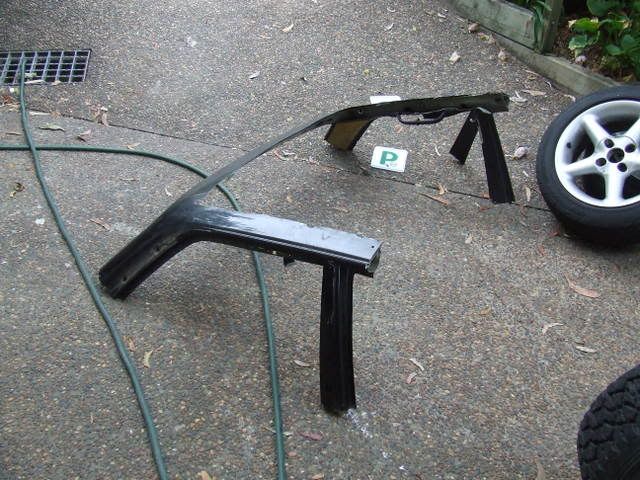
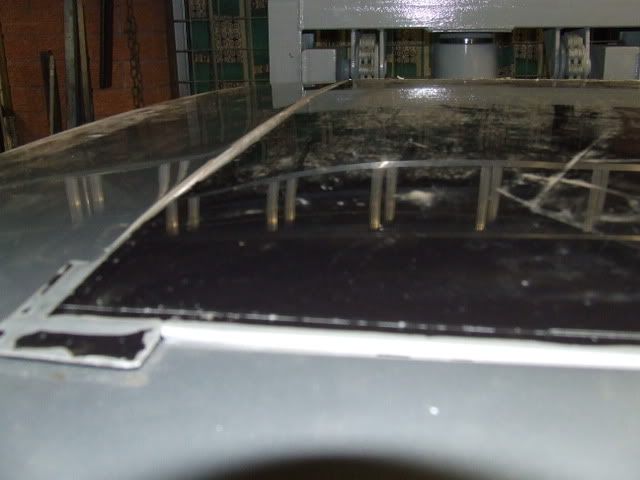
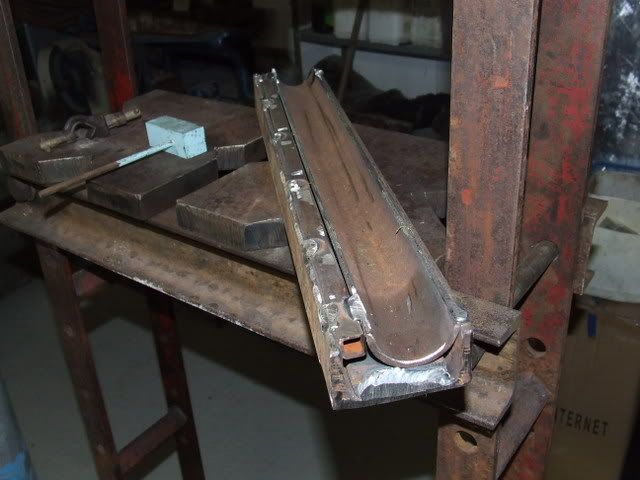
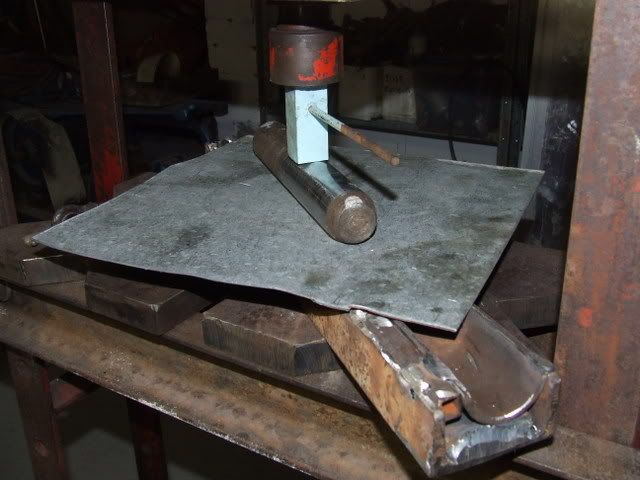
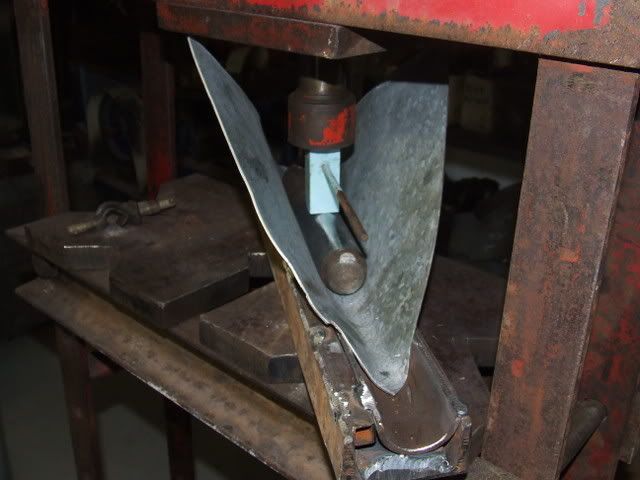
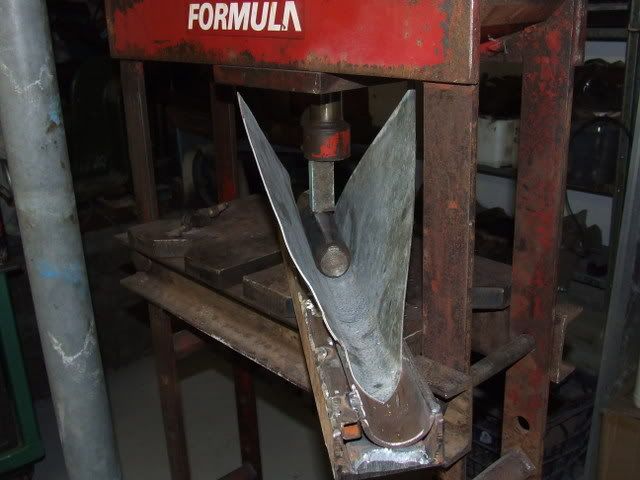
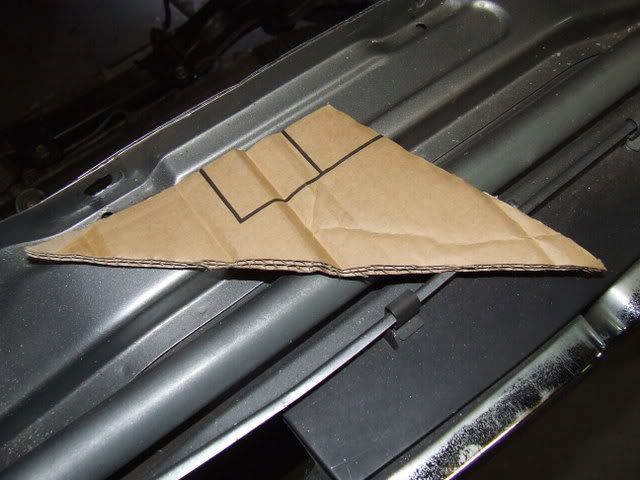
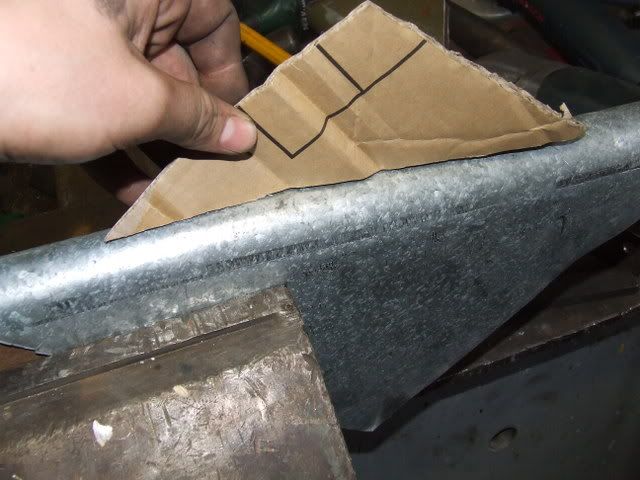
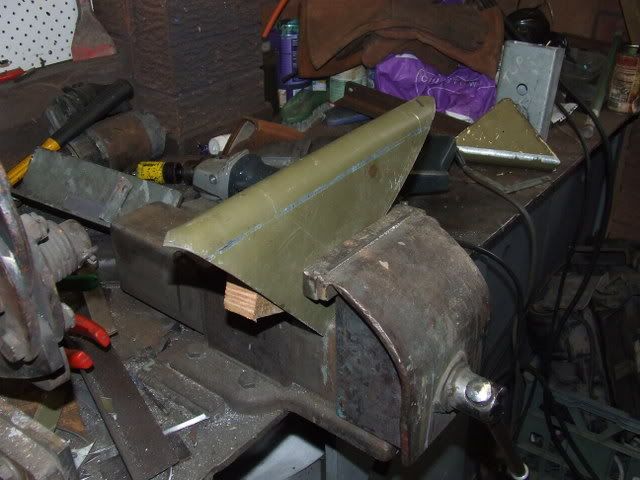
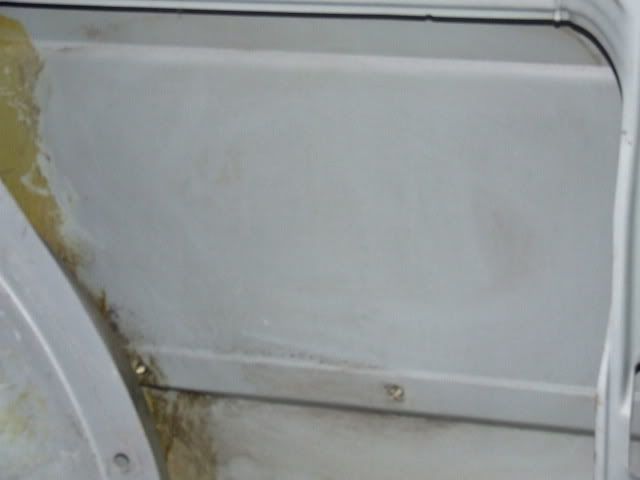
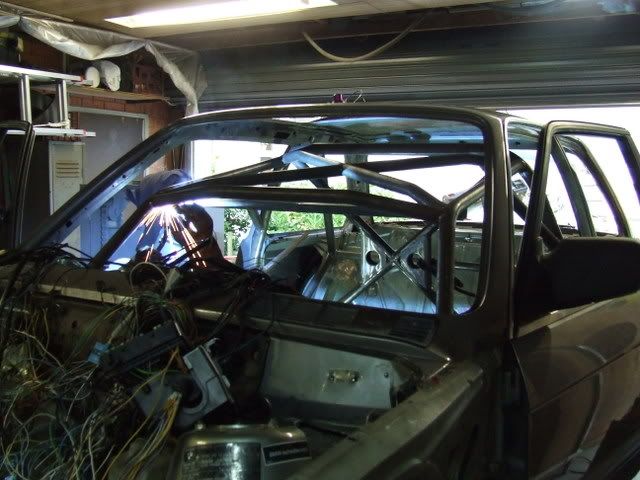
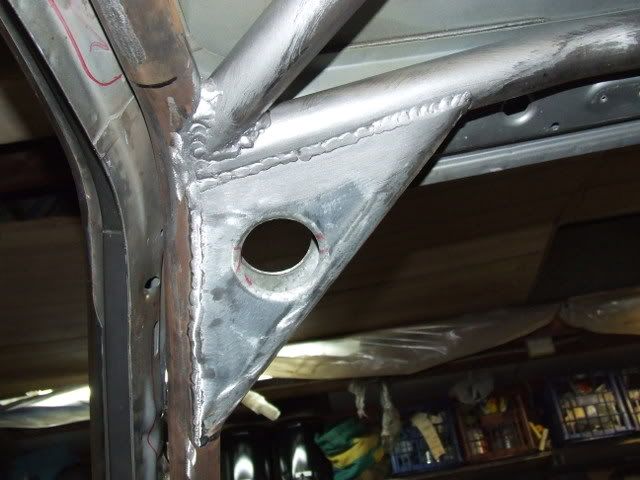
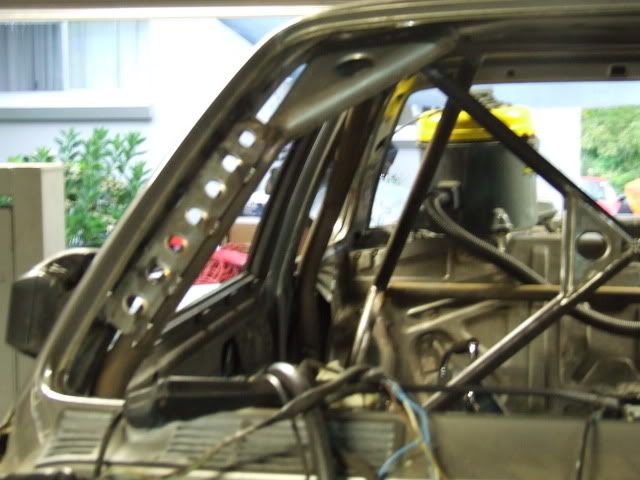
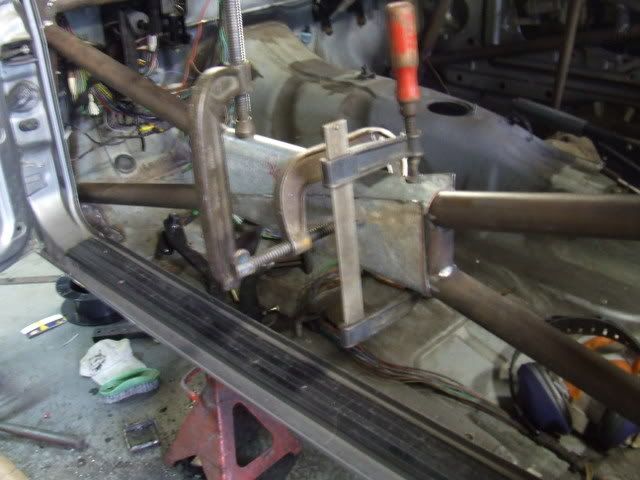
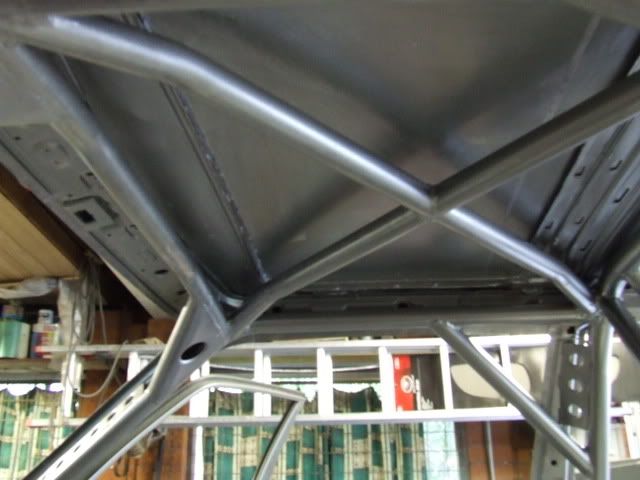
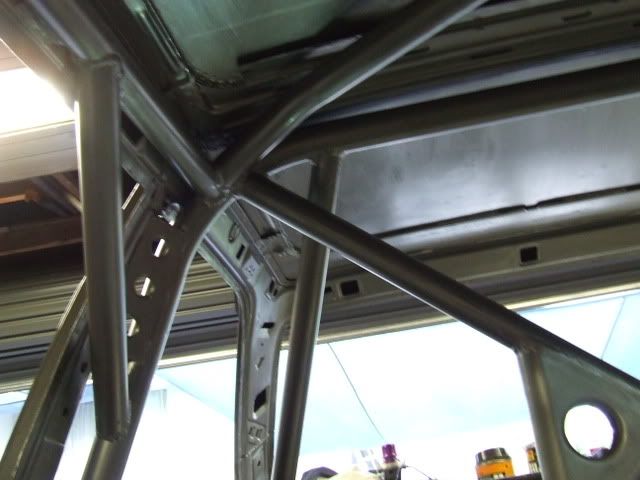
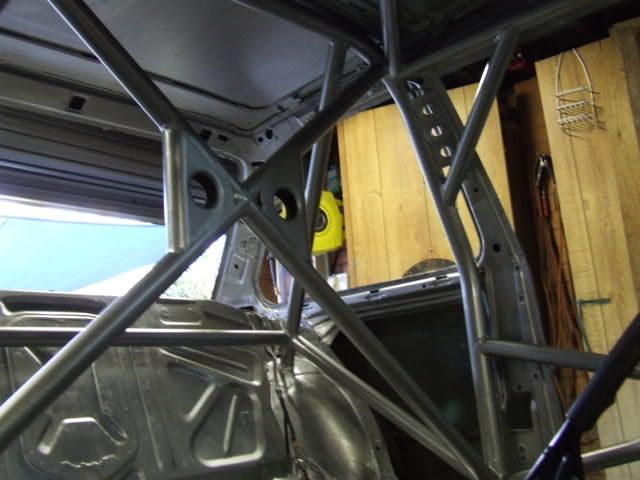
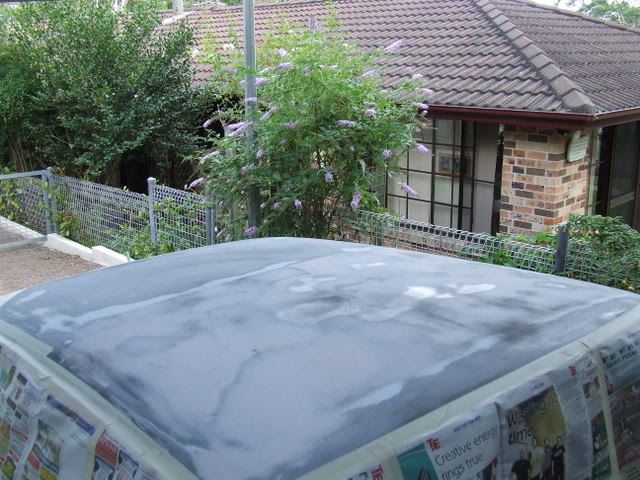
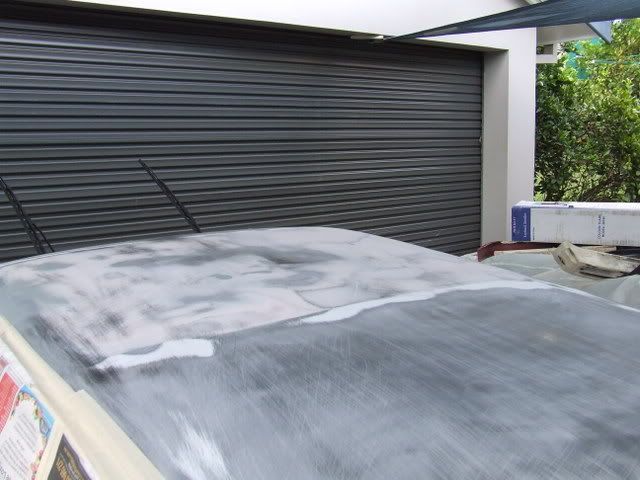
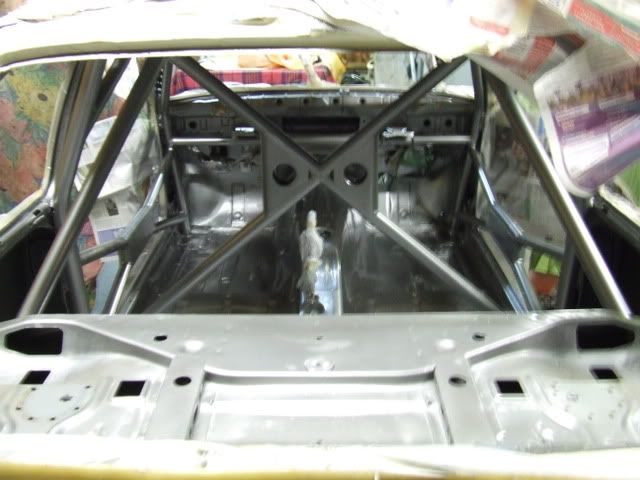
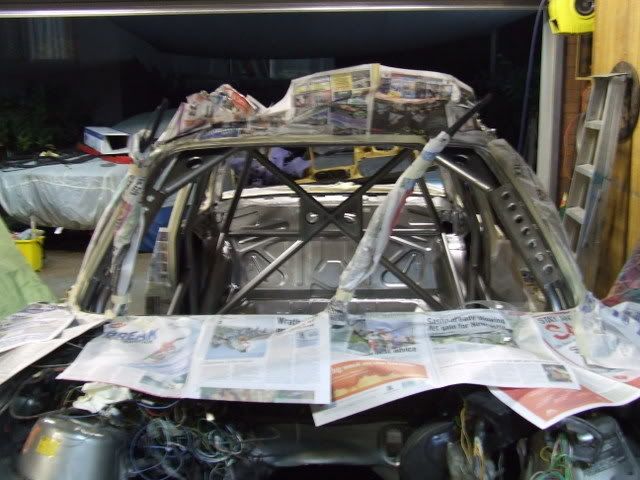
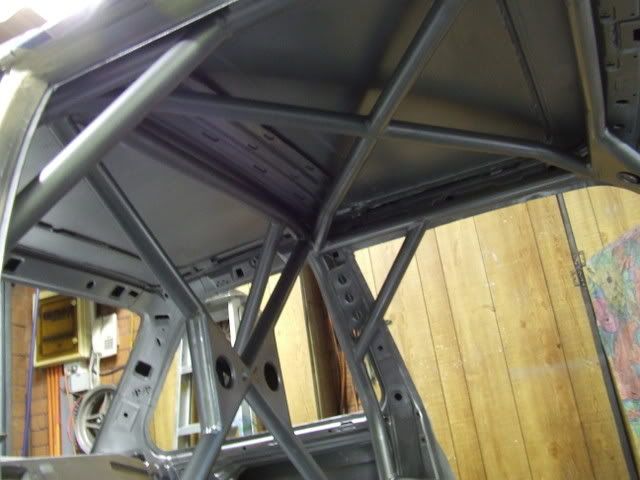
The sunroof carriage is removed, although I left a little portion of the carriage, forming a perpendicular lip along the roof, this will give it a little bit of resistance against denting etc.
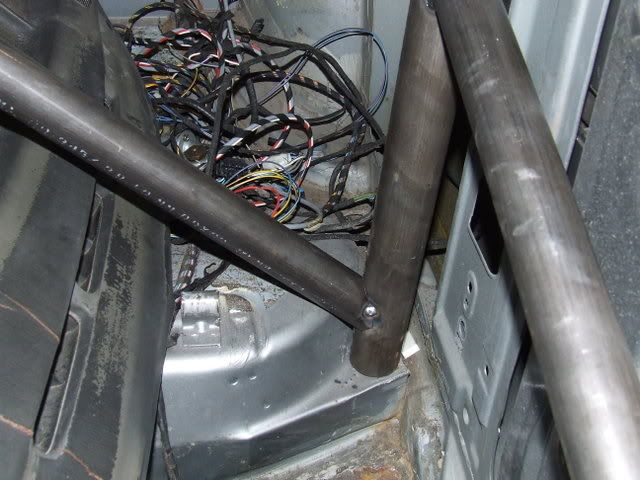
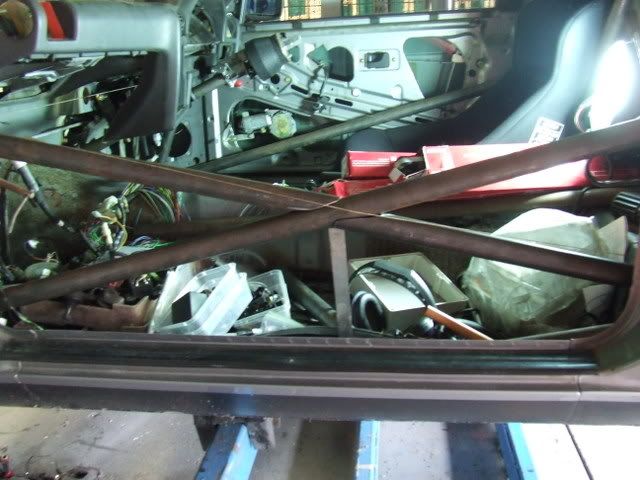
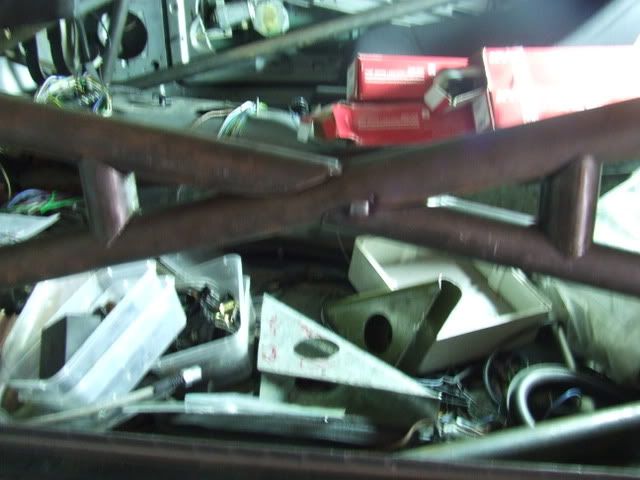
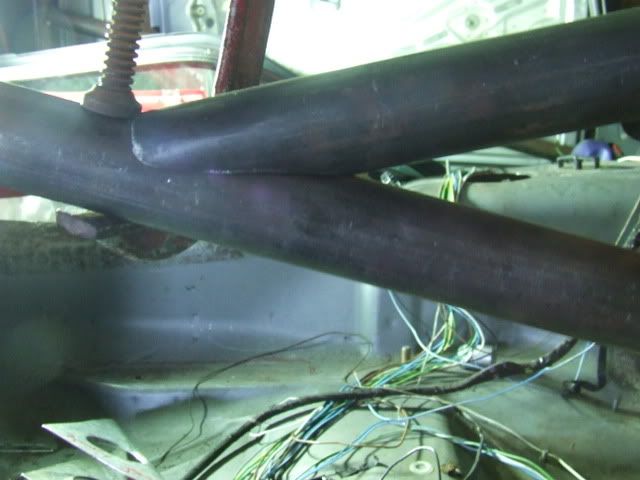
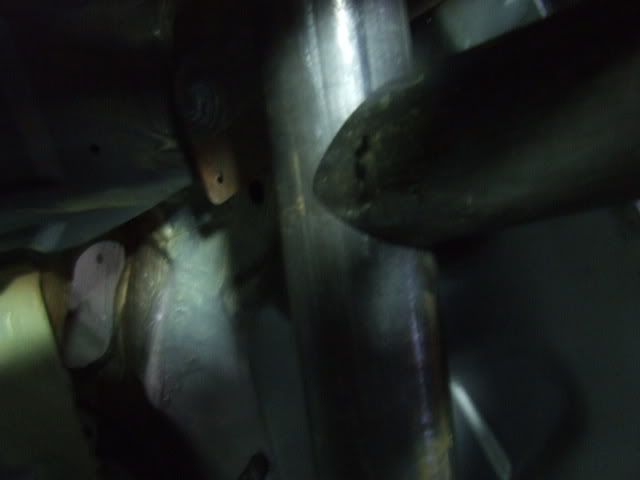
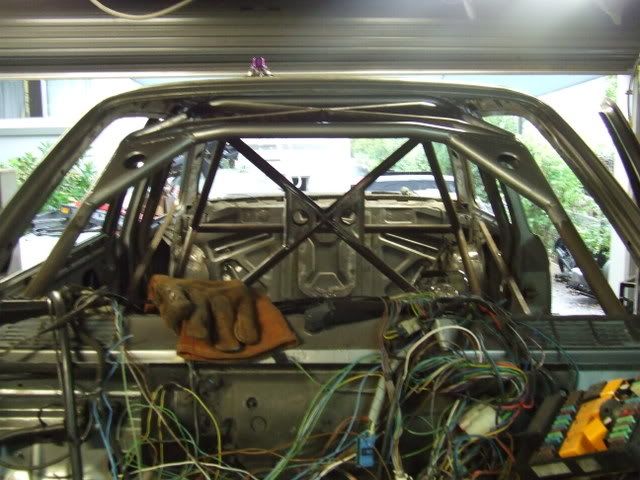
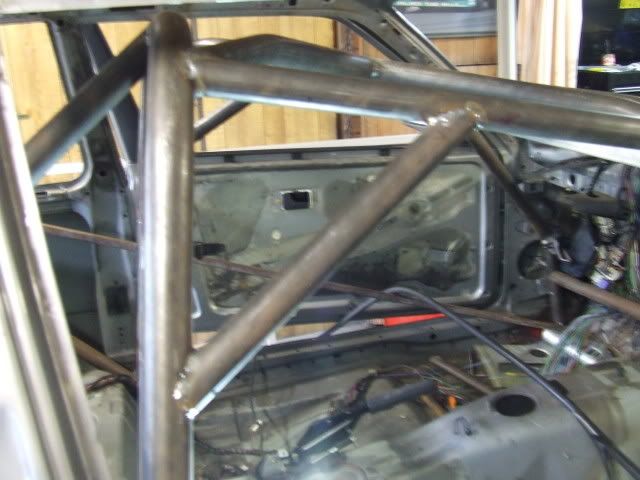
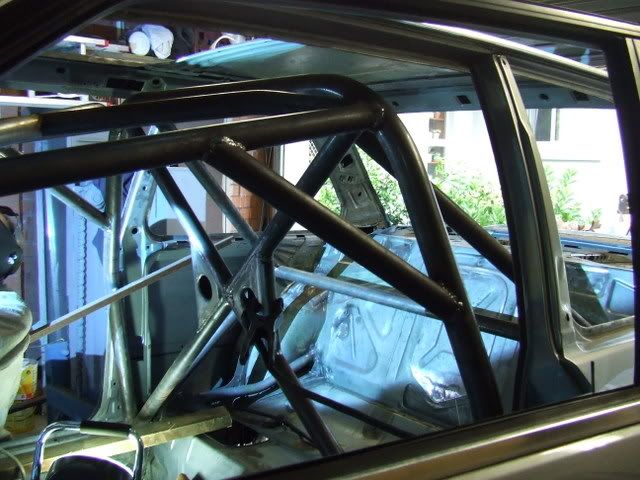
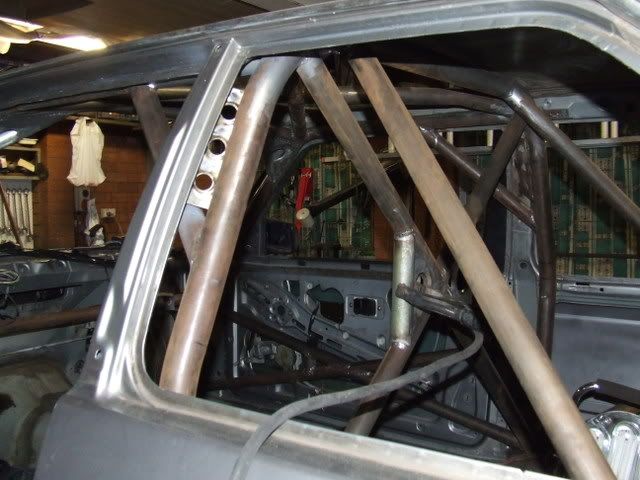
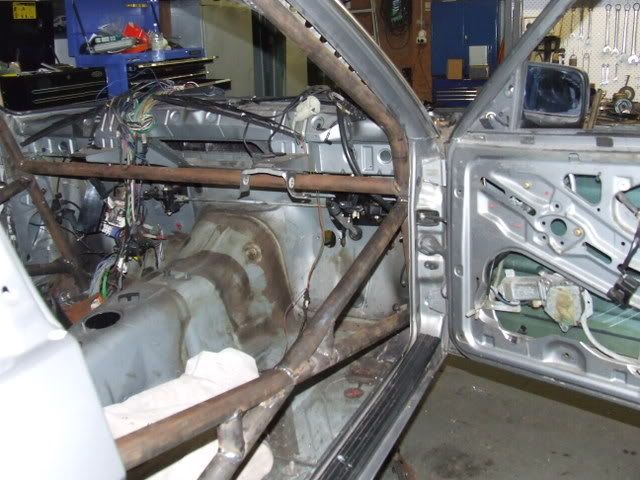
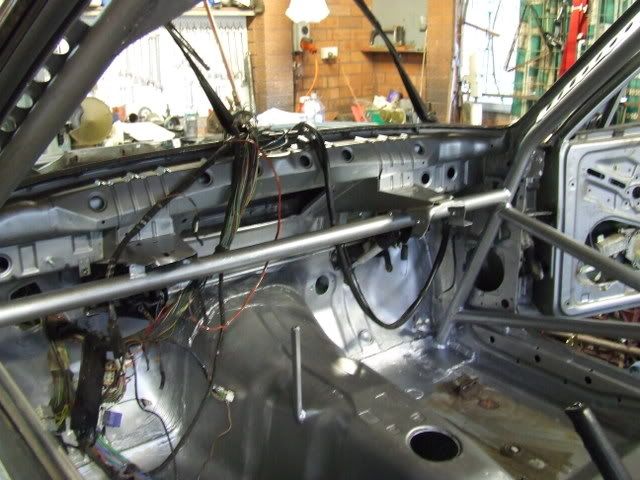
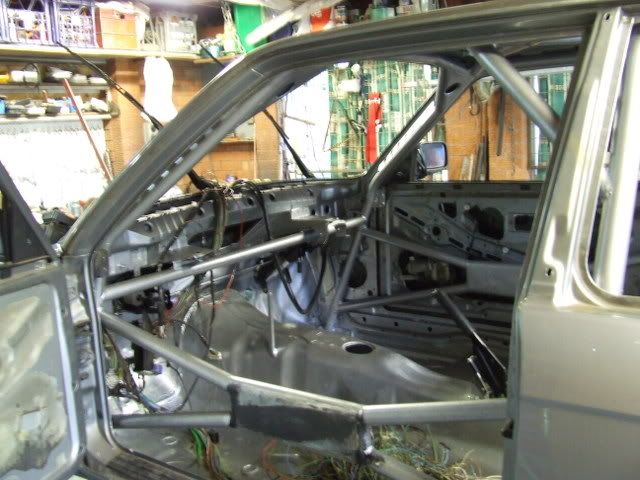
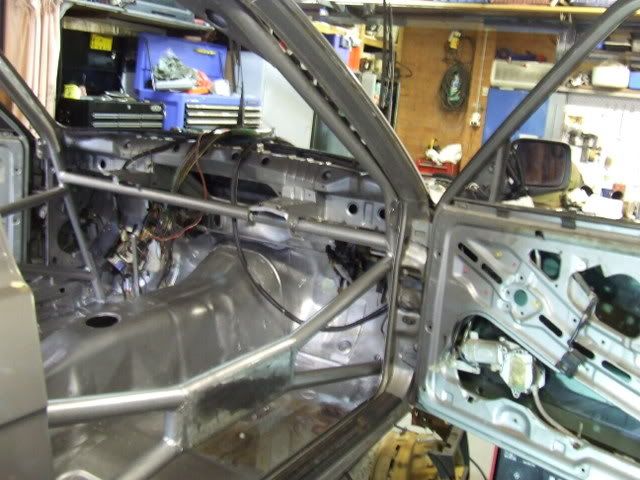
We have worked out where we are going to be putting the cage through the dash and it will still maintian dash removabilty (a feature i want in case of future development) The main hoop location is also finalised, allowing for a little bit of flexibilty with the seat position.
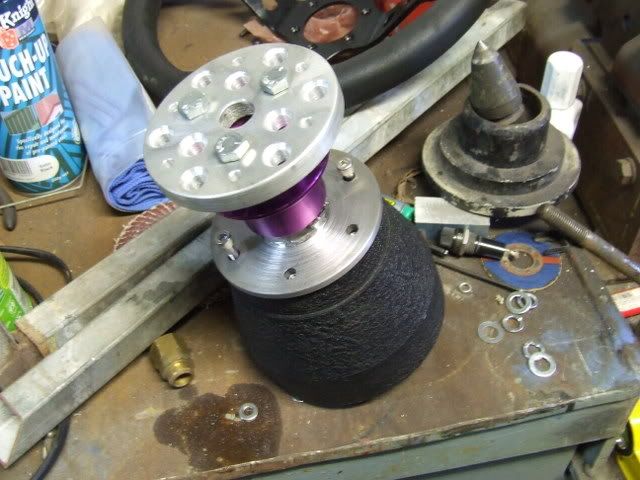
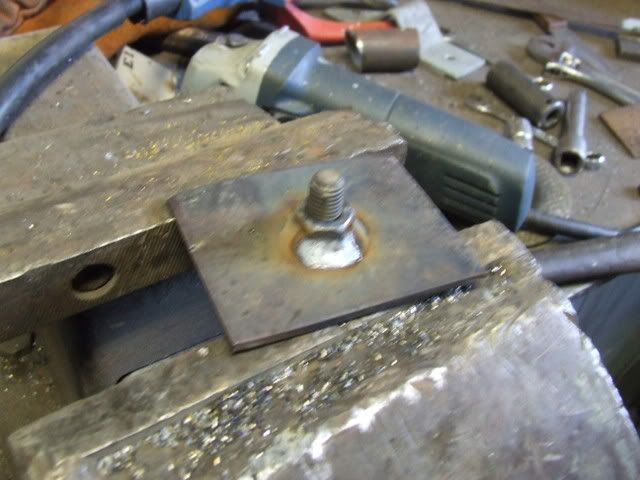
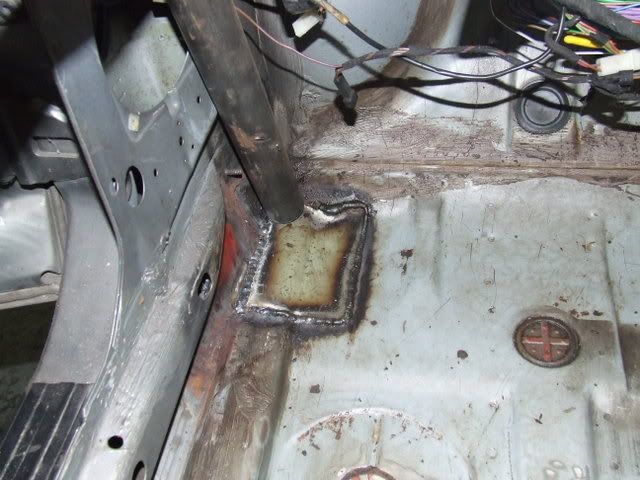
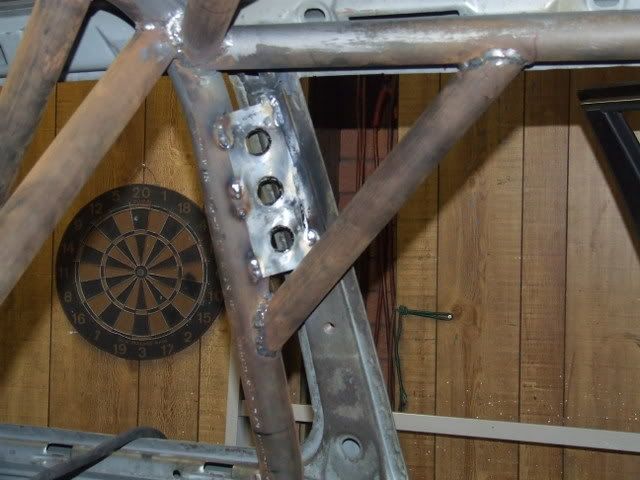
Re: Seat position. With the steering wheel I'm attempting to buy off a fellow forum member (waiting on postage quote) I think the seat may have been too close in its initial position. So the studs in the floor will be getting the chop and as per Dave's suggestion some meaty plates will be welded to the floor and nuts/bolts used to bolt the seat even further back and even closer to the transmission tunnel.
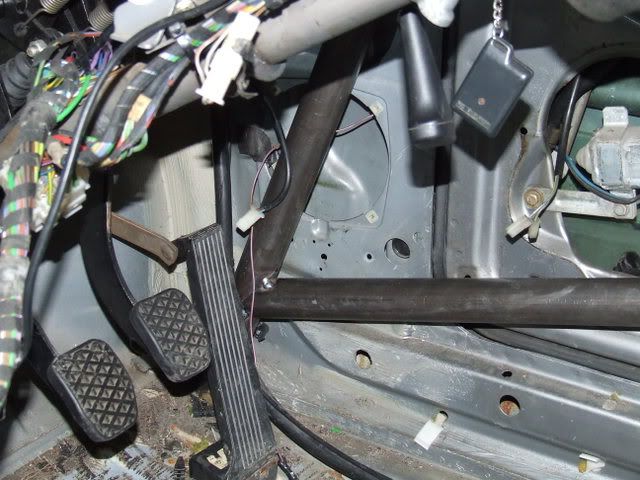
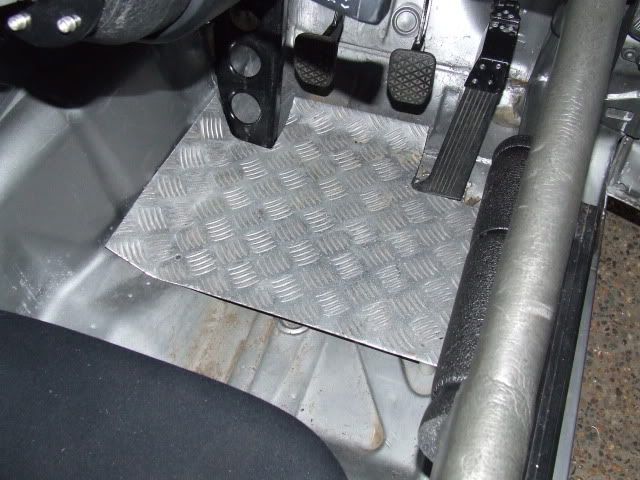
With this my longer legs (which brought on the idea of a wheel with dish) and new seating positionI probably wont be able to reach the pedals quite ideally. So the pedals are going to be repositioned within 3J specs (25mm)
I've also got a fairly tidy 318iS for my daily and I will eventually get to throwing that up as well. But this is all about the track car so lets get started. First the background info.
Last year in march I stacked my 318i. Lil front to back fender bender up ahead of me and I just ran out of luck, skill and time to stop. So I bought a 318iS from auction to fix it up.
Heres what was left of the front apron and bumper
Shortly after that I started mentioning dropping the M42 in the road car. Insurance premiums and being on my provisional licence meant buying a 318iS was a more suitable option. So I sold my 318i to me dad, and bought the current Daily 318iS. This left me with a car's worth of 318iS bits, plus various suspension components and the dream to build a go fast E30 was somewhat rekindled.
With a new car I had to get some rims...wogboy spec chromies weren't for me. I found some suitable 15x7's through good ol' ebay and turns out the guy was local and parting out his E30 track car. We struck up a deal and the PO will be using my bent 318iS chassis for the LHD -> RHD conversion on his M3 and I got his 325i shell as a roller.
At the moment the idea is to put together a track rat for sprints, hillcimbs and the like with minimal unrecoverable outlay. So far I've only bought bits that can be later transferred to my road car if an "abort-plan" is seeked.
I just bought my first road car unsuitable bit tonight. A Sparco Sprint that has been used all of two events.
Other items include:
Wheels, 15x8, I purchased these off a fellow forum member this weekend - $200
I will probably throw some paint on these at some stage, for now they will be going on the daily because im running out of tyres to keep up to the 14's while I'm repainting the MiM wheels that started all this race car business.
Coil on Plug kit (rob_e30) - $225
Zimmerman Drilled Brake kit: Discs, SS lines, Pads (ebay special) - $475
New Lower Control Arms, M3 Bushes, Tie rods (FCP Groton, ebay) - $200
and two pedders used shocks out of a commy that my mate gave me :)
These should complement the intended stiffer springs I'll be running (thinking 300LBS) on the front coilovers i need to make yet. If it does all the right things, the same mate can get me good prices on KYB shocks.
All shown below minus the FCP Groton stuff
I realised the discs are drilled :) and that this isn't preferred for track, but I figured at the price I'd give them a go. At the end of it all if they aren't what I want I can put them on the road car (so long as they dont self destruct!) I'll be watching the holes like a hawk.
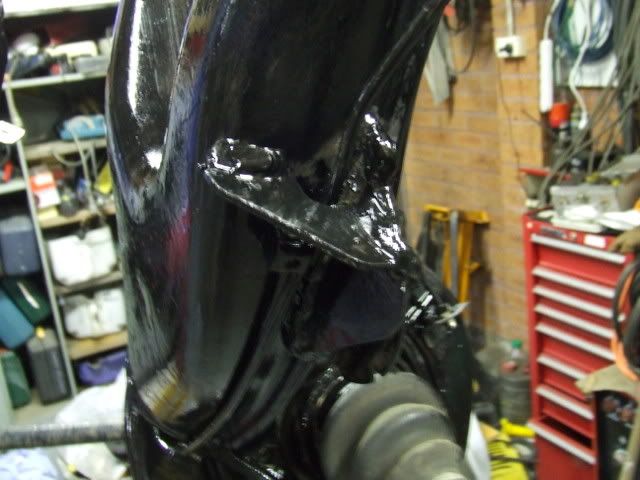
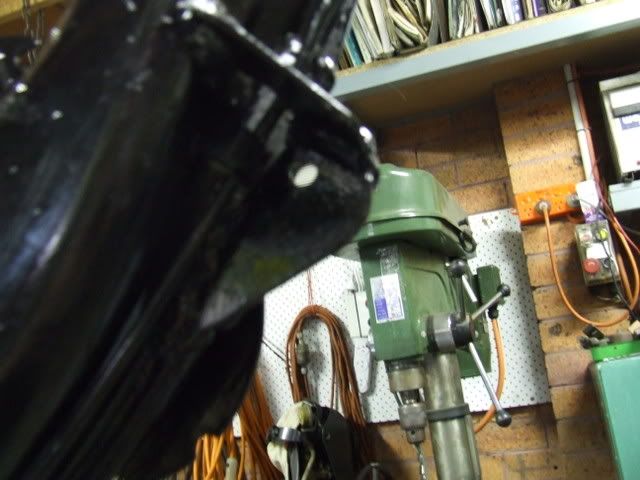
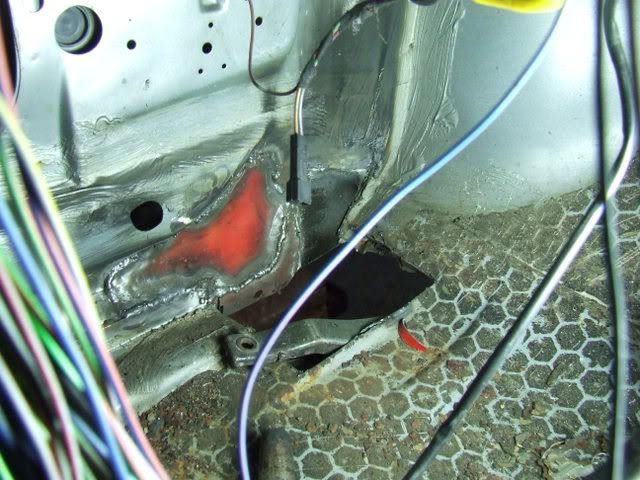
And to show you why I dont use the shell I already have sitting out the back just chillin.
We had to actually cut that hole to smash the door lock off so we could get the door off.
And the business end...this engine is actually going in the daily because it seems all the timing components have just being replaced! The black plastic guides are still all sharp and pointy..somebody spent a bit of cash on this car before it got written off.
So right now, I'm just collecting bits and concerntrating on getting uni out of the way for the year. At the same time me and my father are working out a way to bend the main hoop and front legs. We are both proficient MIG welders so the welding is the easy bit. We also have a lead on a tube notcher. At this rate we may have to pay someone to bend the tube for us :(
Other than that...I have this dream of one day exploring Forced Induction and bigger brakes and things...for now the aim is to have fun with minimal cash spent! :D
At the moment...its purely a go fast car :) wheel to wheel racing is quite a bit more costly as you will know. But at the same time most of the private track days run have a few cars on the track at the same time :p
I've been reading and re-reading the CAMS manual over and over. I've got the cage requirements down pat. I have spoken to one cage builder at the moment and he mentioned that using 44mm tube all round made it difficult to weld the top edges properly. So we're pricing up about 4m of 44.45mm for the main hoop and about 25m of 38mm for the rest of it.
Update, the shell is now making our neighbours go "WTF is with these people." Seriously four e30's at one 1/4" acre block was pretty excessive but now we have five :p
pics tomorrow after i unload it. And ill get some pictures of the seat mounts too.
Alright progress started this week on Friday. Did a last measure of the shell to make sure I was happy with my measurements and ordered the tube from Performance Metals in Sydney. That lot should arrive mid week allowing for the guy i have lined up to bend and notch starting next saturday.
On saturday, I did some more stripping of the interior to make sure I'm ready for next weekend. Everything that unbolts and needs to be has being removed and I've removed a bit over 5 kilos of insulating tar from the floor (prolly another couple of kilos left). Ive just been heating the area up with a heat gun and scrapping with a BIG flat screwdriver. Its being coming off easily and in nice big flat sheets. I' ve also started reduced the wiring....so far this has only included things that i can unplug from the car completly like the boot/fuel cap central locking and the antenna wires, radios/cassette wires etc. Wires thats are a bit more integrated but to be removed included, the check panel, the sunroof, ABS, A/C, fog lights etc etc.
Then today i focused on suroof removal as this is critical for the cage install. So far everything bolt in associated with the sunroof panel is out. This week i will be attacking the sunroof carriage with a plasma cutter and angle grinder CAREFULLY.
I had been carrying on but have a few things to ponder. A big one is where the front legs of the cage go, because the dash mounts may or maynot get in the way.
And i have also got a lead on an m20 single mass flywheel to sort out this dual mass issue. Thanks shotright/e30_320i for that. Im going to send it for machining balancing this week and get kitted up with a new clutch and such for the eventual swap. Time for the pics.
The Car:
The seat position as it was for the track day (but with bolts):
The seat mounts:
The tar removal:
oddly this bit was only on the passenger quarter of the car:
knowing that the car has had a few hits, we're guessing the whole quarter has been replaced at some stage in the cars life. And this also explains the two spots of rust that have started in the junction of the quarter and c-pillar at the front of the boot and the junction of the taillight panel and the quarter at the rear of the boot. Niether are issues, just need to be ground out and treated, no biggie.
thats about it for the week. I'll get some pics of the sunroof carriage(box thing) removal mid to late week
So Pictures to come later again :p
The sunroof carriage is removed, although I left a little portion of the carriage, forming a perpendicular lip along the roof, this will give it a little bit of resistance against denting etc.
We have worked out where we are going to be putting the cage through the dash and it will still maintian dash removabilty (a feature i want in case of future development) The main hoop location is also finalised, allowing for a little bit of flexibilty with the seat position.
Re: Seat position. With the steering wheel I'm attempting to buy off a fellow forum member (waiting on postage quote) I think the seat may have been too close in its initial position. So the studs in the floor will be getting the chop and as per Dave's suggestion some meaty plates will be welded to the floor and nuts/bolts used to bolt the seat even further back and even closer to the transmission tunnel.
With this my longer legs (which brought on the idea of a wheel with dish) and new seating positionI probably wont be able to reach the pedals quite ideally. So the pedals are going to be repositioned within 3J specs (25mm)


Comment