-
ya man that peice sometimes warps out of plane, and needs to be replaced, or fixed and sealed up again. dont forget to use some type of acetone or something to remove oils before applying sealants!Leave a comment:
-
nice build.
damn i replaced all the seals on my trans and didnt know that this piece leaked. could be why mine is leaking
Leave a comment:
-
onto the engine cleaning!
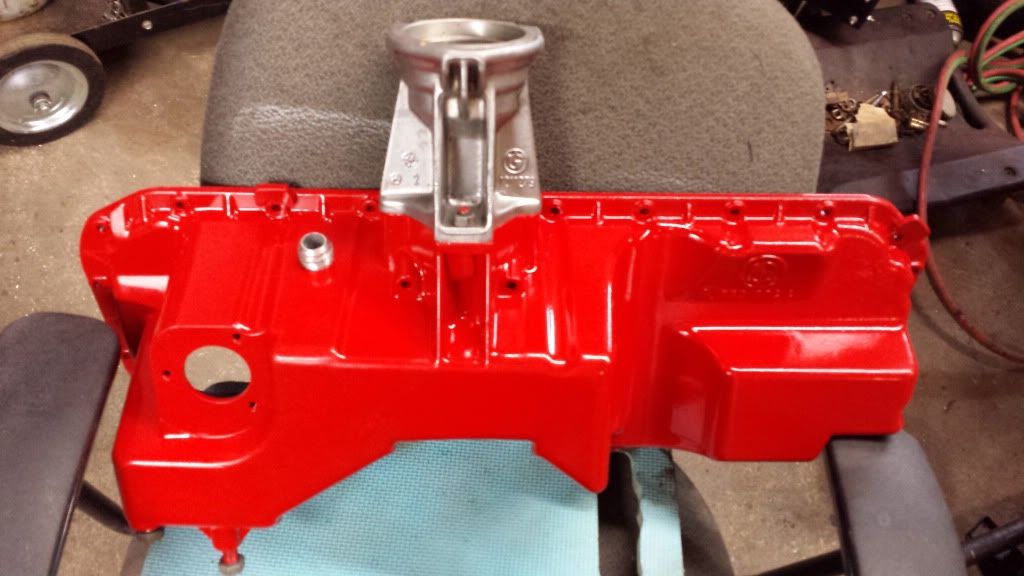
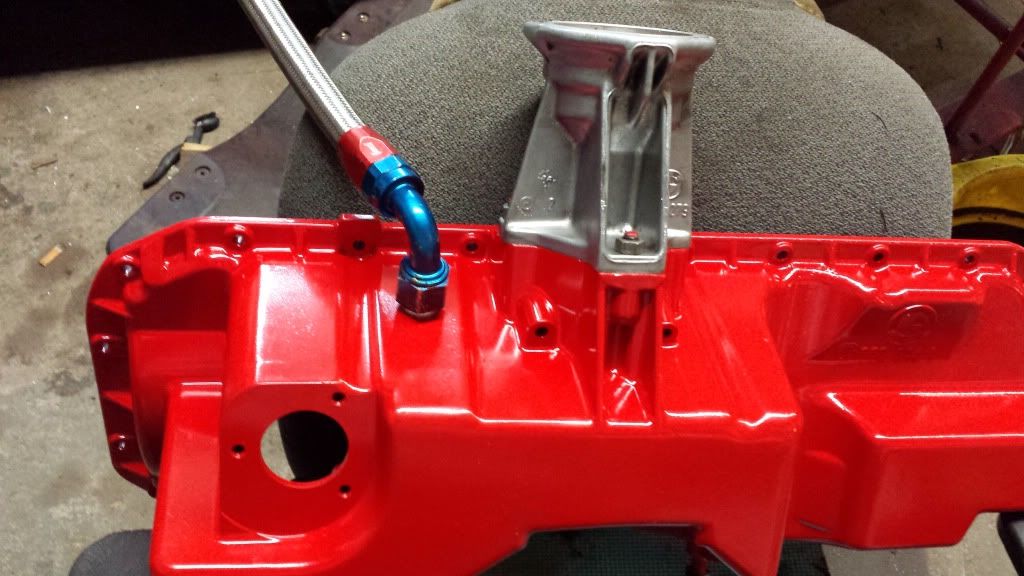
needed a new oil pan, old one was nasty, and tapped awfully, and loaded with crap silicone, and just didnt seem worthy of keeping. so i redid a fresh donor pan.
sludge, this is why we use synthetic from the start people, and keep on top of our under 5000mile changes
blasted, washed, painted, tapped.
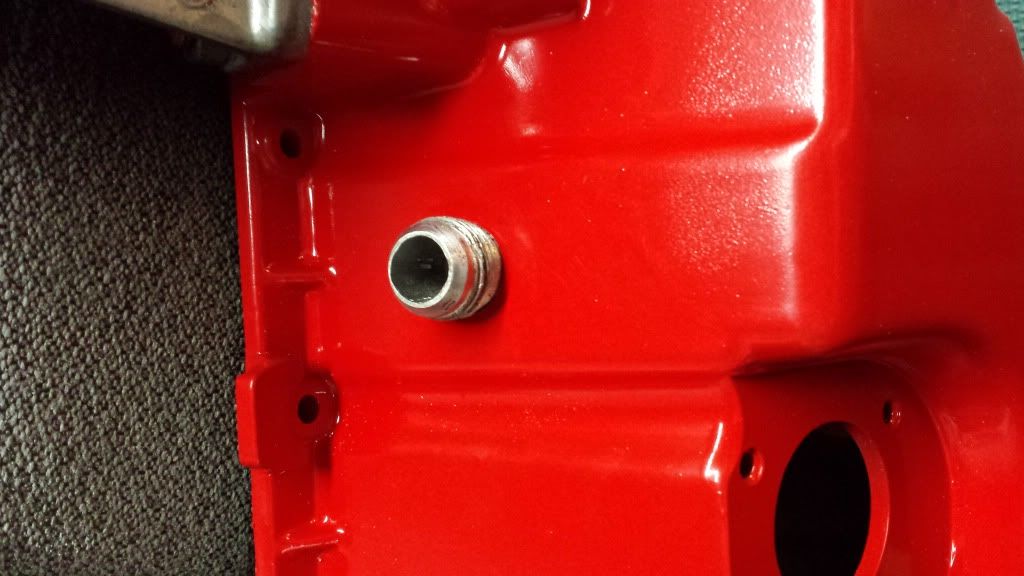
had to re-work this little bit but i got it to work
Belzona? "s-metal" .. makes JB-weld Extra strength look like waffleswaffleswaffleswaffleswaffles bullshit. this stuff cant even be machined once cured.
pans done!
you all remember this hiding collecting dust...
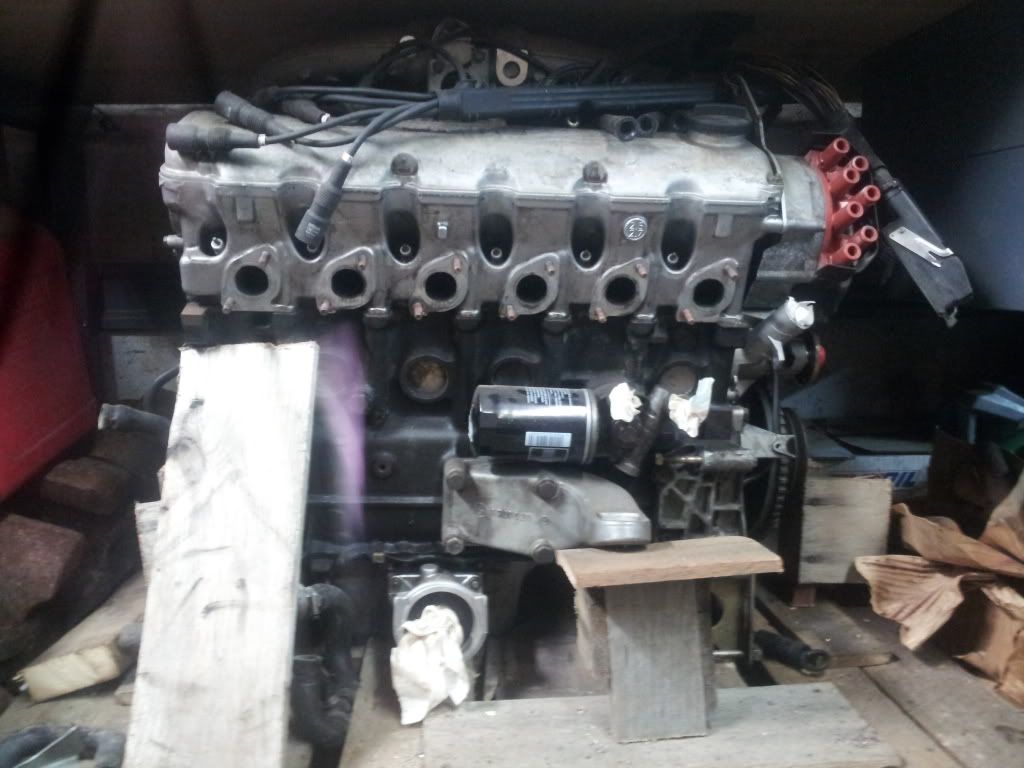
stripped and ready for degreasing and a pressure wash
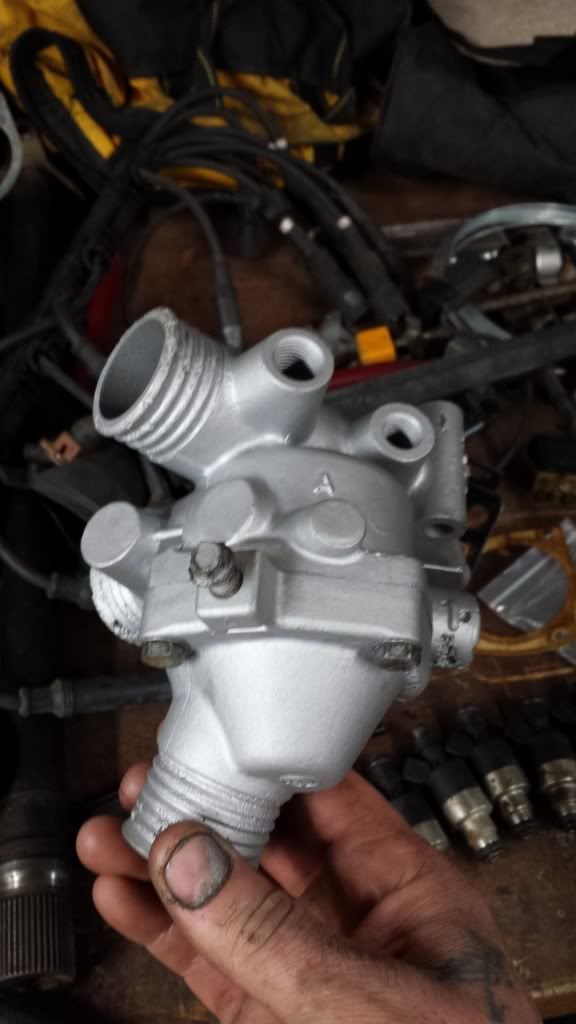
blasted and painted yuck thermostat housing, might get a new one eventually..
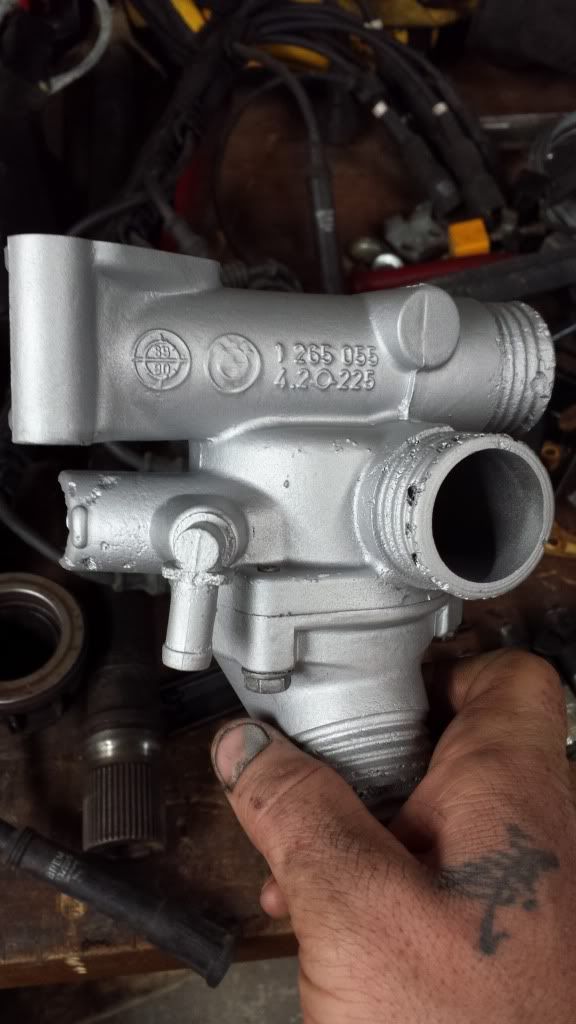
front side, has new bleed screw and gasket
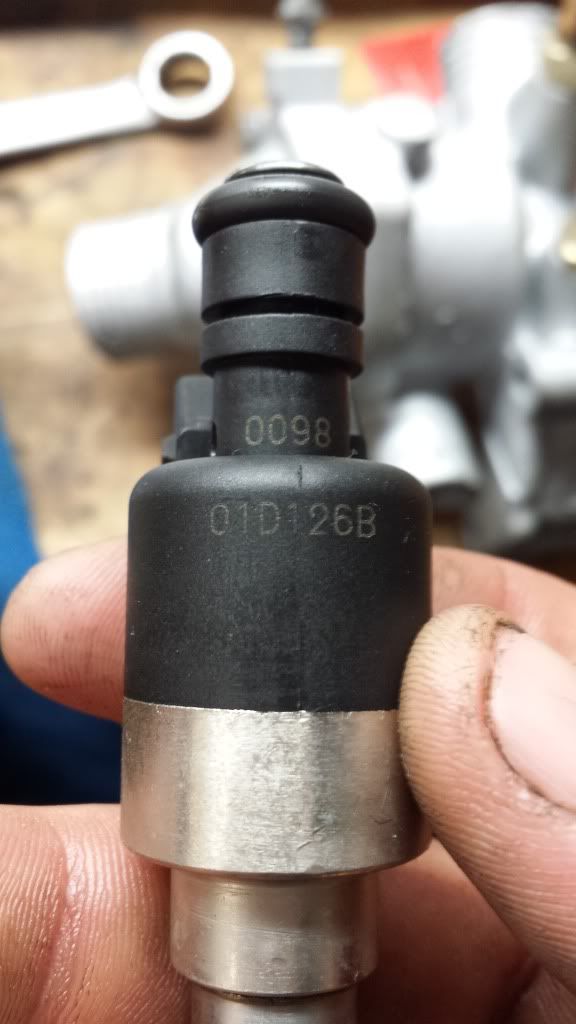
cleaned rebuilt mustang injectors (new internal filters and o-rings)
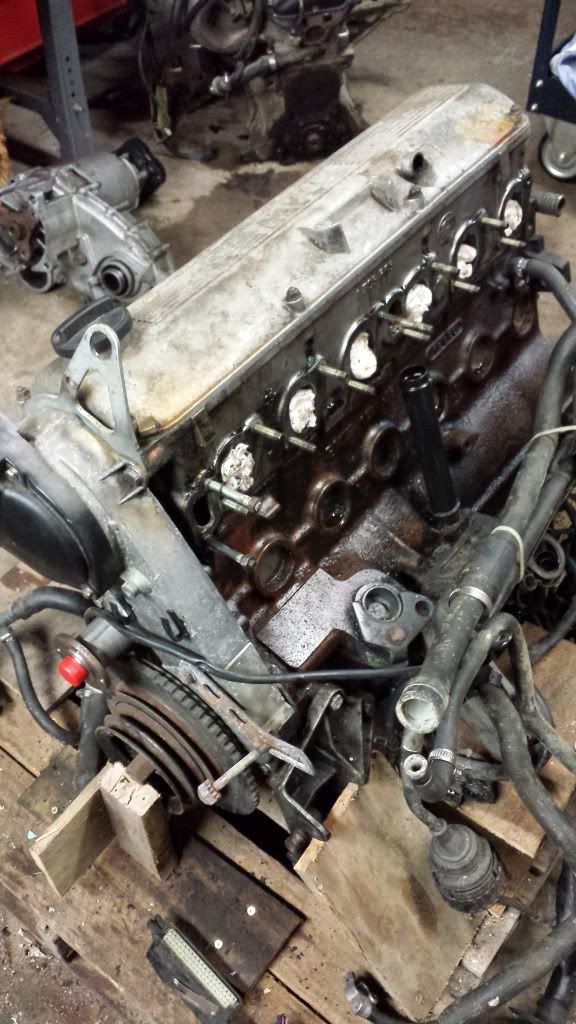
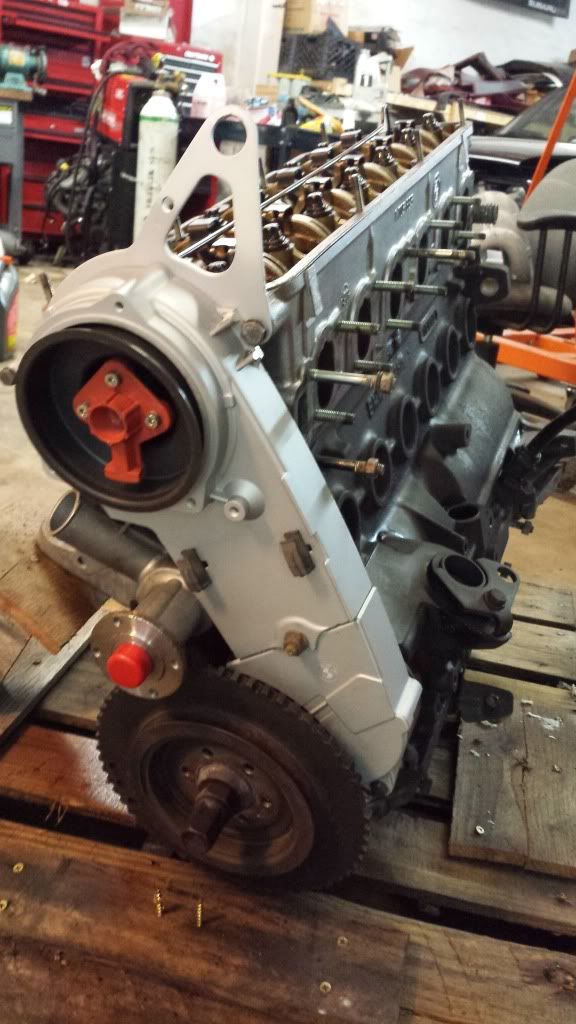
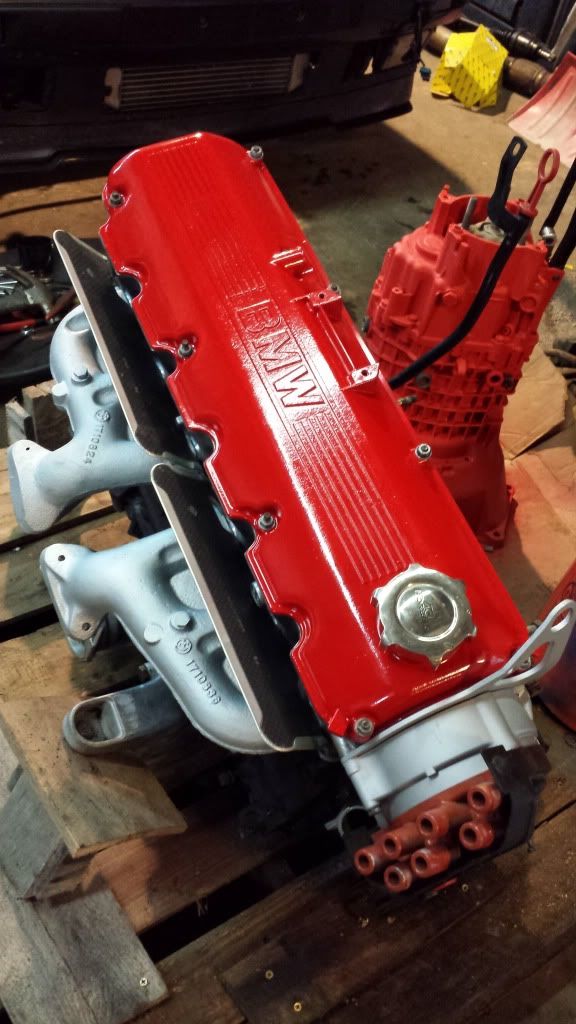
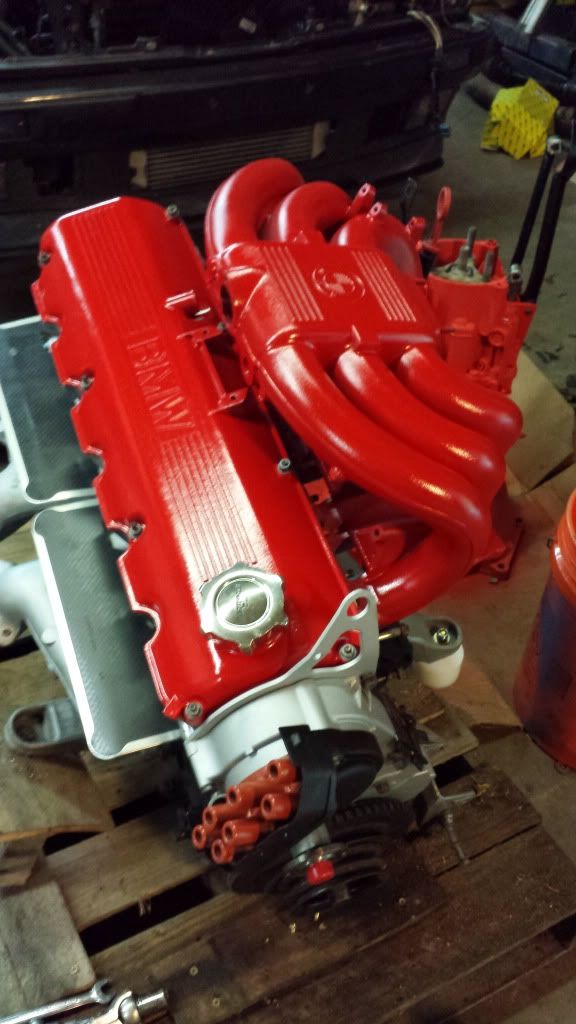
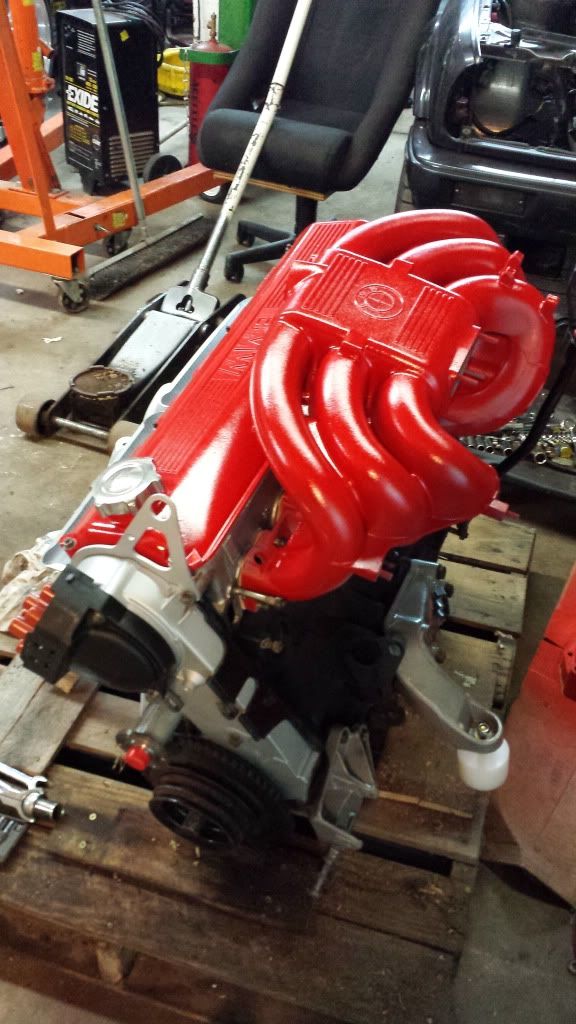
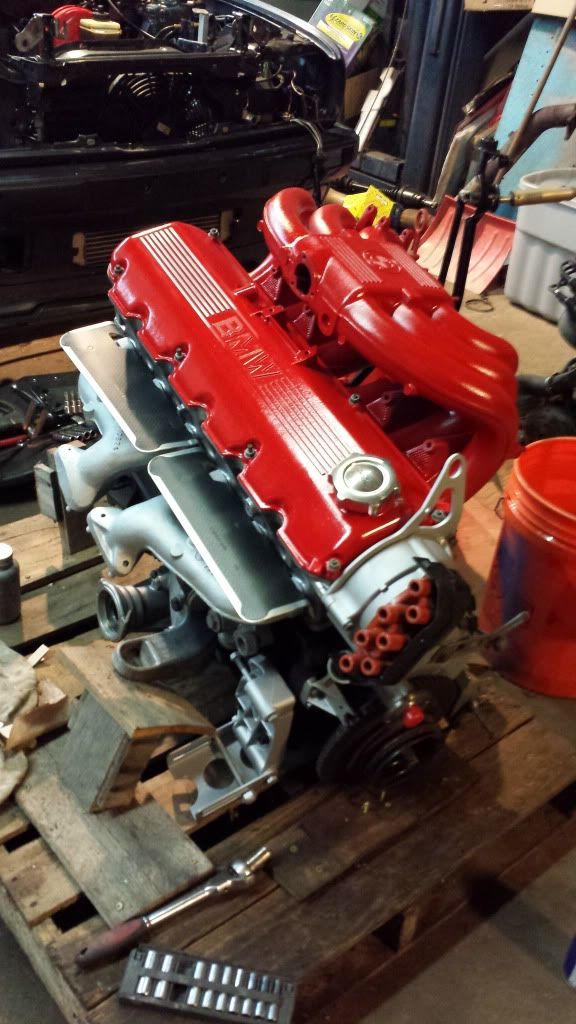
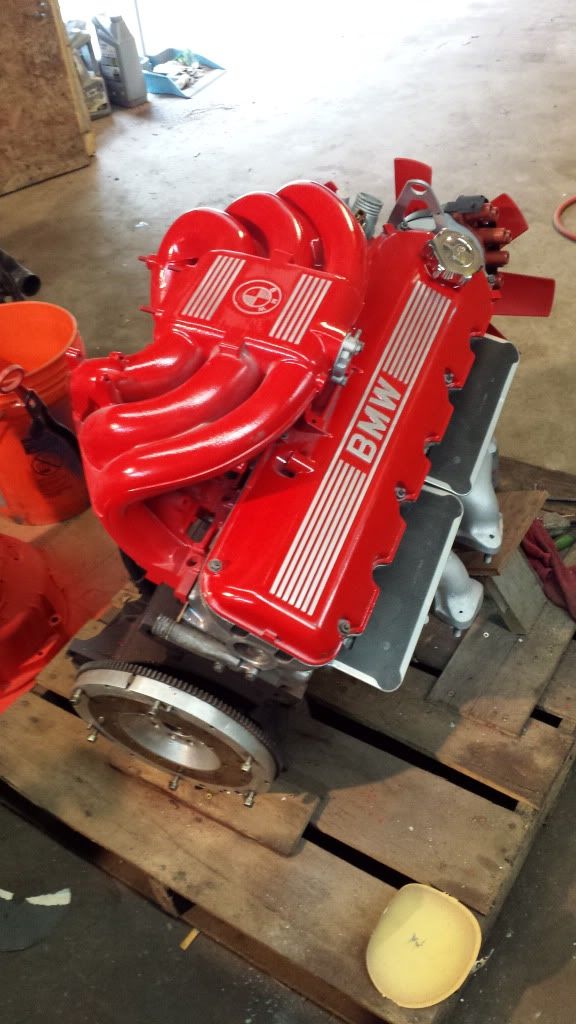
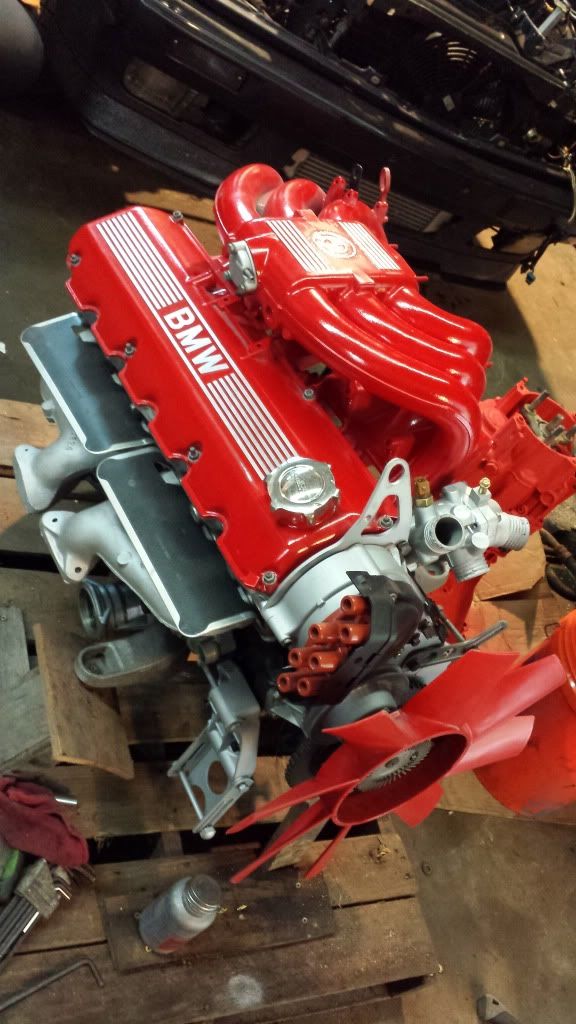
washed down, painted the timing covers and other small bits, removed valve cover for modding.
paints, new gaskets etc.

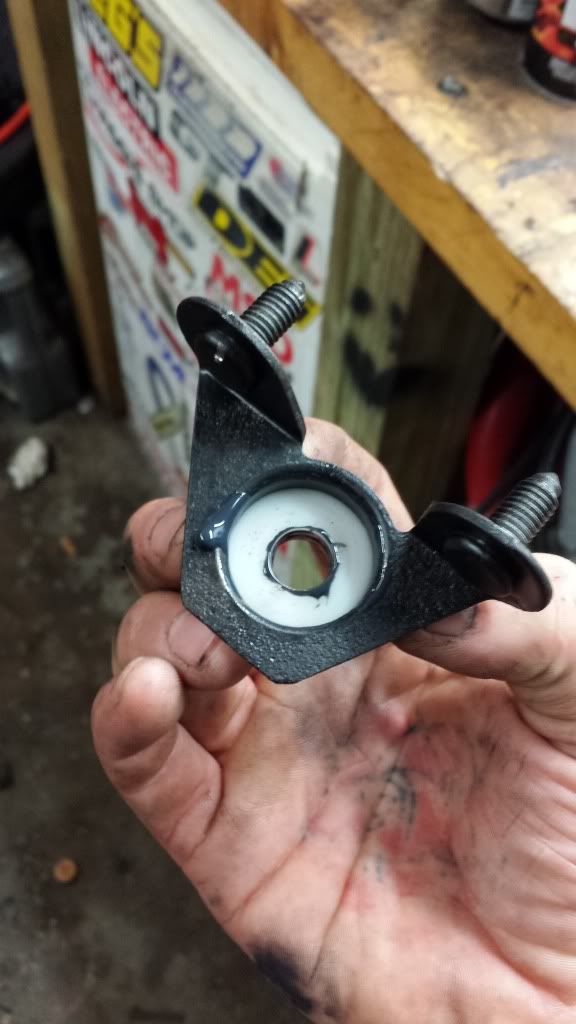
garagistic solid motor mounts (white hockey pucks added on the arms)
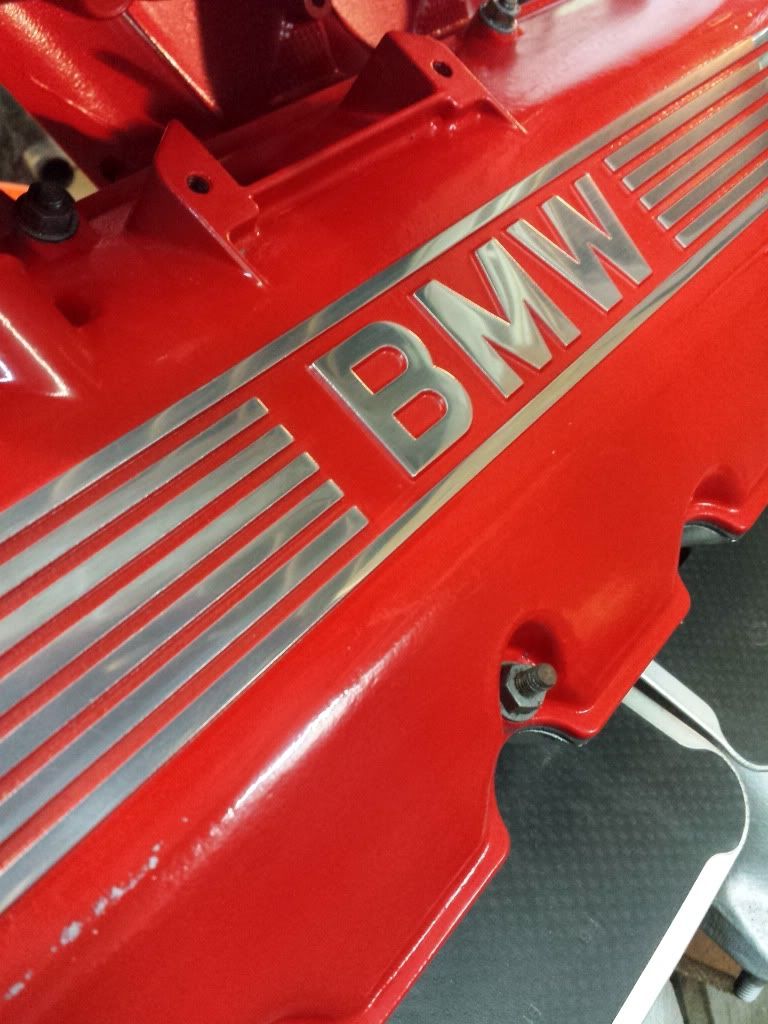
started sanding the embossment of the lines and letters for polishing
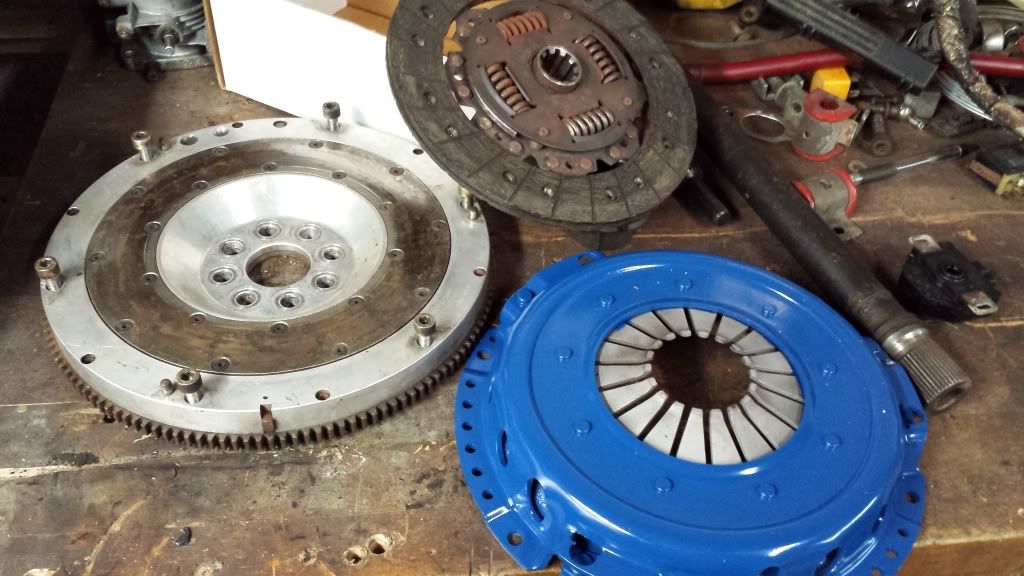
oh yeah! found this little gem on ebay, had to modify it to fit an OEM m20b25 clutch, because it didnt come with its own clutch. but cleaned up nice!

letters sanded
polish! mirror finish bitches!

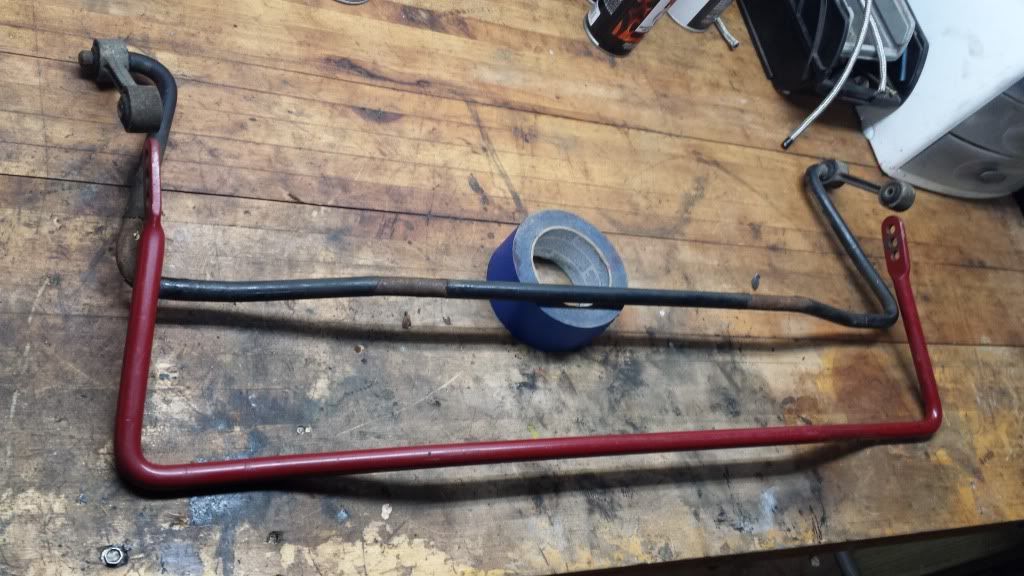
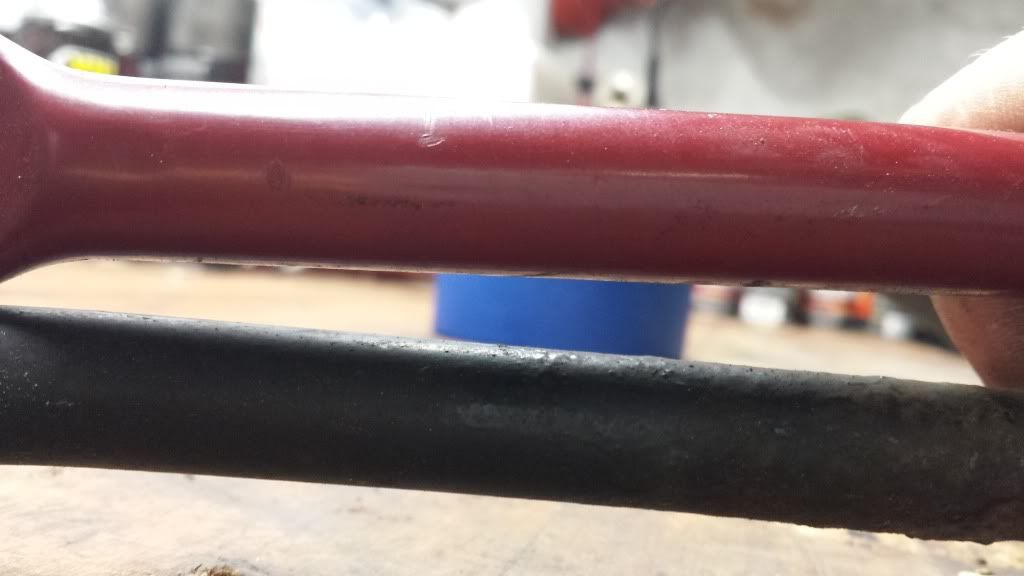
unrelated engine stuff, but i installed a 18mm rear eibach swaybar with HD endlinks, new poly bushings, stiffest setting.. and stuff and stuff.. heres the comparison.
then i drew a tattoo:
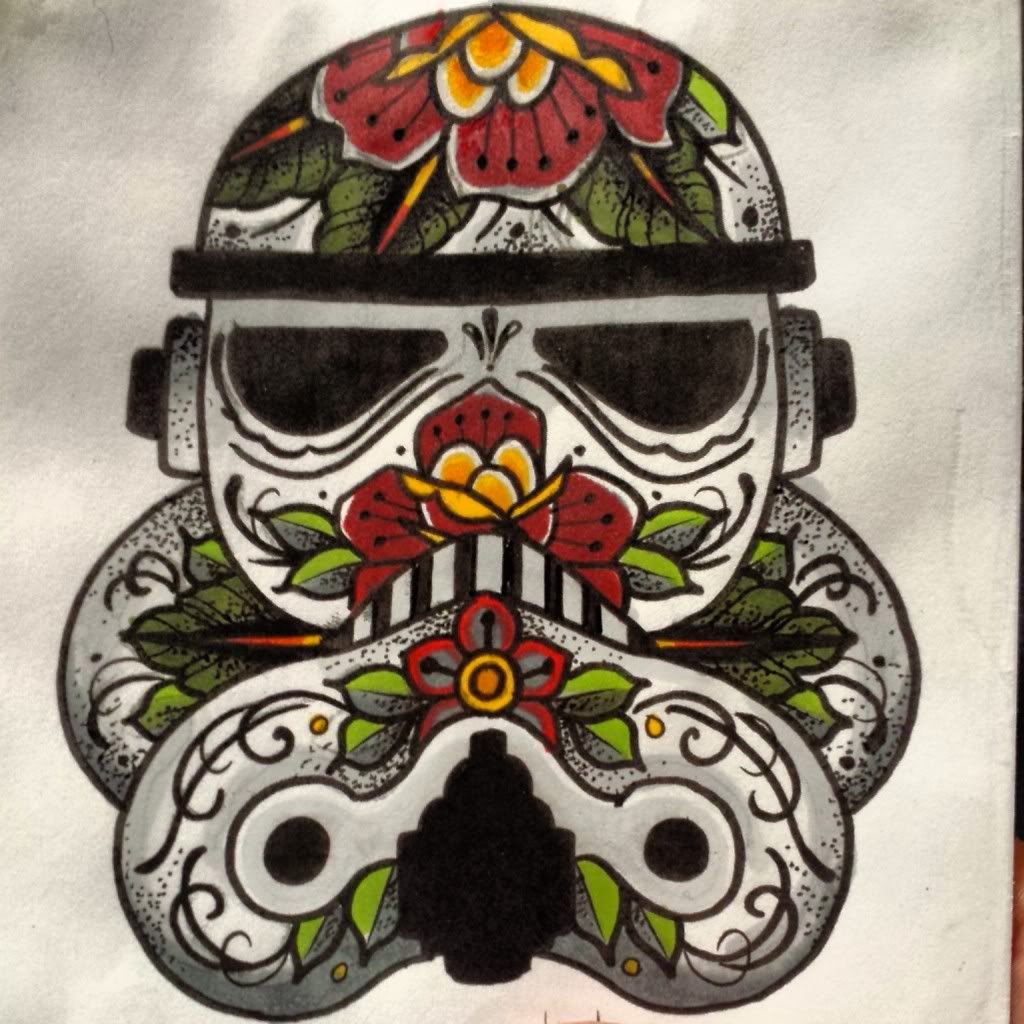
and then went and got a tattoo:

during the weekend made a 4th brake light as well.. flame if you want, i dig it.

and one last one just for the readyness to almost be reassembled!
also waiting for 8lb flywheel and sport clutch to be installed!
 Last edited by imwhyteyo; 09-12-2013, 10:14 PM.
Leave a comment:
-
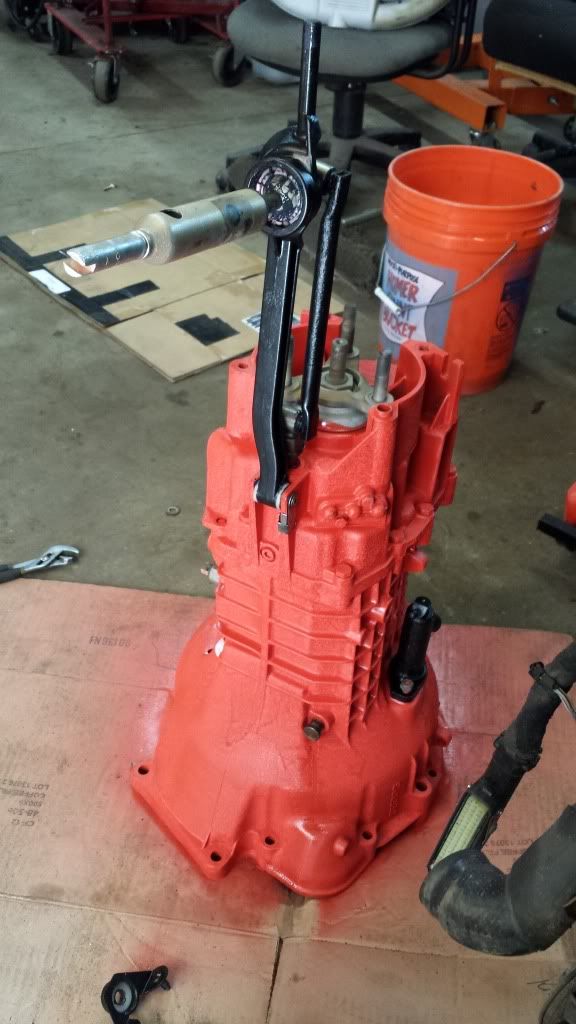
Transmission work: simply put, this thing leaked like a bastard, but still shifted buttery smooth. the fluid was constantly topped off, it was just leaking out of every last hole, so new bearings and seals were replaced, then she was painted nice and bright, so in the future, if there are to be ANY leaks at all, i can immediately locate them for repair. while it was getting the works, i also installed a z3 "short shift rod" with: new rod ball cup bushing, new rear selector rod mount bushing (delrin, or poly.. i cant be sure but its tough), new front selector rod bushings (again delrin i think, split style,) new delrin washers, new retaining clips, new felt bushing, new selector pivot pin-head thing that was very loose, basically poly and new everything, with fresh high tack bushing grease, after sandblasting and protective painting everything of course :)
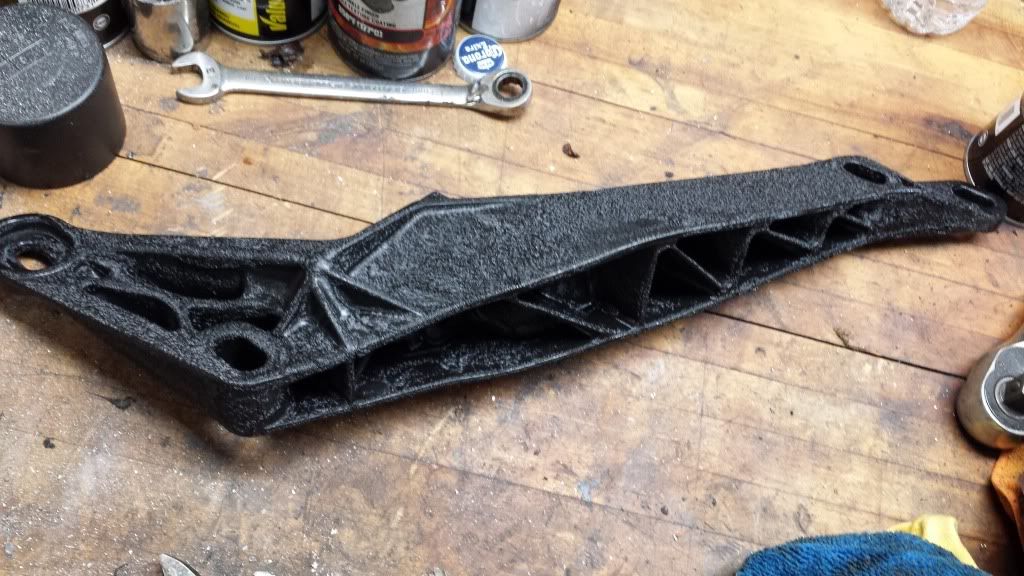
transmission mount sandblasted and wrinkle painted for kicks...

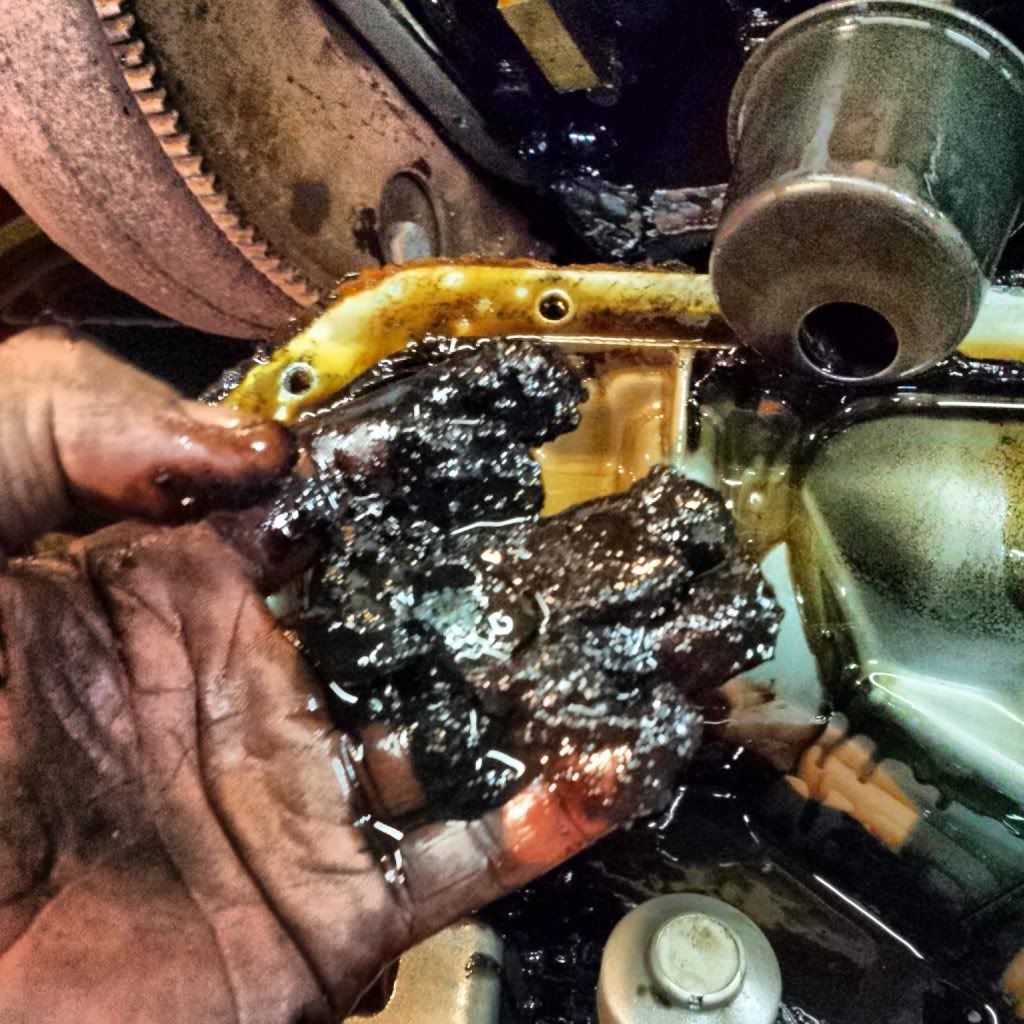
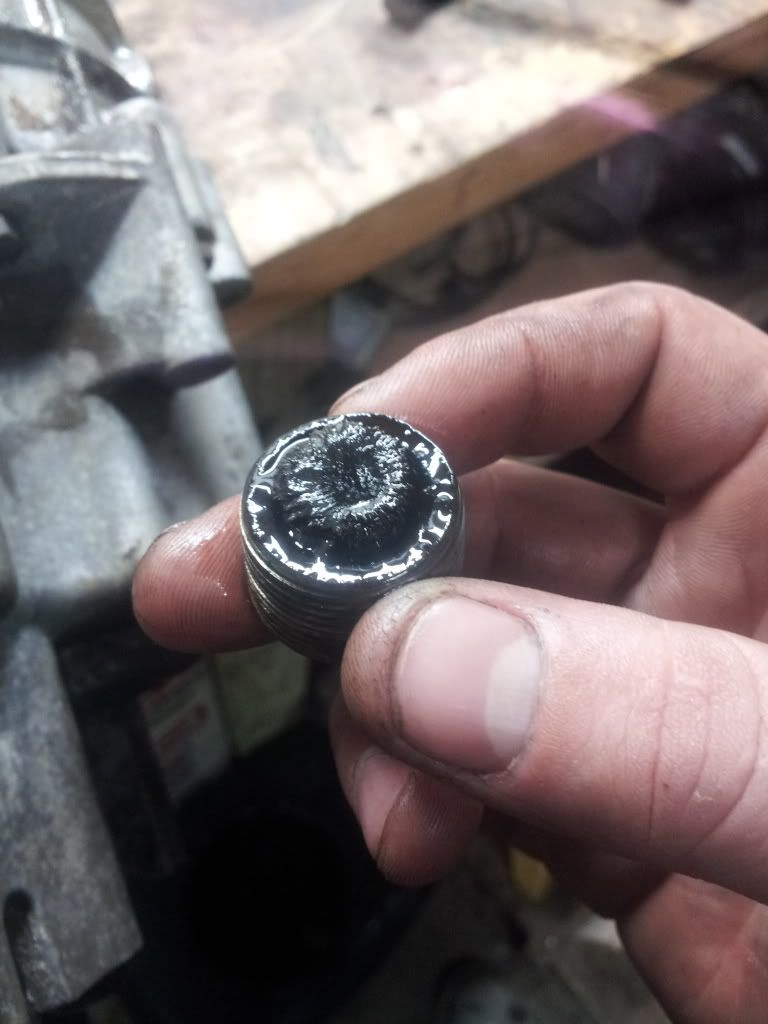
starting off i drained the fluid, and to my suprise, a factory magnetic drain plug, covered with bits of metal shaving, only could imagine what the inside looks like after sitting cold for so long. yuck!
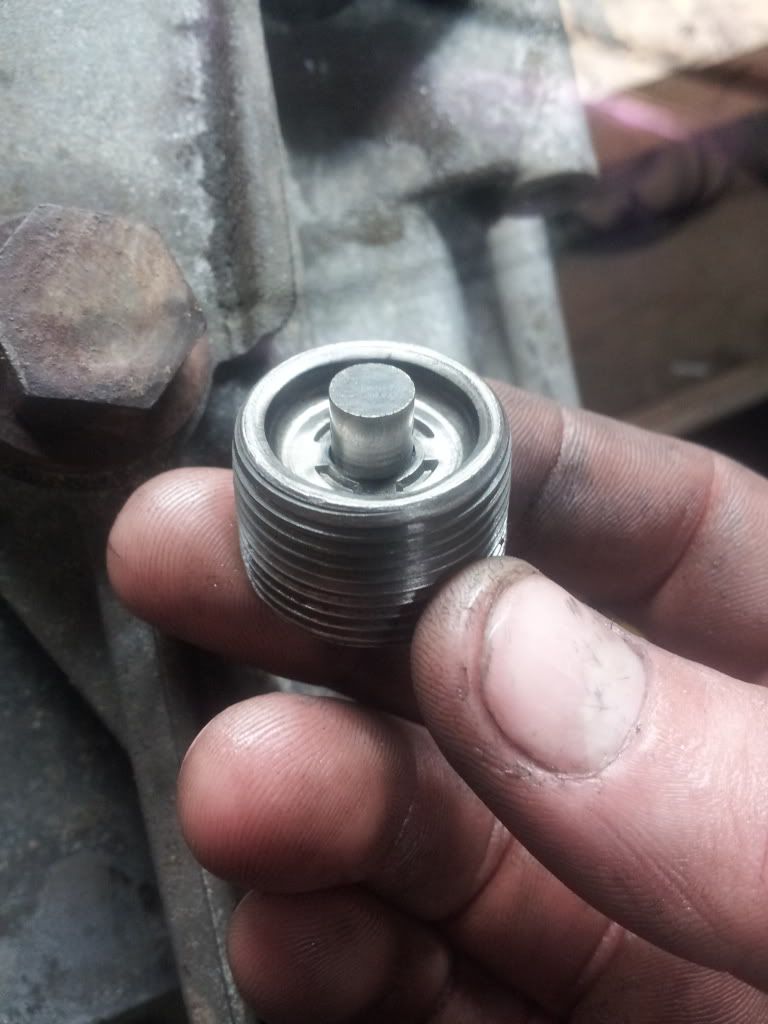
heres what its suppose to look like after you clean it:
so what i did afterwards was flipped her on her side, and stuffed her with about 4 qts of autozone brand 75w90 gold gear fluid with a full bottle of "seafoam" also, and sealed her back up, then by hand.. put it into 4th gear, and hand spun the output shaft attatched to a drill bit rig i had set up, and let this setup run for about 15 minutes. then i had put the gearbox into reverse and did the same thing... then went back to 5 gear, and let her work her majic... this way, with the gearbox full of fluid, and everything moving inside, when i drained it again, ohhh boy what a wonderful mess of color and odd things came out of there!.. it wasnt as nasty as i suspected, but it certainly wasnt a clean golden color like i had put in there... i did one more 2qt. flush after doing this once more just to make sure everything was out. it was nice and clean in there after doing the second flush. then it was onto the seals and bearings!
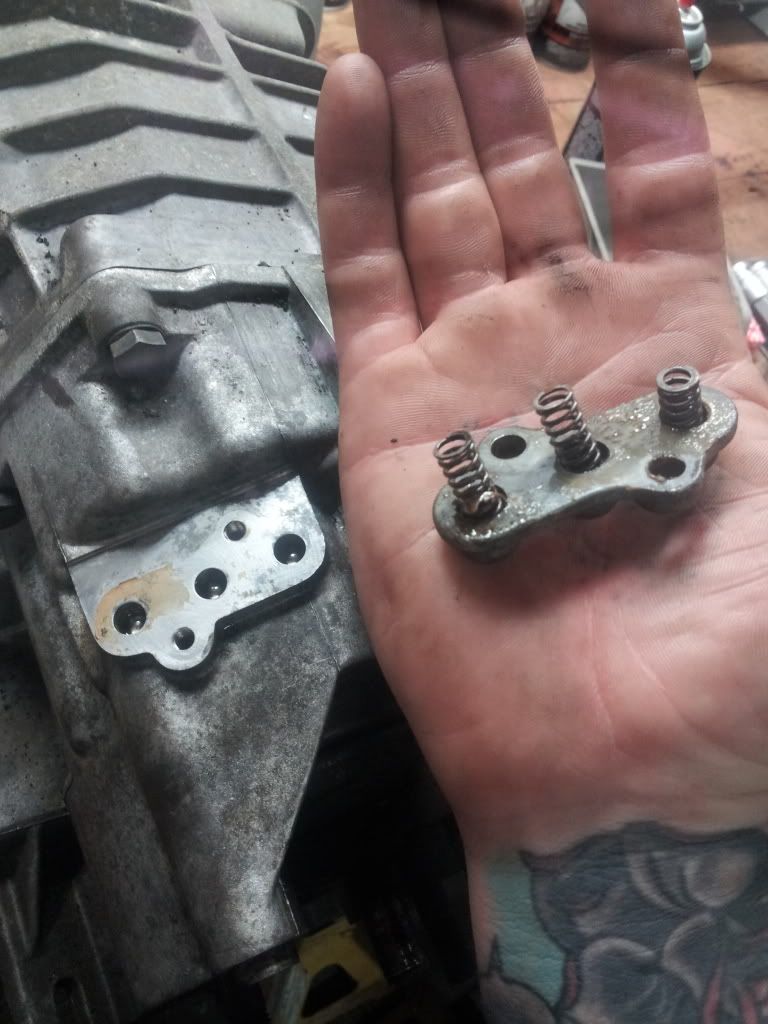
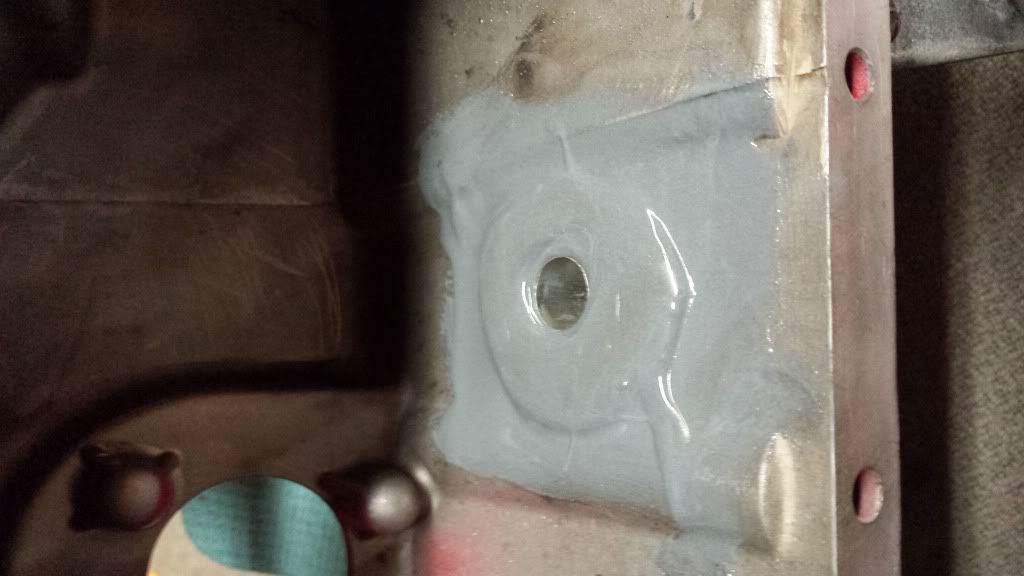
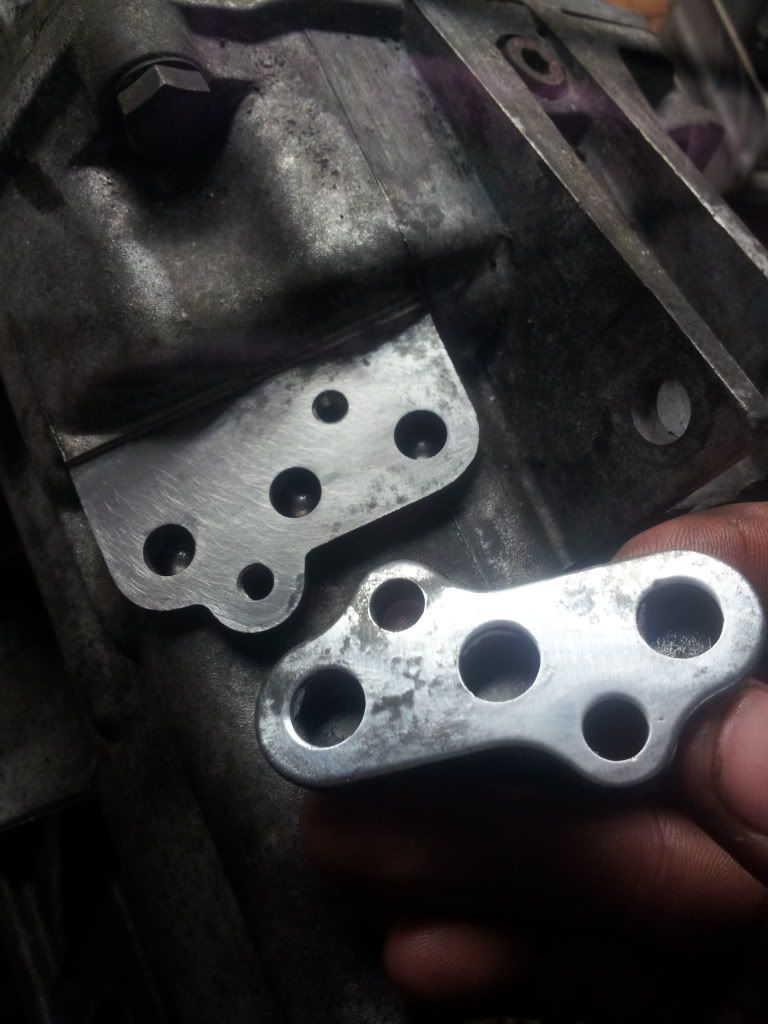
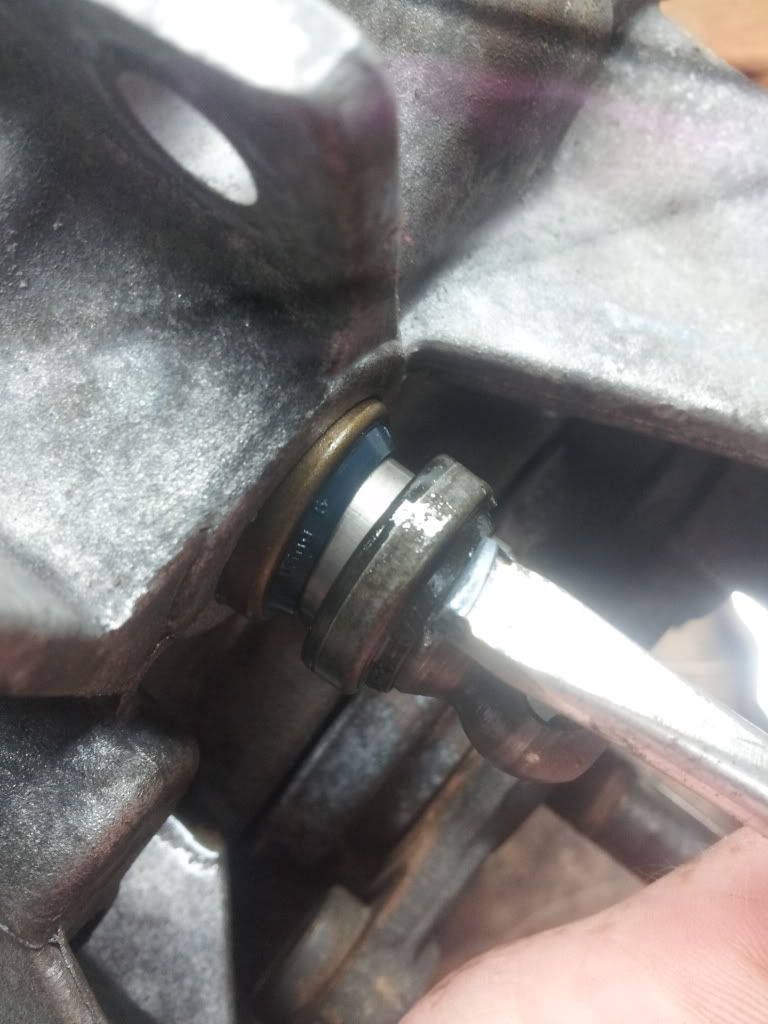
first were the springs and pins seat. this has no gasket, instead just sealant, as its not a very stressed area. but commonly warps, and leaks.
resurfaced that, used a hammer and straight edge to get the cap flat again, then used "black gasket maker" in a very thin layer, to seal it back up.
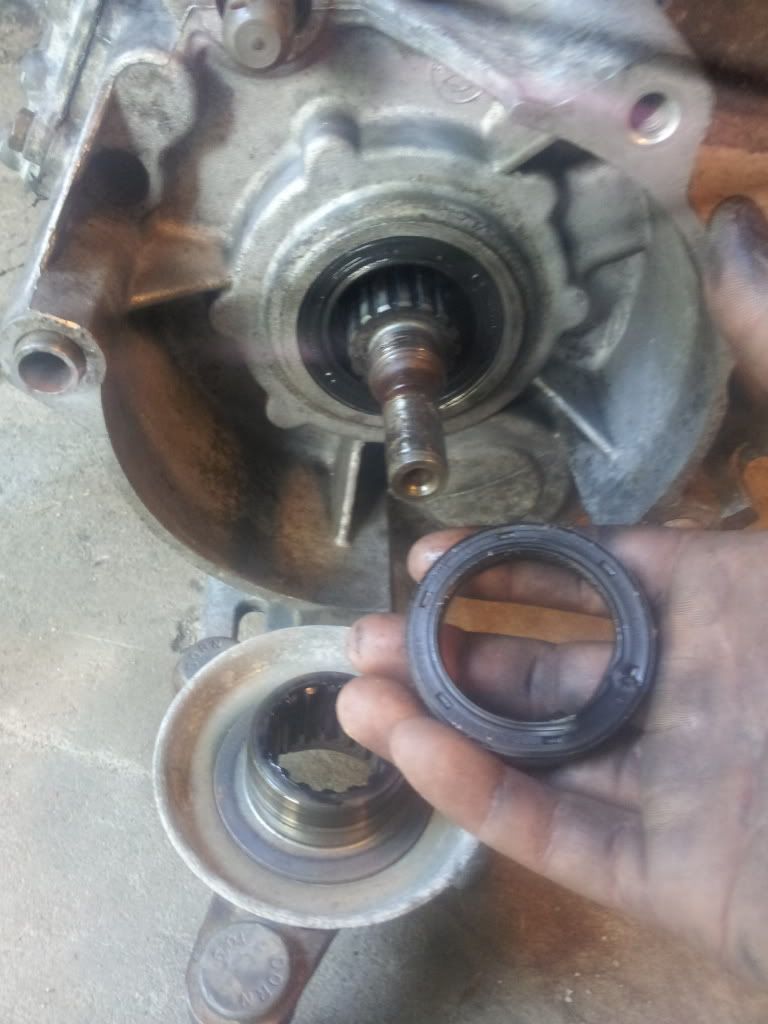
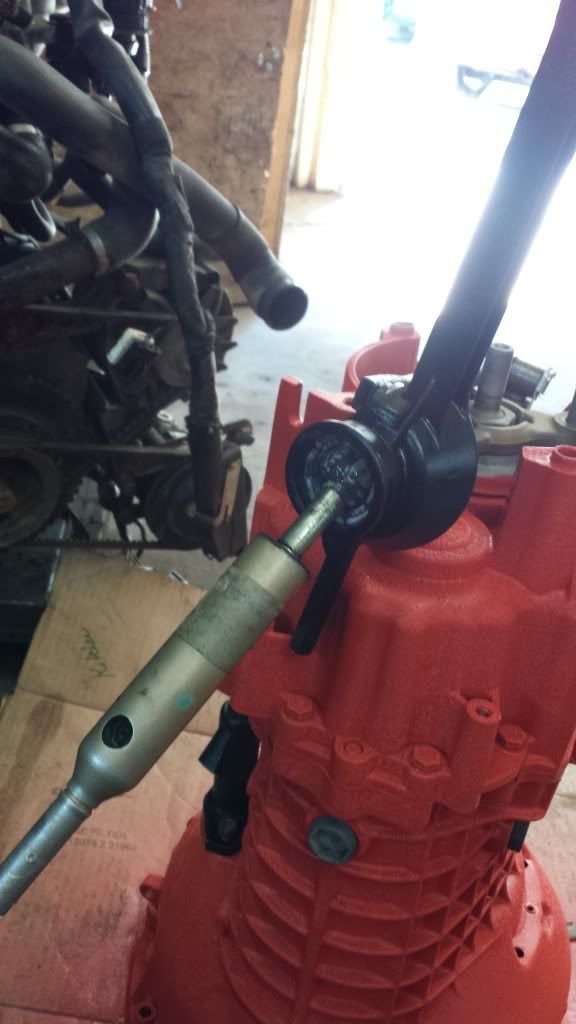
shift selector shaft seal always leaks.. and is very annoying for most people to replace, honestly just shove a skinny flathead right through the thing, being careful not to marr up the shaft, and pry it out, then use the old one, and a deep socket to tap the new one all the way in.
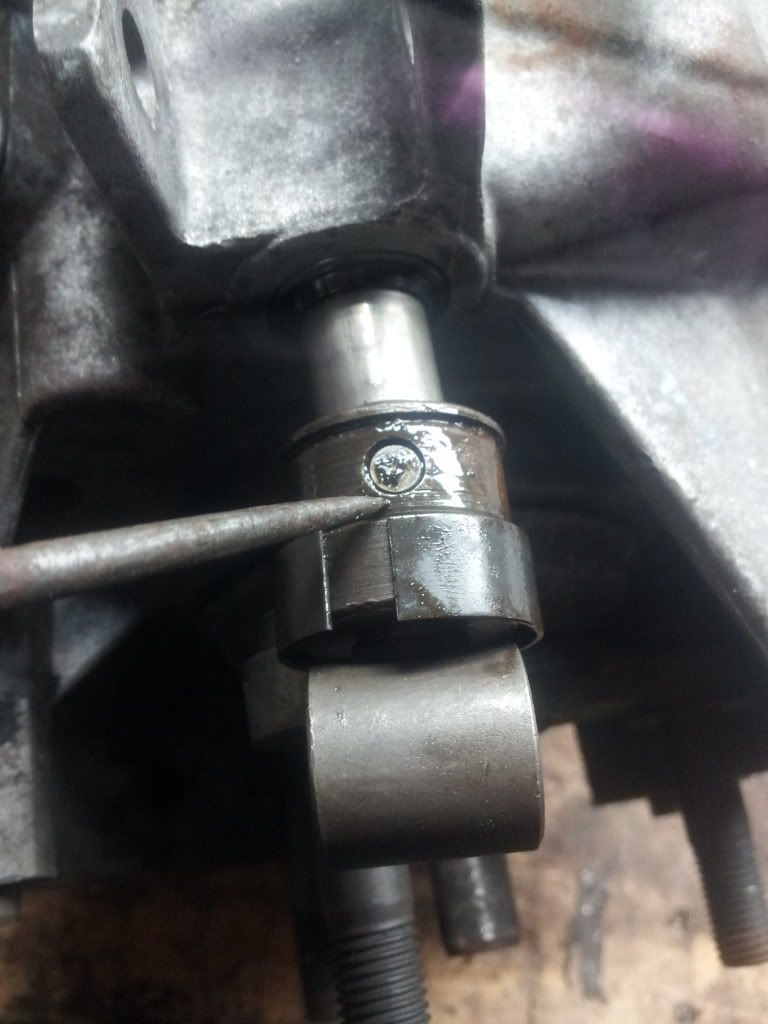
removing pivot and dowel pin:
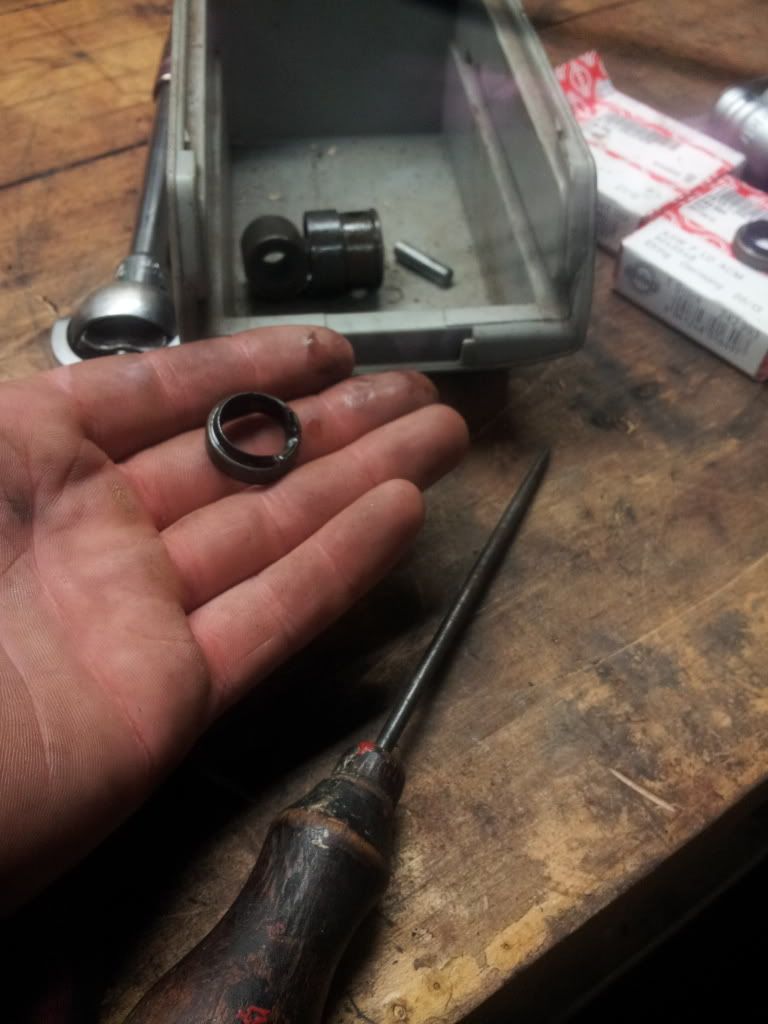
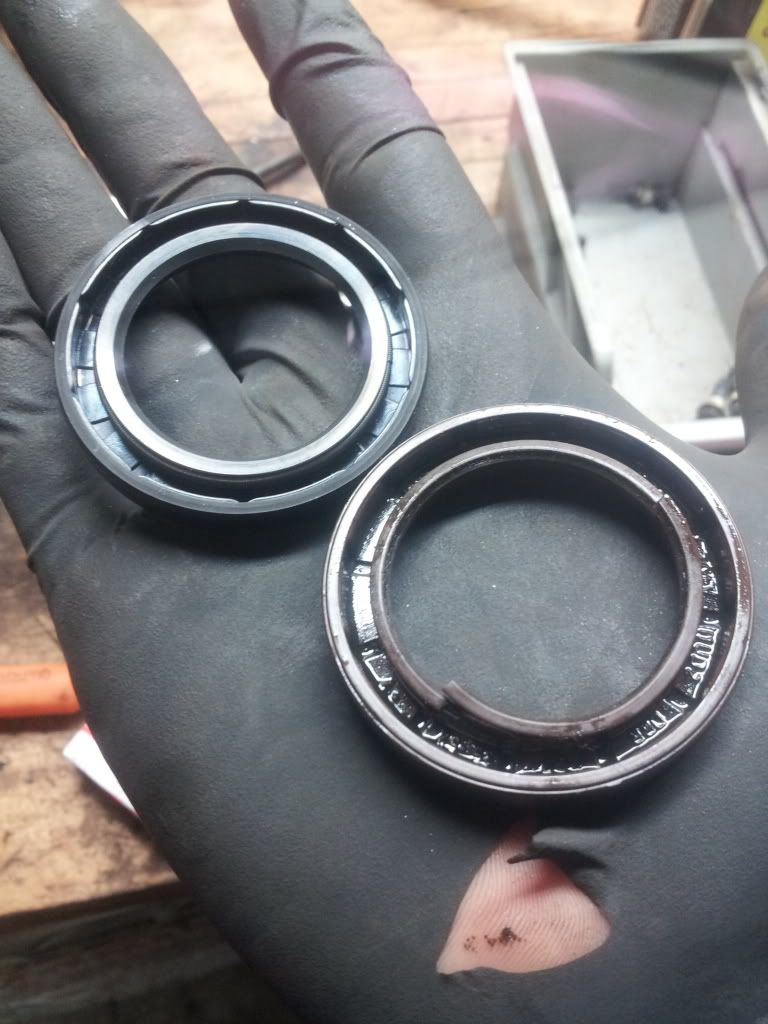
old seal removed:
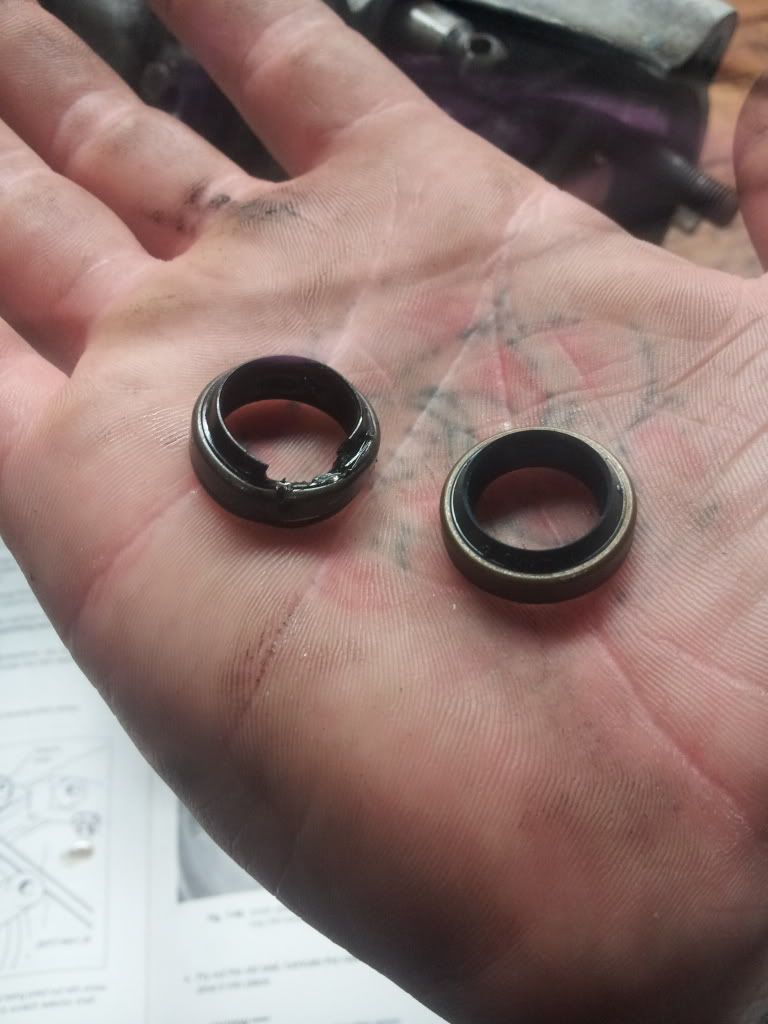
comparison old vs. new.:
installing new using old:
and installed!

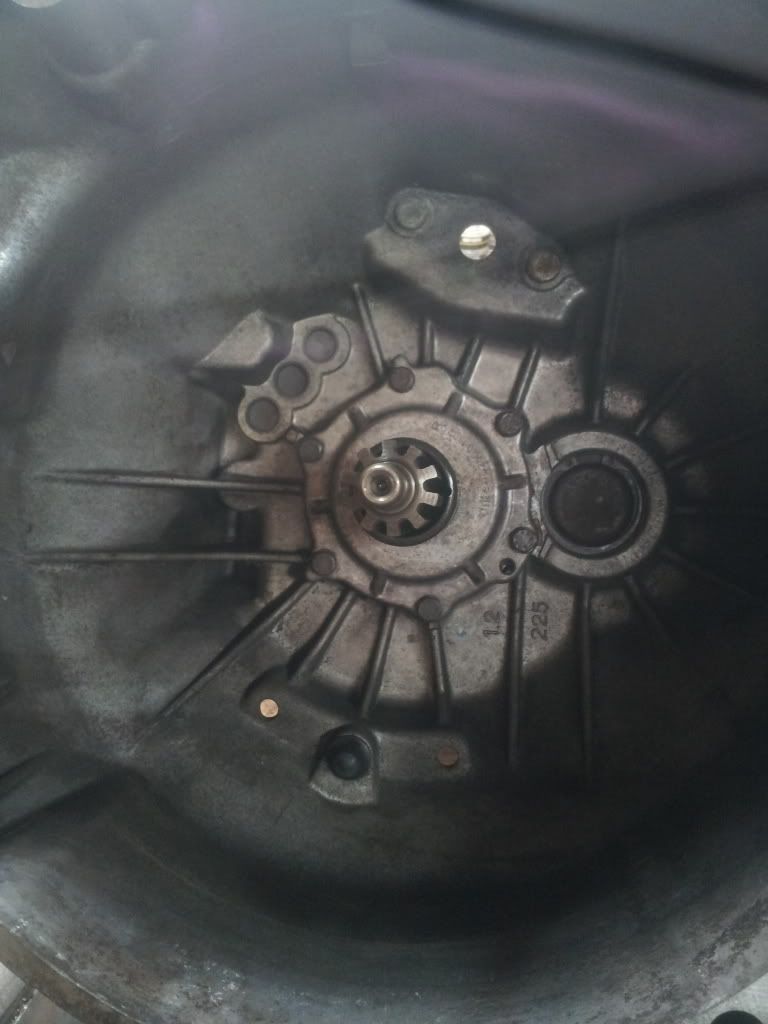
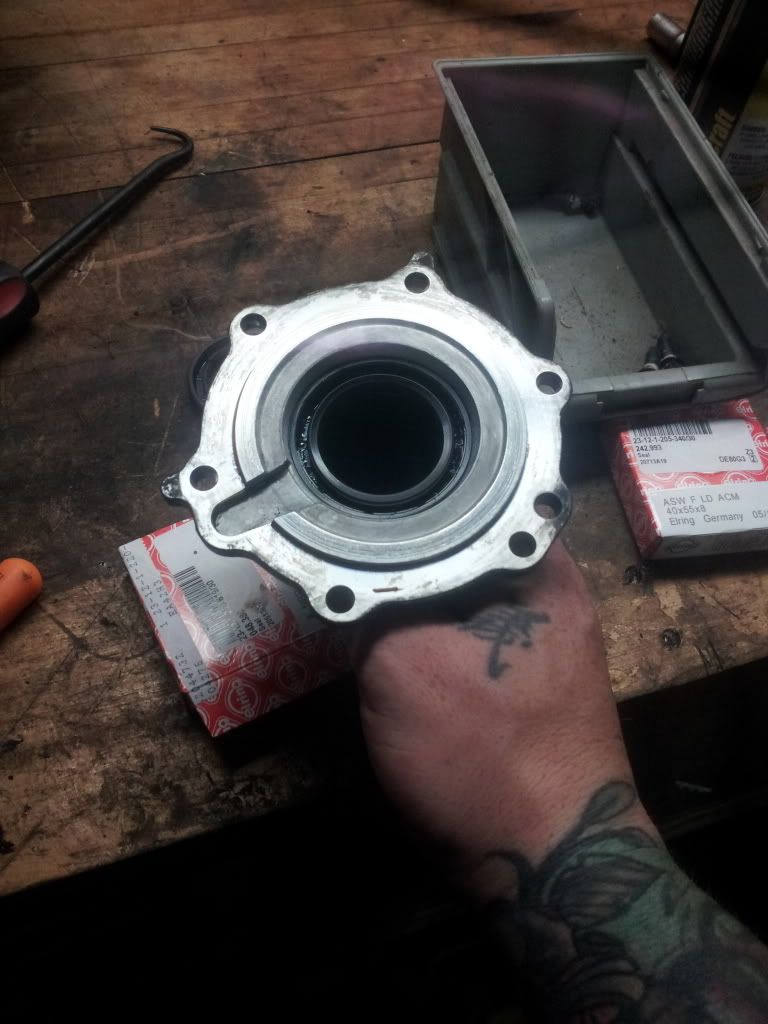
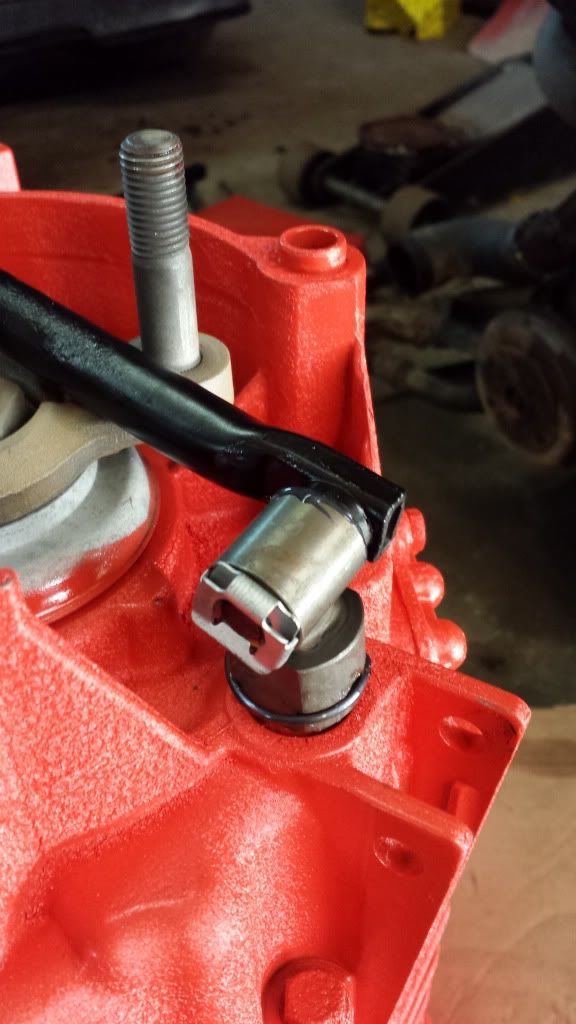
then it was onto the rear of the transmission, output shaft. this requires a 30mm thin wall socket, something to lock the front spindle, and perhaps an air gun. (thats what i used). remove the collar nut with a flathead, remove the 30mm nut, remove the 3 arm output flange, pull the seal, clean up the seal area and seat, install the new seal, nice and easy.
then to the front of the bellhousing:.. this requires removing the spindle plate, exposing the main bearing set, which once the seal is removed, also easily replaces.. i didnt happen to remember taking pictures of doing so, but i did get a few of doing the seal, so here you are:
start here:
unbolt and remove this by hand:
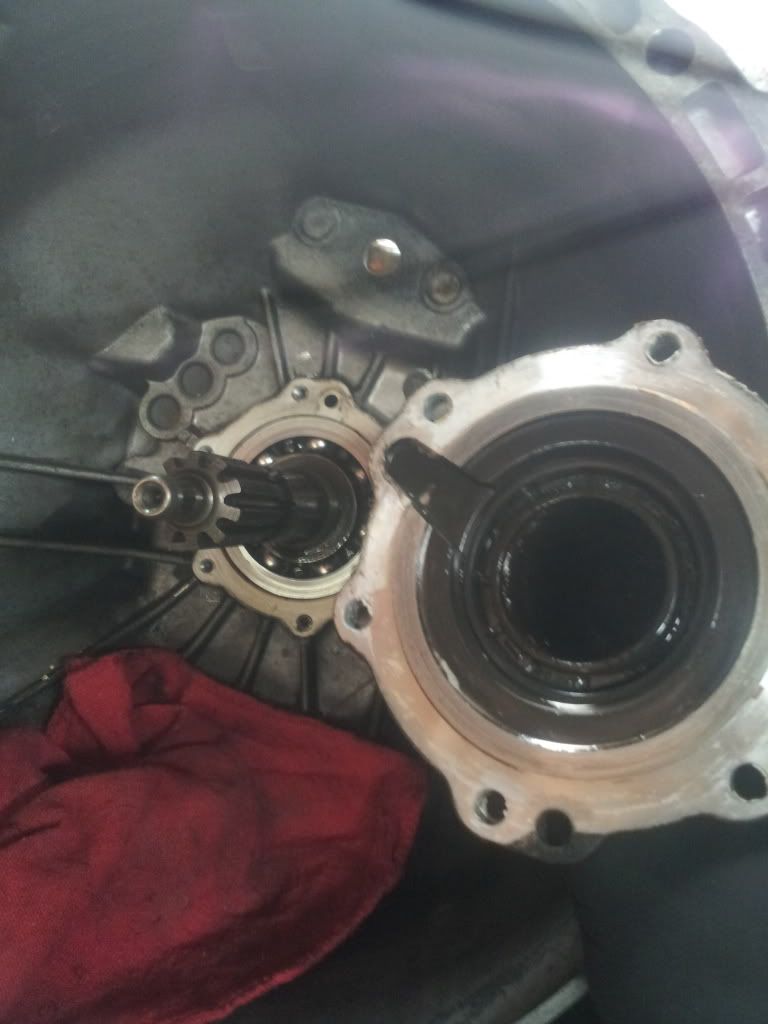
remove the old seal, and vs. new seal (i typically use the old seal, and a socket close to the exact diameter of the seal, so i dont damage the chase on the seal, or bearings.)
always clean up your shit before reinstalling, maybe a THIN THIN layer of sealant here, doubful but, doesnt hurt. rebolt in a "star" pattern, exactly as removed (very important for sealing and oil flow up front) and your done here.
shifter rebuild went awesome. pretty self explanitory, sandblast, paint, bushings, assembly, clickity clack.
first the leak revealing paint!

bushings and clips and shit
then slave cylinder and new stainless braided clutch line.

after all was said and done with the transmission, she was refilled with exactly 2.2qts of Royal Purple 75w-90 LSD based synthetic fluid.Last edited by imwhyteyo; 09-12-2013, 09:38 PM.Leave a comment:
-
Those type manifolds are common here and a friend had a m50 with a similar setup and 664whp.
Last edited by Nisse Järnet; 09-12-2013, 09:08 PM.Leave a comment:
-
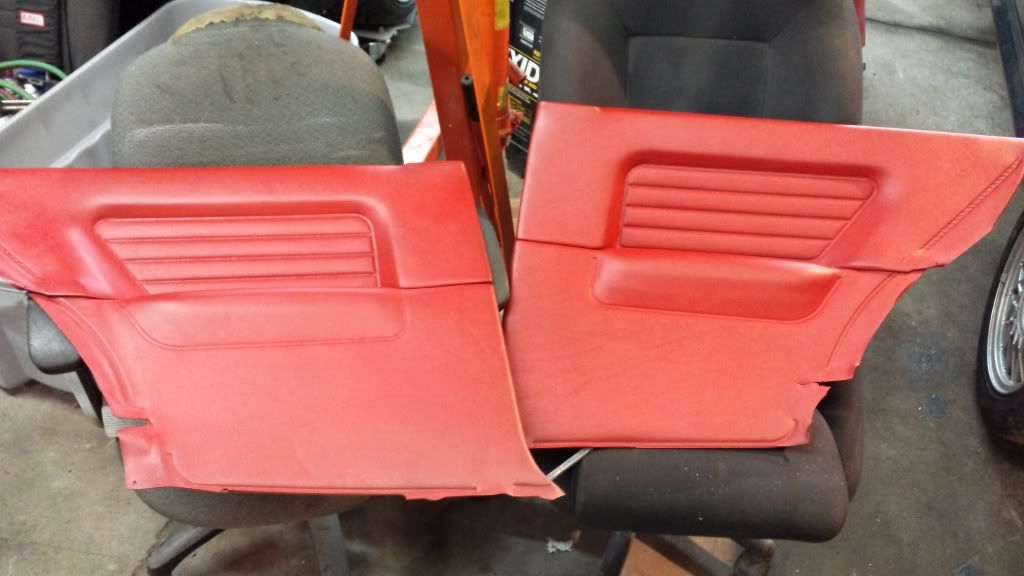
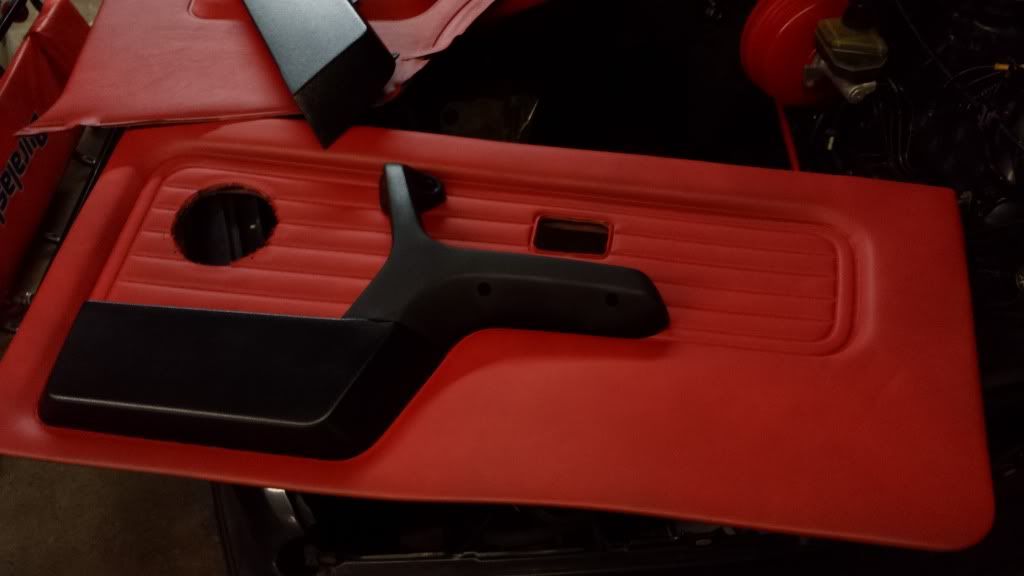
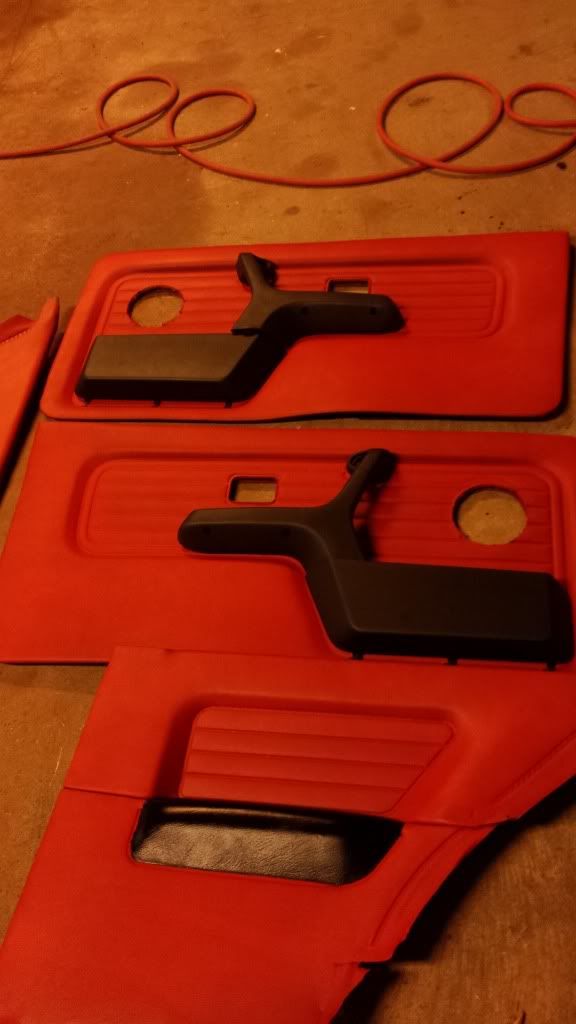
got a few interior bits i did end up going over with some SEM products.. :)
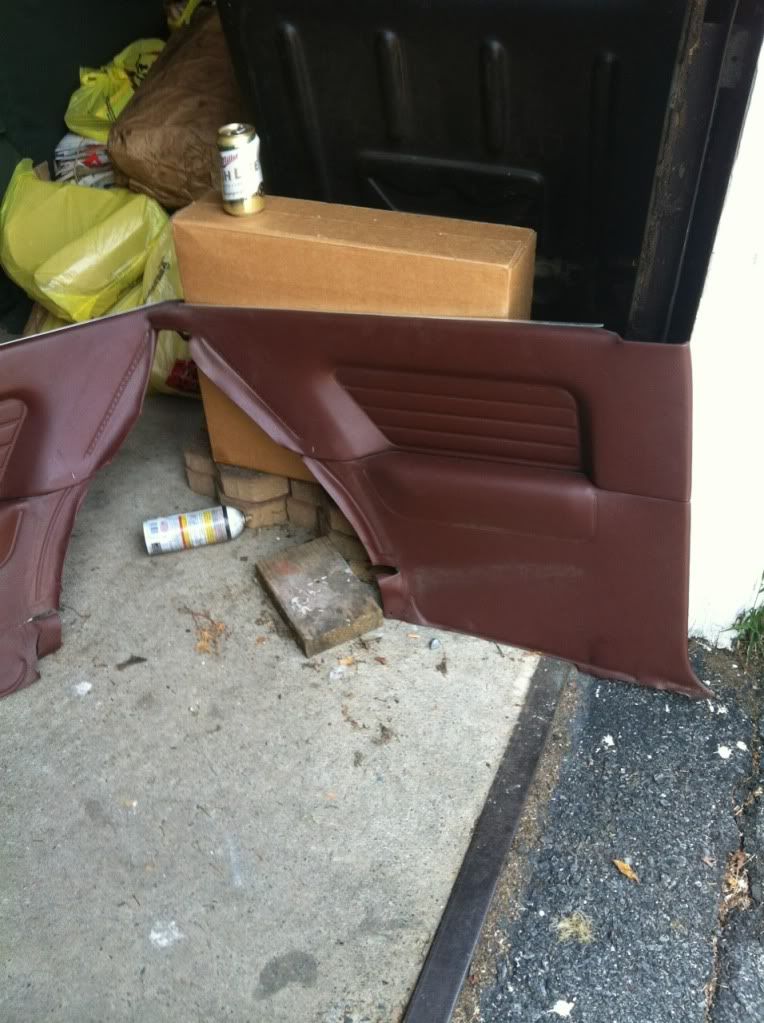
Before: (Taurusrot rears)
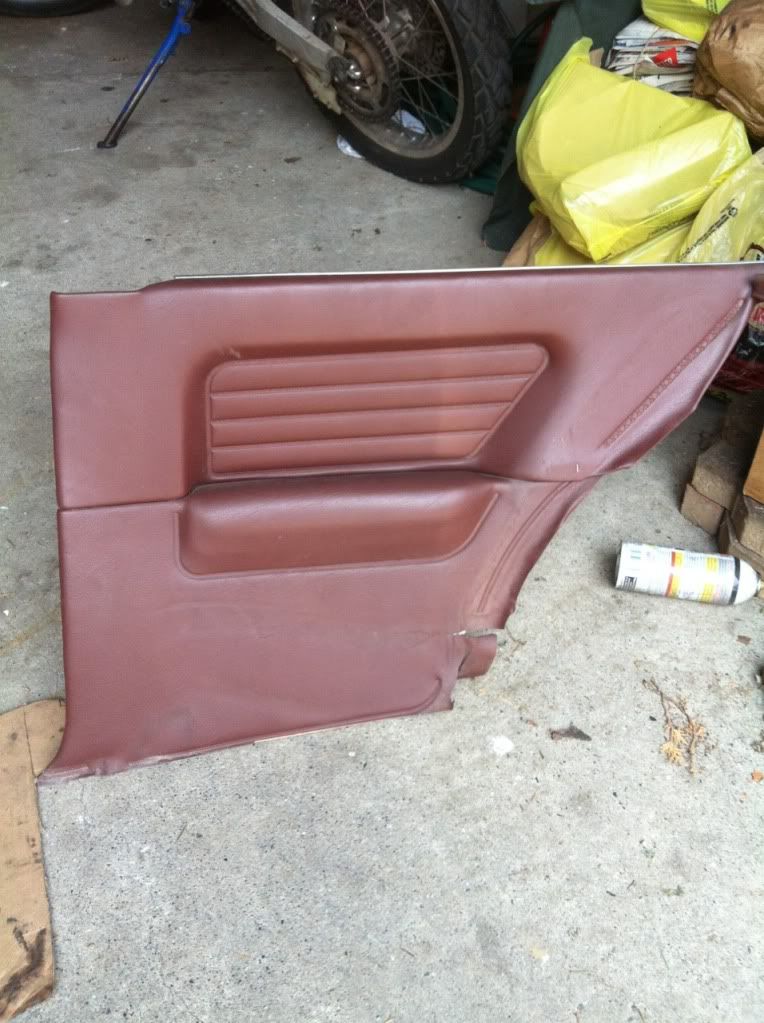
Cardinal vert fronts (from the vert piece pile ive been trying to sell forever, finally will be put to use instead jerks! lol)


and the transformations completed!:

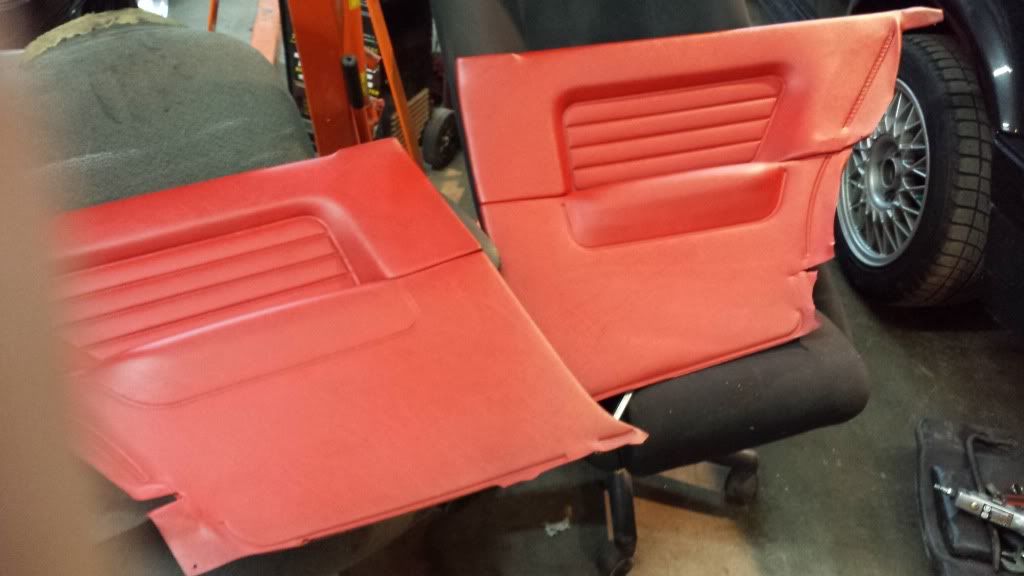
my "in natural light picture"
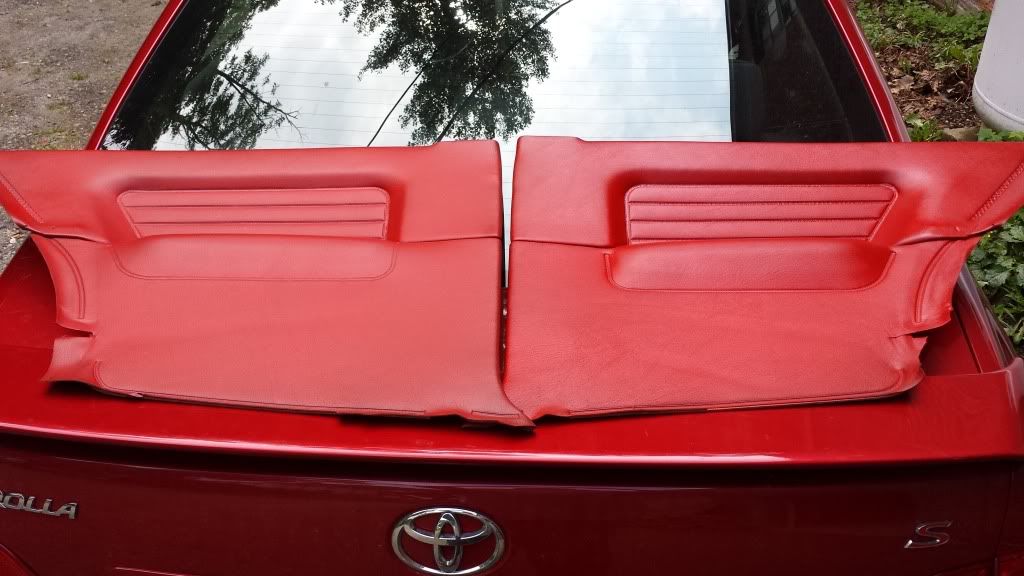
heres couple front shots. i had some real black arm pulls, and map pockets lying around from an old car, so i cleaned those up, and threw them on there with some other black bits. also dyed the rear "armrest" section of the rear panels as well to kind of match the front. tell me what you think!
and heres a teaser pic of some customization of things to come! Last edited by imwhyteyo; 09-12-2013, 08:45 PM.
Leave a comment:
-
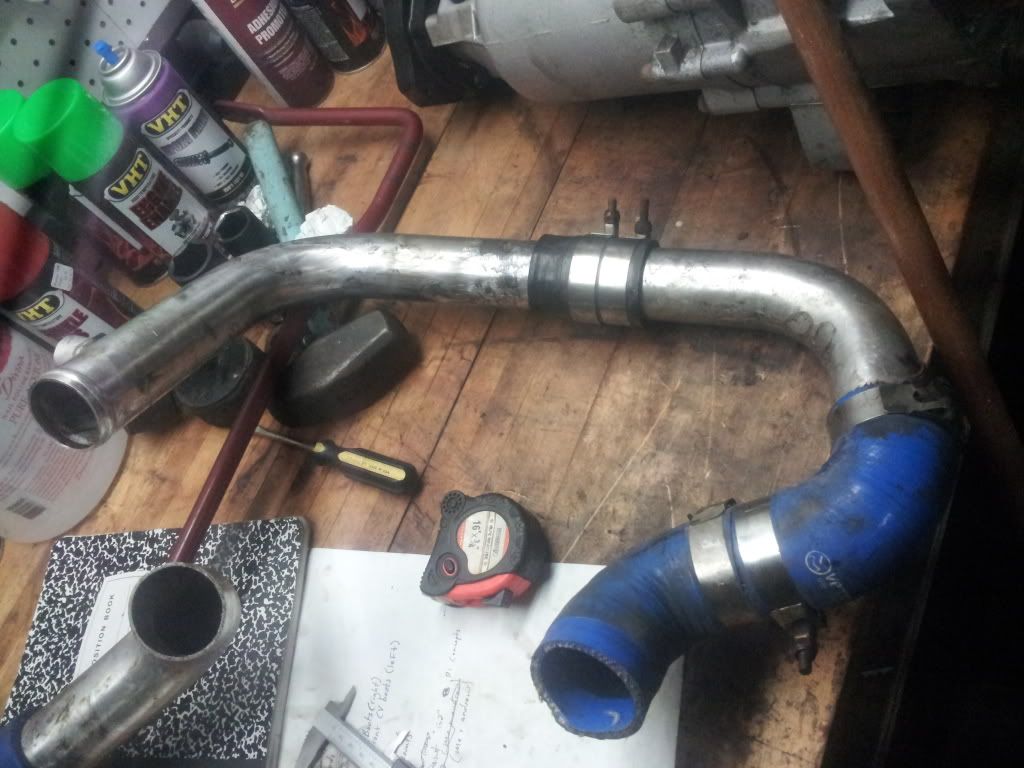
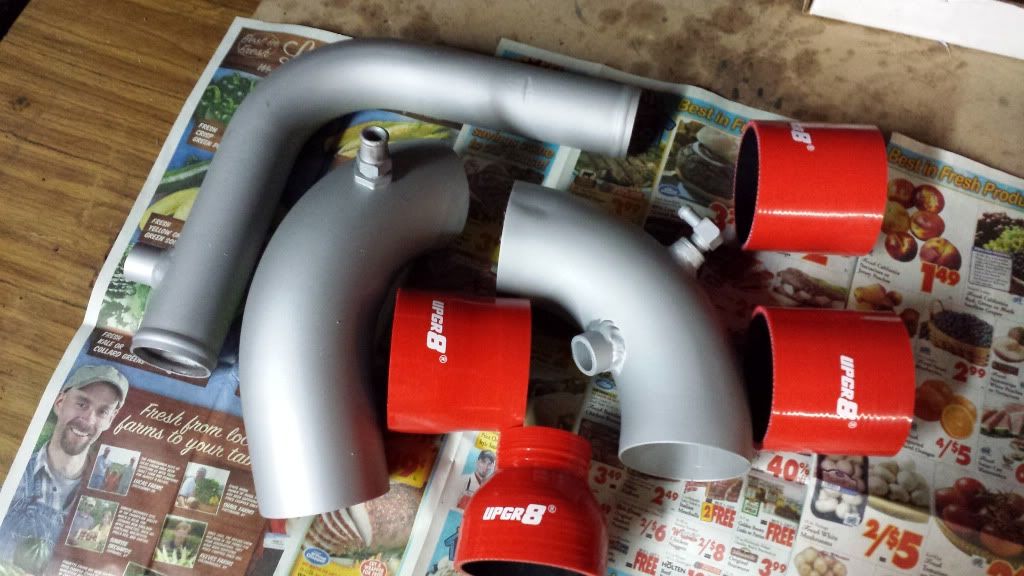
aside of the mystery turbo, i started to clean up some charge pipes, and bought new red couplers to match a few things a bit better, and give it an overall cleanlier look. blue is too common for poly couplers/hoses, and just not my thing. (i didnt finish them all quite yet, but im getting there. all this sandblasting is extremely time consuming!)
Leave a comment:
-
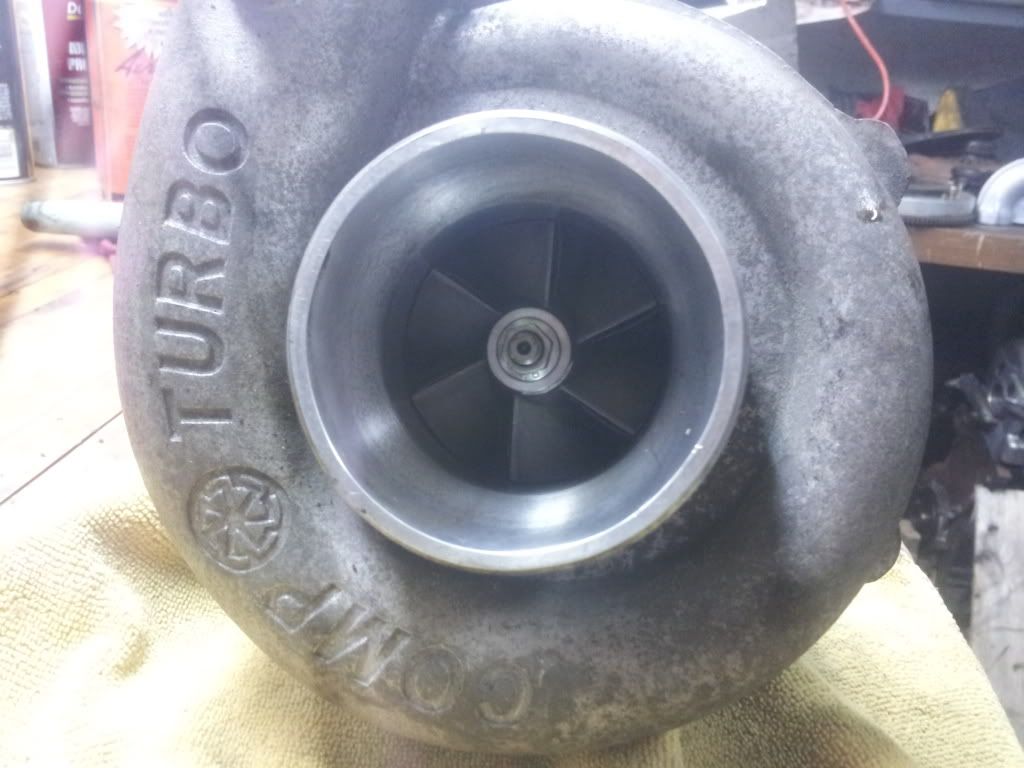
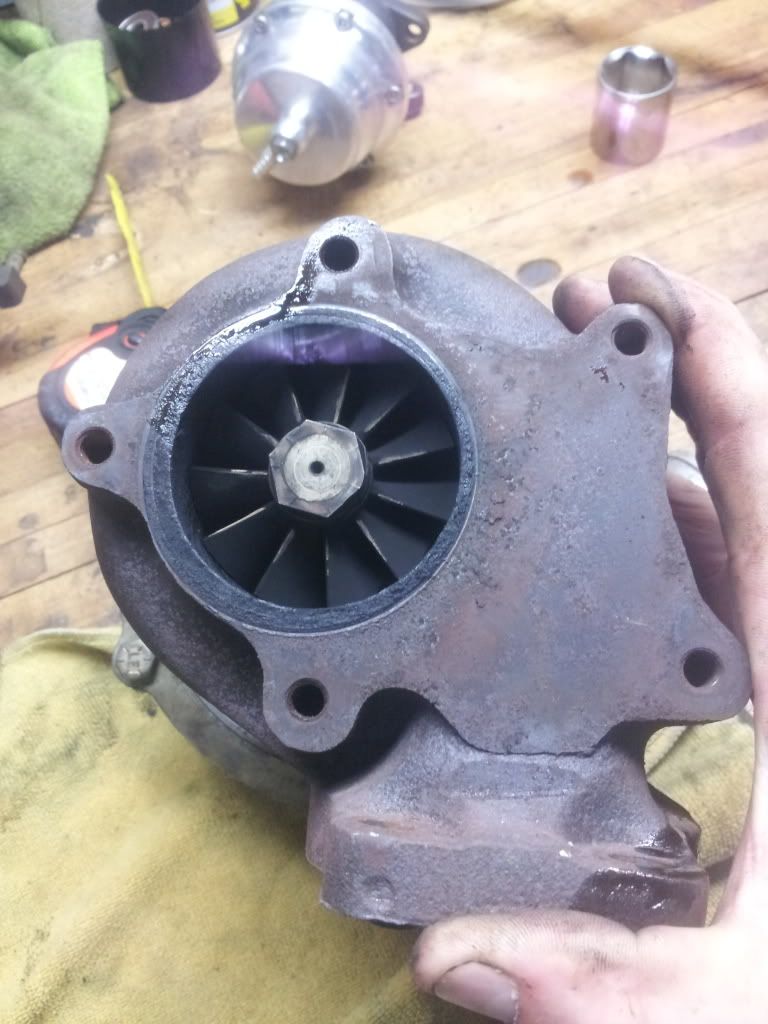
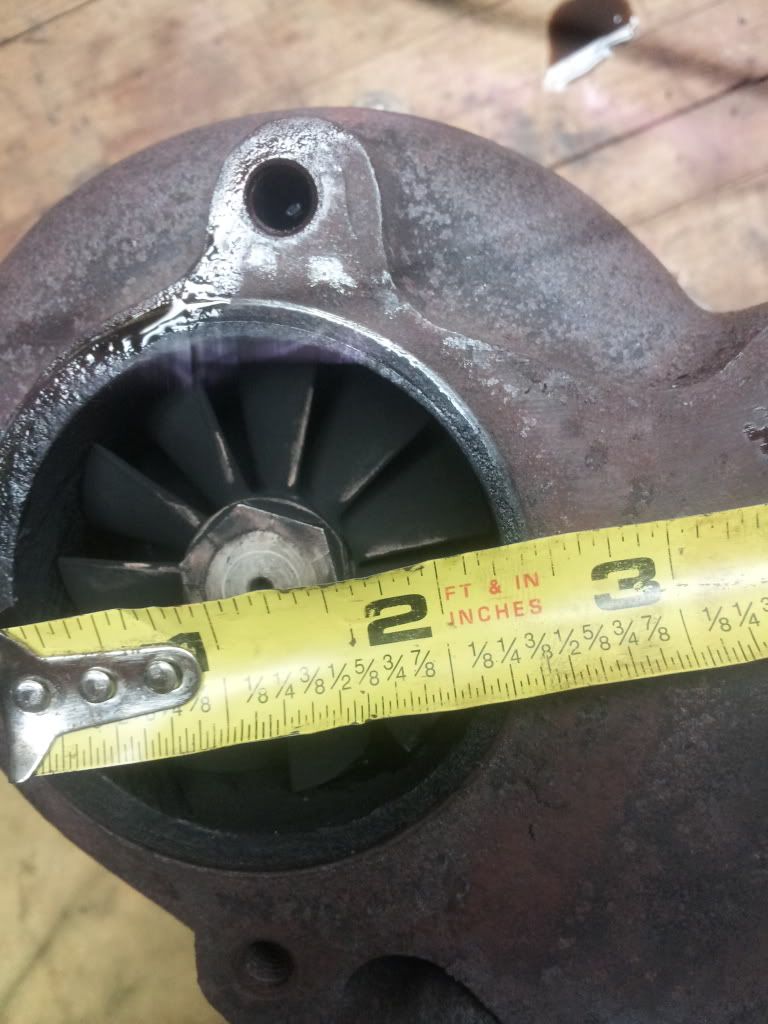
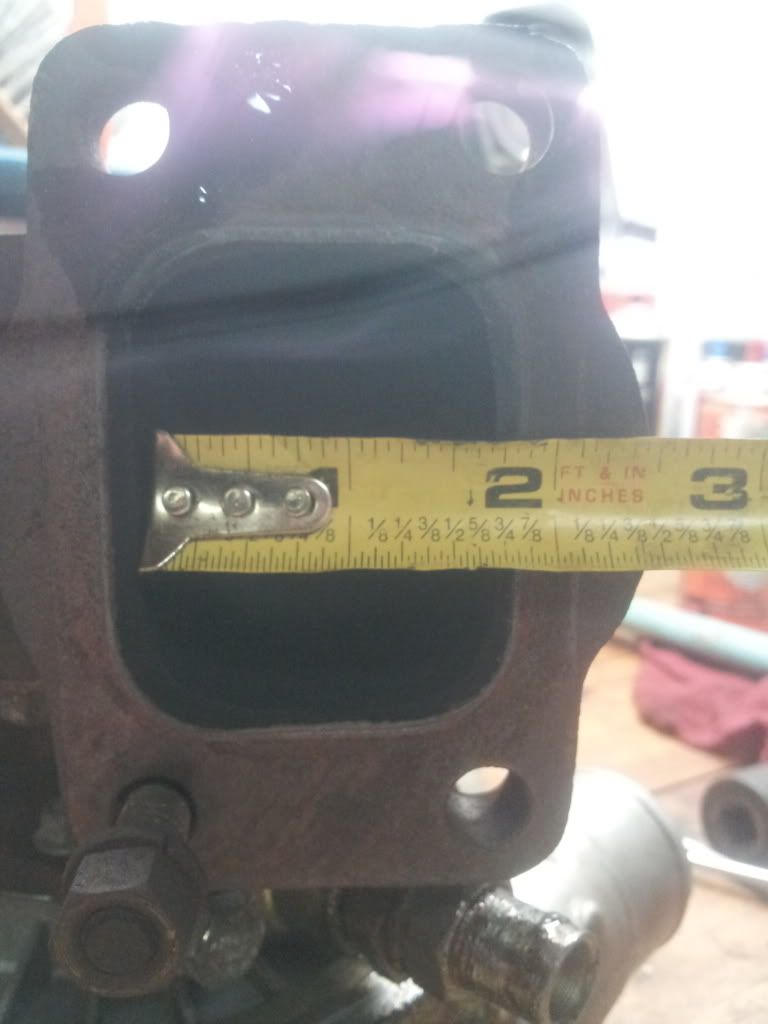
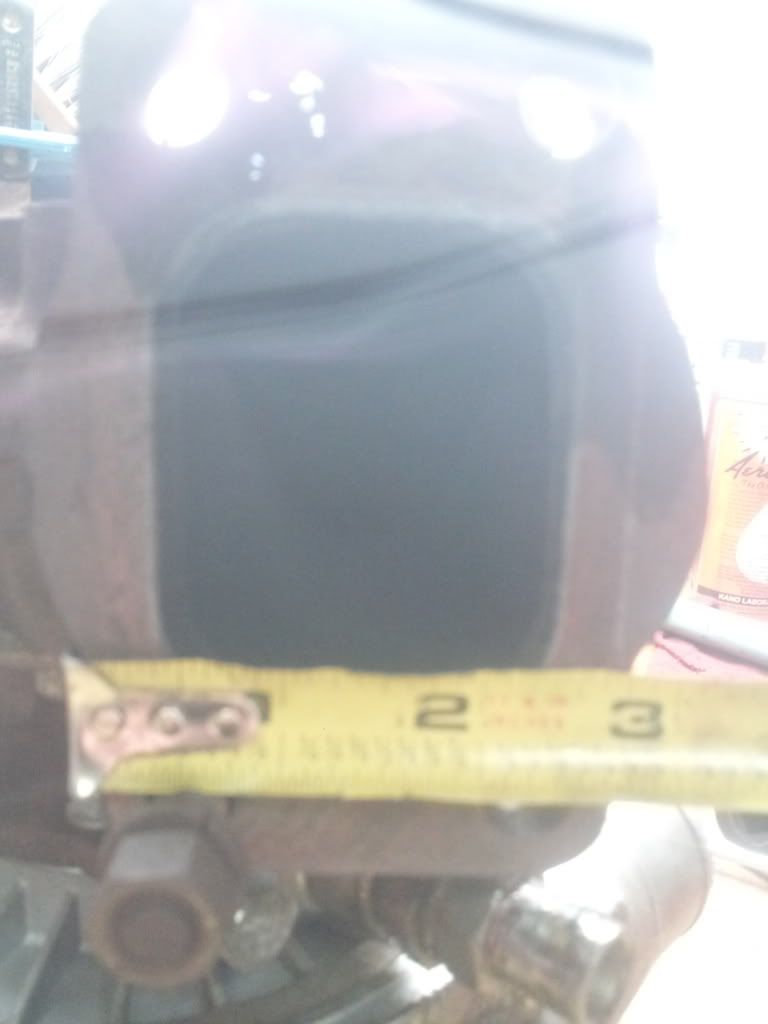
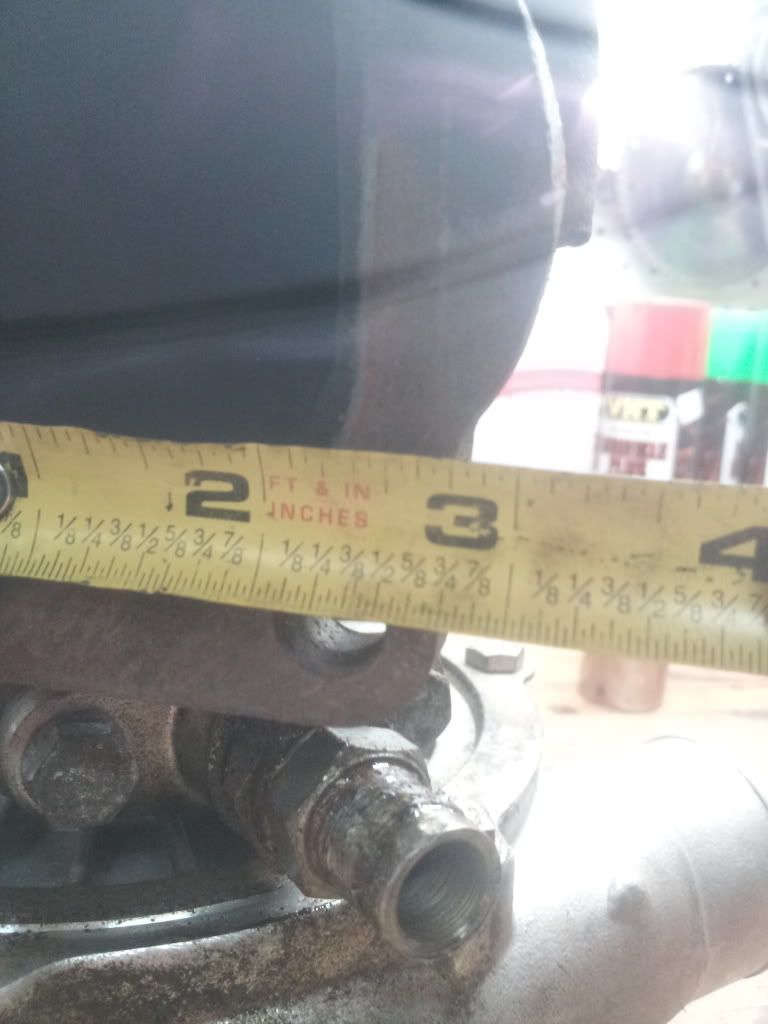
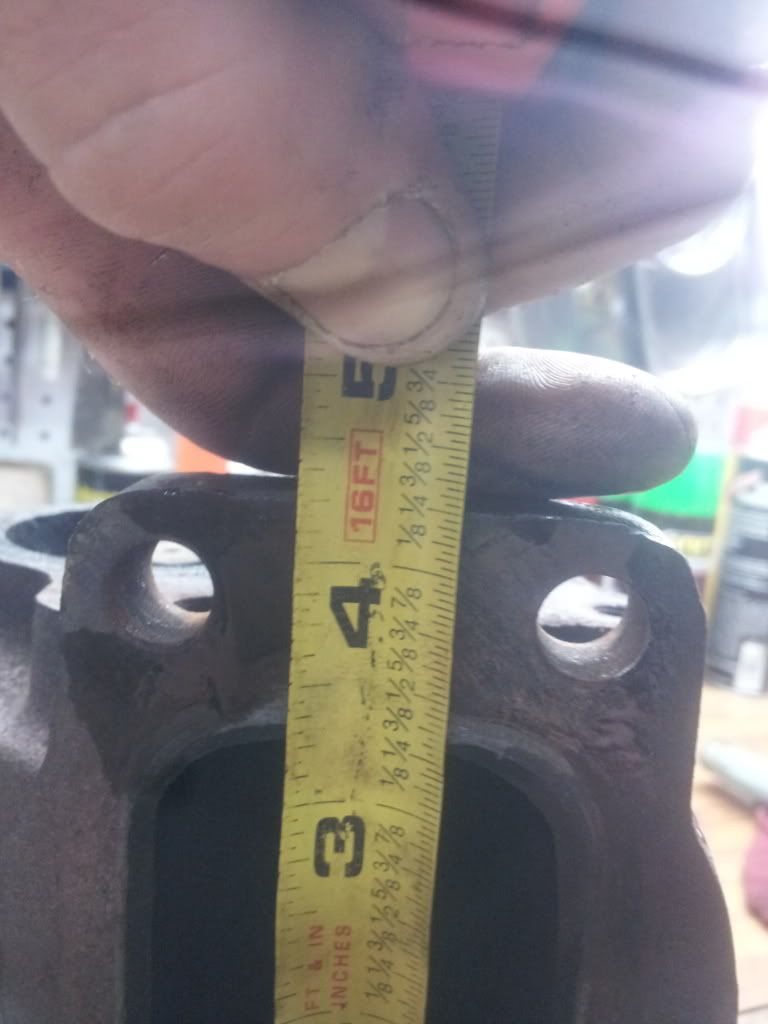
Lets play "name that turbo" (because i honestly have no idea what it is.) It has no other markings on it whatsoever, period. inside, or out, besides "comp turbo" as pictured, i figured some turbo gurus out there might be able to help guide me in the right direction as to where to find information on this thing based on some dimensions. very difficult to do without any numeral markings.
Leave a comment:
-
-
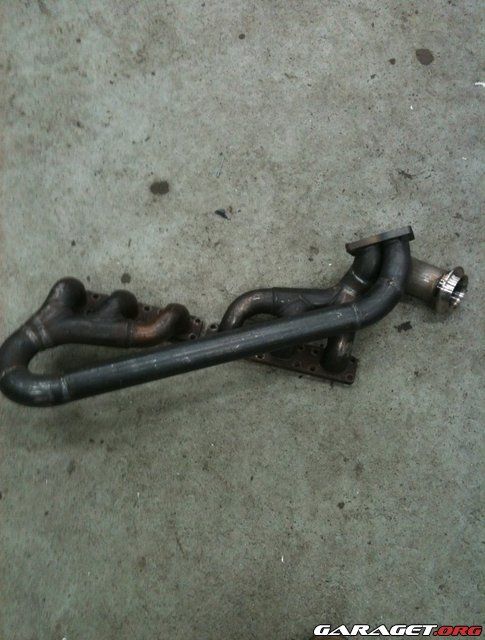
started messing around with the exhaust side of things. cleaned up some rusty crap with the blaster, and painted things up with 1600 degree paint.. looks great! (for now :/)
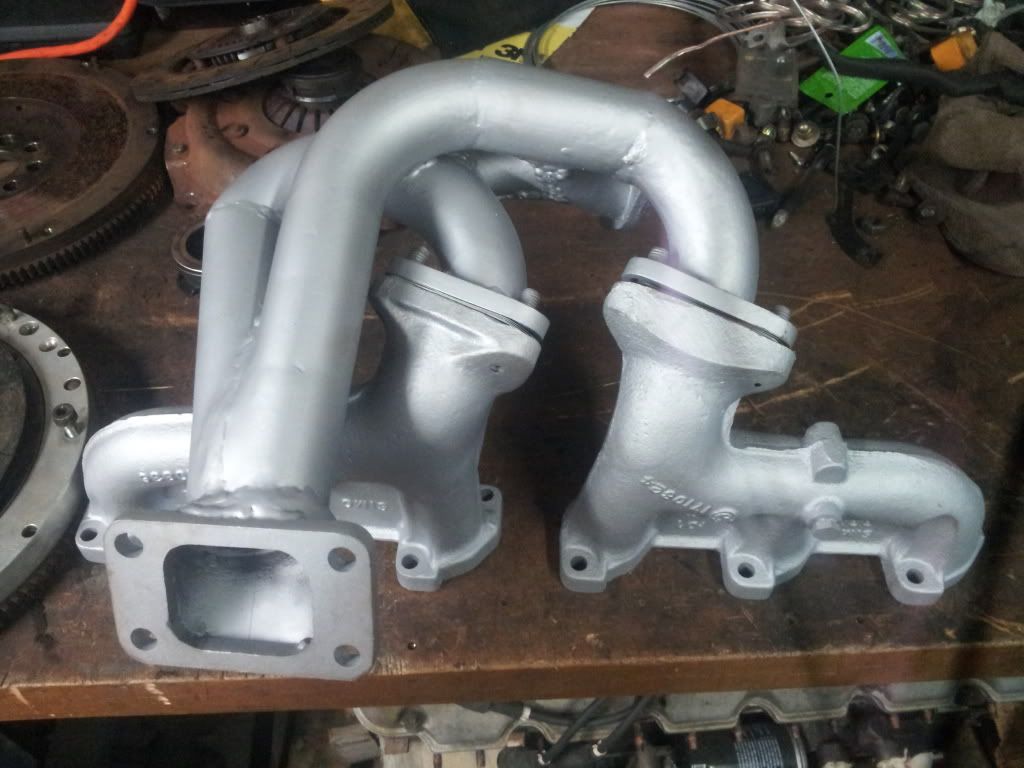
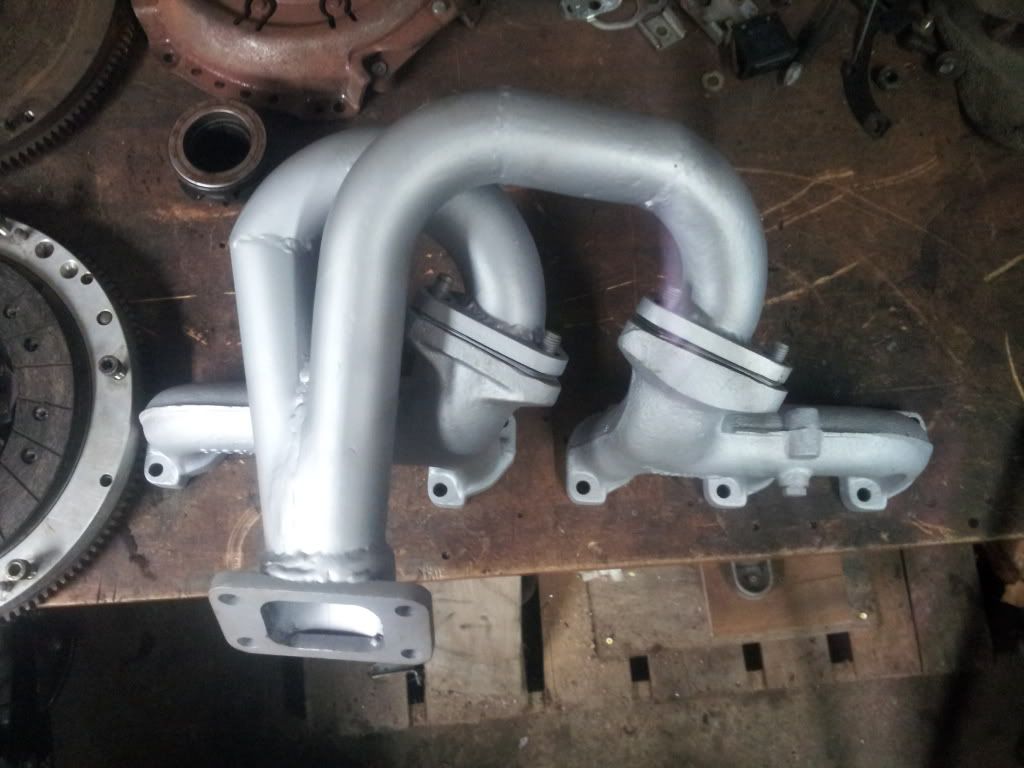
im not completely thrilled about the design, nor the efficiency of what it will produce, so down the line i might have to acquire a descent set of crazy tubular stainless top mount turbo manifold..Leave a comment:
-
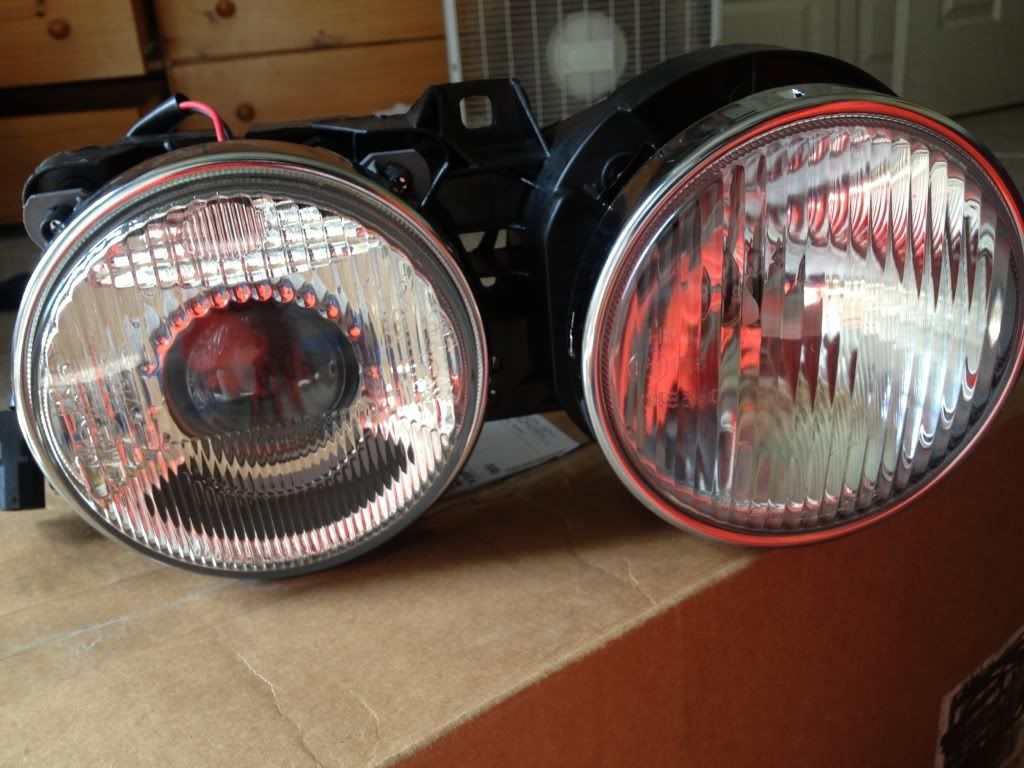
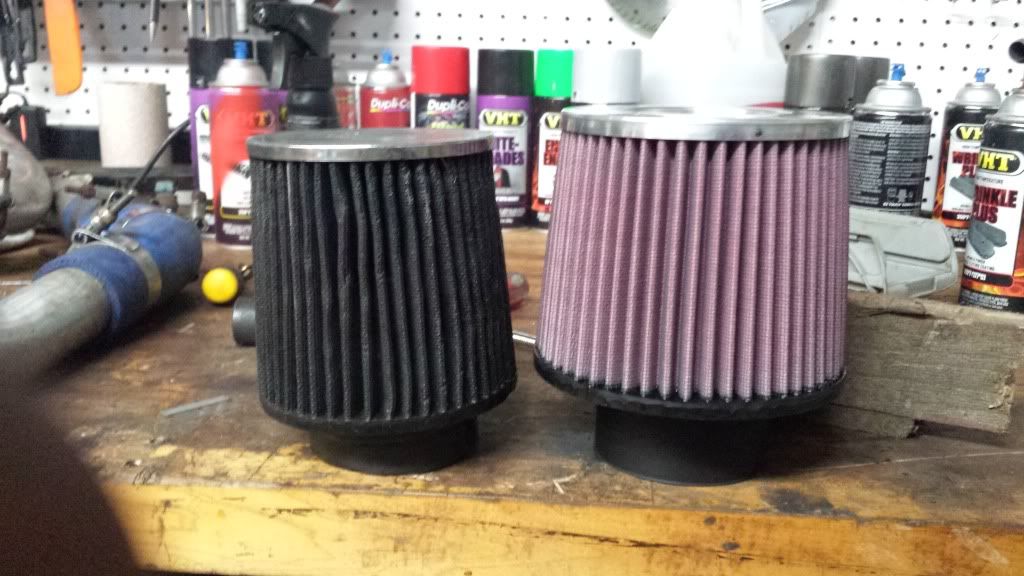
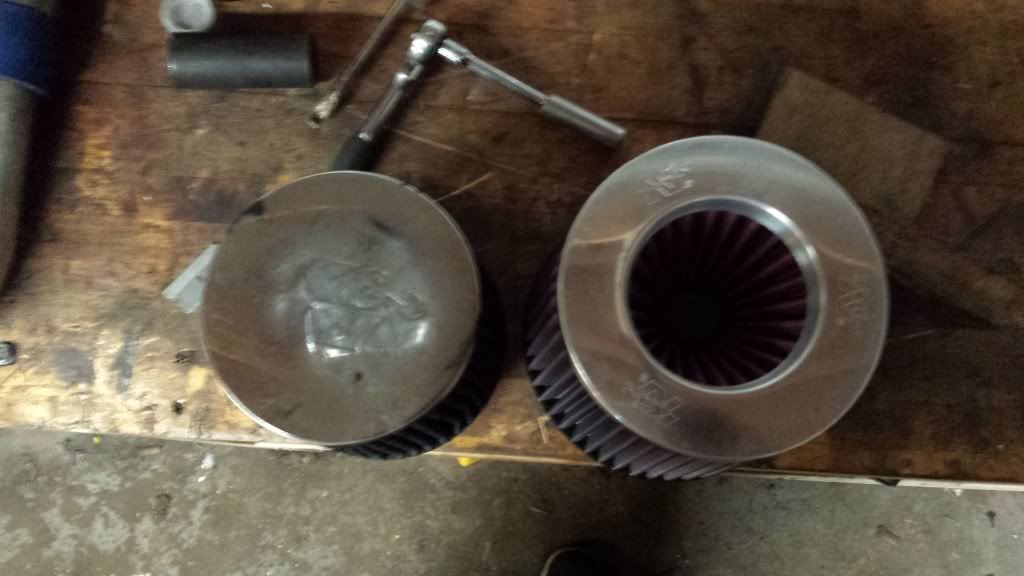
picked up a few new toys to go along with the makeover and clean up the looks!
glass smileys:
better, more flowing filter:
figured this design would be more suitable for turbo...
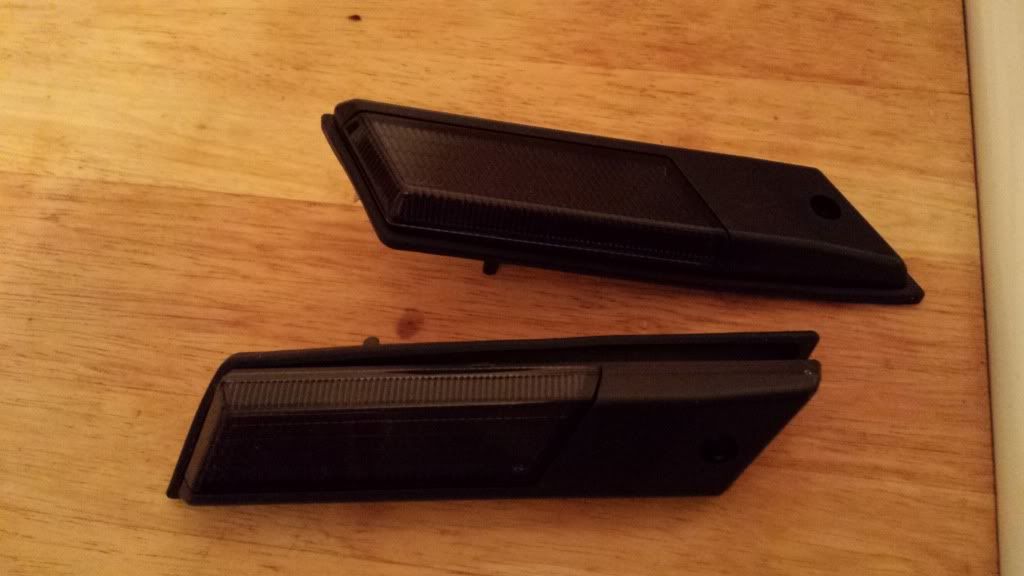
smoked euro fender markers.. going to be putting crazy flux amber leds in them.
Leave a comment:
-
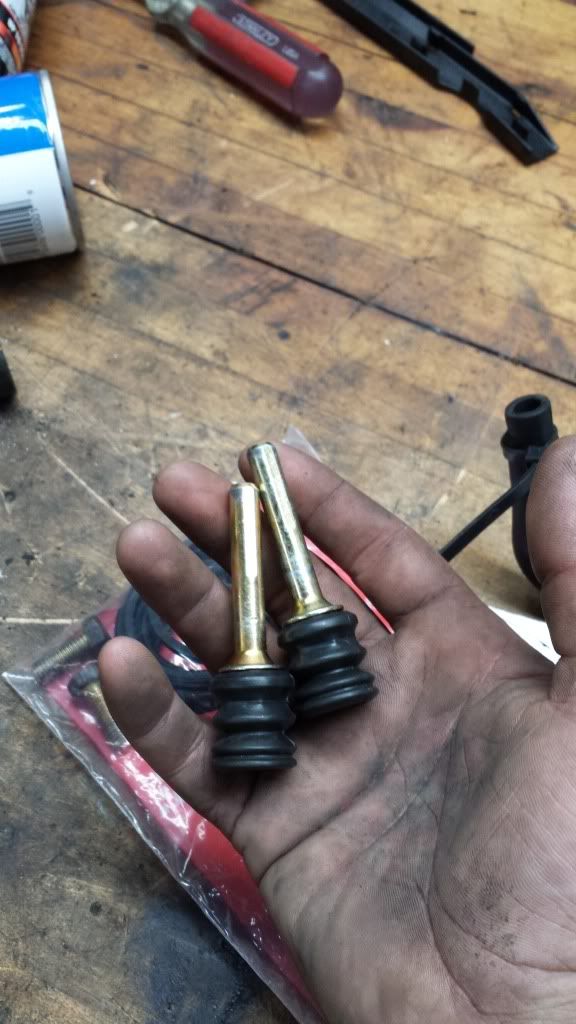
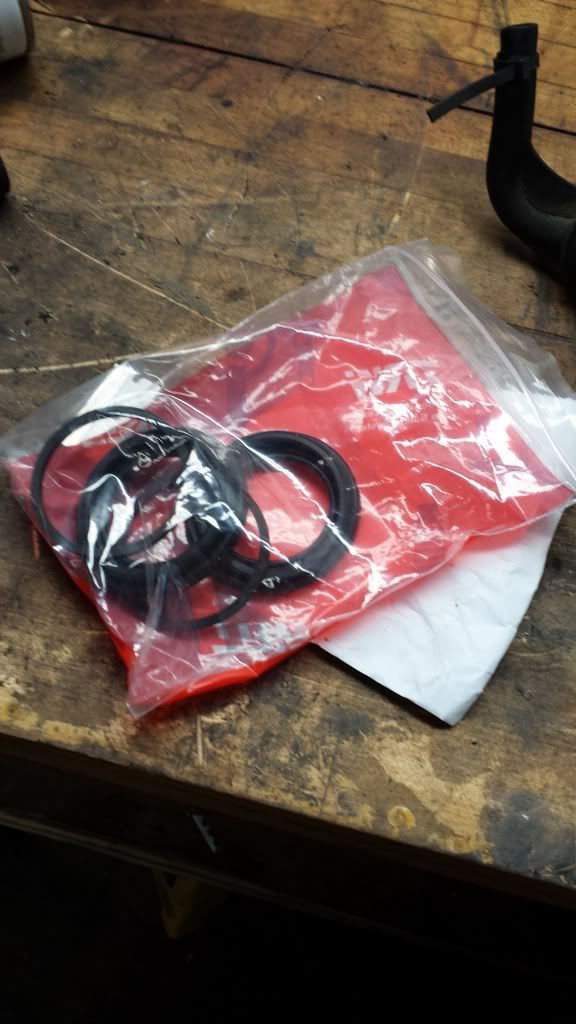
decided even though the calipers looked to be descent, id get ahead of them before they started getting bad.. so i completelllllllllly disassembled them and will be painting them red (typical) and putting all new parts, seals, and slides in them.
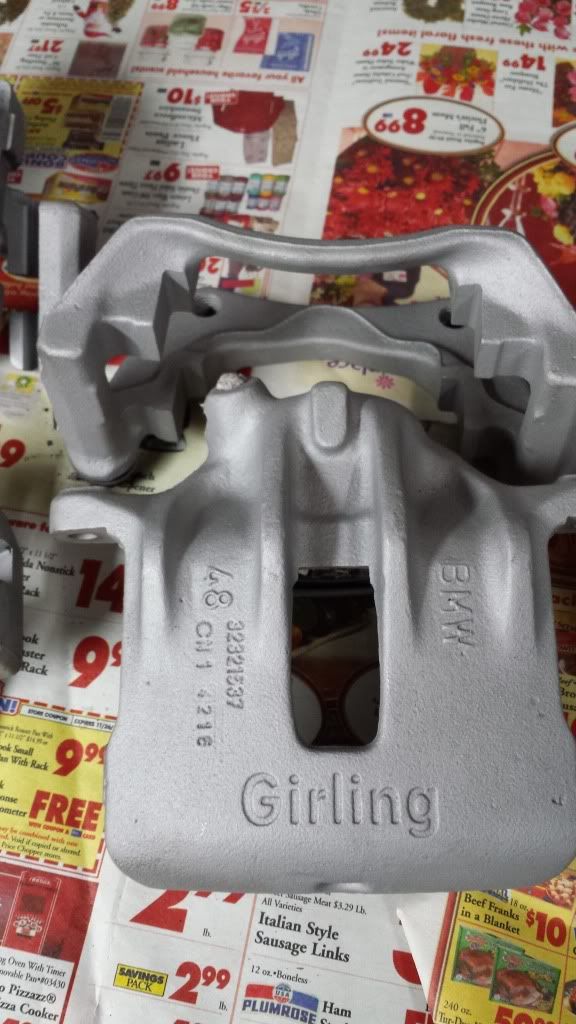
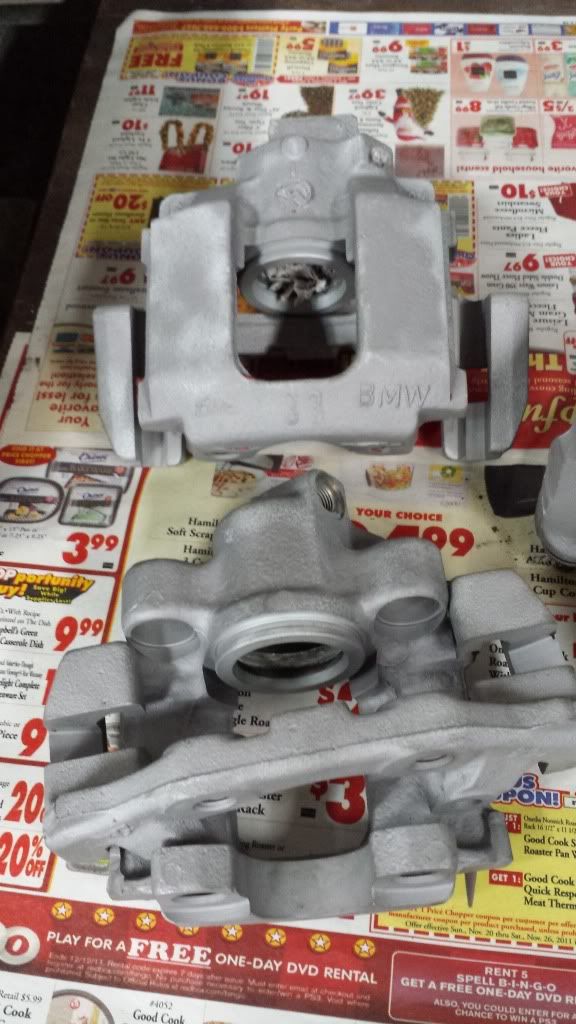
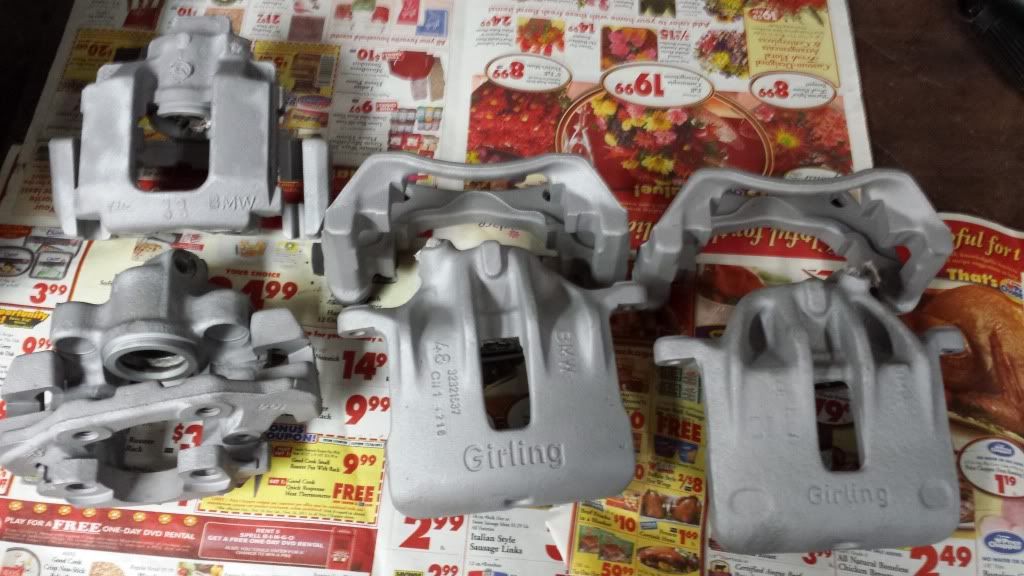
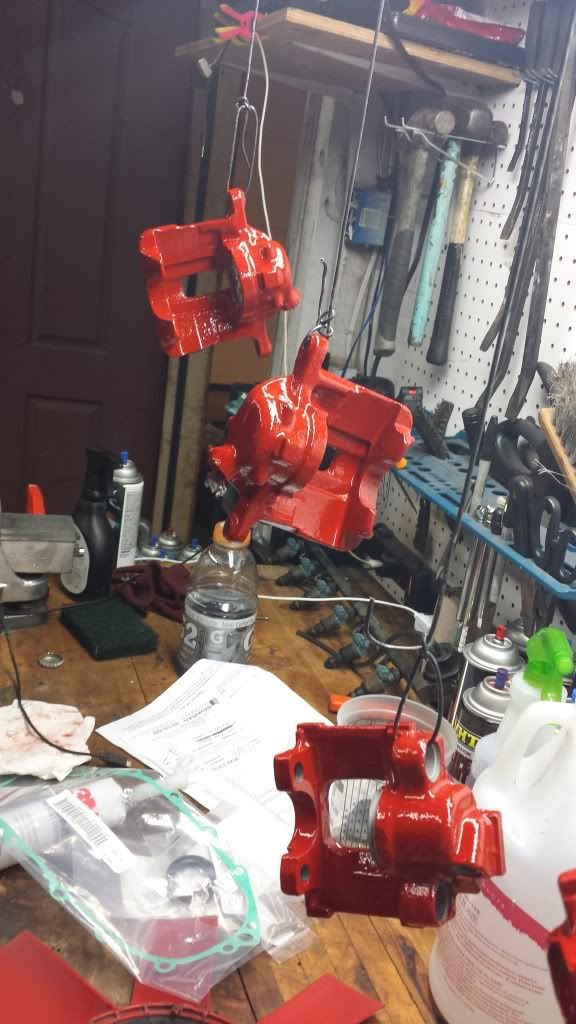
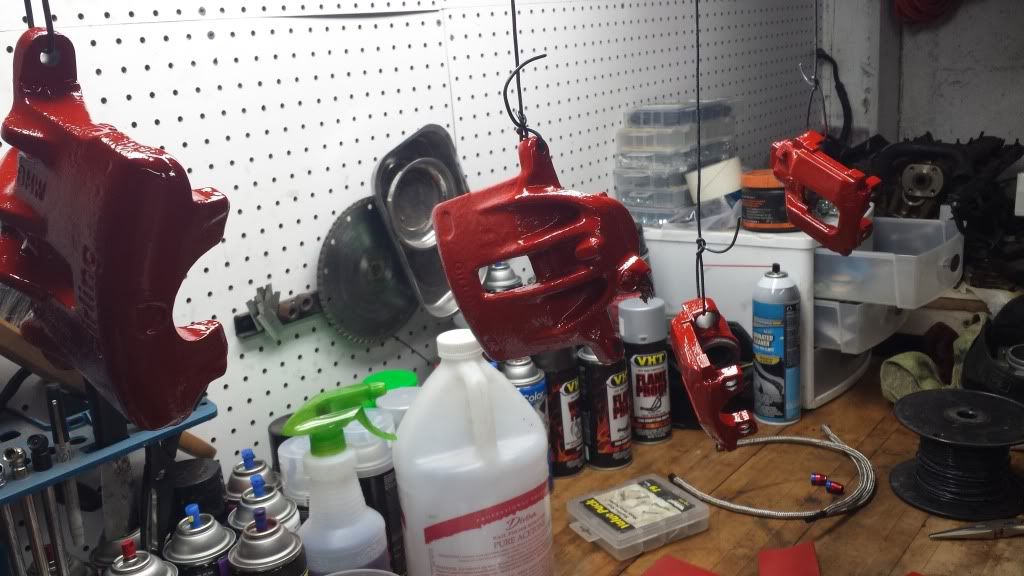

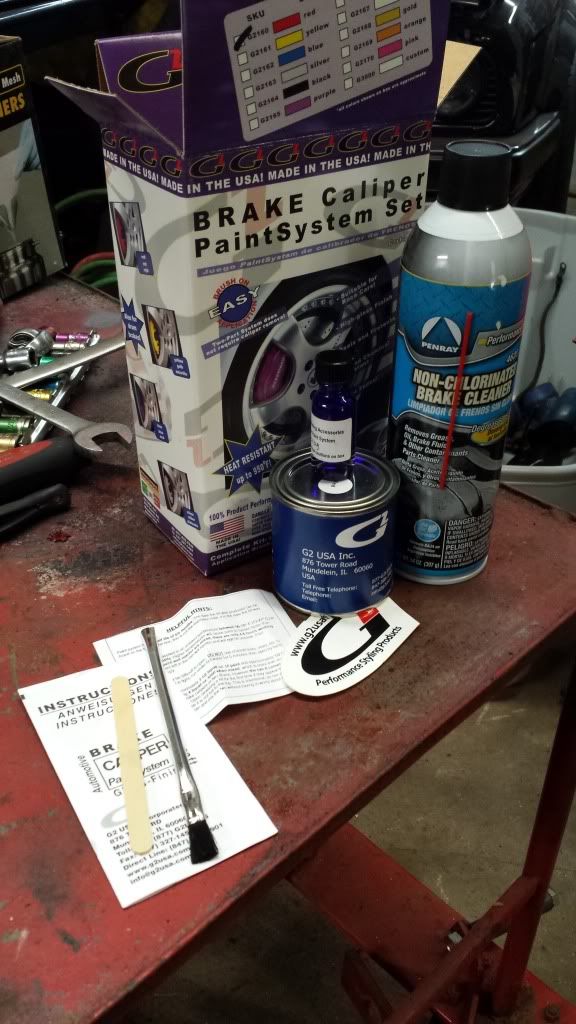
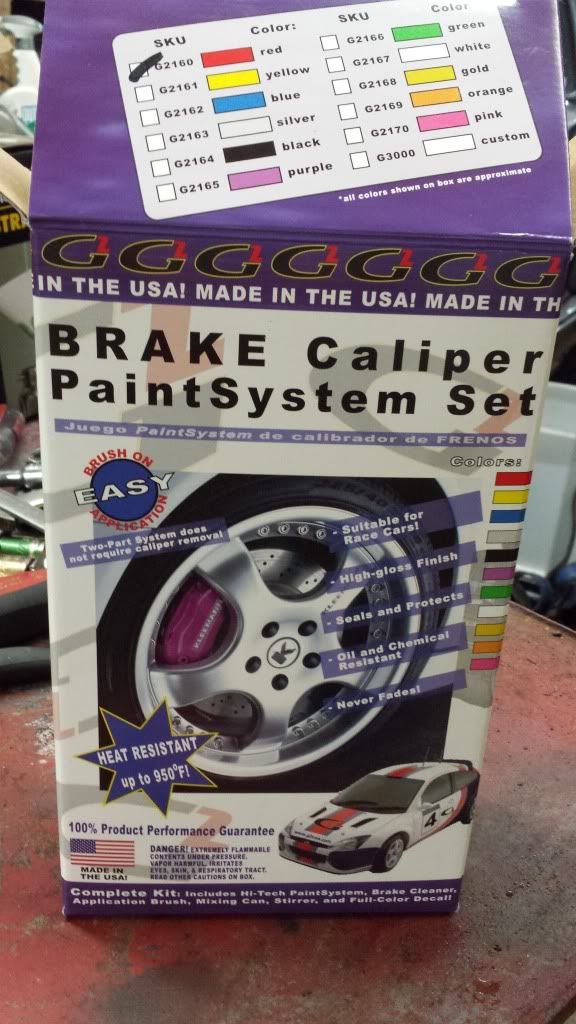
g2 paint system, descent stuff, not pleased with the color output, was hoping a bit brighter.
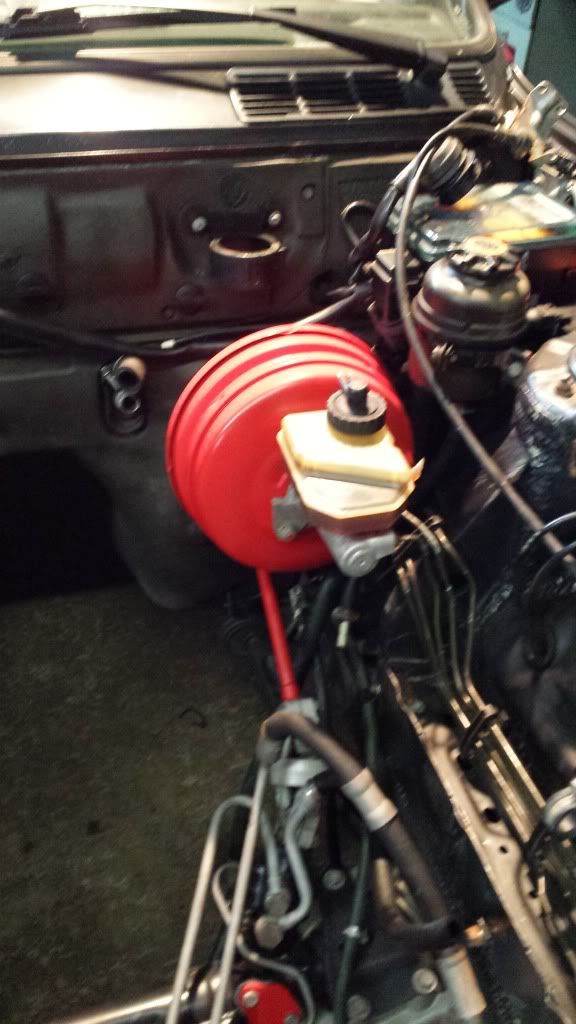
and figured what the heck, the brakes are getting fresh everything, might as well start cleaning up that booster! lol so i sandblasted and painted that as well. lubed it, put a new gasket on, and whipped her back on.

found myself a legit strut bar from schmeidmann, and apparently the last one they had in red. matches quite well with my other red bits!
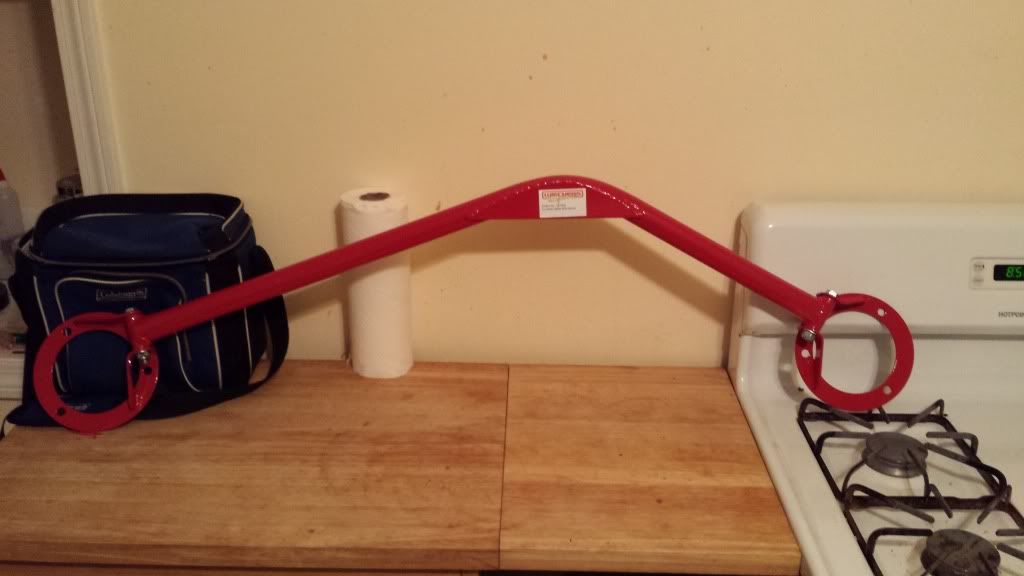
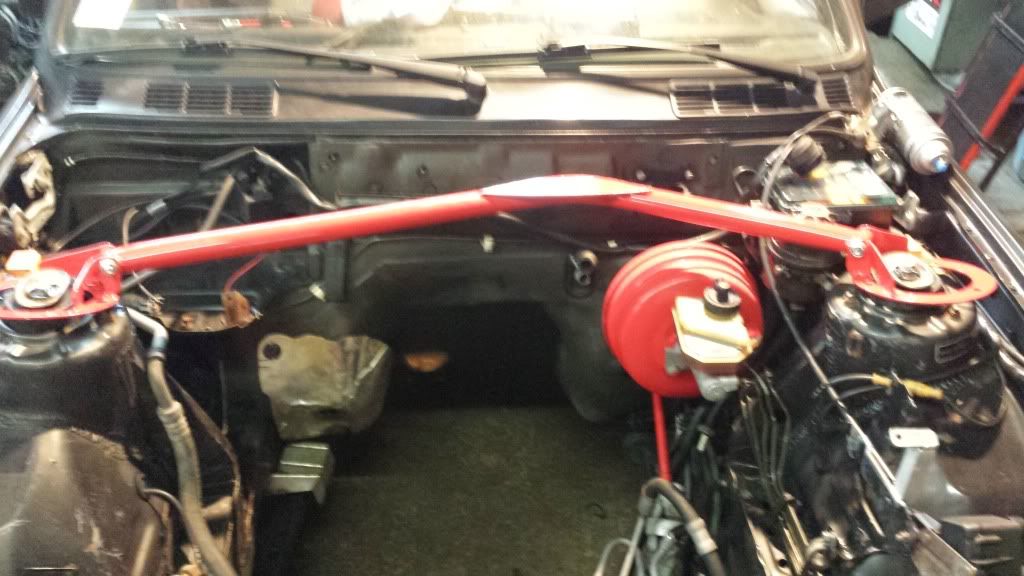
just resting on top of the towers to get a good visual.
 Last edited by imwhyteyo; 09-12-2013, 10:18 PM.
Leave a comment:


Leave a comment: