
After?
Getting all sorts of excited for the snow to fall. Almost want to throw my Dinan iX springs and some Billy HDs on. Can't forget mudflaps and fog lights.
Sent from my Nexus 4 using Tapatalk
-
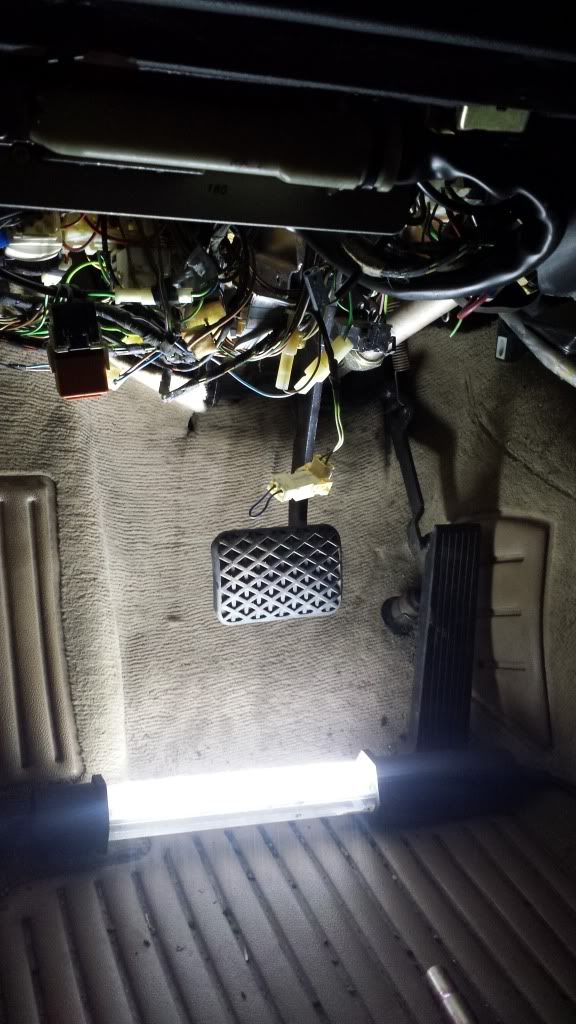
Also got the pedal cluster finished. This was a big project in itself.
You have to remove all steering area trim to make things easier on yourself. Then remove the steering wheel as well.
Remove booster assembly, and remove steering shaft half from knuckle and guibo. Knock out the steering cluster so it hangs with the wires. Their are 2 aligning ears on each side you should make note of before removing so you'll know where you'll have to hammer the rounded studs with plastic washers back in.
Before:
Leave a comment:
-
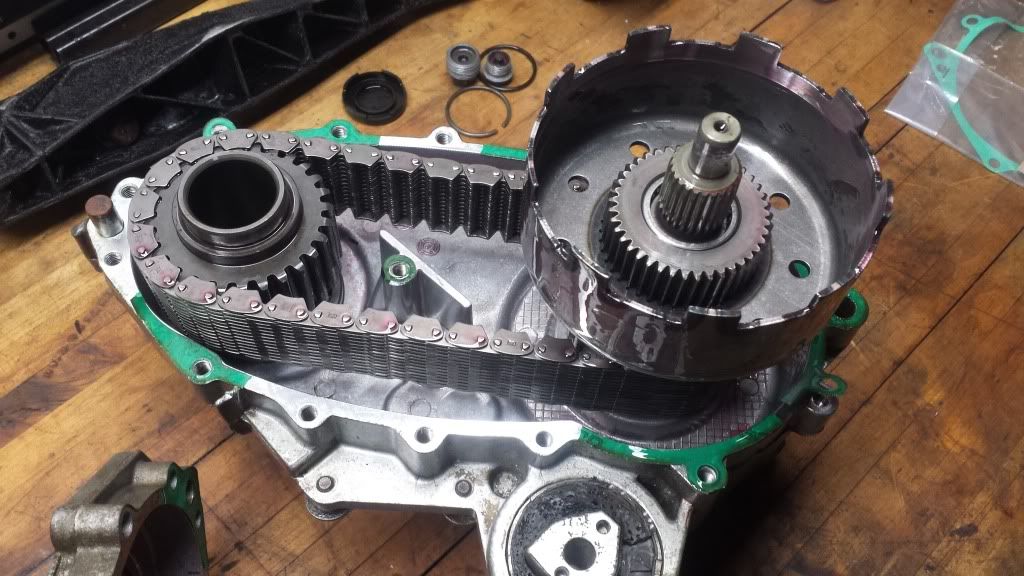
Got to the transfer case finally all cleaned and sealed.... and finished swapping the pedal clusters. At this moment all I have to do before reinstalling the engine is attach the clutch master cyl. Hard line back on. I'm going to swap the old ACC core for one that's not damaged. The old one had a leak. Anywho... pics!
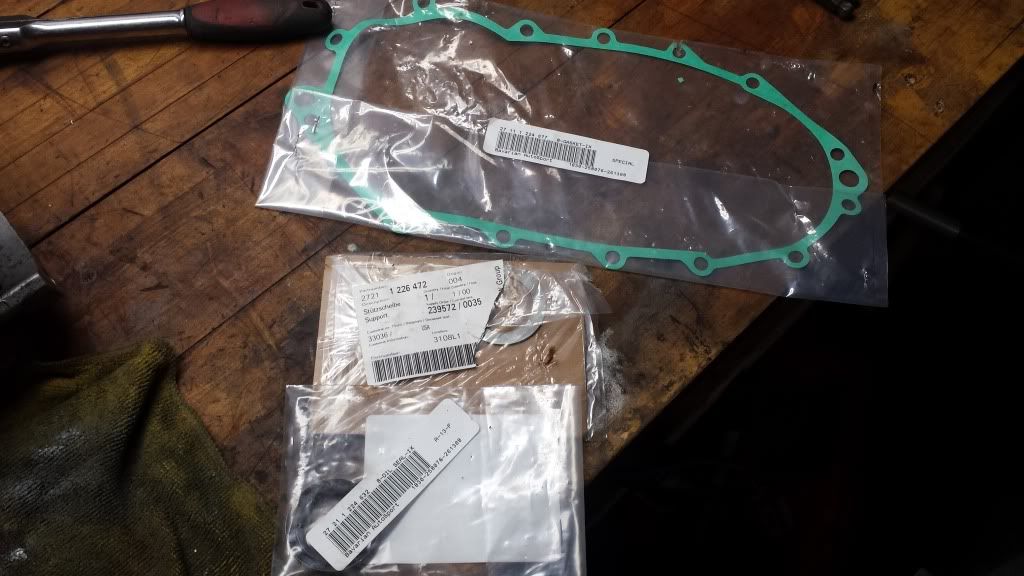
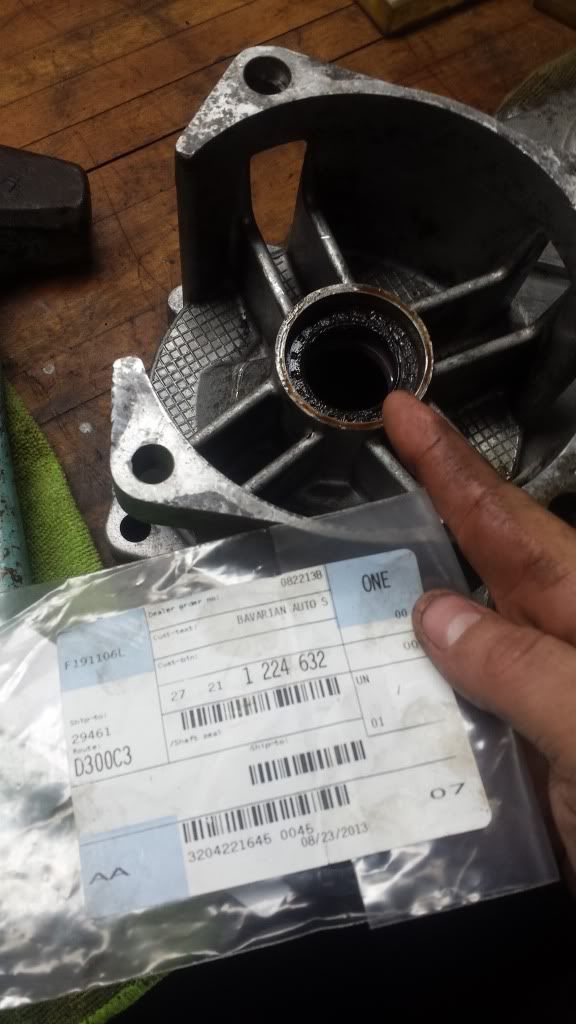
Got a main outer gasket, and this is the last seal I had to do after showing you how to do the other two.
Cracker the bolts all about 1/8th of an inch all the way around , hitting the bolts with a rubber hammer to separate.
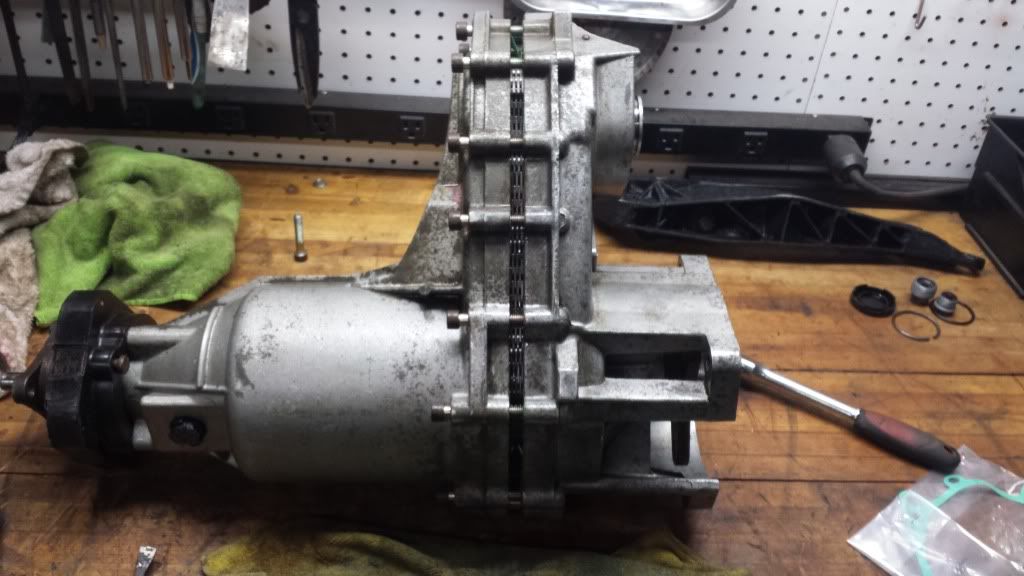
Once it's apart from the two aligning pins you should have your case exposed.
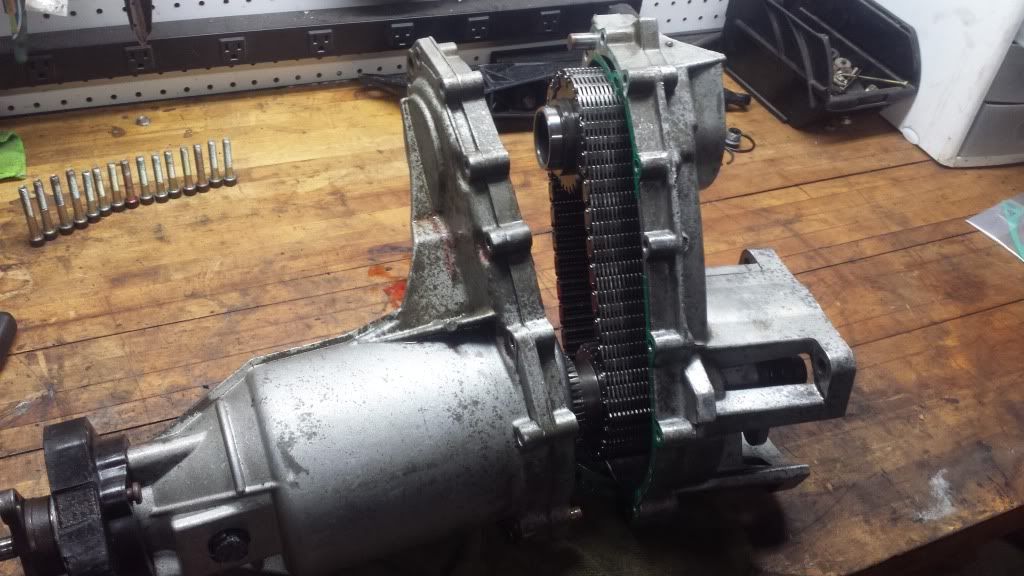
Pull up all the old green gasket and throw away. (Don't Foret about the middle hex nut gasket on install!!)
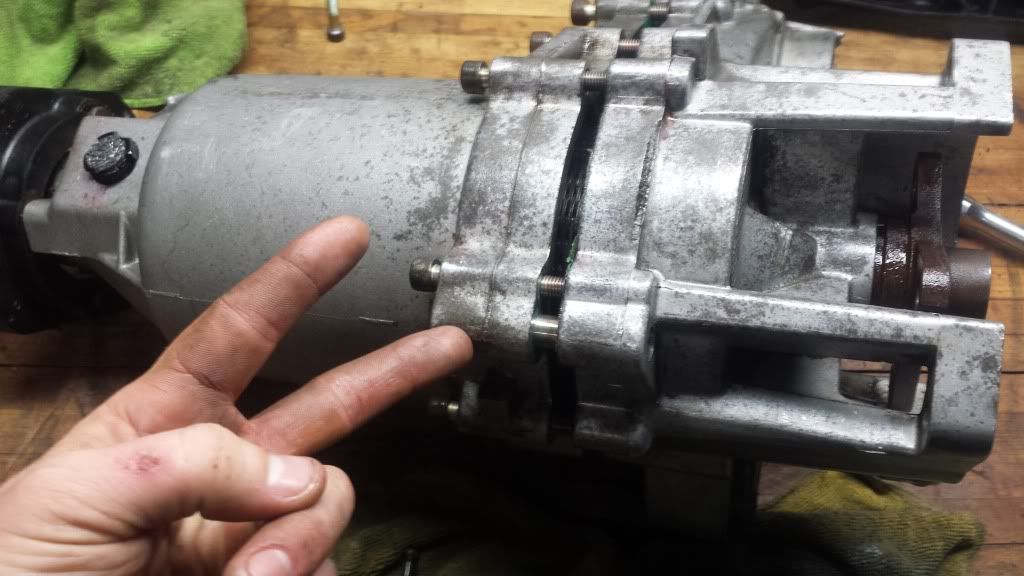
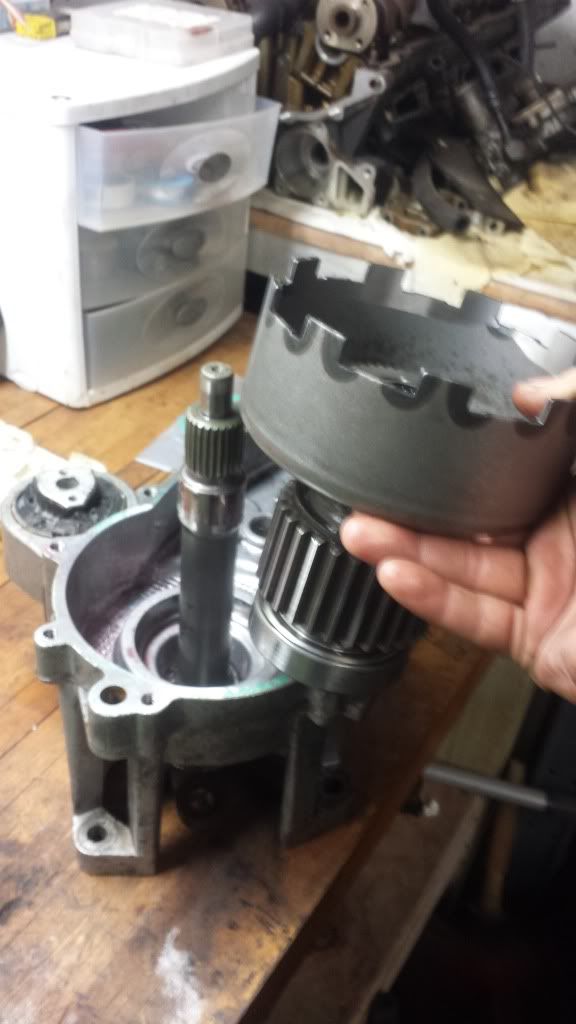
Remove this gear to get the chain off.
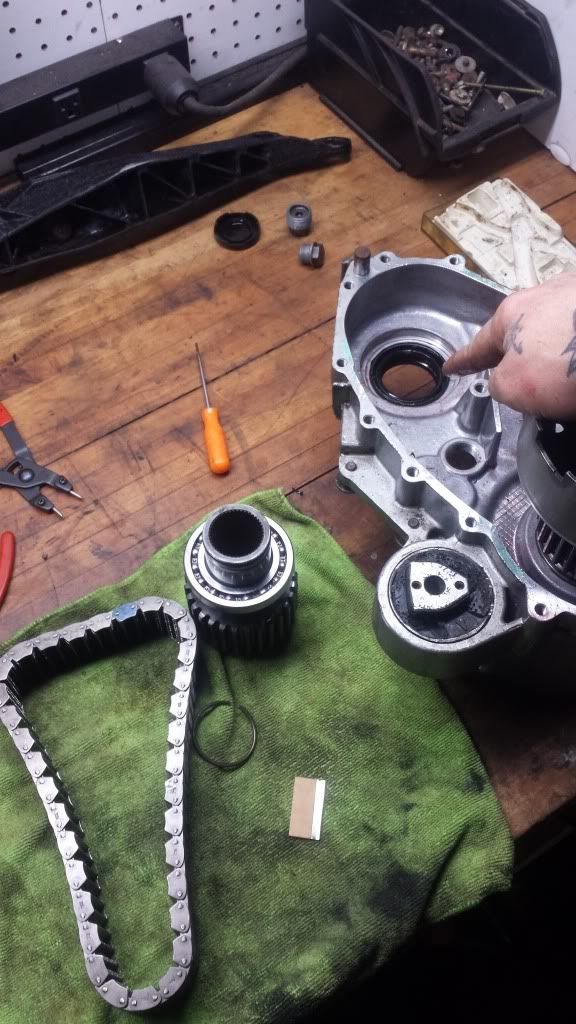
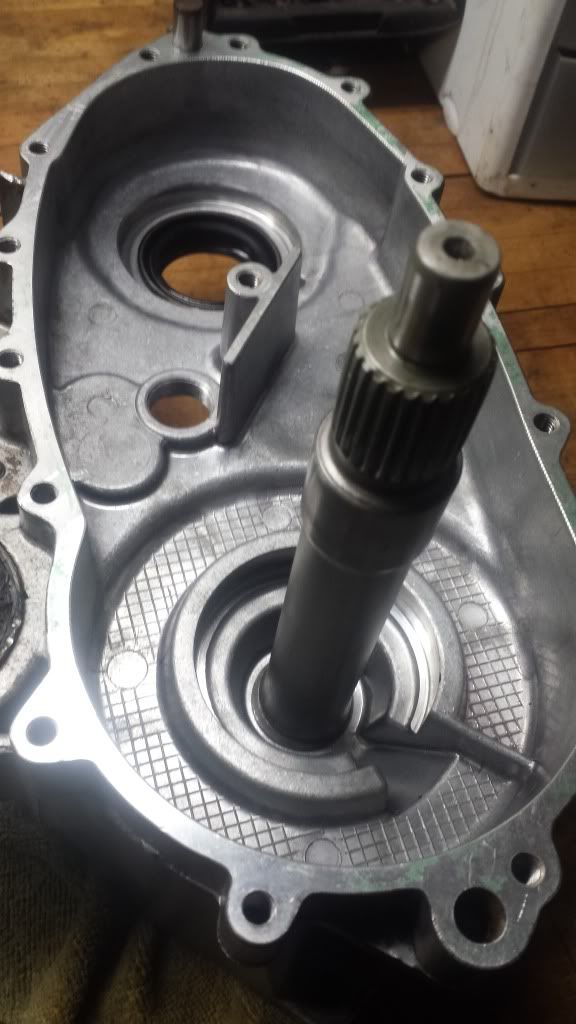
Then remove this assembly after moving the chain. This will expose the main shaft with a c clip. This shaft has more potential to vibrations, making it a common area for seal failure.
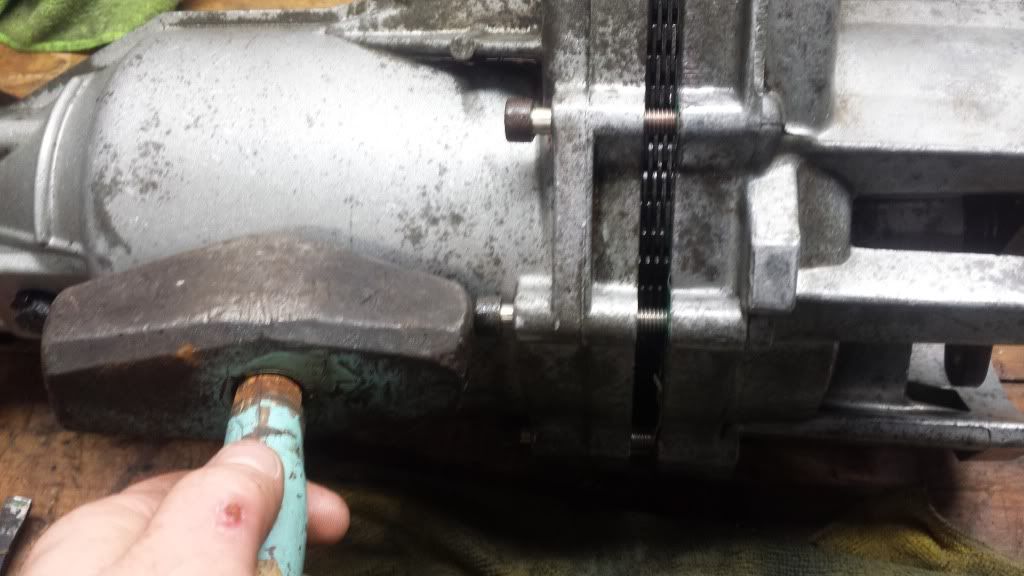
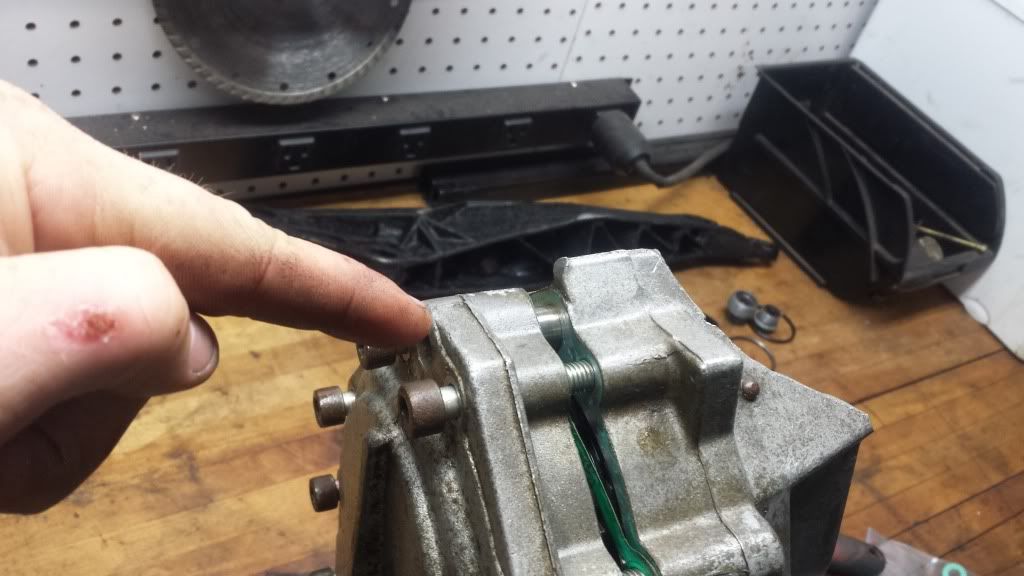
Got our seal ready. Pull out the old one any way you can, be I g careful not to score up the wall of the seal. I have a seal puller, but any pick or hook can snatch it out
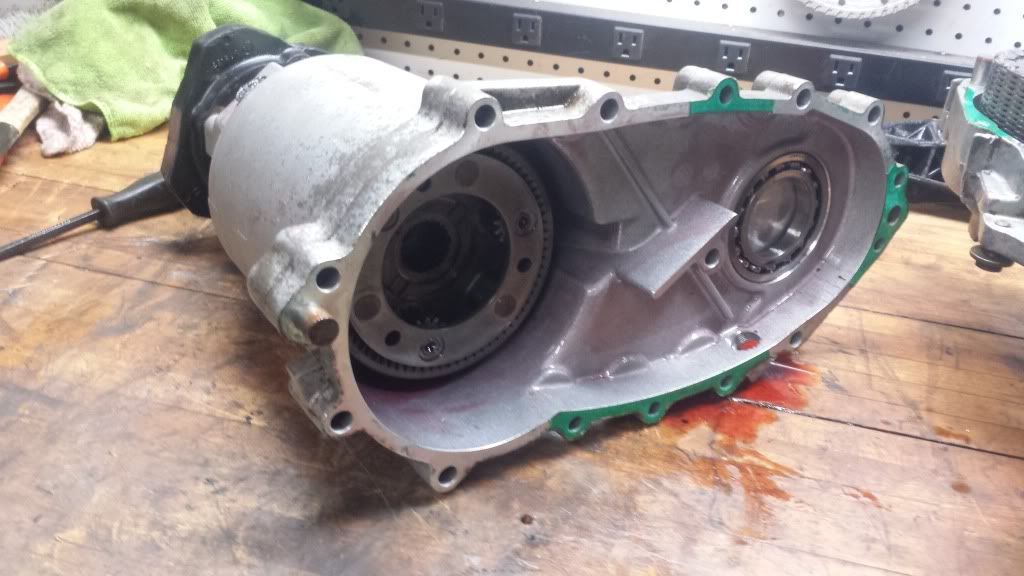
Clean every removable part and transfer case covers to remove lots of old debris! You'll be surprised how much you fin on your rag.

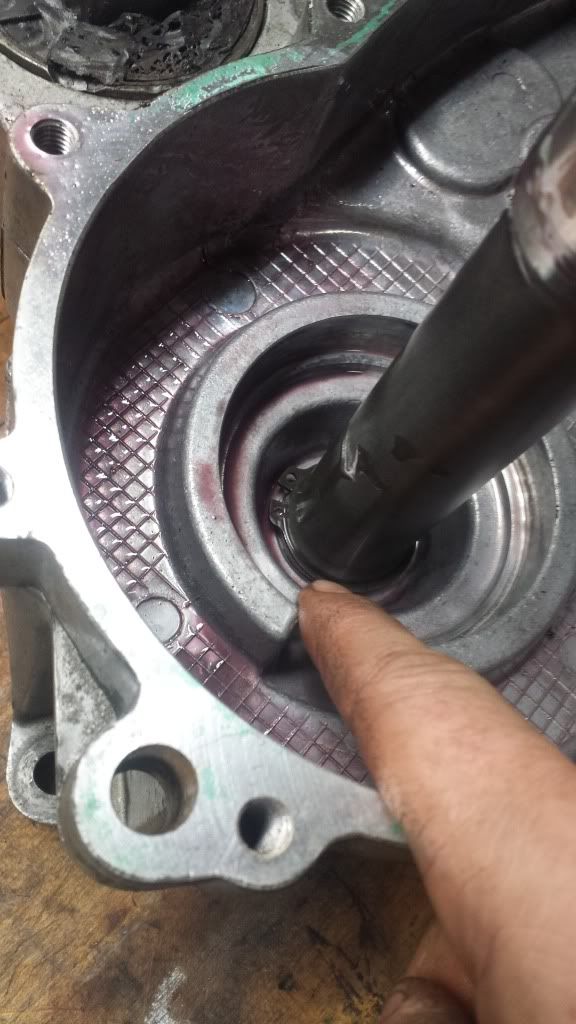
After installing the new seal, you can put the old seal in also, double stacking them to 1, reduce shaft play, and double your sealing efforts. Install the second seal backwards for later removal.
Reinstall shaft w/ c clip after doubling seals.
Install in opposite order from removal, scrape old gasket surface, and install new gasket. Don't forget the small single gasket for the center nut.

Tighten everything up in a cross like pattern so everything seats evenly.
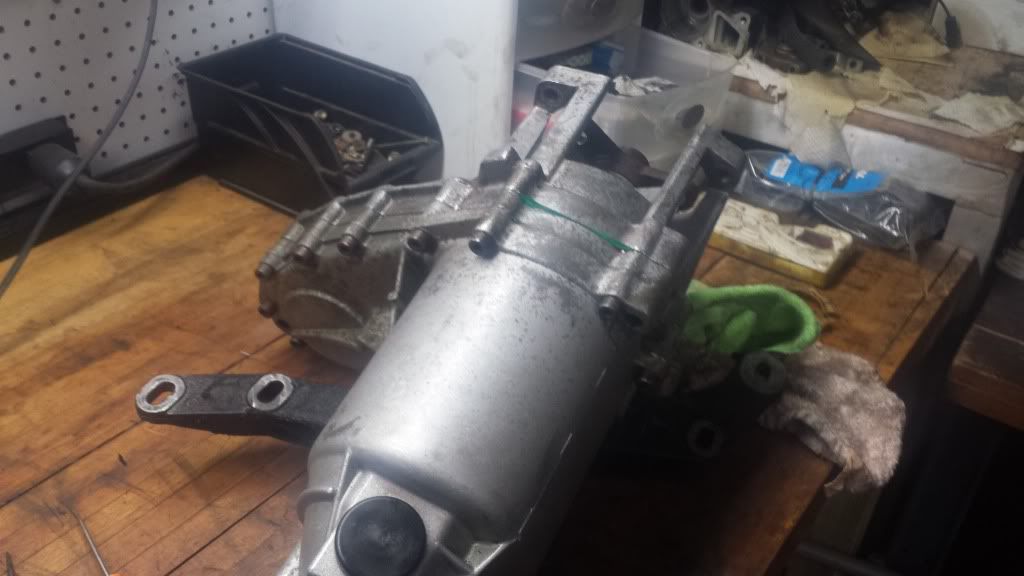
All done! Ready to go back on the motor.
Some people would fill the transfer case with the fluid at this point, but I will be doing all my fluids at once while everything is installed further down the road. It's easier for me to log all at once, what type of oil is going Where, and the amounts they took considering every drivetrain unit has been completely dried and cleaned inside.Leave a comment:
-
Flanges were actually chopped up from an old set of smashed up headers. WG flange can be had anywhere.. most others can too. I'm pretty sure it's
2" I'd header piping.Leave a comment:
-
I have a quick question about your manifold adapter. What diameter tube did you use and where did you get the flanges that bolt to the original manifold?
I want to make one of those, you know, for fun haha ;)
Project is going good, cant wait to see it finished.Leave a comment:
-
So I got down to the garage but I realized the place was getting more and more cluttered, so I spent the good half of the day just re organizing shelves and cabinets. Went through a bunch of old bodywork supply and paints and parts and created a ton of new trash. It really needed it. What very little I did get done was this:
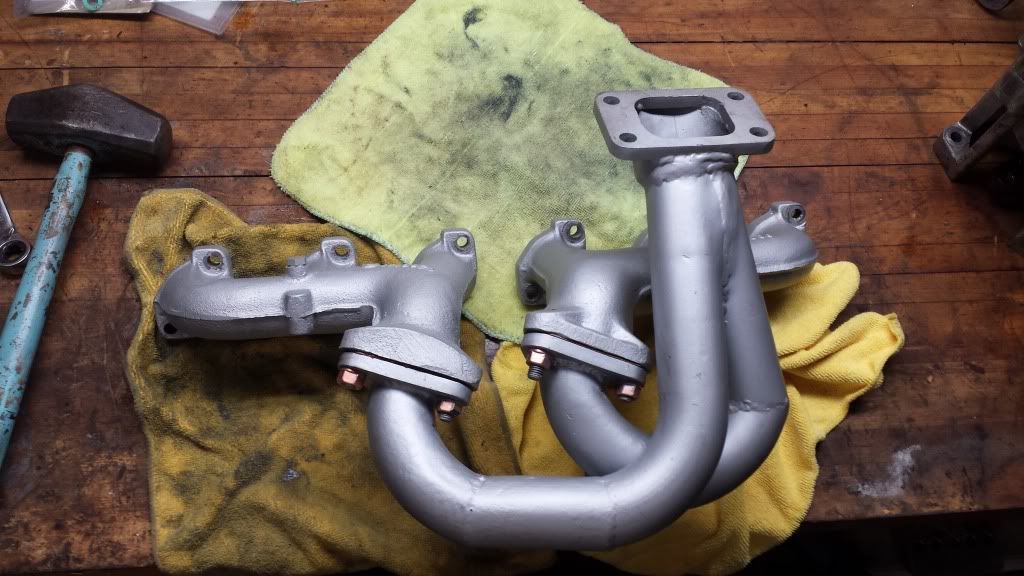
Removed the manifolds so I could fit the turbo manifold better/tighter than with the engine in the car:
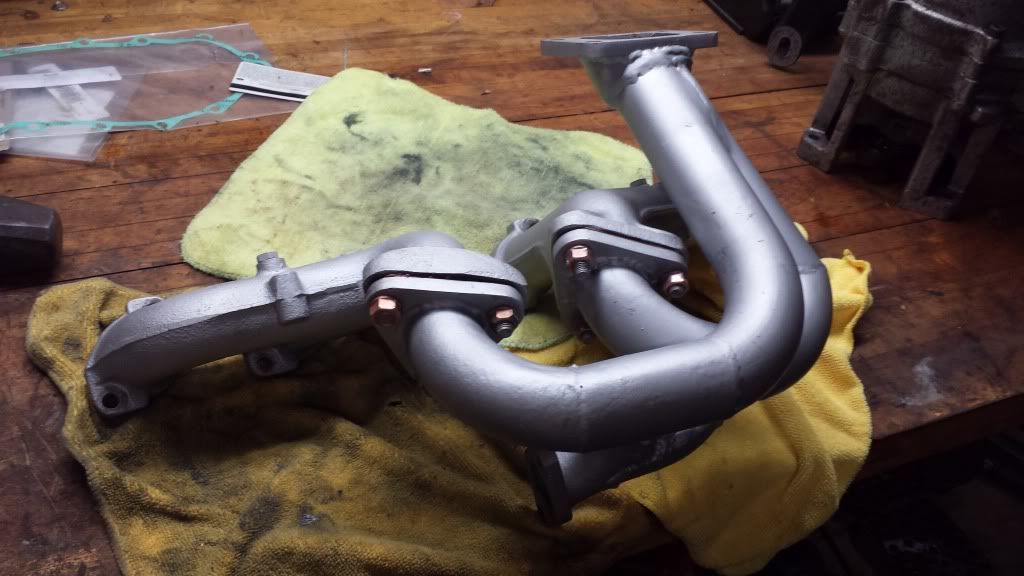
Used all new copper coated hardware, sealant, and anti seize:
Attached the wastegate and mocked up a dump Tube (might recirculated this into the exhaust.)
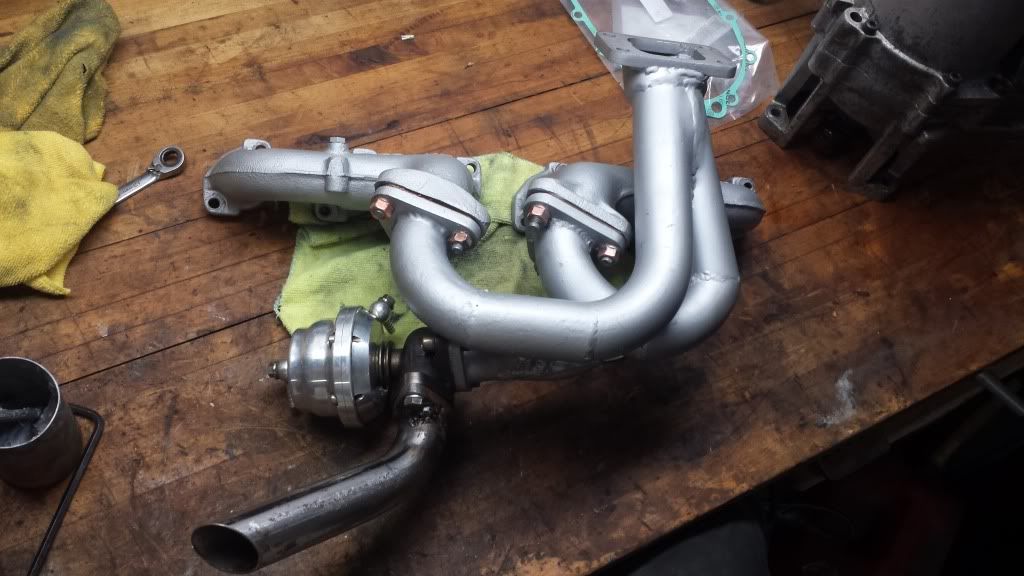
Installed the exhaust manifold setup on the engine with new copper hardware, copper sealant, and Copper anti seize for a good clean seal and excellent fitment.
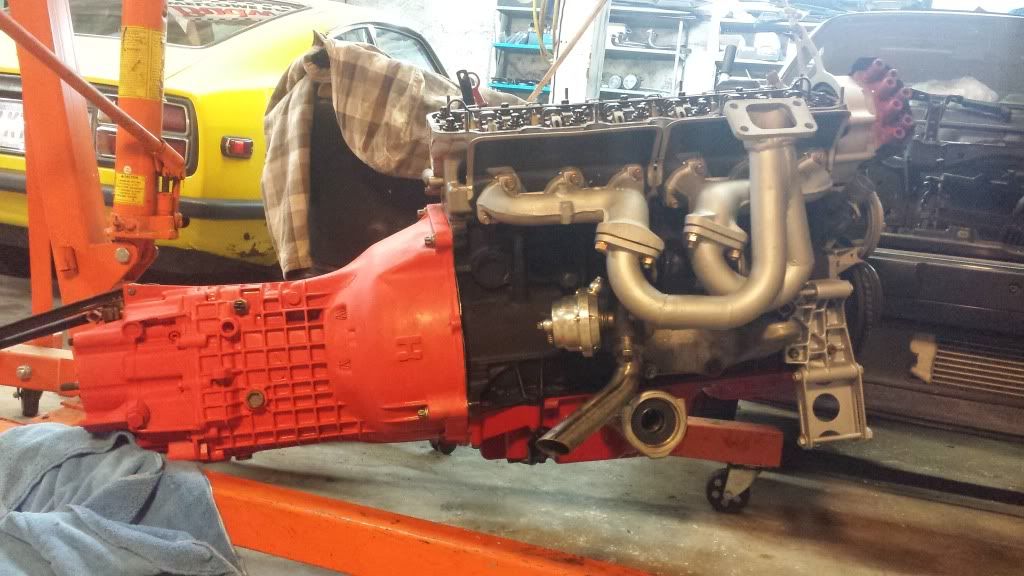
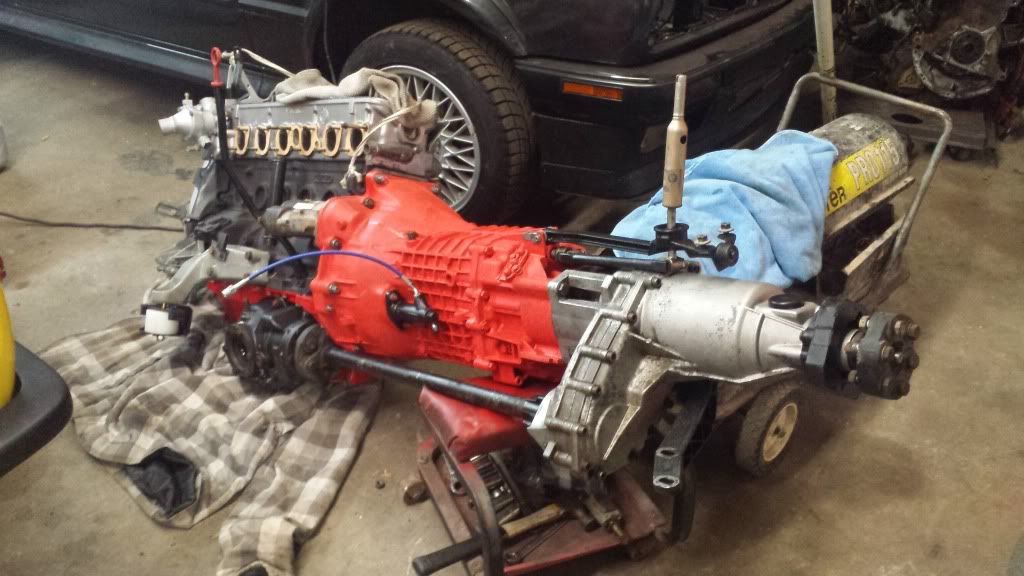
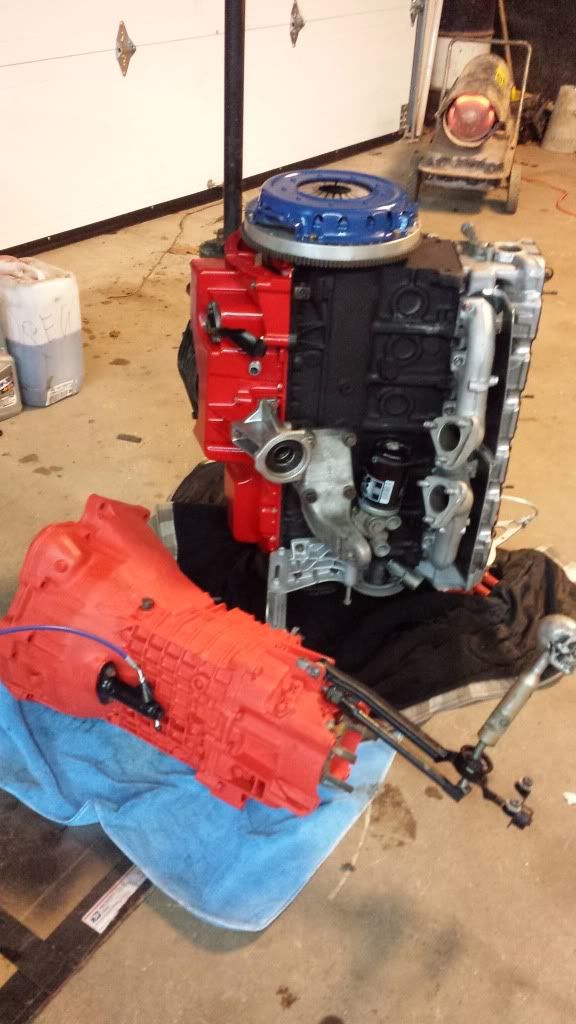
Also mounted my Brite ass transmission.
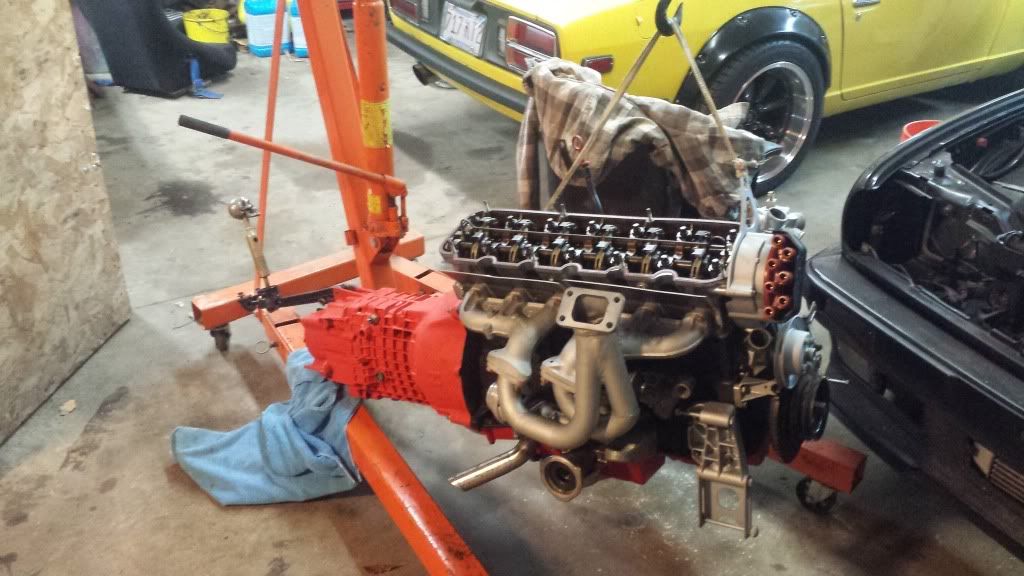
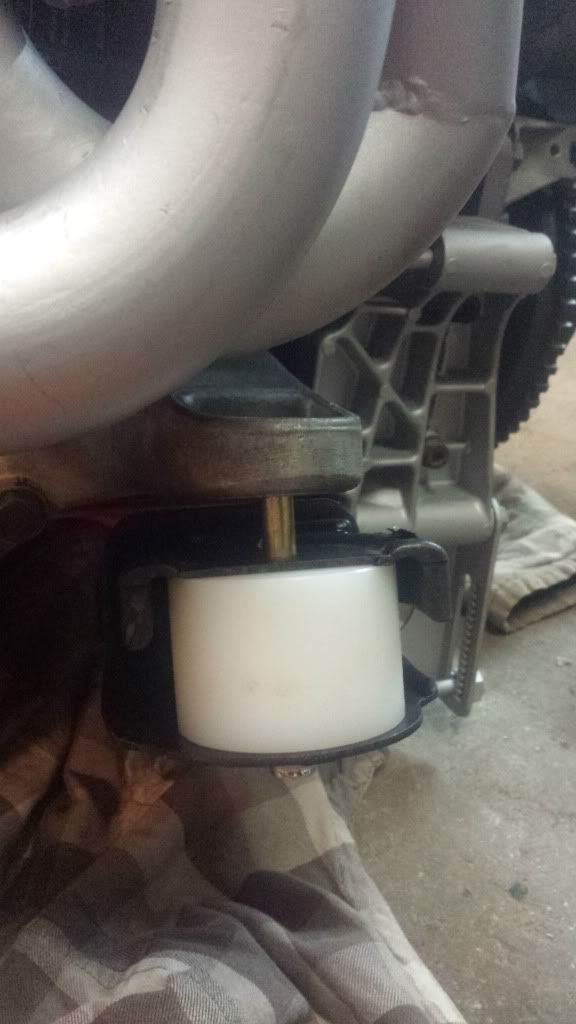
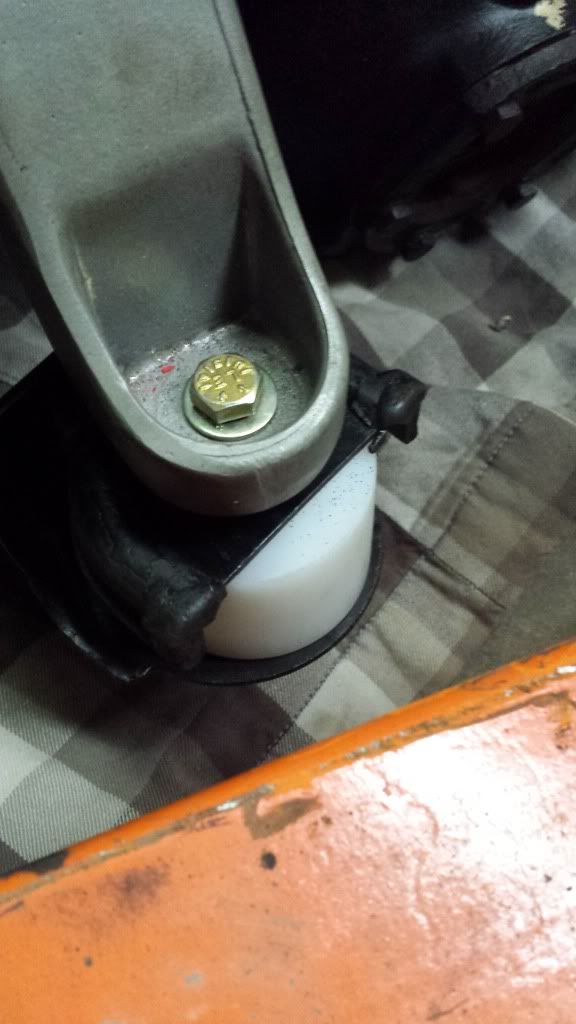
Got to test fitting my custom polyurethane engine mounts with the isolators and sheilds. With new hardware of course. ;)
And started with the removal of the automatic pedal assembly. Which turns out to be a pain. My steering wheel is being a pita to pull.. everything else is just tedious and difficult doing partially up side down.
Oh.. I also got started on my Germany roots/motor sports tattoo. Only the outline for now :)
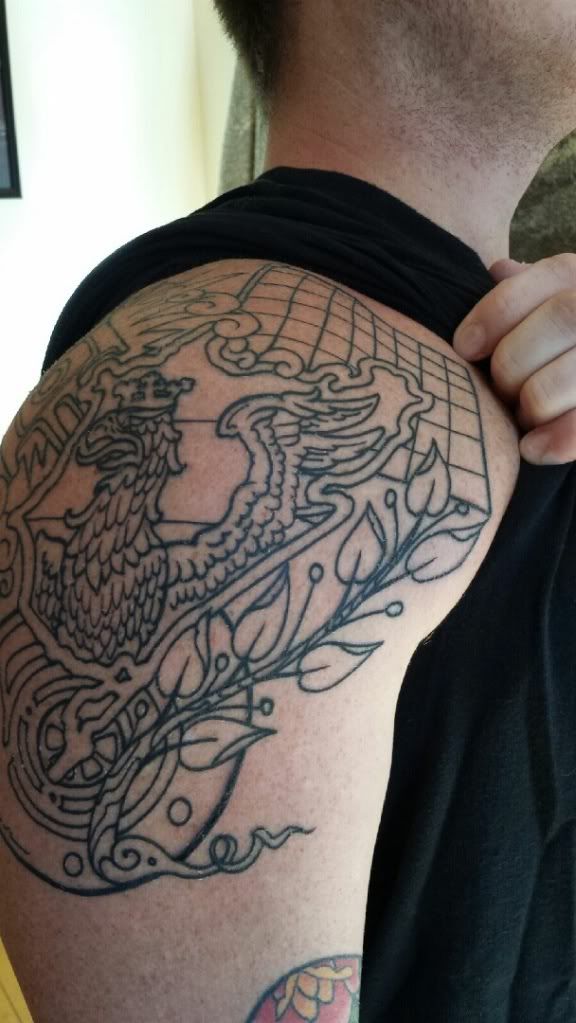
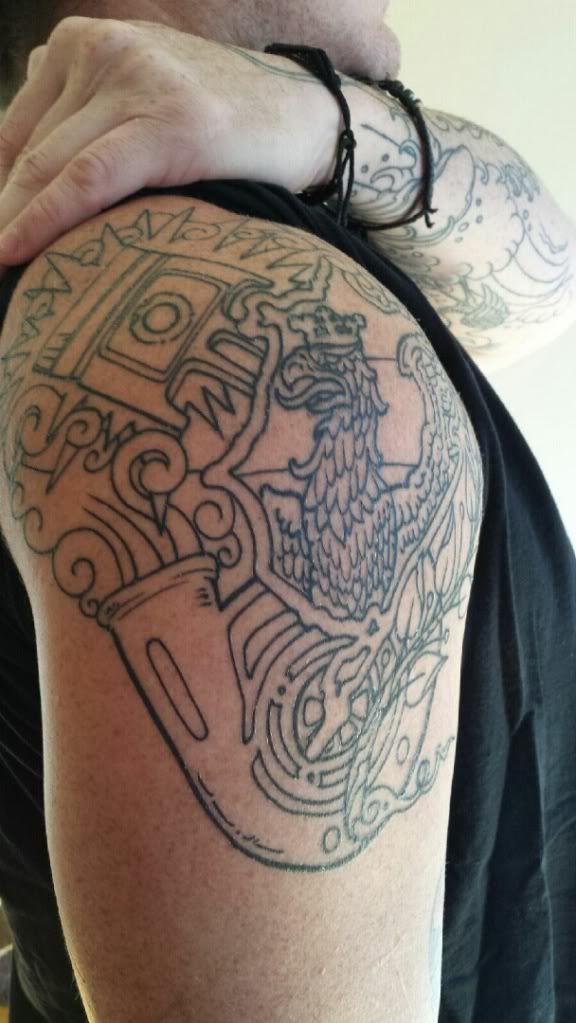
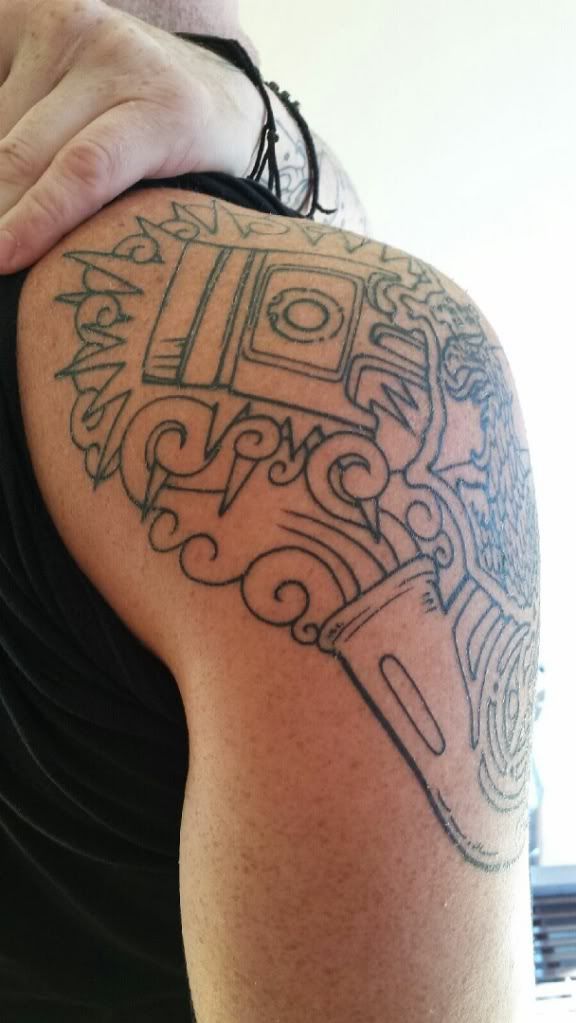
It's a family thing by right.. my great grandfather hails from Stuttgart, germany. My great granmother, from frankfurt Germany, both has escaped during the war to Canada then America to start my beloved family. My great, and grandfather, along with most of my uncles are avid European motor sports enthusiasts.. which has gotten me into it starting at just age 14 to now, 28, with a lot of room to learn. Never stop learning!Leave a comment:
-
So I finally got a little more work done. It's been a while... been having trouble finding time to get to the garage.
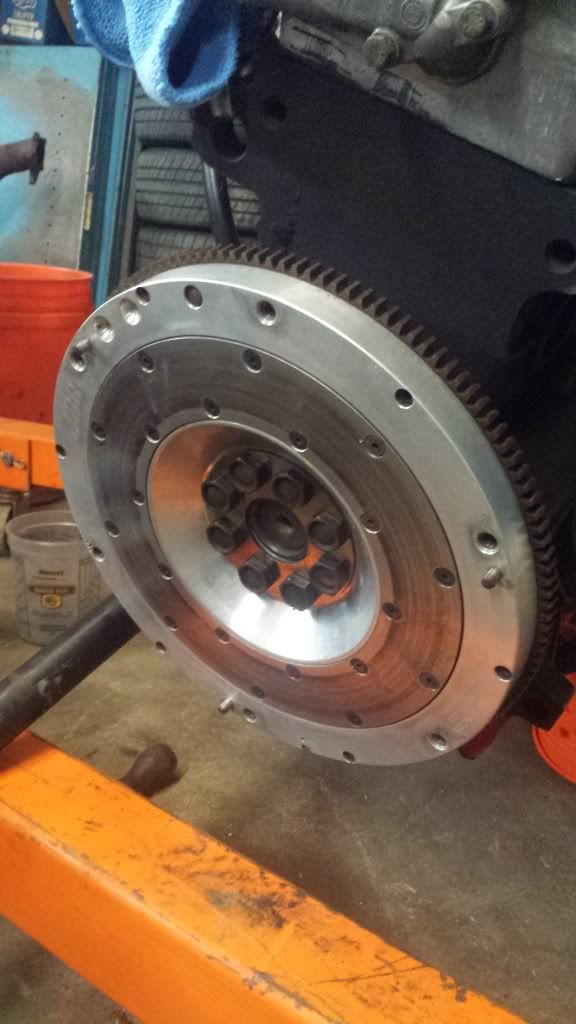
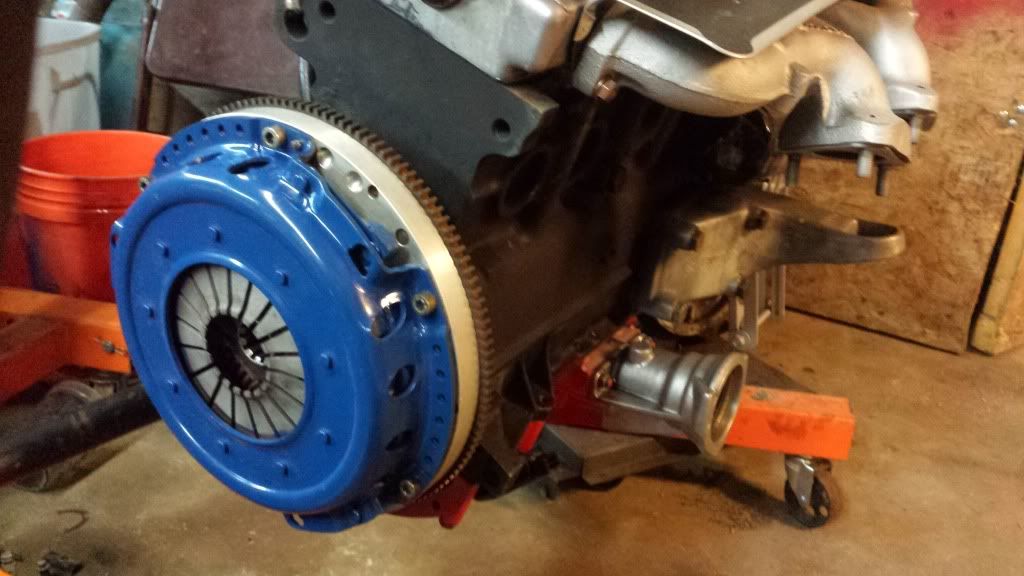
Got the flywheel torqued.
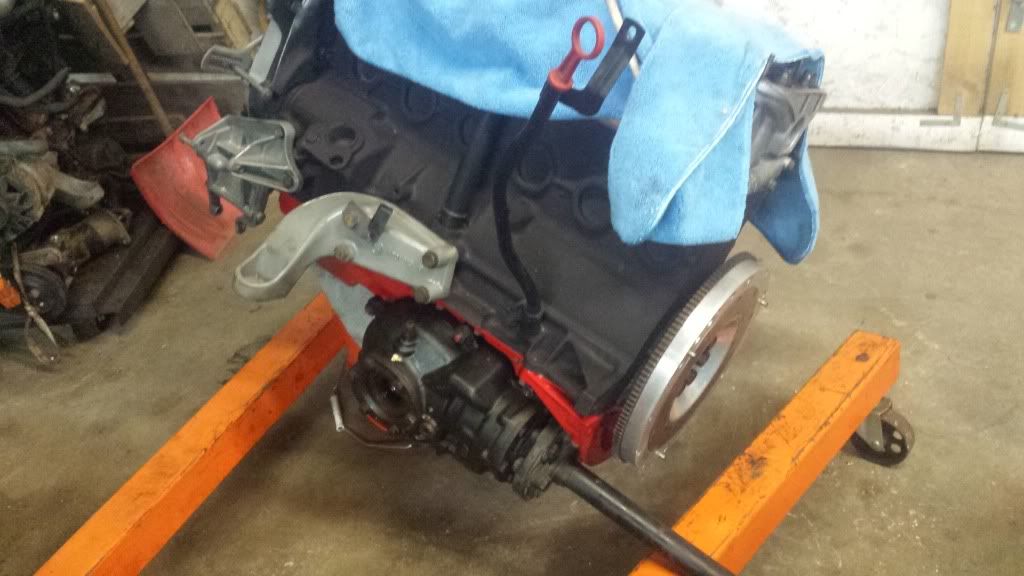
Mounted the front differential after cleaning and changing seals.
Finally put the clutch kit on.
Engine and transmission getting ready for sex. And fusion lol.
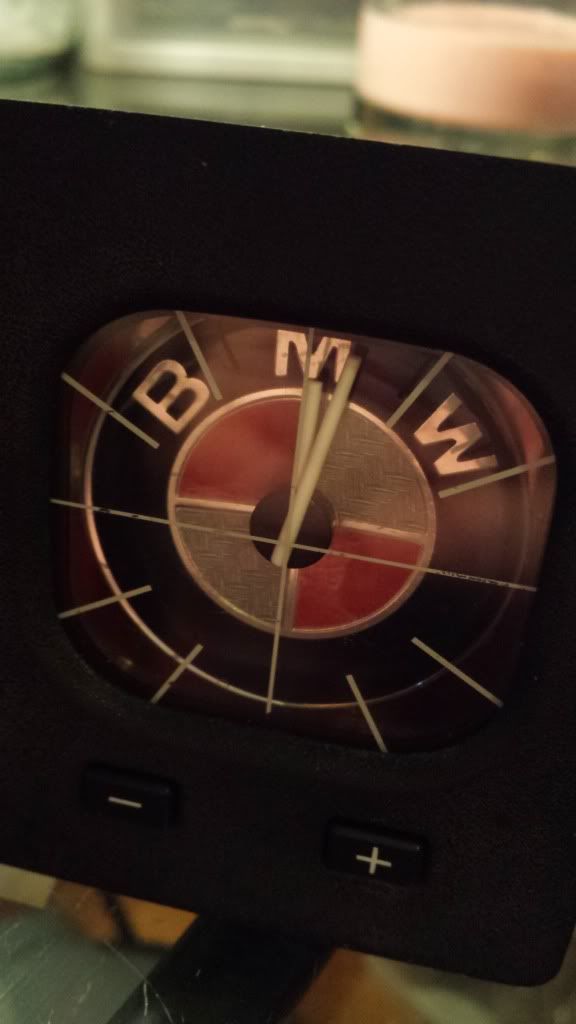
I also finished my clock project!
I'm heading down to the garage today to start tinkering with some more things. I'll definitely remember to take plenty of pictures this round, I'm actually enjoying this thread.more myself as a record keeper. It will be nice to see the final transformation. Soo many parts.. soo many ideas.. soo many little projects lie ahead. This will be one for all you kids to enjoy!Last edited by imwhyteyo; 11-22-2013, 10:18 PM.Leave a comment:
-
Leave a comment:
-
Leave a comment:
-
This is the 664whp manifold btw :-) http://www1.garaget.org/archive/53/5...89-2327498.jpgLeave a comment:
-
a little bright for my taste but I can totally respect you for doing basically a ground-up resto on an ix! looks great!
I have the same bar. Bavauto sells a bright chrome version of the same thing.Leave a comment:

Leave a comment: