

E30 M3 minor rust repair
Hello.
First post on here but I've been reading the forum for quite a while now.
Started doing some minor rust repairs on my e30 a while ago and, well,
it just seemed to go on a little. Here's a few details.....
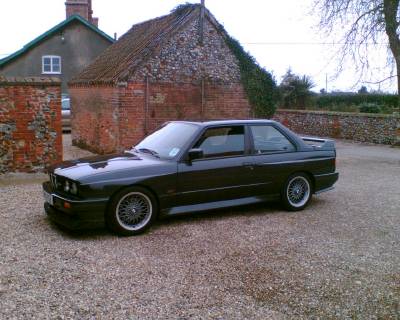
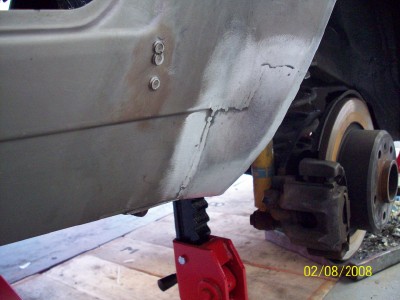
Bought the car in England a couple of years ago now,
despite the reg plate being 1990 it's actually one of the early M3's (1986).
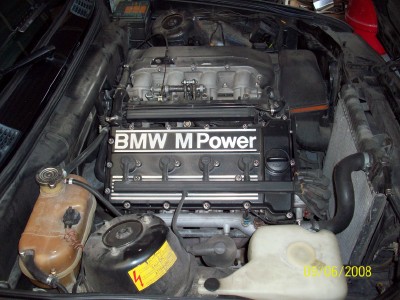
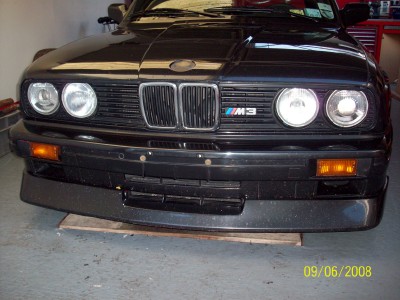
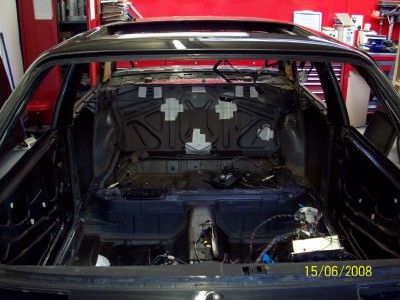
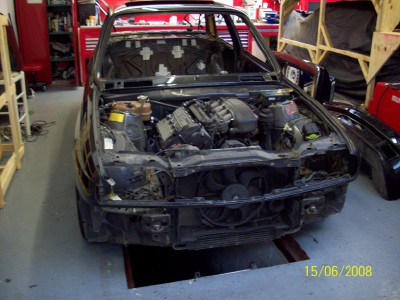
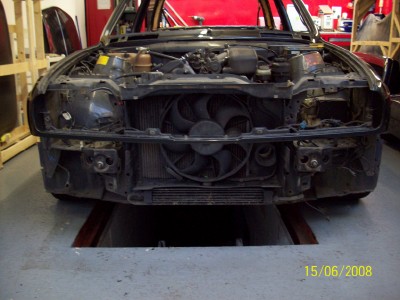
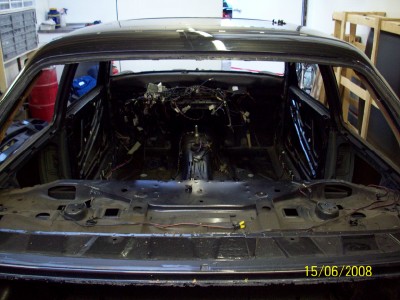
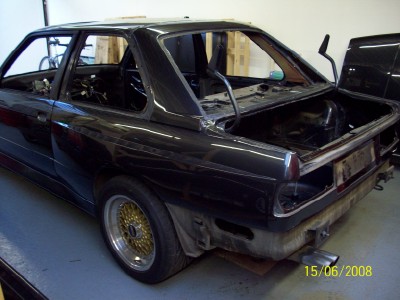
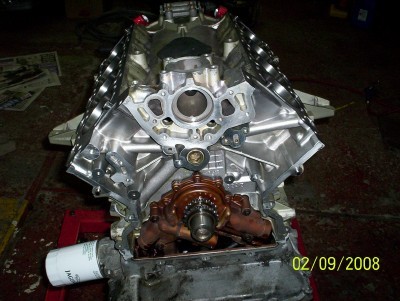
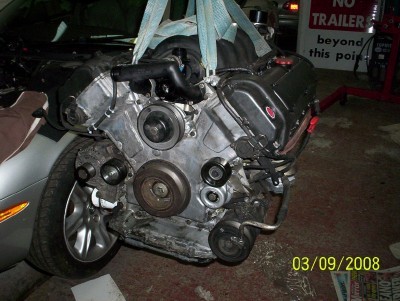
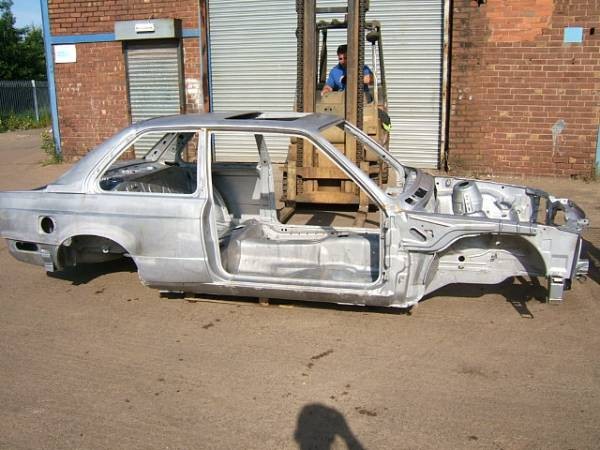
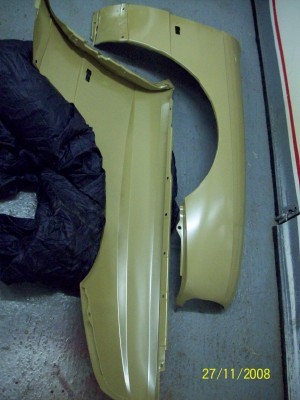
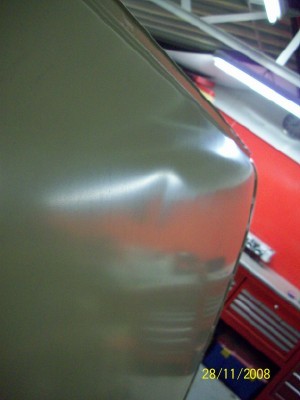
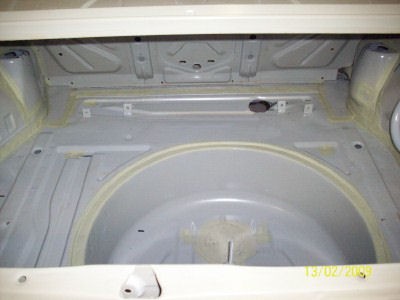
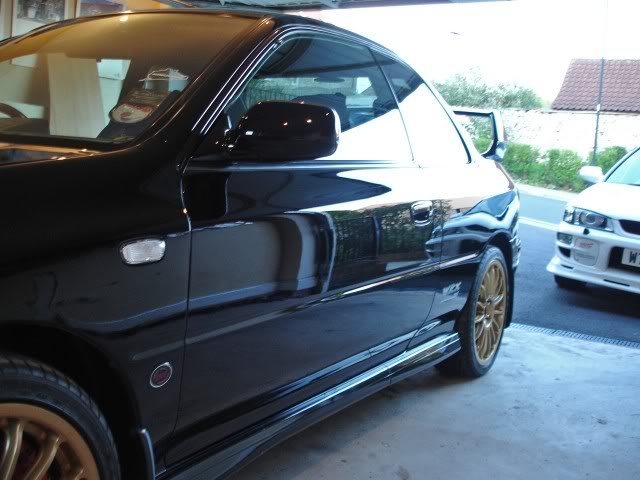
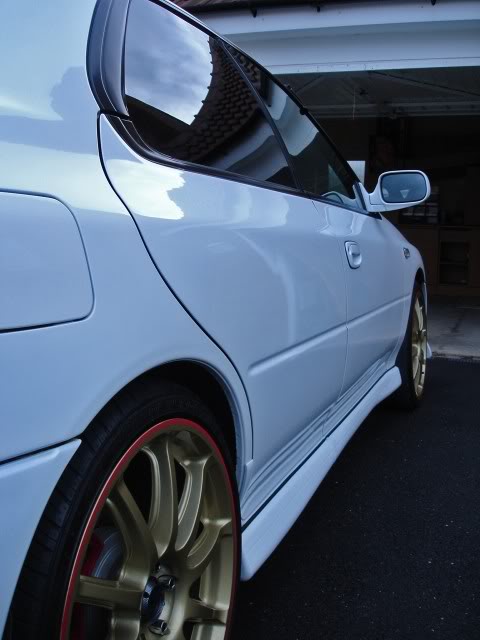
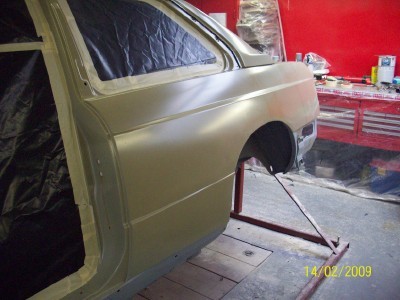
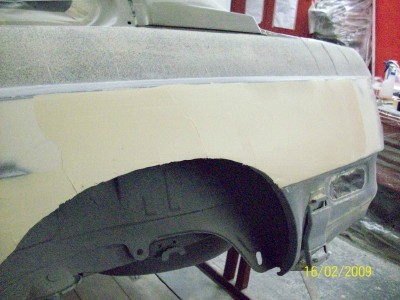
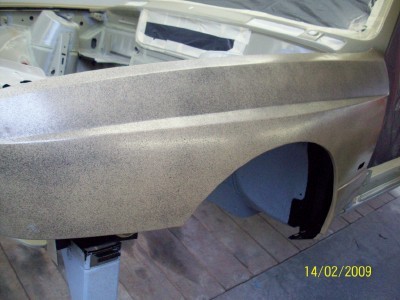
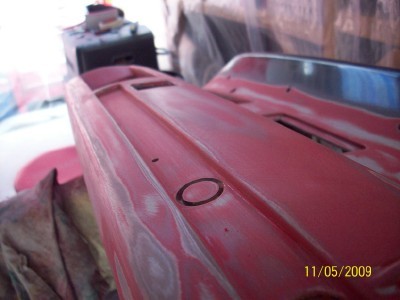
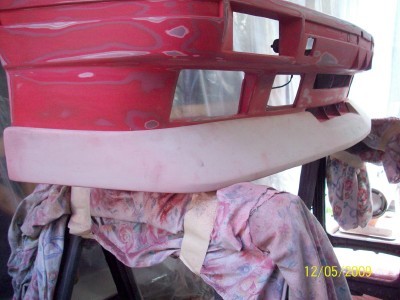
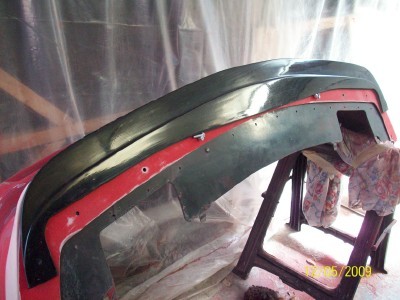
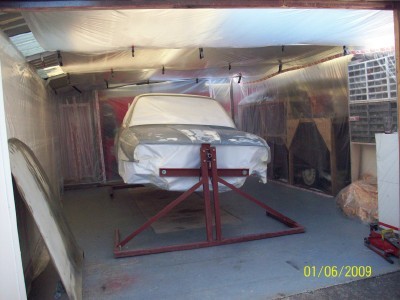
It's a 195bhp with the cat and this is how it looked when I first got it.
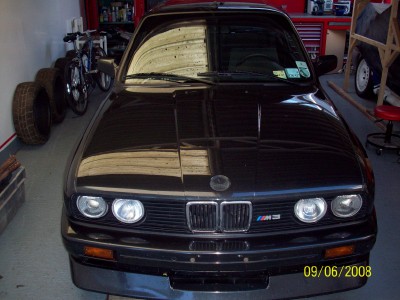
Haven't had much time to do a lot with it in the few years since buying
it apart from some wheels and routine service work. This is how she looked
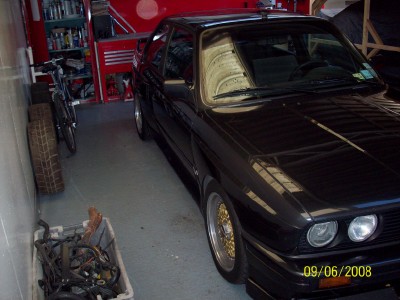
before taking off the road.

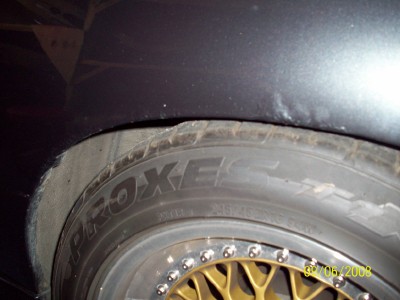
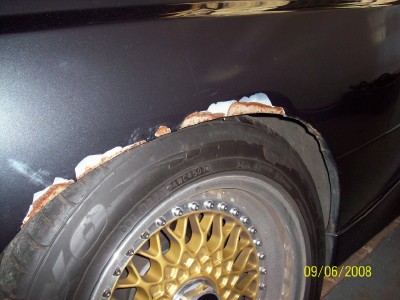
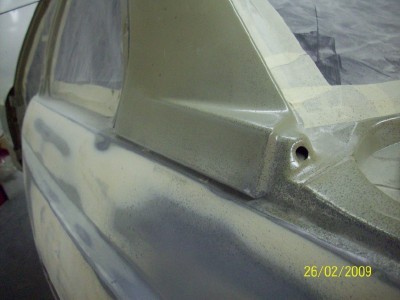
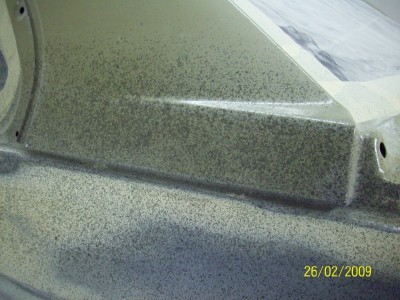
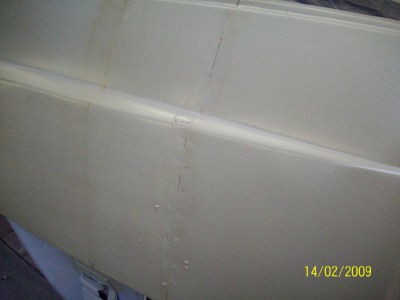
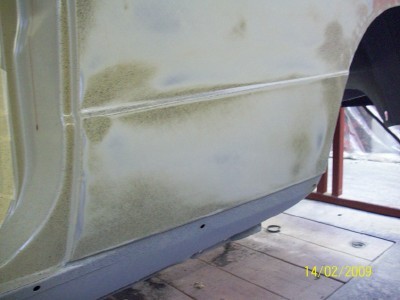
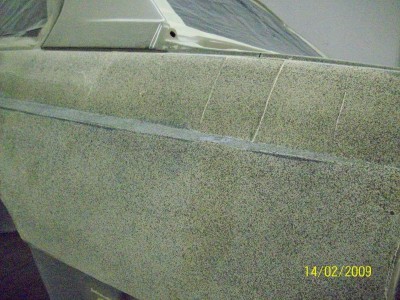
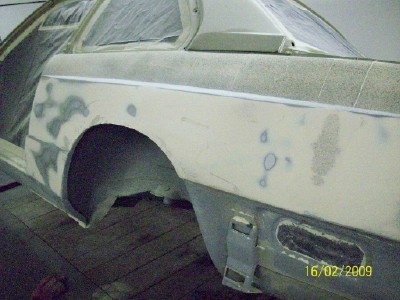
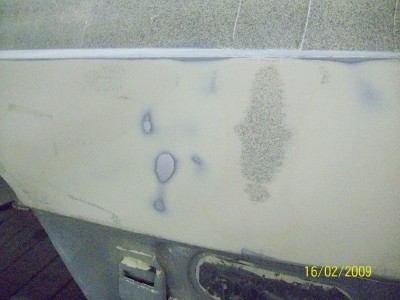
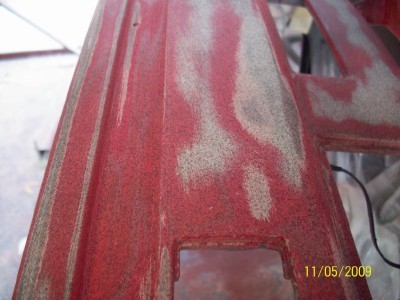
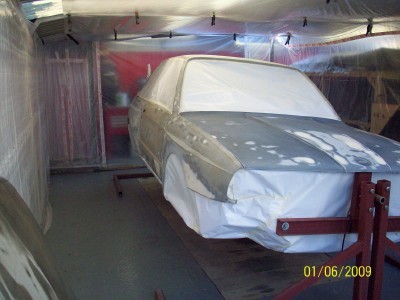
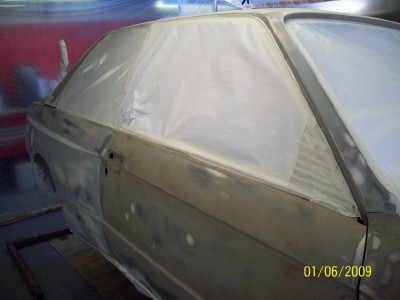
Unfortunately although she looks reasonably clean in the pic's the old saying comes to mind
"good from afar but far from good", reason being the dreaded rust had kicked in and was
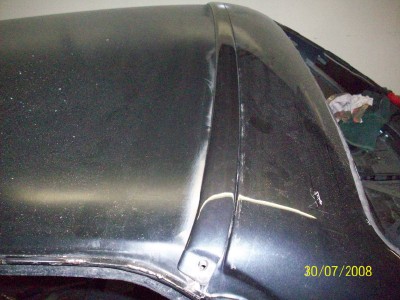
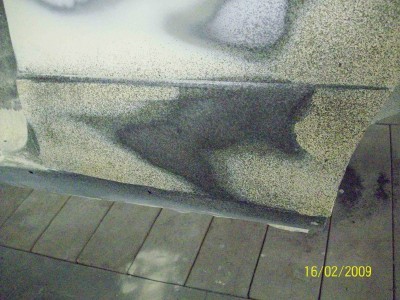
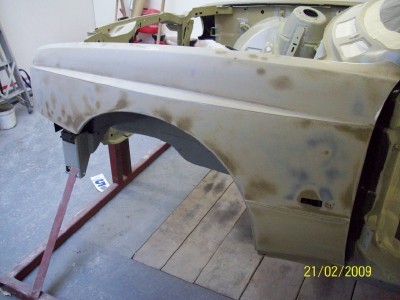
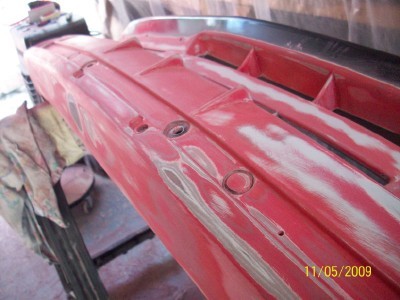
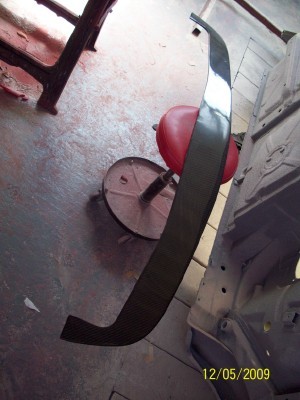
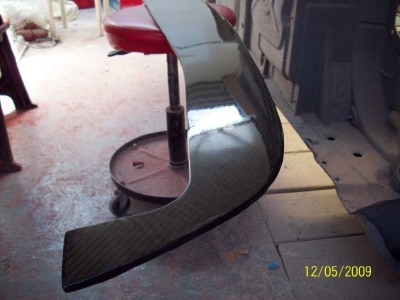
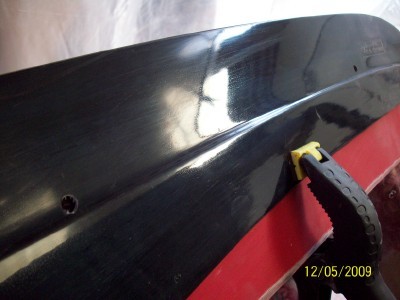
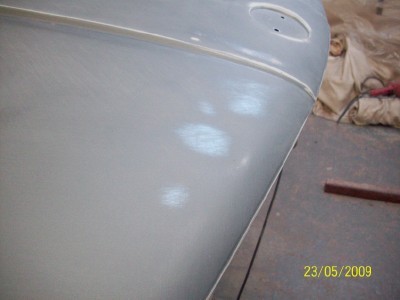
starting to munch it's way through the chassis. Also there was quite a few dings around
the body and the front is severly stone chipped for some reason
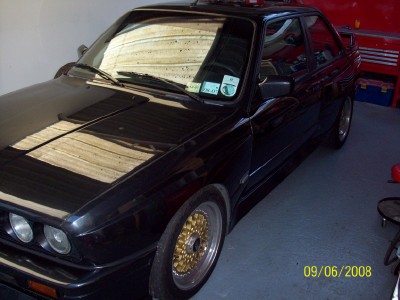
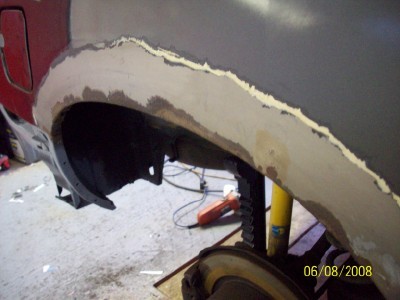
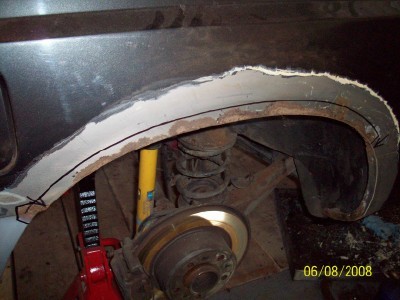
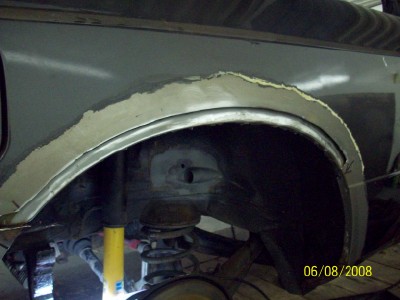
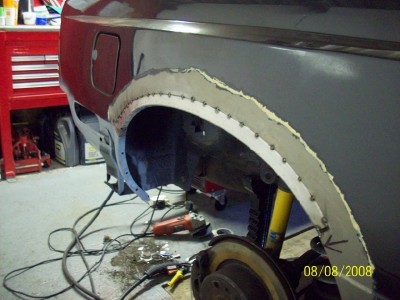
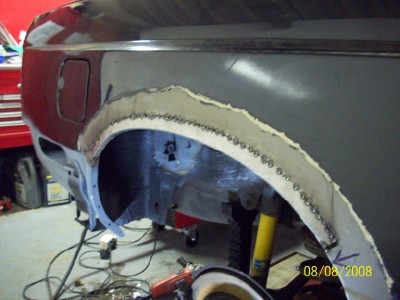
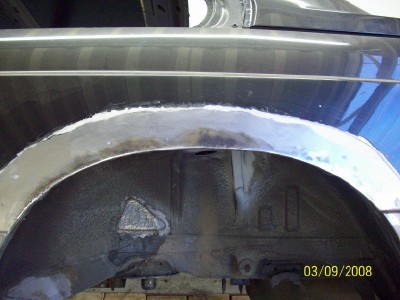
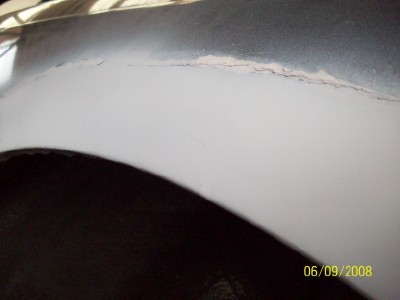
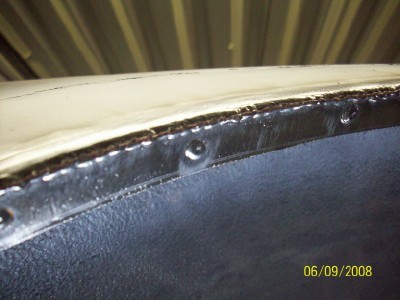
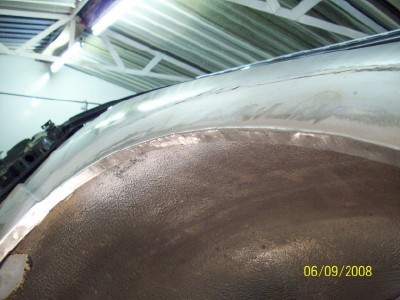
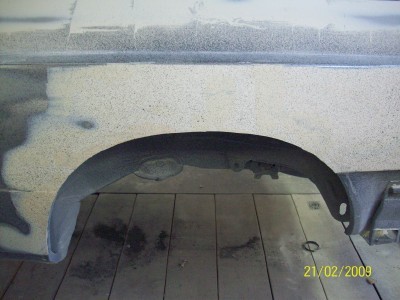
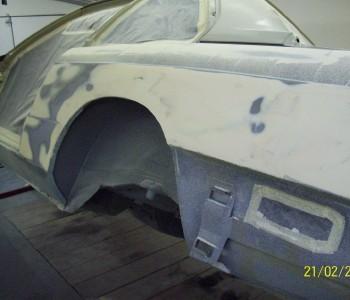
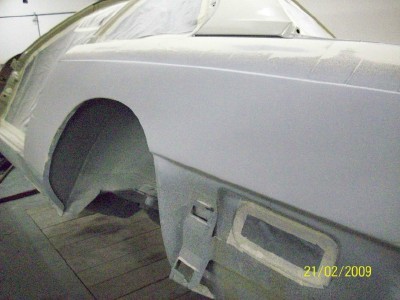
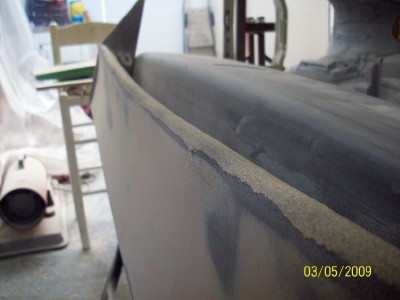
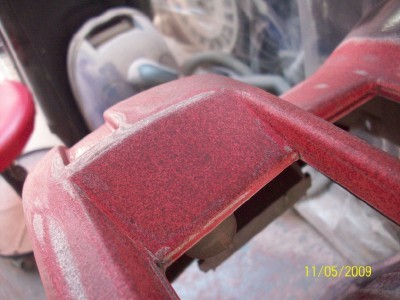
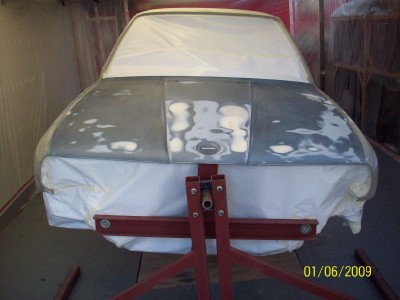
the most noticeable of the rust was on the rear arches where it would appear
somewhere during it's life the rear arches were rolled to accommodate larger wheels
and tyres and poorly done..
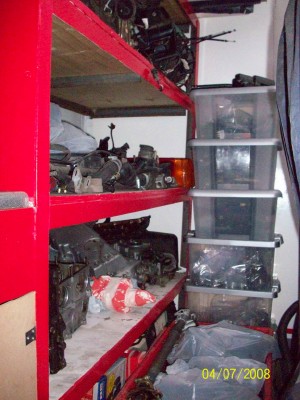
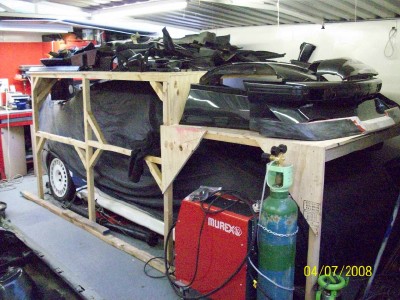
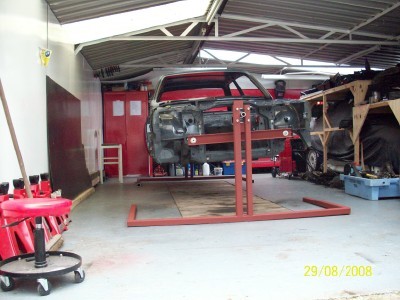
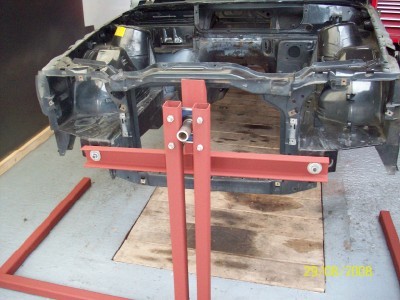
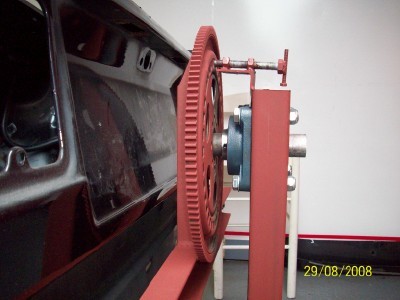
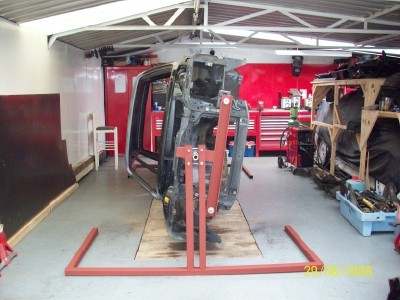
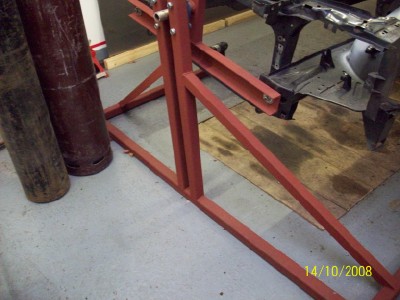
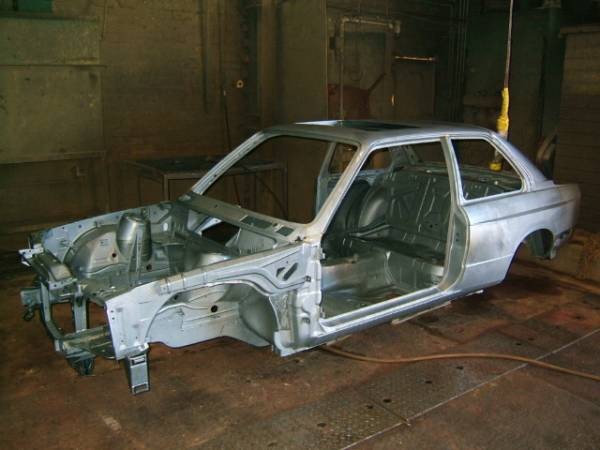
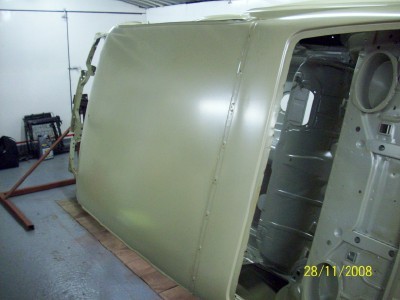
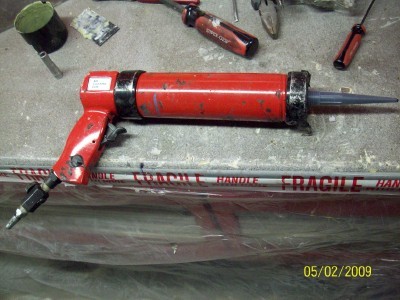
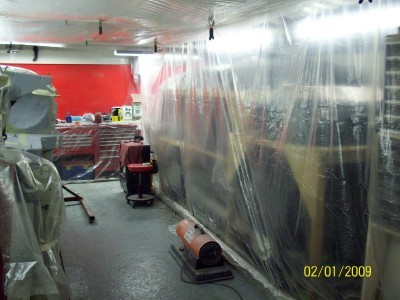
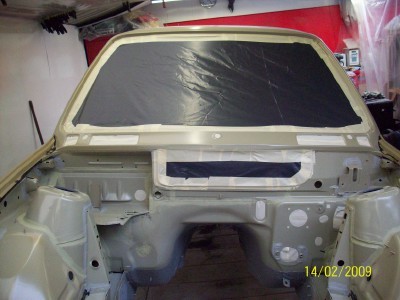
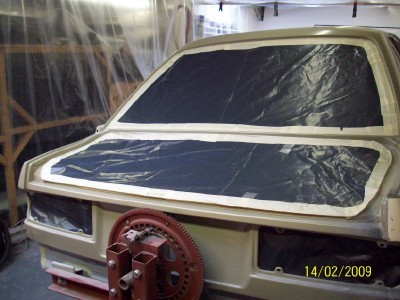
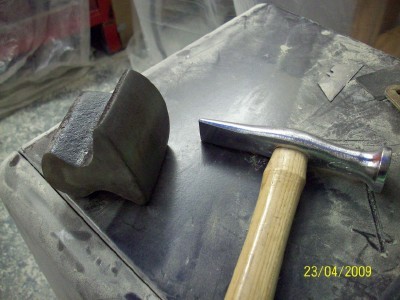
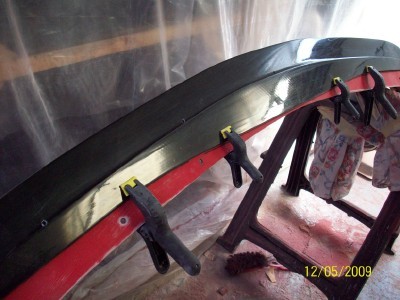
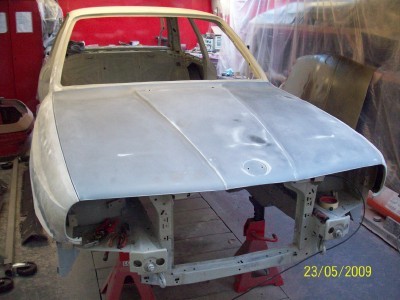
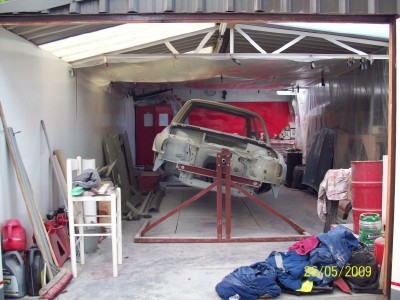
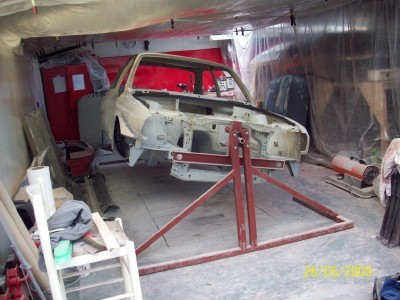
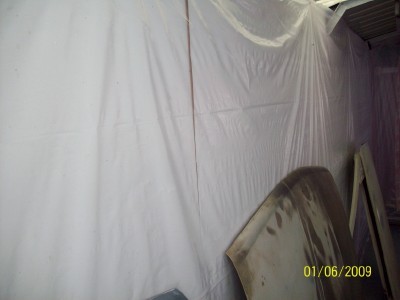
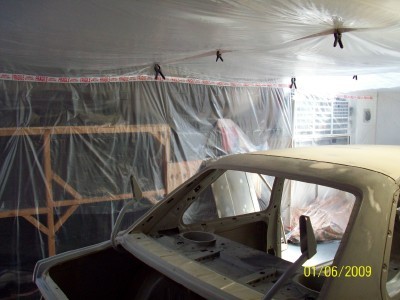
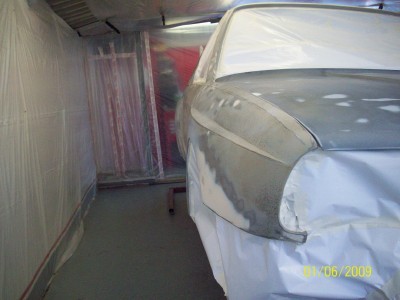
So we set about getting the car ready for some small rust repairs....
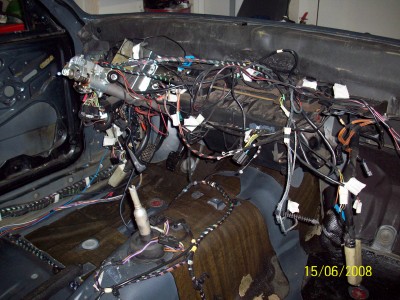
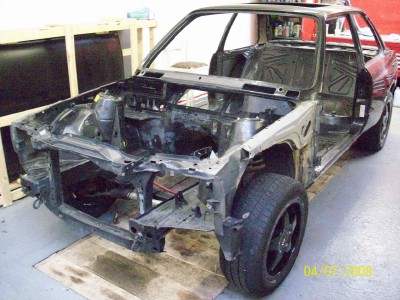
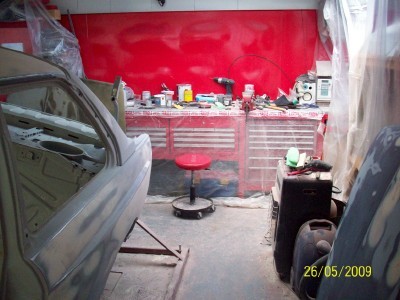
with the amount of stuff coming out of the bm, shelf space was starting to get scarce
so the poor escort has to double up as a fitted wardrobe for the time being ....
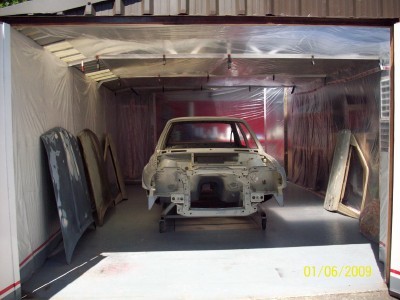
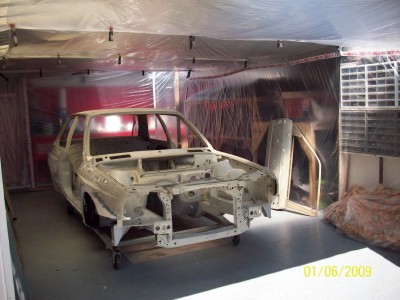
right ready to begin......
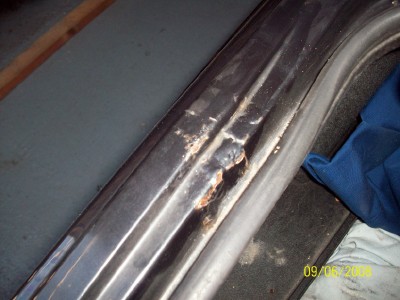
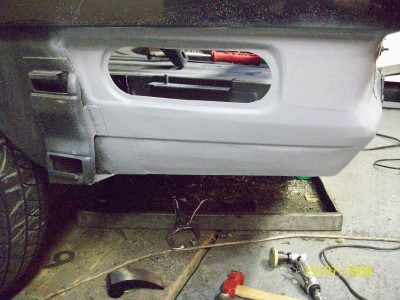
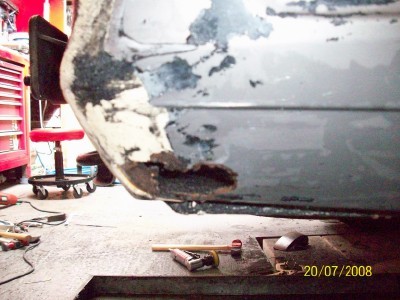
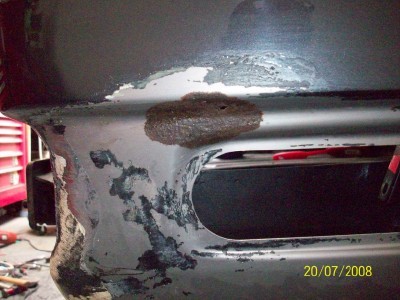
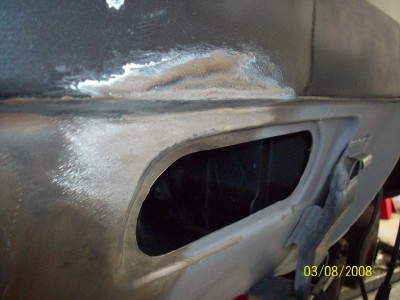
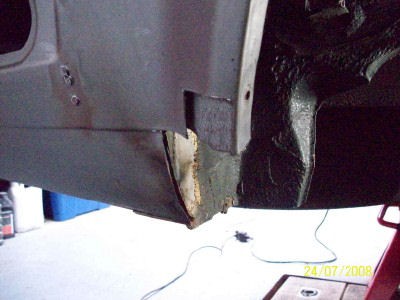
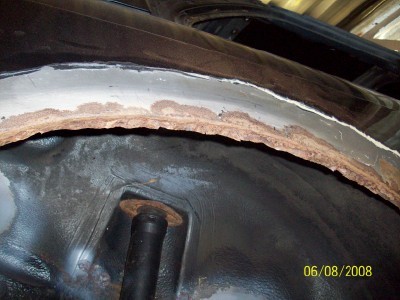
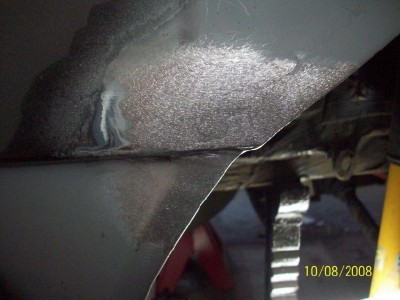
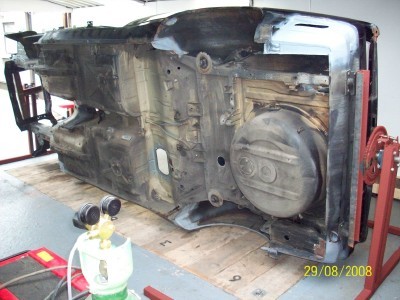
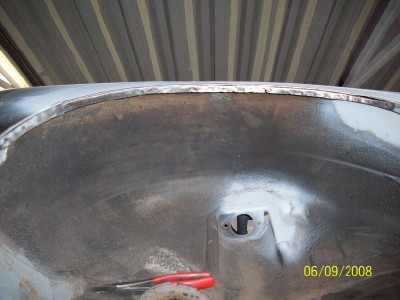
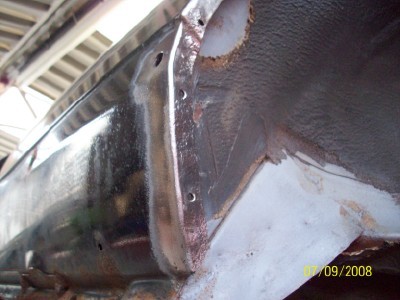
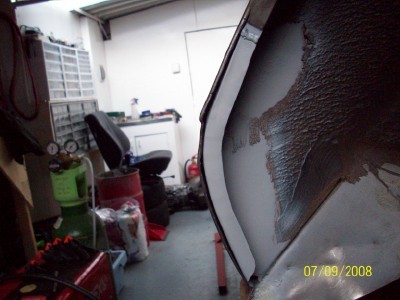
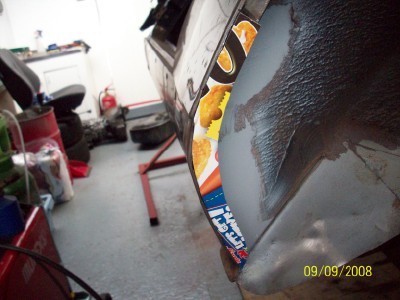
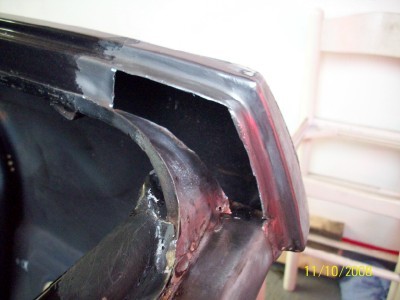
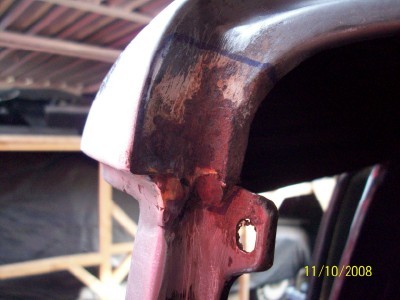
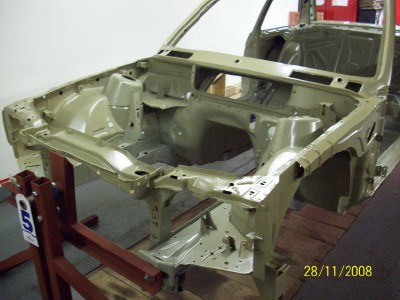
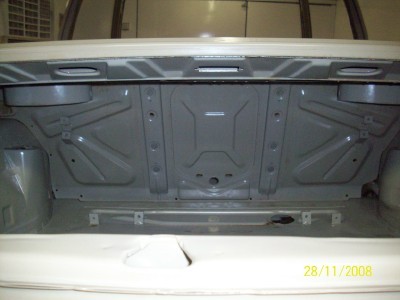
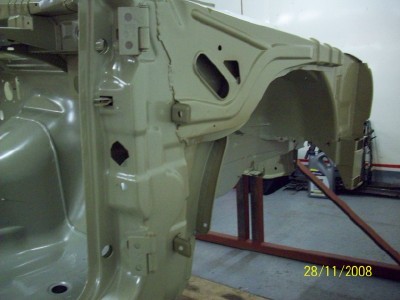
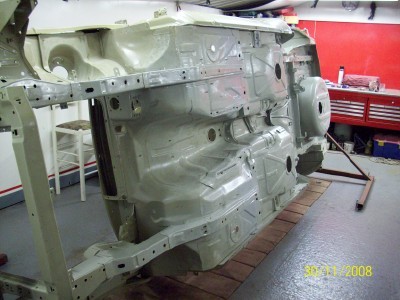
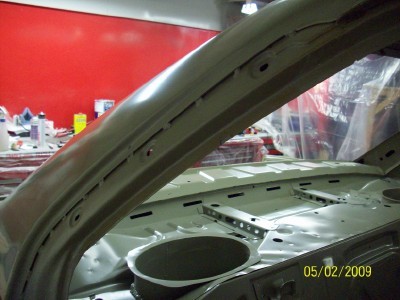
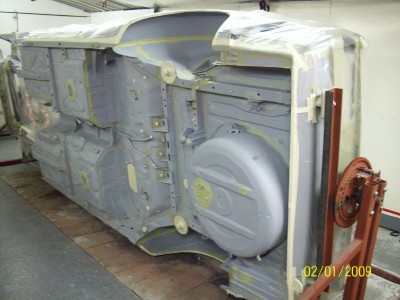
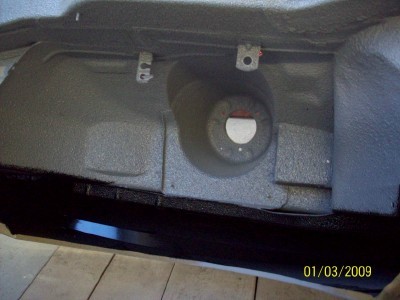
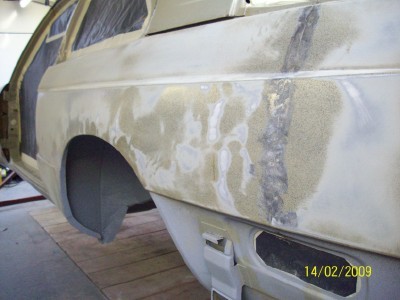
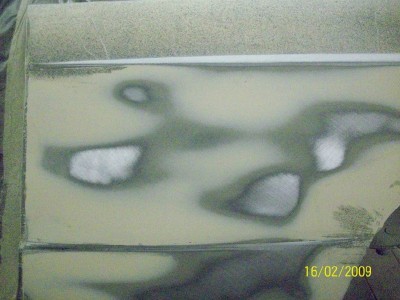
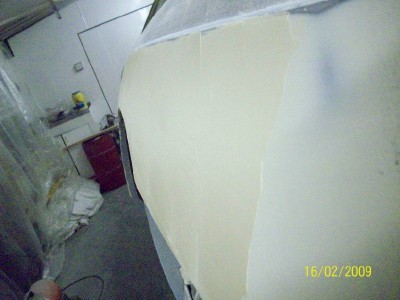
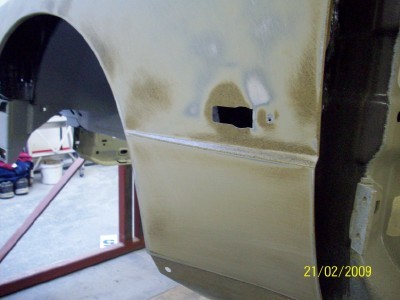
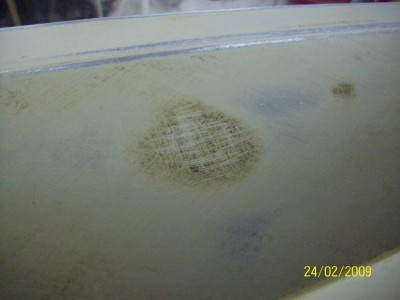
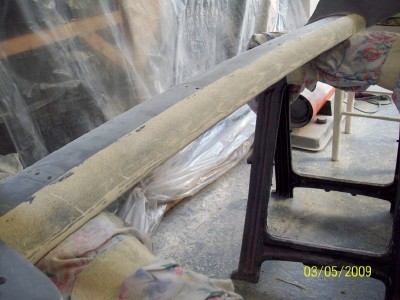
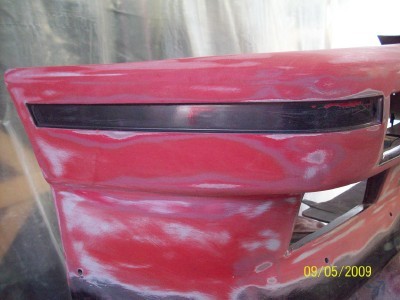
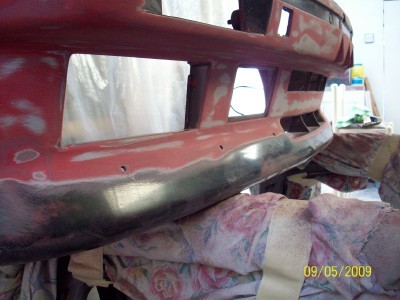
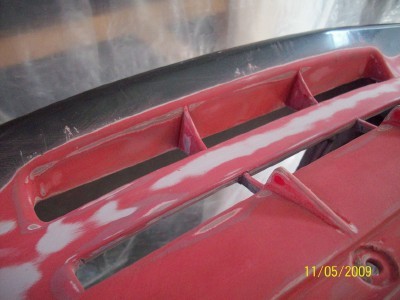
As mentioned the main reason for taking the car off the road was
the rust on the rear arches, but that was far from the least of the
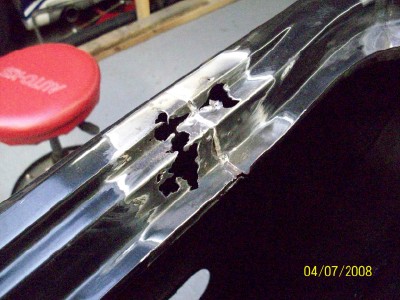
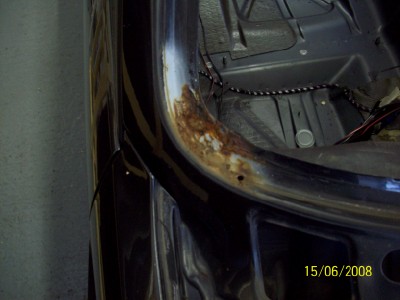
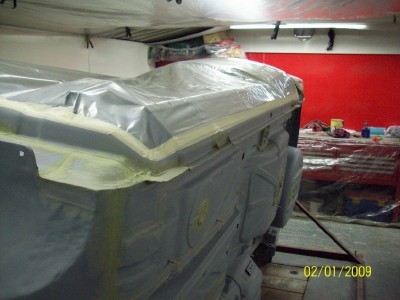
rust problems. First up was some rust on the drivers side of the boot
under where the rubber seal sits.....
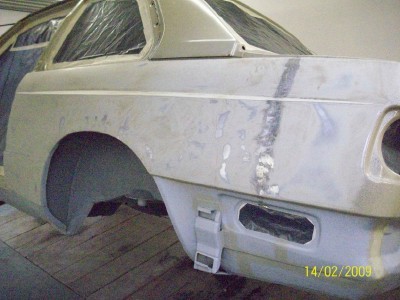
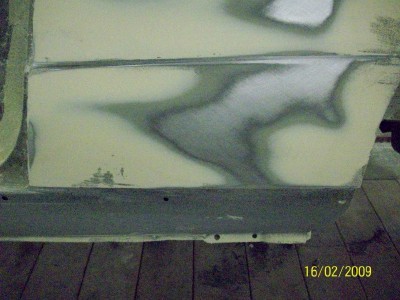
a few years after the car rolled off the production line the rear end
had an unfortunate coming together with a solid object, otherwise
known as a tank slapper. The previous owner had provided all the original
receipts for the main dealer repairs at the time , which showed that it
had a rear drivers side section of the quarter panel changed. Sure enough
real oem confirmed that a replacement section of the rear quarters were
available, and I have to admit that whoever done the repair done it well
at the time, I certainly couldn't have done better. Unfortunately the ravages of
time(17years) and salty water has taken it's toll on the repair
and while the main part of the repair (the face of the quarter panel) is
still perfect, the sections under the boot lid and under the bumper have
rusted badly.
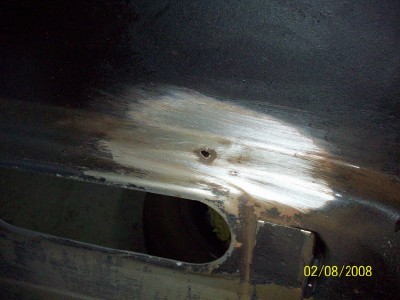
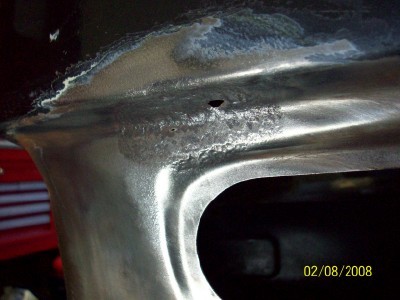
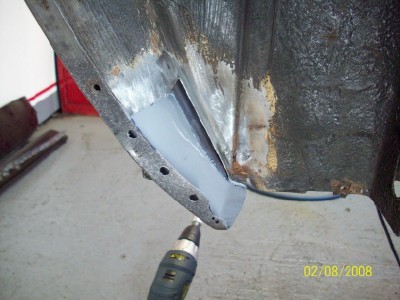
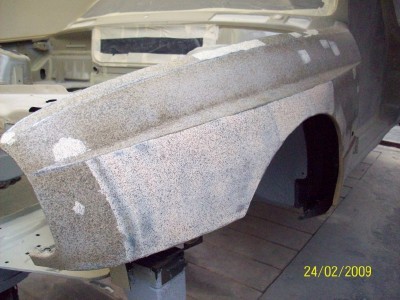
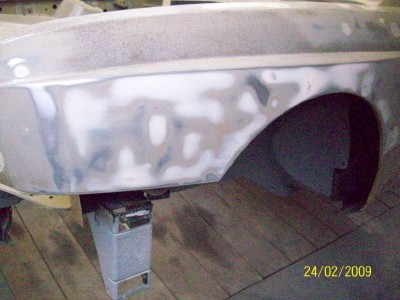
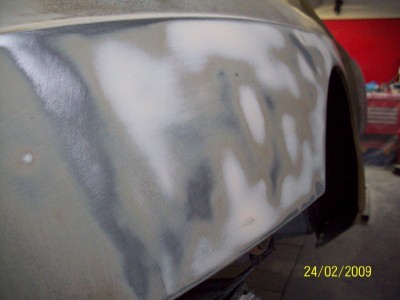
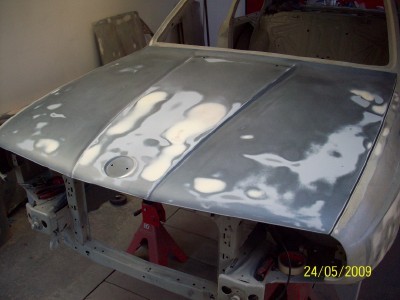
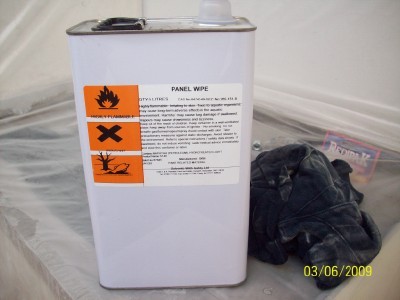
So, first thing is to clean away the paint and see how much metal needs
to come out.....
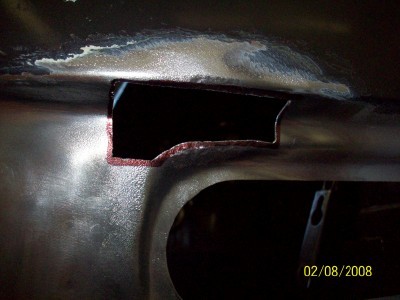
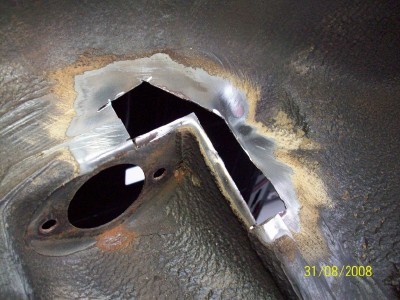
mark up and cut out the rotten area.....
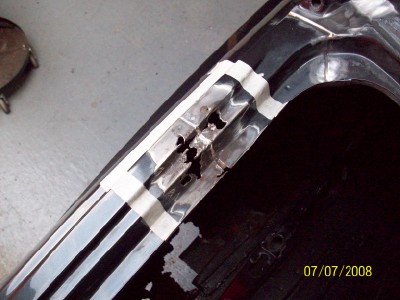
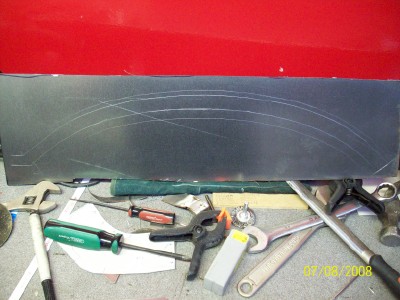
and then make up a replacement section from some shiny new sheet
steel...
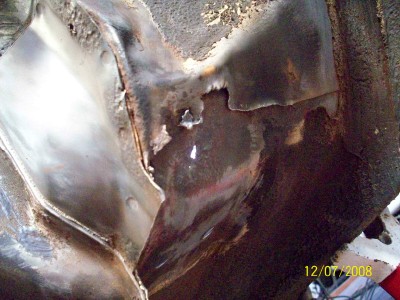
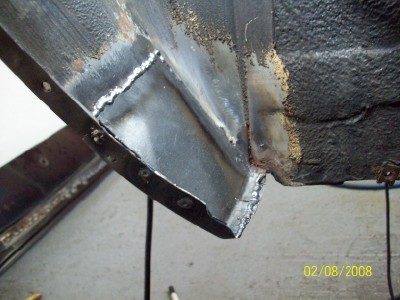
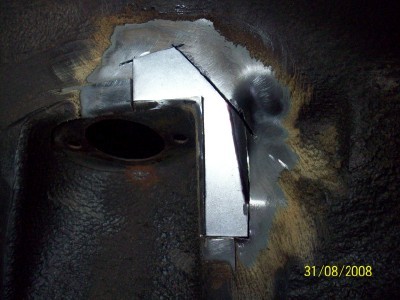
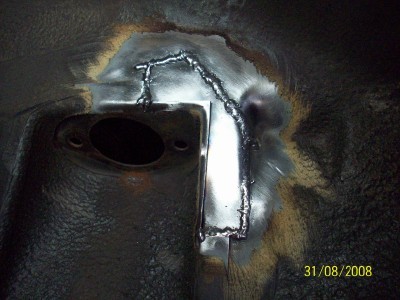
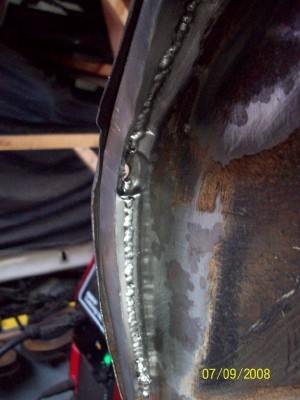
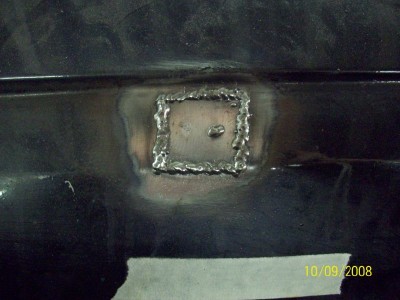
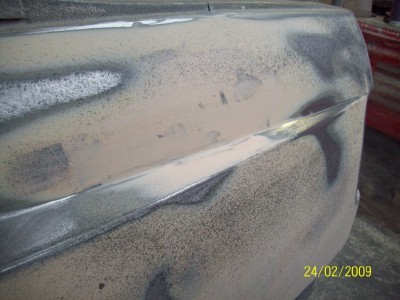
and weld it in........
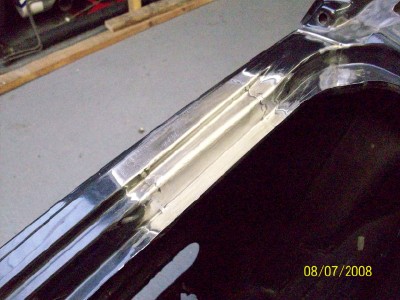
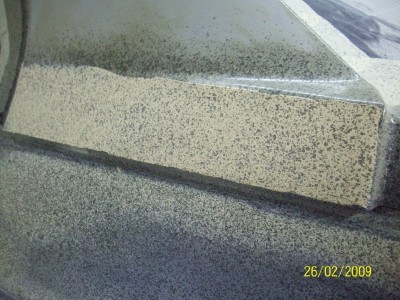
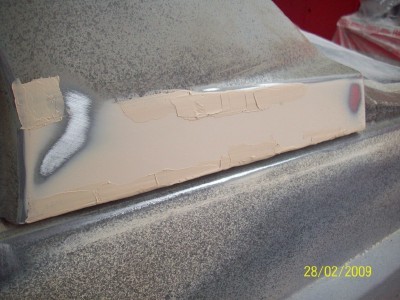
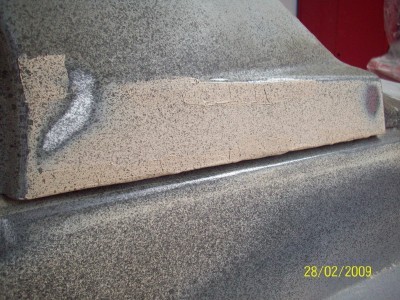
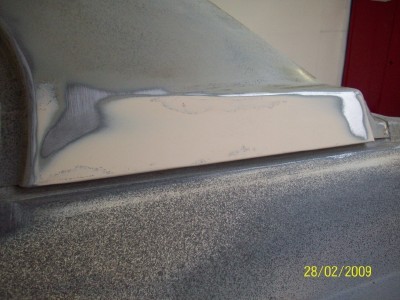
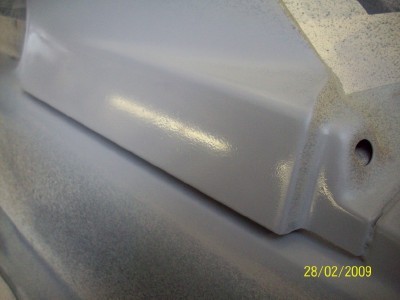
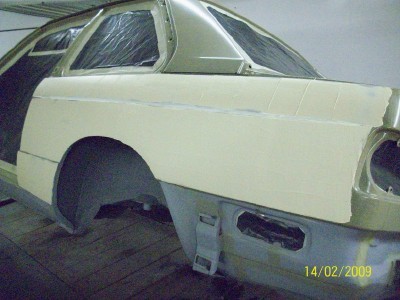
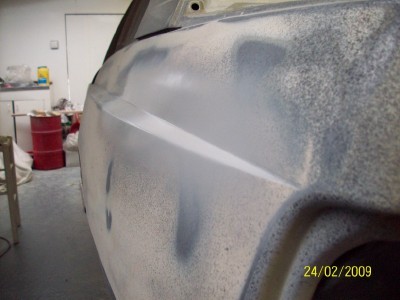
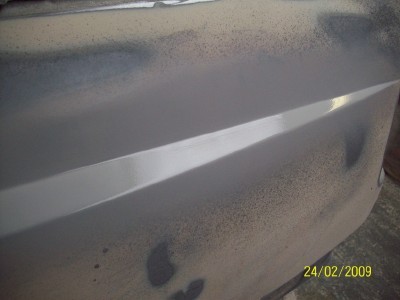
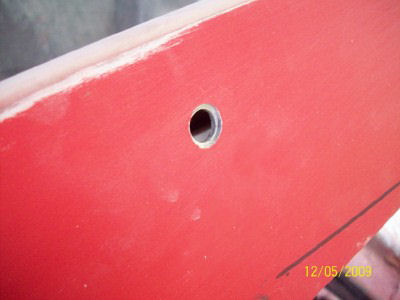
i'm not gifted enough to form and weld in the repairs seemless with the
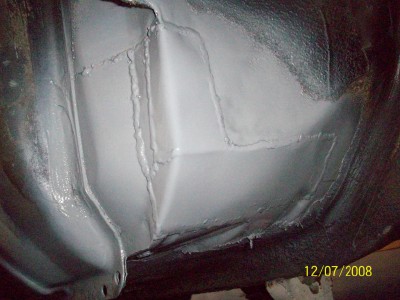
original panel so the patches are welded in slightly below the surface level
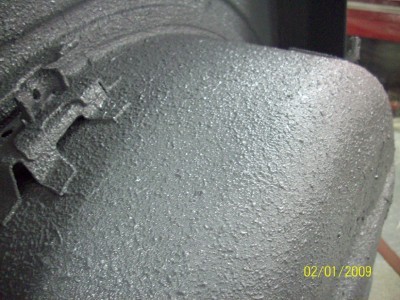
to allow for a small skim of filler to blend the repairs.
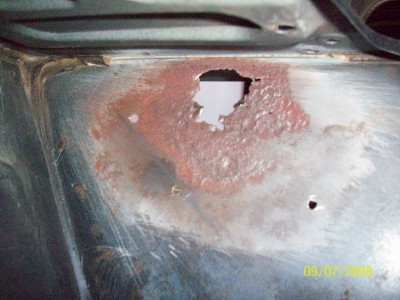
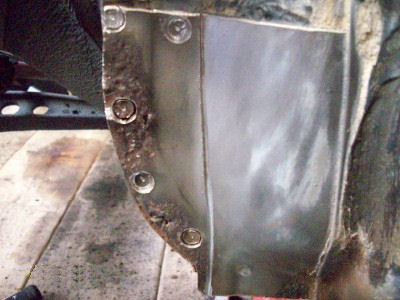
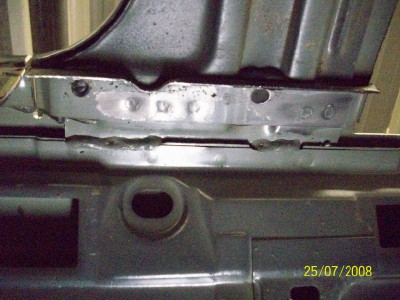
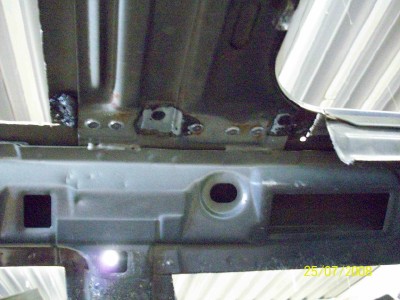
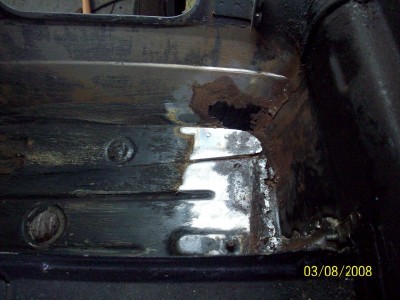
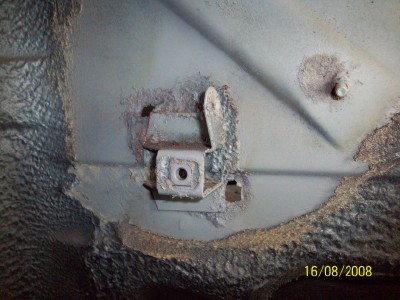
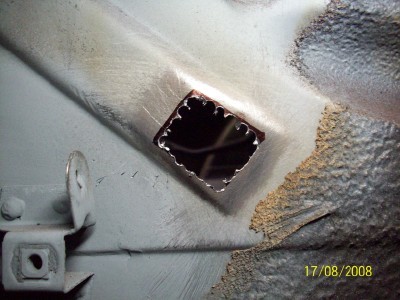
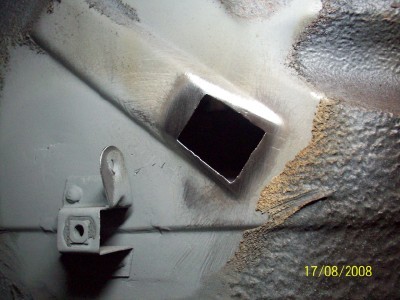
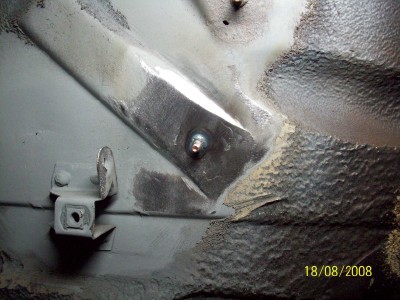
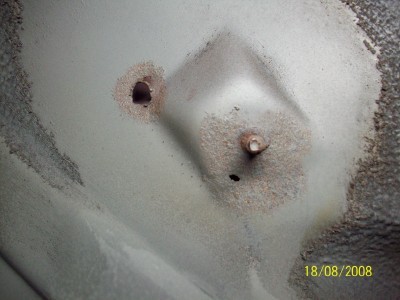
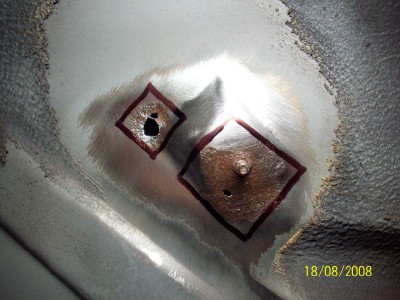
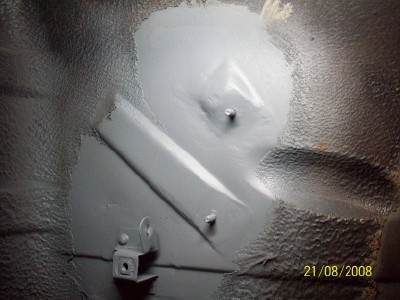
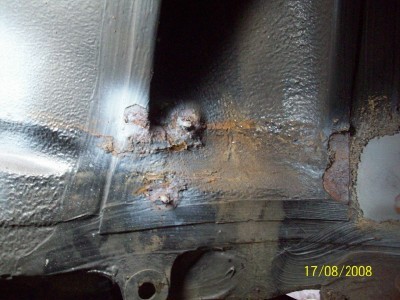
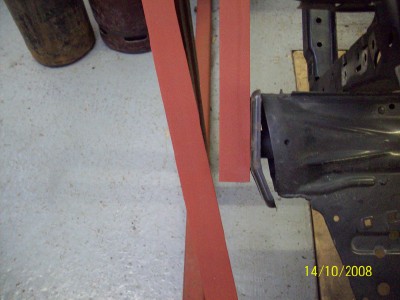
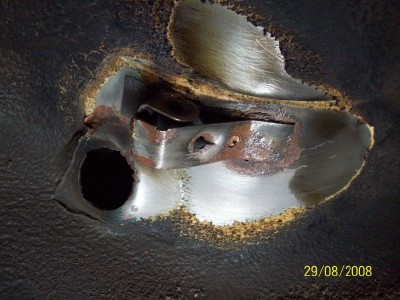
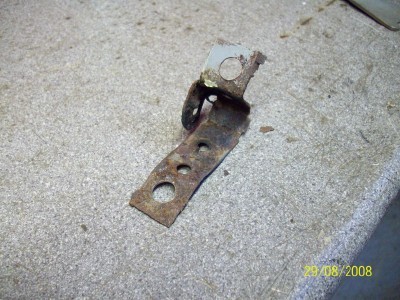
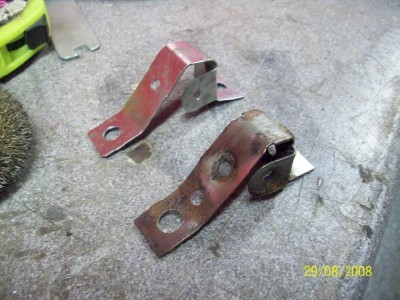
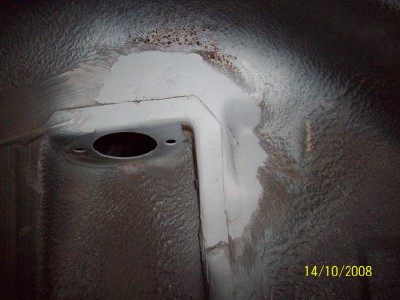
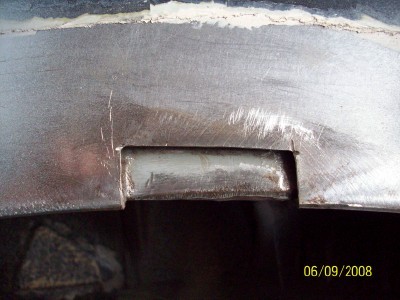
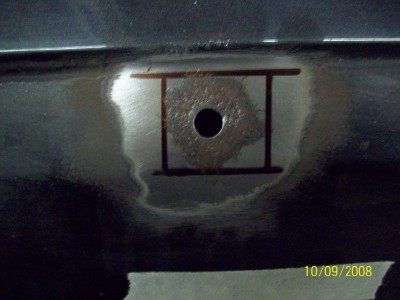
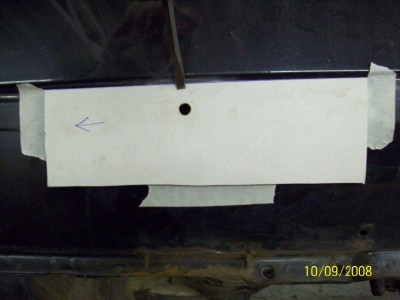
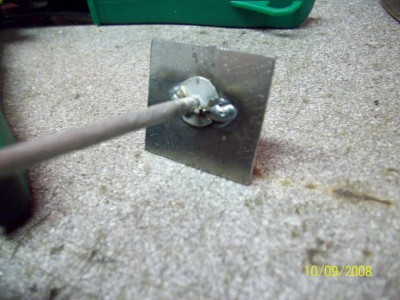
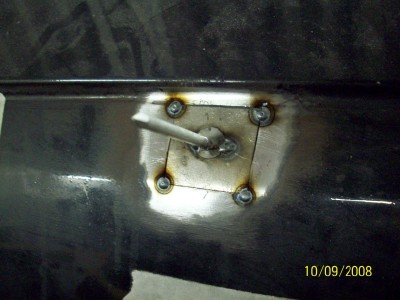
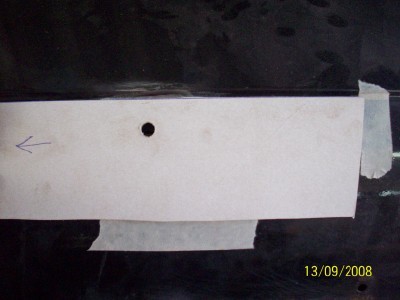
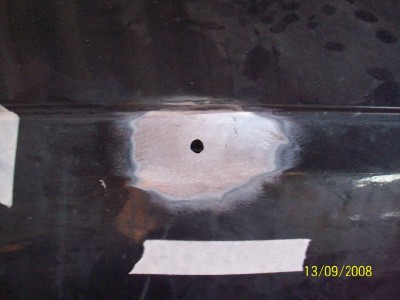
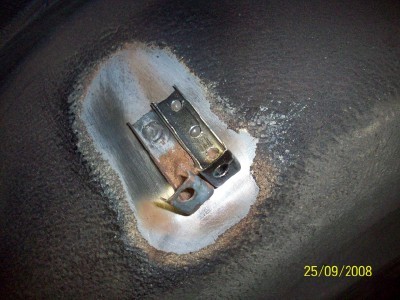
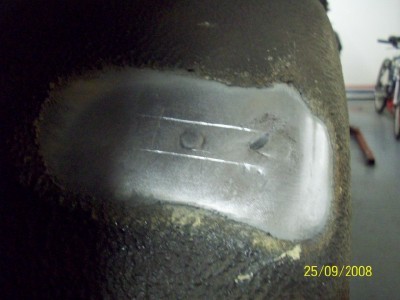
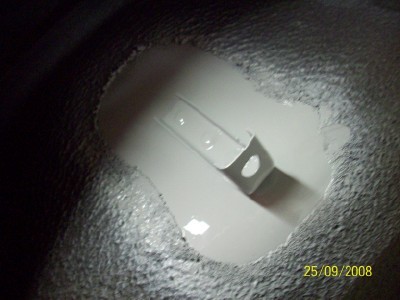
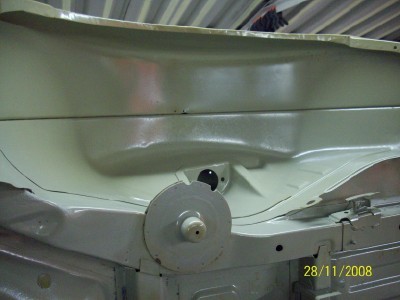
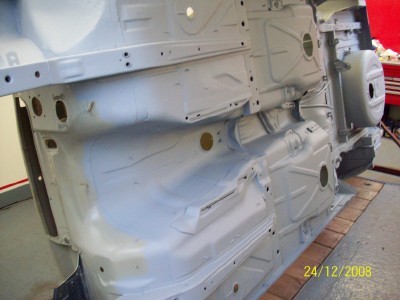
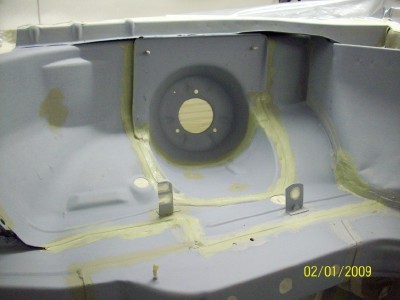
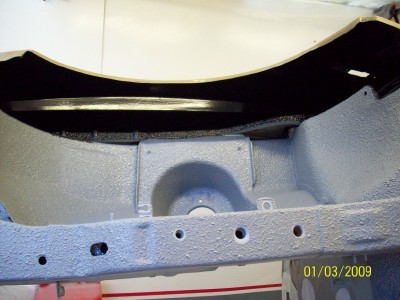
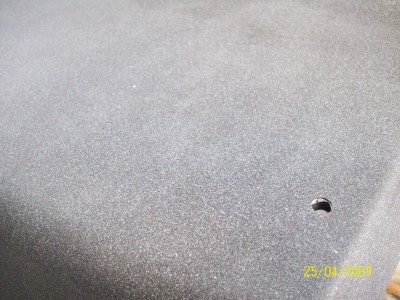
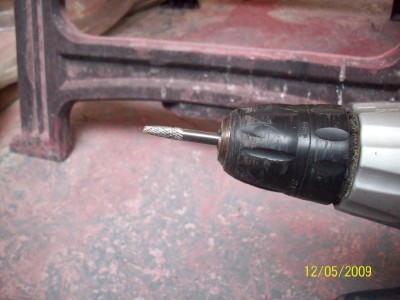
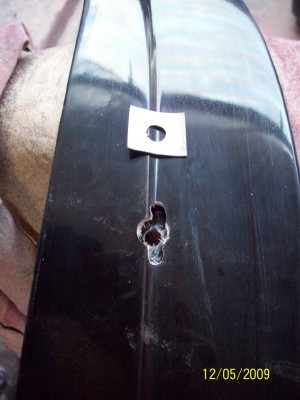
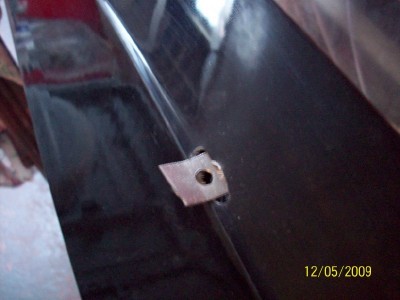
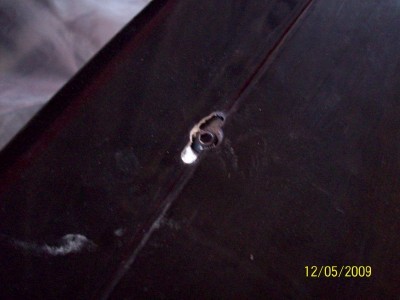
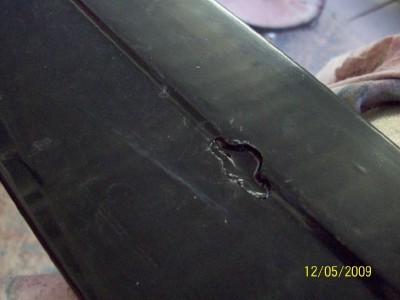
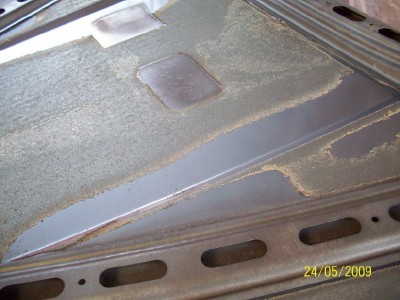
next up was a small hole in the bulkhead under the battery tray about the size
of a cue tip which when wire brushed with the angle grinder opened
up to reveal itself to be a little larger......
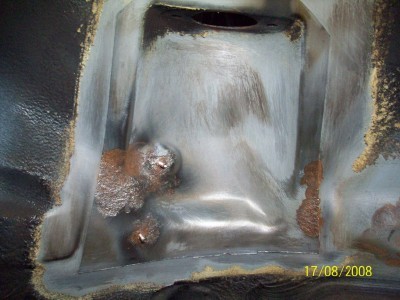
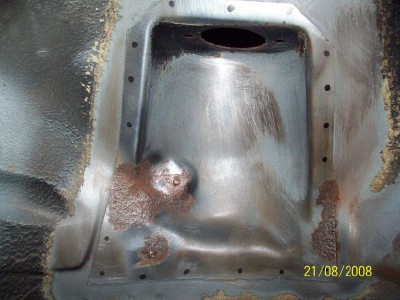
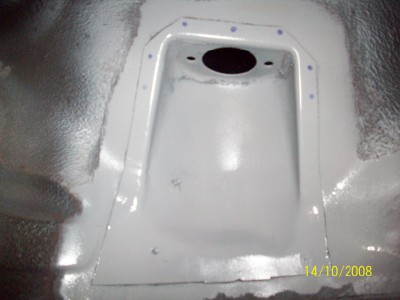
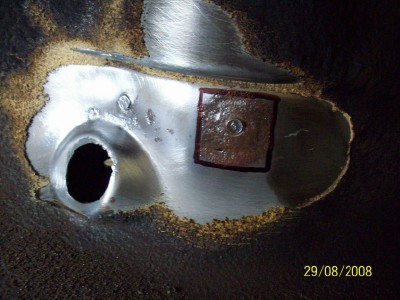
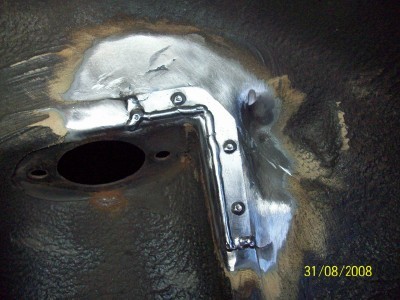
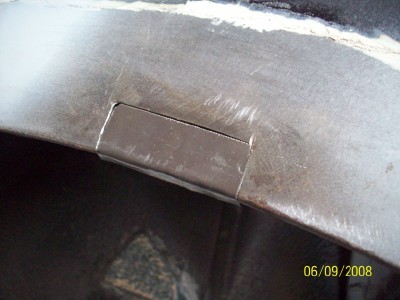
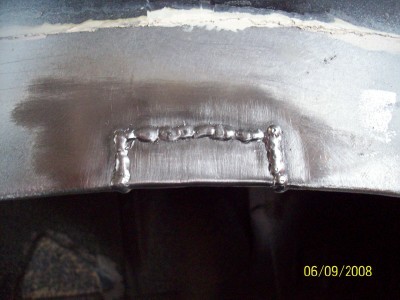
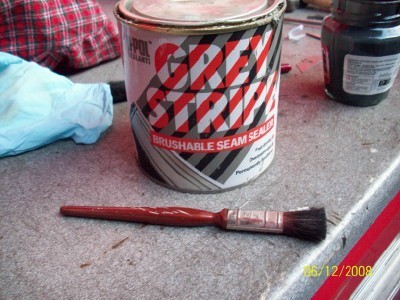
same story again, mark, cut out, make cardboard template, transfer to
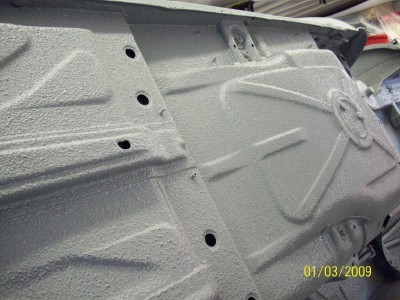
metal, tack in place, weld up, sand down welds and apply primer to bare
metal.......
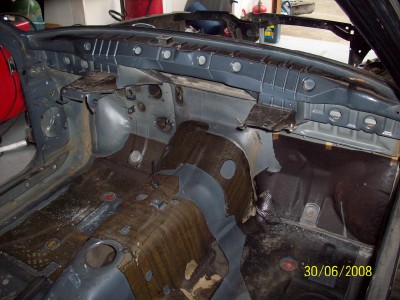
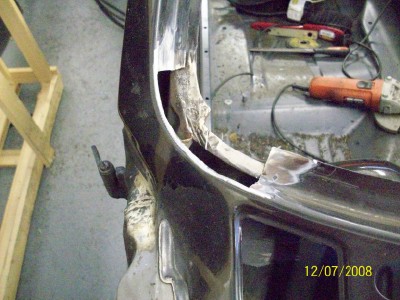
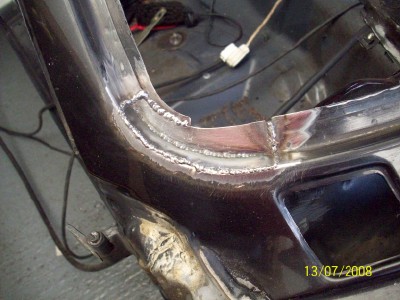
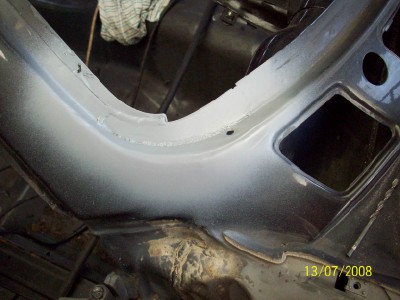
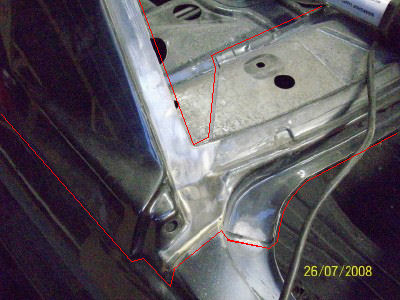
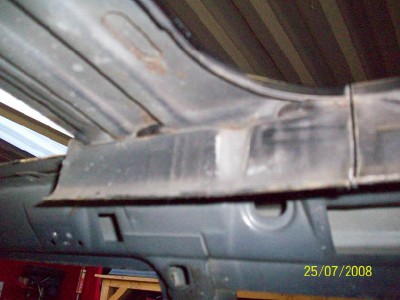
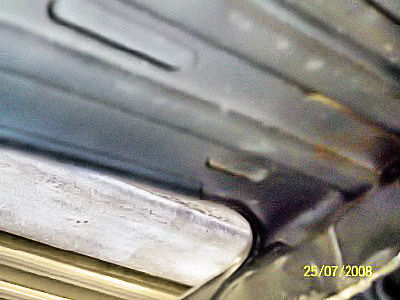
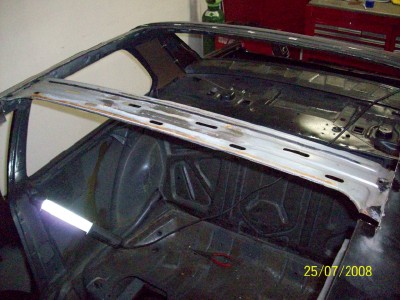
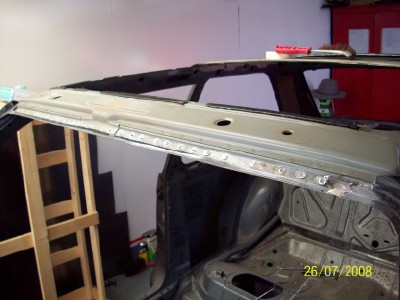
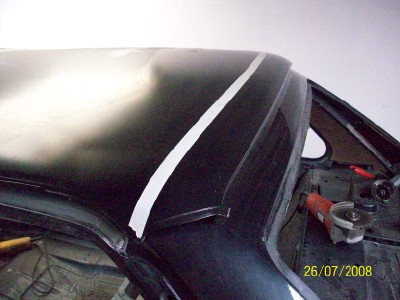
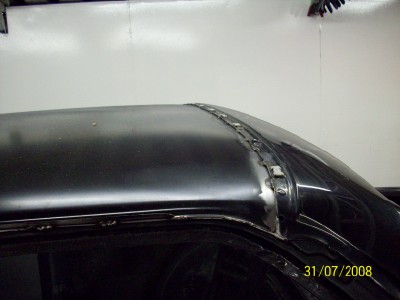
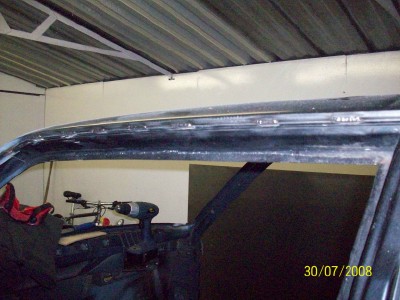
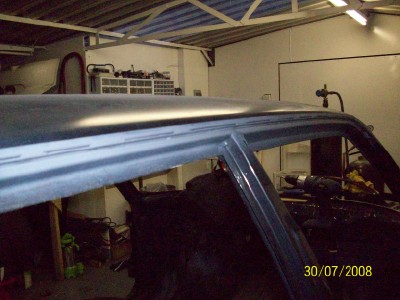
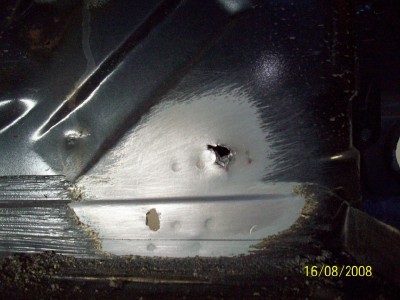
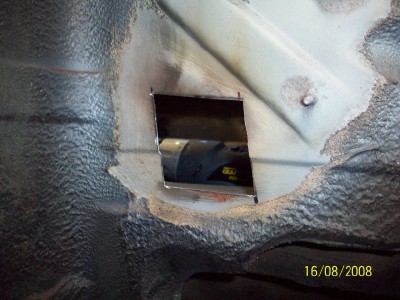
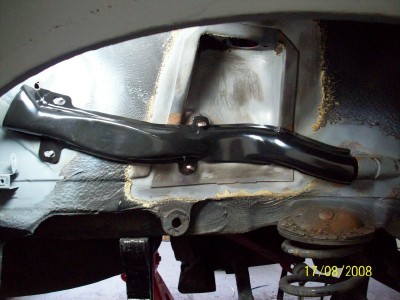
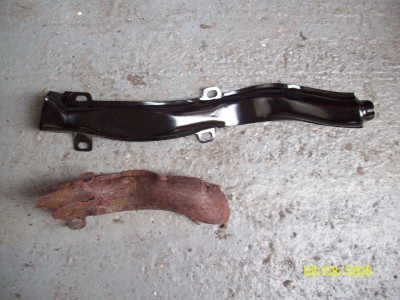
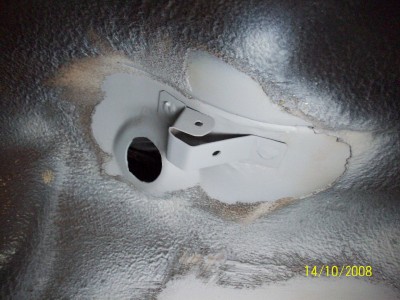
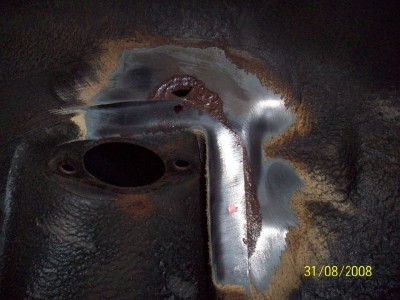
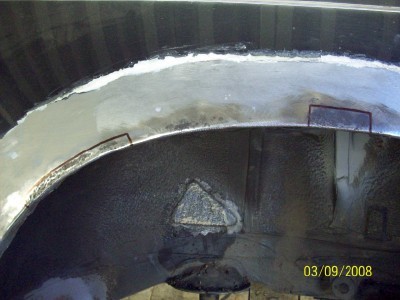
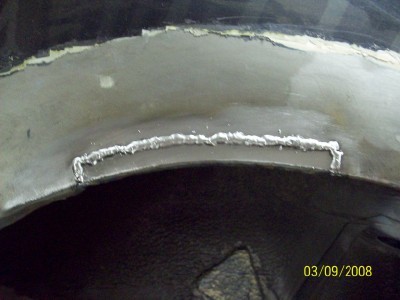
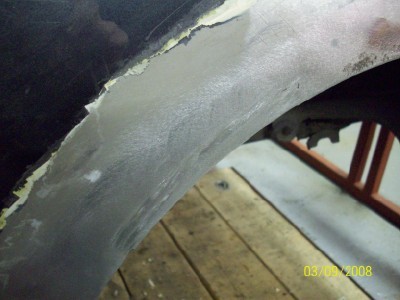
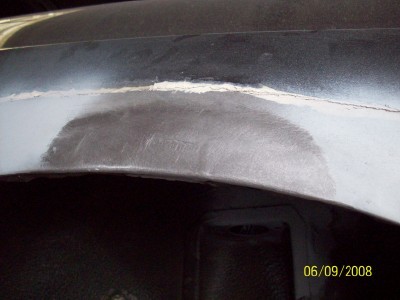
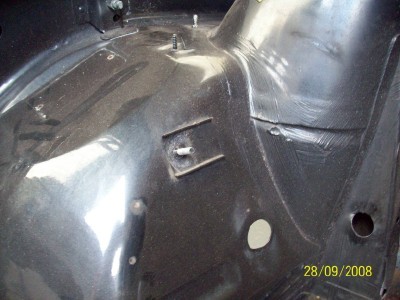
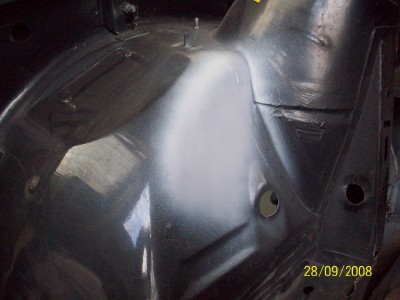
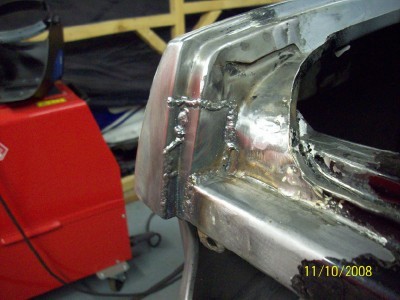
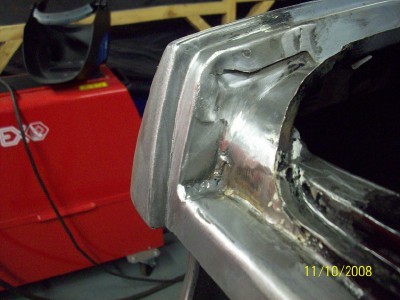
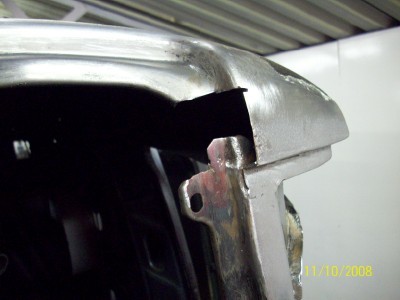
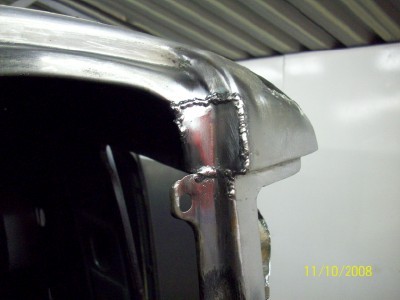
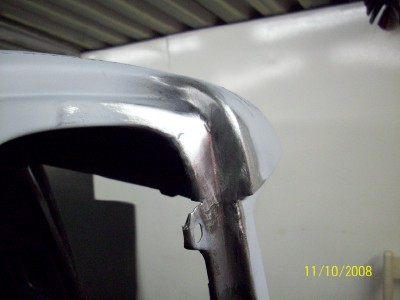
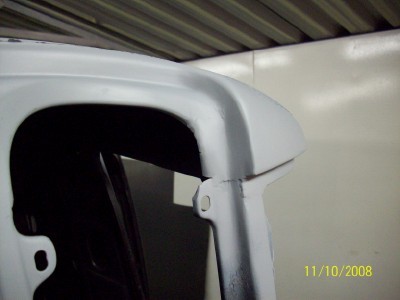
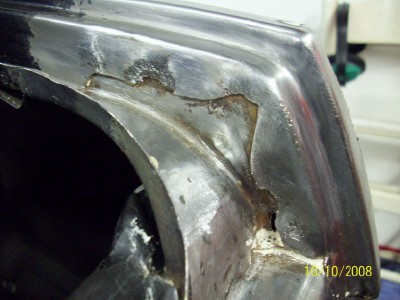
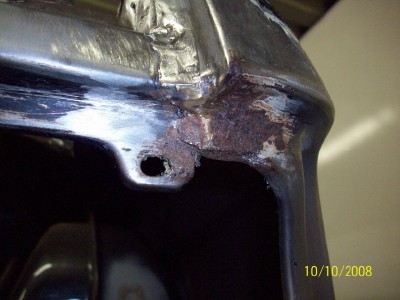
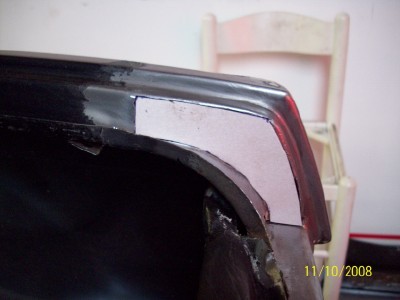
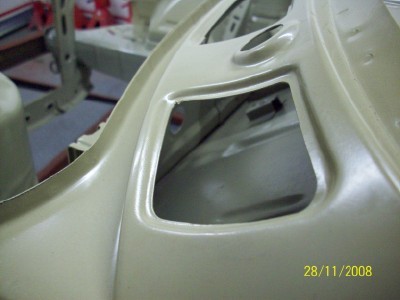
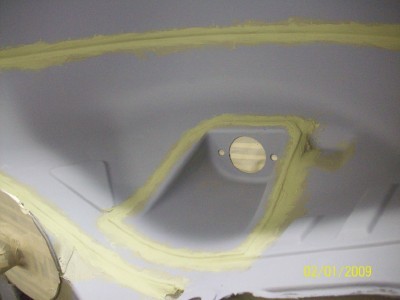
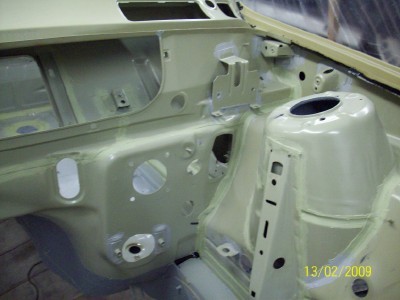
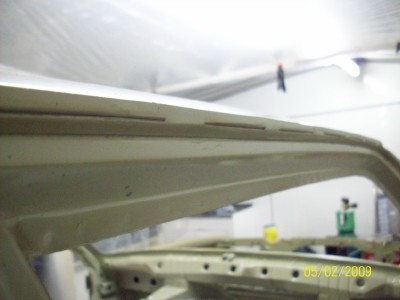
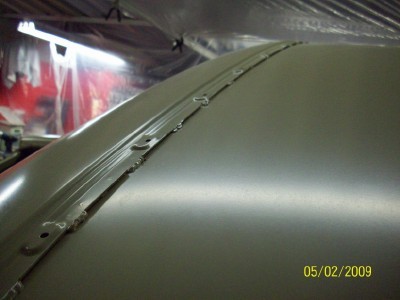
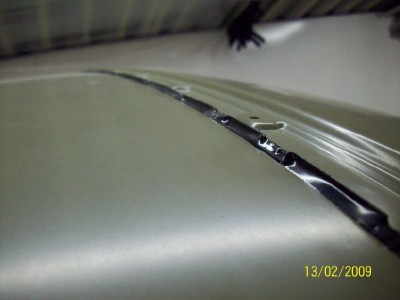
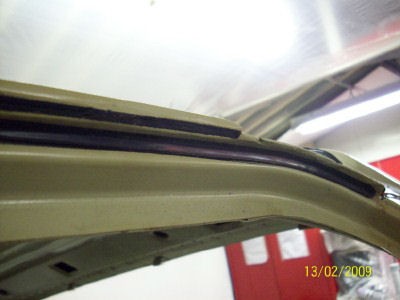
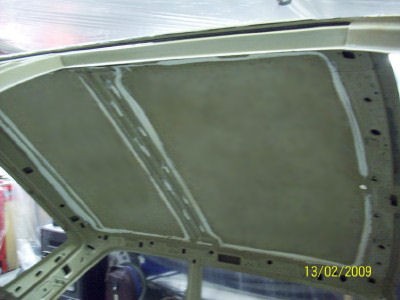
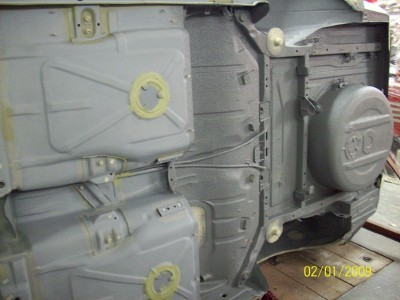
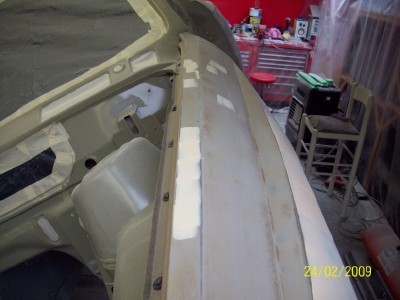
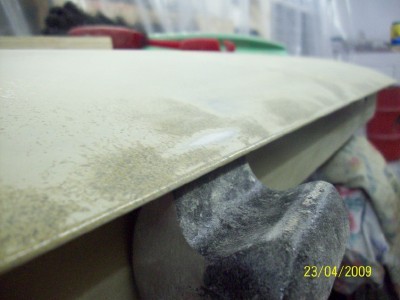
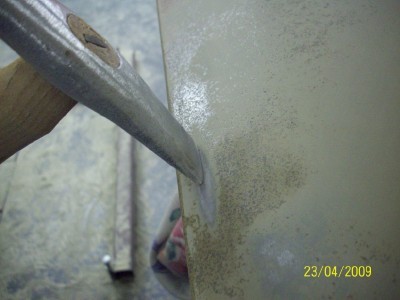
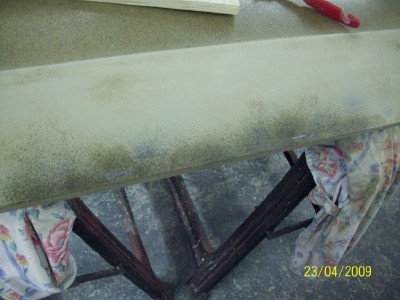
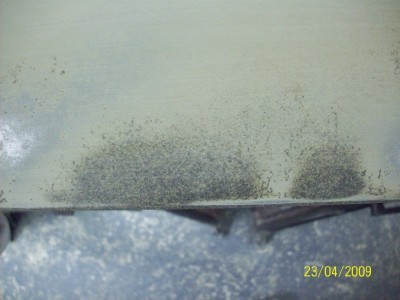
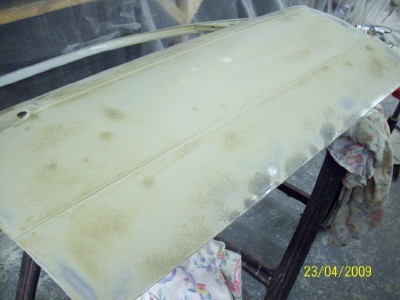
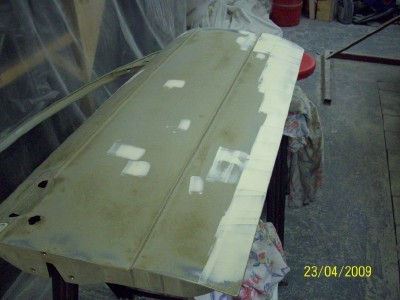
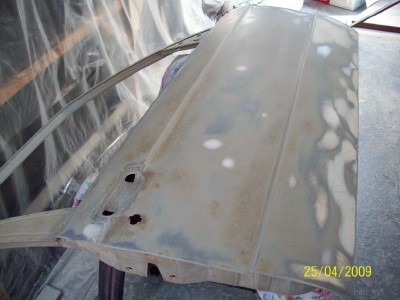
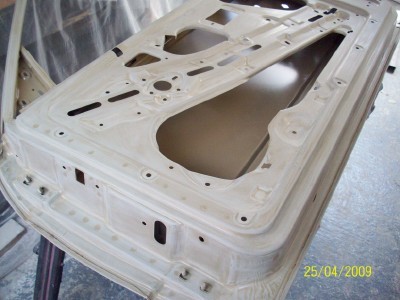
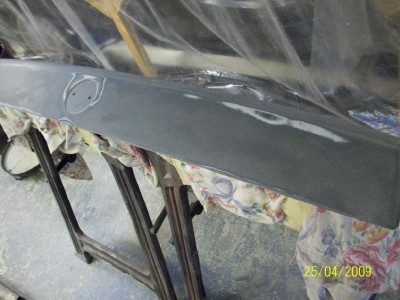
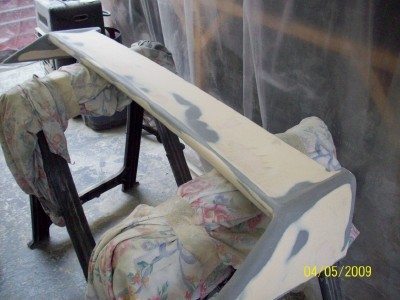
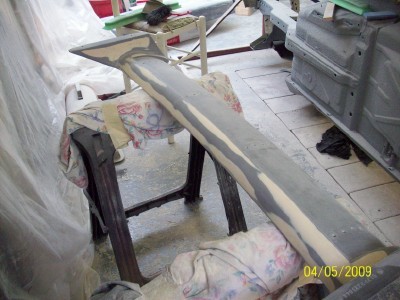
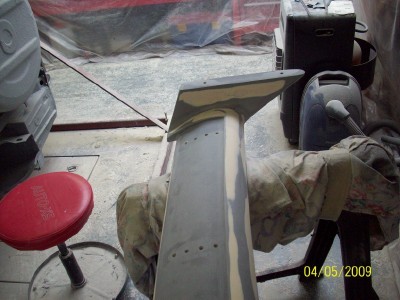
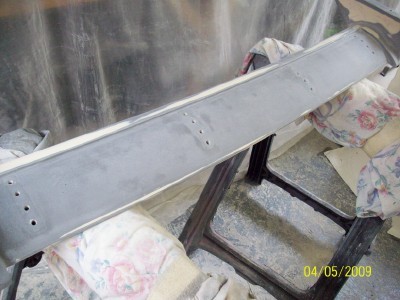
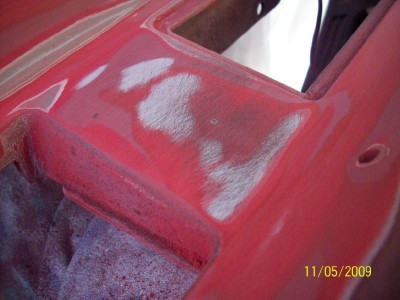
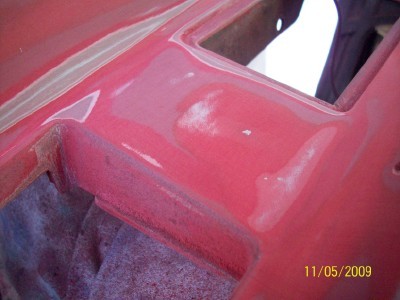
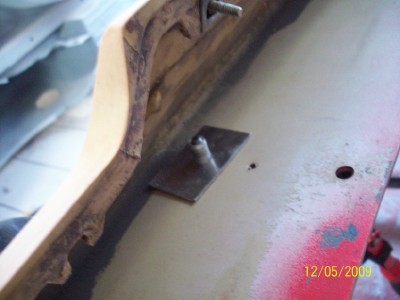
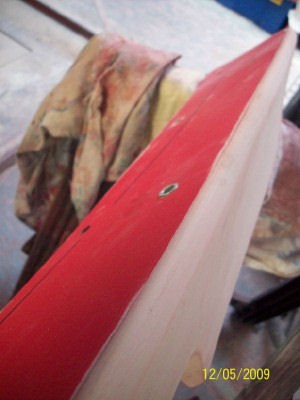
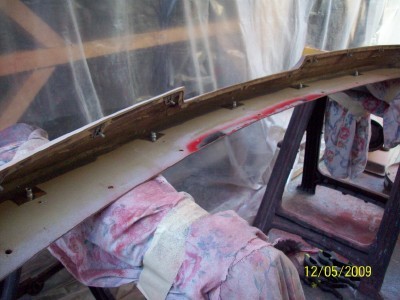
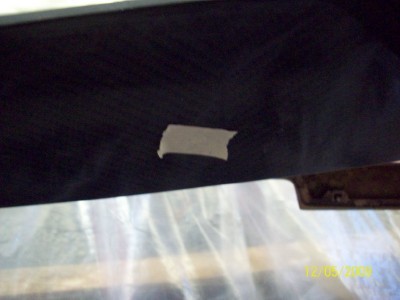
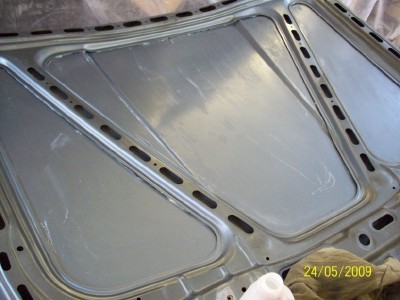
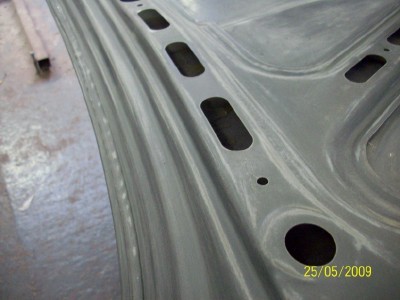
after that it was on to the windscreen scuttle which on the whole was
blemish free, apart from a section on the passenger side at the drain
hole....
when wire brushed back it was mostly just surface rust, but as access to
view the far side of the panel was poor it was decided to play safe and
cut out and replace.......
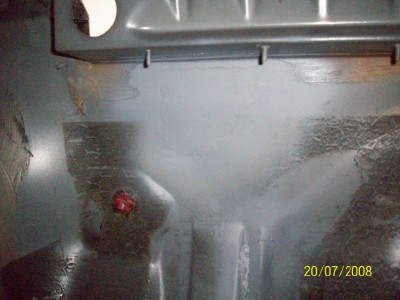
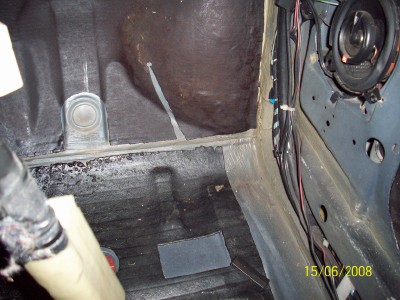
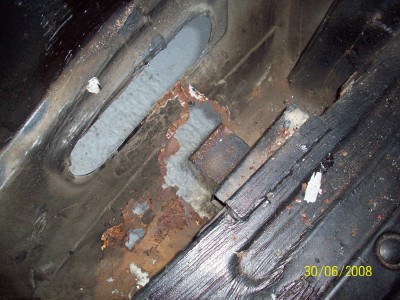
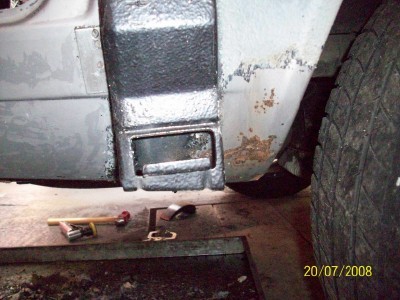
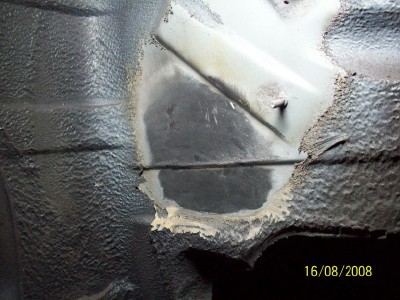
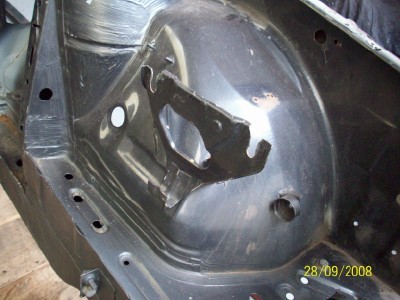
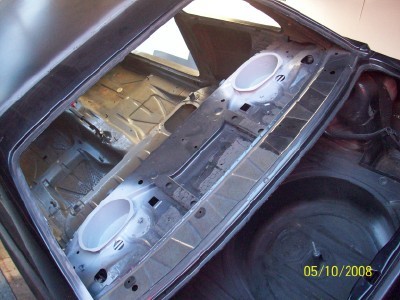
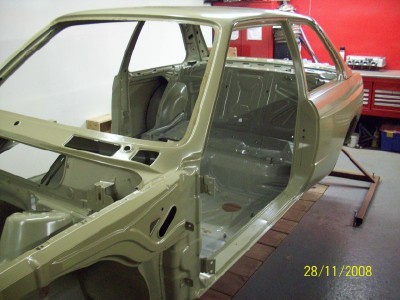
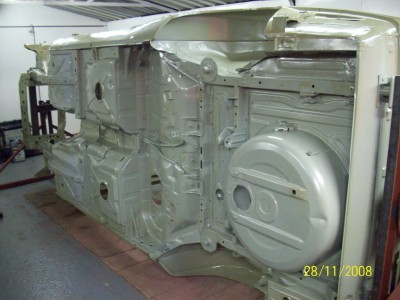
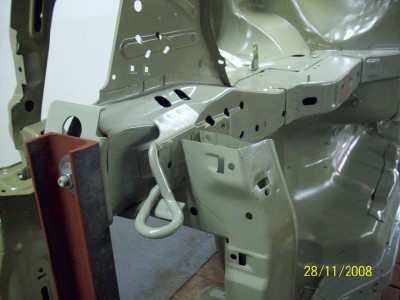
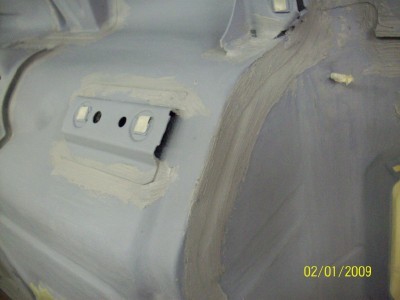
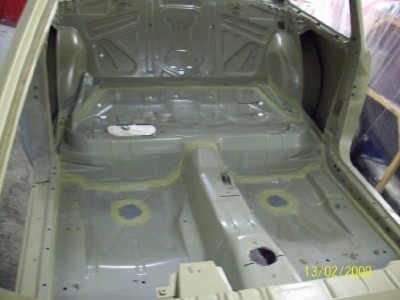
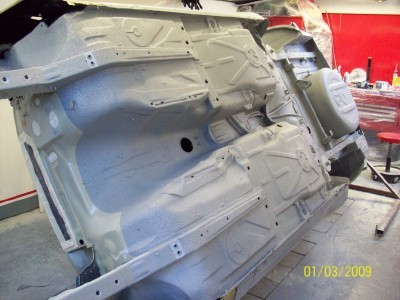
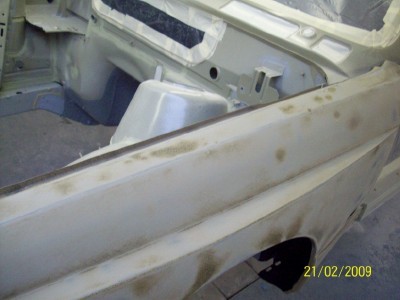
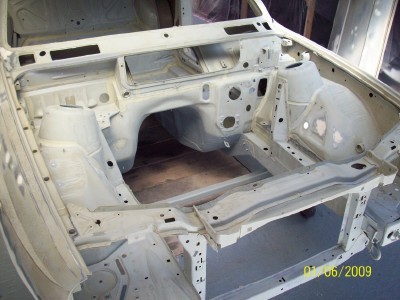
next up the foot wells, having had the carpets out a year ago as a result
of a heater matrix leak I was reasonably confident that she wasn't a
Flintstone mobile and that the floors were still fairly well intact.
And sure enough she still looked presentable from the inside.....
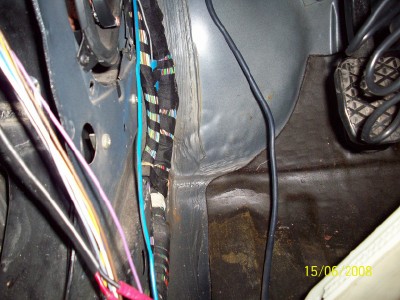
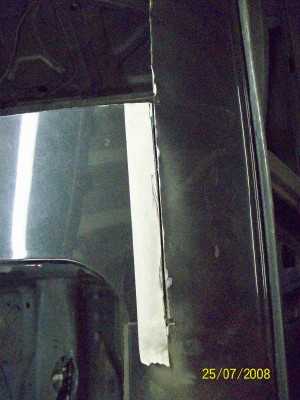
but some routing around underneath revealed some less than pristine
metal, first up was the front of the drivers side inner sill panel, seen here
with the spot welds drilled and section nicked for removal.....
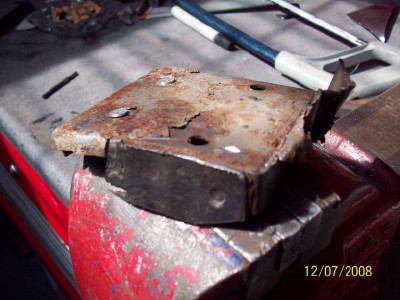
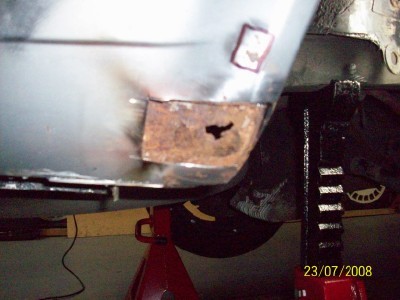
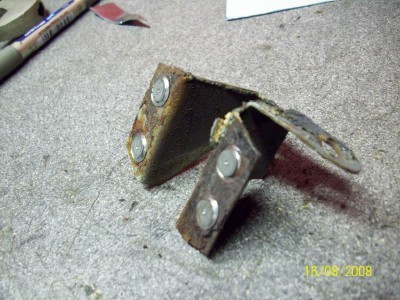
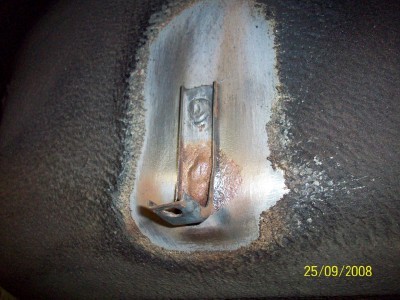
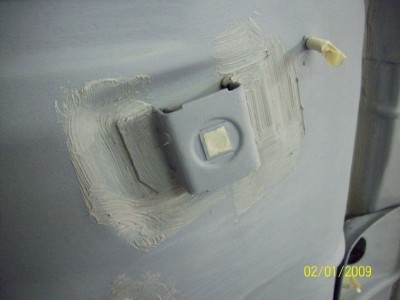
then it was on to the passenger side which was a little more involved.
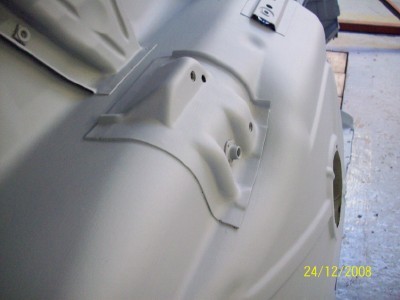
At some stage the seamsealer had given way around the front jacking
box and allowed the elements in on top of the box section. The box
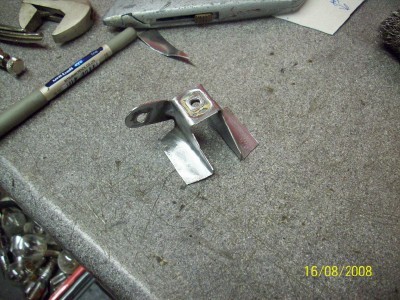
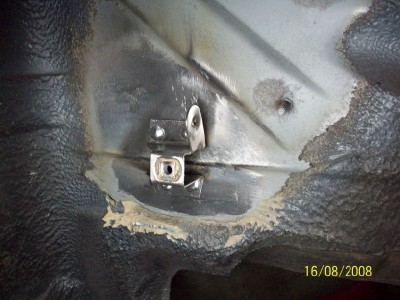
section was finished......
but thankfully it hadn't taken to much of the floor with it. Again to be
safe anywhere that had signs of even slight surface rust was cut
to make way for new metal......
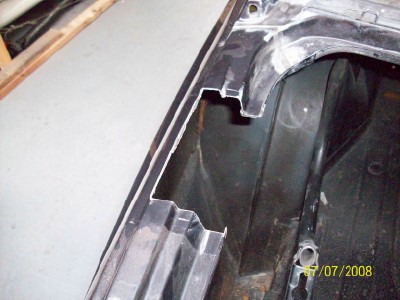
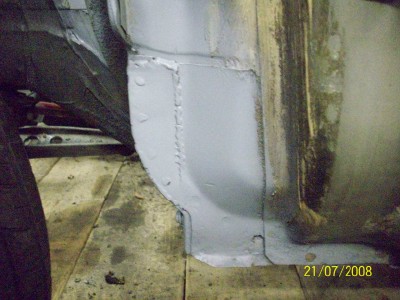
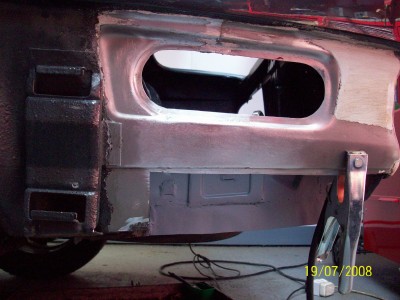
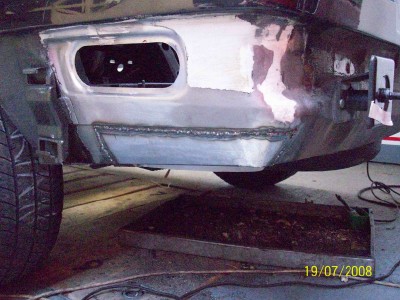
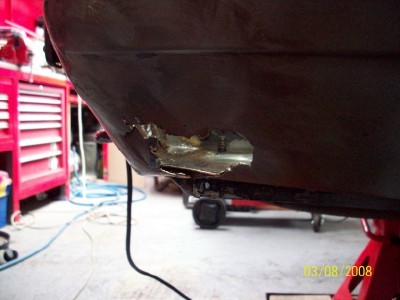
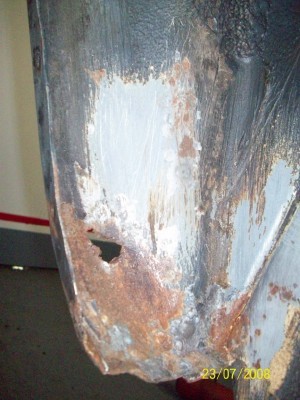
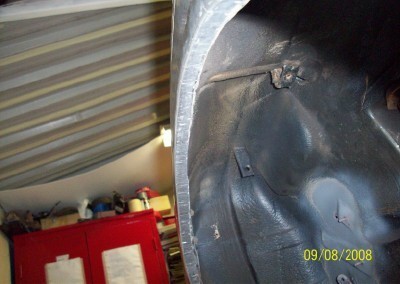
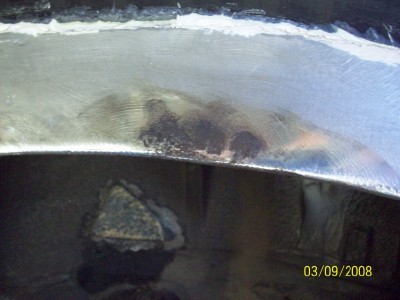
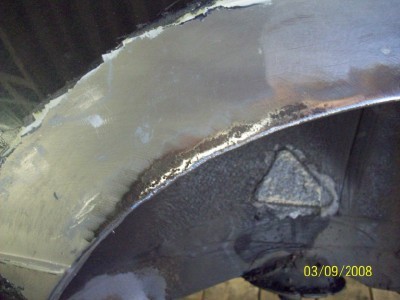
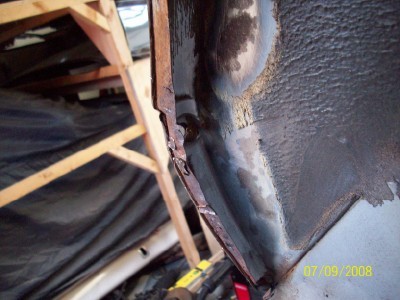
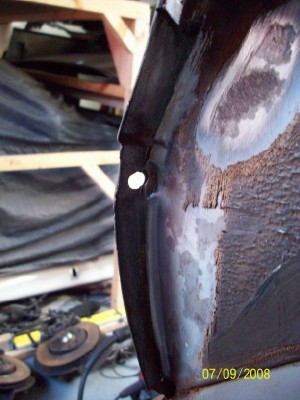
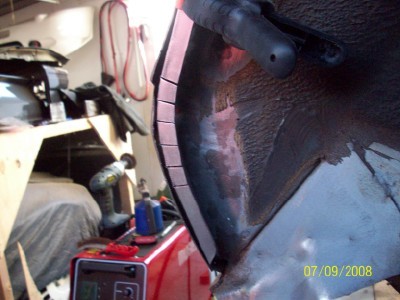
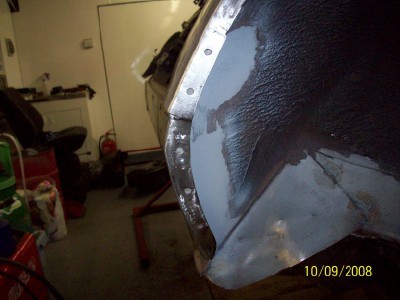
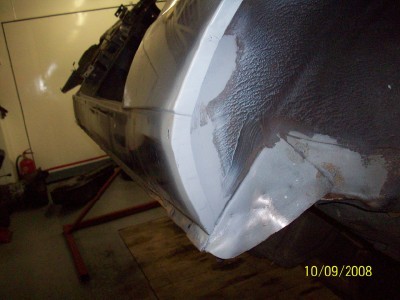
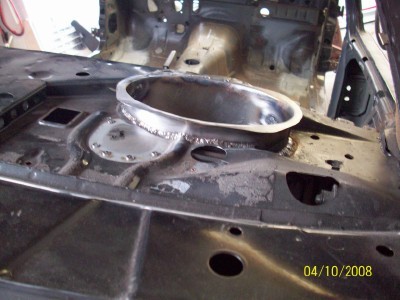
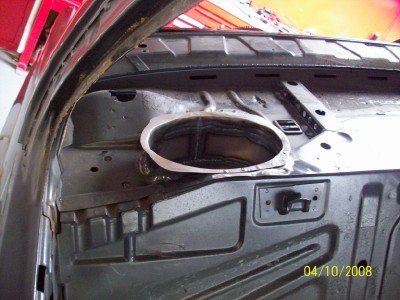
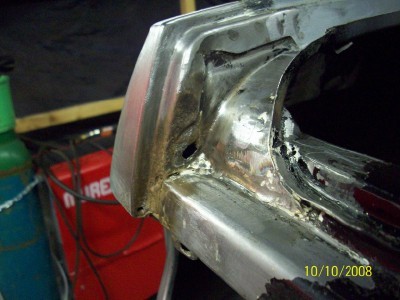
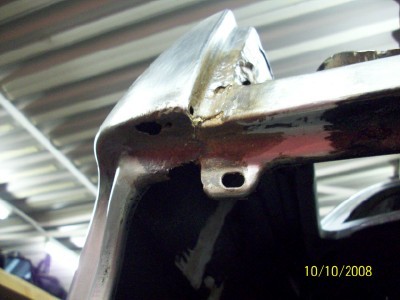
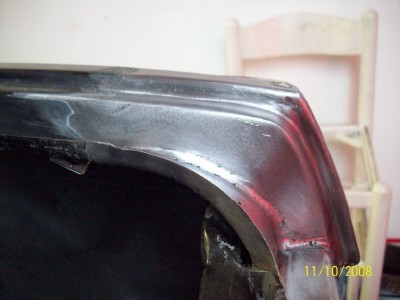
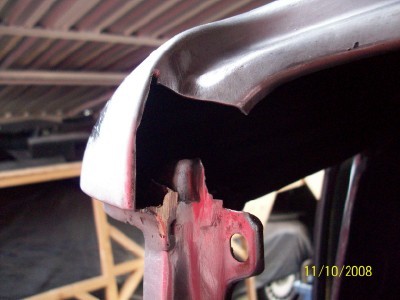
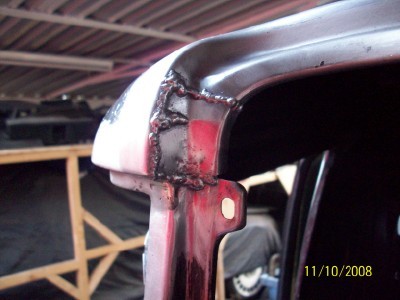
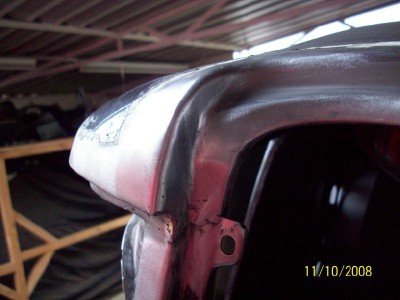
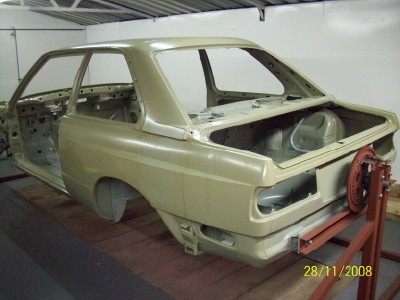
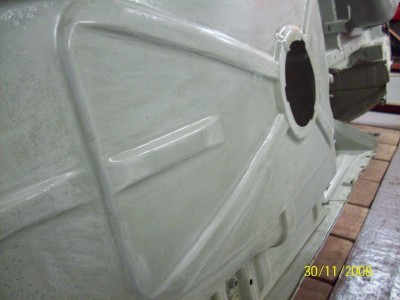
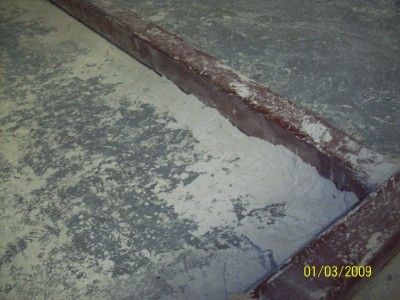
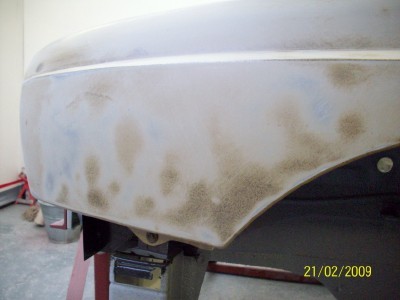
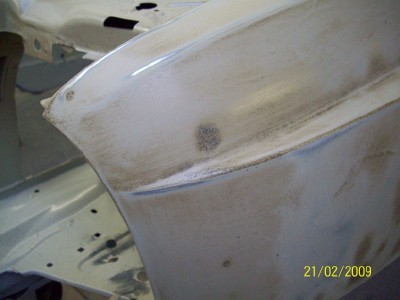
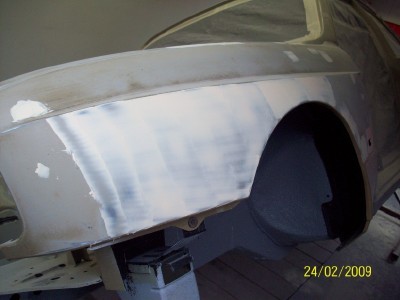
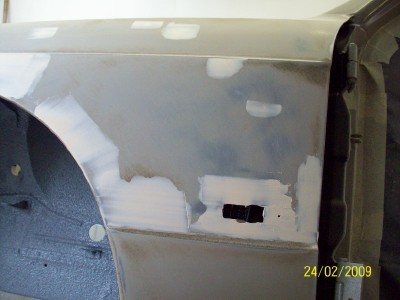
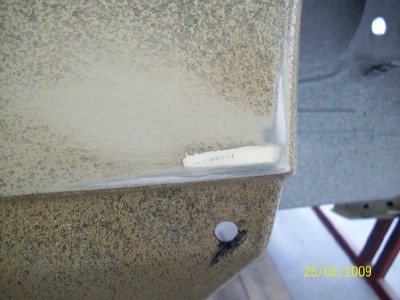
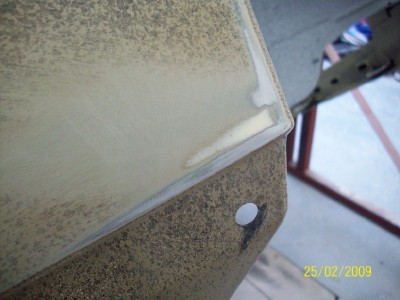
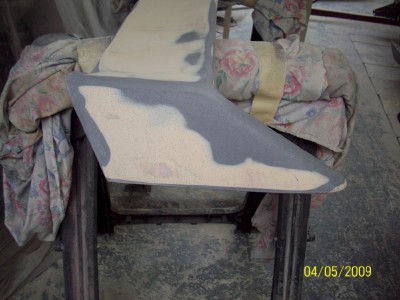
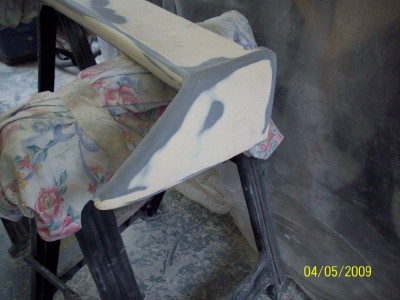
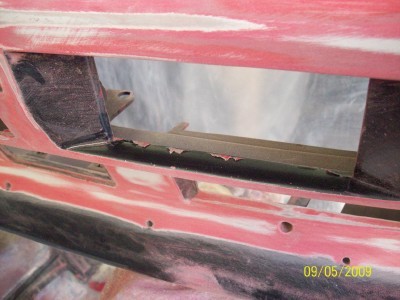
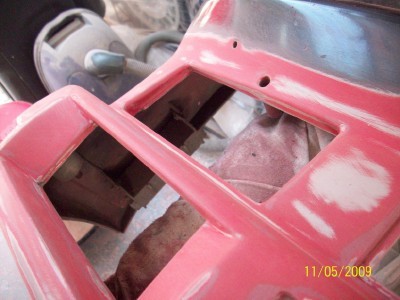
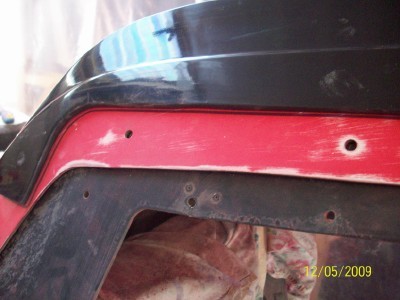
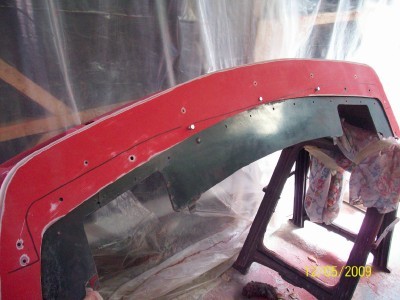
after that it was back again to that rear quarter panel repair and the
rusted section hidden behind the back bumper. Surprisingly we didn't
have to wait for the wire brush to find out the extent of the rust here....
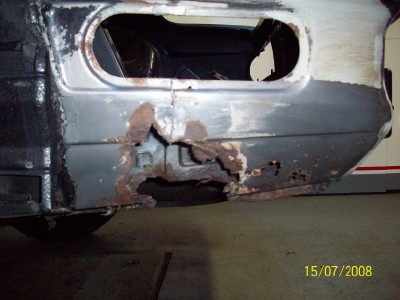
again cut out all that was coloured that expensive shade of browny
orange...
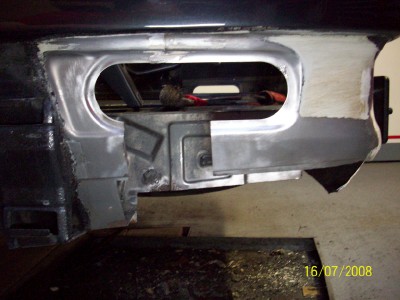
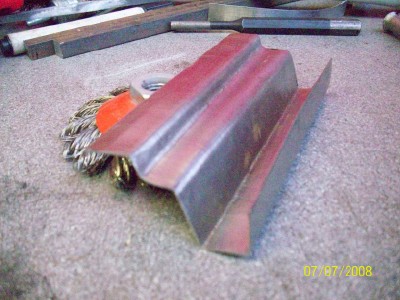
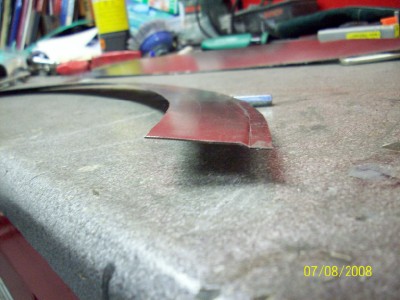
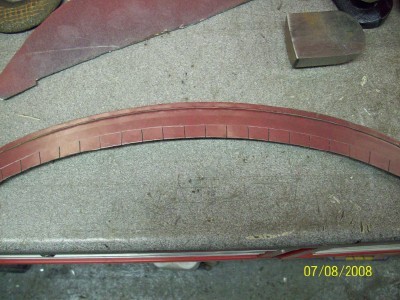
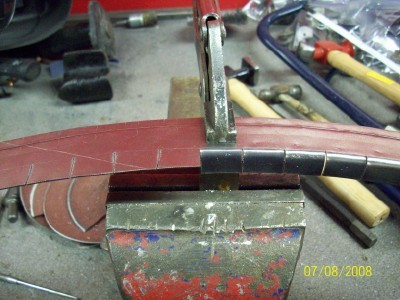
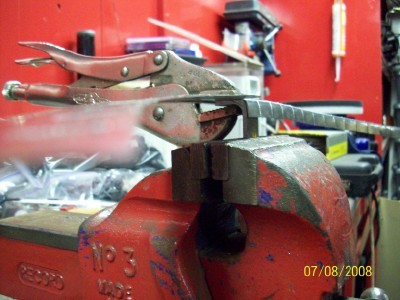
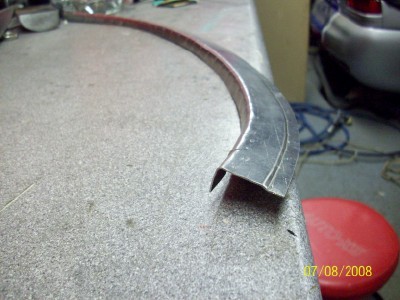
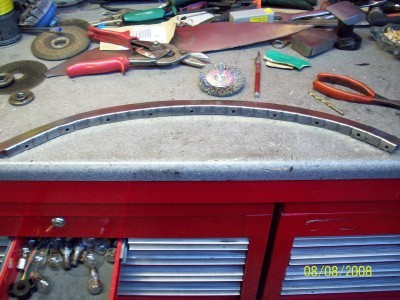
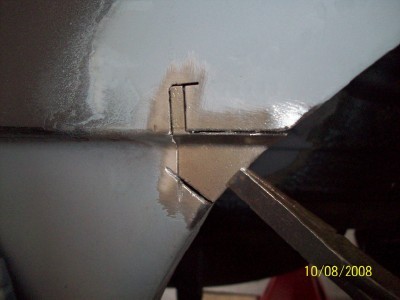
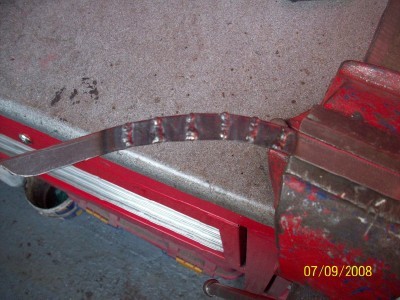
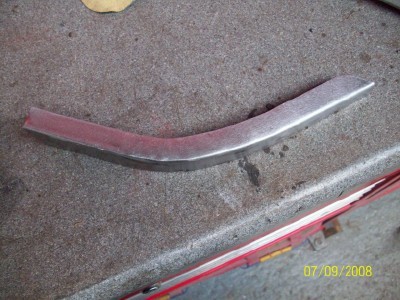
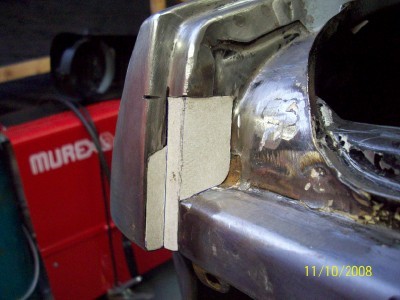
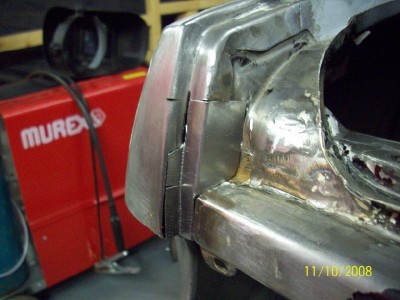
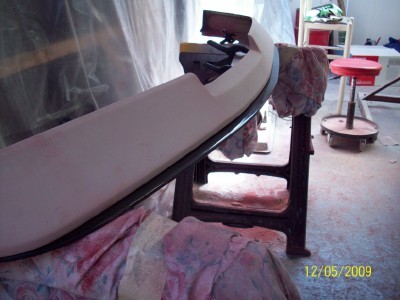
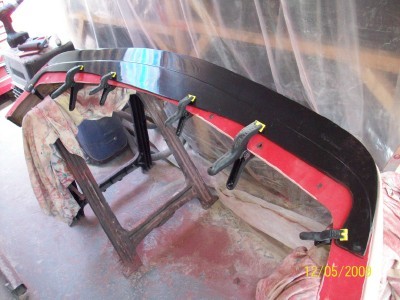
and make up some new pieces to fill up the holes.....
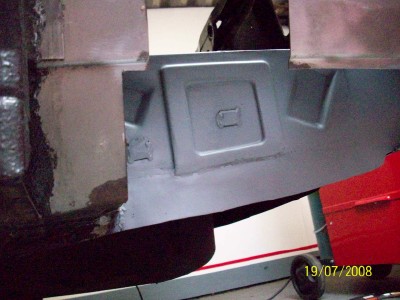
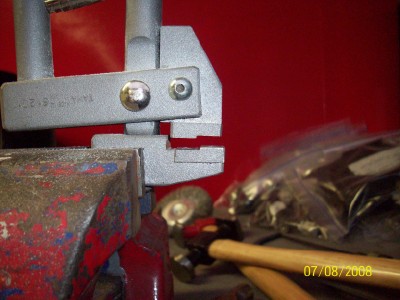
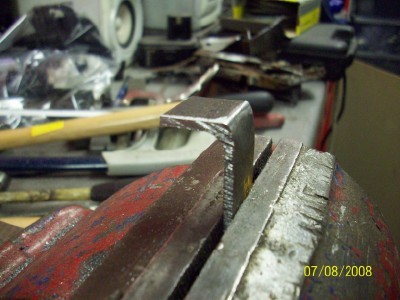
don't mind admitting this one took a few goes to get the bends right...
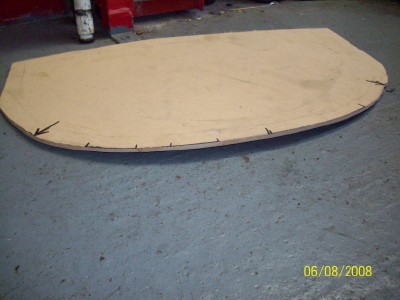
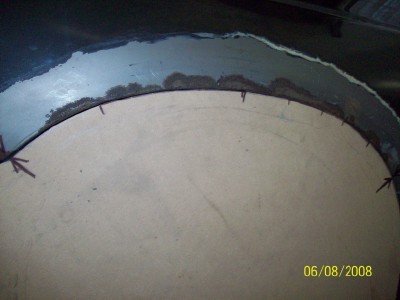
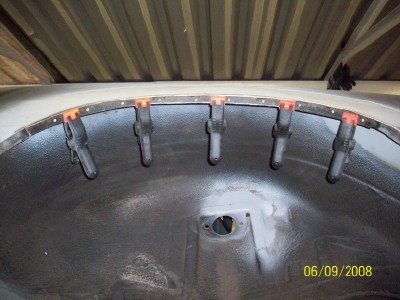
and thats about where it's up to now. Still plenty of rust to go and
still have to figure out what way to go at the rear arches. Loads of
stuff planed for the rebuild but we'll save that for down the line,
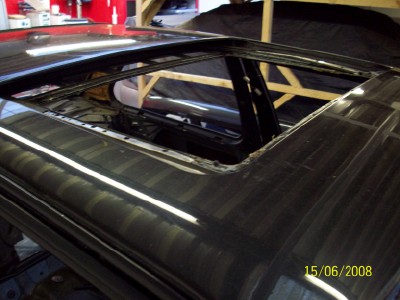
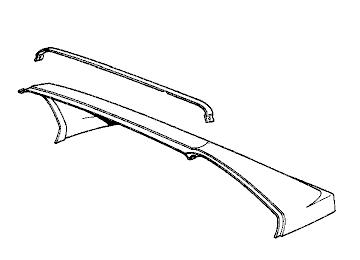
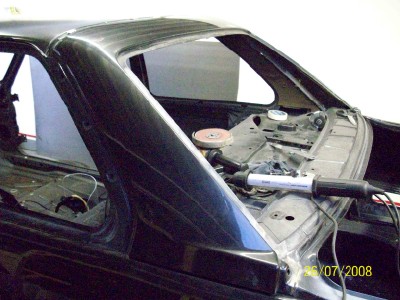
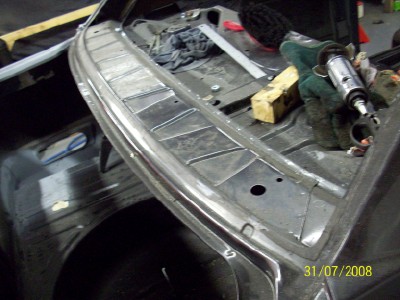
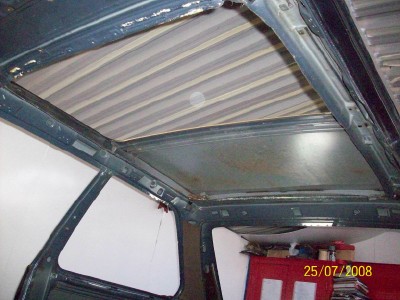
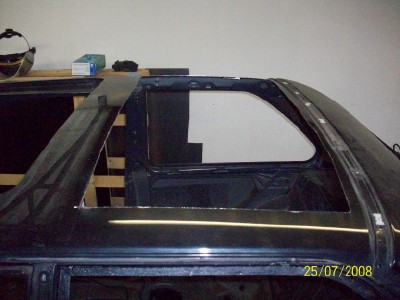
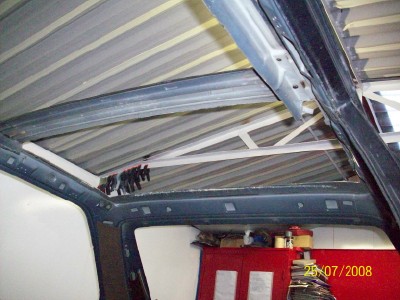
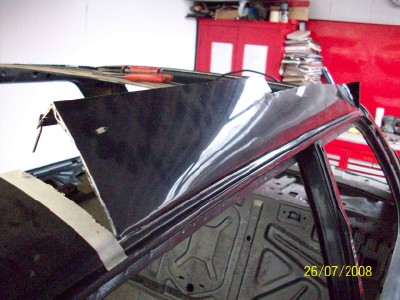
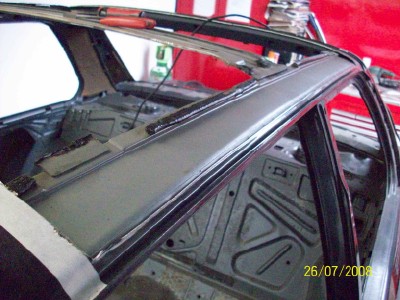
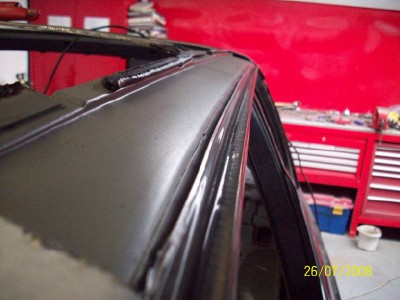
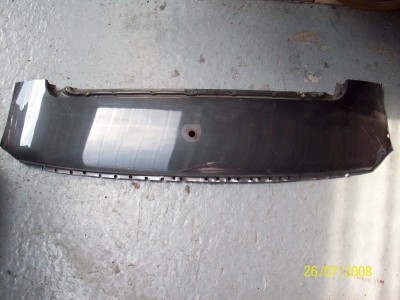
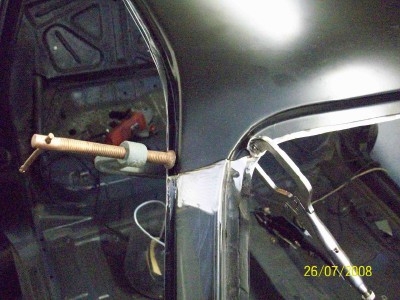
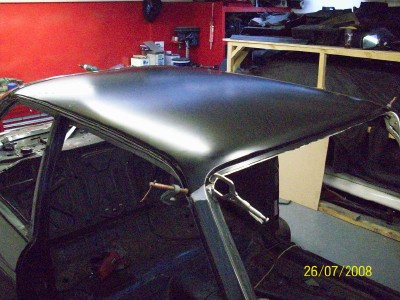
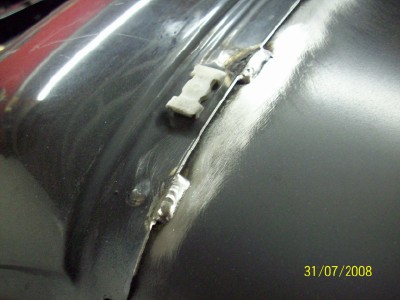
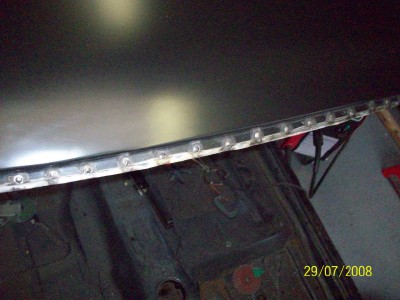
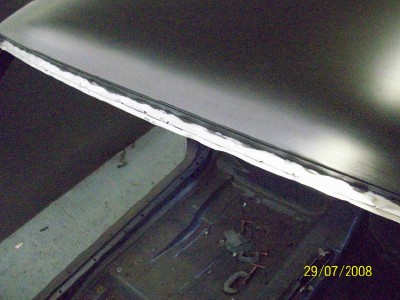
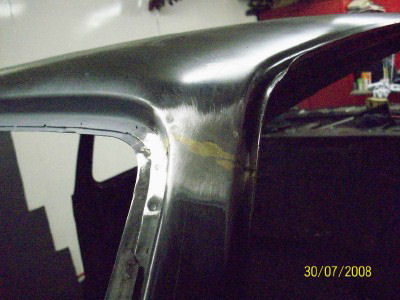
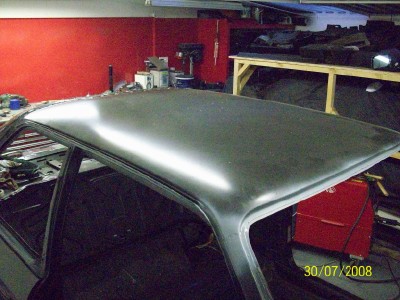
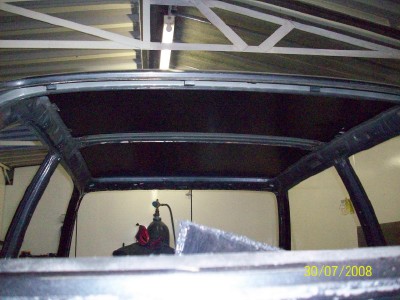
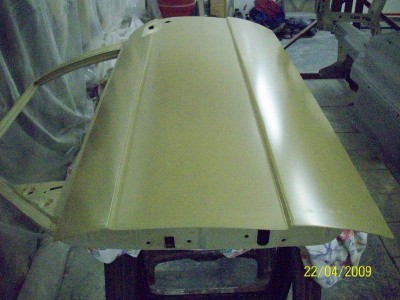
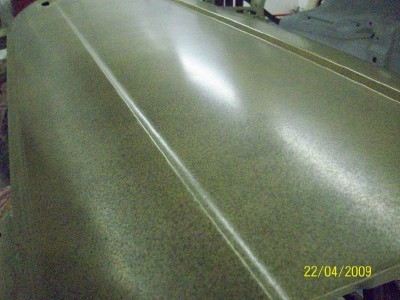
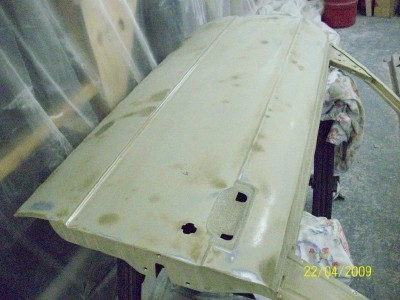
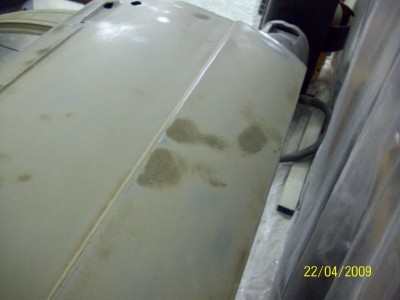
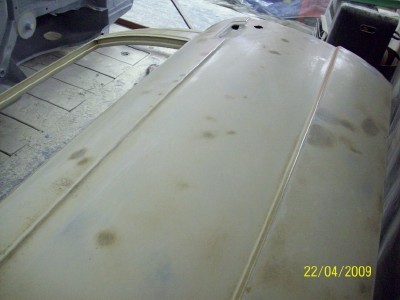
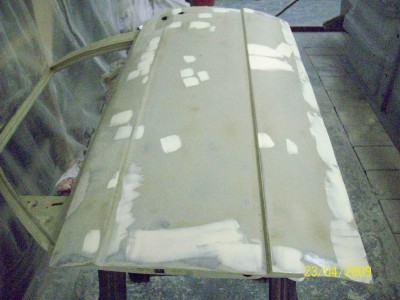
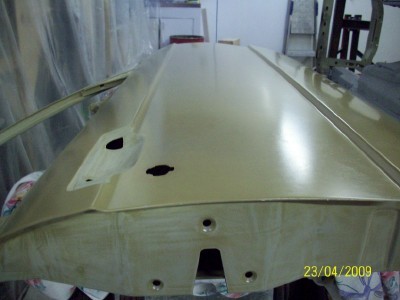
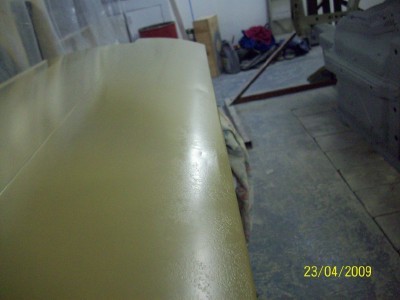
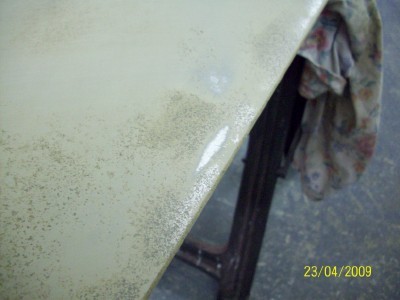
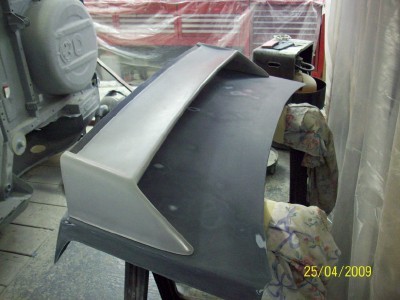
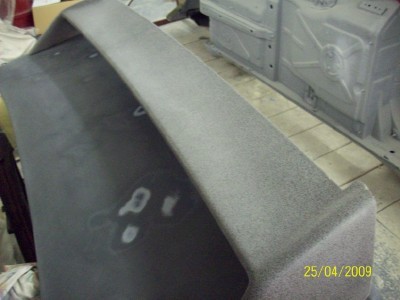
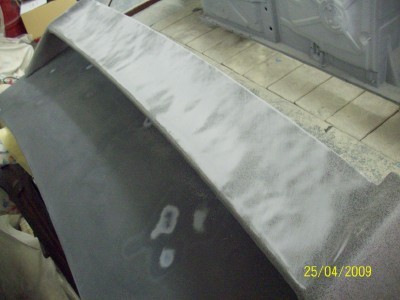
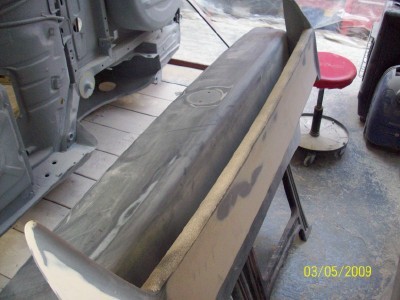
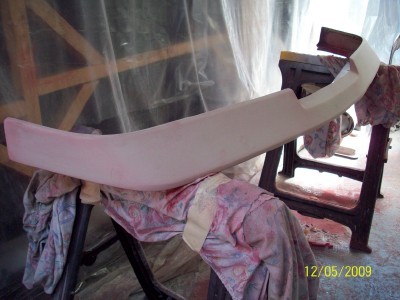
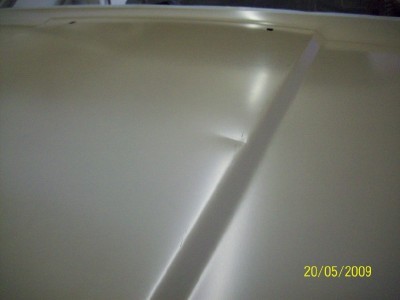
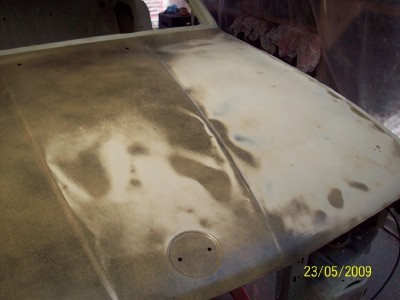
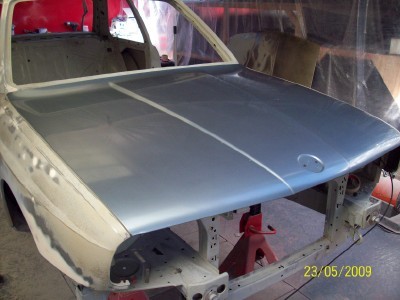
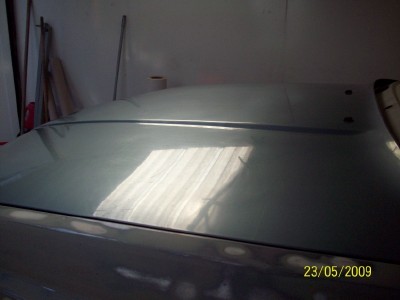
next installment could be fun though, as we attempt to swap a perfectly
good sun roof for a freshly purchased non sunroof roof.....
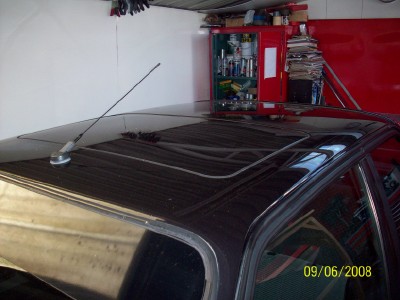

will she end up a soft top??
.
.
.
STAY TUNED
Hello.
First post on here but I've been reading the forum for quite a while now.
Started doing some minor rust repairs on my e30 a while ago and, well,
it just seemed to go on a little. Here's a few details.....
Bought the car in England a couple of years ago now,
despite the reg plate being 1990 it's actually one of the early M3's (1986).
It's a 195bhp with the cat and this is how it looked when I first got it.
Haven't had much time to do a lot with it in the few years since buying
it apart from some wheels and routine service work. This is how she looked
before taking off the road.
Unfortunately although she looks reasonably clean in the pic's the old saying comes to mind
"good from afar but far from good", reason being the dreaded rust had kicked in and was
starting to munch it's way through the chassis. Also there was quite a few dings around
the body and the front is severly stone chipped for some reason
the most noticeable of the rust was on the rear arches where it would appear
somewhere during it's life the rear arches were rolled to accommodate larger wheels
and tyres and poorly done..
So we set about getting the car ready for some small rust repairs....
with the amount of stuff coming out of the bm, shelf space was starting to get scarce
so the poor escort has to double up as a fitted wardrobe for the time being ....
right ready to begin......
As mentioned the main reason for taking the car off the road was
the rust on the rear arches, but that was far from the least of the
rust problems. First up was some rust on the drivers side of the boot
under where the rubber seal sits.....
a few years after the car rolled off the production line the rear end
had an unfortunate coming together with a solid object, otherwise
known as a tank slapper. The previous owner had provided all the original
receipts for the main dealer repairs at the time , which showed that it
had a rear drivers side section of the quarter panel changed. Sure enough
real oem confirmed that a replacement section of the rear quarters were
available, and I have to admit that whoever done the repair done it well
at the time, I certainly couldn't have done better. Unfortunately the ravages of
time(17years) and salty water has taken it's toll on the repair
and while the main part of the repair (the face of the quarter panel) is
still perfect, the sections under the boot lid and under the bumper have
rusted badly.
So, first thing is to clean away the paint and see how much metal needs
to come out.....
mark up and cut out the rotten area.....
and then make up a replacement section from some shiny new sheet
steel...
and weld it in........
i'm not gifted enough to form and weld in the repairs seemless with the
original panel so the patches are welded in slightly below the surface level
to allow for a small skim of filler to blend the repairs.
next up was a small hole in the bulkhead under the battery tray about the size
of a cue tip which when wire brushed with the angle grinder opened
up to reveal itself to be a little larger......
same story again, mark, cut out, make cardboard template, transfer to
metal, tack in place, weld up, sand down welds and apply primer to bare
metal.......
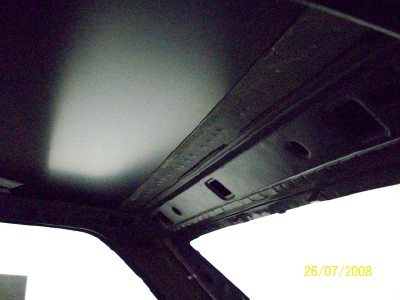
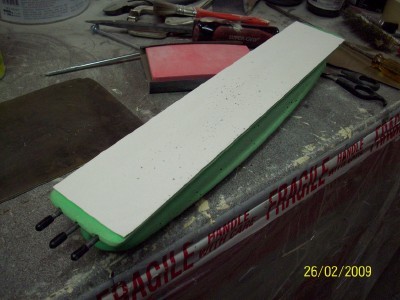
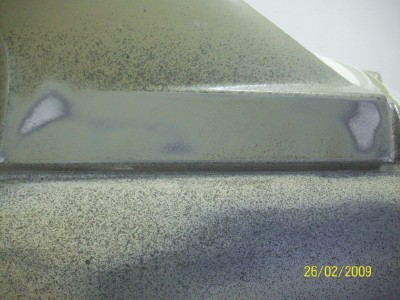
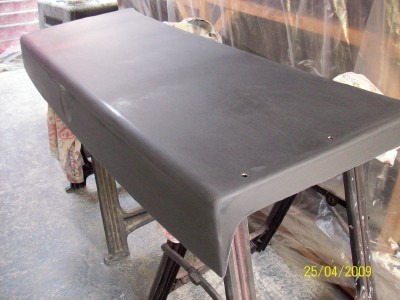
after that it was on to the windscreen scuttle which on the whole was
blemish free, apart from a section on the passenger side at the drain
hole....
when wire brushed back it was mostly just surface rust, but as access to
view the far side of the panel was poor it was decided to play safe and
cut out and replace.......
next up the foot wells, having had the carpets out a year ago as a result
of a heater matrix leak I was reasonably confident that she wasn't a
Flintstone mobile and that the floors were still fairly well intact.
And sure enough she still looked presentable from the inside.....
but some routing around underneath revealed some less than pristine
metal, first up was the front of the drivers side inner sill panel, seen here
with the spot welds drilled and section nicked for removal.....
then it was on to the passenger side which was a little more involved.
At some stage the seamsealer had given way around the front jacking
box and allowed the elements in on top of the box section. The box
section was finished......
but thankfully it hadn't taken to much of the floor with it. Again to be
safe anywhere that had signs of even slight surface rust was cut
to make way for new metal......
after that it was back again to that rear quarter panel repair and the
rusted section hidden behind the back bumper. Surprisingly we didn't
have to wait for the wire brush to find out the extent of the rust here....
again cut out all that was coloured that expensive shade of browny
orange...
and make up some new pieces to fill up the holes.....
don't mind admitting this one took a few goes to get the bends right...
and thats about where it's up to now. Still plenty of rust to go and
still have to figure out what way to go at the rear arches. Loads of
stuff planed for the rebuild but we'll save that for down the line,
next installment could be fun though, as we attempt to swap a perfectly
good sun roof for a freshly purchased non sunroof roof.....
will she end up a soft top??
.
.
.
STAY TUNED

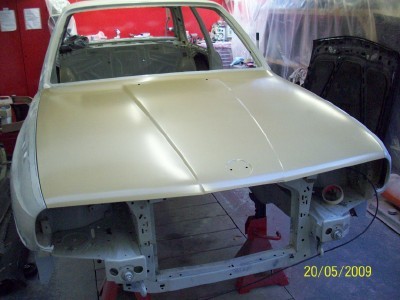
 we moved on swiftly.
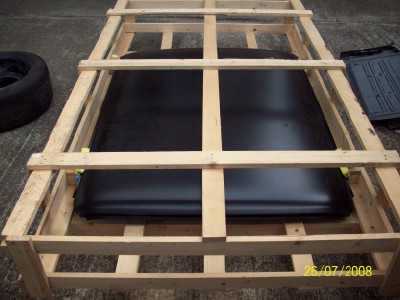


Comment