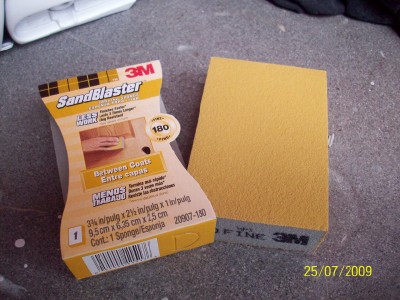
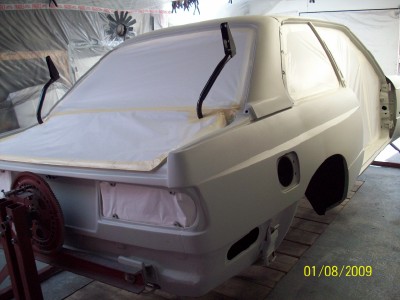
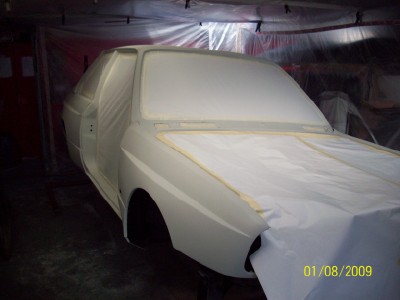
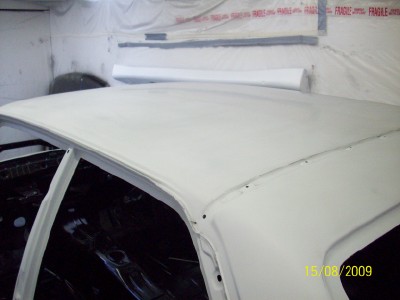
After the paint has had time to dry and settle it's on to the application
of this stuff...

It's a powder guide coat as opposed to the aerosol type one used
earlier. The main difference being that the spray on one will help
show up dips and bumps in the panel work while sanding, while this stuff
will show up everything till the surface is sanded completely flat.
The bottom part contains the coating which is like lead pencil dust,
while the top half is the sponge you use to apply it....
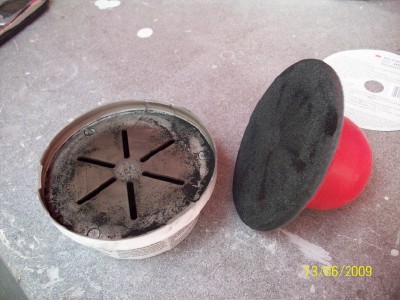
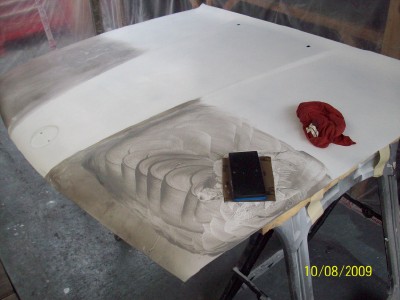
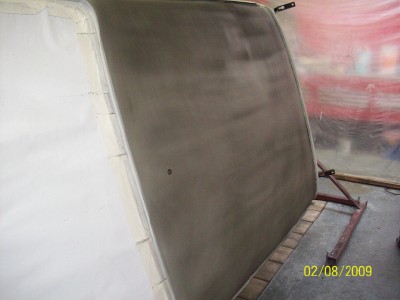
pick a panel....
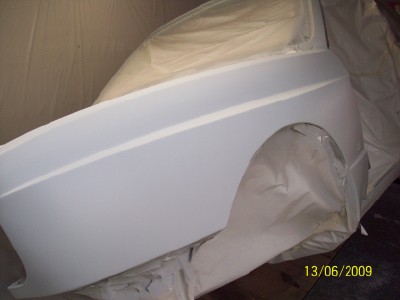
and start rubbing it on....
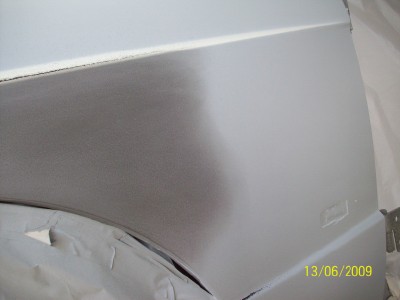
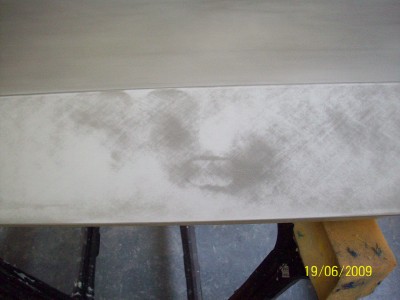
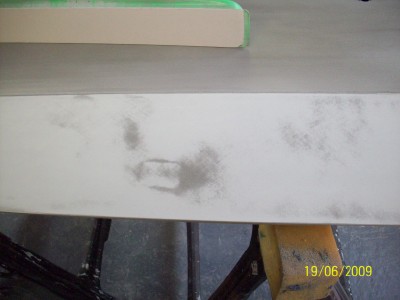
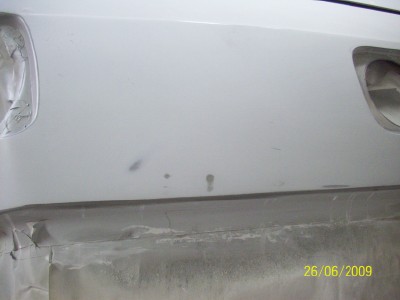
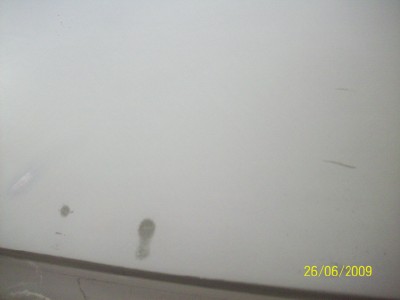
and if you look closely you'll see just how far from perfect the nice
coating of primer is....
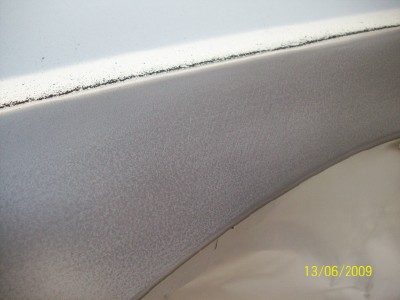
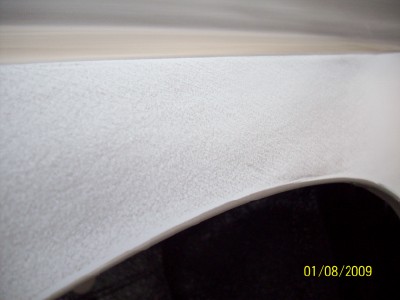
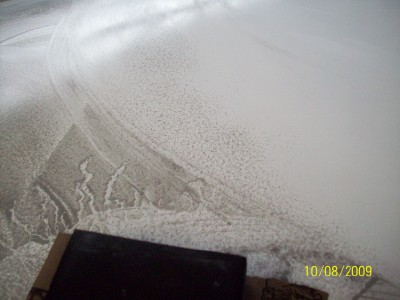
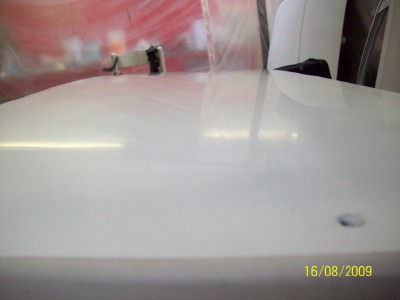
what you can notice is that paint doesn't go on silky smooth but rather
builds up like a coating of millions of minuscule little snow flakes leaving
a sort of orange peal effect. The other thing you can notice is the remaining
scratches from the 80 and 120 grit sanding. So, with the whole panel
covered in guide coat....
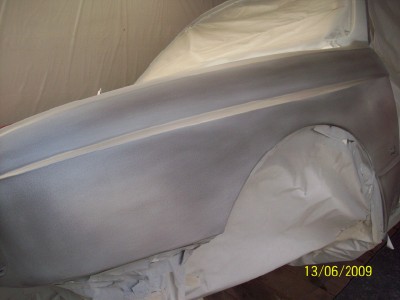
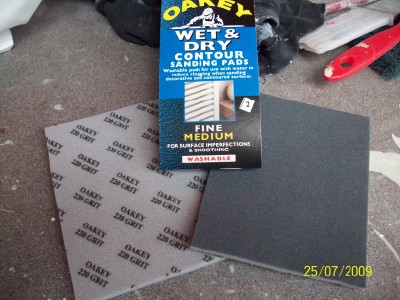
it's out with the long sanding blocks again and together with some
320 grit sand paper it's back to everybody's favourite pastime.
More f**king sanding....
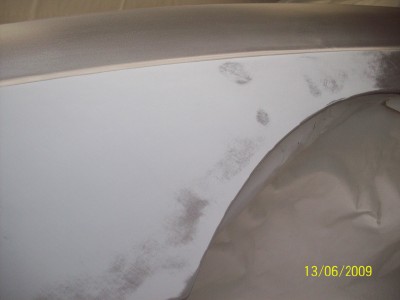
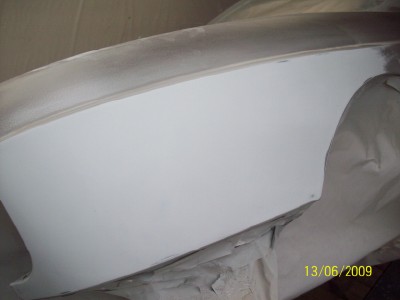
the 320 grit is fairly fine grit paper and blocks are being used fairly
lightly compared to earlier but there's still a bit of scope to flatten
out any small imperfections as you can see there's a nice thickness
of paint to work with...
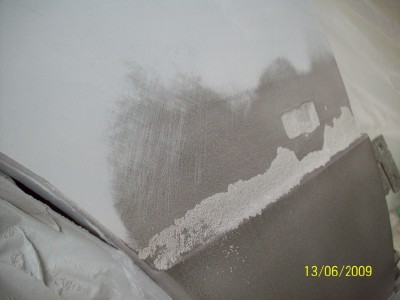
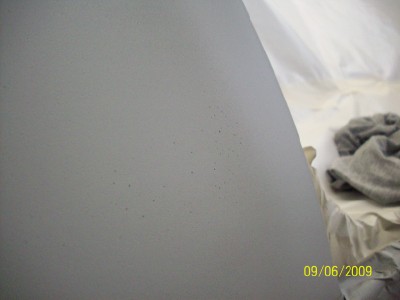
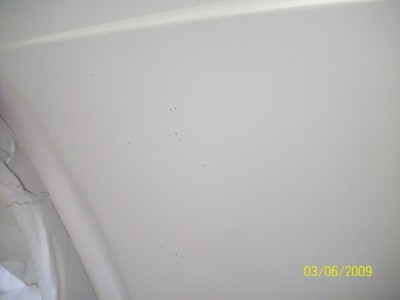
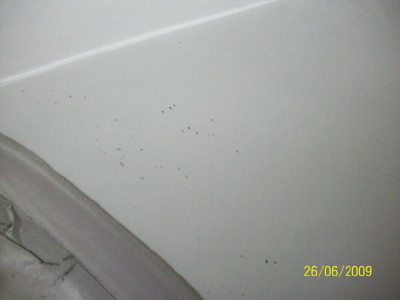
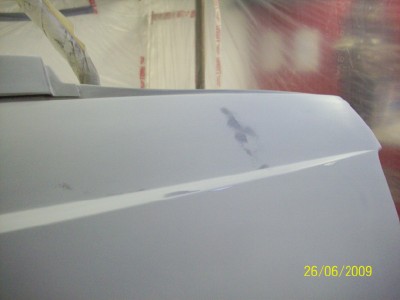
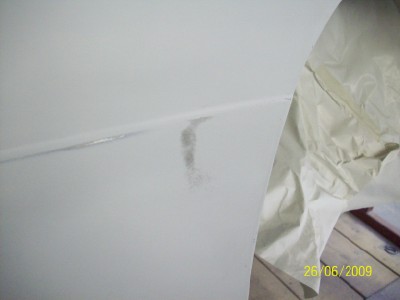
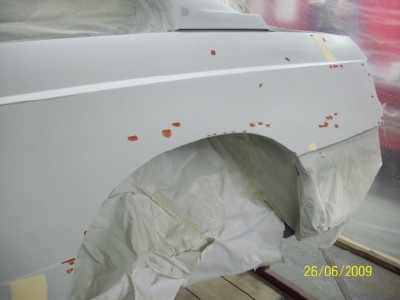
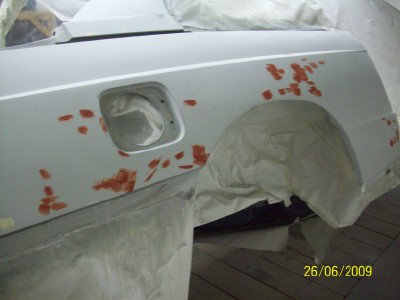
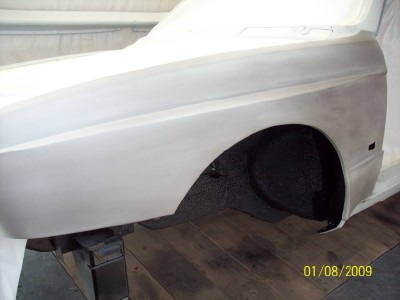
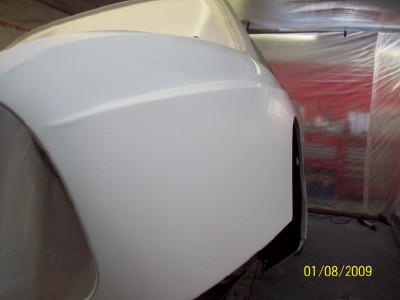
to illustrate this, the rear quarter panel was showing up a lot of scratch marks
left over from the earlier 80 and 120 grit paper....
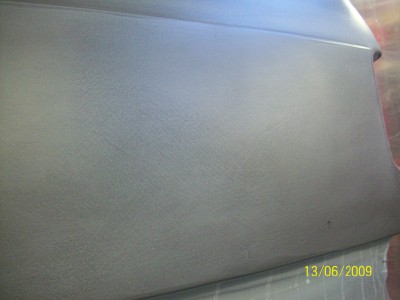
and as this is blocked down you can see the marks slowly starting
to go.....
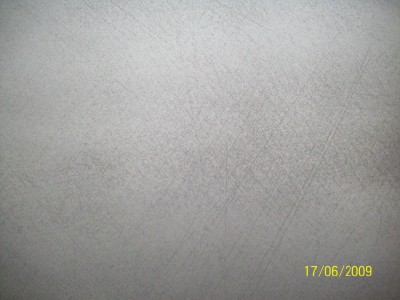
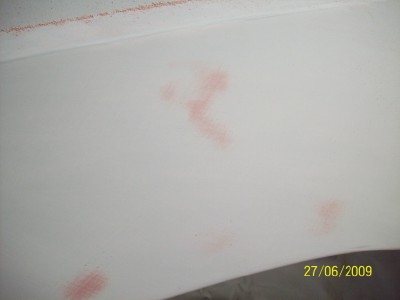
first the lighter 120 marks go, just leaving the deeper 80 grit....
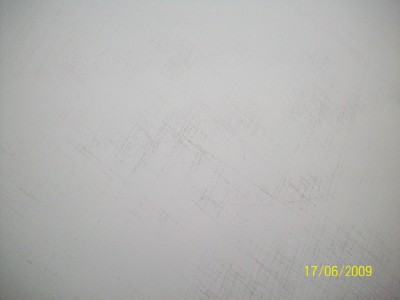
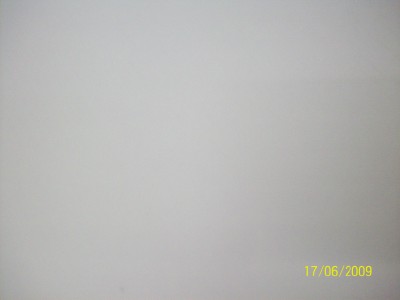
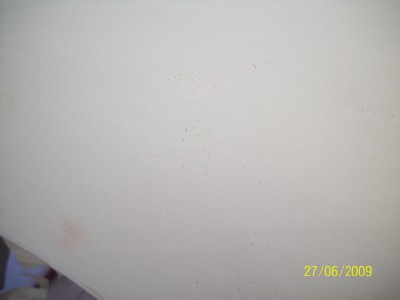
and after some more rubbing they go too, and if you've applied enough
coatings of the filler primer you'll get them out before breaking through
to the metalwork underneath. (we used 2 heavy coats)....
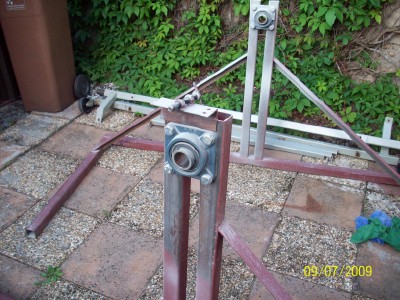
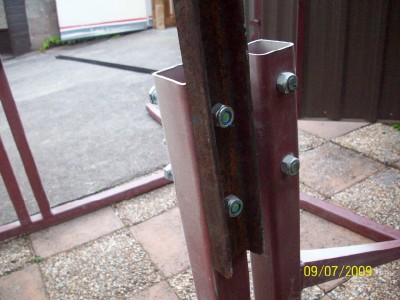
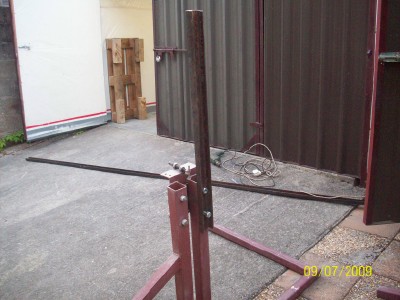
at this stage it's probably worth pointing out that if your planning on
having a go at something like this then buy, build or rob yourself
a spit. Being able to turn the car to any angle you want to make
yourself more comfortable while sanding is priceless.
Sanding is a horrible enough job without adding a broken back into
the equation.
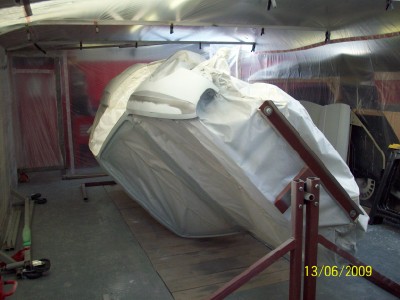
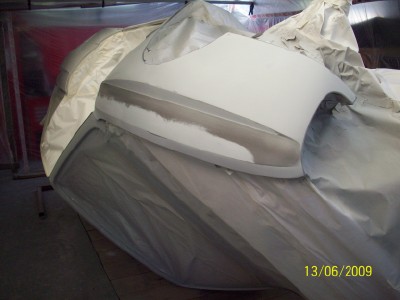
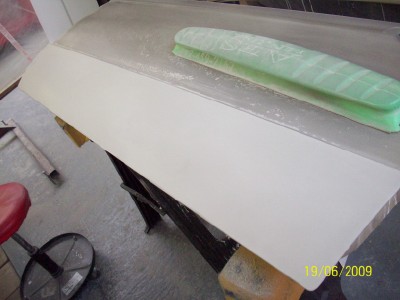
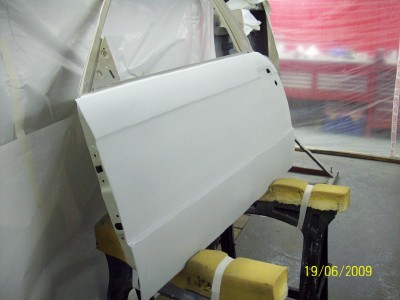
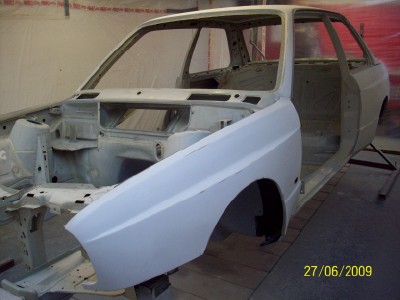
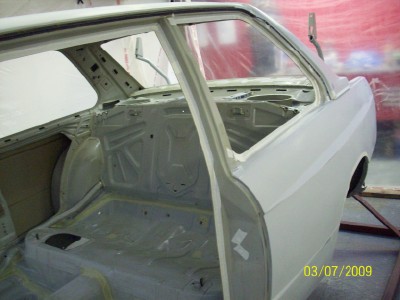
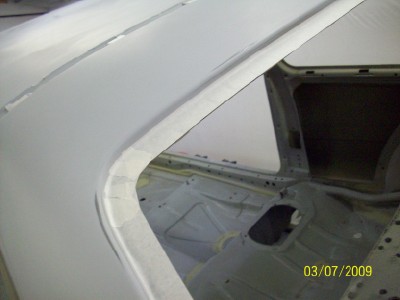
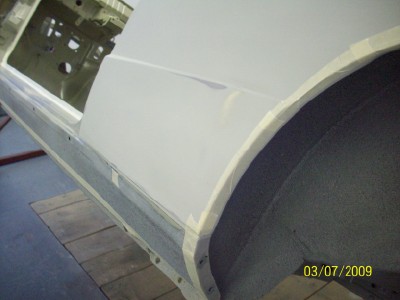
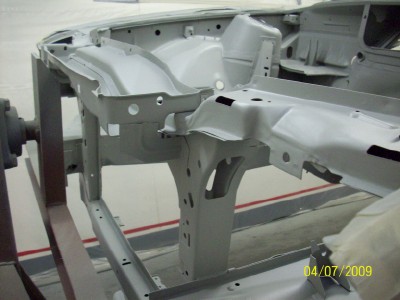
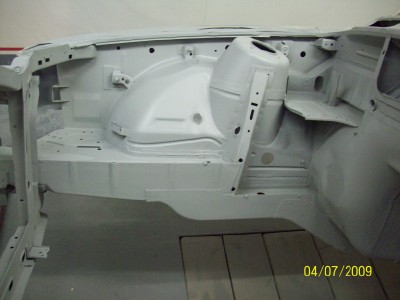
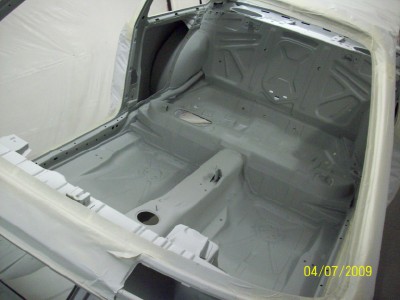
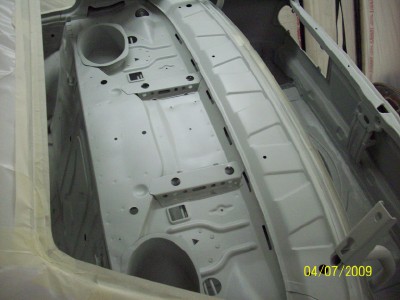
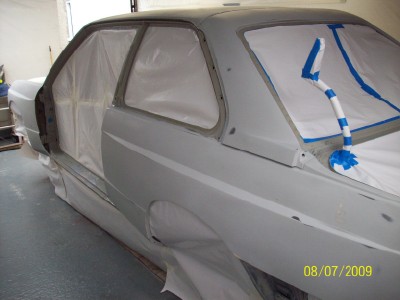
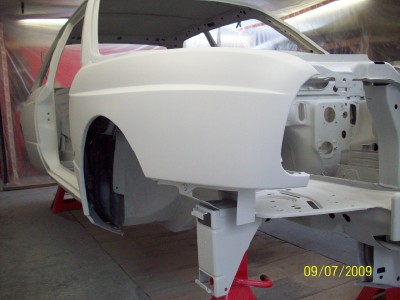
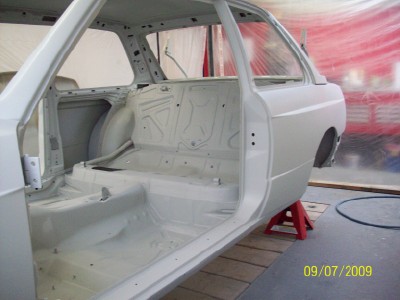
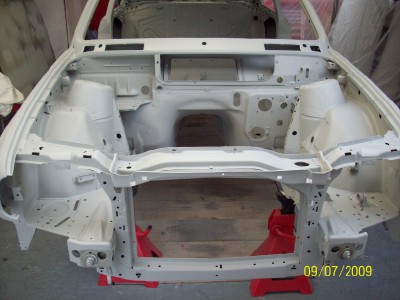
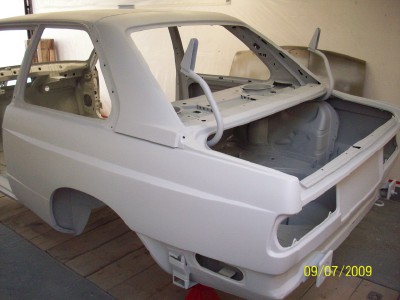
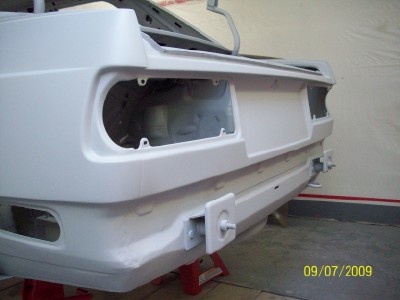
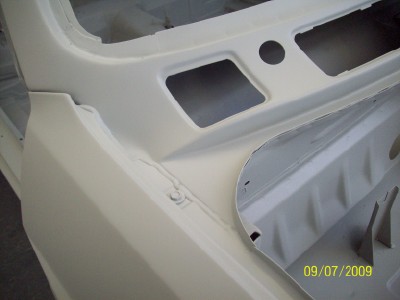
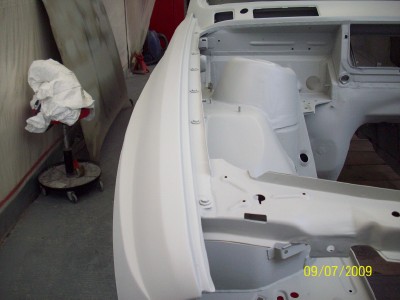
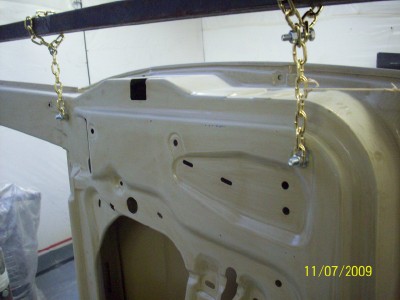
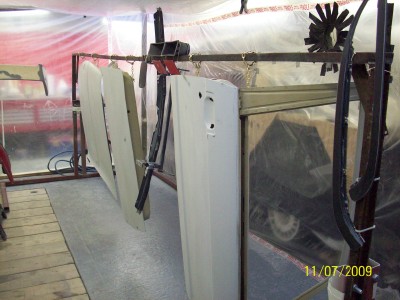
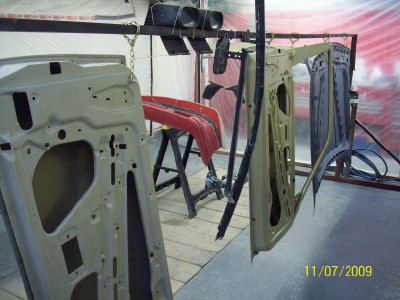
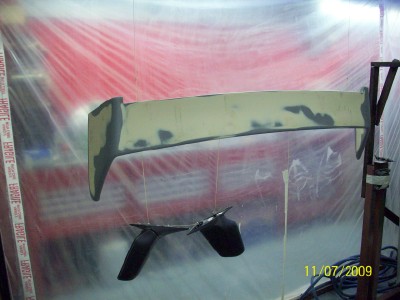
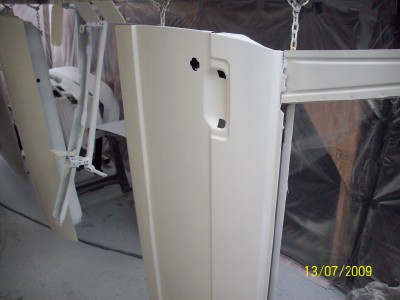
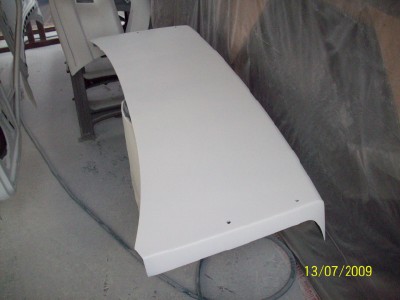
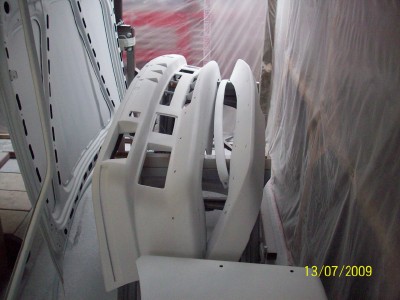
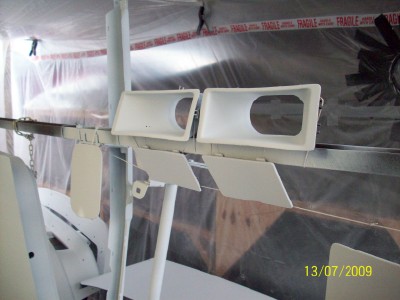
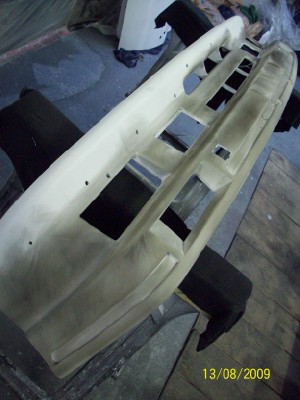
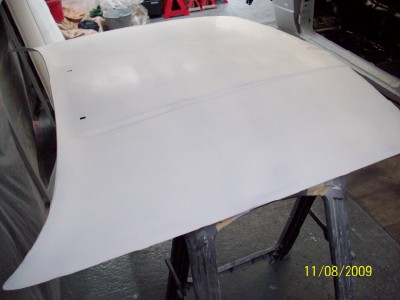
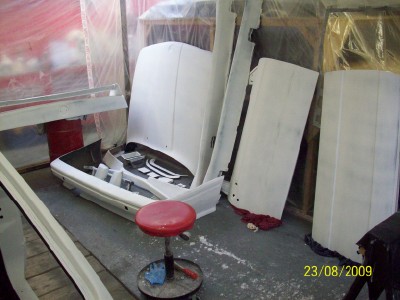
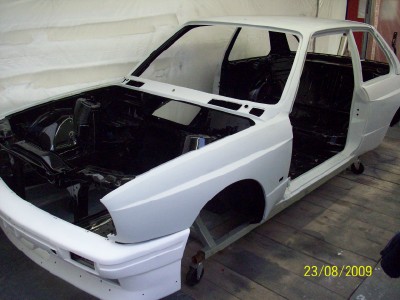
with the shell done the doors and bonnet get the same treatment....
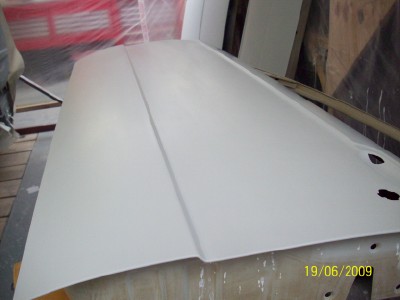
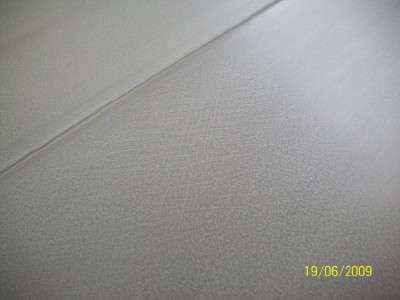
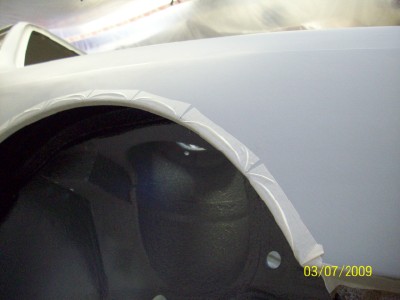
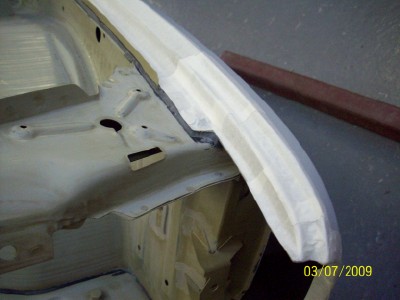
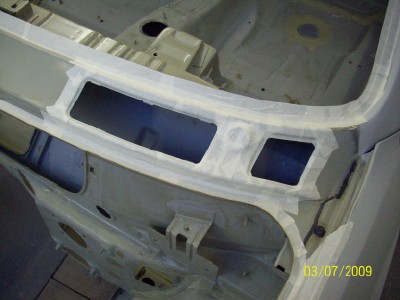
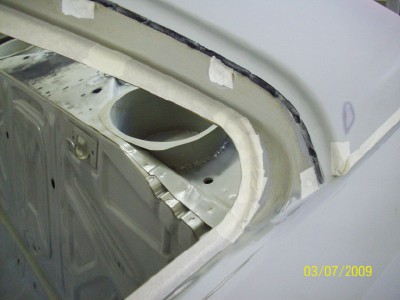
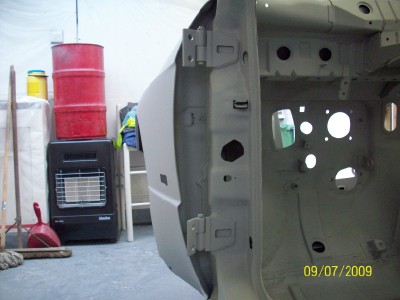
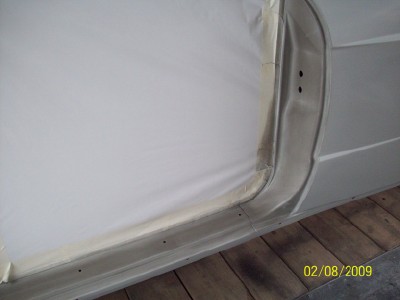
the other thing that gets a little attention is the edges of the panels.
The more paint you have on the edge of a panel the greater the
chance that when you whack it off something a large chip will come
off it. You might notice that with a door or bonnet that has been
resprayed over the original paint work that when it gets stone chipped
the flakes are usually fairly large as opposed to an edge that only has
the normal amount of paint on it, which when chipped usually flakes
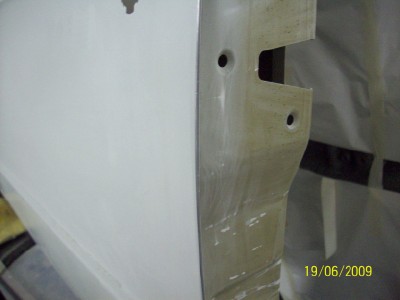
a much smaller chip. So, all filler primer is removed from the edges...
of this stuff...

It's a powder guide coat as opposed to the aerosol type one used
earlier. The main difference being that the spray on one will help
show up dips and bumps in the panel work while sanding, while this stuff
will show up everything till the surface is sanded completely flat.
The bottom part contains the coating which is like lead pencil dust,
while the top half is the sponge you use to apply it....

pick a panel....

and start rubbing it on....

and if you look closely you'll see just how far from perfect the nice
coating of primer is....

what you can notice is that paint doesn't go on silky smooth but rather
builds up like a coating of millions of minuscule little snow flakes leaving
a sort of orange peal effect. The other thing you can notice is the remaining
scratches from the 80 and 120 grit sanding. So, with the whole panel
covered in guide coat....

it's out with the long sanding blocks again and together with some
320 grit sand paper it's back to everybody's favourite pastime.
More f**king sanding....


the 320 grit is fairly fine grit paper and blocks are being used fairly
lightly compared to earlier but there's still a bit of scope to flatten
out any small imperfections as you can see there's a nice thickness
of paint to work with...

to illustrate this, the rear quarter panel was showing up a lot of scratch marks
left over from the earlier 80 and 120 grit paper....

and as this is blocked down you can see the marks slowly starting
to go.....

first the lighter 120 marks go, just leaving the deeper 80 grit....

and after some more rubbing they go too, and if you've applied enough
coatings of the filler primer you'll get them out before breaking through
to the metalwork underneath. (we used 2 heavy coats)....

at this stage it's probably worth pointing out that if your planning on
having a go at something like this then buy, build or rob yourself
a spit. Being able to turn the car to any angle you want to make
yourself more comfortable while sanding is priceless.
Sanding is a horrible enough job without adding a broken back into
the equation.


with the shell done the doors and bonnet get the same treatment....


the other thing that gets a little attention is the edges of the panels.
The more paint you have on the edge of a panel the greater the
chance that when you whack it off something a large chip will come
off it. You might notice that with a door or bonnet that has been
resprayed over the original paint work that when it gets stone chipped
the flakes are usually fairly large as opposed to an edge that only has
the normal amount of paint on it, which when chipped usually flakes
a much smaller chip. So, all filler primer is removed from the edges...










Comment