
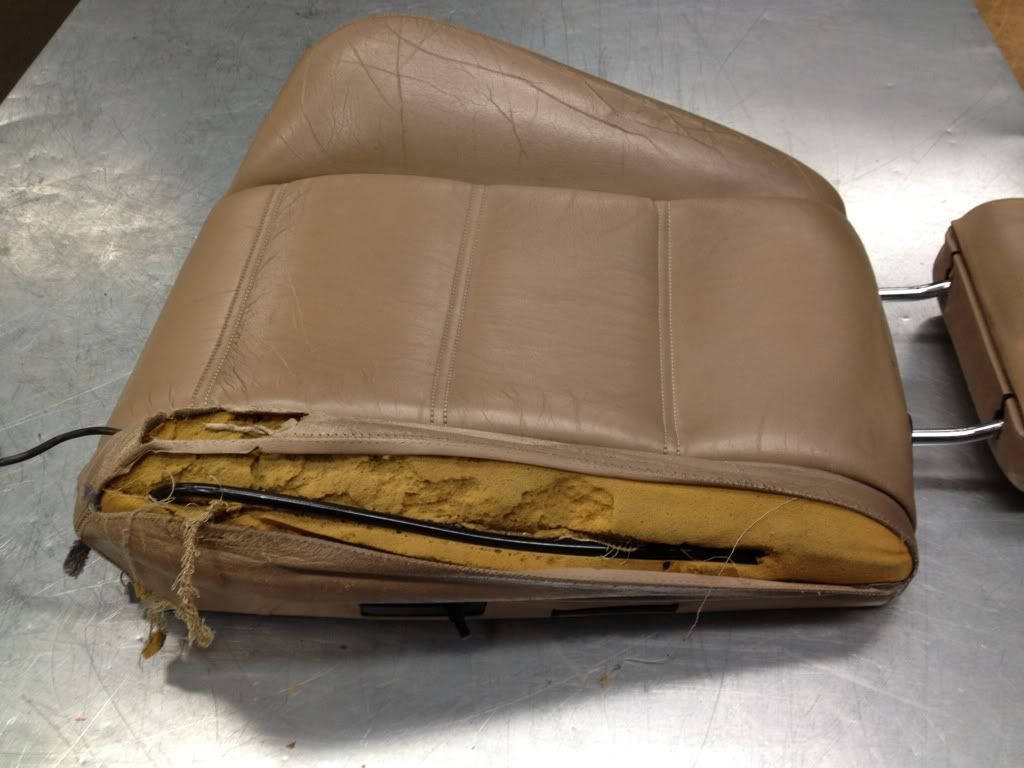
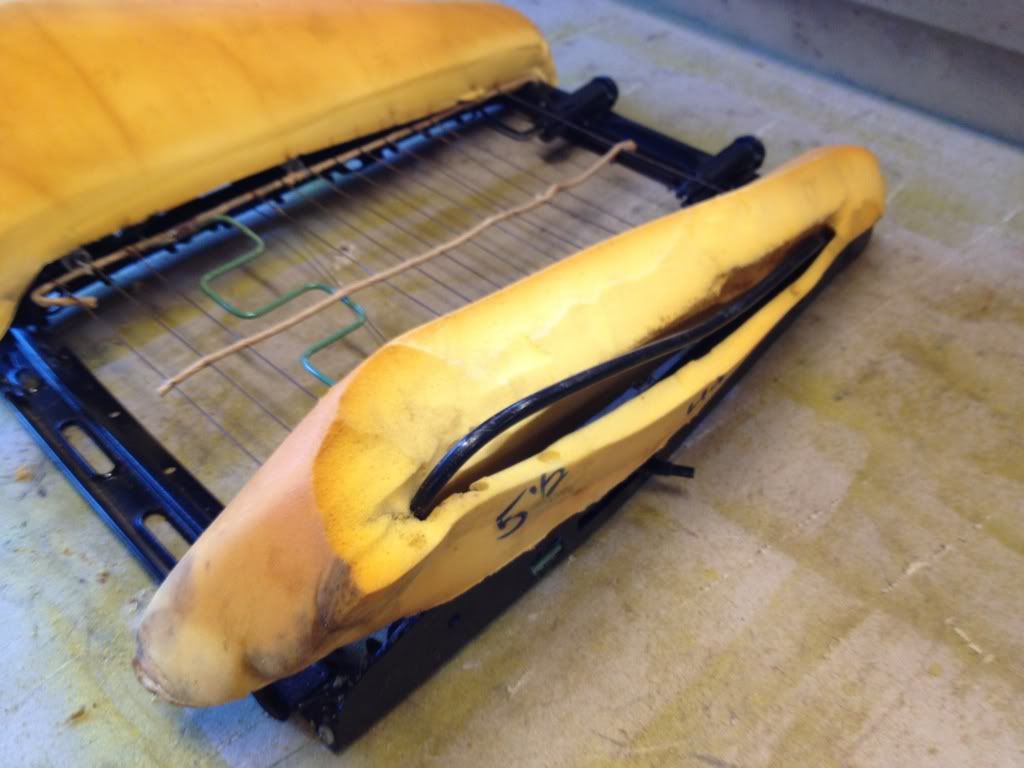
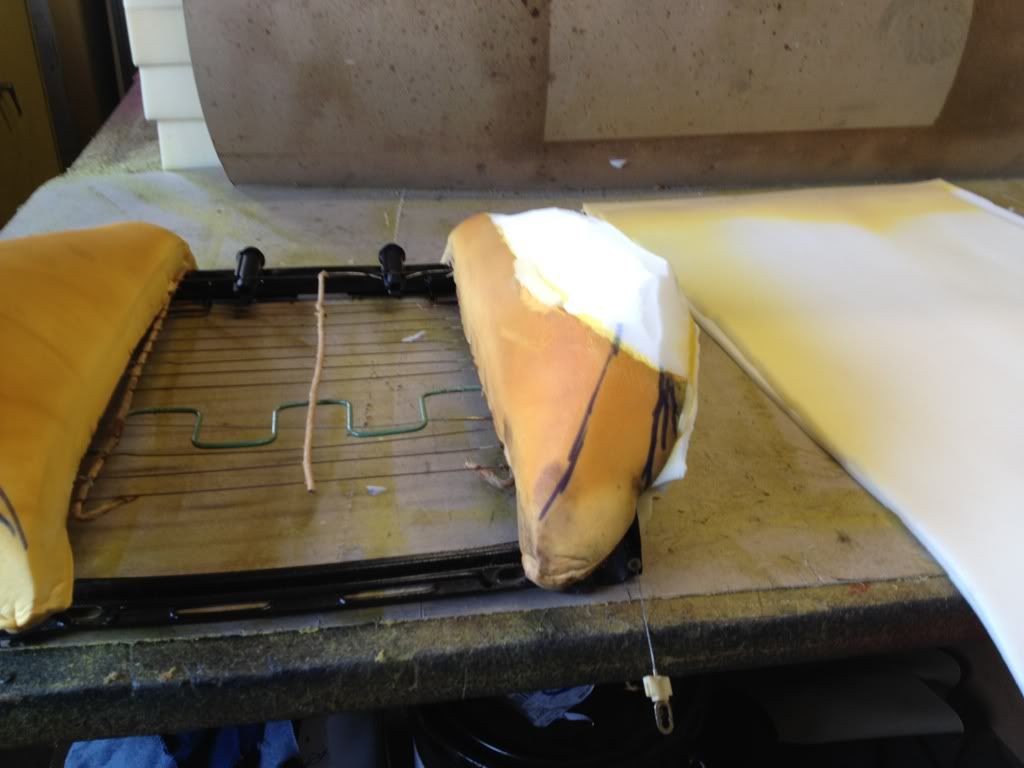
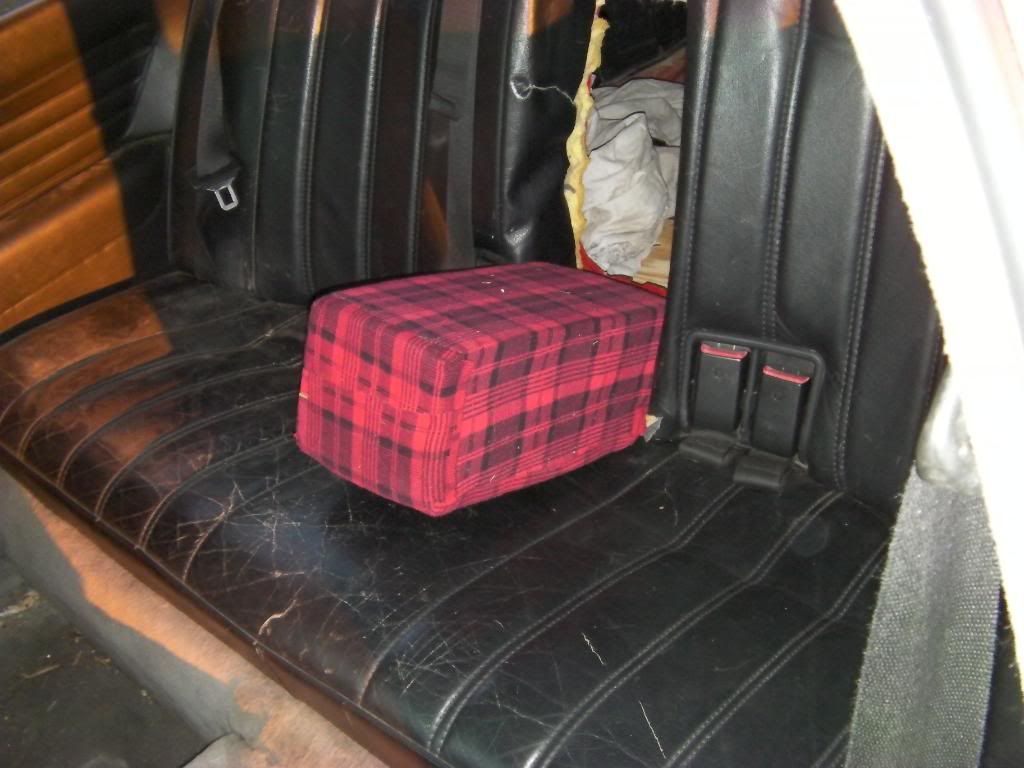
so, i decided to get cracking on my seats, took my back rest to work and got started on striping the seat and rebuilding the rubber (foam).
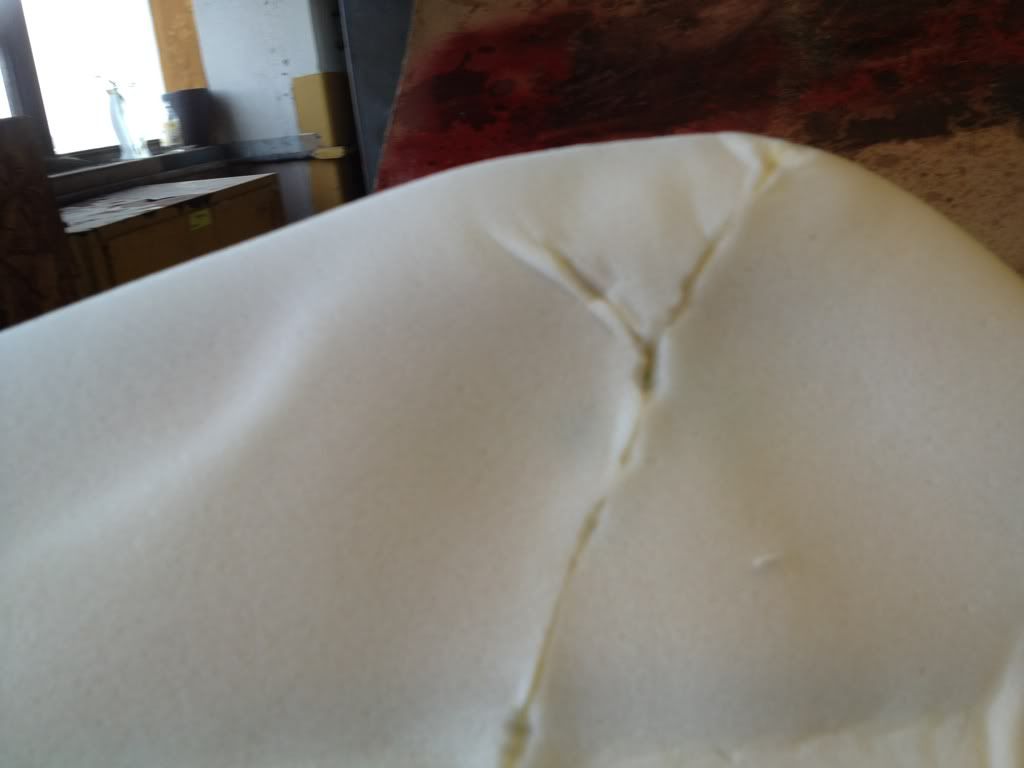
this is what i started with:

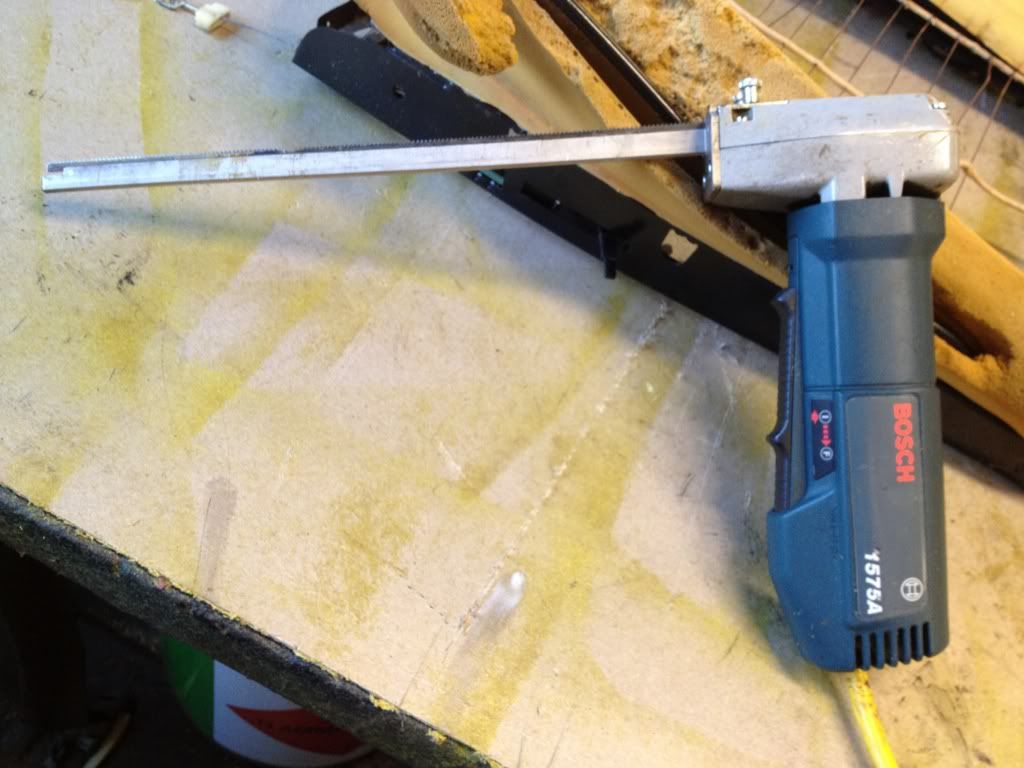
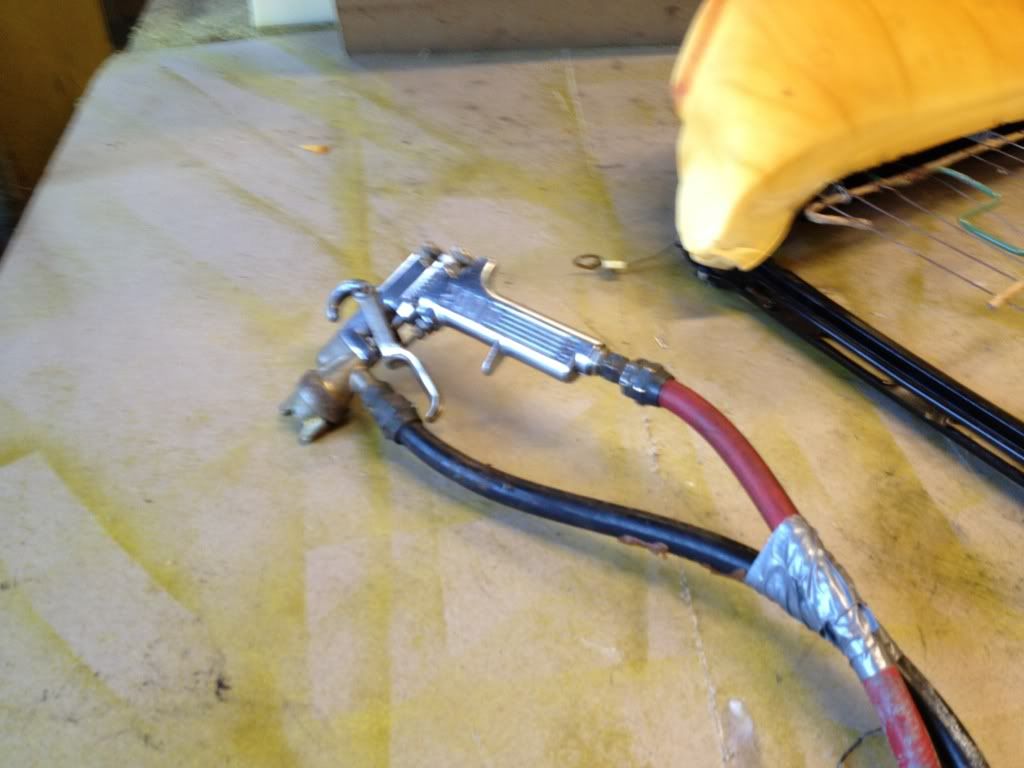
this is what we use to trim and cut rubber, its basicly an electric knife,
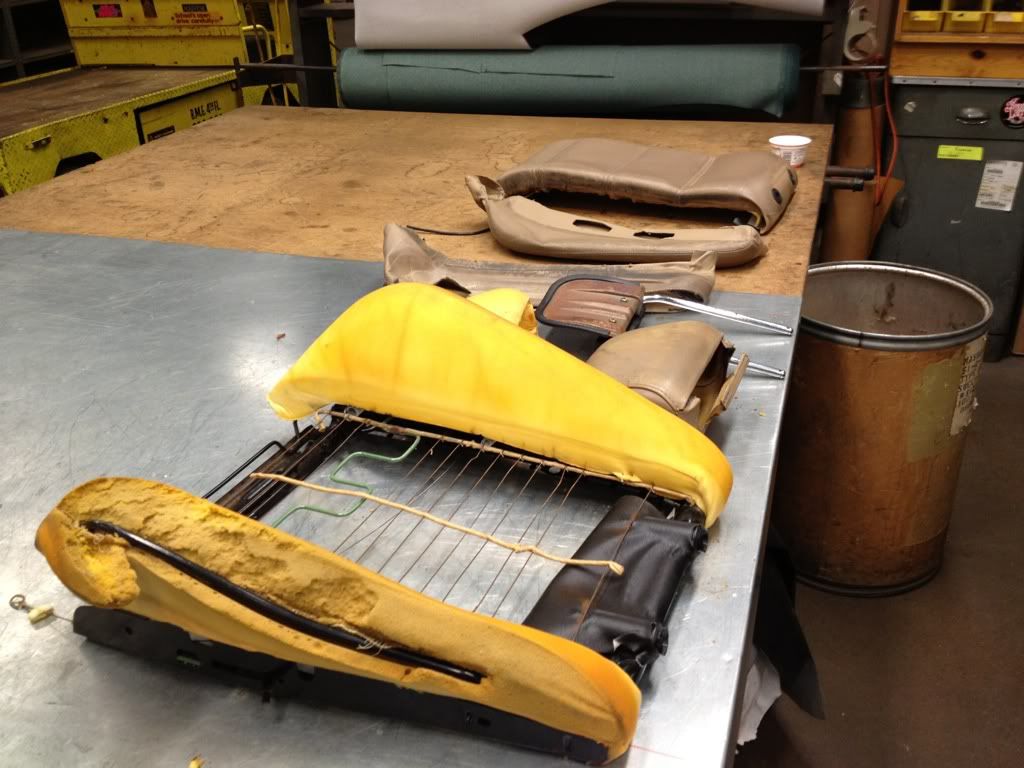
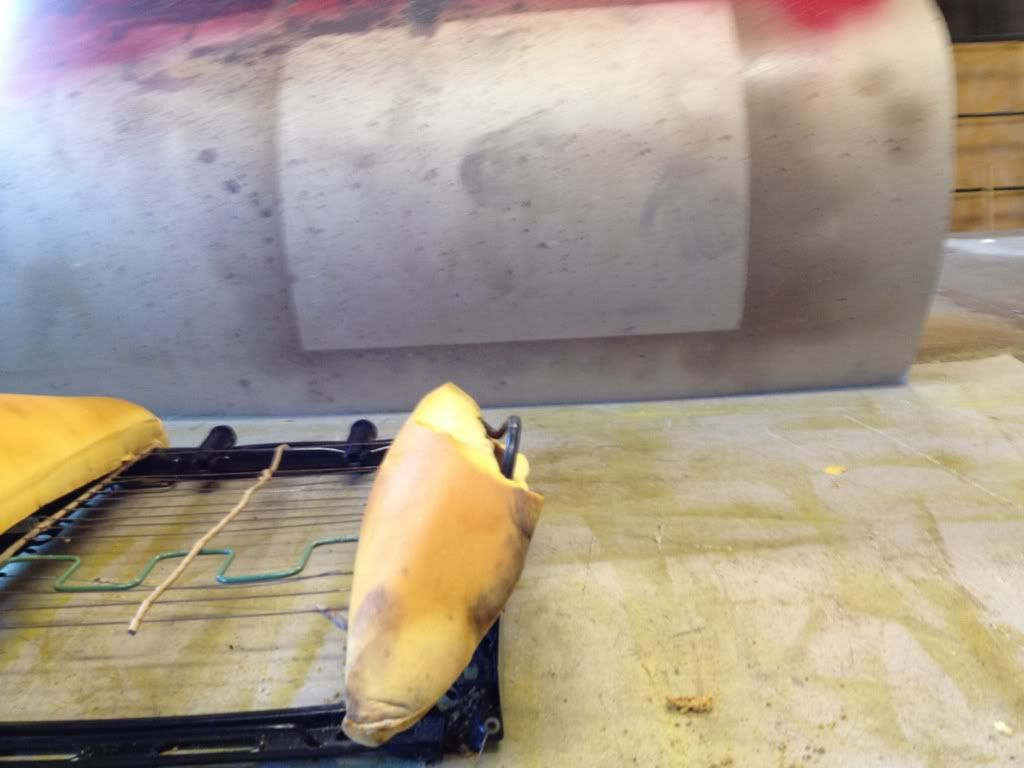
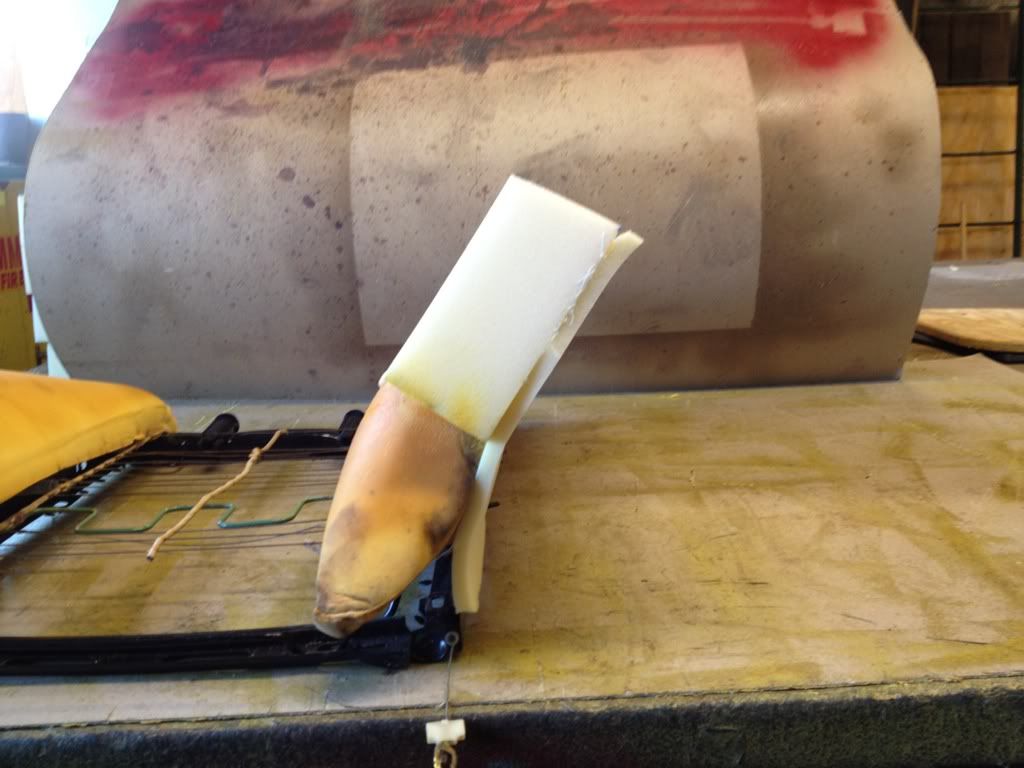
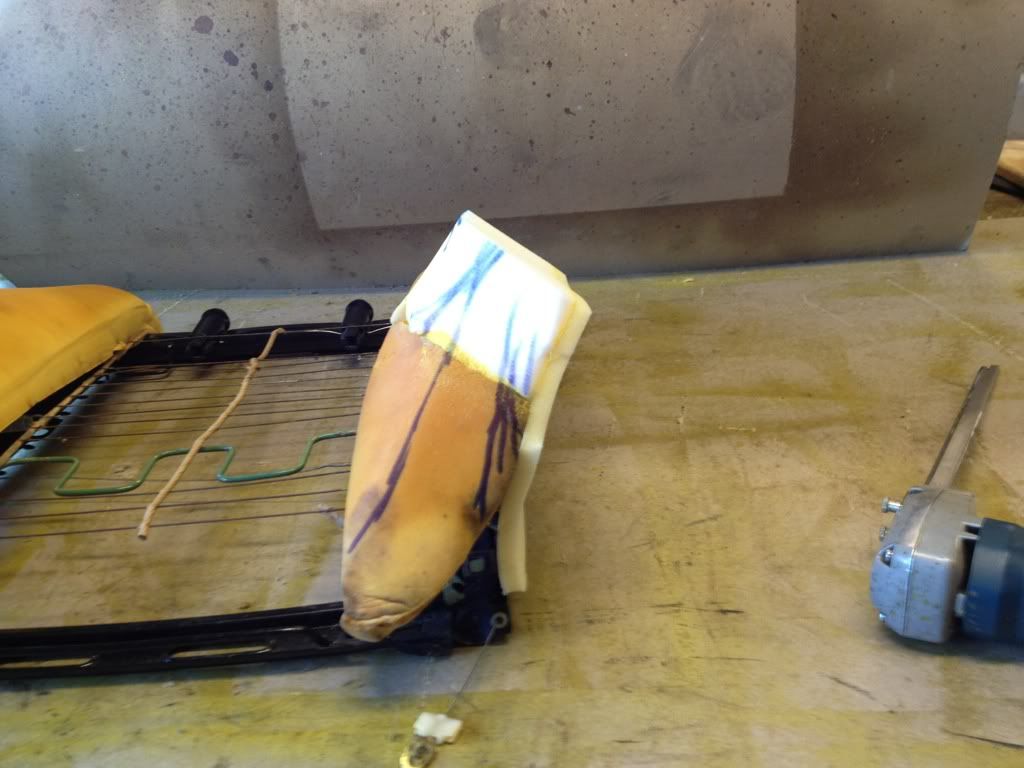
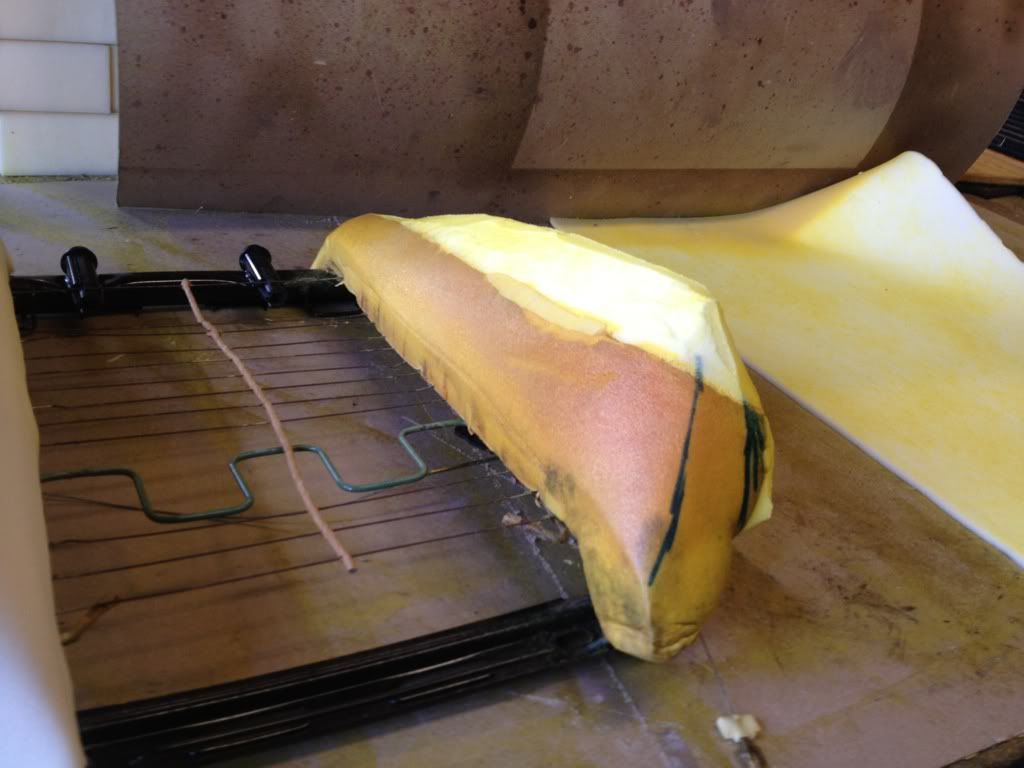
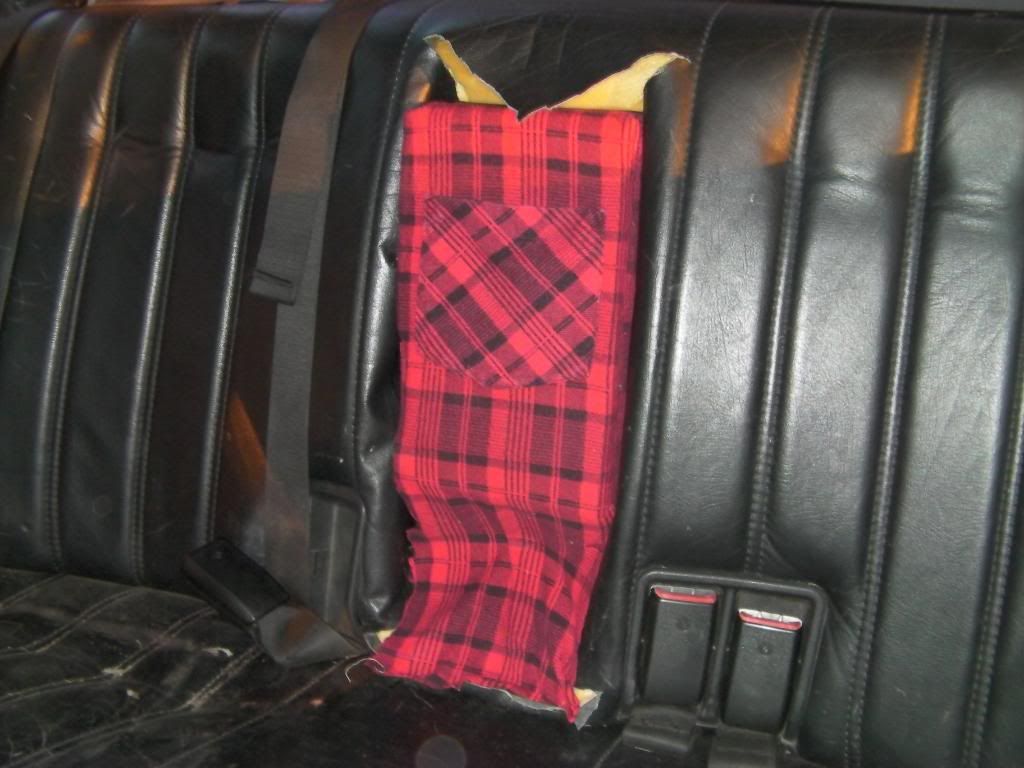
after i cut out all the all the bad stuff,
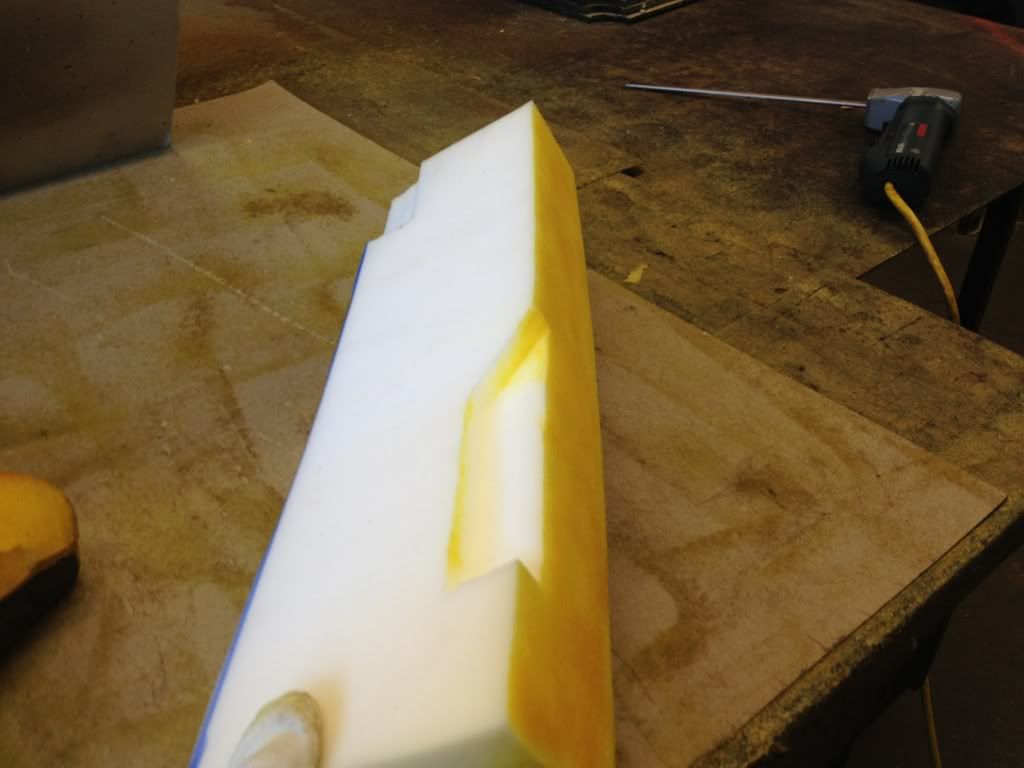
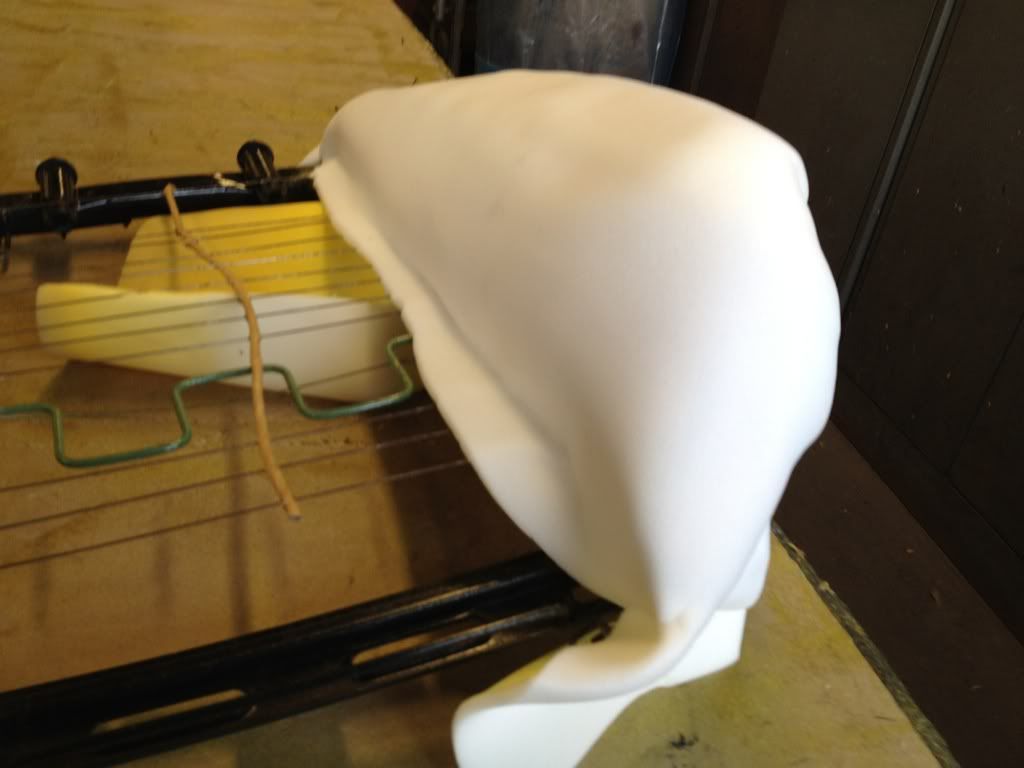
then i cut a piece of 3" rubber and cut out a spot for the rail,
then glued it on, we use a presurized container with an industrial adheasive,
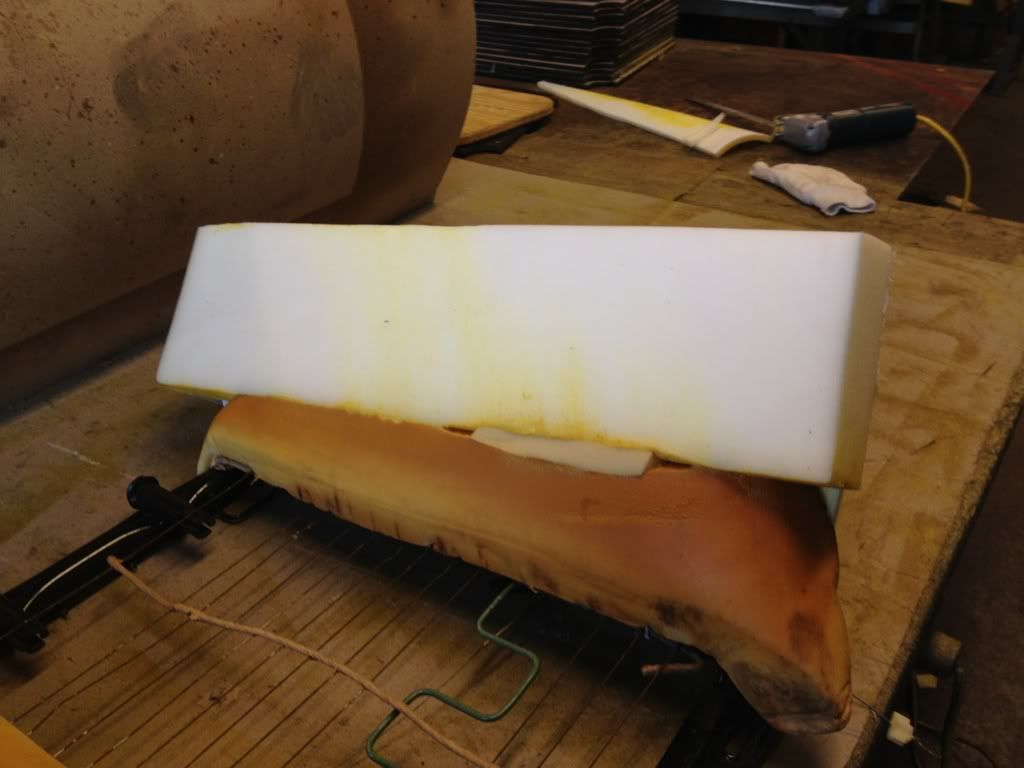
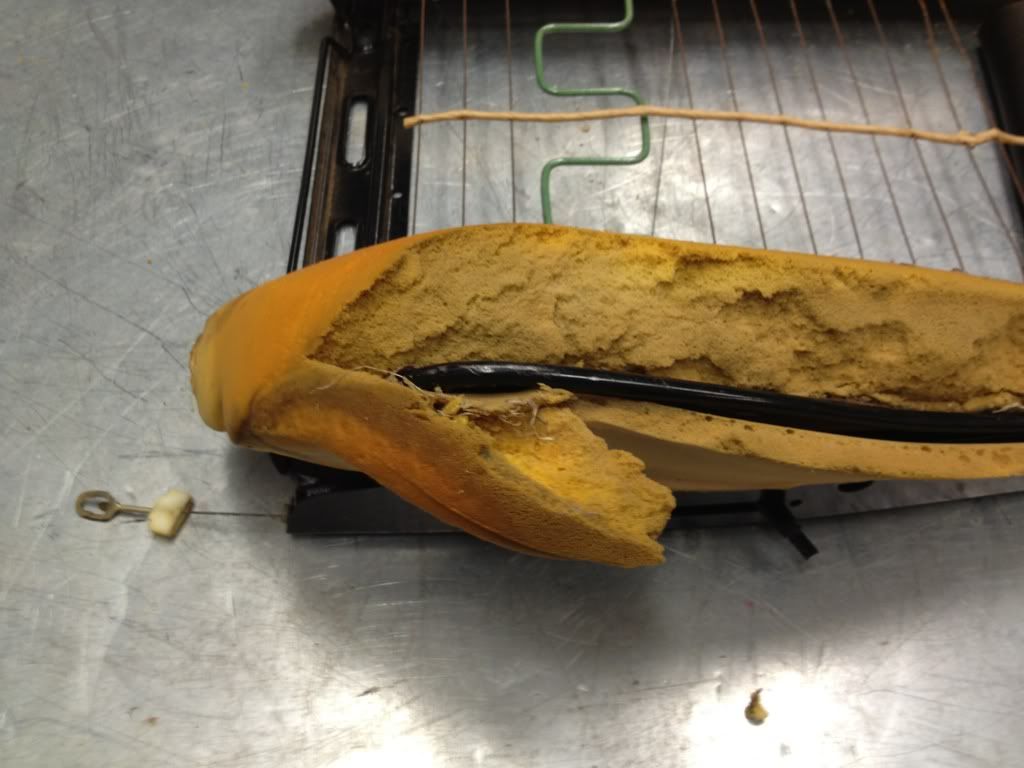
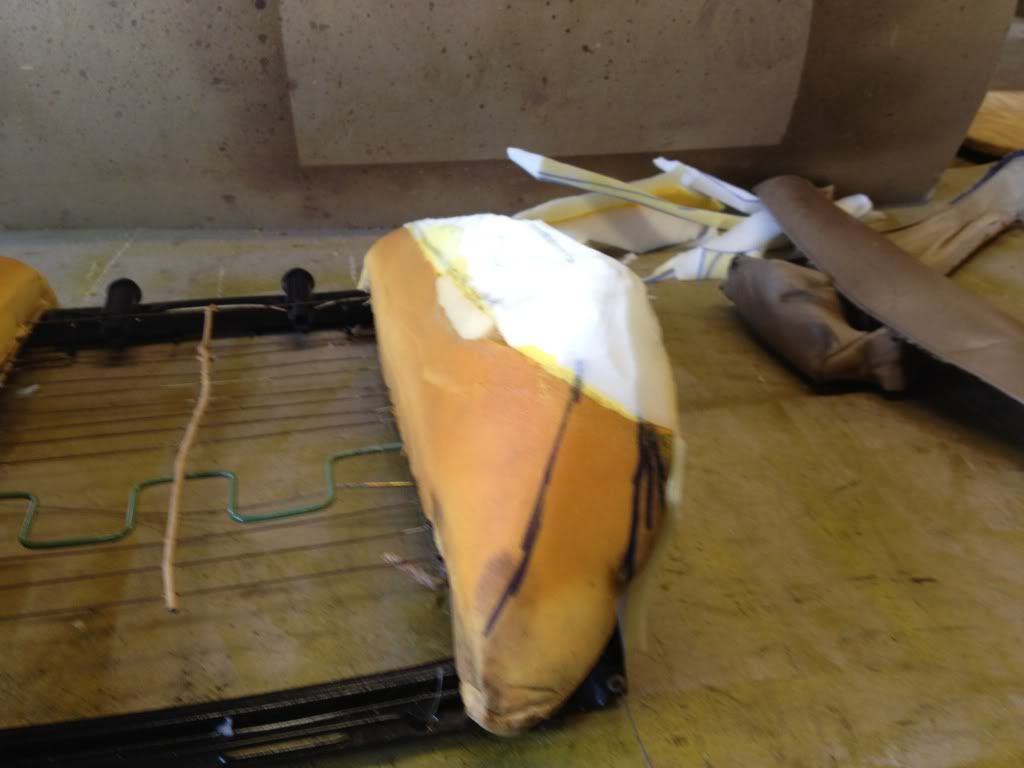
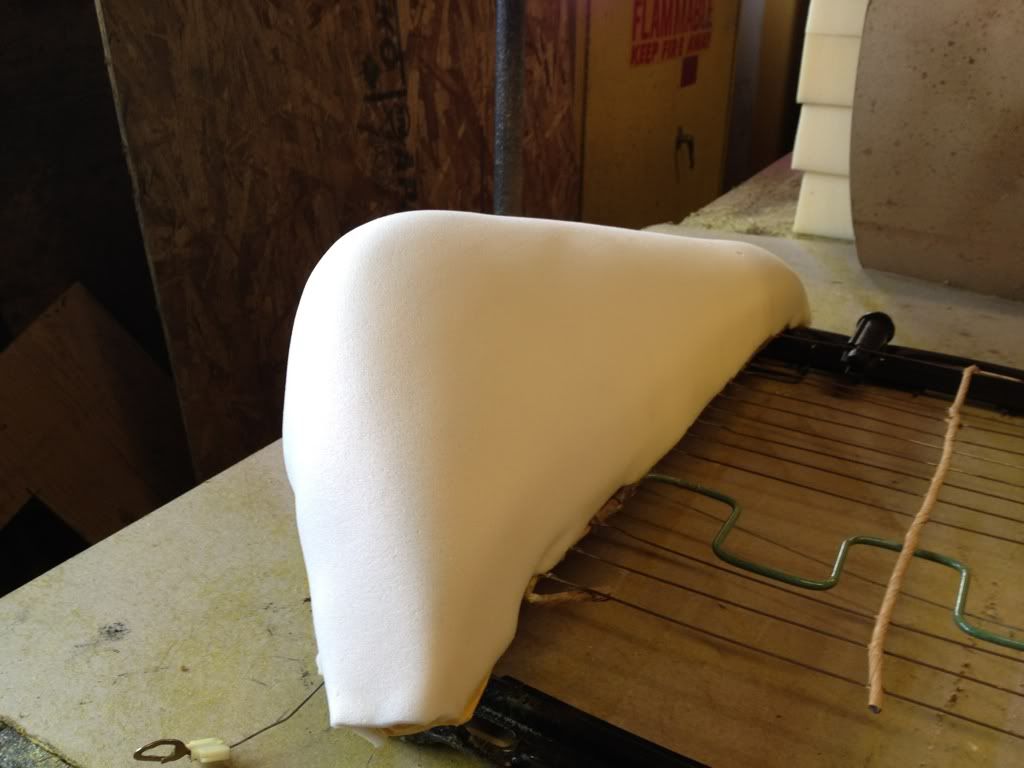
then backed it with 1/2" rubber,
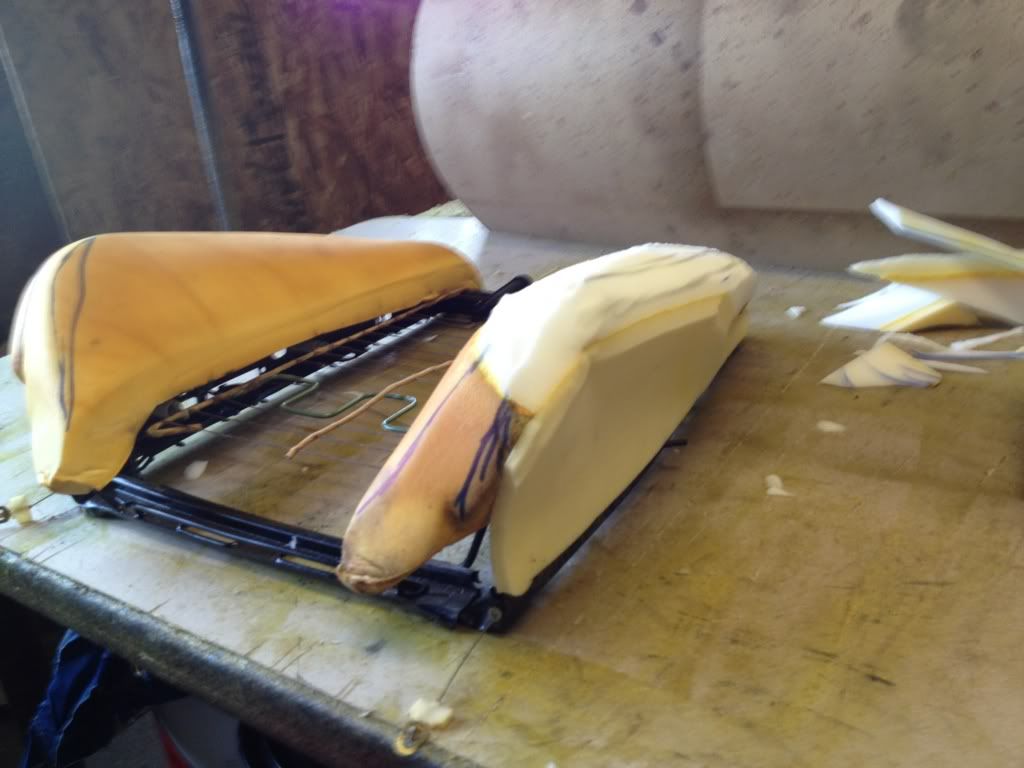
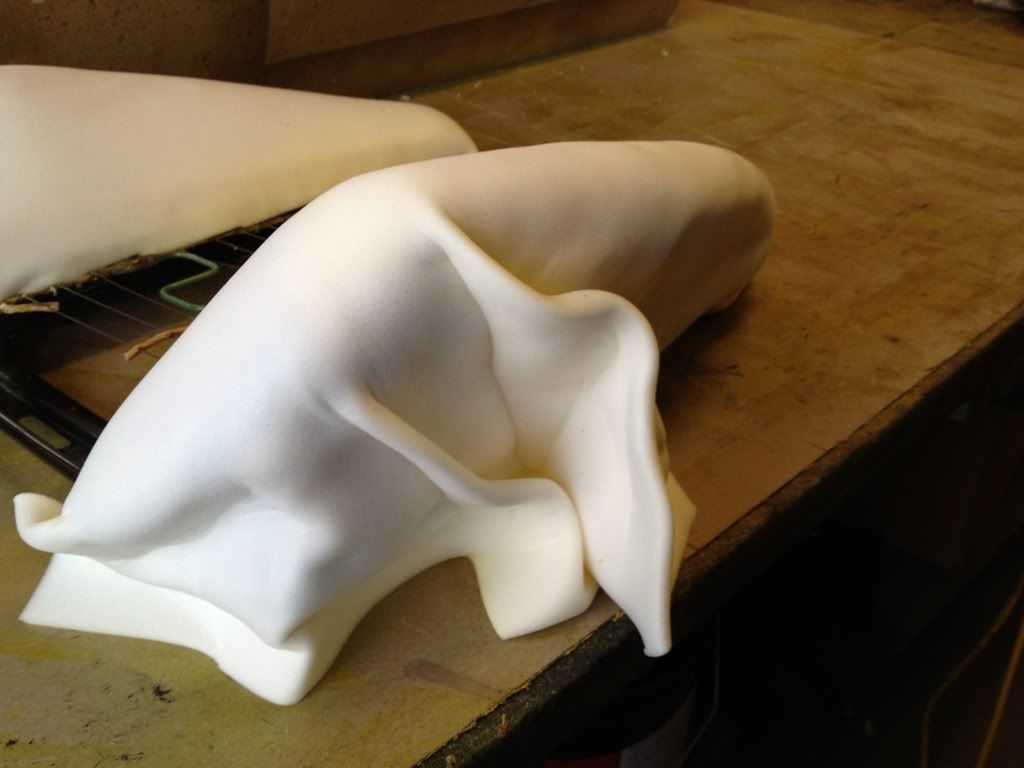
now the hard part, this is all done by eye and experience. im still learning this part, but is very artistic, its basicly sculpting, a word of advise, go slow, take very little at a time.
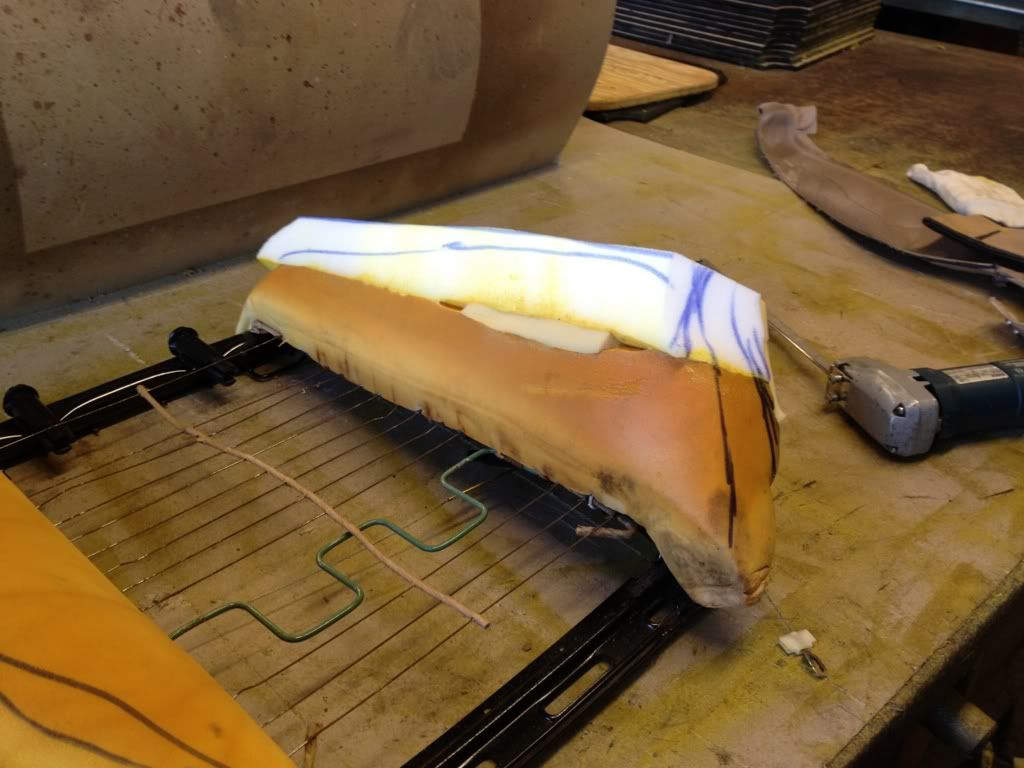
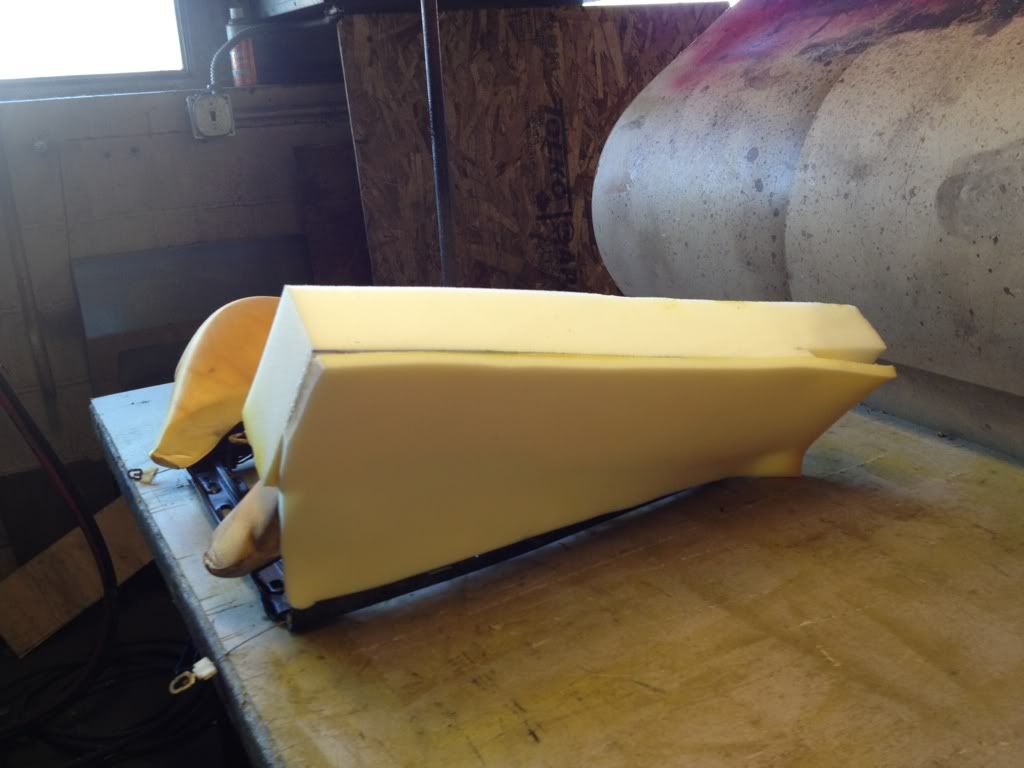
once i feel like its close enough, i cover both pieces of rubber with 1/4" rubber, it smoothes out all the imperfections, and brings back some of the size that the ruibber has lost over the last 20 years,
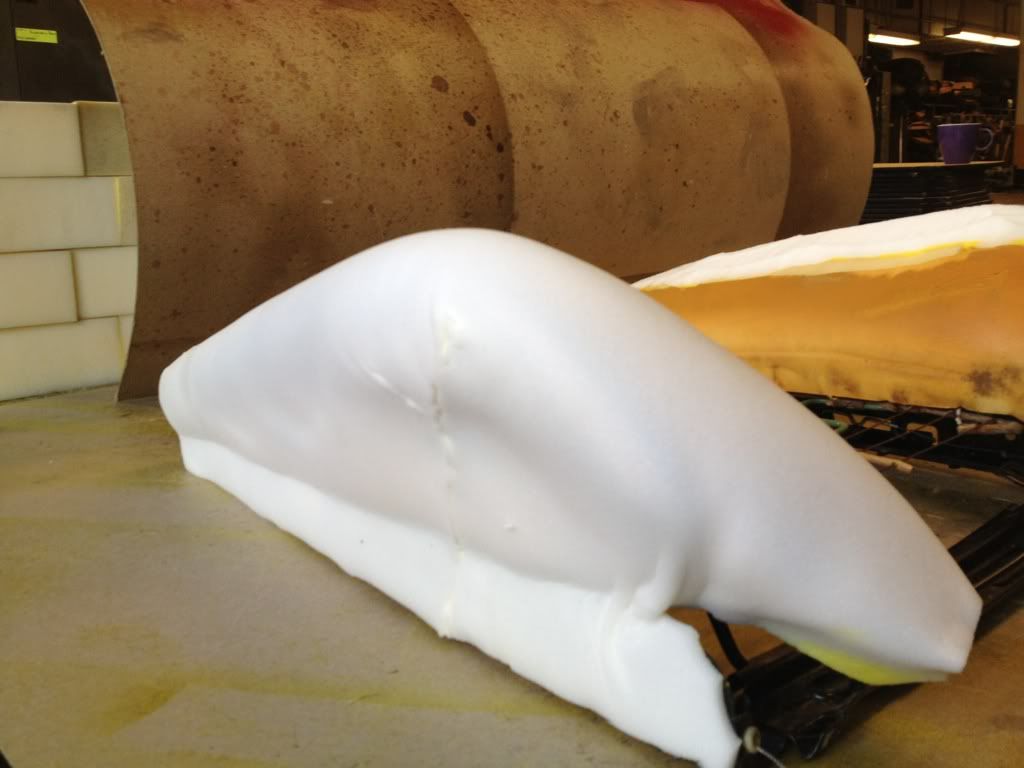
well thats as much as i got done on friday, maybe this week ill get to paterning and sewing.
this is what i started with:
this is what we use to trim and cut rubber, its basicly an electric knife,
after i cut out all the all the bad stuff,
then i cut a piece of 3" rubber and cut out a spot for the rail,
then glued it on, we use a presurized container with an industrial adheasive,
then backed it with 1/2" rubber,
now the hard part, this is all done by eye and experience. im still learning this part, but is very artistic, its basicly sculpting, a word of advise, go slow, take very little at a time.
once i feel like its close enough, i cover both pieces of rubber with 1/4" rubber, it smoothes out all the imperfections, and brings back some of the size that the ruibber has lost over the last 20 years,
well thats as much as i got done on friday, maybe this week ill get to paterning and sewing.


Comment