-
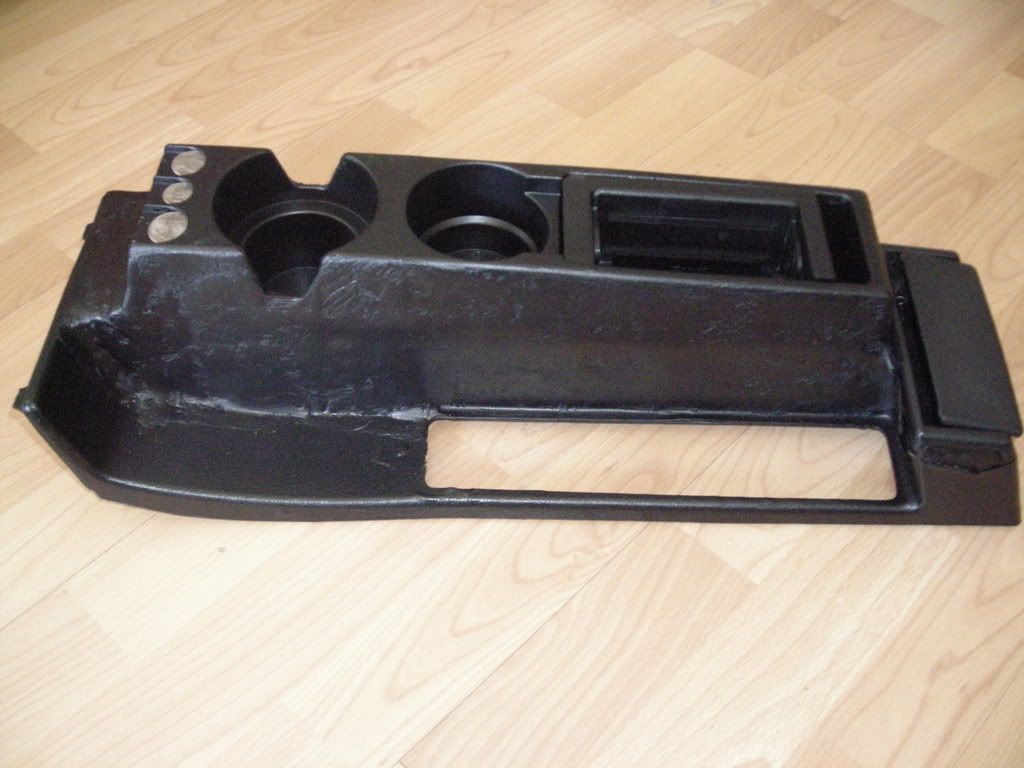
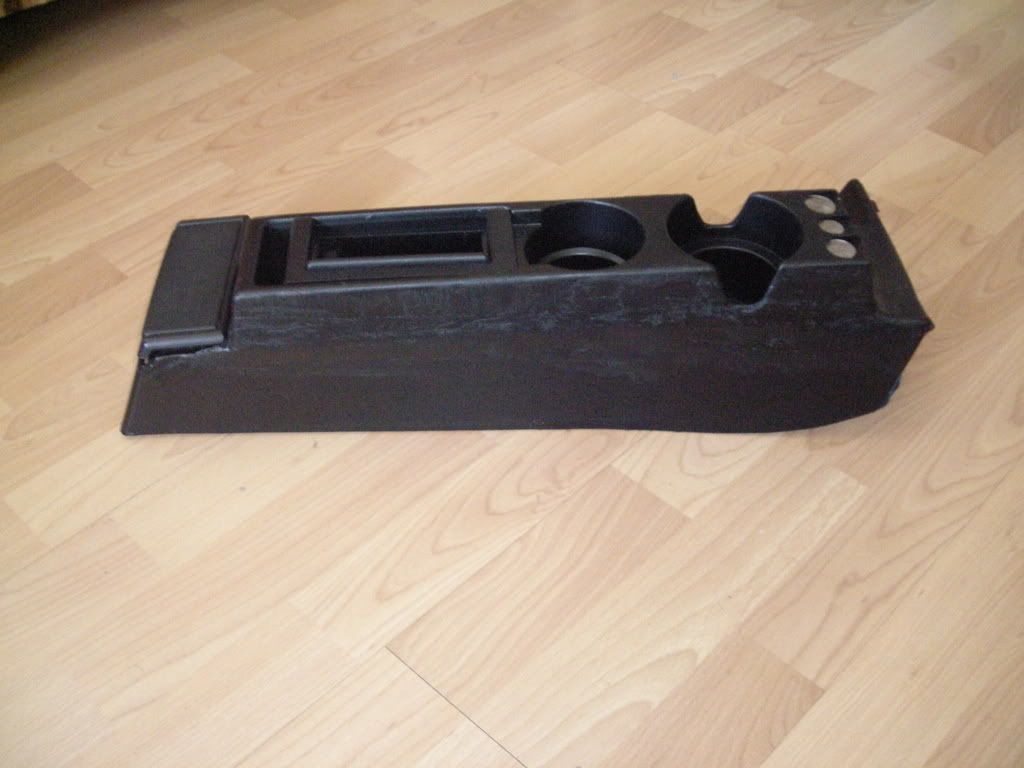
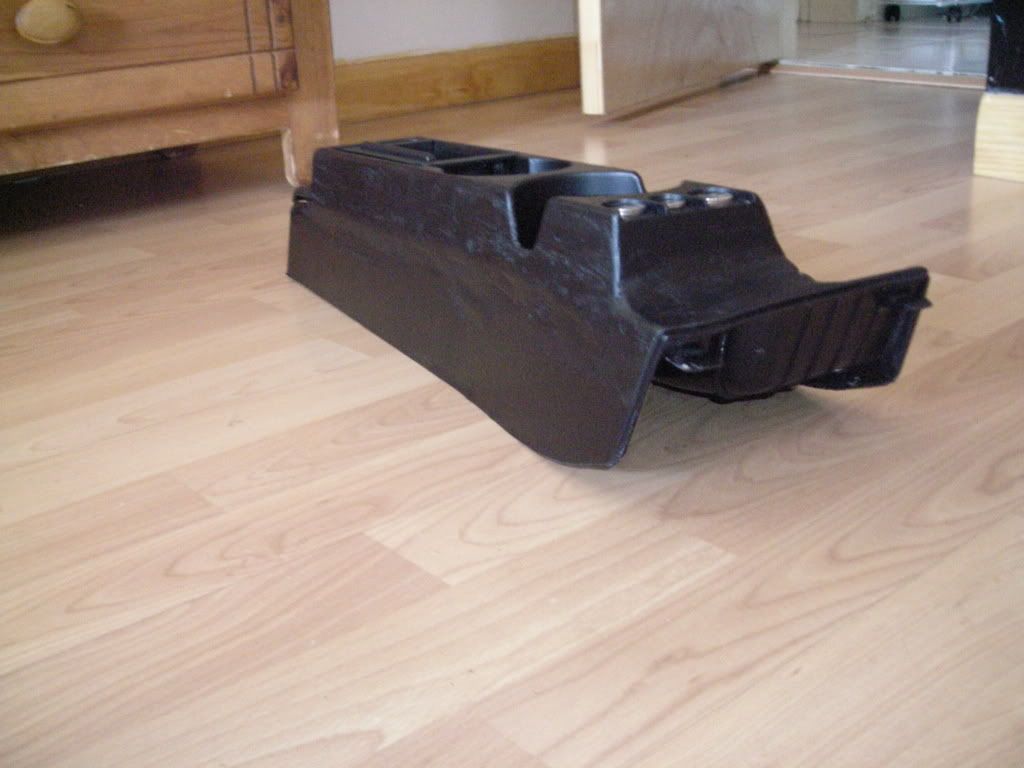
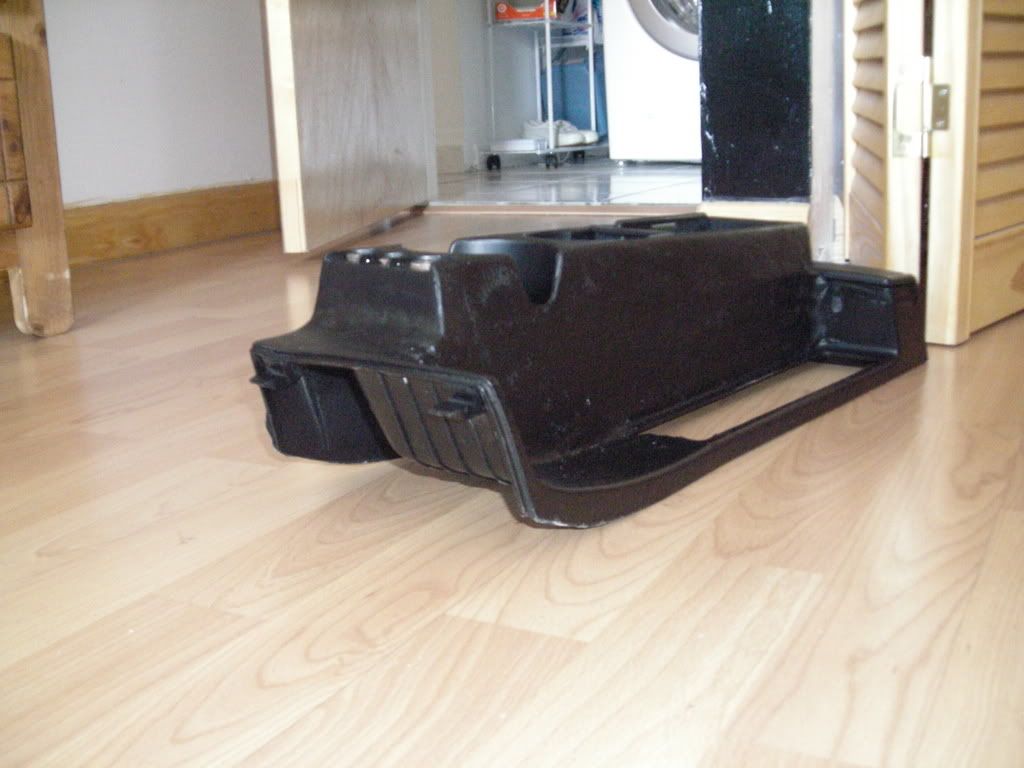
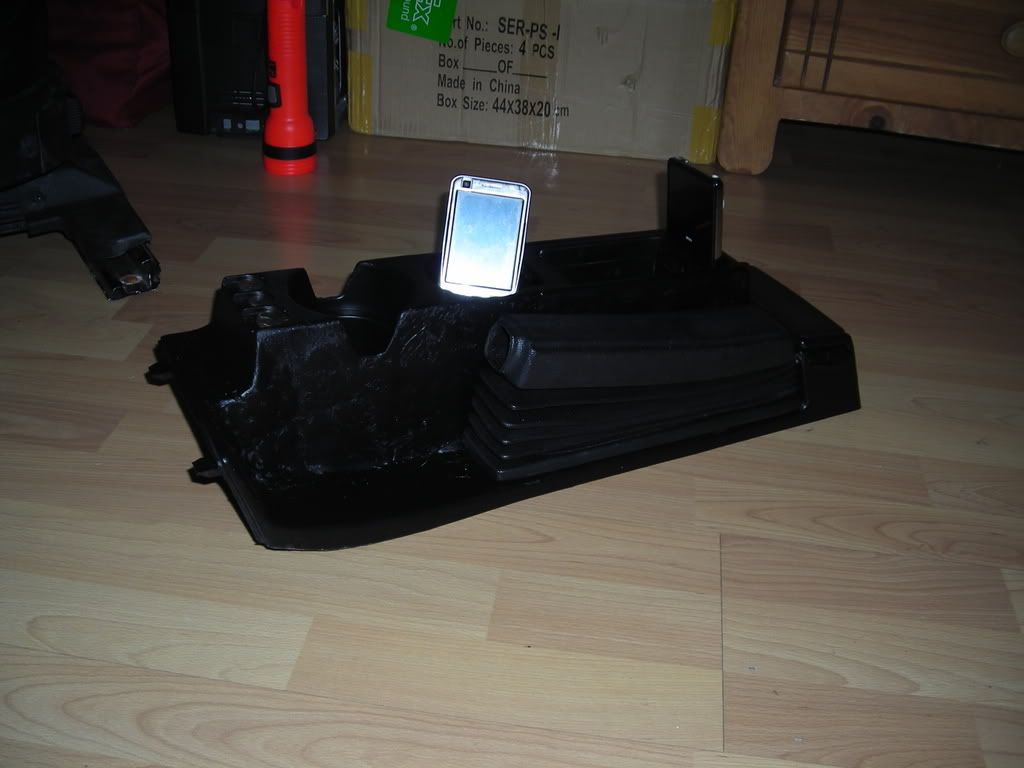
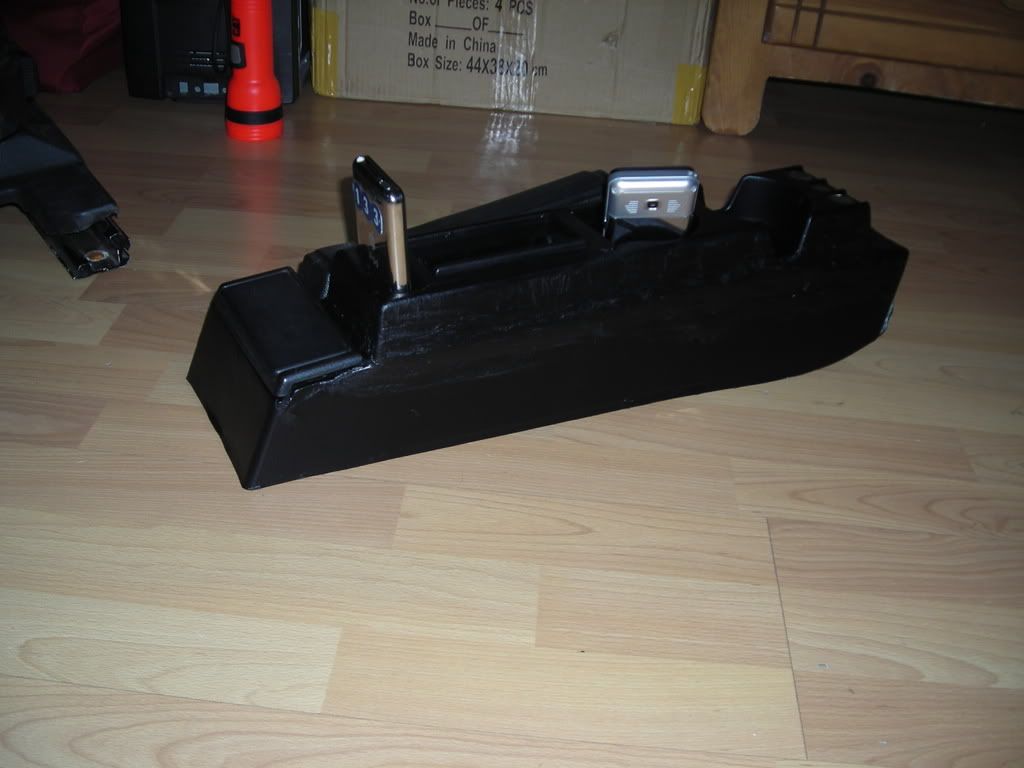
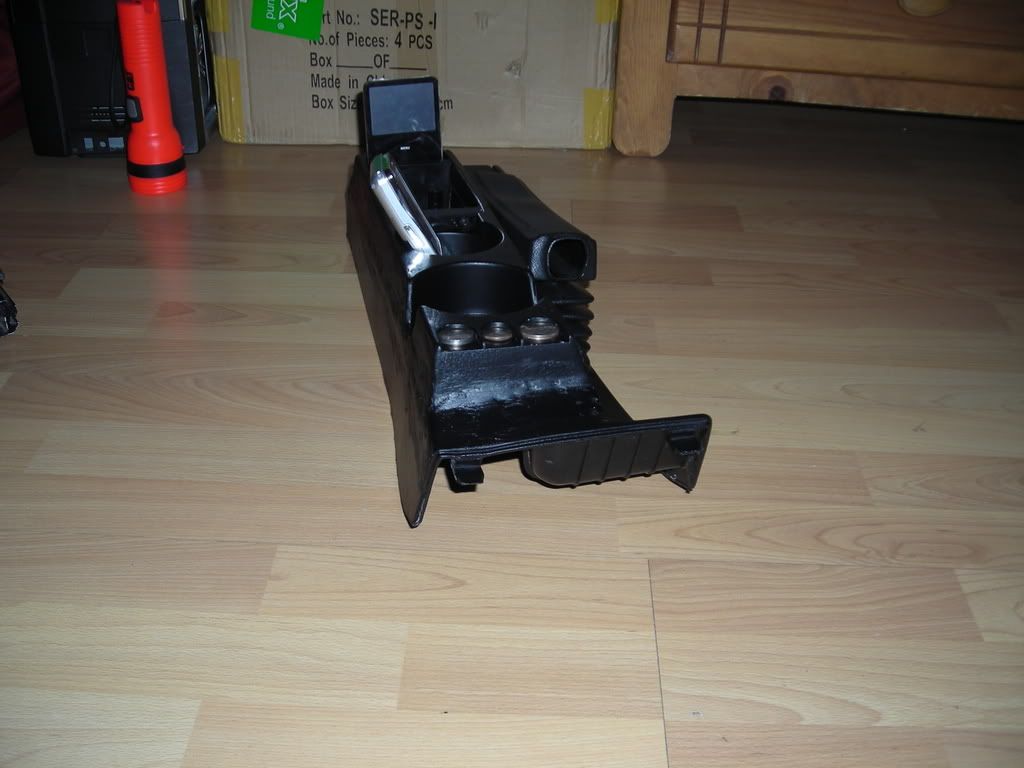
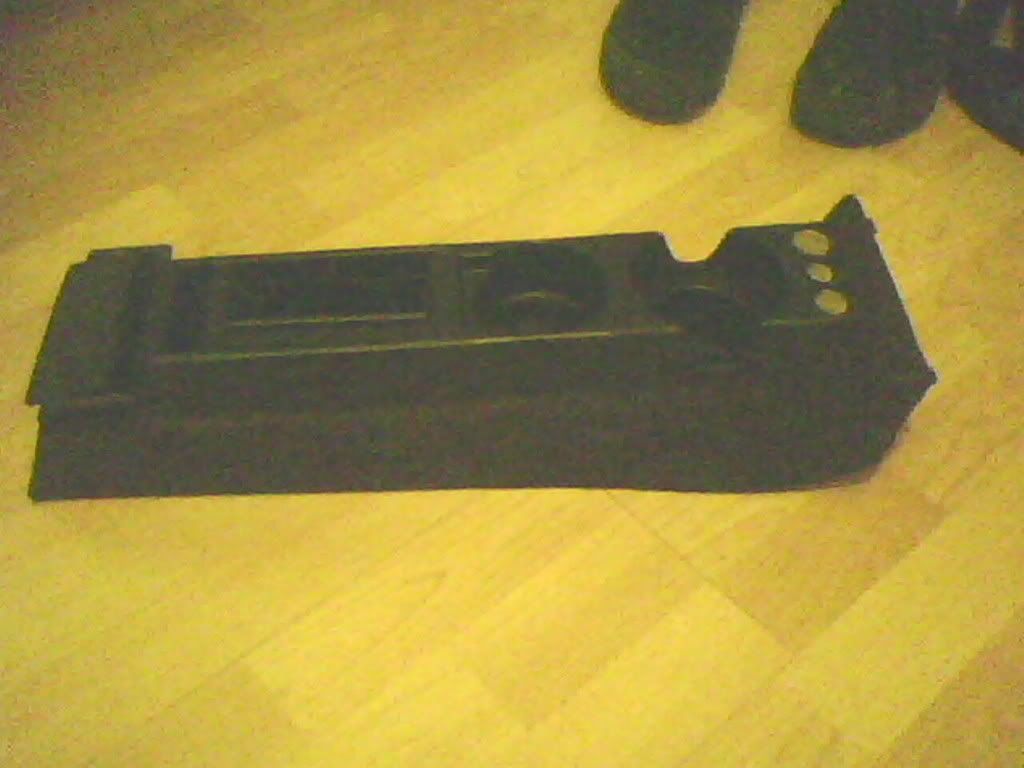
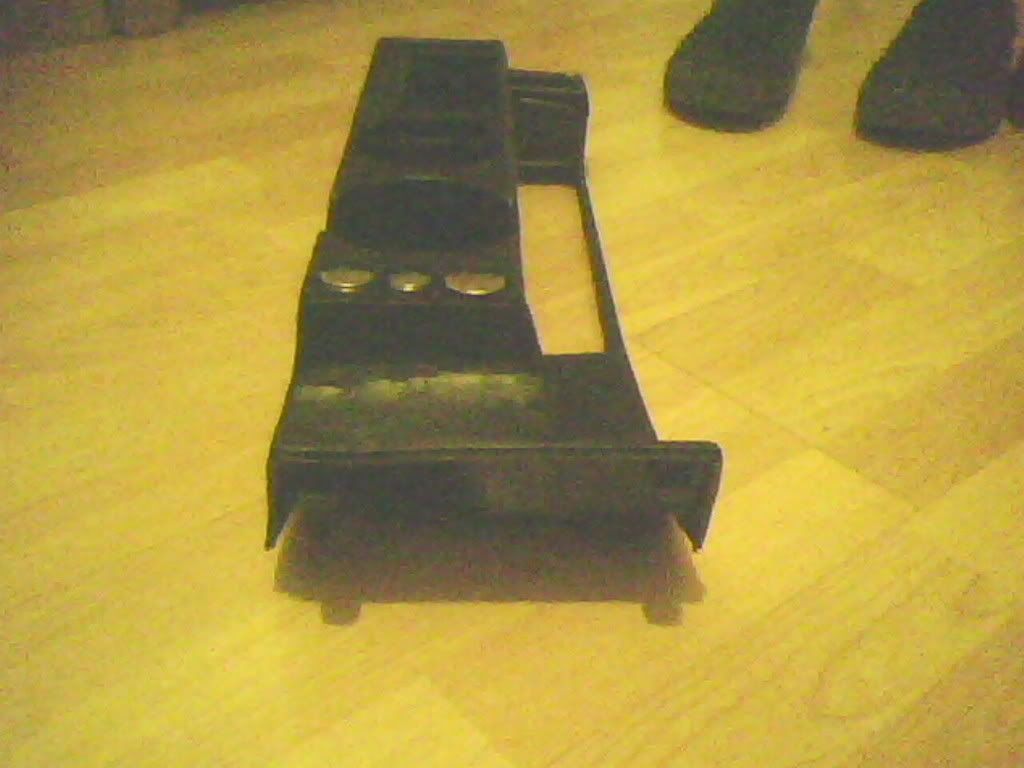
Got some medium-res pics now. I doubt you will really see the edges when it is installed.
Leave a comment:
-
-
Yeah, it was my first time. I like how it overall came out. I am sure I will do another one down the road when I find another e36 318 center console.Leave a comment:
-
If you want to smooth it out a little. Paint it white. Use the black as a guide coat. Get yourself a nice little stick of wood like what you use to mix paint with and put some 80 grit sandpaper on it. It will take a while but when you have all the white spots gone you then apply some finishing putty. That will make it pretty smooth. I don't know if it will stay together as it was mentioned that the two materials are different. But you can make it look a little bit cleaner. A+ for effort for the first try. Make another one and try it out of real fiberglass, not bondo. Should be much better. I will give this a try, although mine will probably resemble lukes with enough practice.Leave a comment:
-
pull that thing off, and put a couple layers of fiberglass on the inside, and sand all that bondo down till smoth, then if you have any goudges or anything go back to NAPA and get some glazing putty. Thats what it is called here...it is a thinner last coat of bondo...comes in a plastic swueeze tube like some other things. Great for finishing, and it is more flexible once cured than bondoLeave a comment:
-
FYI... I hope you realize that with the expanding and contracting of the plastics in that console during the heating and cooling of the day. That it will not be long before the bondo starts cracking and falling apart. Plus you probably should have primed and sanded as well before putting the paint coat to it.
I will have to give an A for effort and plead the 5th on the execution though... LOLLeave a comment:
-
-
Just so you know, in working bondo, most of the smoothing is done while the bondo is a stage called "green", where it is still soft, but not gooey.
Use a "cheese grater" for that stage.
Way too late on that one though. Seriously, you might want to start over.
Use "Kitty Hair" to start with, then switch to bondo to finish.
GL!
LukeLeave a comment:
-
Pssh, leave my poor cupholder alone! :D Sorry for the poor pics, my gf's camera batteries died. I don't have the money to get me a Rebel XTi ATM.
Painted, kind of regret it. Oh well, I can fix it and most of the sides aren't even seen when installed.
I will finish it again so that it comes out smooth. I got impatient in the end...
I WILL fix it though. If there is a will there is a way. I got dat will nigga.
Leave a comment:
-


 Maybe if I was a expert at doing this and it came out looking like an OEM one than yes. I am not quite there yet. Need to learn the usage of fiberglass.


Leave a comment: