Announcement

Collapse
No announcement yet.

Reversing a hackjob - RMT 200 DIY - the stereo portion of my E30 M3 restoration

Collapse
X
 
  • Filter
  • Time
  • Show
Clear All
new posts

    #61
    Thanks Brad! Credit where due though I'm not the first to do this and couldn't have done it without the input I got from Luke, Geno and others.

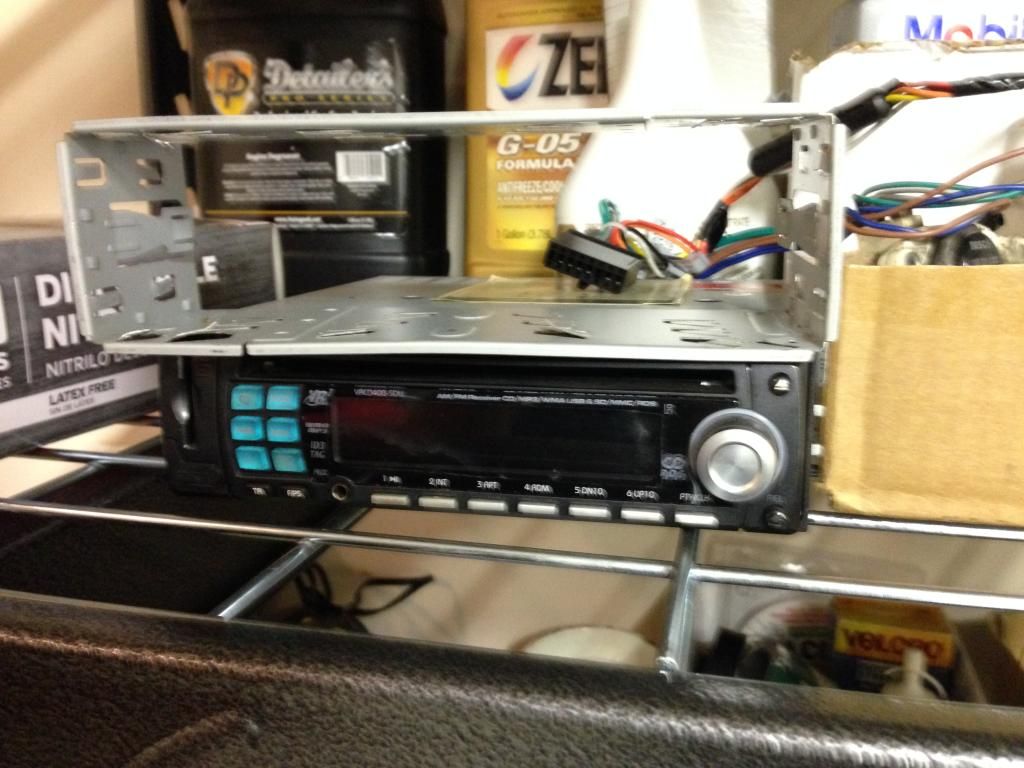
    The radio is great, I might be crazy but I think it sounds better than my E90. That might be the sweat investment skewing my perceptions though.
    _______________________________________________
    5 Year M3 Build, In Progress
    RMT200 Retrofit

    Comment


      #62
      Looks nice man! Looks like mine! :D
      -Geno

      '87 325is (s52'd)
      '95 525iT
      '02 Range Rover 4.6 HSE
      '98 Disco 1

      Comment


        #63
        This radio lights up red right? Not bmw amber?
        90 E30 325i

        Comment


          #64
          Reversing a hackjob - the stereo portion of my E30 M3 restoration

          Correct. It's a VW/Audi OEM radio, and they have red dash lights, or blue depending. But honestly it's very close in person. I'd rather have a sleek looking radio with red lights than a chunky spaceship looking aftermarket radio with amber.

          Who knows, maybe I'll get brave/stupid and try an amber swap someday.
          _______________________________________________
          5 Year M3 Build, In Progress
          RMT200 Retrofit

          Comment


            #65
            Cool thanks for the info.

            This radio was almost the holy grail. Just missing amber lighting, sub pre-outs, and if I'm really picky, a better black texture match.
            90 E30 325i

            Comment


              #66
              Reversing a hackjob - the stereo portion of my E30 M3 restoration

              Yeh definitely not for the guys wanting a full system. I will say though that even the original radio does not 100% match the plastic texture OR sit flush, so IMO this looks better than stock.


              Frankly in an M3 all I'll want to listen to is that S14, so if it looks good and functions, I'm happy 👍
              _______________________________________________
              5 Year M3 Build, In Progress
              RMT200 Retrofit

              Comment


                #67
                Originally posted by Zinoberrot View Post
                Yeh definitely not for the guys wanting a full system. I will say though that even the original radio does not 100% match the plastic texture OR sit flush, so IMO this looks better than stock.


                Frankly in an M3 all I'll want to listen to is that S14, so if it looks good and functions, I'm happy 👍
                Flushness and texture of original radio in my car was spot on. But currently just running with block off plate and no music besides engine sounds.

                I have to admit, your install is beautifully flush and you get huge props for that.

                Did you open the radio at all to see what type of illumination it uses?
                90 E30 325i

                Comment


                  #68
                  Reversing a hackjob - the stereo portion of my E30 M3 restoration

                  Haven't opened it yet. Lots of bigger ticket items to do before I get to LED matching. About a week after I installed it my dash swap started. The car looks like this right now, doing an r134a upgrade simultaneous with the dash swap.

                  _______________________________________________
                  5 Year M3 Build, In Progress
                  RMT200 Retrofit

                  Comment


                    #69
                    Someone just bought the old POS head unit on eBay for $16. The Internet is an amazing thing. That should cover a nice set of valve stem caps....maybe
                    _______________________________________________
                    5 Year M3 Build, In Progress
                    RMT200 Retrofit

                    Comment


                      #70
                      The full diy

                      Alright gents, I’m off for Christmas and feel like doing something productive an non-work-related. Unfortunately for me, I’m away from the M3, but fortunately for you. That means I’m going to do the DIY.

                      OK, keep in mind that there is a WIDE degree of variability in E30 sound system wiring. This will work for a 1989 E30 M3 with a fader. I’ve been asked this a lot, so I’ll state it here up front: THIS DOES NOT COVER THE TELESCOPING POWER ANTENNA BECAUSE THE M3 HAS A FIXED ANTENNA.


                      Also, DO THIS AT YOUR OWN RISK. DISCONNECT YOUR BATTERY BEFORE DOING ANY WIRING WORK.

                      Alright, all that done, here’s how to put an RMT 200 in your E30 M3, or similar E30 (with some variation probably).
                      1) Acquire the necessary parts
                      a. Volkswagen RMT-200 stereo: http://www.deutscheautoparts.com/Vie...6Q0051228B/114
                      b. Metra 71-1784 Reverse Wiring Harness: http://www.amazon.com/dp/B0007WTF7K/..._M3T1_ST1_dp_1
                      c. Metra 40-VW20 Radio Adapter: http://www.amazon.com/dp/B0002BERQU/...190_TE_3p_dp_1
                      d. Metra 89-30-0900 Din Trim Rings, 4 Pack: http://www.amazon.com/dp/B0007WW68K/...332200_TE_item
                      e. Butt Connector, Heat Shrink, 18-20 AWG: http://www.amazon.com/gp/product/B00...?ie=UTF8&psc=1

                      2) And Tools/Supplies
                      a. Ratcheting Terminal Crimper (this style worked well for me): http://www.amazon.com/gp/product/B00...?ie=UTF8&psc=1
                      b. Wire Cutters
                      c. Acetone/mixing bowl
                      d. Dremmel with cutting bits (flexible extension helps a LOT here)
                      e. Measuring tape or Caliper
                      f. Painter’s tape

                      3) Pull out whatever old, crappy stereo your previous owner installed


                      4) I found it easiest to just cut off all the crap that the PO had hacked into the factory harness. Leave as much room as possible here. A member later suggested it would be better to stagger the cuts on the wires to leave room for the crimp connectors to overlap when you put the wire wrap on, making the final product thinner. This would be a good idea, but mine was just fine with this approach.


                      Don’t worry about this little guy. I think its related to an outside temperature sensor for the OBC, either way. Its not related to this install. I just taped mine down and left it alone. However, see the flat brass plate to the left of it with the foam mostly dry rotted off of it? That pulls straight out. Clean it off, get some good foam tape with a single side adhesive, and replace it. This will keep rattles away.


                      5) Attach crimp connectors to all wire ends


                      6) Before you connect the Metra harness to the OEM harness, go ahead and do the 12v safety switch jump. Apparently this is some kind of anti-theft VW feature. I got around it by soldering the blue wire into the red wire.

                      Remove the red wire from the harness connector. Note i had already pulled the red wire here so don't pull the pin I have the key in, this is for demonstration ONLY. I found it easier to pull both the red and blue, then solder, then replace them into the housing.


                      You are trying to depress two metal tabs on the side of the pin itself (that stick out onto catches in the plastic housing) back into the pin housing. See below for these pins - think wings on an airplane. The tabs you need to push back into the pin housing are the small ones pointing down in the picture below.


                      I opened up the pin housing of the red cable to provide better room to solder


                      To power the safety terminal I used the blue wire from the Metra harness. Stripped it to expose the bare wire, taped it on top of the red wire to hold its position.


                      Then after practice on scrap pieces of wire (which my PO graciously gave me much of) I went for the solder (sorry for the crappy pics)


                      Then re-close the red pin housing


                      Then replace the red and blue wires (assuming you removed both) to their original positions in the harness connector. You may have to press the blue one tight to the red wire to make it fit back into the housing. You will now have the blue wire coming out of its original position in the harness, and arching back into the red connector’s position.

                      7) Now its time to connect the Metra harness to the OEM harness. Here is the correct color matching scheme


                      And an Illustration of what it looks like finished, except for my note below. If you have done the safety jump solder already this wont be an issue


                      Also, don’t forget the radio adapter. I wont insult your intelligence by walking you through how to do it, but for the sake of completeness…don’t forget


                      8 ) I needed to bypass my amplifier. Its easy. The amp is in the trunk on the left hand side up near where the trunk hinges. There are a ton of write-ups on this so if yours differs from mine you shouldn’t have to look far for a solution.


                      Here’s what my wiring looked like. Yours may differ


                      9) Once you’re up and running on the electrical/functional side, its time to make it fit. You can just push it in and live with the unit jutting out from the trim a bit (4mm).


                      If you want to go with a flush fit, proceed.

                      Remove the center trim piece (there are screws at the bottom and the top, including some inside, don’t force anything). Again, tons of DIYs on how to do this so I won’t repeat here. Once its off, I found it helpful to tape off the lower section so plastic dust/shards didn’t fall in and make a mess.


                      You’re going to want to use the second smallest of the Metra surrounds, but first…

                      When you insert the radio, the back of the trim butts up against a plastic bezel recessed into the radio surround trim. You’ll see it on yours, but it has been removed here. I did this with a Dremmel tool with a flex extension and a cutting disc. Work carefully.


                      10) Once you work the bezel smooth (toward the front) you’ll see there Is still a bit of a lip on the back of where the bezel used to be. Fortunately this is almost exactly 4mm back from the front of the original bezel (basically, the bezel is about 4mm thick, now what you have taken it out, trim the new bezel to fit and push it snuggly into place behind where the back of the original bezel used to be. That’s confusing, so here’s a picture


                      The room from the front of the trim piece to the start of the bezel should now be 7mm


                      Whiiich, is also…


                      Now yes, the radio does flex out a bit, so if you did the measurement above in the MIDDLE of the unit, it would be thicker. I didn’t care because the new bezel fits in so well behind the lip left from shaving down the old bezel that I didn’t feel like trying to fit it back another millimeter or two.

                      11) The clips on the back need to be snug, as you can see here, there's a gap.


                      Stack the smaller bezel on back of the main bezel, trim till it clicks and has a tight fit


                      12) Now for glue. In my research, the best glue for ABS is... ABS. I used the original bezel that I cut off the car... Chopped it to pieces


                      melt it with acetone


                      And use as glue. I love that the glue for the new bezel IS the old bezel. That's some Lion King circle of life stuff right there


                      13) And test fit


                      14) There you go, RMT 200 in an E30. Your 25 year old car can now do Bluetooth audio streaming and hands free calling.

                      _______________________________________________
                      5 Year M3 Build, In Progress
                      RMT200 Retrofit

                      Comment


                        #71
                        *like*

                        Closing SOON!
                        "LAST CHANCE FOR G.A.S." DEAL IS ON NOW

                        Luke AT germanaudiospecialties DOT com or text 425-761-6450, or for quickest answers, call me at the shop 360-669-0398

                        Thanks for 10 years of fun!

                        Comment


                          #72
                          Am I crazy, or is that a $1200 radio? The site you linked to has them listed at $1200. I was interested in doing this in my car, but not at that price point!

                          Comment


                            #73
                            I picked one up for $250 last year, brand new from RM European. Holy crap, it is now $1200! I guess it is highly sought-after!

                            Transaction Feedback: LINK

                            Comment


                              #74
                              Nice plastic work.
                              Originally posted by Matt-B
                              hey does anyone know anyone who gets upset and makes electronics?

                              Comment


                                #75
                                Thanks George.

                                Wow, I'm stunned by that price increase. Maybe has to do with them being out of stock? I would reach out via email to see what's up


                                Sent from my iPhone using Tapatalk
                                _______________________________________________
                                5 Year M3 Build, In Progress
                                RMT200 Retrofit

                                Comment

                                Working...
                                X