
This time, the system is for a really great guy and a good personal friend.
We've been talking for a couple years about this, and now that the car is back on the road, he decided to come visit us and get it done.
Oh yeah, he drove roughly 700 miles to come see us...kinda says something!
Anyway, this is one of the best sounding systems we've ever done, the performance really surprised all of us, it turned out spectacular.
Here is the components used:
G.A.S. E30 10" enclosure (waterproof option, too!)
G.A.S. E3010 Amp Rack
GAS "Classic: PCN
Front and rear speakers are E34 from a late model car, they fit just like stock, as OE as possible.
Subwoofer: Powerbass M1004D
Rockford Fosgate R400D
Fosgate R750.1D
For wiring, we used Belva, we used 2 kits so we could get 2 colors of 4GA long enough to reach the battery. Apparently there is no such thing as a 'rear battery amp kit", perhaps this would be something we might address later.
The 4 channel kit is the BAK44 and the 2 channel kit is the BAK42 (blue)
Last but not least, we used the Pioneer DEH80PRS as the deck. It has an absolute ton of features, but we always run all our systems "flat", so we didnt use the time delay, the EQ, the crossovers...none of it. For me, I don't care to hear all the sonic artifacts that are always audible when using the DSP functionality, I prefer the natural balance of our speaker systems.
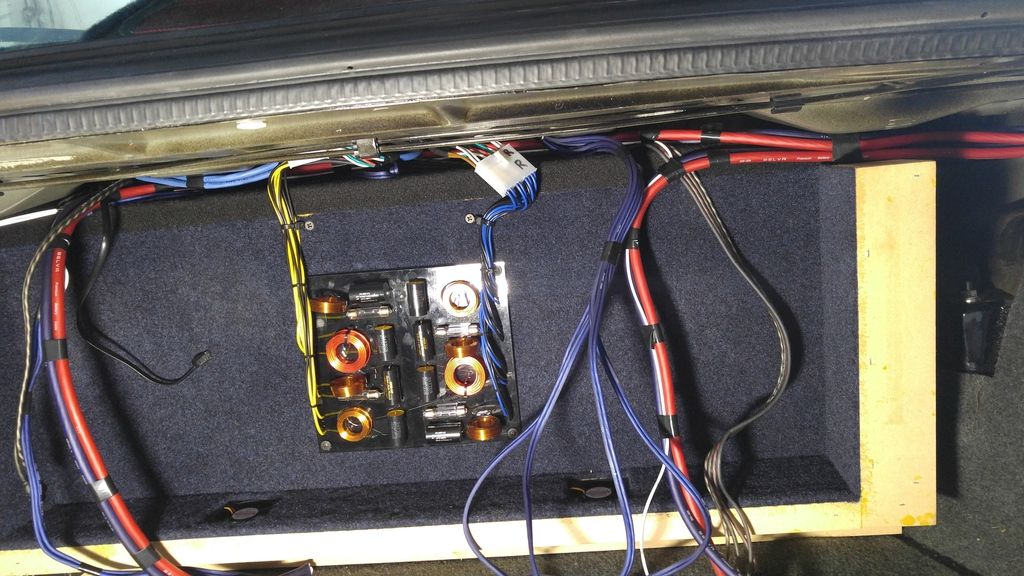
As far as install goes, we ran the wiring, that being the 3 sets of RCAs, the sub level control cable and the speaker wires from the Classic PCN.
Next, we installed the deck and the speakers, all pretty straightforward stuff.
Then, we installed the sub level controller in a blank plate above the deck, feel free to search for the DIY I put up a couple years ago.
So, once all that was done, it's time to attack the trunk!
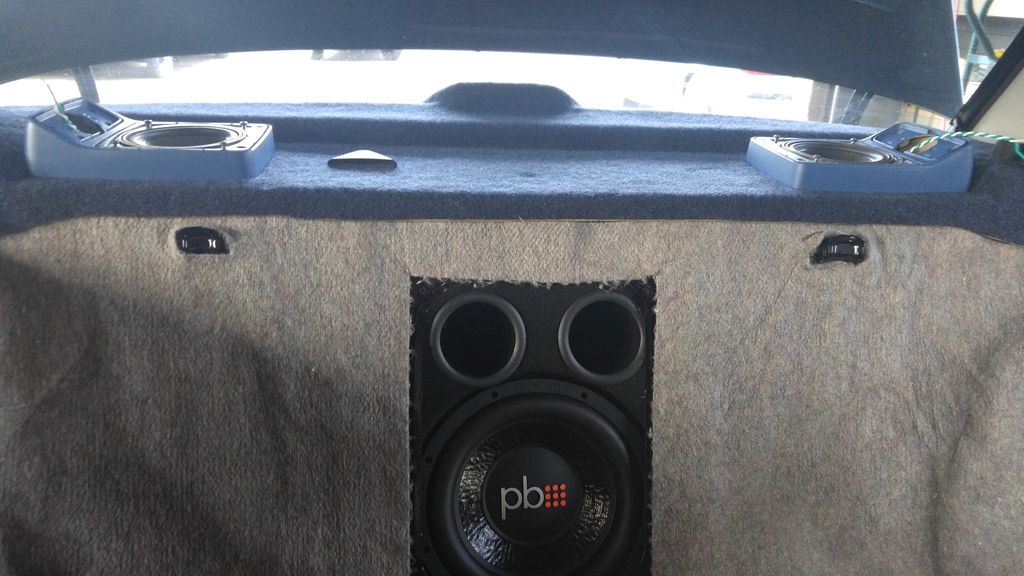
First, this box and amp rack are special order, we did the back of the box and te inside of the amp rack in a dark blue, to match his interior. We upholstered the rear deck in the same color, and color matched a set of speakers
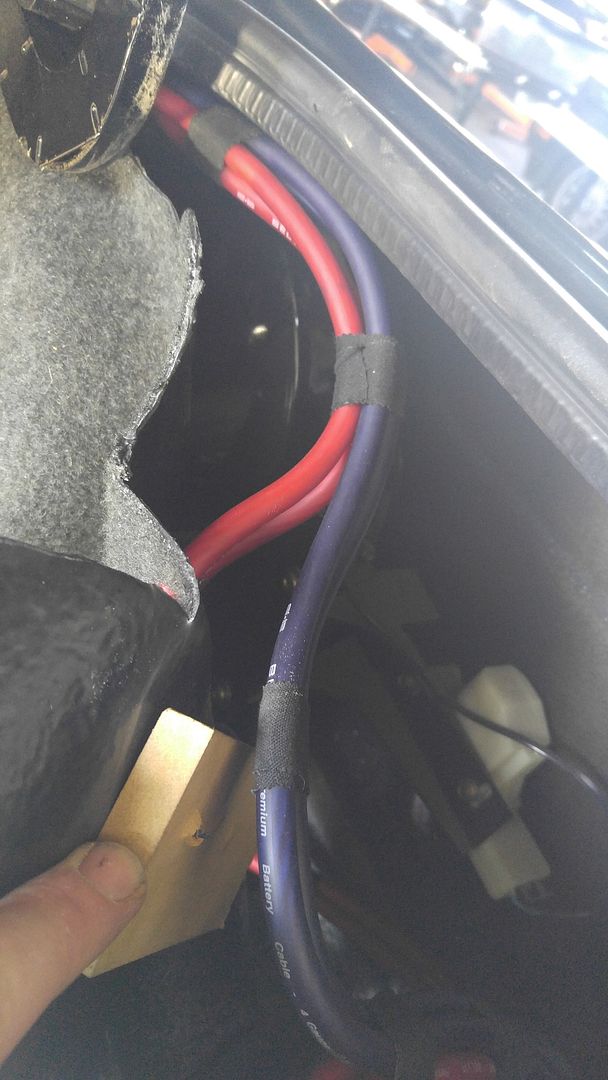
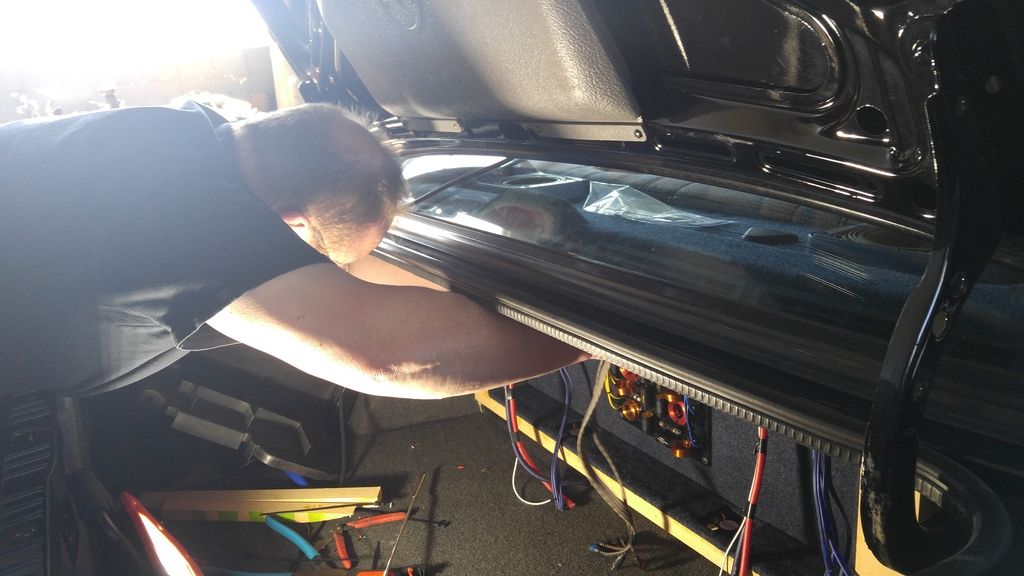
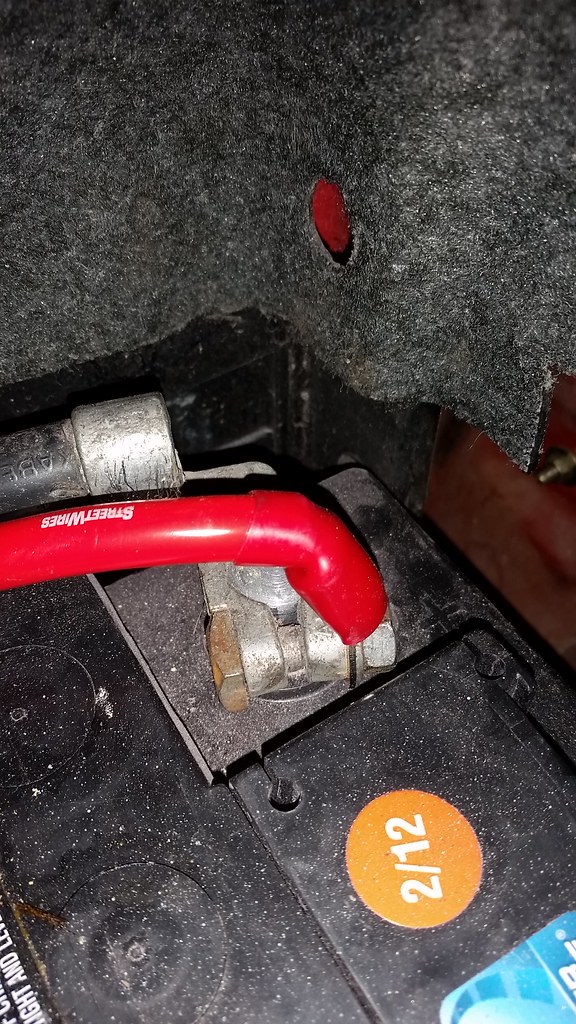
Next, we began setting up the power wires. Personally, I prefer to use the main body ground, I've never had noise issues using that spot, it just requires a bunch of wire.
So, we "tape wrapped" all 20 feet, just to hold it tidy for the install. The route I used is over the fender, care must be taken to assure nothing is deformed and nothing gets pinched. Using the supplied ring terminals we did the ground and power, and used both the included fuse holders. Unfortunately, we took only 1 pic, so I don't have much to show there, but once installed, the wiring laid over the top of the side panel beautifully:
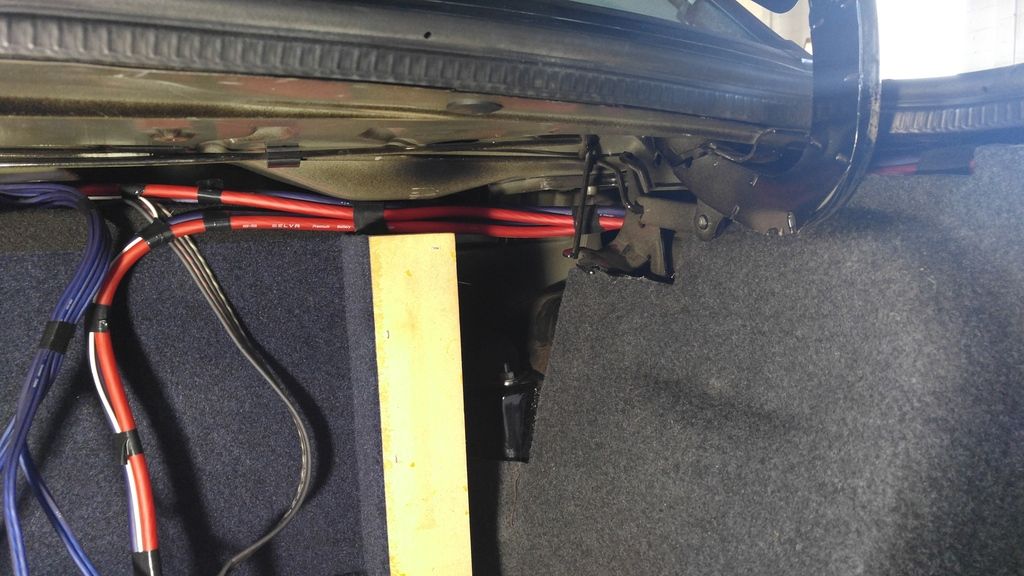
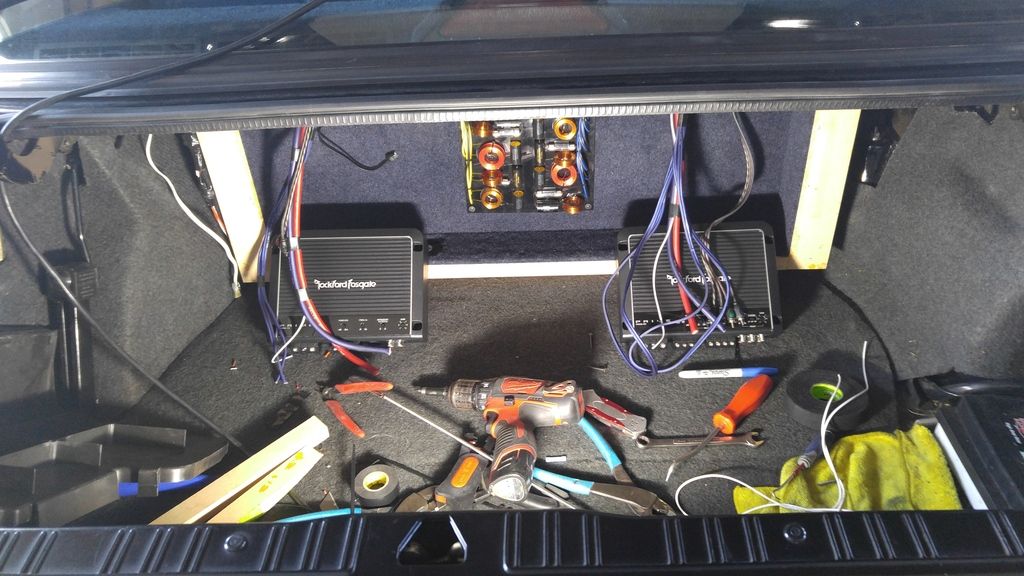
Then, of course, set up the rest of the wires:
Next, wired up the amplifiers. The wires will tuck under the amps, we used spacers under the feet:
Next is amp rack wiring, which are power, ground, remote and trunk light switch:
Then, once amps and amp rack were wired, we followed the Tuning Guide as shown on our site. Its not all that scientific, but when properly followed, it works great.
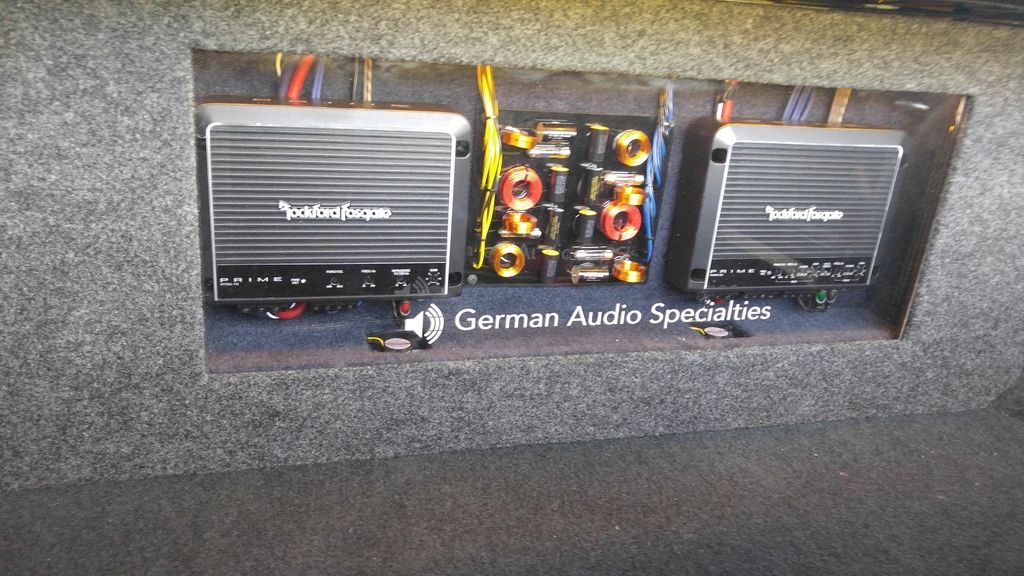
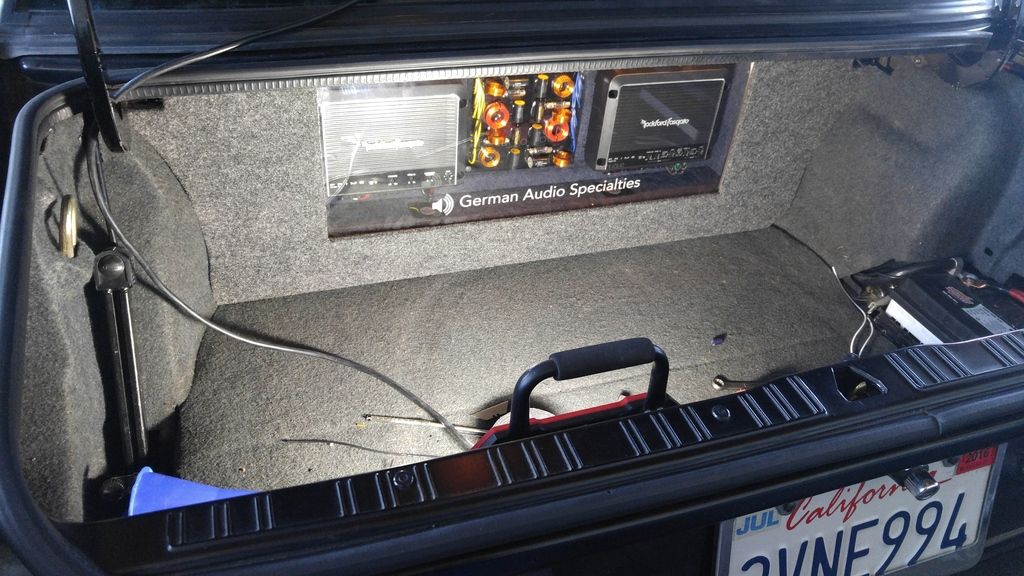
Once the amps were tuned, the cover plate went on and the job was done:
Hope you enjoyed the pics, and please feel free to post up questions.
Thanks!
Luke
We've been talking for a couple years about this, and now that the car is back on the road, he decided to come visit us and get it done.
Oh yeah, he drove roughly 700 miles to come see us...kinda says something!
Anyway, this is one of the best sounding systems we've ever done, the performance really surprised all of us, it turned out spectacular.
Here is the components used:
G.A.S. E30 10" enclosure (waterproof option, too!)
G.A.S. E3010 Amp Rack
GAS "Classic: PCN
Front and rear speakers are E34 from a late model car, they fit just like stock, as OE as possible.
Subwoofer: Powerbass M1004D
Rockford Fosgate R400D
Fosgate R750.1D
For wiring, we used Belva, we used 2 kits so we could get 2 colors of 4GA long enough to reach the battery. Apparently there is no such thing as a 'rear battery amp kit", perhaps this would be something we might address later.
The 4 channel kit is the BAK44 and the 2 channel kit is the BAK42 (blue)
Last but not least, we used the Pioneer DEH80PRS as the deck. It has an absolute ton of features, but we always run all our systems "flat", so we didnt use the time delay, the EQ, the crossovers...none of it. For me, I don't care to hear all the sonic artifacts that are always audible when using the DSP functionality, I prefer the natural balance of our speaker systems.
As far as install goes, we ran the wiring, that being the 3 sets of RCAs, the sub level control cable and the speaker wires from the Classic PCN.
Next, we installed the deck and the speakers, all pretty straightforward stuff.
Then, we installed the sub level controller in a blank plate above the deck, feel free to search for the DIY I put up a couple years ago.
So, once all that was done, it's time to attack the trunk!
First, this box and amp rack are special order, we did the back of the box and te inside of the amp rack in a dark blue, to match his interior. We upholstered the rear deck in the same color, and color matched a set of speakers

Next, we began setting up the power wires. Personally, I prefer to use the main body ground, I've never had noise issues using that spot, it just requires a bunch of wire.
So, we "tape wrapped" all 20 feet, just to hold it tidy for the install. The route I used is over the fender, care must be taken to assure nothing is deformed and nothing gets pinched. Using the supplied ring terminals we did the ground and power, and used both the included fuse holders. Unfortunately, we took only 1 pic, so I don't have much to show there, but once installed, the wiring laid over the top of the side panel beautifully:


Then, of course, set up the rest of the wires:

Next, wired up the amplifiers. The wires will tuck under the amps, we used spacers under the feet:

Next is amp rack wiring, which are power, ground, remote and trunk light switch:

Then, once amps and amp rack were wired, we followed the Tuning Guide as shown on our site. Its not all that scientific, but when properly followed, it works great.
Once the amps were tuned, the cover plate went on and the job was done:


Hope you enjoyed the pics, and please feel free to post up questions.
Thanks!
Luke


Comment