

I did a group buy a while back for my new custom E30 designed LTW Style flags and in the interest of customer service I though I would provide some simple instructions.
When you received your flag you will note that it is in two pieces, unless you have a three color flag in which case you have 6 pieces. Single Colors should look like this.
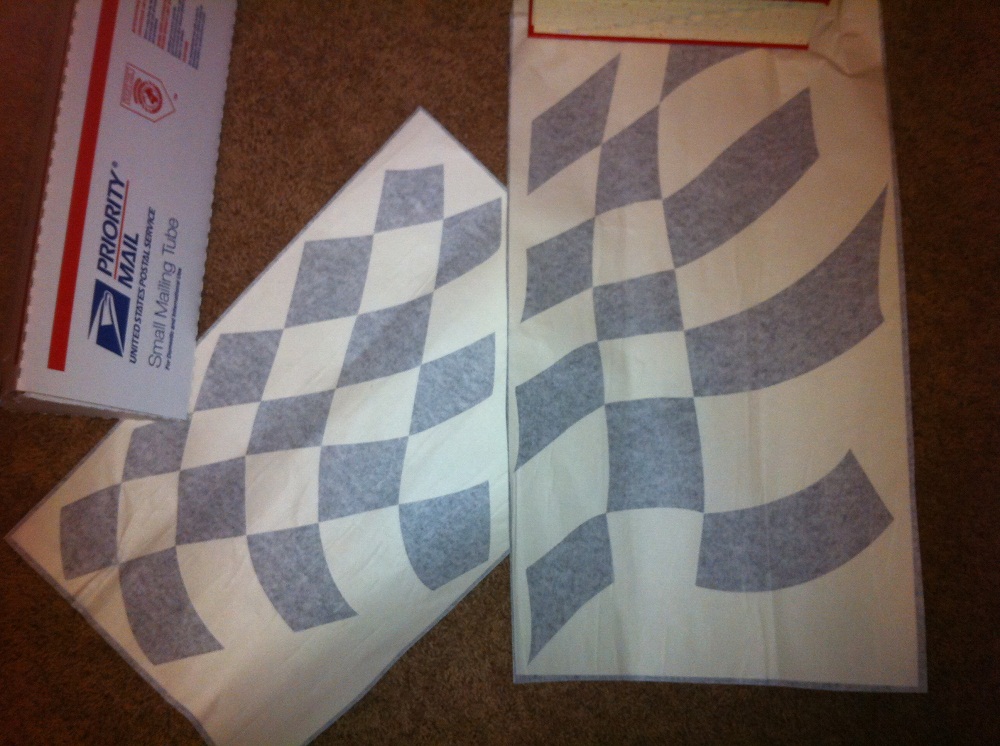
The Left piece is the hood section and the right piece is the fender section.
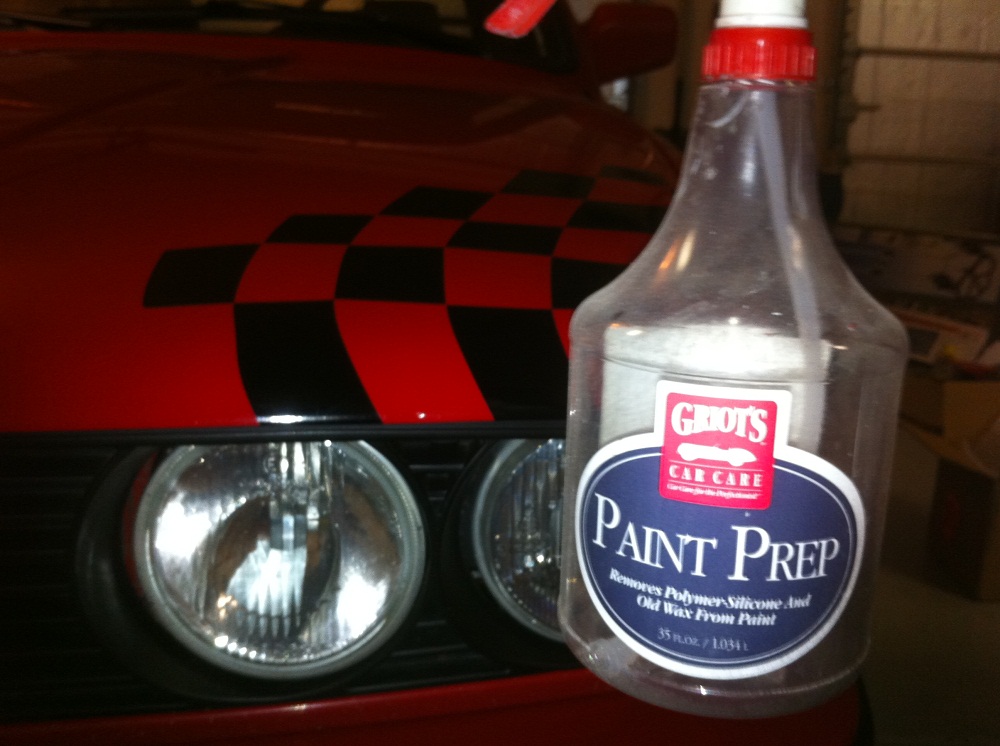
Your first step should be prepping the hood. You MUST remove all wax and sealers from the surface for the vinyl to adhere properly. I recommend this Griots Garage product.
Your flag was shipped with two optional pieces outlined in Red in the photo. If you wish to use them I suggest that you cut them from the pattern and hand position them for your preferred look. That is what I did in the next photo.


There are two methods of application and rather than have me do a terrible job explaining here are a few you tube videos this guy is a pro and he puts some terrible graphic on a mustang but it is full of good info. I did mine dry the alignment process is the same the only difference is that I did not float my graphic in place. It ends up looking better but it takes a long time and you can not wash the car for a week because the vinyl is not cured to the surface for that long.
For proper alignment I recommend the following alignment as shown in the pictures. The Flash made the tape measure glow but the first one shows that the furthest part of the hood flag on the hood edge is at 33 cm. You can align it between 33 and 36 and it will fit fine but I prefer 33 cm from the hood edge.
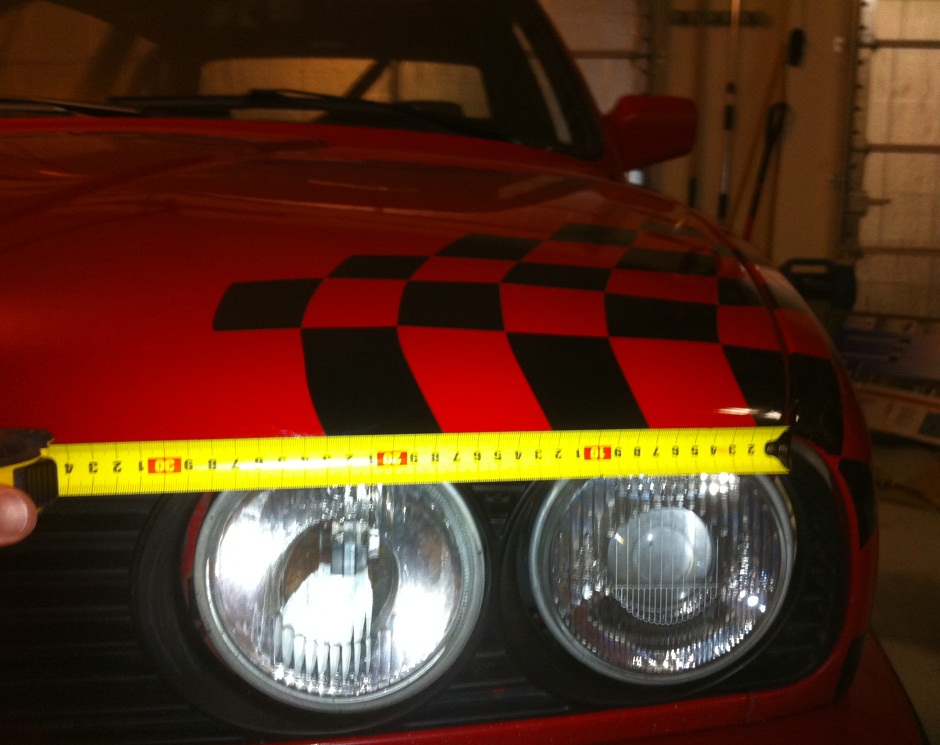
The Second Photo shows how far back the product should be installed but this is easily gauged using the front squares.
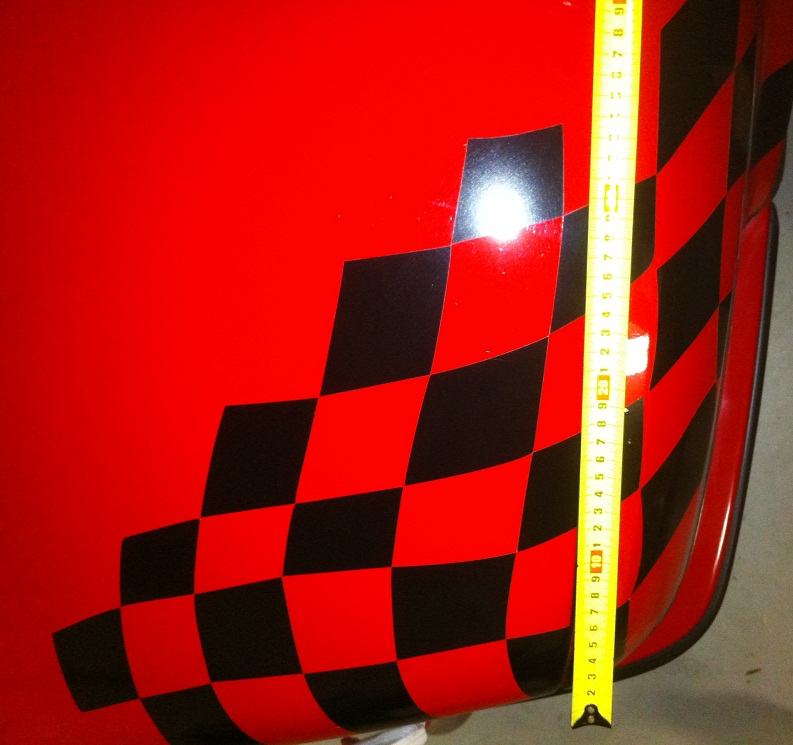
Here is one more shot of my car with the flag alligned as it was designed to be.

When you received your flag you will note that it is in two pieces, unless you have a three color flag in which case you have 6 pieces. Single Colors should look like this.
The Left piece is the hood section and the right piece is the fender section.
Your first step should be prepping the hood. You MUST remove all wax and sealers from the surface for the vinyl to adhere properly. I recommend this Griots Garage product.
Your flag was shipped with two optional pieces outlined in Red in the photo. If you wish to use them I suggest that you cut them from the pattern and hand position them for your preferred look. That is what I did in the next photo.
There are two methods of application and rather than have me do a terrible job explaining here are a few you tube videos this guy is a pro and he puts some terrible graphic on a mustang but it is full of good info. I did mine dry the alignment process is the same the only difference is that I did not float my graphic in place. It ends up looking better but it takes a long time and you can not wash the car for a week because the vinyl is not cured to the surface for that long.

For proper alignment I recommend the following alignment as shown in the pictures. The Flash made the tape measure glow but the first one shows that the furthest part of the hood flag on the hood edge is at 33 cm. You can align it between 33 and 36 and it will fit fine but I prefer 33 cm from the hood edge.
The Second Photo shows how far back the product should be installed but this is easily gauged using the front squares.
Here is one more shot of my car with the flag alligned as it was designed to be.


Comment