
As many E30 owners can tell you, R-134 retrofitted systems in our cars aren't necessarily the most efficient systems due to our old, outdated and inefficient condensers. Yes, the tube and fin design sucks and if you're looking for something that is going to be a lot more efficient for your A/C system, then your lucky day has arrived: upgrading your E30's condenser.
In order to get started on this, you will need the following:
NOTE: Do this at your own discretion. This was done on a 1989 BMW US spec with an M20B25 in it.
ANOTHER NOTE: Before doing this, I retrofitted just about everything on my E30. I changed out the following:
The only thing I didn't replace was the condenser and after MUCH research, I decided to go for a parallel flow condenser. I honestly had nothing to lose and I read many stories of people having success with this.
Now, before you do anything or take any bolt off your car, VACUUM your system down and RECOVER all your refrigerant. You do not want to open up your system and have freon spray everywhere. It's not the best smelling substance and it's actually illegal to release it into the o-zone.
Jack your car up on jack stands. This will make things a lot easier if your car is lowered (like mine). Pop the hood open, but don't open it all the way. Just leave it cracked. Now, remove your front grills:
If you can't do this then you should stop altogether and consider paying someone else to do this for you.
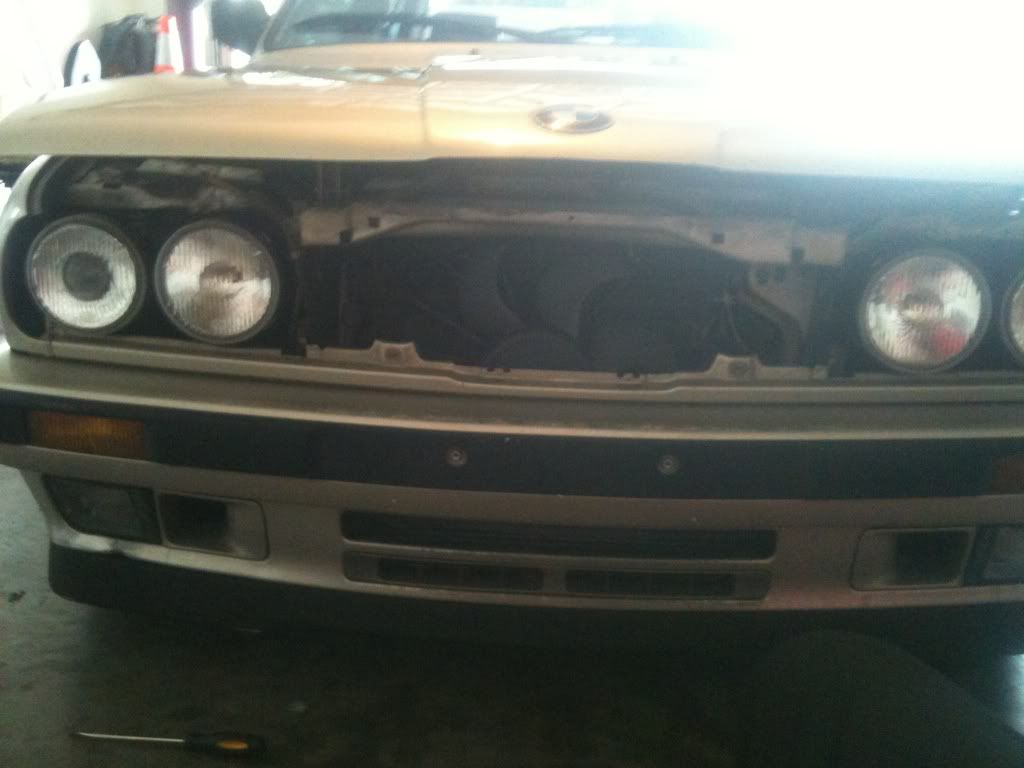
Once you have removed the grills, you can now see part of your old condenser and fan.
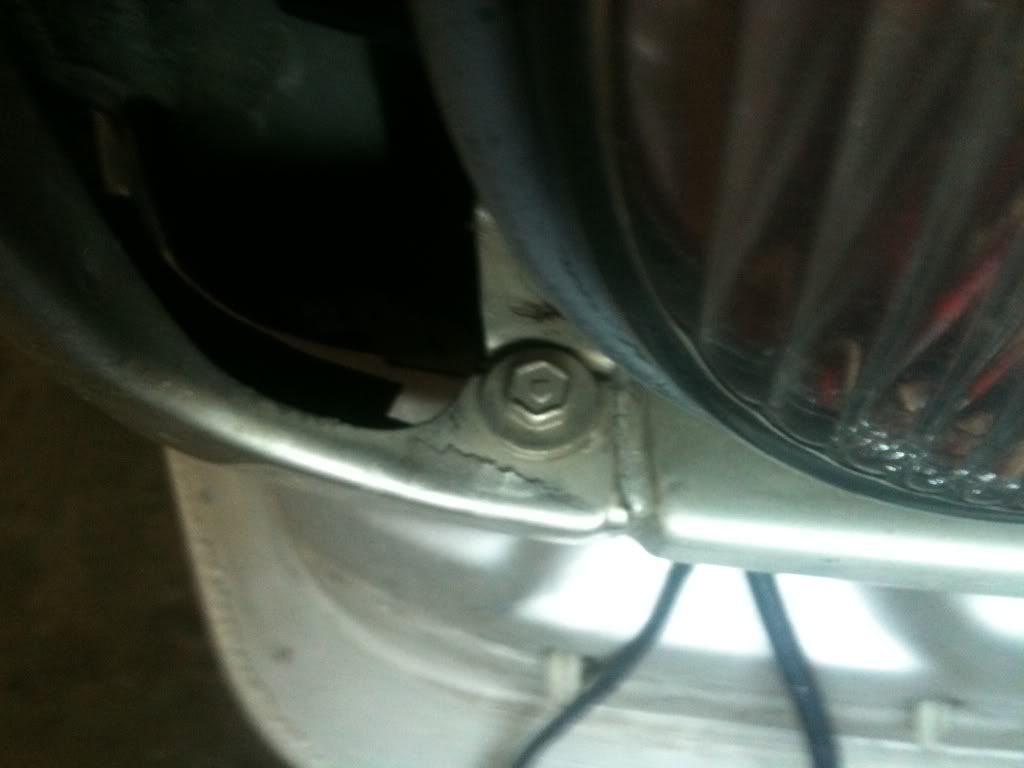
There are two T-55 torx bolts that are located on the underside of the bumper. They are pretty apparent, so you can't miss them. You will need to remove these so you can slide the bumper off:

If you pull on the bumper from the center a little bit at a time, you will notice it start to slide off. I would suggest getting a second person to help you with unplugging the lights. Remember, these cars are very old and brittle. If you don't take your time or aren't cautious, you will end up with this:
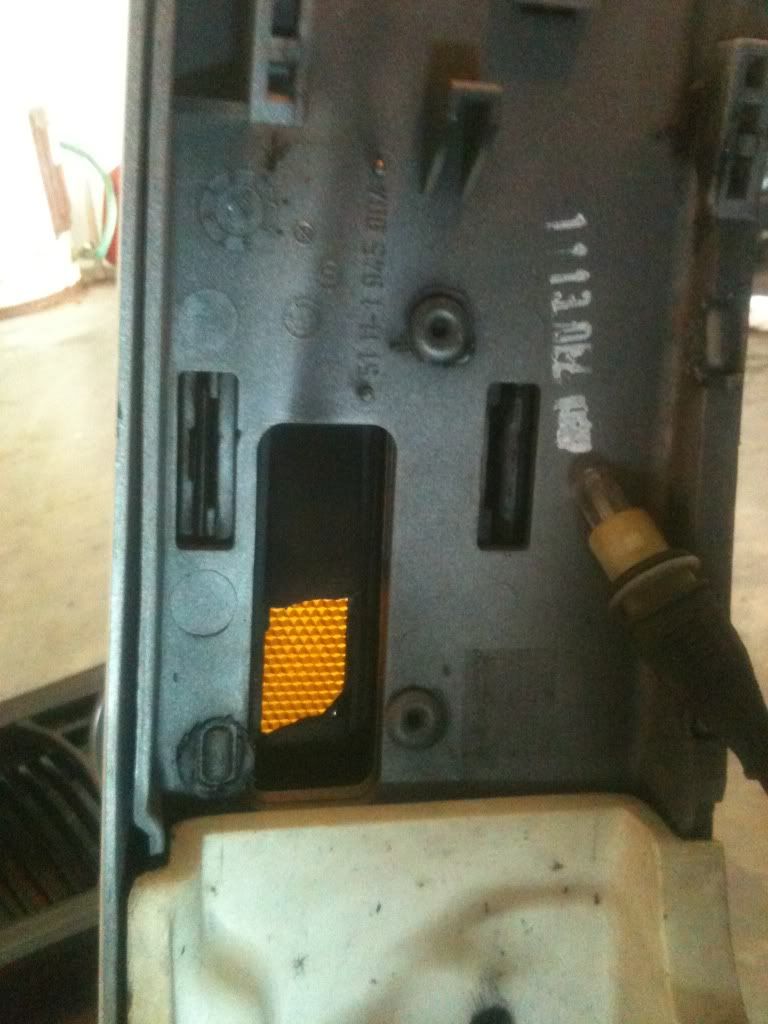
This is where the super glue comes in handy. Once you've removed the entire bumper, apply some super glue and fix it now so it gives it time to sit and cure. Once you have removed the bumper out of the way, you will notice 8mm bolts that are holding on the front fascia. they are located in the following places:
Headlight area
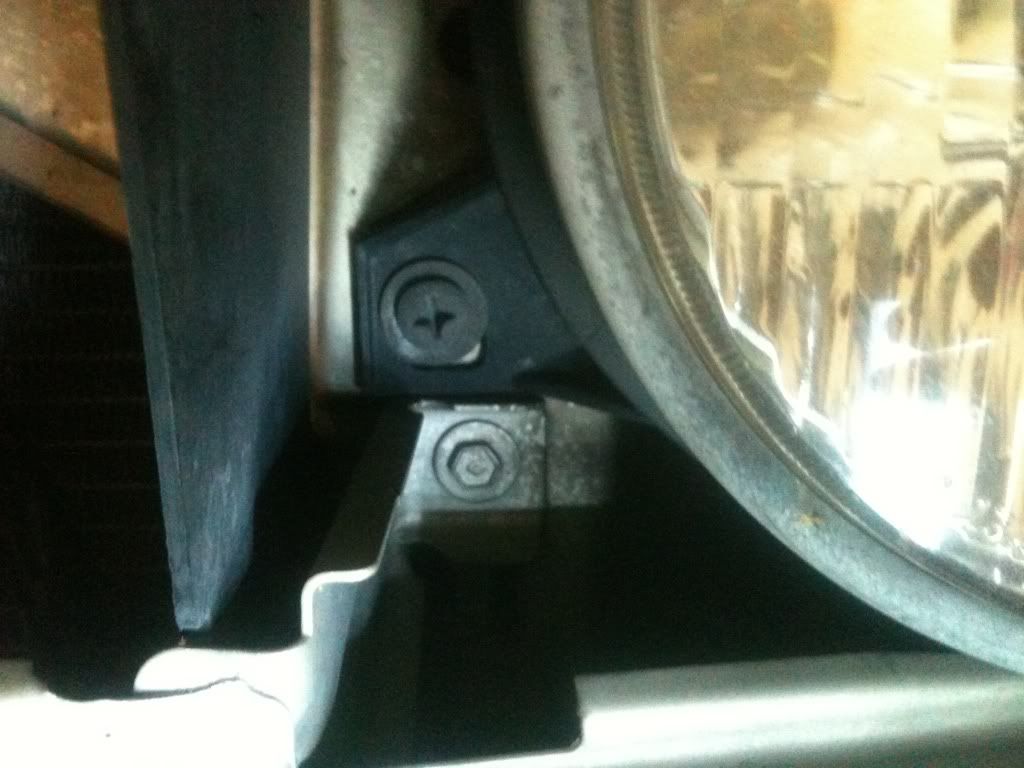
Around the same area (there is a torx bit on the underside of this as well! I don't remember what size it is, but it much smaller. Around a T15 or that size):
Front fenders near the bumper brackets:
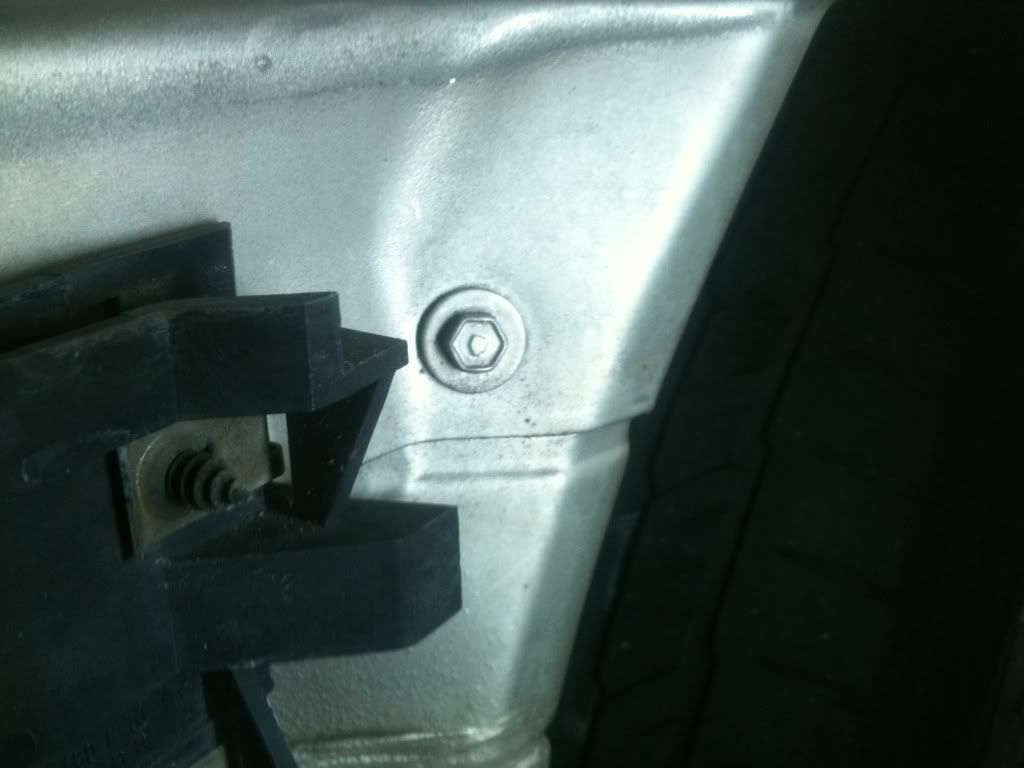
And there are the screws that hold on those bumper brackets. They are either 13mm or 10mm, so I suggest using a ratcheting wrench to get them off.
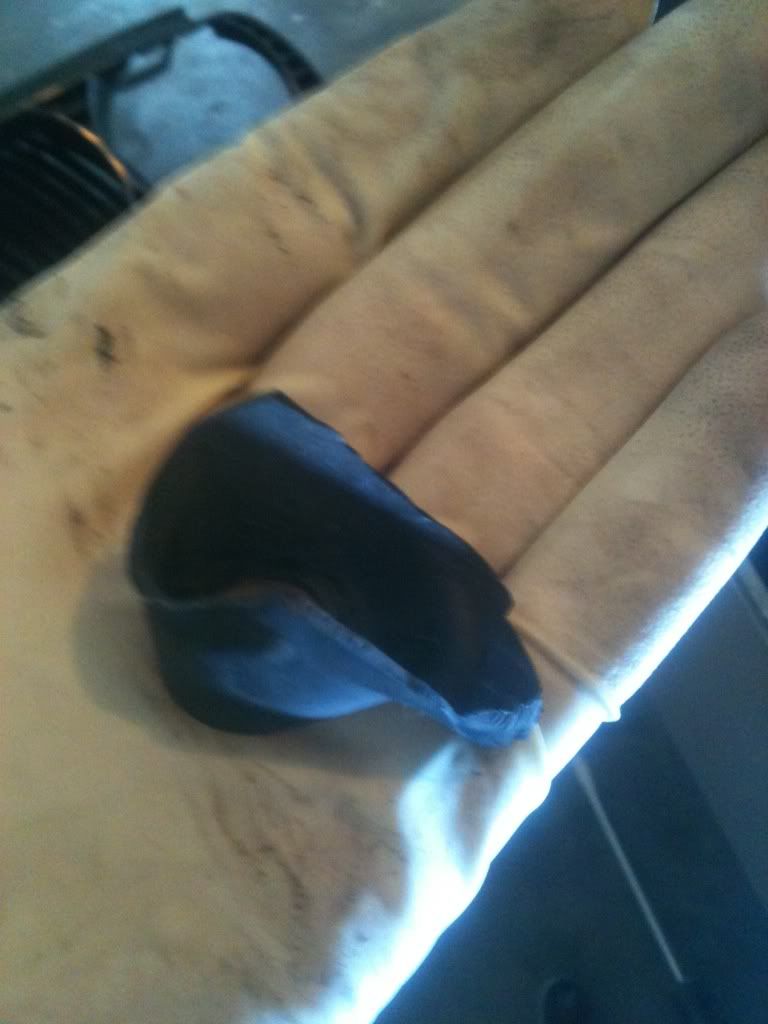
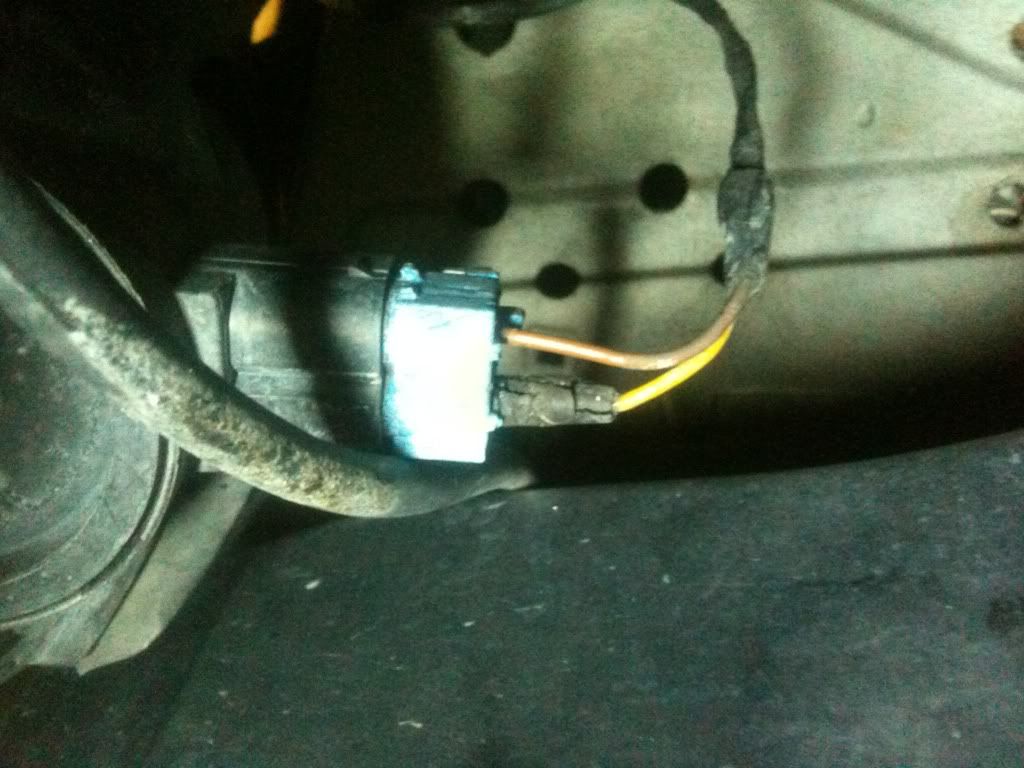
Once these are all pulled off, you will want to unplug the fog lamps. Be careful because mine were very brittle and I thought they were going to disintegrate in my hand:
Now the front fascia should come off. Be sure to take caution with the wiring harness that is attached to it. If it's not coming off, chances are you have forgotten something to take off and make sure you get all the necessary bolts off. Don't force it off, it will come off as one whole piece, otherwise you will bend it. Your car should look like this now (excuse the shitty phone pics; I was doing this solo in my garage):

If you have an oil cooler, drop that down from the brackets holding it to the body. This will give you room to take the condenser out.
You will need to use two wrenches of the same size or one 24mm/19mm and an adjustable wrench to take the hardlines off the condenser. using one wrench as support and the other to remove the hardline, be careful on taking them off. It may take a bit of budging, but it will come free. Be careful not to bend any of the lines. Once those are free, pop them off and at this point I would recommend replacing your o-rings. these are R12 seals and R134 gases will not work with them. Using a pick tool, pull them off, go to your local auto parts/hardware store and match them up and put them on the lines.
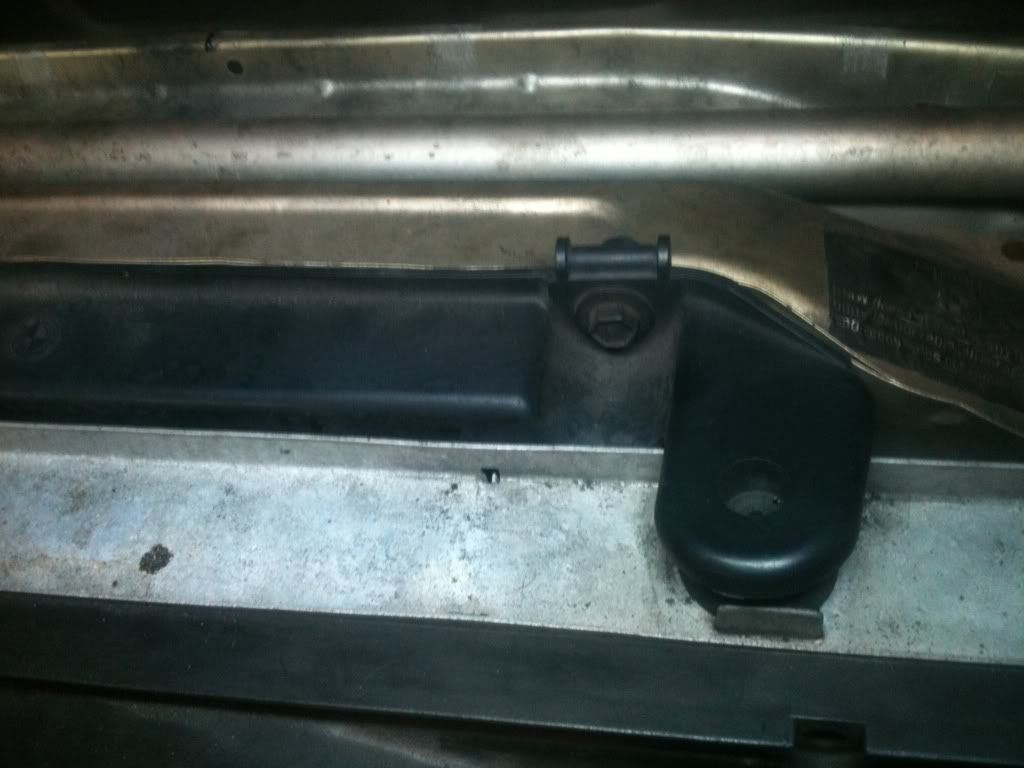
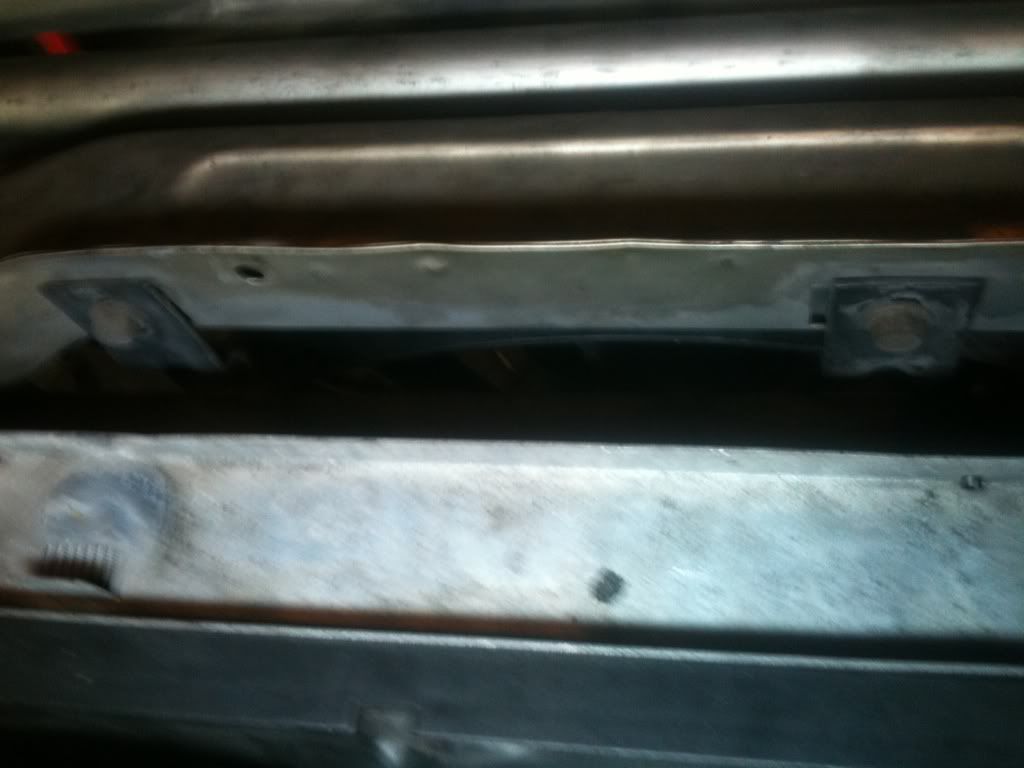
Now, pop open your hood and look at your radiator. See these bolts? Yeah, remove them. You will need to in order to get to the brackets for the old condenser:
now, pull that out of the way and remove the two bolts that are holding the condenser brackets to the body:
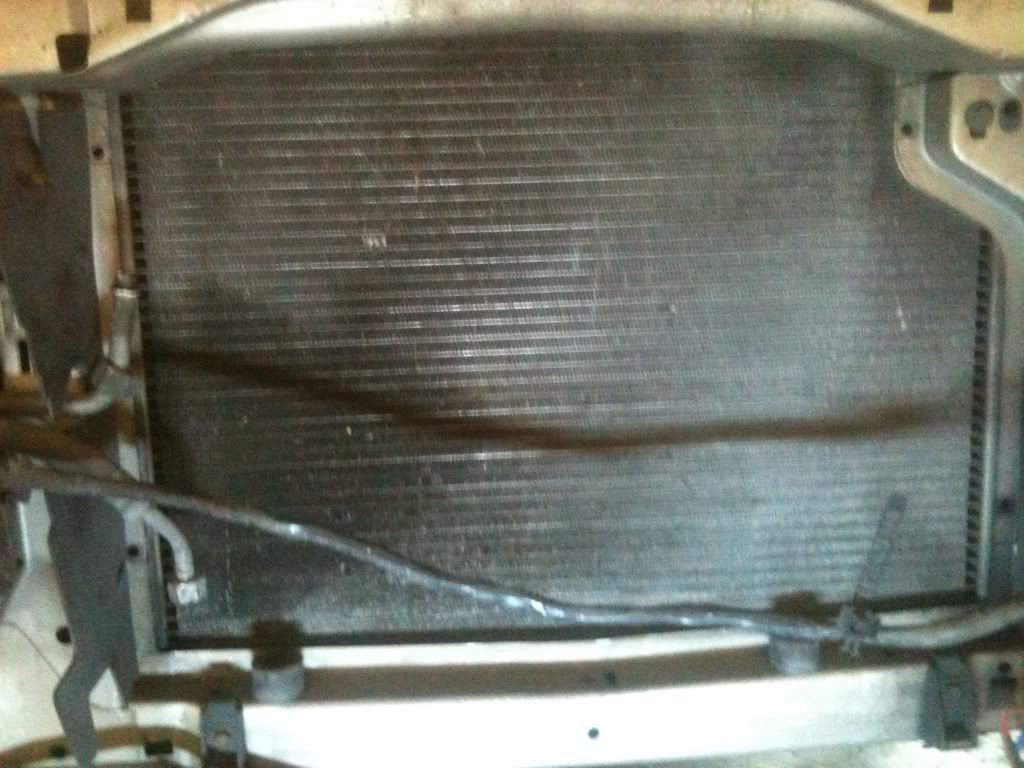
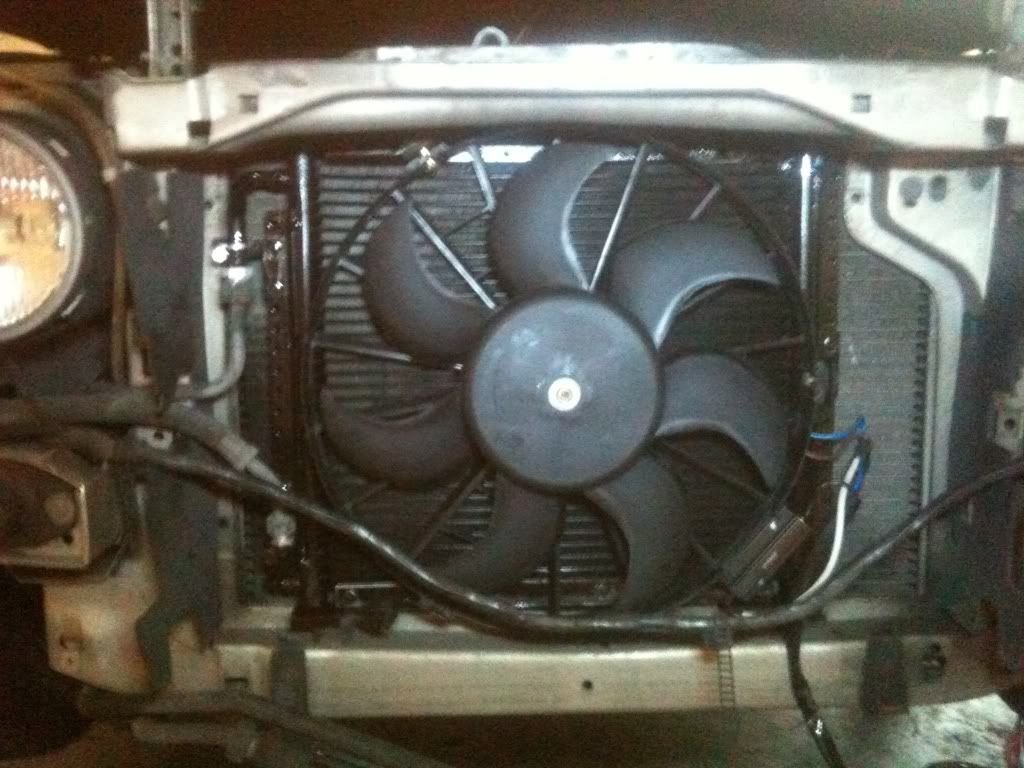
Now, remove the cooling fan. If you would like to upgrade to a better/bigger fan, I suggest doing it now. It will make things easier and you won't have to do this job twice. you can remove the fan via three 8mm nuts that are attached to the mounting grommets.
It should be fairly easy to remove the condenser at this point, and if you have successfully done so, you should have a nice free area for the new one to go in:
Now, before you install the new condenser, pull off the fan mounting grommets from the old one and slice them in half. The reason why you need to do this is because there is no way to put them on the new one without cutting them or trying to jam them in:
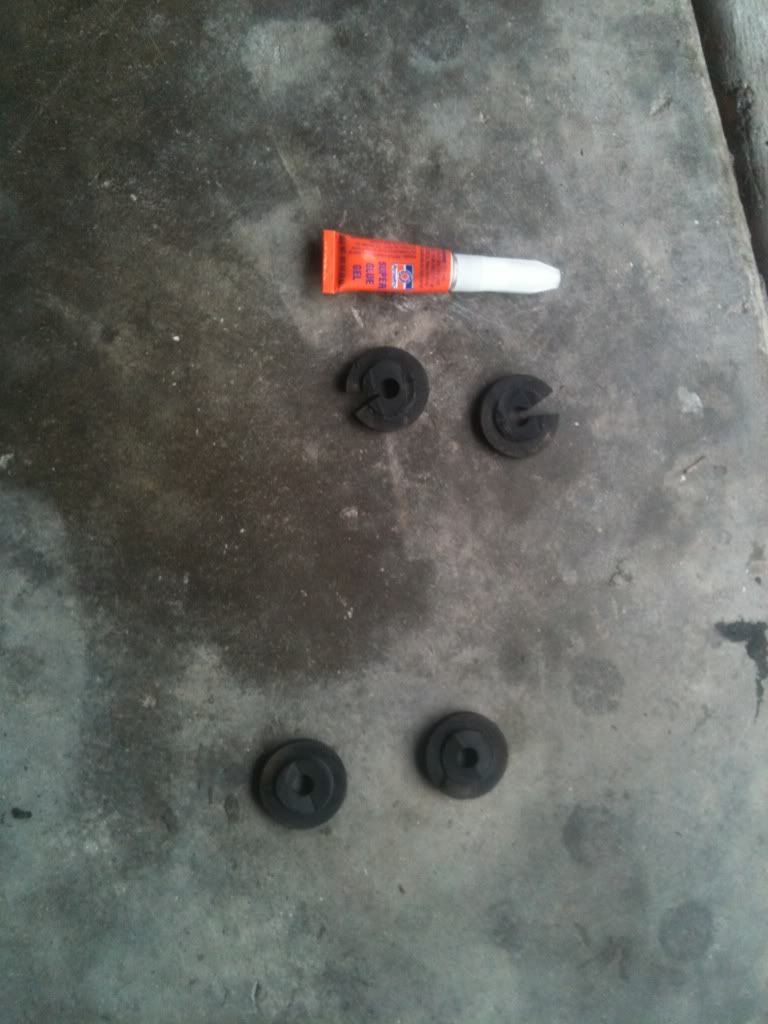
Now, put some super glue on them and attach the respective grommet pieces back together on the new fan bracket. If you did a decent job, this will hold pretty well.
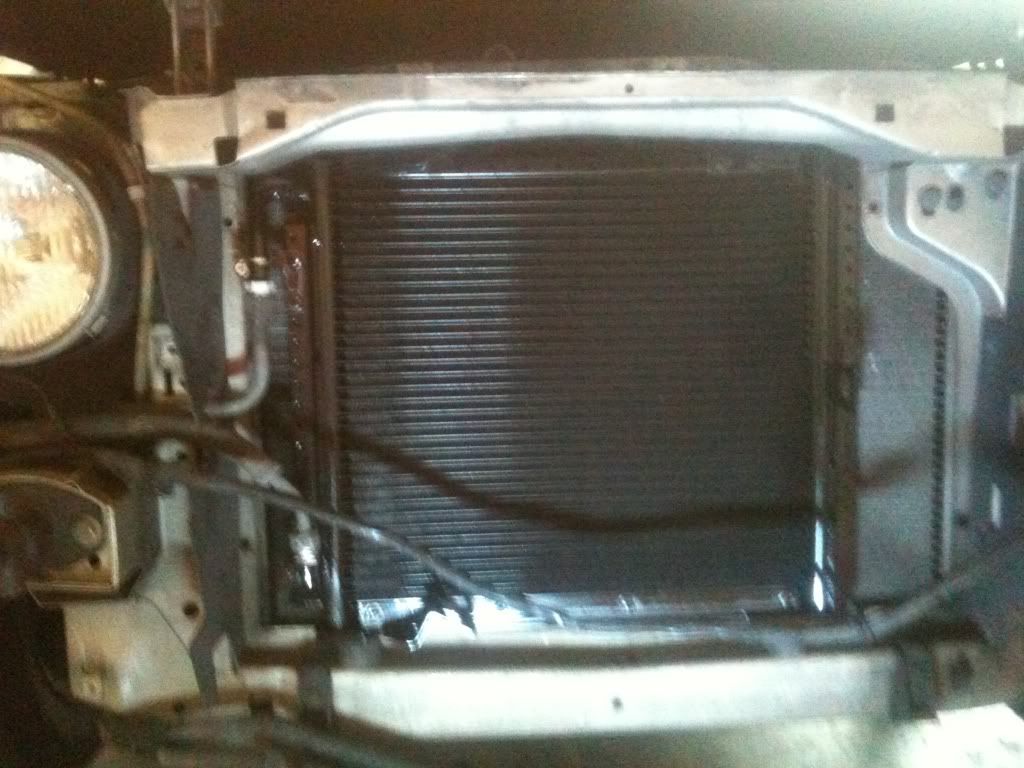
Going back to the front of the car, you can install your condenser:
My condenser only came with one bracket. It was total bullshit, but at this point, I was tired and didn't care. I ziptied the bracket through the original mounting hole and it works for me. If you are die hard OCD about this, you can drill out the pop rivets on the new condenser, fab your own condenser bracket based on the old ones, and go onto the next step.
You can mount your fan in now using the same bolts and hardware from your old condenser fan bracket:
Re-installation is pretty straightforward. But make sure your wiring harness is connected to the fascia before you put everything back together and bolt everything down. Mine wasn't and was hitting my fan and now I have an ugly zip tie in the front of my car to hold it until I become un-lazy and fix it.
Make sure you give your A/C system a nice deep vacuum. this will vaporize any moisture that has entered your system since you have opened it. I did mine for a good 45 minutes to make sure. I didn't replace my dryer after this because it was fairly new. It is a relatively cheap part, so if you feel the need to replace it, go for it.
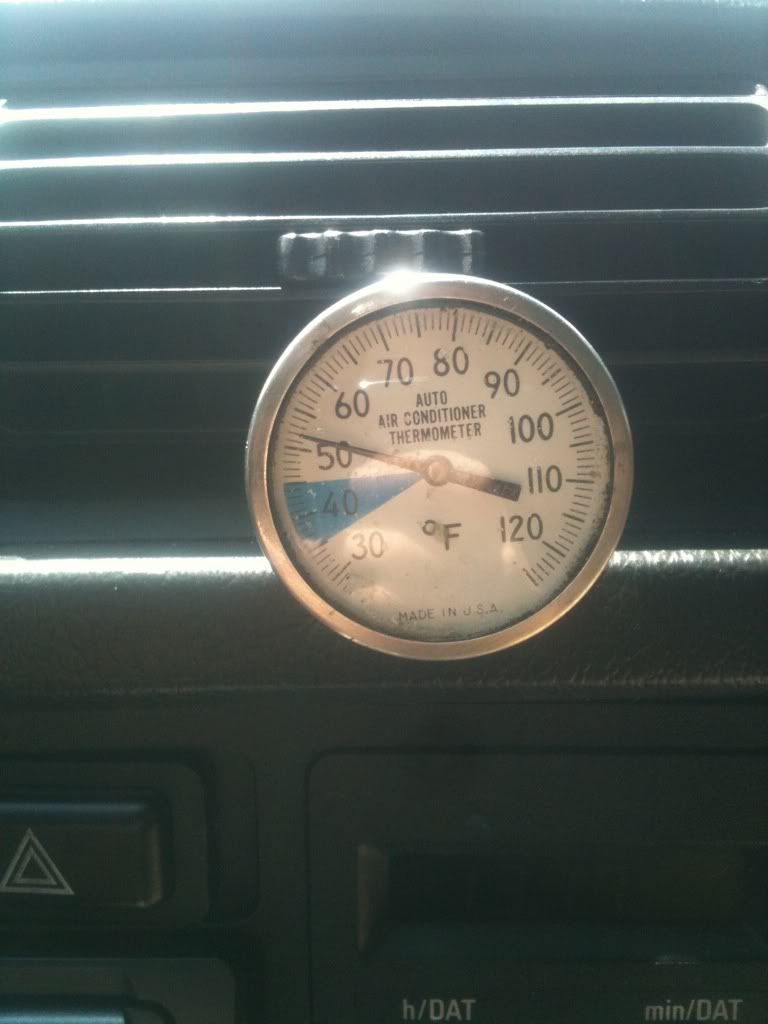
Once that's all done and said, go take it out for a spin. I noticed an immediate change compared to my last drive. I couldn't get my car any colder than 58F and that was at night time. With the new condenser, I was able to hit 53F in 95F ambient temperature (possibly even hotter out):
In order to get started on this, you will need the following:
- A direct fit parallel flow condenser (I purchased mine from SupremeCondensers.com) - $88.00+ shipping
- T-55 torx (for the two bolts that hold the bumper on)
- 8mm socket (various ones all around the front fascia)
- 10 mm socket (also used for the front fascia)
- 13mm socket (also used for parts of the front fascia)
- ratchet extension
- 22mm wrench (for condenser)
- 19mm wrench (for condenser)
- assortment of O-rings (green; you will be replacing two o-rings, so don't go too crazy with this. Just a general retrofit kit one will do or you can go to your local parts/hardware store and match up 2 if you have time)
- crescent (adjustable) wrench
- razor blade (fan mounting grommets)
- super glue (also for the fan mounting grommets; you'll see why)
NOTE: Do this at your own discretion. This was done on a 1989 BMW US spec with an M20B25 in it.
ANOTHER NOTE: Before doing this, I retrofitted just about everything on my E30. I changed out the following:
- Compressor (reman; R-134 compatible)
- Expansion valve (R-134 compatible)
- Cleaned the evaporator (had a lot of gunk in it)
- Dryer (fuck it, why not?)
- Flushed out the lines with A/C flush (liquid type with compressed air)
- O-rings where needed
The only thing I didn't replace was the condenser and after MUCH research, I decided to go for a parallel flow condenser. I honestly had nothing to lose and I read many stories of people having success with this.
Now, before you do anything or take any bolt off your car, VACUUM your system down and RECOVER all your refrigerant. You do not want to open up your system and have freon spray everywhere. It's not the best smelling substance and it's actually illegal to release it into the o-zone.
Jack your car up on jack stands. This will make things a lot easier if your car is lowered (like mine). Pop the hood open, but don't open it all the way. Just leave it cracked. Now, remove your front grills:
If you can't do this then you should stop altogether and consider paying someone else to do this for you.
Once you have removed the grills, you can now see part of your old condenser and fan.
There are two T-55 torx bolts that are located on the underside of the bumper. They are pretty apparent, so you can't miss them. You will need to remove these so you can slide the bumper off:
If you pull on the bumper from the center a little bit at a time, you will notice it start to slide off. I would suggest getting a second person to help you with unplugging the lights. Remember, these cars are very old and brittle. If you don't take your time or aren't cautious, you will end up with this:
This is where the super glue comes in handy. Once you've removed the entire bumper, apply some super glue and fix it now so it gives it time to sit and cure. Once you have removed the bumper out of the way, you will notice 8mm bolts that are holding on the front fascia. they are located in the following places:
Headlight area
Around the same area (there is a torx bit on the underside of this as well! I don't remember what size it is, but it much smaller. Around a T15 or that size):
Front fenders near the bumper brackets:
And there are the screws that hold on those bumper brackets. They are either 13mm or 10mm, so I suggest using a ratcheting wrench to get them off.
Once these are all pulled off, you will want to unplug the fog lamps. Be careful because mine were very brittle and I thought they were going to disintegrate in my hand:
Now the front fascia should come off. Be sure to take caution with the wiring harness that is attached to it. If it's not coming off, chances are you have forgotten something to take off and make sure you get all the necessary bolts off. Don't force it off, it will come off as one whole piece, otherwise you will bend it. Your car should look like this now (excuse the shitty phone pics; I was doing this solo in my garage):
If you have an oil cooler, drop that down from the brackets holding it to the body. This will give you room to take the condenser out.
You will need to use two wrenches of the same size or one 24mm/19mm and an adjustable wrench to take the hardlines off the condenser. using one wrench as support and the other to remove the hardline, be careful on taking them off. It may take a bit of budging, but it will come free. Be careful not to bend any of the lines. Once those are free, pop them off and at this point I would recommend replacing your o-rings. these are R12 seals and R134 gases will not work with them. Using a pick tool, pull them off, go to your local auto parts/hardware store and match them up and put them on the lines.
Now, pop open your hood and look at your radiator. See these bolts? Yeah, remove them. You will need to in order to get to the brackets for the old condenser:
now, pull that out of the way and remove the two bolts that are holding the condenser brackets to the body:
Now, remove the cooling fan. If you would like to upgrade to a better/bigger fan, I suggest doing it now. It will make things easier and you won't have to do this job twice. you can remove the fan via three 8mm nuts that are attached to the mounting grommets.
It should be fairly easy to remove the condenser at this point, and if you have successfully done so, you should have a nice free area for the new one to go in:
Now, before you install the new condenser, pull off the fan mounting grommets from the old one and slice them in half. The reason why you need to do this is because there is no way to put them on the new one without cutting them or trying to jam them in:
Now, put some super glue on them and attach the respective grommet pieces back together on the new fan bracket. If you did a decent job, this will hold pretty well.
Going back to the front of the car, you can install your condenser:
My condenser only came with one bracket. It was total bullshit, but at this point, I was tired and didn't care. I ziptied the bracket through the original mounting hole and it works for me. If you are die hard OCD about this, you can drill out the pop rivets on the new condenser, fab your own condenser bracket based on the old ones, and go onto the next step.
You can mount your fan in now using the same bolts and hardware from your old condenser fan bracket:
Re-installation is pretty straightforward. But make sure your wiring harness is connected to the fascia before you put everything back together and bolt everything down. Mine wasn't and was hitting my fan and now I have an ugly zip tie in the front of my car to hold it until I become un-lazy and fix it.
Make sure you give your A/C system a nice deep vacuum. this will vaporize any moisture that has entered your system since you have opened it. I did mine for a good 45 minutes to make sure. I didn't replace my dryer after this because it was fairly new. It is a relatively cheap part, so if you feel the need to replace it, go for it.
Once that's all done and said, go take it out for a spin. I noticed an immediate change compared to my last drive. I couldn't get my car any colder than 58F and that was at night time. With the new condenser, I was able to hit 53F in 95F ambient temperature (possibly even hotter out):


Comment