-
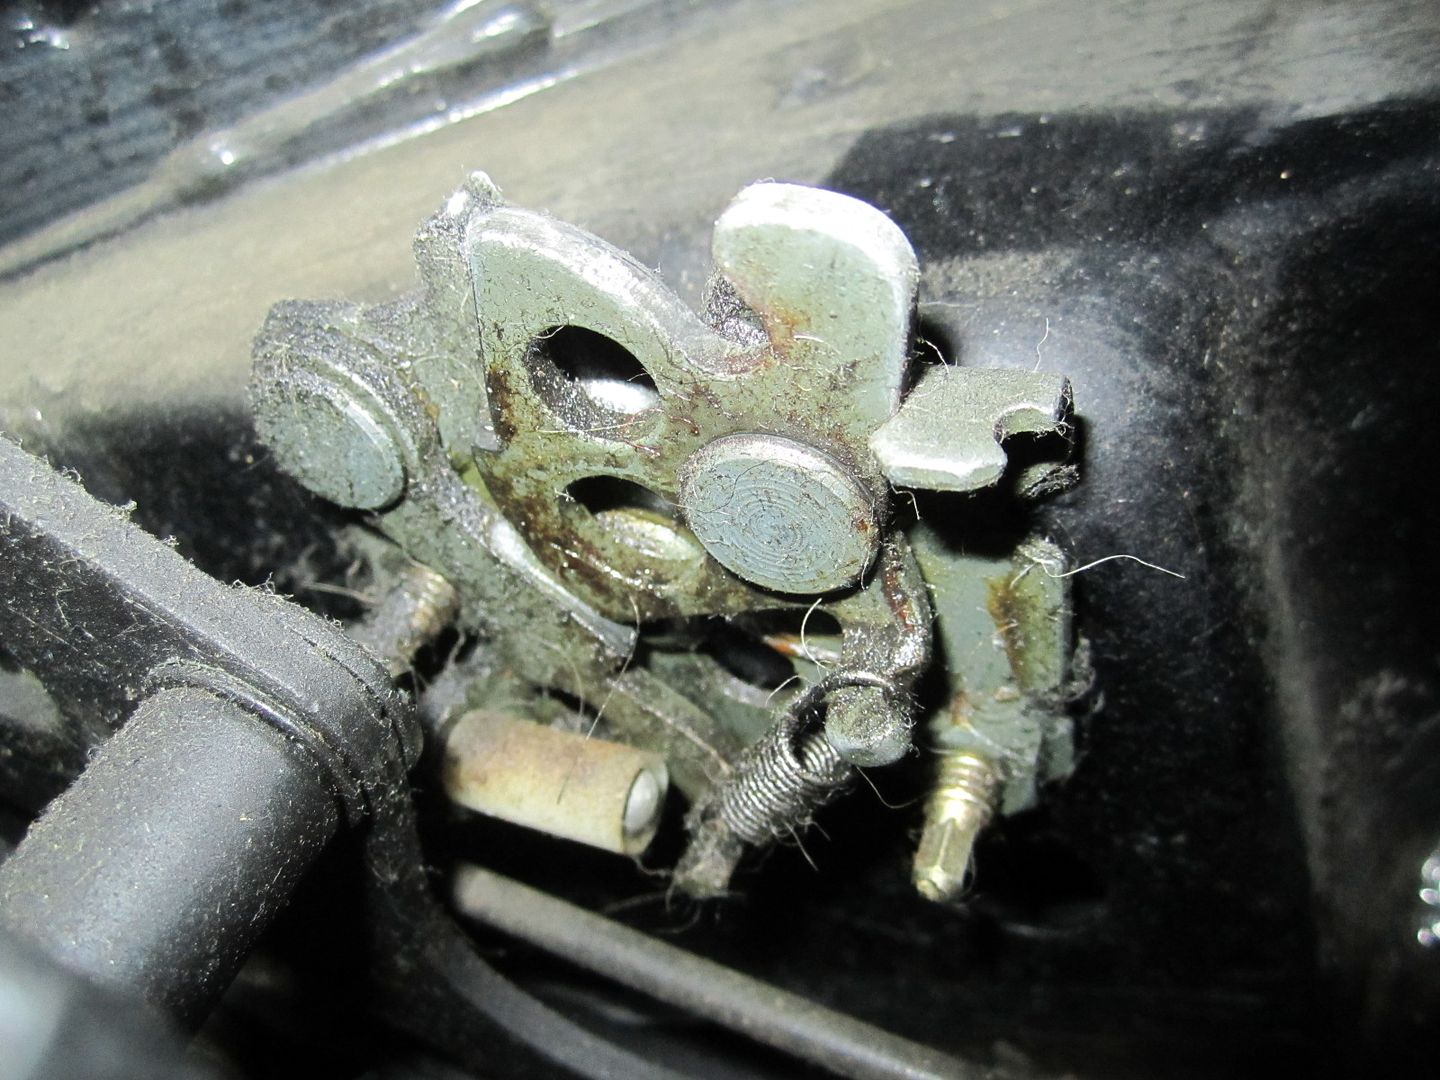
the springs on the locks can get pulled apart and will not lock. On one of the setups I shortened the spring and basically this makes them stronger or to close up faster and it worked. -
Yes.. Lol at least for me.. I am pretty sure I have something in backwards as the lid won't stay closed not to mention. It won't lock.. But with all the damn rain we have been having I can't really so the work I want to right now..lolLeave a comment:
-
-
Went to grab these up today at a local PAP pictures really helped...:D. I Strongly suggest a sticky..Ps all sockets are 11mm for the screws..and the only other thing needed is a Phillips head screwdriver..9.50 for all the partsLeave a comment:
-
E30 Vert Power to Manual Conversion Guide
I will be adding part numbers and more info in the next week
OK So I know I was looking for this and could not find it.
It took me a little bit of time to figure this out and get it done.
If you have an Auto Top Vert and want to convert it the Manual top.
Here is what you need:
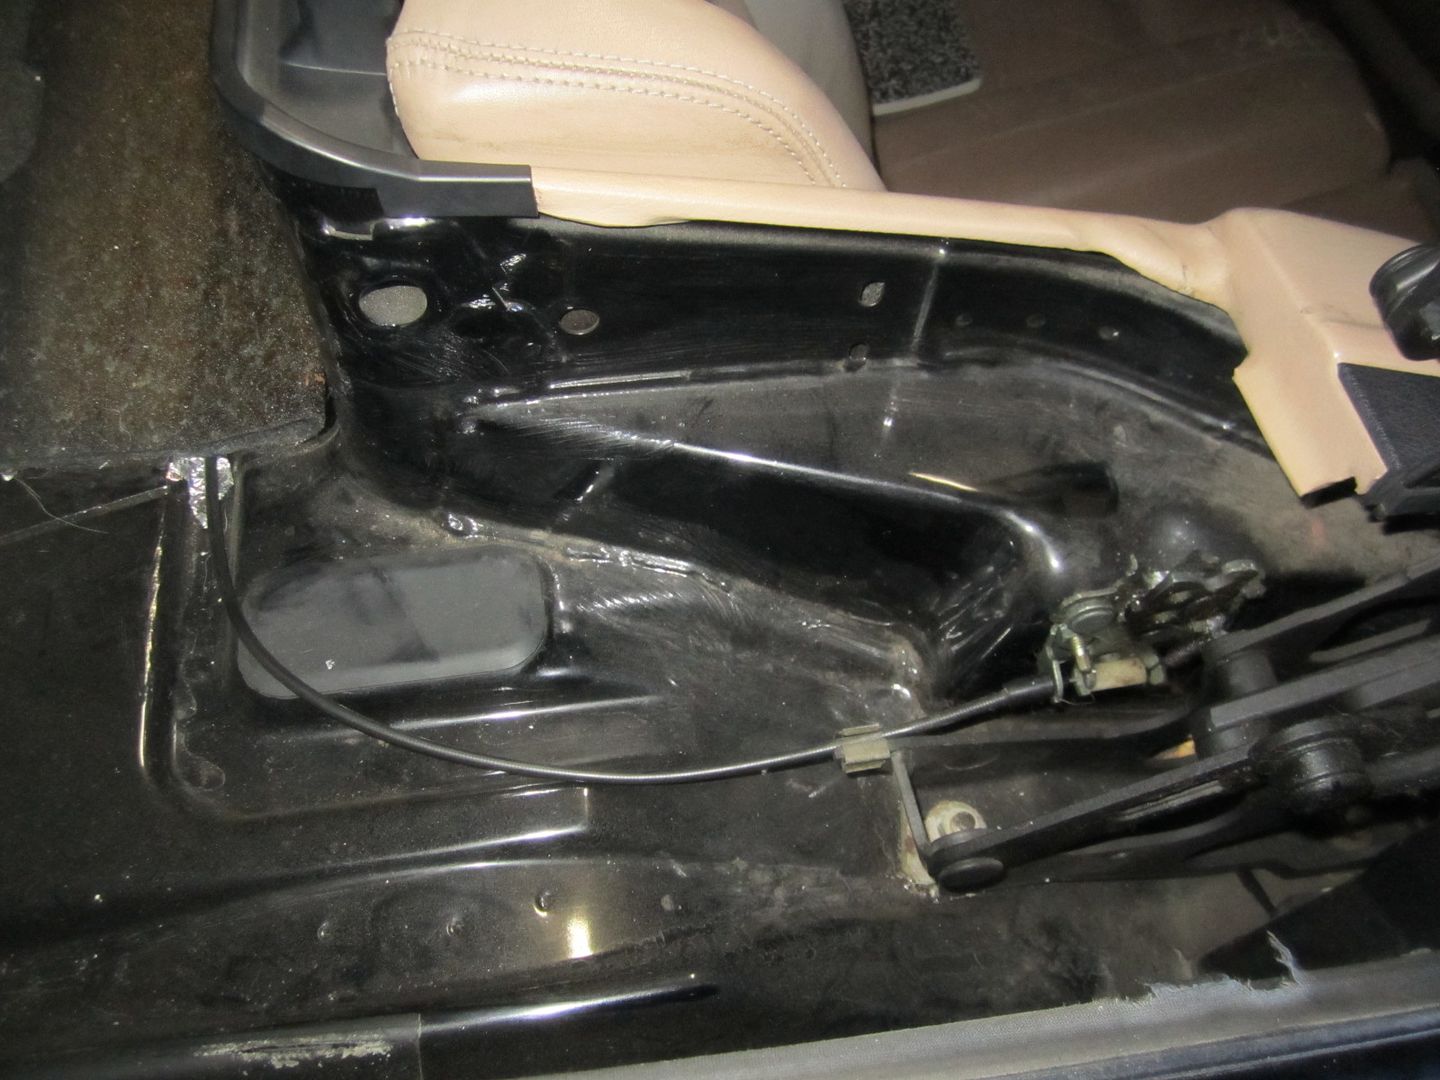
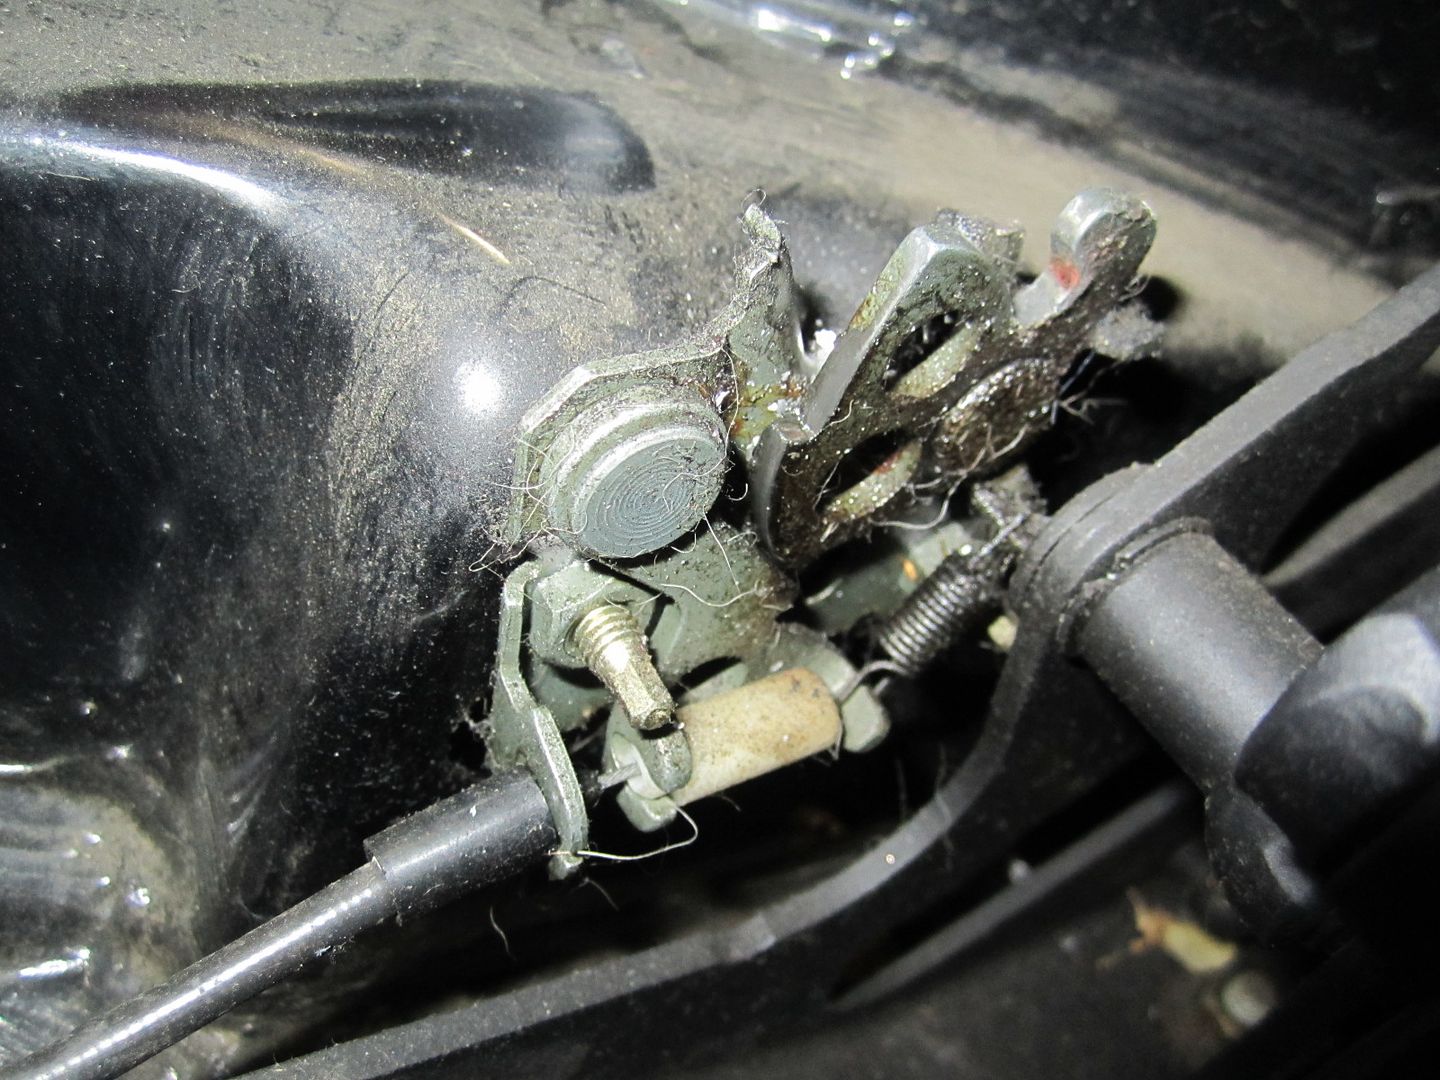
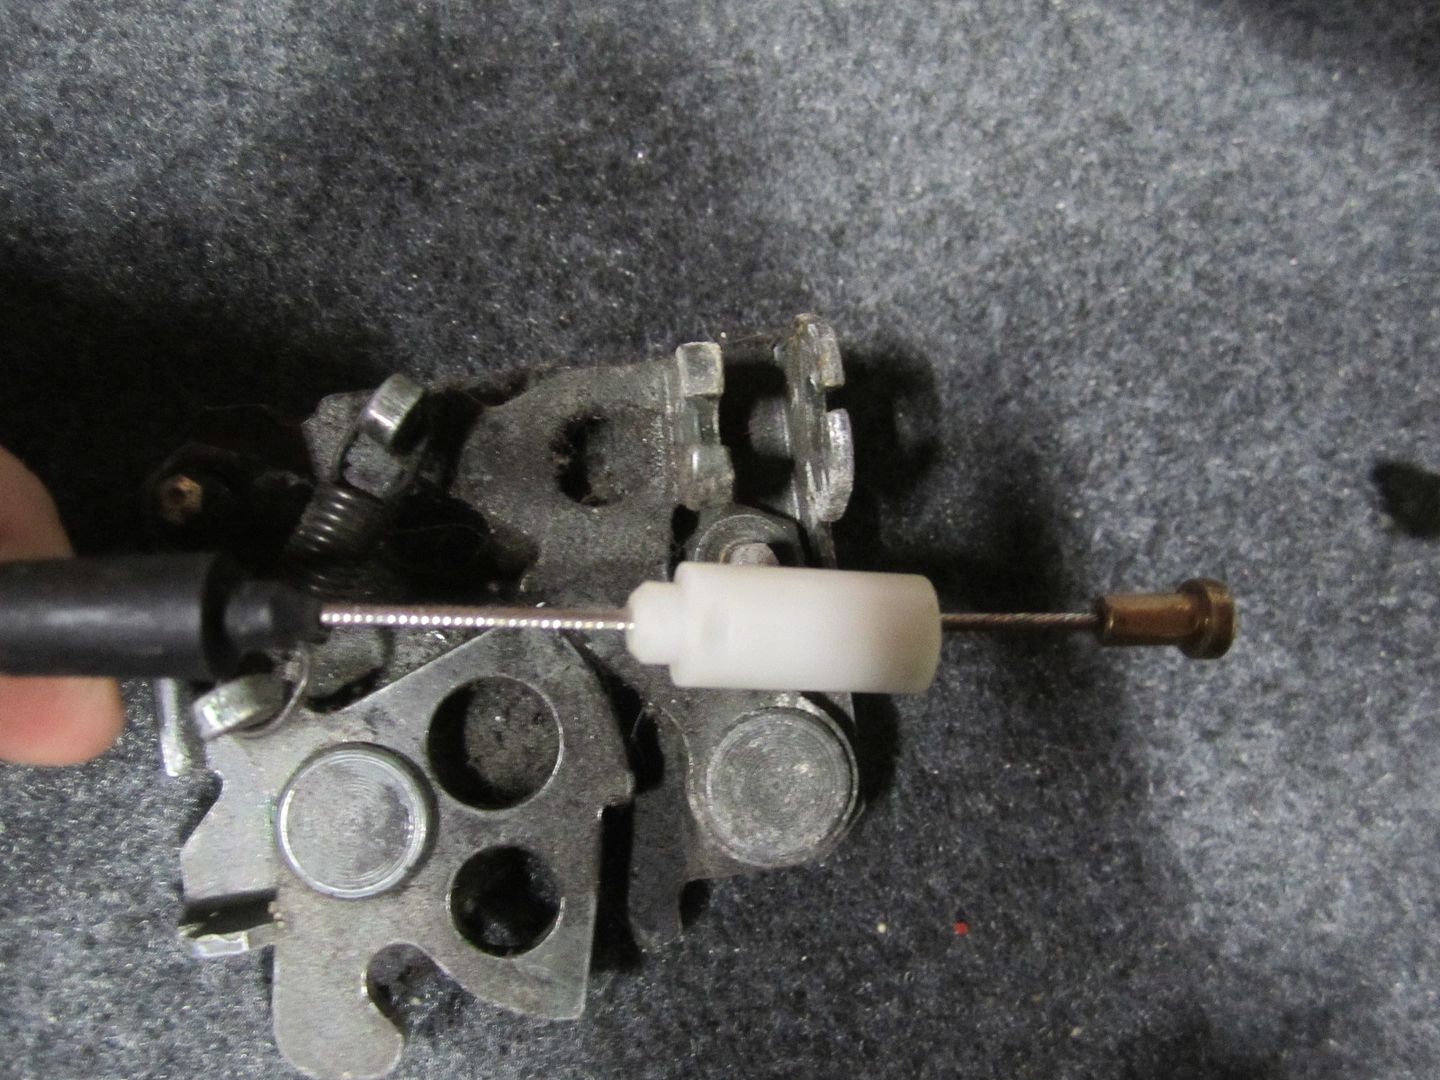
This is the Driver side Hinge and Lock Assembly and Cable:
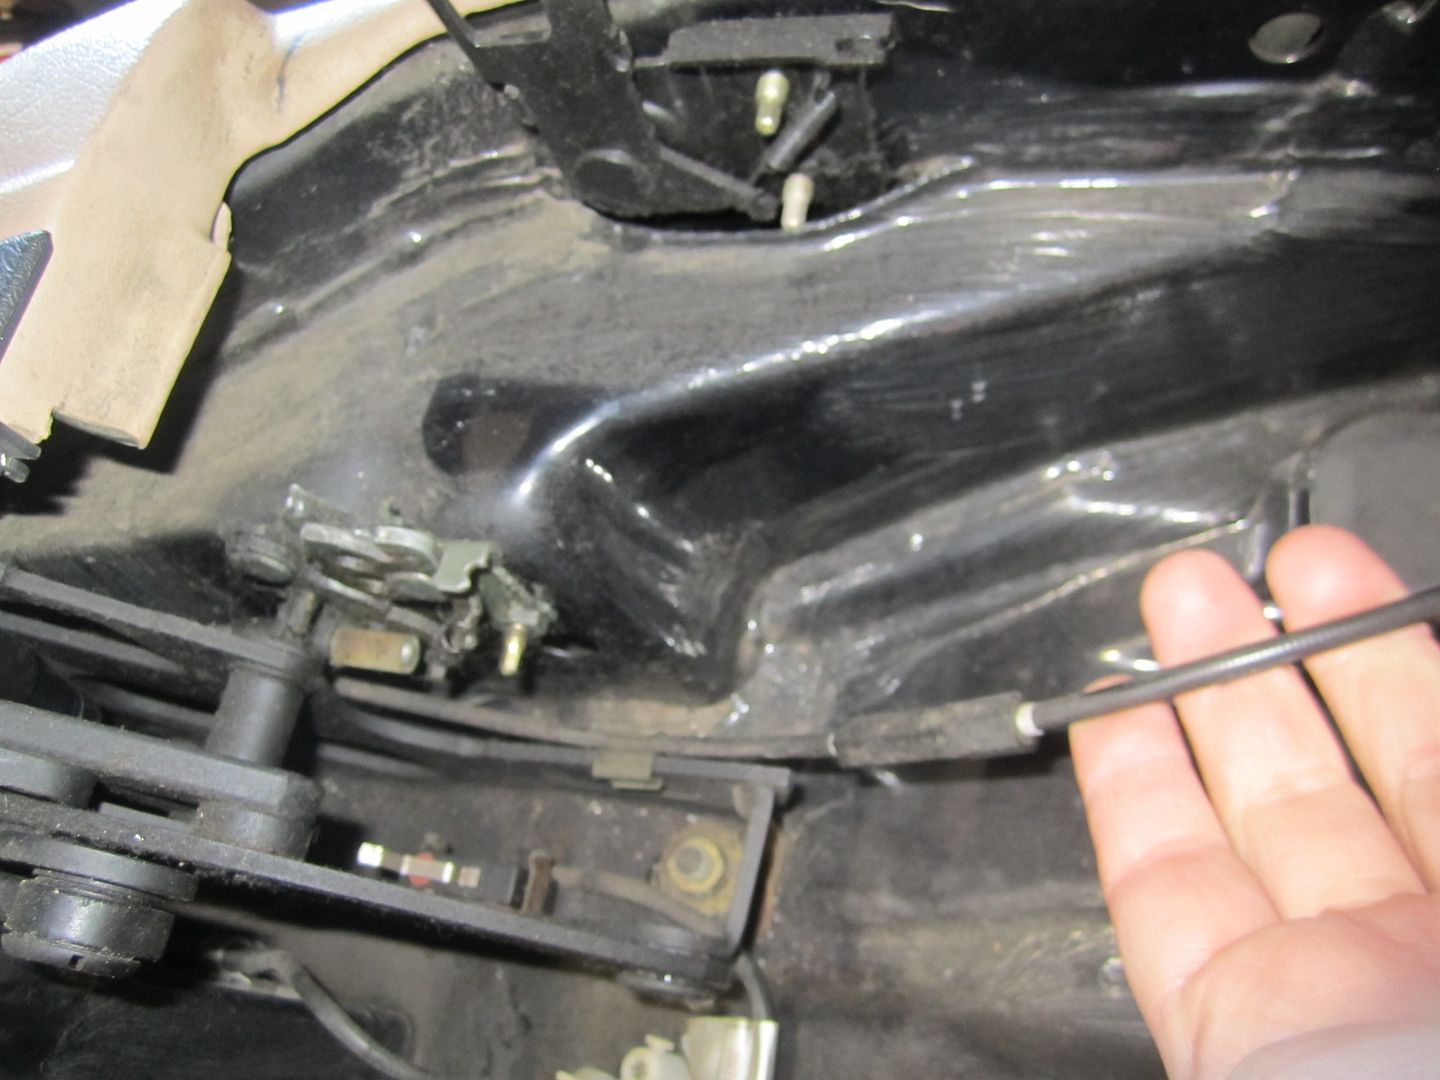
This is the Manual release. When you pull the handle and the locks open you have to reach in and un-lock it manually so it doesnt pop open on it's own.
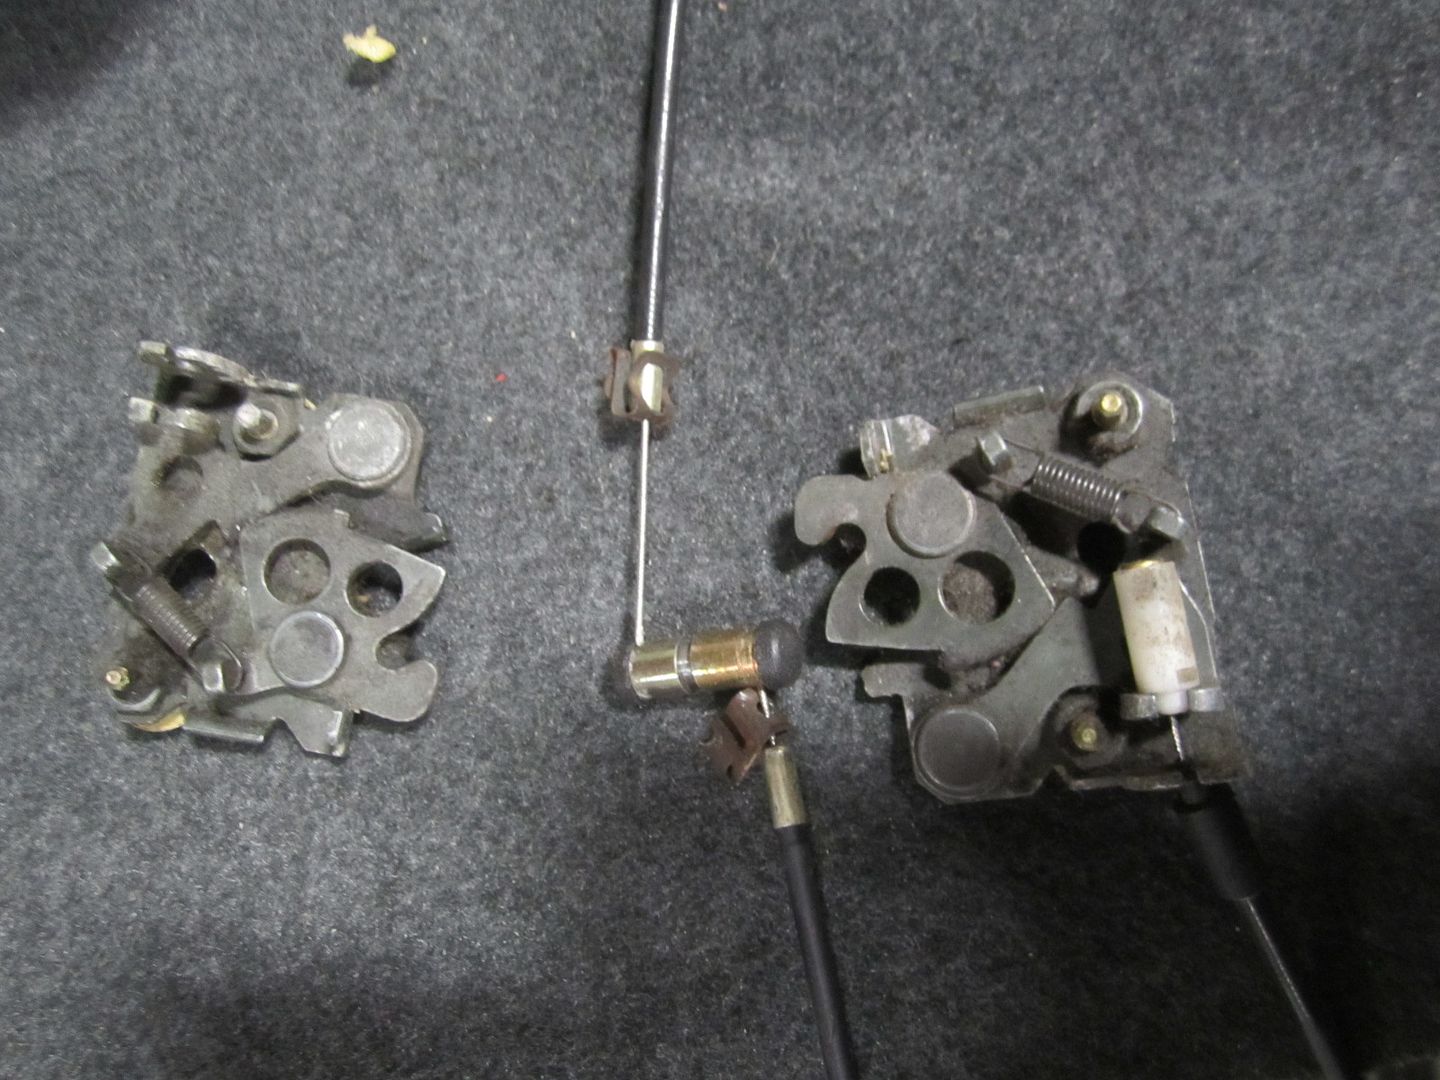
This is the Passenger Side Lock Assembly and Cable:

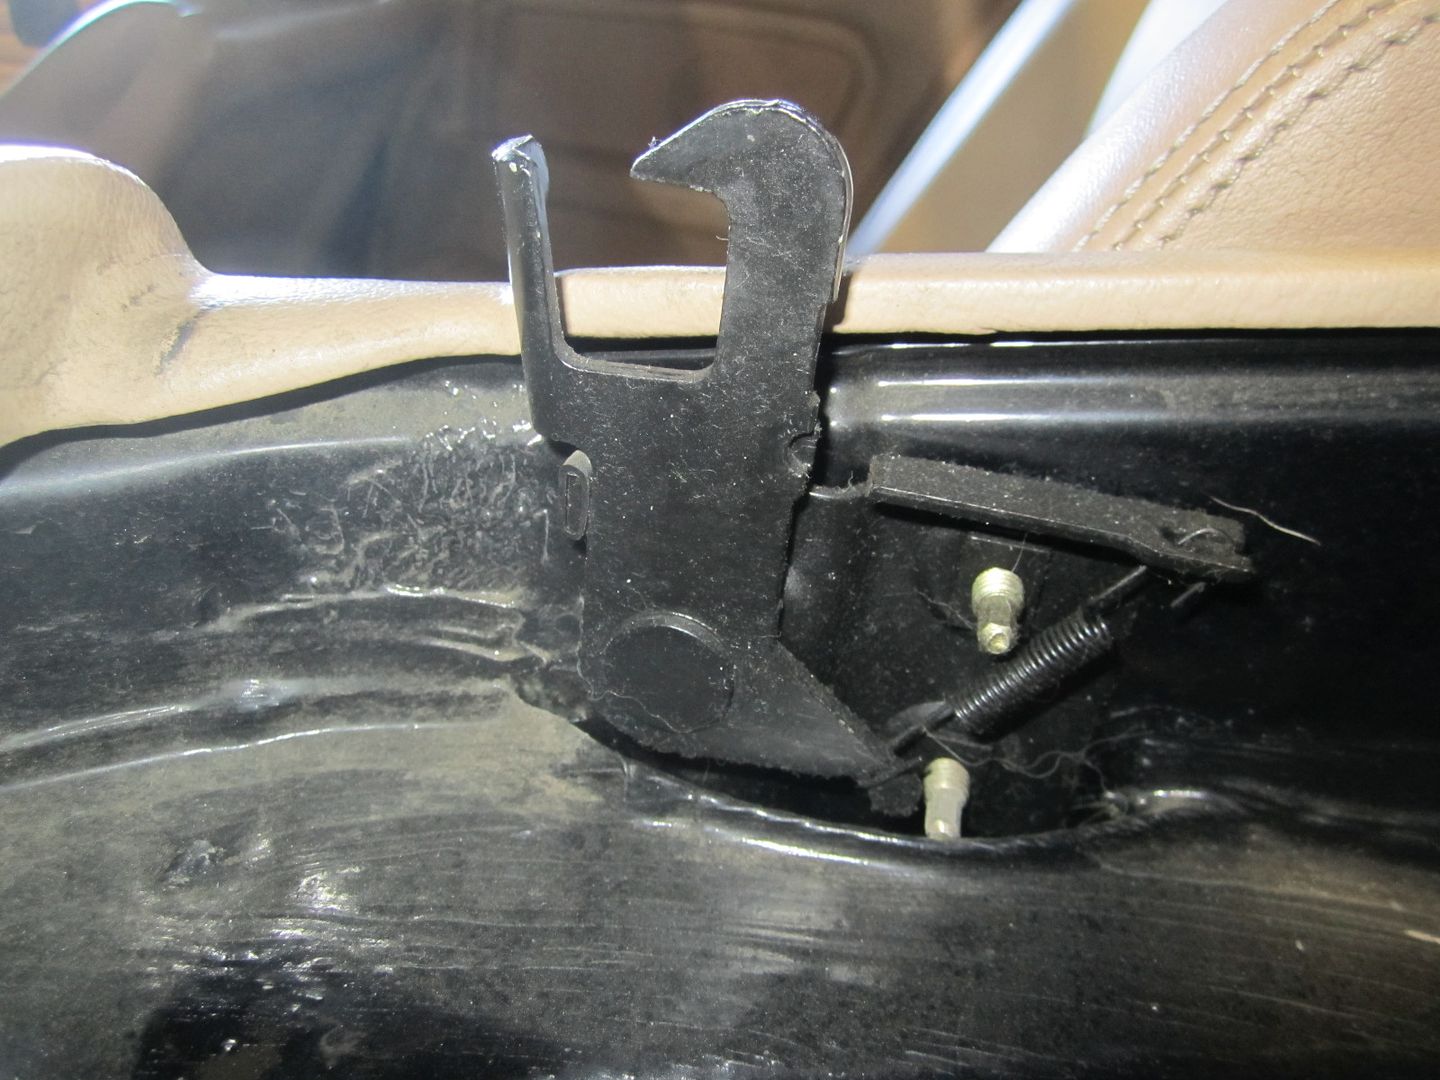
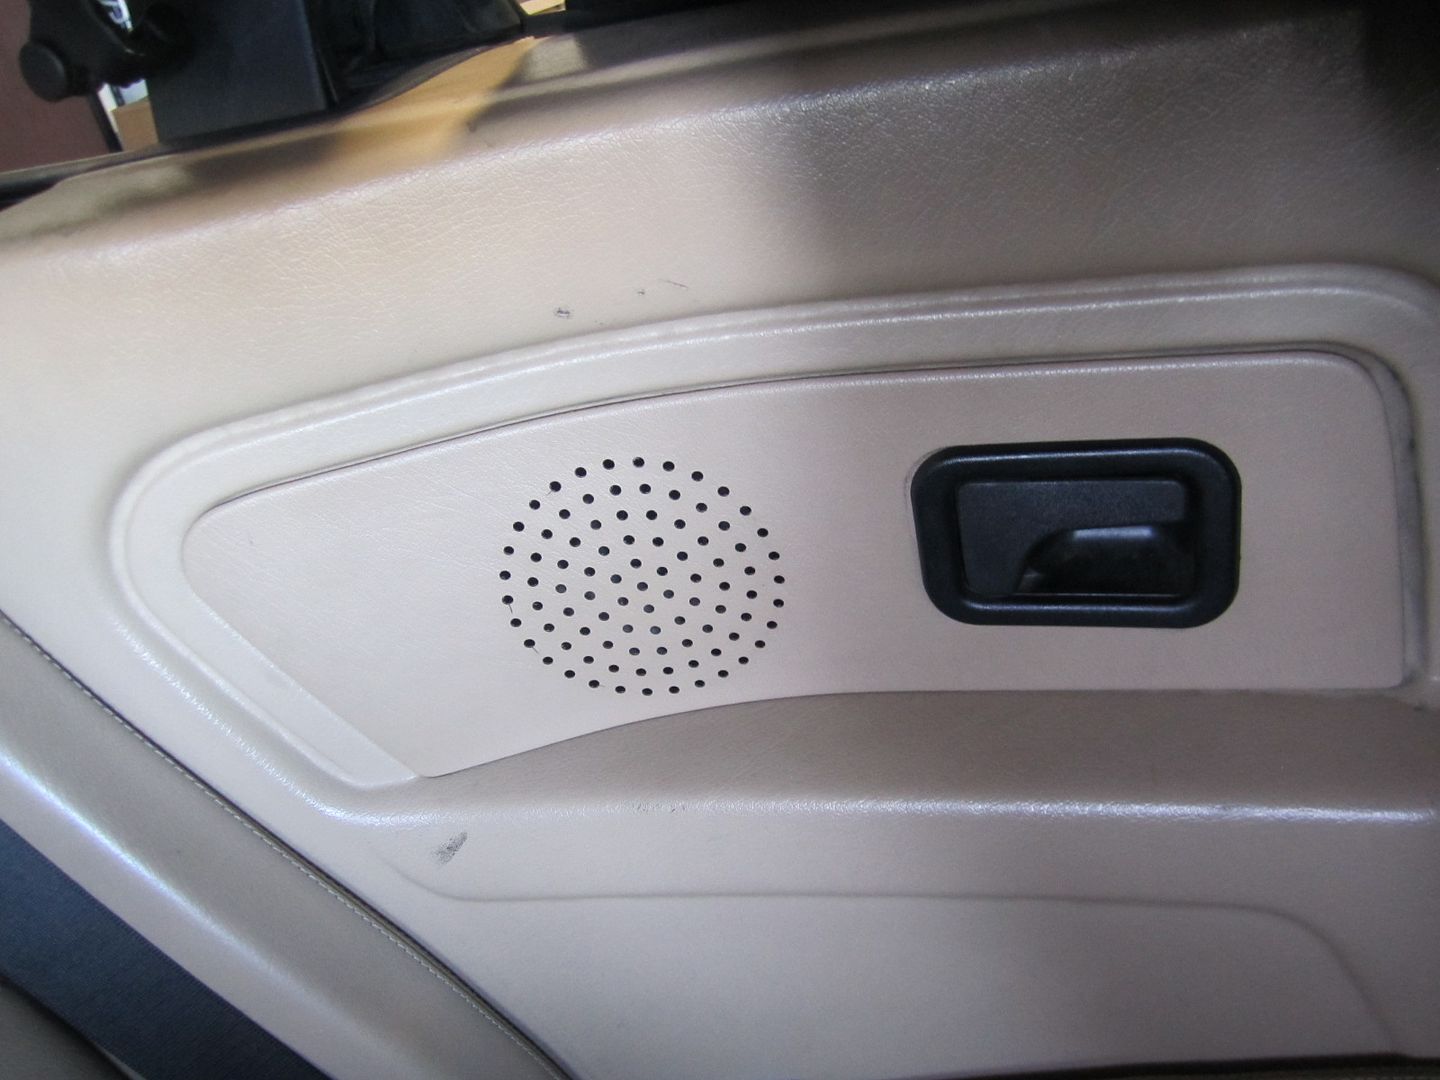
This is the Handle to open the top: (You dont need to buy the whole speaker cover. I trimmed mine to the opening needed and installed the handle.
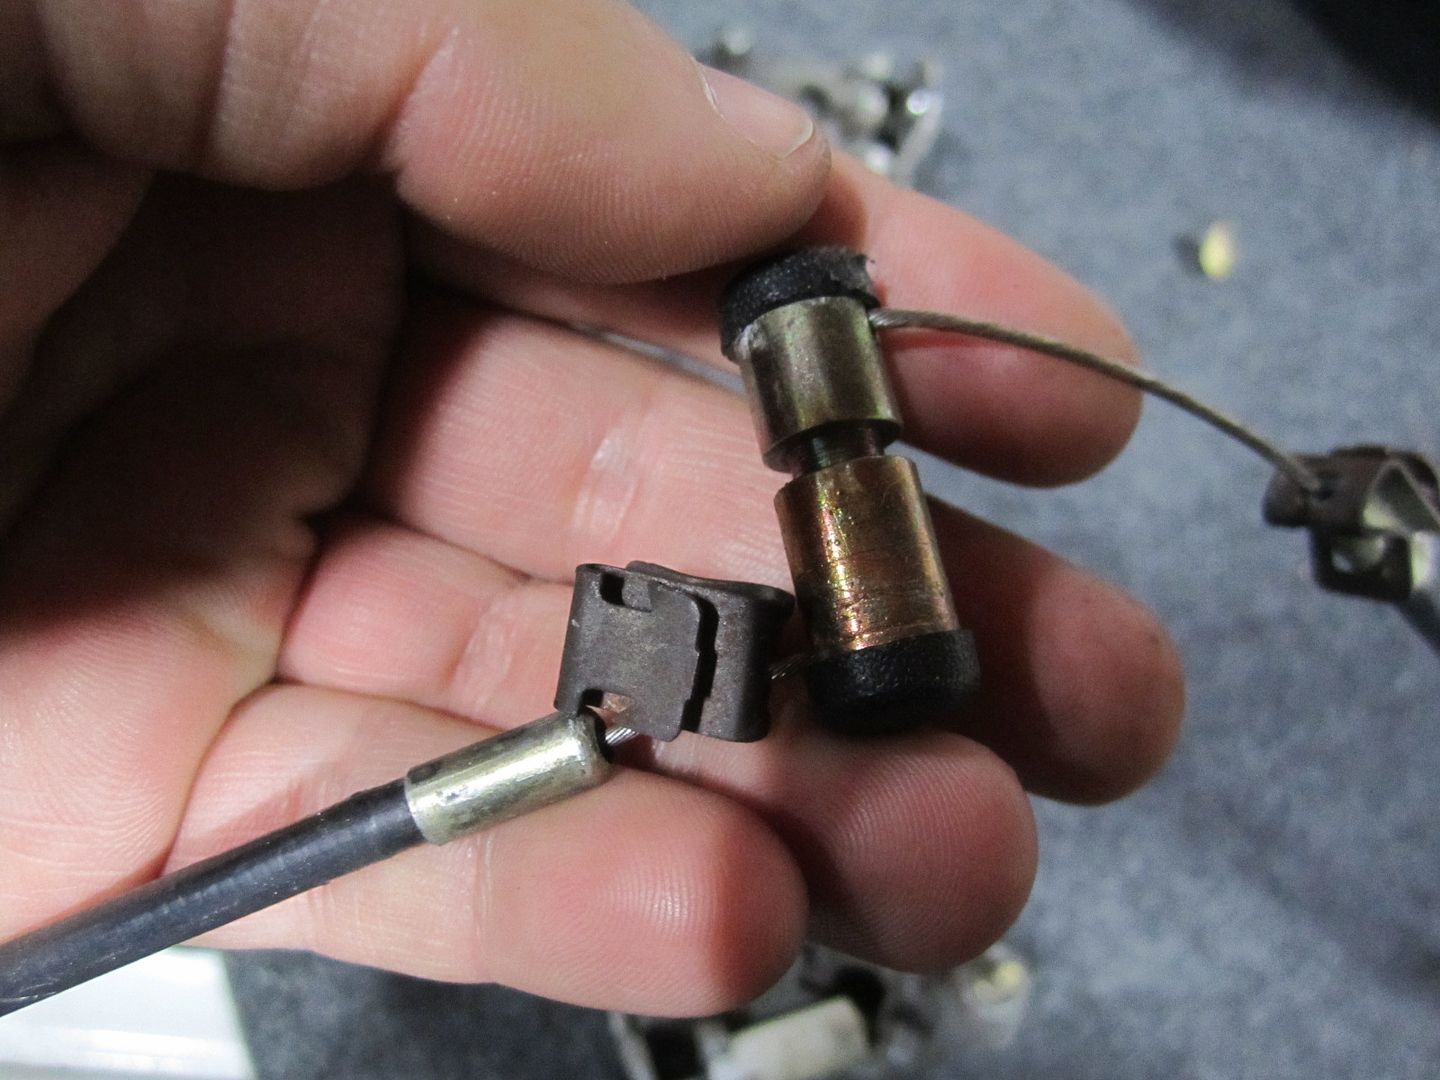
Additional pictures. This is also got the Part that goes in to the handle that holds the cables and the end caps:
You will need a 11mm for all the screws..and the only other thing needed is a Phillips head screwdriver. Not very difficult to install or switch over.
http://realoem.com/bmw/showparts.do?...05&hg=41&fg=55
and
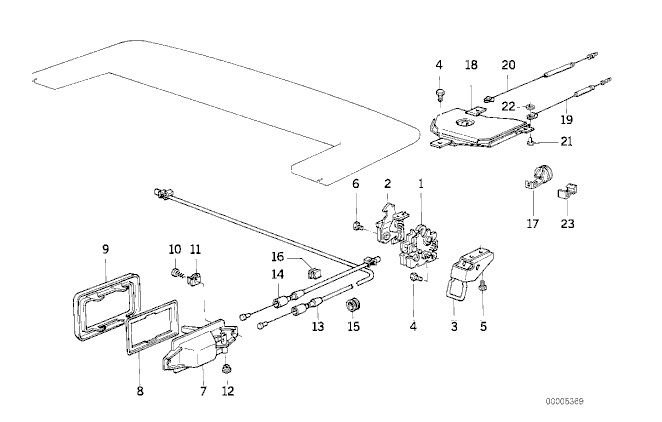
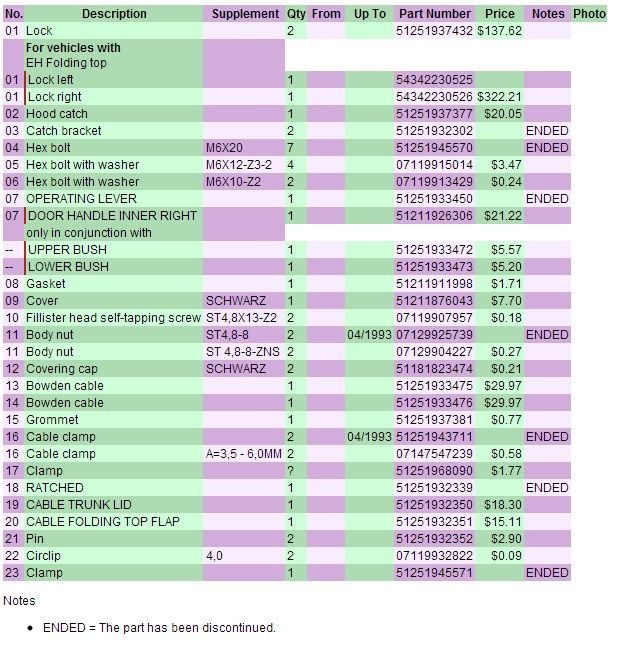
Also:
Last edited by catuned; 02-05-2013, 05:51 PM.


Leave a comment: