-
Before I did my rear plastic swap, I drilled the shocks and hit up a near by brick wall. I ran into that thing a good 6 times hard and the bumper never moved. Thats when I gave up and put the plastic on. -
-
-
Yeah man, just look under you bumper. There are two bolts holding the shock to the bumper. undo each of them and voila bumper is removed. now drill your shocks and sledge hammer them in. reattach bumper with the 4 bolts total and you are set. that way you wont hurt your exhaust. Or just put some wood against your bumper and sledge it. kinda like back in the day how you could hold magazines up to a nerd before you punched umm so it wouldn't bruise.Leave a comment:
-
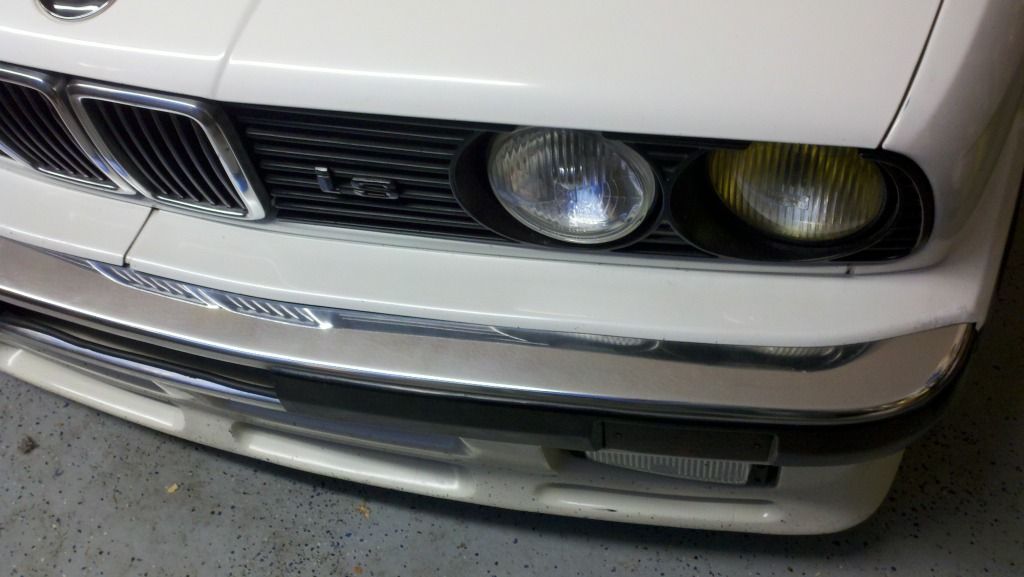
My problem is I have an exhaust tip in the way. So I gotta find something that is sticking out and at the correct height to only push the bumper in and not the tips. Any suggestions?
Pic for reference.Attached FilesLeave a comment:
-
-
I still have yet to do this.
I realllly want to, but now I also really want a four door. I may keep the bumpers stock for resale purposes and then hopefully will get a decent four door early model that I can tuck bumpers on till I get euro bumpersLeave a comment:
-
-
Here are some of my fron bumper when I had them tucked. Now I have a PB conversion getting put on


Leave a comment:
-
-
First you have to sand the protective coating off, then when its down to the raw aluminum, you can sand with a 600 grit to smooth it, then 1000 grit, then polish, then wax it to keep it shines. Lots of work....Leave a comment:
-
-
You will hate it while you are doing it, but when you are done, you will love them again lol lots of hard work.Leave a comment:
-
Very nice. Looks like i have some aluminum to polish before I tuck.Leave a comment:


Leave a comment: