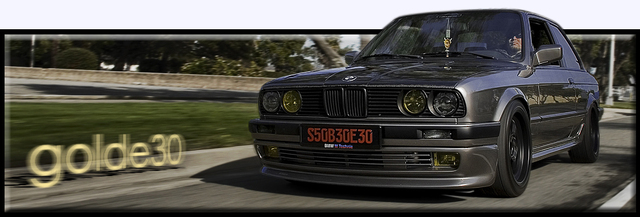
I've read through the previous thread of smoking headlights. and thought i'd try a different approach. According to others that have done this, the hardest part is taking the lens off. Due to the amount of heat the lens and adhesive must be exposed to (baking or boiling), the chances of the lens breaking is high. If the only reason in taking off the lens is to paint the reflectors...... then why not just remove it!!!!
Here is how i did it and pretty pleased with the results....enjoy

1. Remove the three screws to separate the housing and the reflectors.

2.This is how the back of the lens looks like after separating the two pieces.
[IMG]http://thumb1.webshots.net/t/52/452/5/1/99/2604501990102004321PyykUL_th.jpg
3. Tape the back of the lens to prep it for painting.
 [/IMG]
spray the surrounding area of the housing with black paint. I used a flat paint. Try to paint as much area as you can, their will be some hard to reach area but do not stick the spray can if the housing. The gray plastic is dark enough that you could not see the unsprayed area from the outside of the lens. Try to not let the housing sit on the lens while drying. Have the housing right side up so paint does not run and settle on the lens. If you get over spray on paint run on the lens- simply clean it with a rag and small amount of paint thinner.

5. Next is to tape off the actual reflectors. Then spray the outer chrome rim shown in the picture above.

6. Next is to tape of the ellipsoid lens and paint the metal piece.

7.These are all the pieces that should have been painted.


8.This is the part where the tape is taken off the rear of the lens and at the same time the reflectors are removed. A piece of pliers helps in removing the reflectors.
 [/IMG]
9. This is what all your pieces should look like. Now its time to put it back together!!!

The results….
 [/IMG]

looks ok to me……
 [/IMG]

it doesn’t appear like the light output is being degraded. Can you tell which has the reflector??

[IMG]http://inlinethumb04.webshots.com/11331/2082675700102004321S500x500Q85.jpg
This is the only difference noted at night. See how there seems to be four other source of light projected form the sides. I kinda like the different look the light projects

This is how the stock looks like at night.
Here is how i did it and pretty pleased with the results....enjoy

1. Remove the three screws to separate the housing and the reflectors.

2.This is how the back of the lens looks like after separating the two pieces.
[IMG]http://thumb1.webshots.net/t/52/452/5/1/99/2604501990102004321PyykUL_th.jpg
3. Tape the back of the lens to prep it for painting.
 [/IMG]
spray the surrounding area of the housing with black paint. I used a flat paint. Try to paint as much area as you can, their will be some hard to reach area but do not stick the spray can if the housing. The gray plastic is dark enough that you could not see the unsprayed area from the outside of the lens. Try to not let the housing sit on the lens while drying. Have the housing right side up so paint does not run and settle on the lens. If you get over spray on paint run on the lens- simply clean it with a rag and small amount of paint thinner.

5. Next is to tape off the actual reflectors. Then spray the outer chrome rim shown in the picture above.

6. Next is to tape of the ellipsoid lens and paint the metal piece.

7.These are all the pieces that should have been painted.


8.This is the part where the tape is taken off the rear of the lens and at the same time the reflectors are removed. A piece of pliers helps in removing the reflectors.
 [/IMG]
9. This is what all your pieces should look like. Now its time to put it back together!!!

The results….
 [/IMG]
looks ok to me……
 [/IMG]
it doesn’t appear like the light output is being degraded. Can you tell which has the reflector??

[IMG]http://inlinethumb04.webshots.com/11331/2082675700102004321S500x500Q85.jpg
This is the only difference noted at night. See how there seems to be four other source of light projected form the sides. I kinda like the different look the light projects

This is how the stock looks like at night.


Comment