
-
Question #1
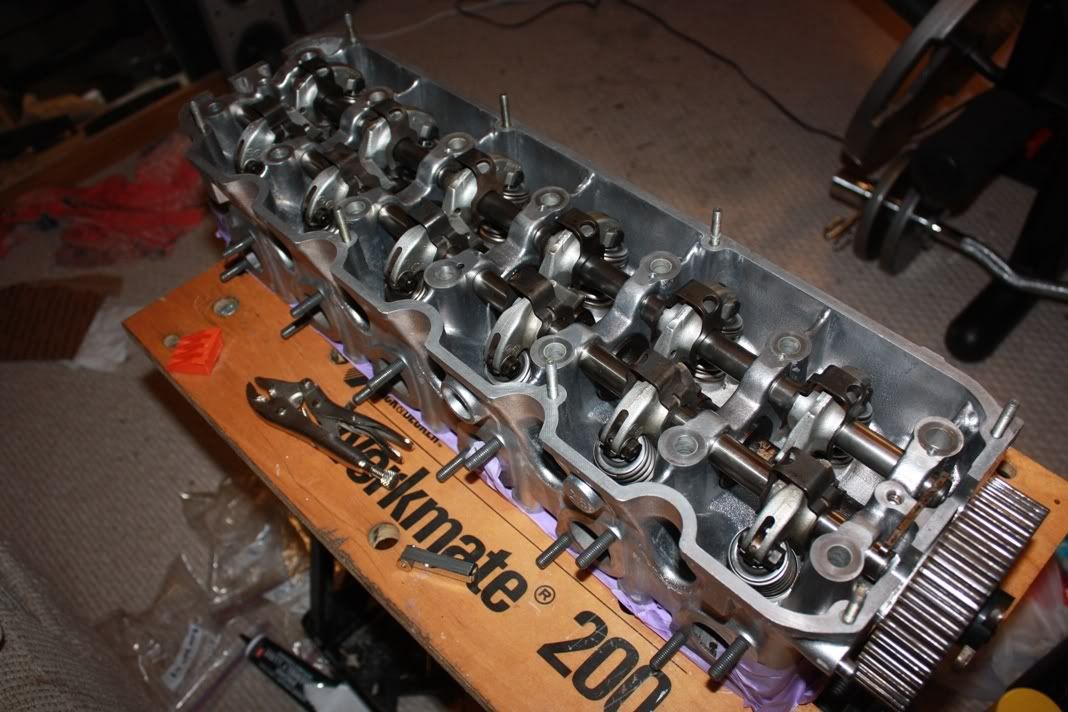
While removing one of the intake studs I very slightly marred the flange around the bolt whilst turning the locking pliers I had holding the stud. I'd say about 1mm at the deepest point. I have a copper-based RTV thats rated at 750 degrees F intermittent. Is this sufficient to put in between the gasket and the flange? Or should I buy a some sort of higher temp epoxy?
Thanks
Question #2
Regarding the install of valve stem seals... I installed a few by just putting a little oil around inside lip and they slid on very easily. I put the orange little condoms on the valve guide and just pushed them on with my fingers. Alot of people seem to have different methods of doing this, some involving a hammer. Why the hell would anyone use a hammer for this when they slide on like butter? I dont really see how pushing them on with my fingers can hurt anything but could someone please elaborate on this? I'm somewhat of a noob and need a little insight.Last edited by JTDay; 08-22-2010, 06:48 PM.Leave a comment:
-
did you clean the threads with a thread chaser? They should be tight but not that hard to go in, they def. shouldn't break. I put mine in dry, they've been fine. I'm lucky though and the local hardware store sells metric exhaust studs for like 15 cents a peice..Leave a comment:
-
I noticed for the first time that the main page has a part number cross reference search.
I hope you all dont think I'm a jackass for asking all of these questions that have seemingly simple answers.
Regarding intake/exhaust stud install. The intake studs are pretty hard going in. I broke two off just trying to install them. The exhaust studs go all the way in easily by hand.
Sooo.. should I put something on both intake and exhaust studs before install or just let them go in dry? ThanksLeave a comment:
-
www.realoem.com/bmw/
try that, if it doesn't say the size you can cross reference the part # on pelican. remember that E30s are in the "archive" section.Leave a comment:
-
Thanks to all for the help. I'm about ready to start putting things back together, but I'm missing a few of those dowels and cant find what size they are ANYWHERE.
One is the head centering dowel that goes in between the block and head and the other is the one on the front of the head, intake side. Pelican lists sizes as 8.5mm, 10.5mm, 12.5mm, and 14.5mm (split and solid-ring) and all are for "various applications". Which ones do I need for the head?Leave a comment:
-
it doesn't take much. Basically, hand tight. If you tighten too hard, they strip pretty easy. I'd actually reccomend all new nuts/bolts for the eccentrics. Also check the clips that hold the rockers for wear and springyness. I had some worn ones and some that had no "spring" left in them, so the rockers moved around a lot.. noisy!
as far as the "jackets", they're locating dowels for the head. you only need 2. but make sure they are there so the head goes on straight!Leave a comment:
-
I noticed that there are these metal jacket things in between the head and block where the head bolts slide through. There are only two of them, one on exhaust side and one on intake side. Could someone verify that I dont need any more of these things?
Thanks
EDIT: knew id forget something. The bentley manual says to tighten eccentric bolts to 89 in lbs. which converts to about 7.4 ft lbs. This seems to little for something under so much pressure. Could someone pleaes verify this as well?Leave a comment:
-
Got a bare head, all parts cleaned. I ended up using paint brush cleaner which appears to be nearly straight turpentine. I am now in the process of removing everything from the short block, which leads to my next question:
Is there a general rule of thumb as to which bolts receive anti-seize/loctite and which go in bare?
And as for the rear seal carrier, can I just pull/pry/pound it out with a flathead screwdriver or will that cause dammage to anything? ANSWEREDLast edited by JTDay; 08-10-2010, 01:48 PM.Leave a comment:
-
To prim the oil system, remove the cap on the left side of the engine where a mechanical distributor would mount. Fish out the oil pump gear and use a 6mm (I think) socket on long extensions on the oil pump drive shaft spun with an electric drill.Leave a comment:
-
Leave a comment:

Leave a comment: