If this is your first visit, be sure to
check out the FAQ by clicking the
link above. You may have to register
before you can post: click the register link above to proceed. To start viewing messages,
select the forum that you want to visit from the selection below.
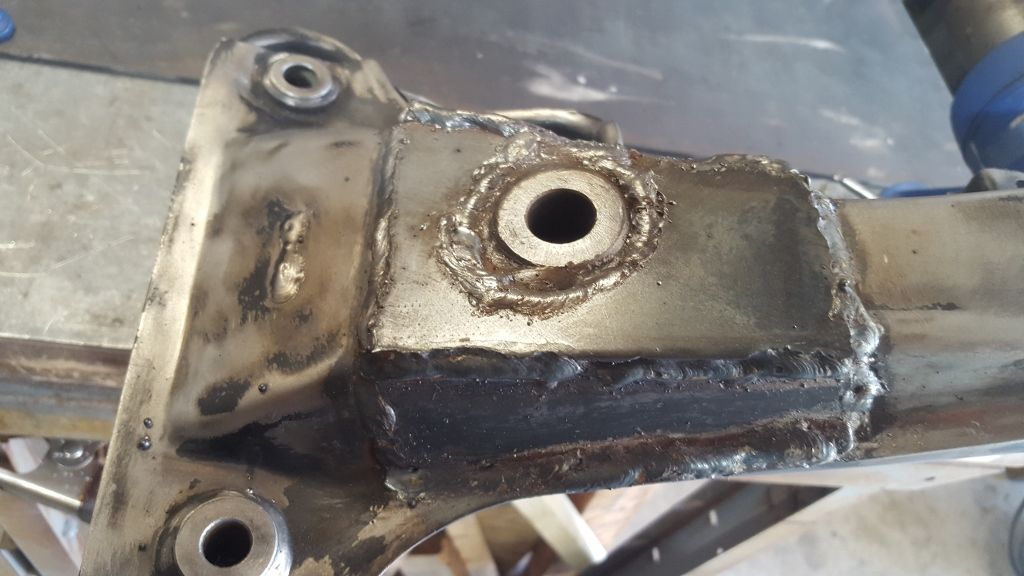
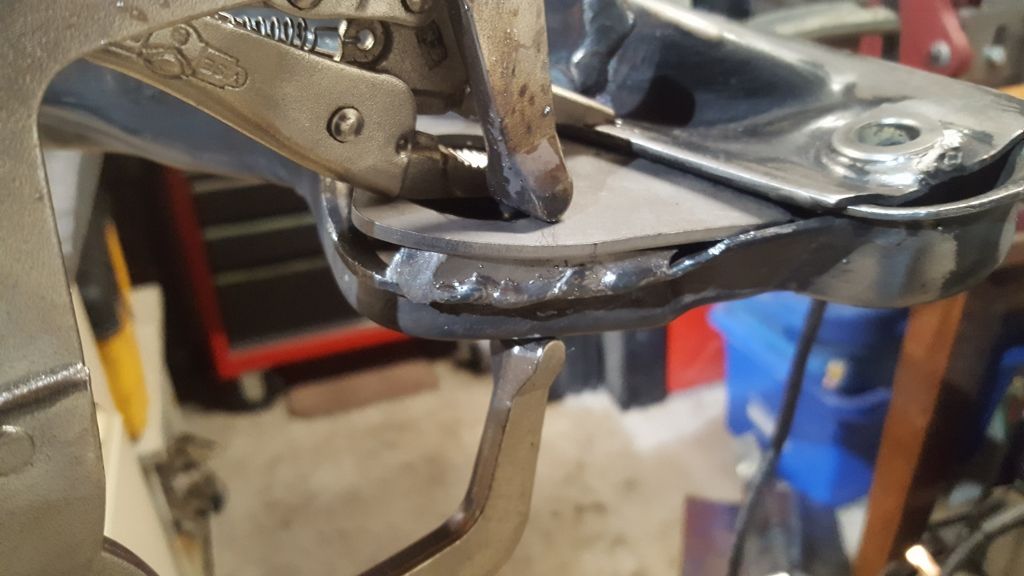
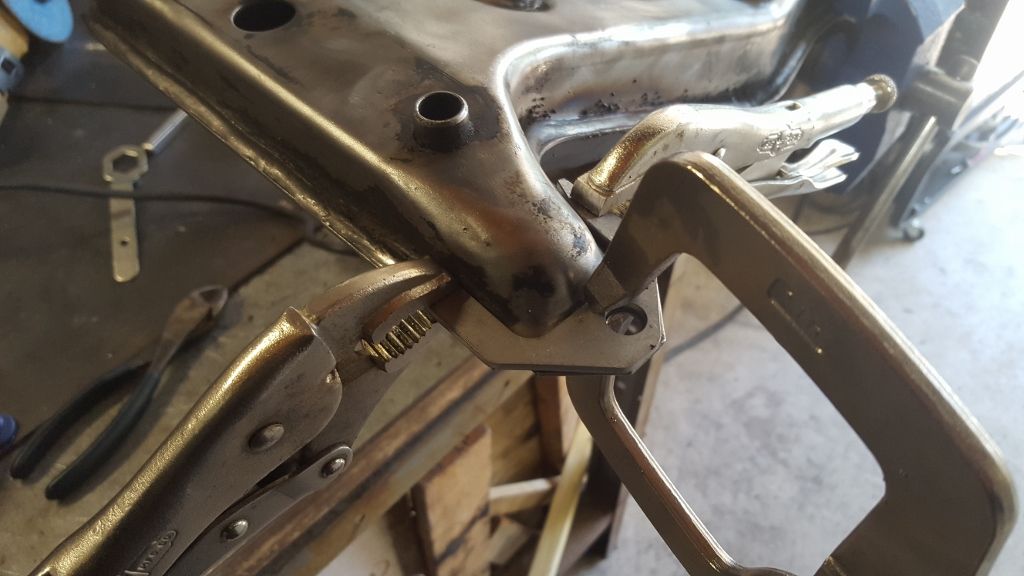
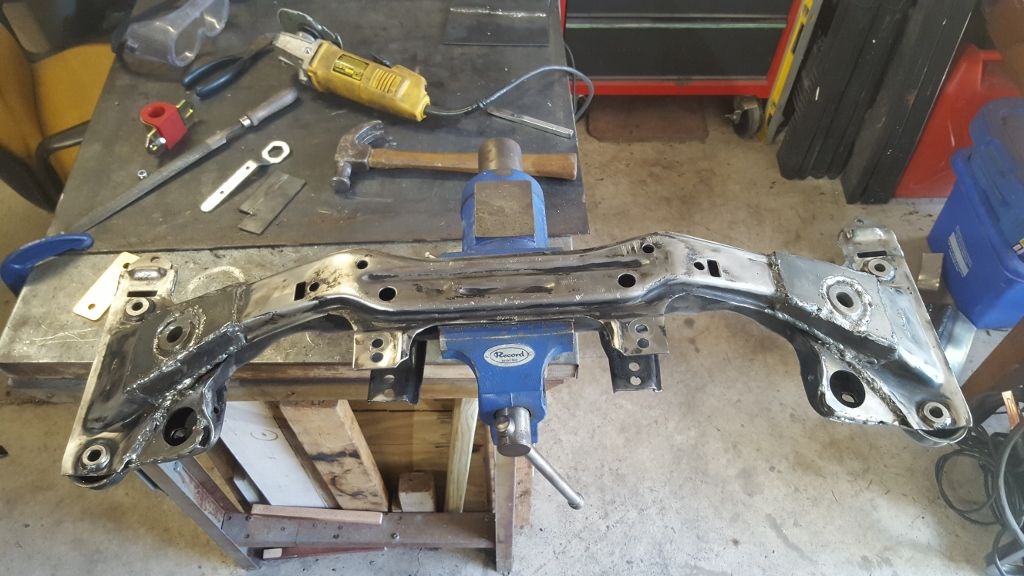
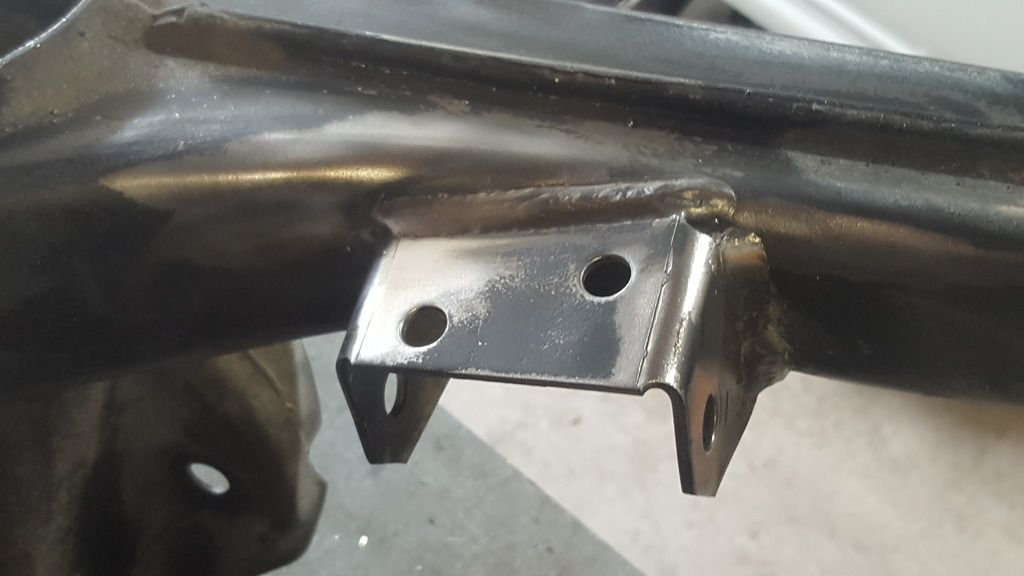
Gotta be creative when dong metal fab. The reinforcement tabs don't exactly sit flush into the frame. Needed to build it up on the side. Motor mount backing plates are already welded in place.
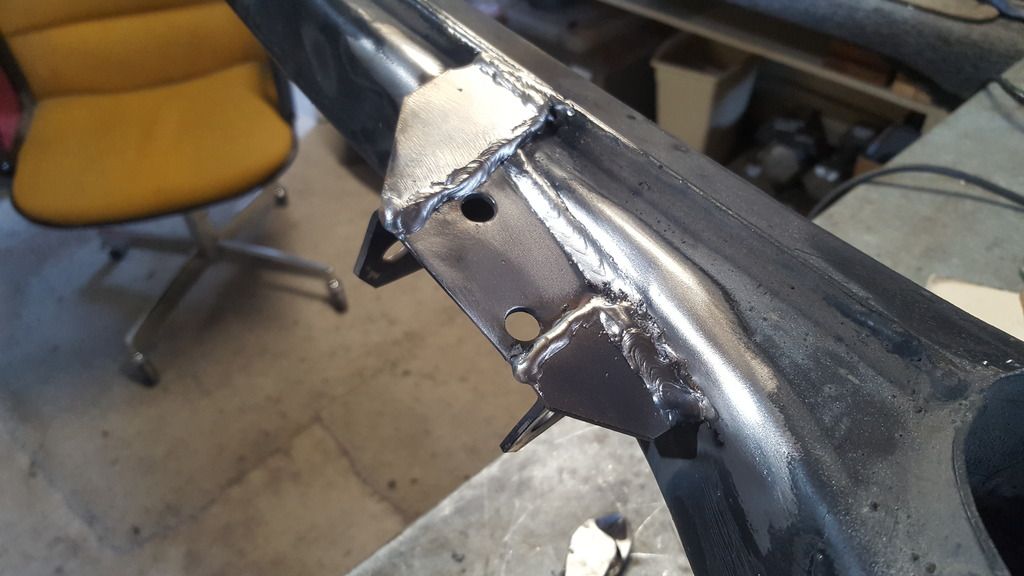
Clamps are your friend when welding. Can never have too many.
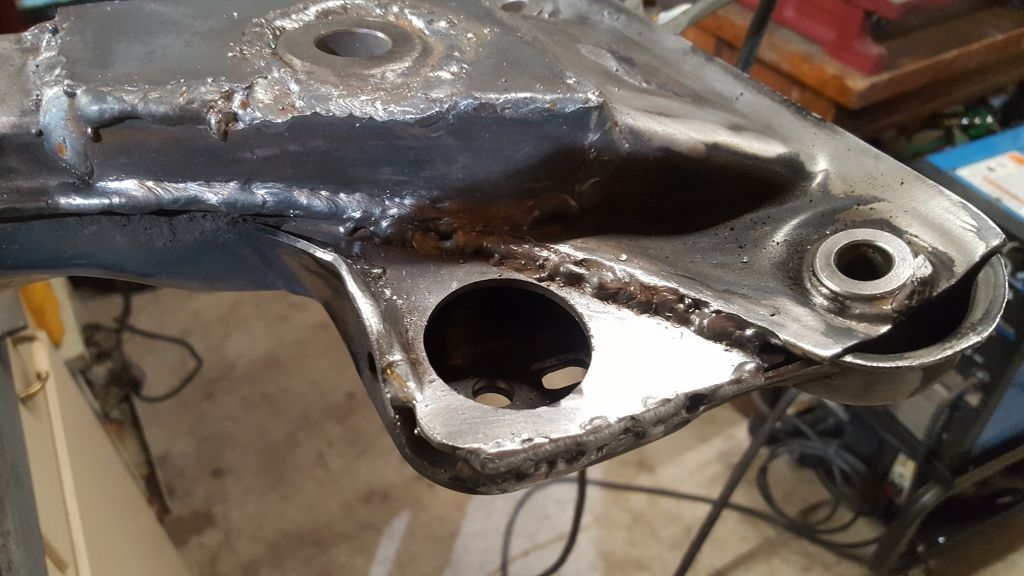
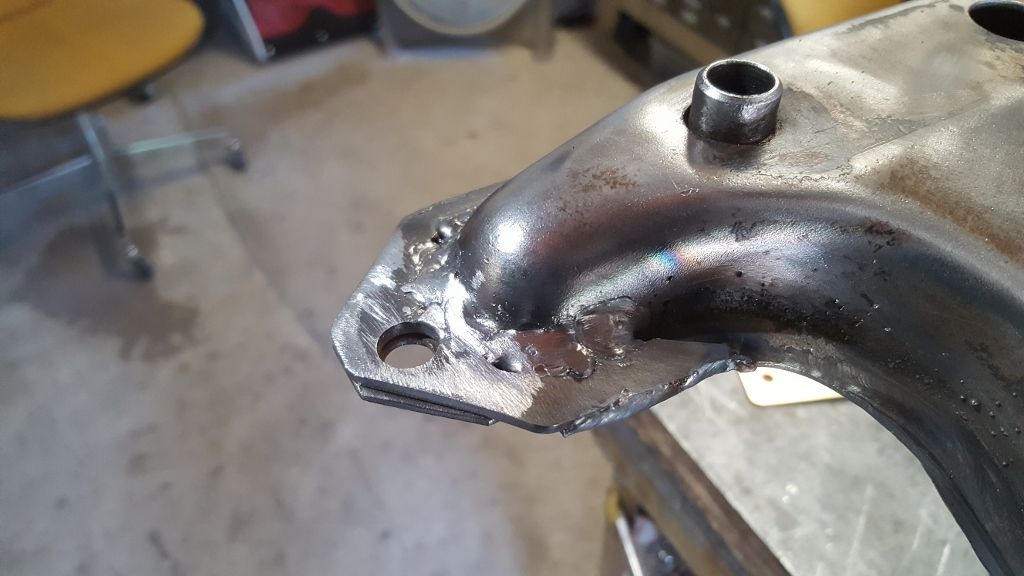
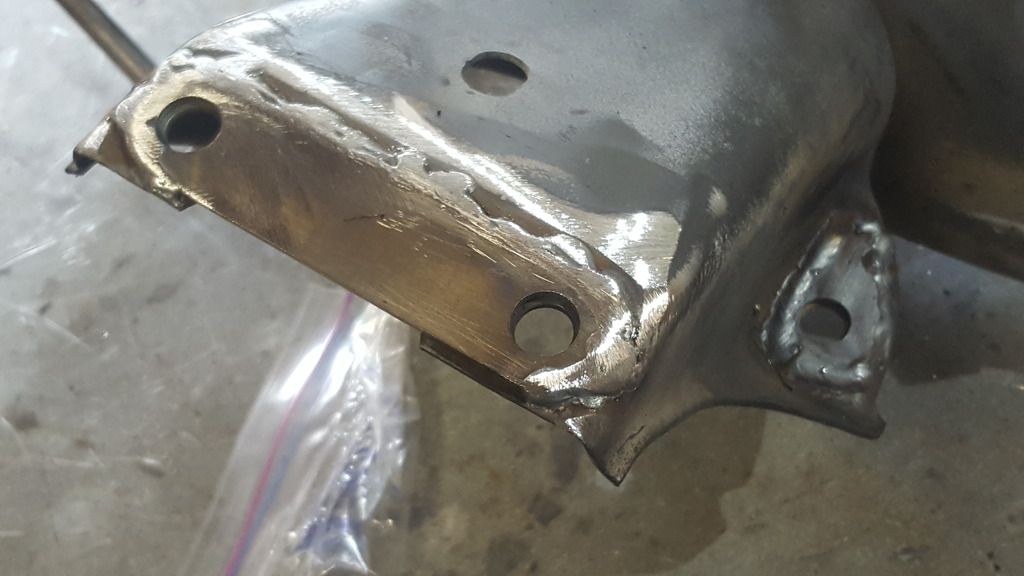
Turned out pretty good. Obi Wan has been teaching me well.
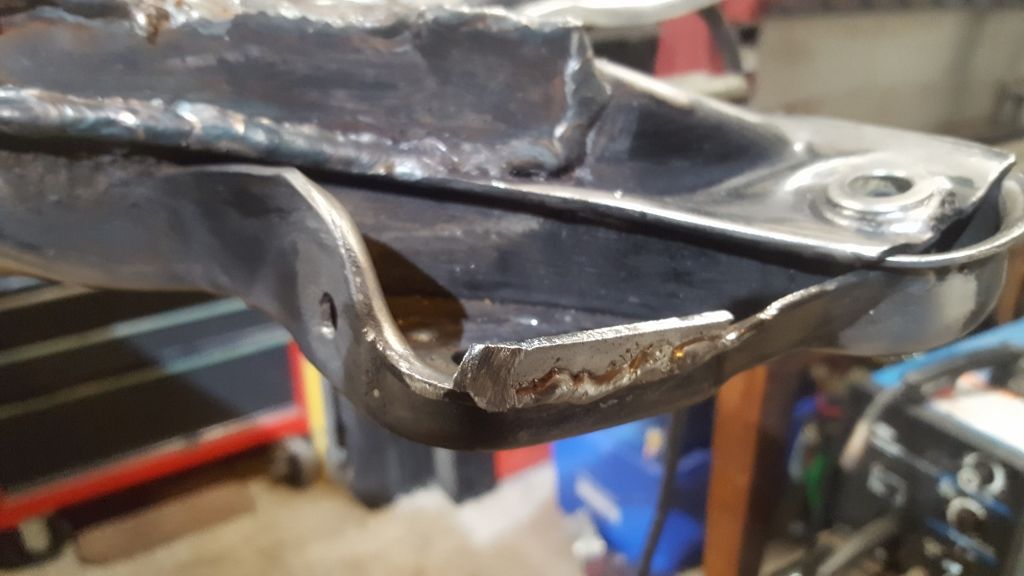
Sway bar reinforcement tab ready to weld.
It's actually triple reinforced, since the IE kit comes with yet another backing plate.
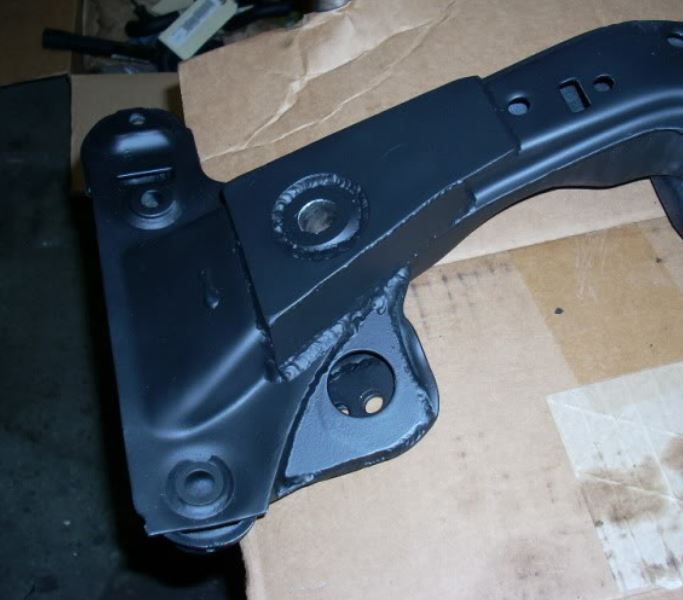
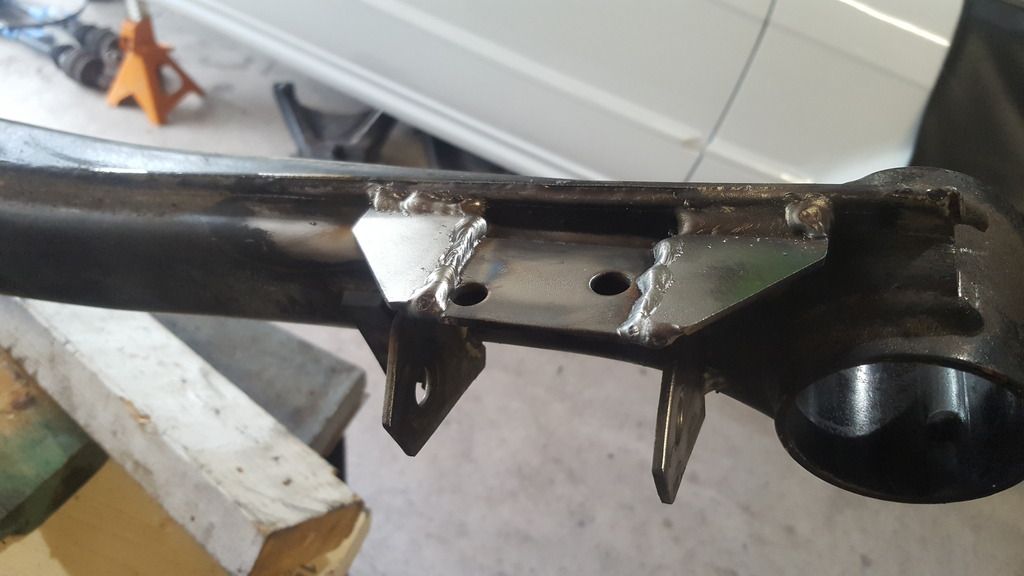
Front subframe reinforced and ready for paint. Time to call it a day.
"And then we broke the car. Again."Mark Donohue, "The Unfair Advantage"
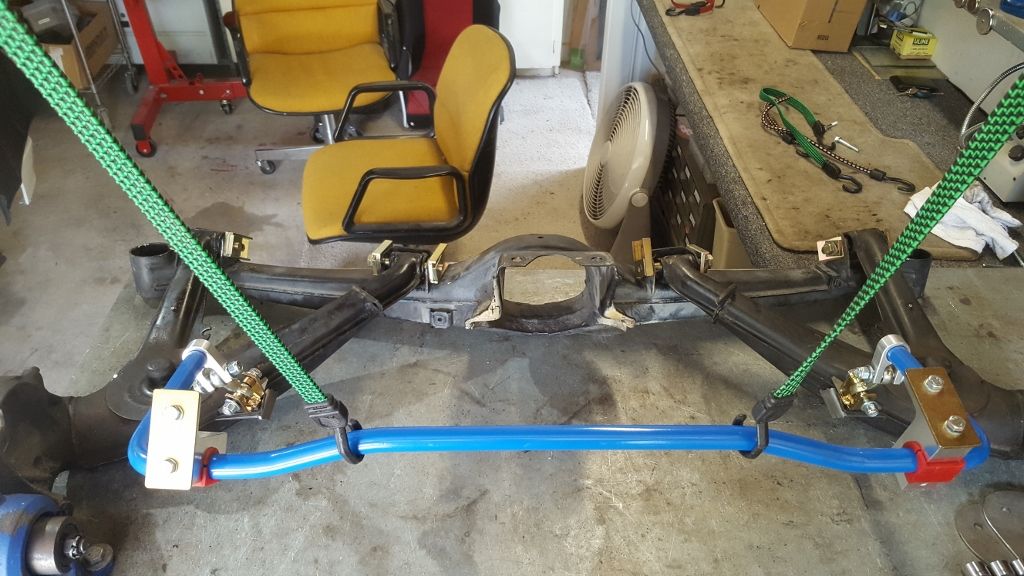
We're fitting the new IE 22mm rear sway bar. In case you've ever wondered, here's what it looks like fitted in place. IE gear is nice, but they have an aversion to written instructions.
Here's how it actually connects to the rest of your suspension. Easier to see this way.
Same thing. Side view.
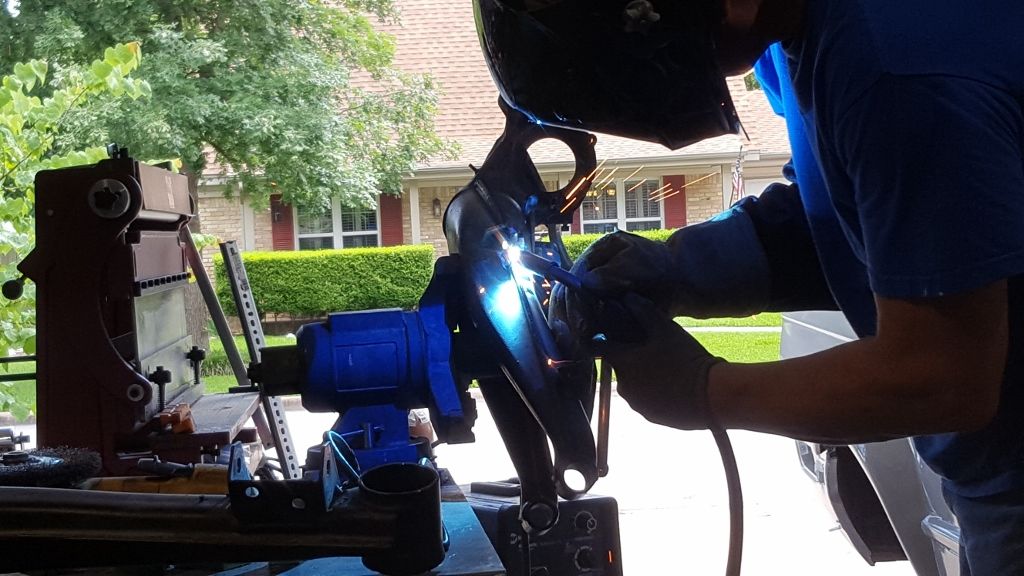
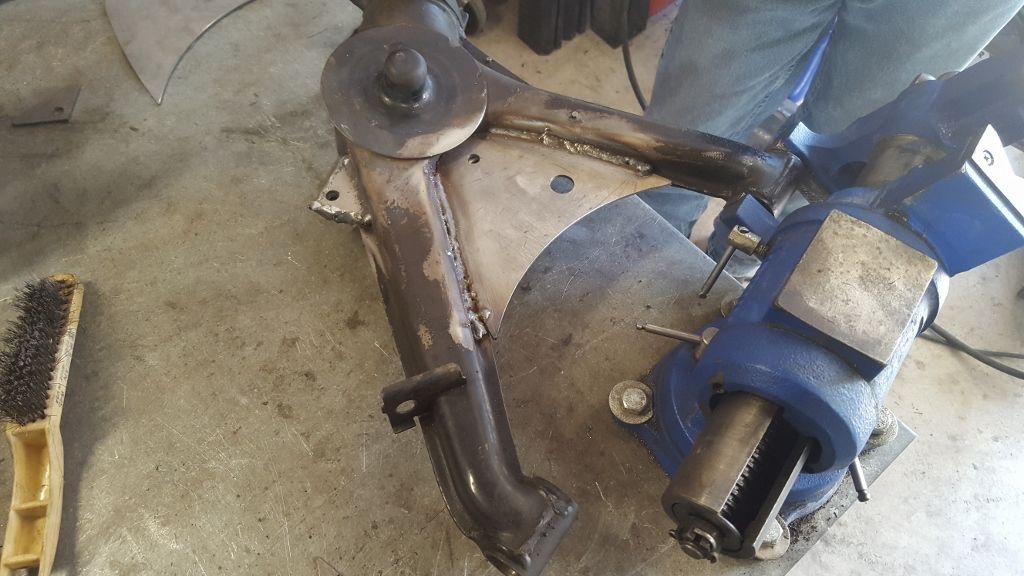
Rob welding on all the rear trailing arm reinforcements
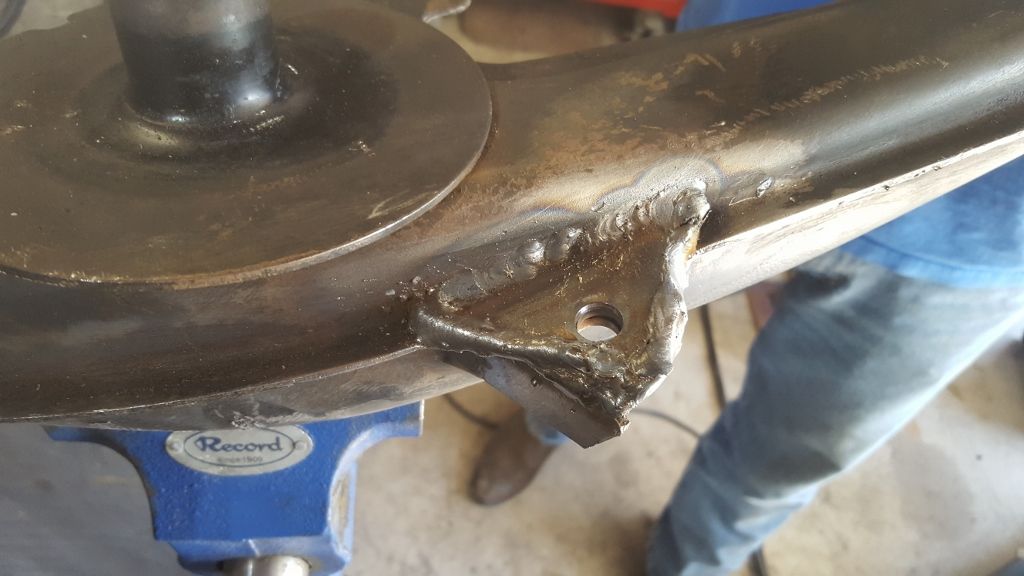
Custom sway bar attachment points. Will get ground down and cleaned up.
Gusset plates
Triangulation bars fitted. Will weld them tomorrow.
"And then we broke the car. Again."Mark Donohue, "The Unfair Advantage"
I am not finding a lot of good pictures on R3V documenting a fully adjustable reinforced rear subframe, so here is a detailed guide.
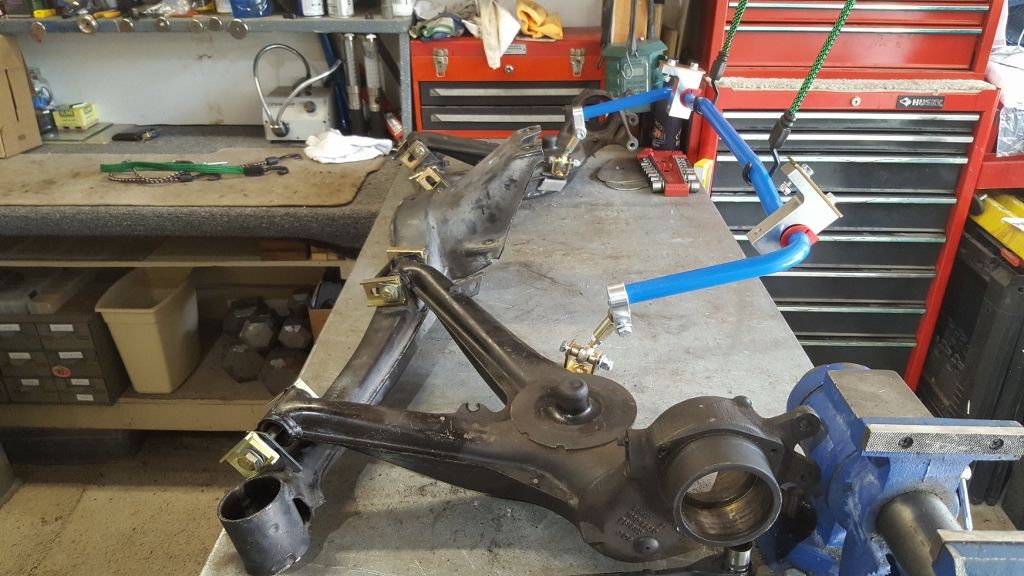
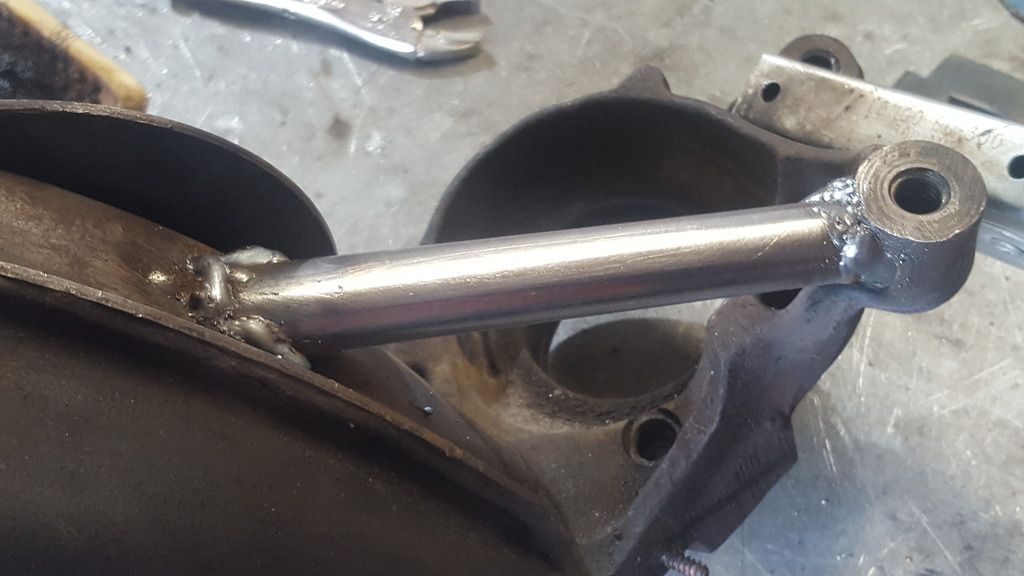
Rewind to the rear trailing arms. This bar triangulates the trailing arm and wheel bearing carrier adding substantial strength.
Cleaned up all the brackets and surrounding areas before welding.
Reinforcing the rear subframe differential mounting points.
Reinforcing gussets welded to rear trailing arm outer mounting brackets.
Gussets welded to inner mounting brackets.
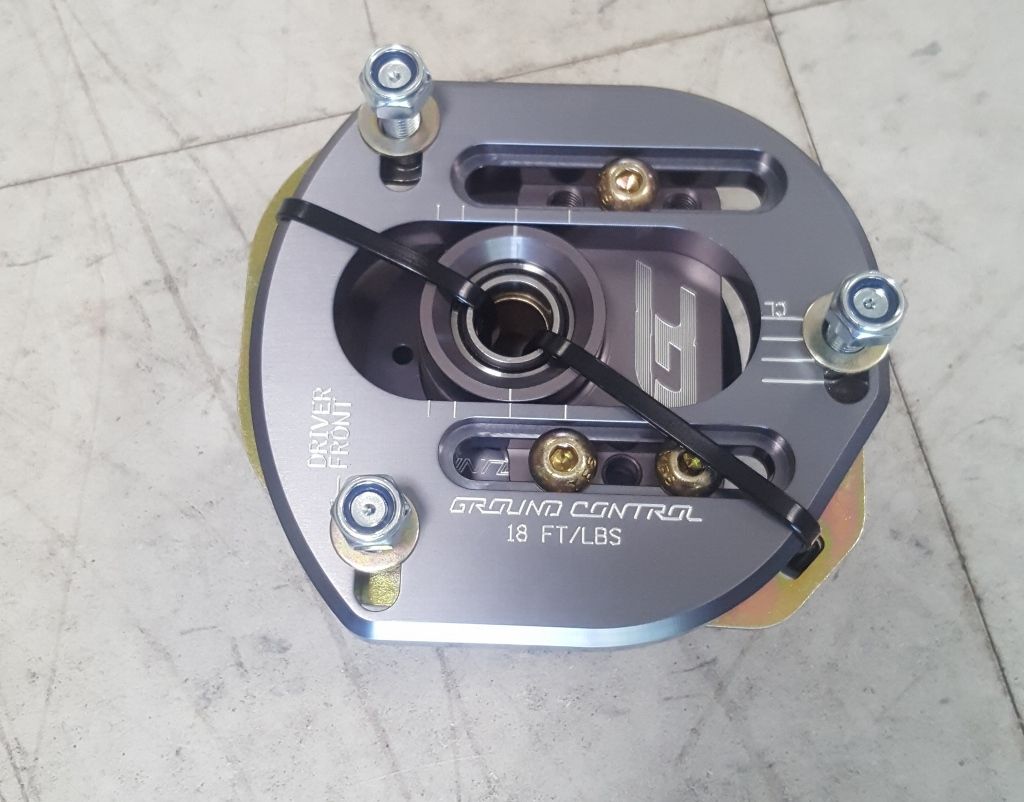
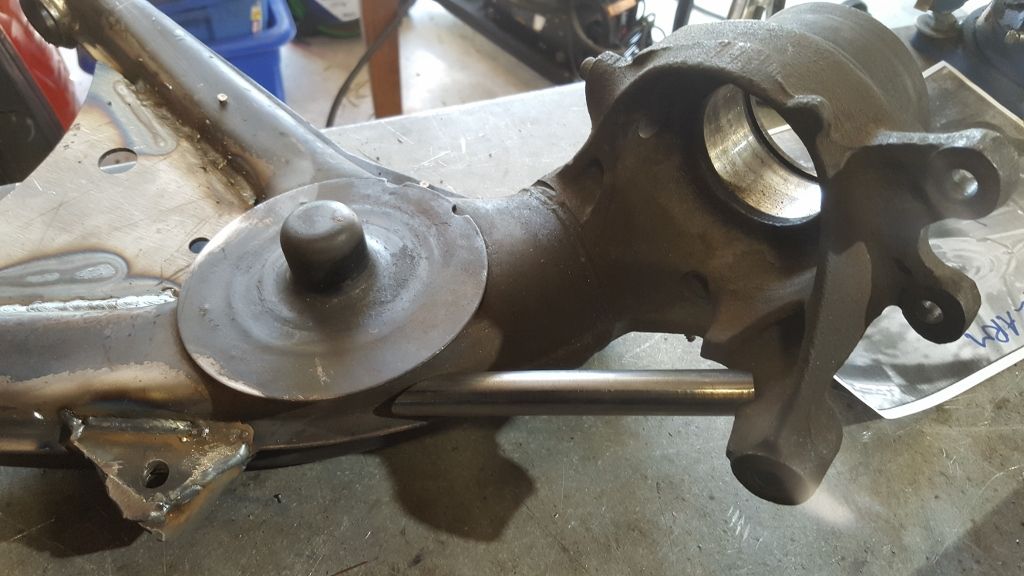
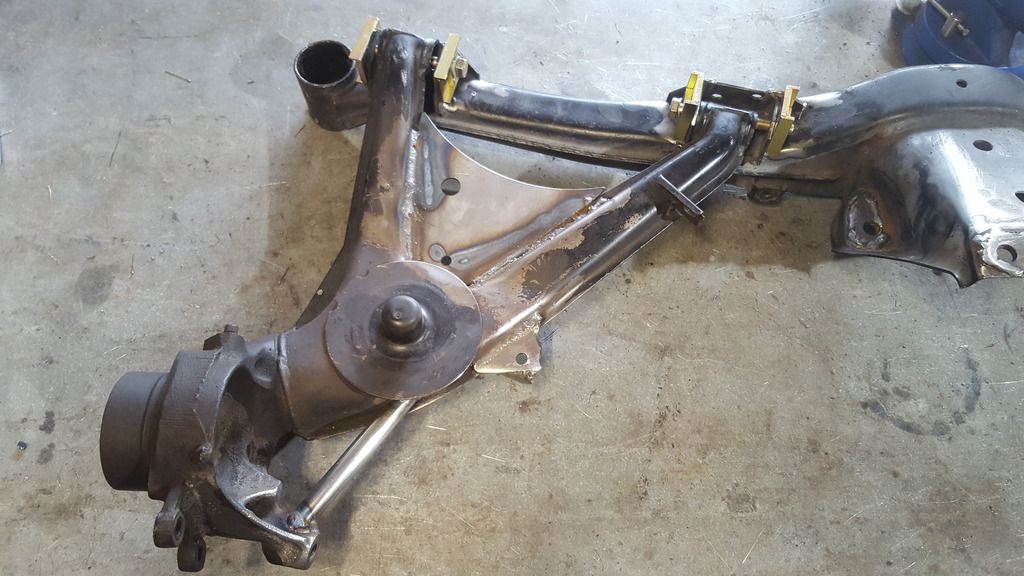
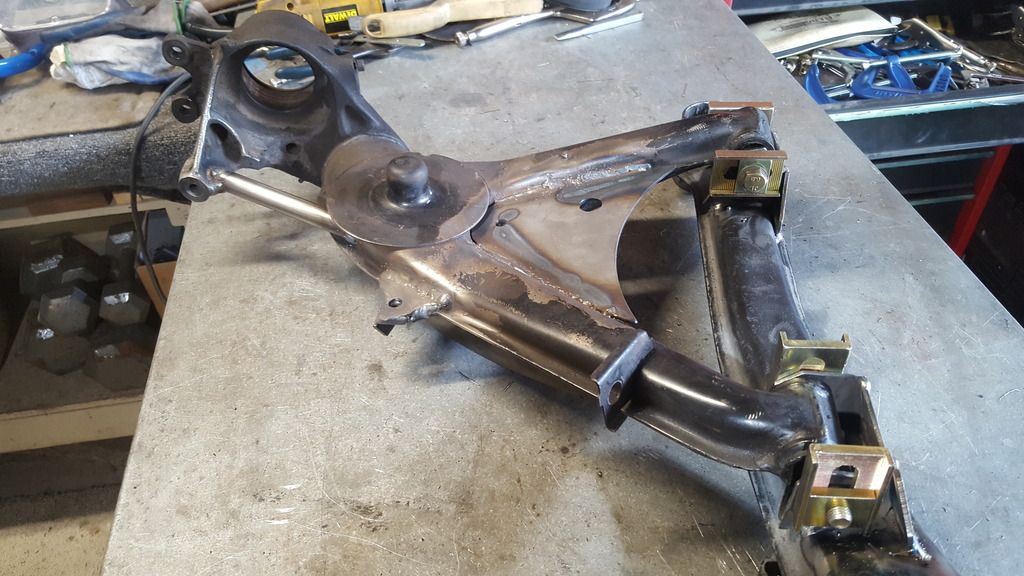
Now, here's where it gets interesting. Rear subframe is shown with left trailing arm attached. Adjustable camber and toe plates are test fitted. Inner plates are oriented vertically, allowing camber adjustment. Outer plates are horizontal, allowing toe adjustment. (Stop for a second and think about it)
Side view of the same setup.
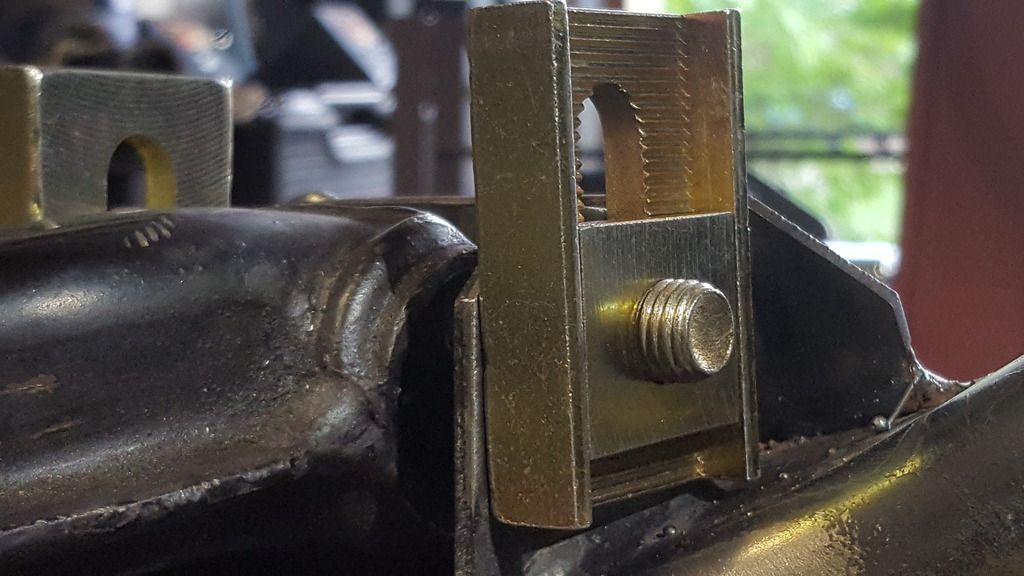
Here is a close up of the inner bracket. Camber goes more negative (top of tire IN) as bracket slider moves down. Looks like there is only 3 or 4 clicks down available from stock position shown. Nobody is ever going to need more positive rear camber (slider UP), so the IE design could really be a lot better.
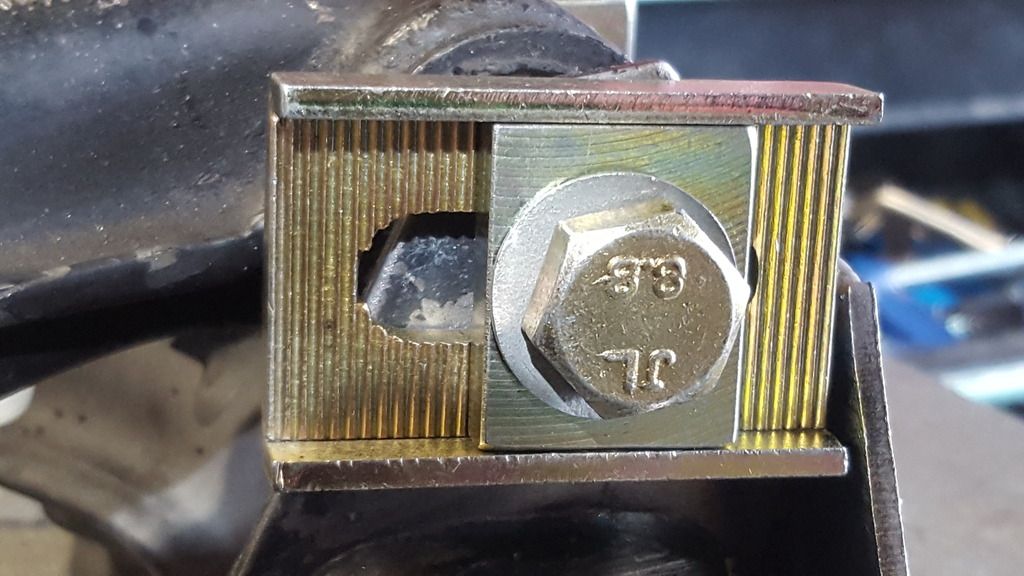
Close up of the outer bracket. Notice how it's not parallel to anything? That's annoying. :devil: Toe goes more positive (front of wheel IN) as bracket slider moves forward. (To right in photo) Go back two pictures and look at the subframe/trailing arm again. There are 6 clicks forward available which should be enough. Again, why the heck would anyone ever need massive negative rear toe? Bracket design could definitely be better.
That's all for today.
Last edited by dvallis; 05-17-2020, 07:29 PM.
Reason: typo
"And then we broke the car. Again."Mark Donohue, "The Unfair Advantage"
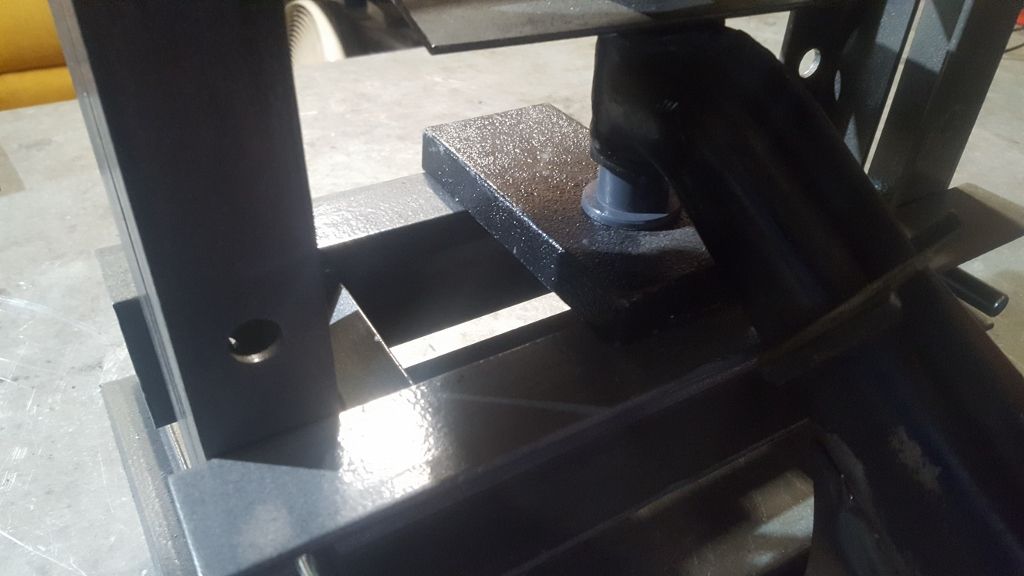
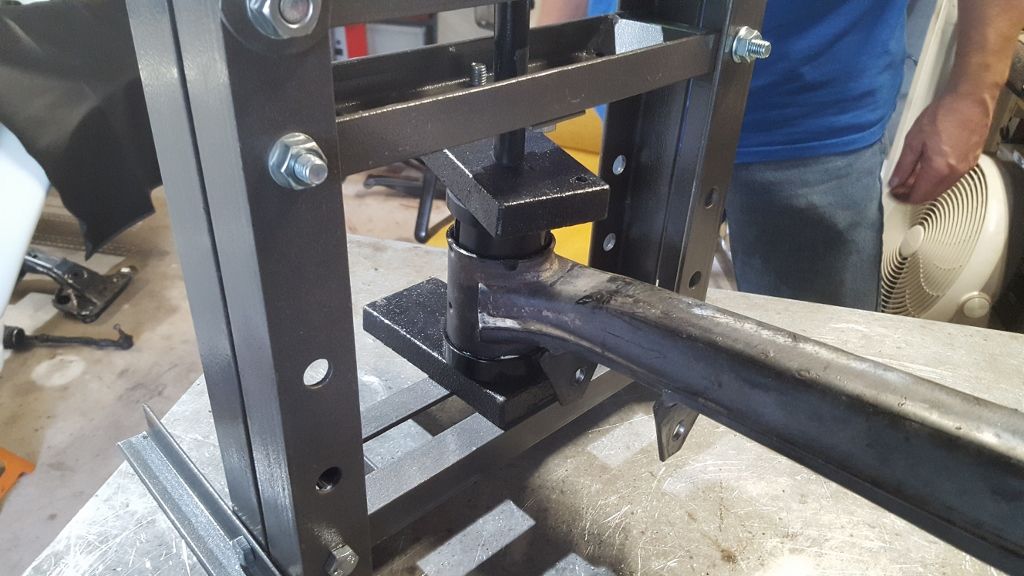
Back on the road to re-assembly. The press is finally getting some work. Here we are pressing in the trailing arm delrin bushings.
Metal core getting pressed in. Silicone lubricant helped.
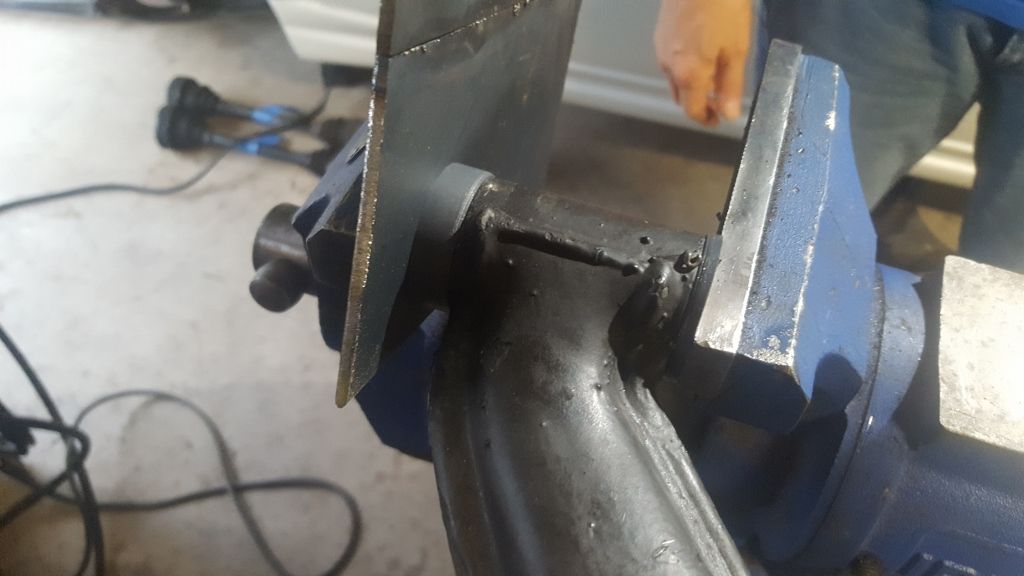
Upon closer inspection, this is total BS! Garagistic bushing metal core has inside diameter of 0.525". Stock trailing arm bolt diameter is 0.390". How the hell would that not slop around every time the trailing arms went under heavy load?
Ireland Engineering bolt is not much better. It's only 0.460". To keep the IE kit I'd need to hog out its slots to 0.525 and get different bolts. Or design new metal cores in CAD with a 0.465" ID and get them fabricated for $100 each. Either way, its not looking good.
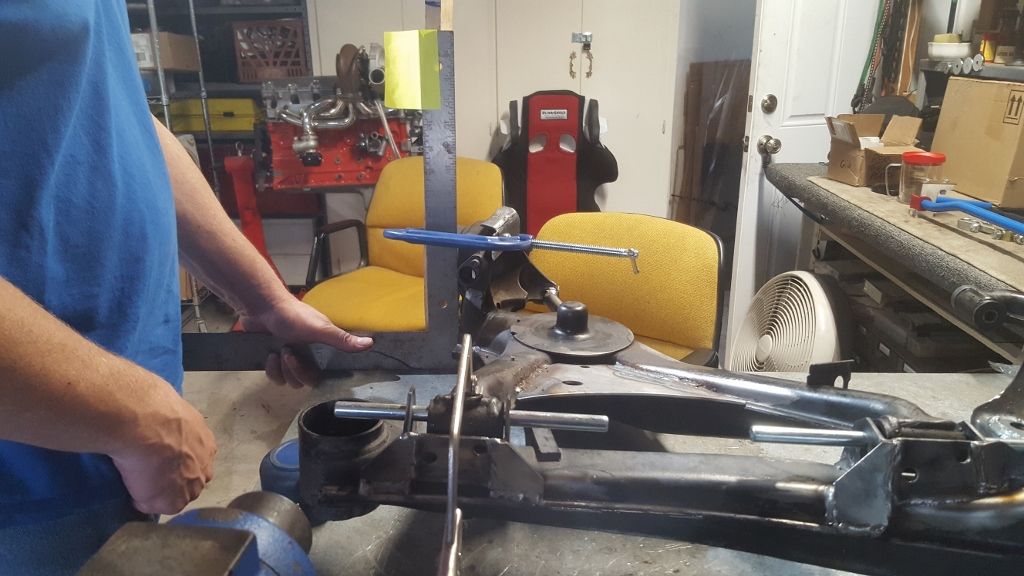
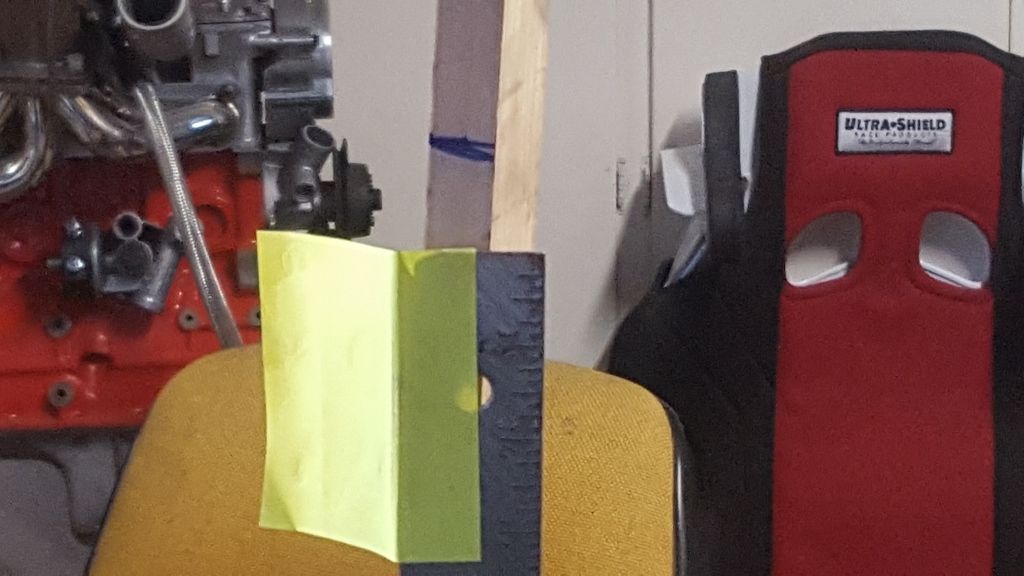
So, what would we gain going through all those gyrations? Here is the subframe and trailing arm mocked up. Top of the yellow post-it note is at diameter of our tire. Vertical edge indicates neutral position. Lowering the inner trailing arm bushing by the maximum amount possible, we only get 1/8" negative camber.
After a lot of standing around, talking pointing and cursing we decided to forego the adjustable rear suspension all together. Stock rear toe is a bit more than 1/8", with 2 degrees negative camber. If we want something different later we'll build a damn rear subframe with new fixed geometry brackets.
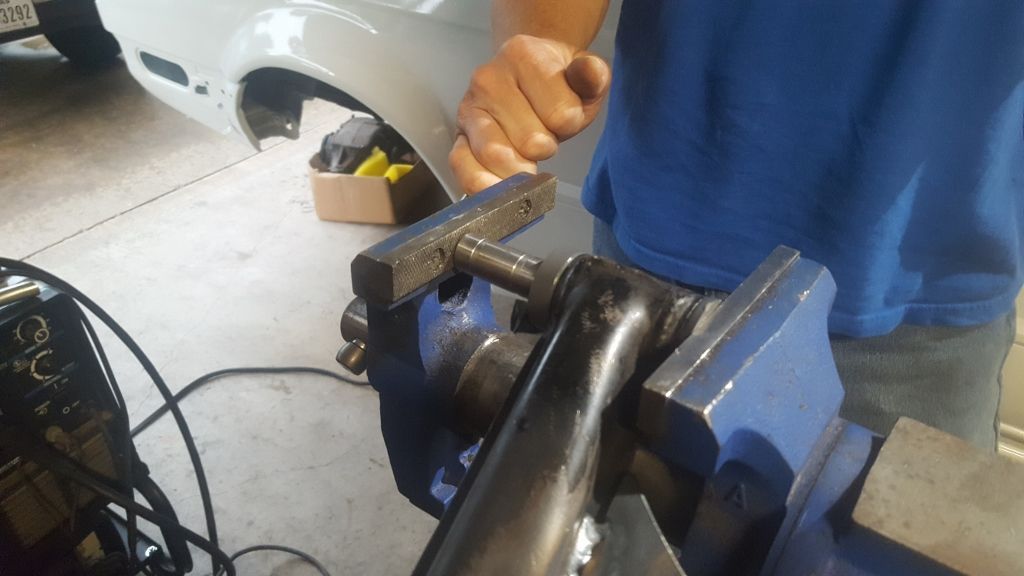
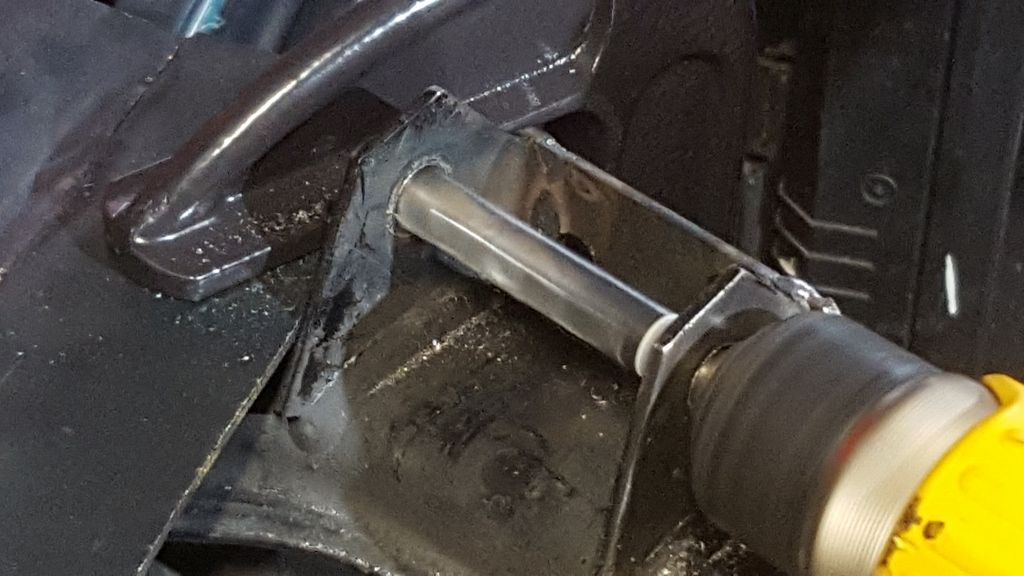
However, we ARE going to make the Garagistic setup better. Rob is boring out the trailing arm bracket holes to just over 0.500". We'll replace the stock bolts with M13 (0.512") x 90 units.
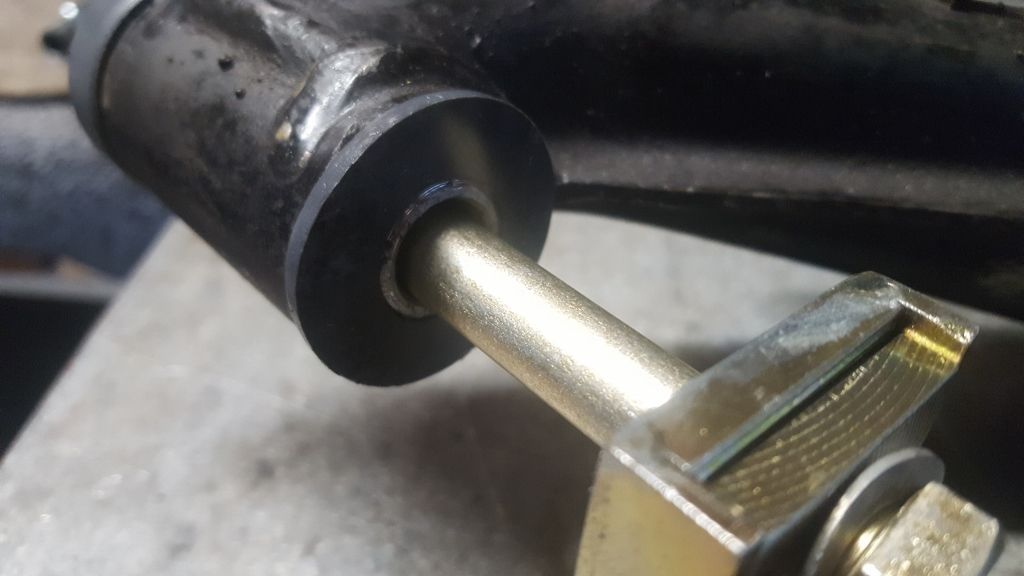
After all that drama, something easy. Pressing in the rear subframe bushings.
Eccentric delrin front control arm bushings getting installed.
New front control arm ready to go
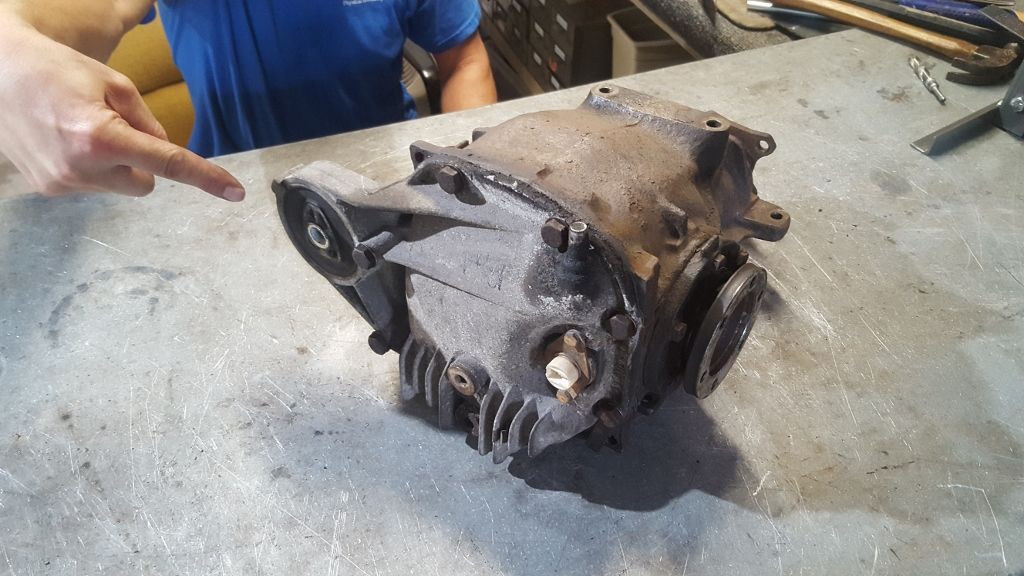
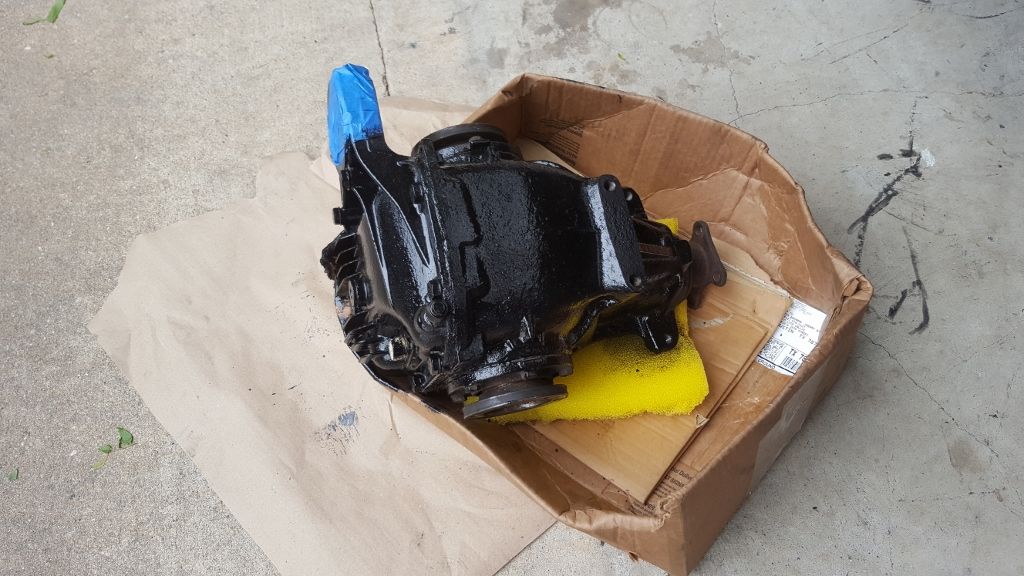
The new Lump: 373 LSD. Thanks to TheRealStig for trading with me.
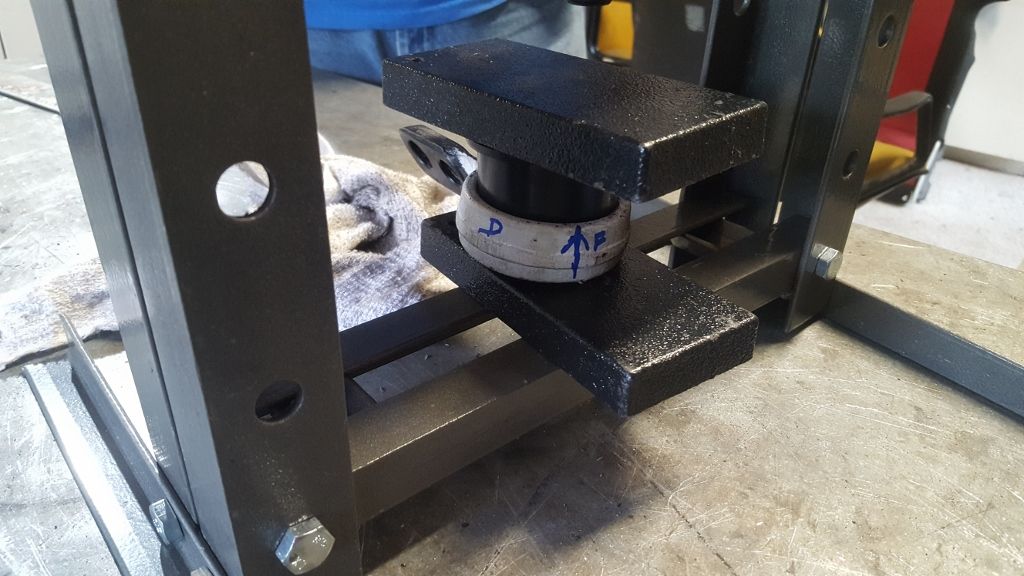
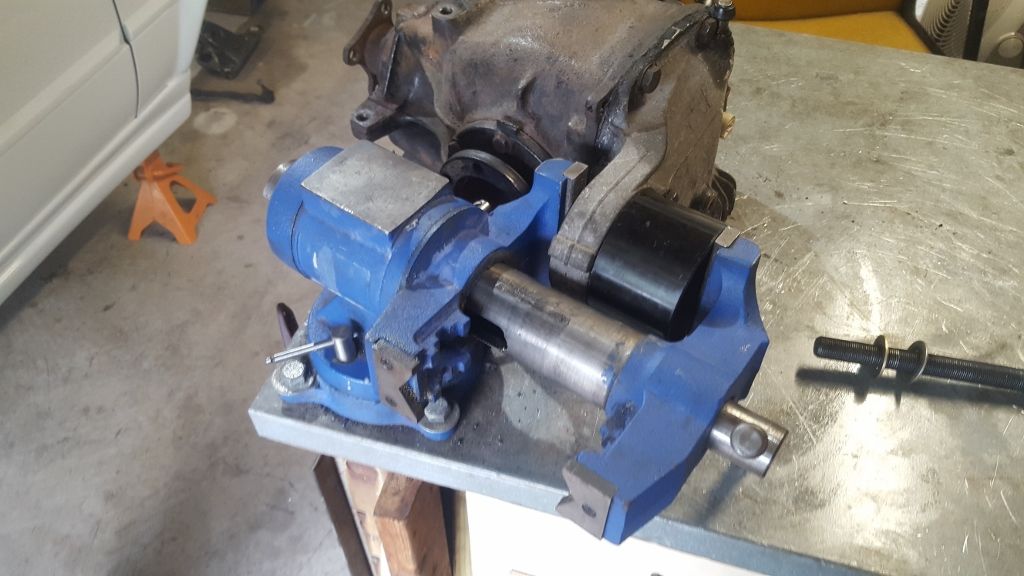
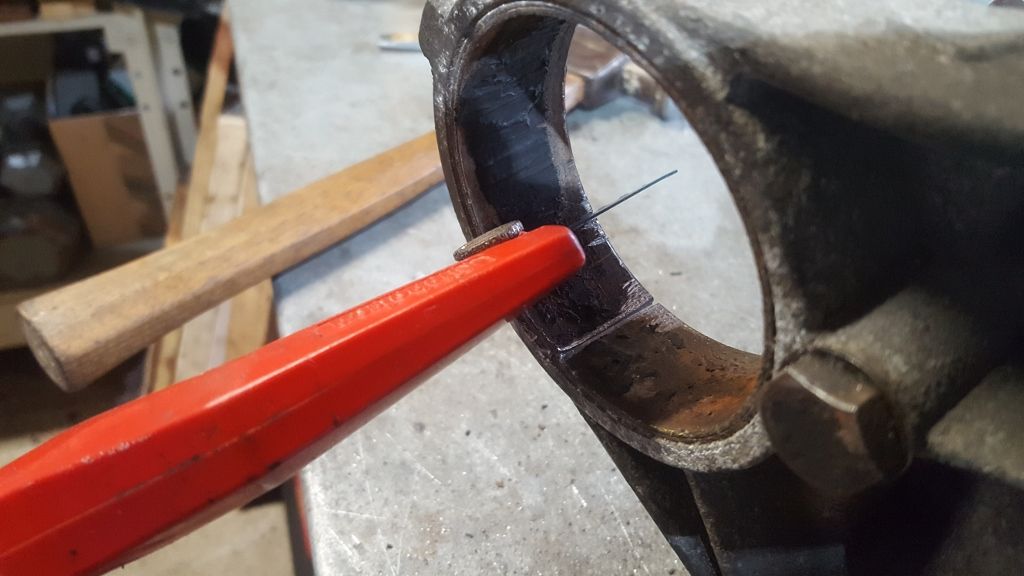
Pressing out the old rubber bushing.
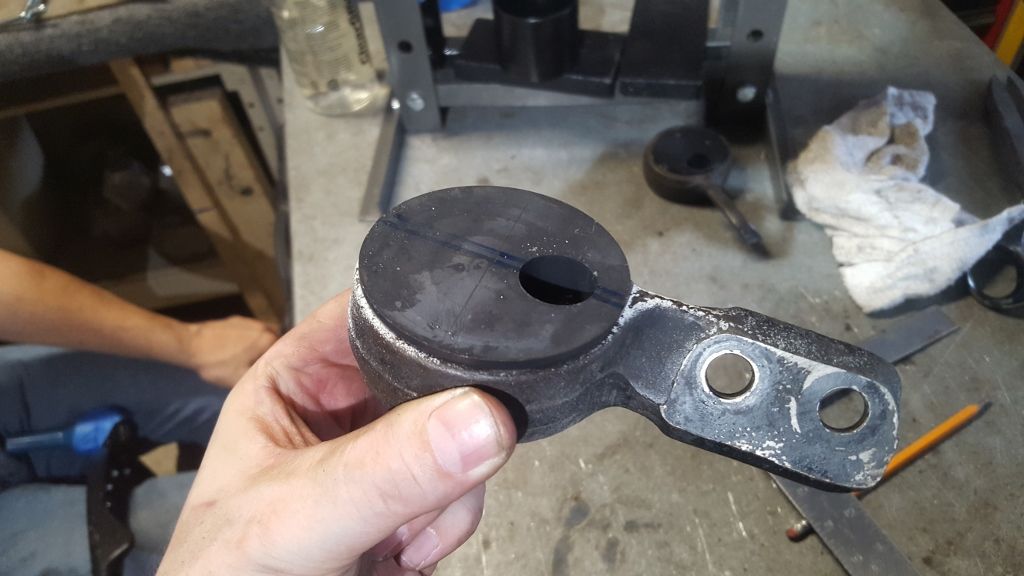
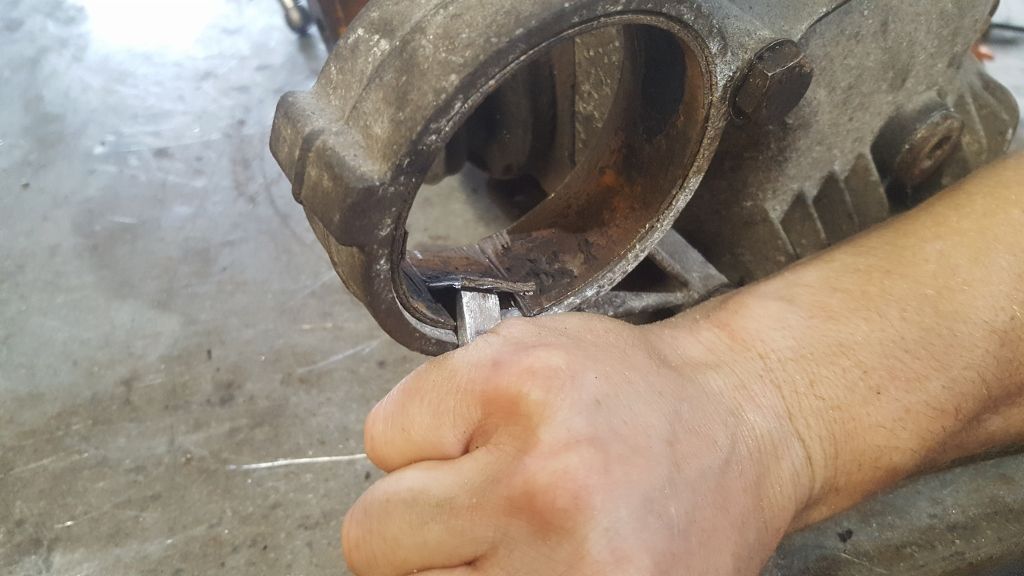
Which unfortunately left behind this @#@#@#$ metal ring in the diff housing. Had to cut it into sections CAREFULLY with the reciprocating saw.
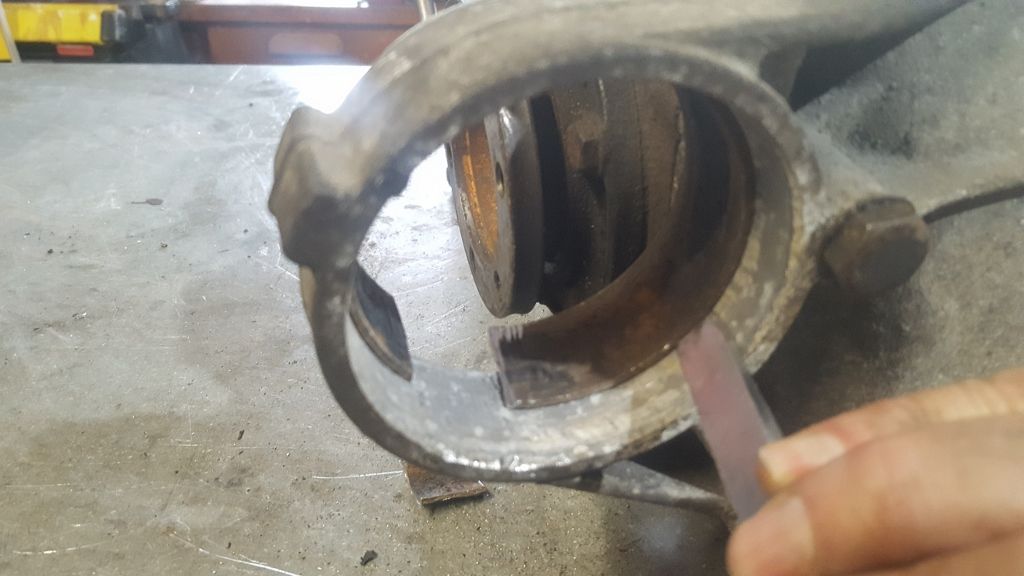
Then carefully chop the damn thing out with a hammer and chisel.
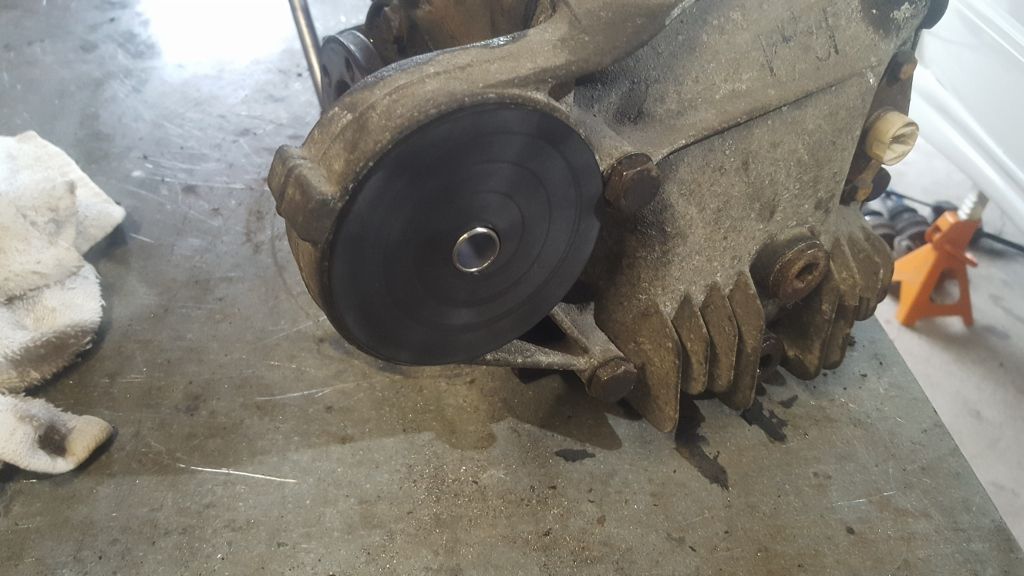
Delrin diff bushing in place
And then we started a job that was WAY too much work for the end of the day. See next post.
"And then we broke the car. Again."Mark Donohue, "The Unfair Advantage"
Never start a half shaft rebuild at the end of the day
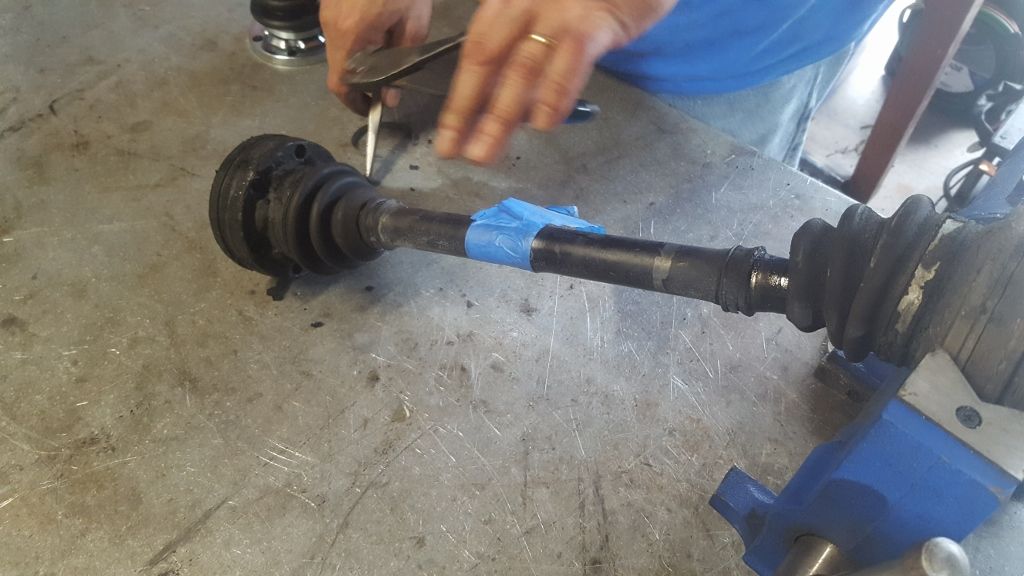
Quick half shaft rebuild. Rubber boots are ripped and grease is contaminated with dirt, so it had to be done. How hard could it be?
Hahahahah. <slightly manic> :devil: It seemed so simple.
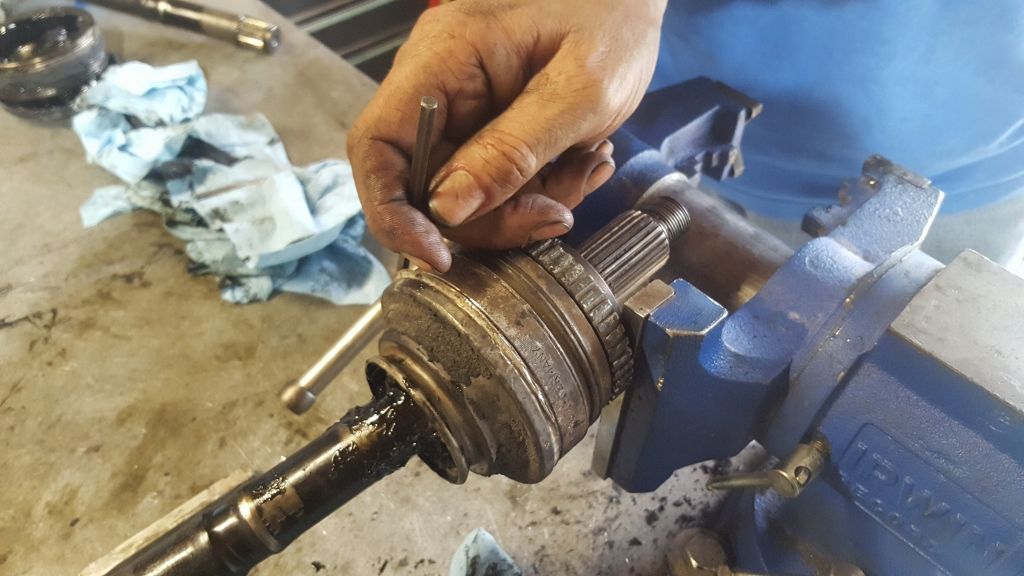
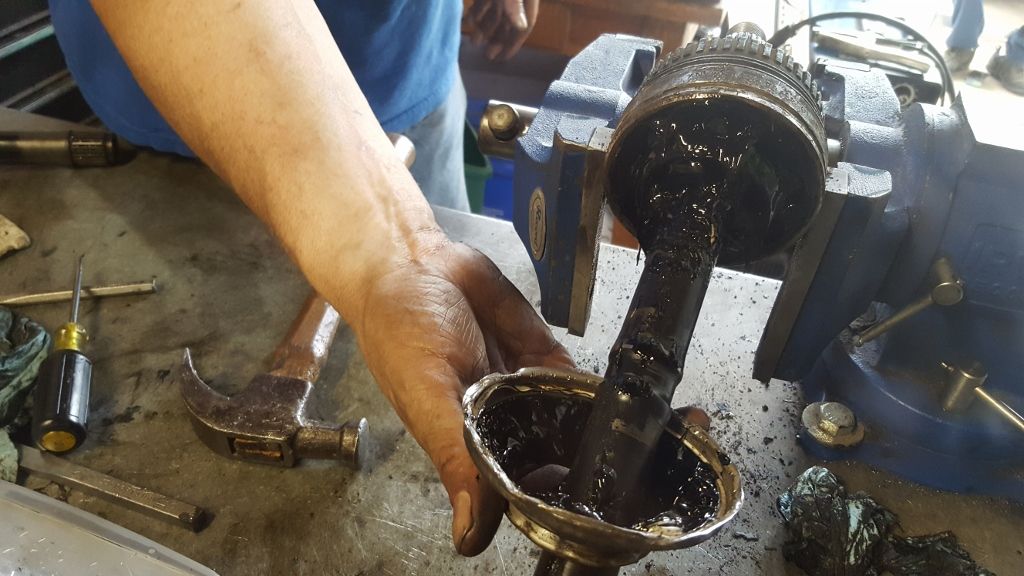
Starting by removing the inner cv joint cover. What a greasy mess.
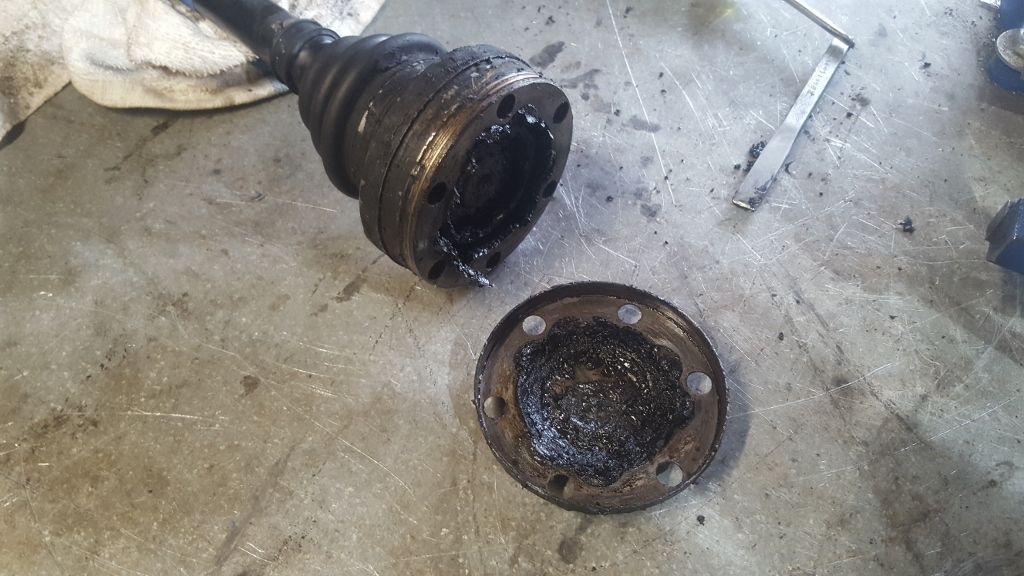
Once the circlip is removed inner CV joint and old boot slides right off.
Disassembling the rest of the CV joint is a total mess.
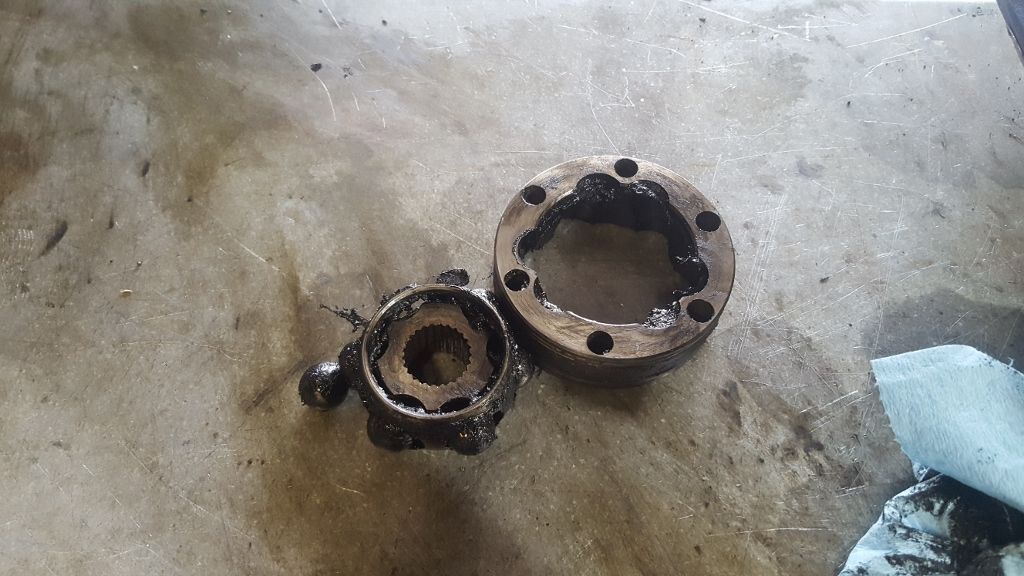
Guts of the inner CV joint ready to be cleaned.
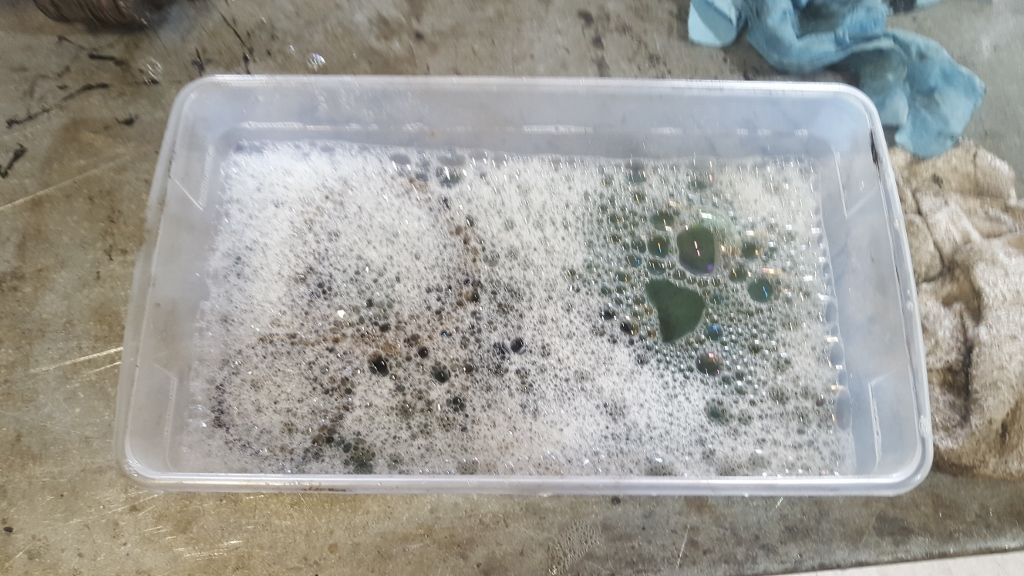
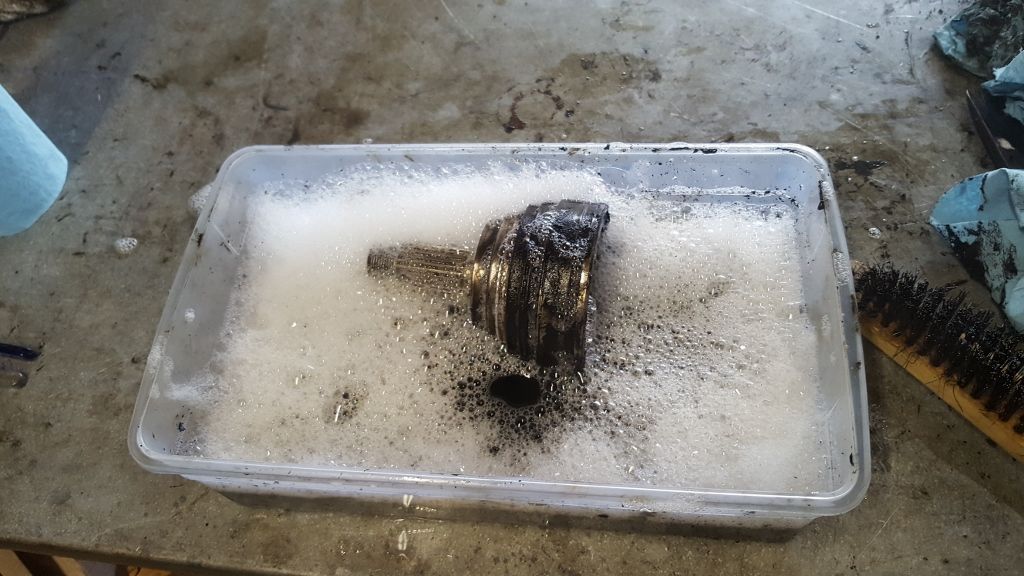
Some guys have a fancy parts washer tank. We have dawn, cold water and a plastic tub.
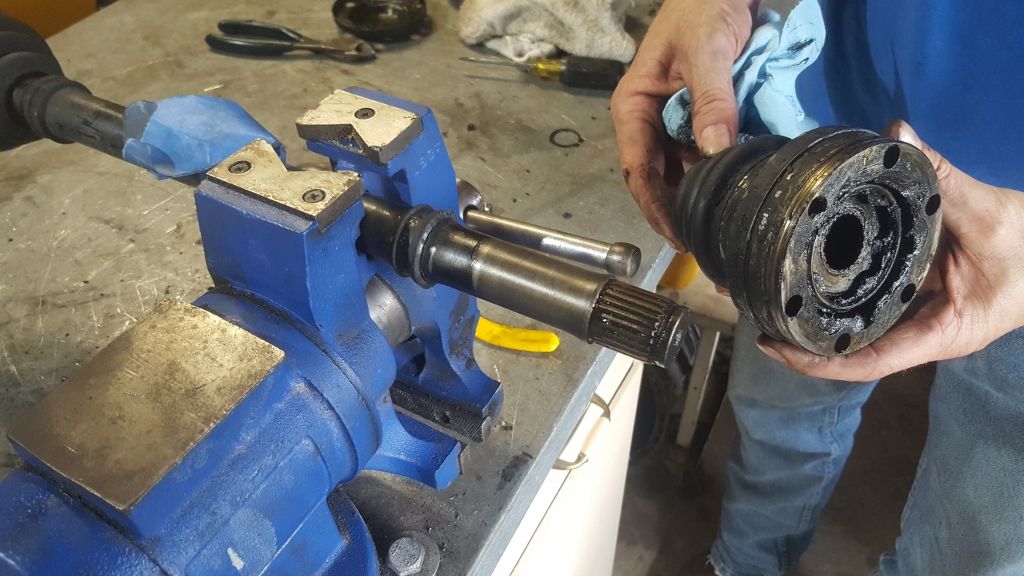
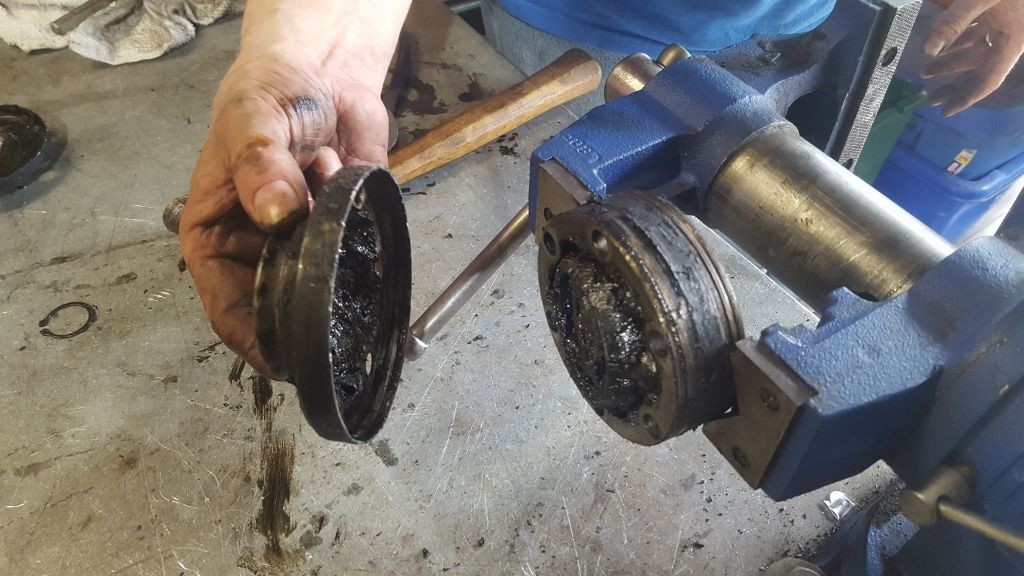
Now it got even more "interesting". The outer CV joint is supposedly "non replaceable". However, with a lot of carefully applied violence the bearing race dust cover can be removed in one piece. By the end of this Rob was totally unhappy with the whole process.
I got to clean everything on our "parts tank" while Rob had a few beer and cursed out the half shaft designers.
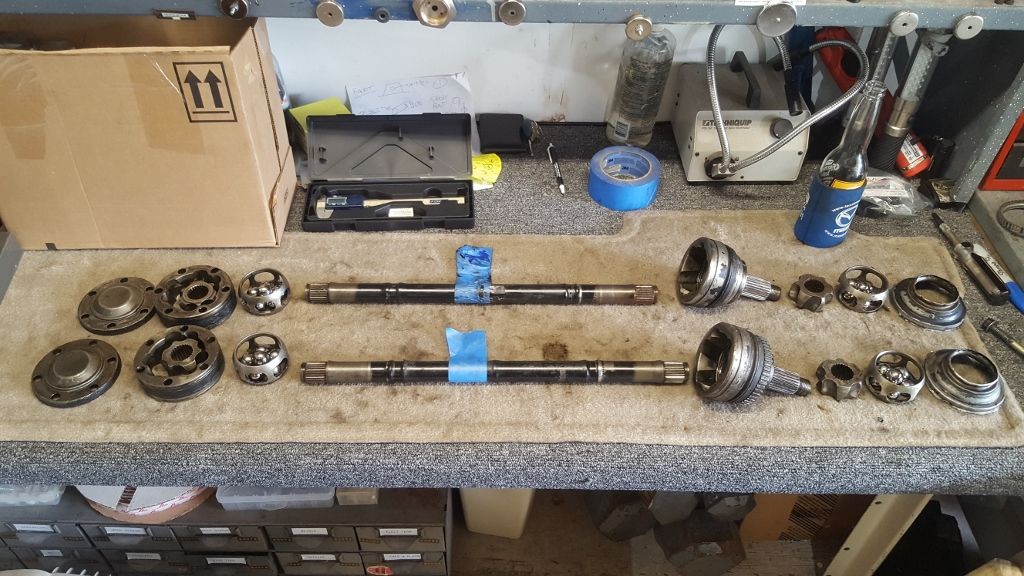
Finally, everything disassembled, cleaned and laid out for rebuild. We were beat and called it a day.
"And then we broke the car. Again."Mark Donohue, "The Unfair Advantage"
Quick half shaft rebuild. Rubber boots are ripped and grease is contaminated with dirt, so it had to be done. How hard could it be?
Hahahahah. <slightly manic> :devil: It seemed so simple.
Starting by removing the inner cv joint cover. What a greasy mess.
Once the circlip is removed inner CV joint and old boot slides right off.
Disassembling the rest of the CV joint is a total mess.
Guts of the inner CV joint ready to be cleaned.
Some guys have a fancy parts washer tank. We have dawn, cold water and a plastic tub.
Now it got even more "interesting". The outer CV joint is supposedly "non replaceable". However, with a lot of carefully applied violence the bearing race dust cover can be removed in one piece. By the end of this Rob was totally unhappy with the whole process.
I got to clean everything on our "parts tank" while Rob had a few beer and cursed out the half shaft designers.
Finally, everything disassembled, cleaned and laid out for rebuild. We were beat and called it a day.
Why not just get rebuilt ones? I can't imagine it's that's much cheaper, plus it saves the kick in the balls of rebuilding them. The most expensive part of buying rebuilt ones is actually just the core.
Sent from my iPhone using Tapatalk
Originally posted by flyboyx
how about if i yank the anal beads out of your ass like i'm trying to pull start a chain saw?
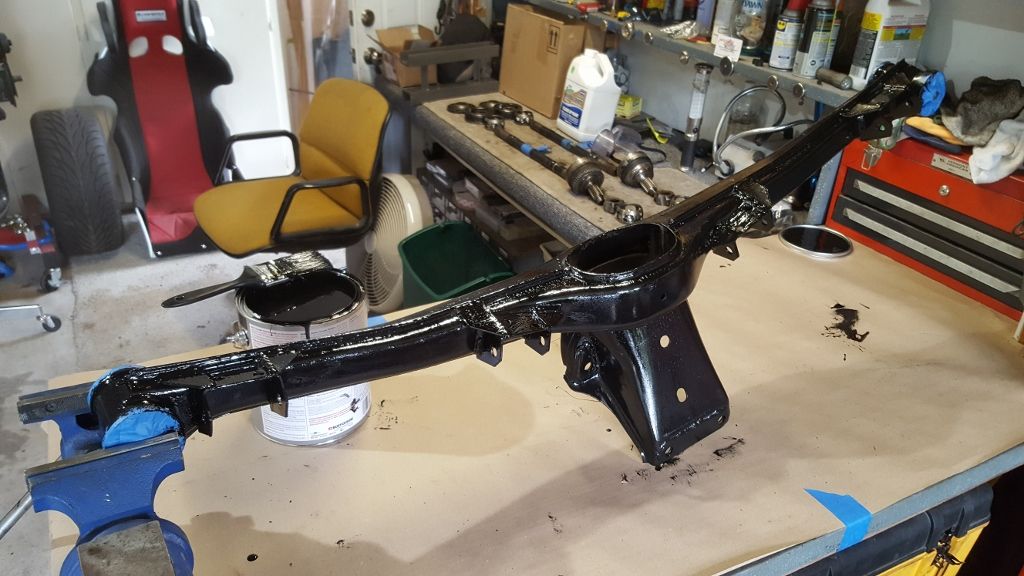
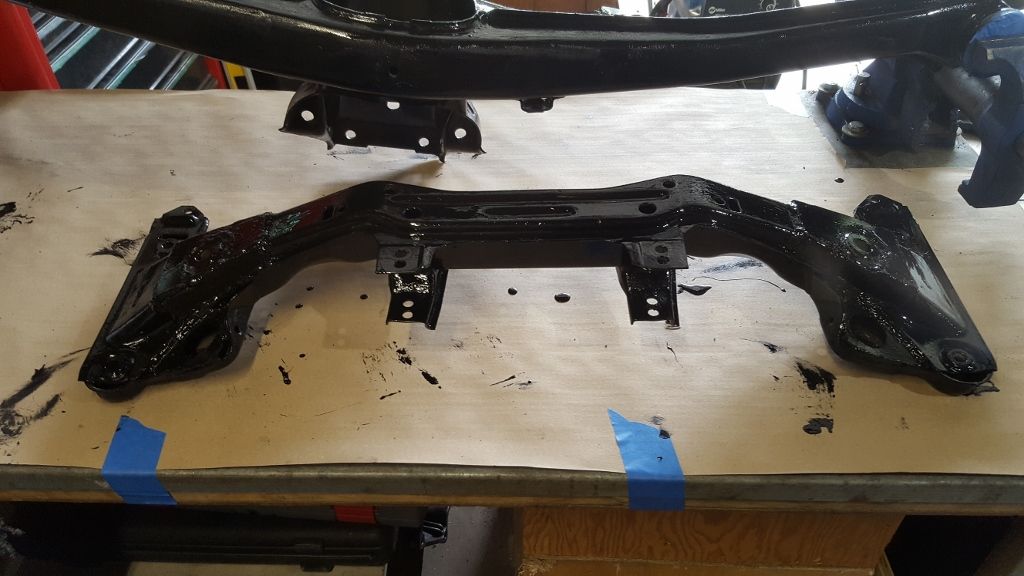
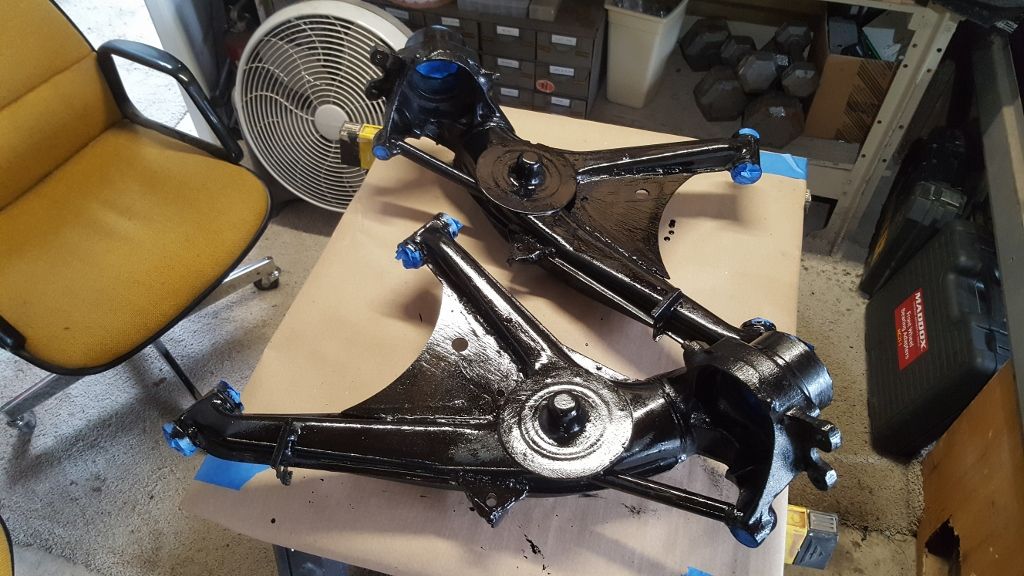
Decided to use a brush and black Rustoleum for the subframe. Here's a bit of advice. Buy the small can. Like a pint. This stuff has freakishly amazing coverage. I did the whole subframe ... all of it ... with less than 1/16th of a gallon. Feels like you could paint the entire exterior of a house with this one can.
Rear subframe looking good.
Front subframe
Rear trailing arms
Finally .... The Lump.
Will flip them over and finish up tomorrow.
"And then we broke the car. Again."Mark Donohue, "The Unfair Advantage"


Comment