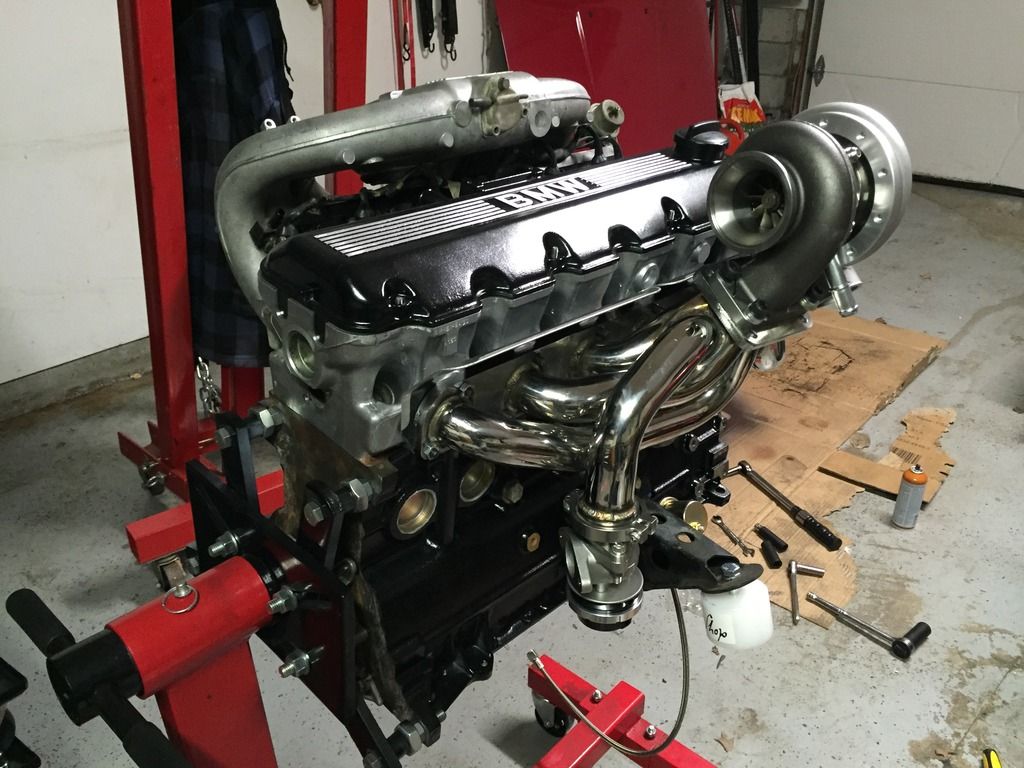
Generic 2.7i build for boost in progress

Collapse
X
 
  • Time
  • Show
Clear All
new posts

  • TheTacoMan
    replied
    Cool a seta build.
    I didnt o-ring my seta, make sure to get a good tune!

    Leave a comment:


  • Steve o 77
    replied
    Originally posted by JeLani
    teh TIG art on that v-band..
    Haha thanks

    So this thing is now running, poorly. Needs tuning love and an exhaust. I'll probably stop updating this thread and move over to the build in my signature.

    Leave a comment:


  • JeLani
    replied
    teh TIG art on that v-band..

    Leave a comment:


  • Steve o 77
    replied
    Originally posted by redlightpete
    If you mean that the .010" clearance went to .004" when you installed the head, then yes, that's normal.
    That's correct, ok cool.

    Leave a comment:


  • redlightpete
    replied
    If you mean that the .010" clearance went to .004" when you installed the head, then yes, that's normal.

    Leave a comment:


  • Steve o 77
    replied
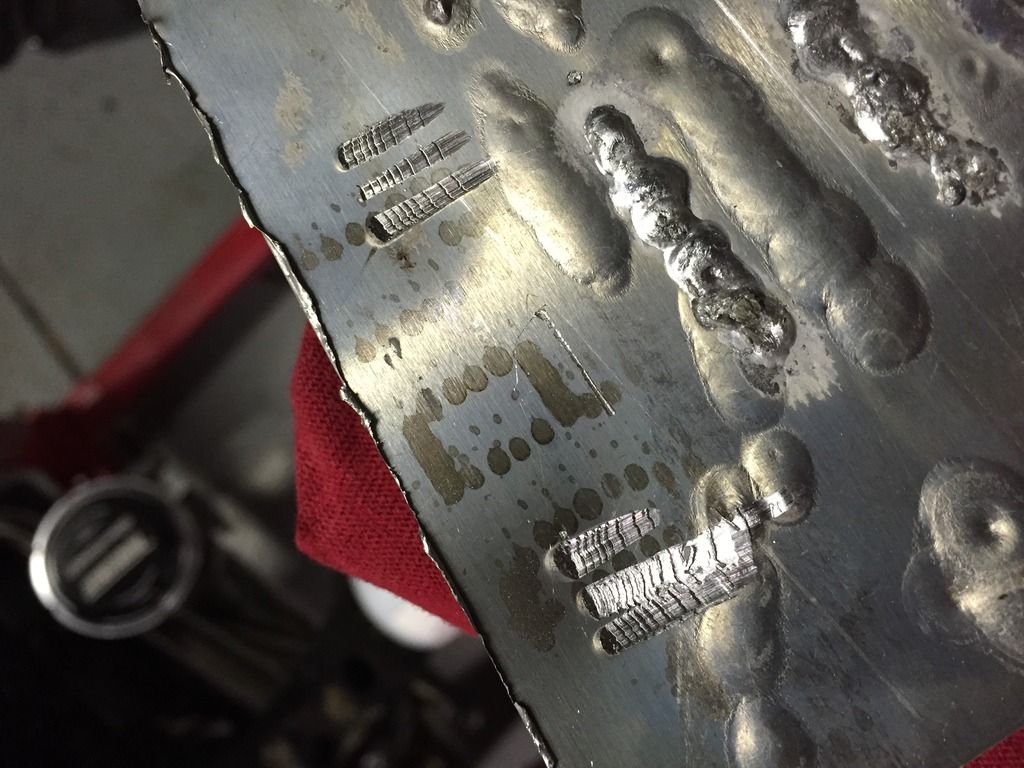
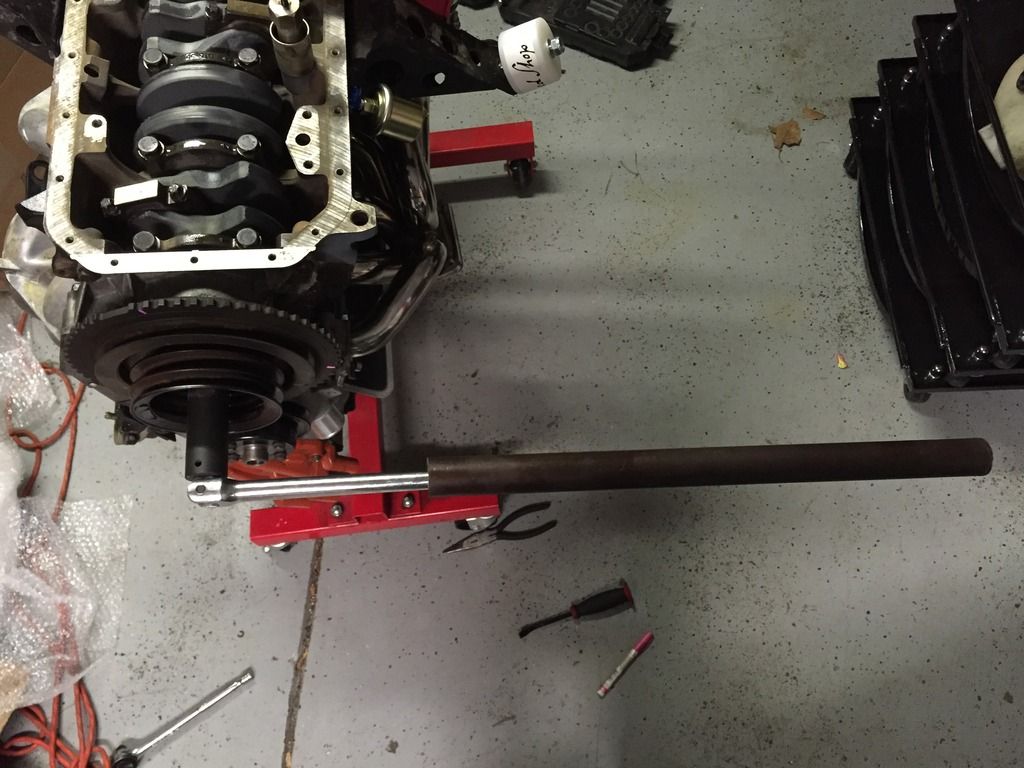
    Got the crank bolt torqued down today, I thought my harbor freight engine stand was going to fold in half. I ended up jamming a piece of 2x4 wrapped in a clean rag between the block and a counter weight. I used some aluminum plate to disperse the load so as not to split the wood. It worked great!
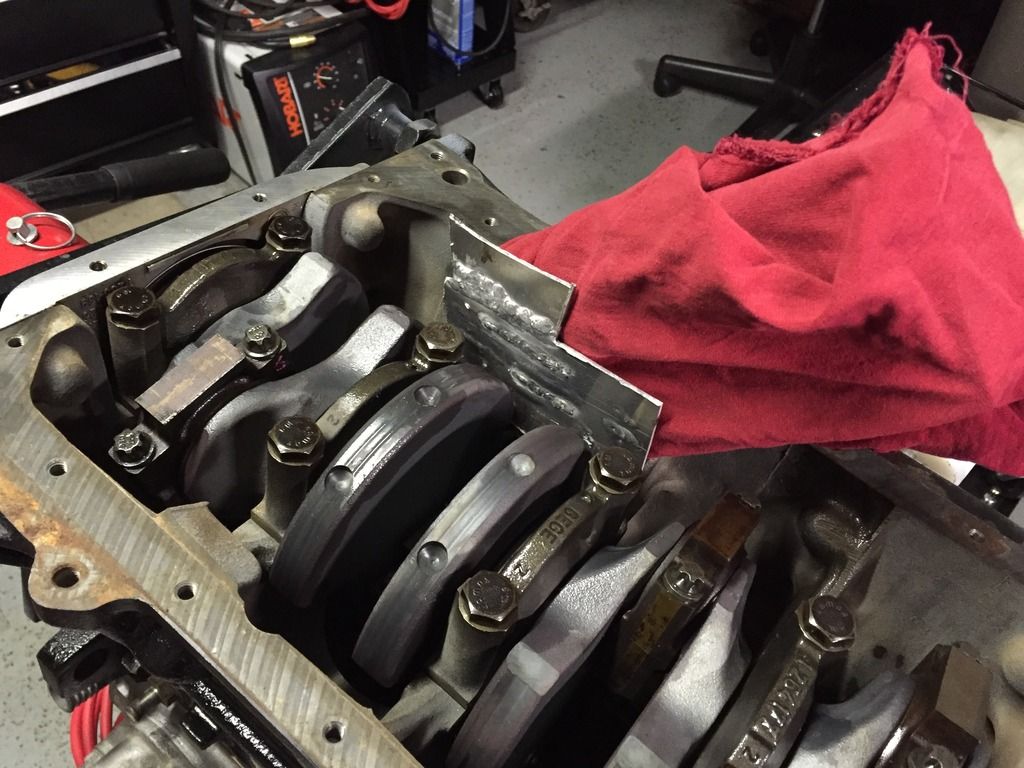


    Gouged it up pretty good


    My torque wrench maxes at 250ftlb so I resorted to the body weight times distance method and used my cheater bar.


    And some more cooling system stuff on.
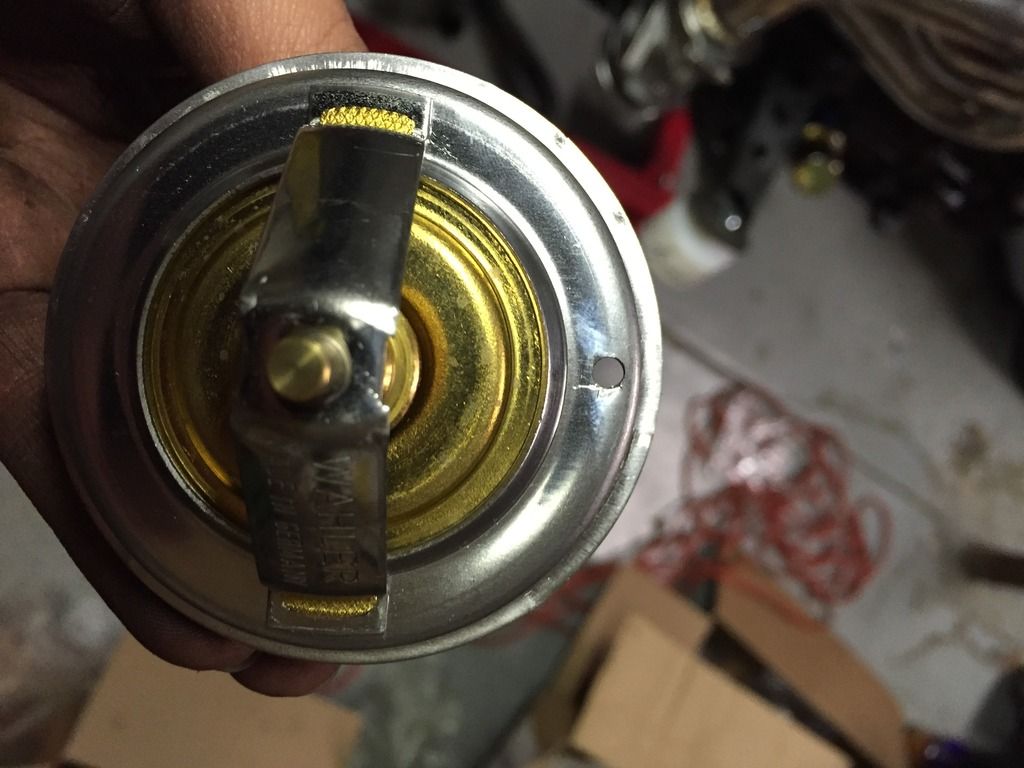


    Ended up here at the end of the day. The distributor cap is temporary until I can find a plate to replace it.
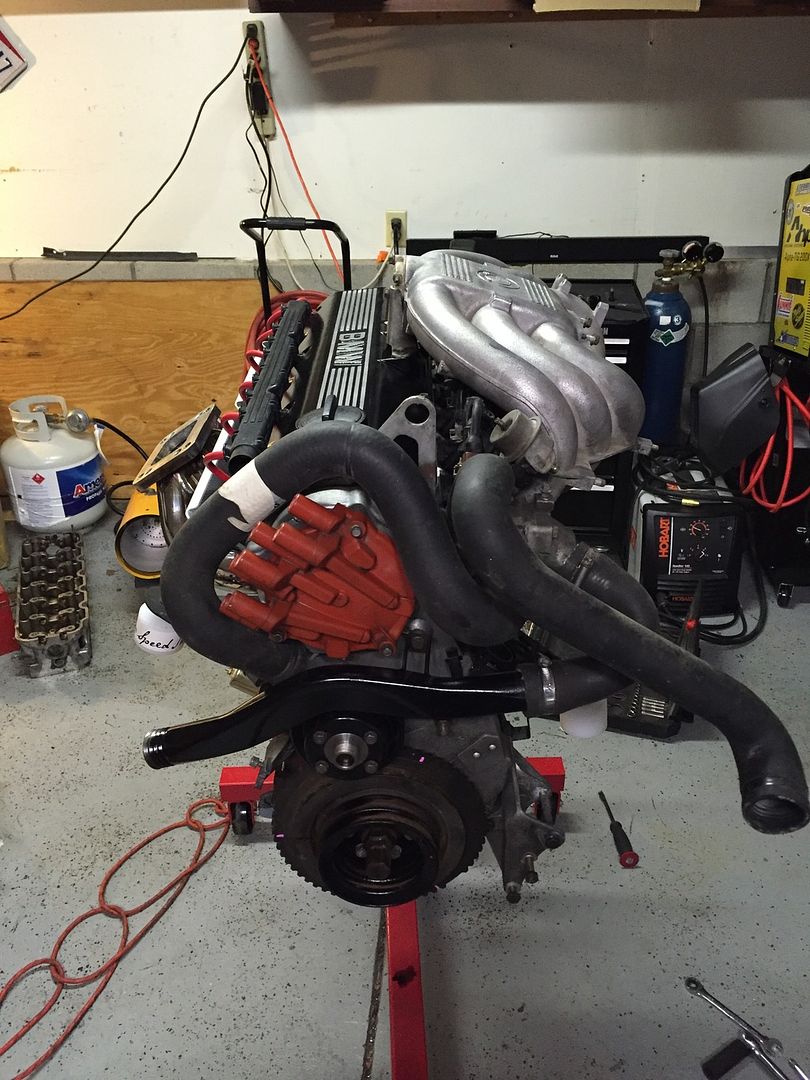
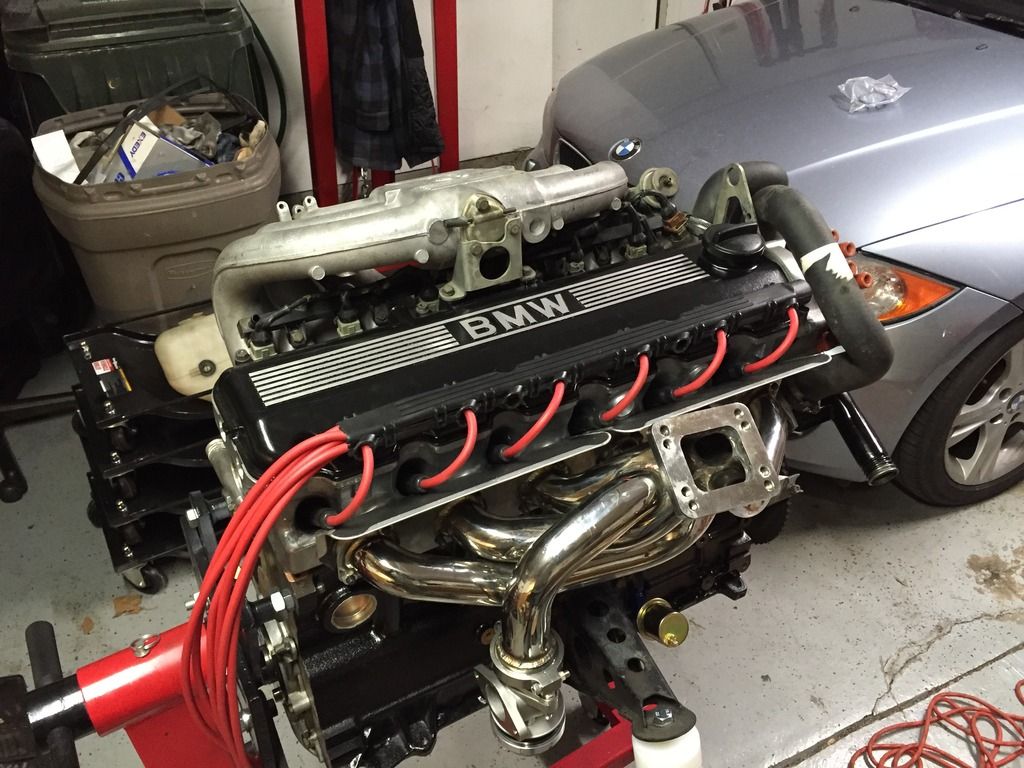


    I also checked the valve clearance just for the heck of it and they were ridiculously tight after torquing the head down. Bimmerheads ships their heads at .01" clearance and they were at about .004 after torquing. Is that normal? I reset them to .01" and called it good.
    Last edited by Steve o 77; 02-07-2016, 08:49 PM. Reason: Typo

    Leave a comment:


  • Steve o 77
    replied
    Well I finally go back from my business trip today and came home to a big box!
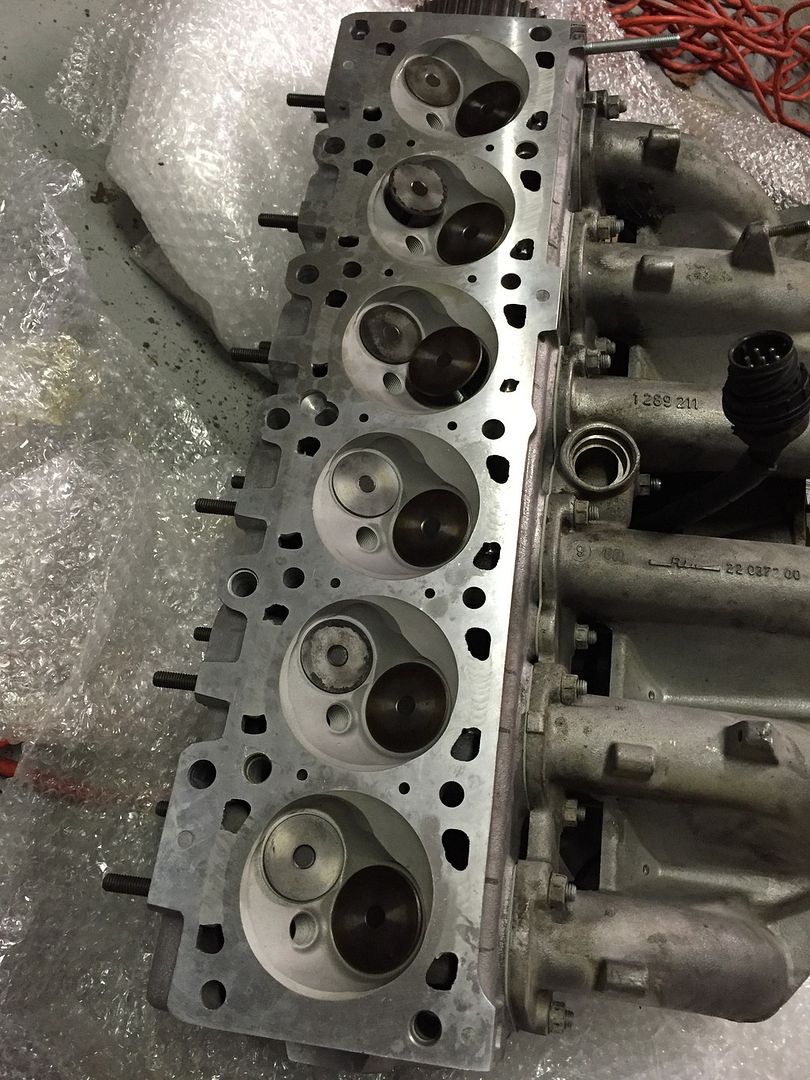


    Welded jackets
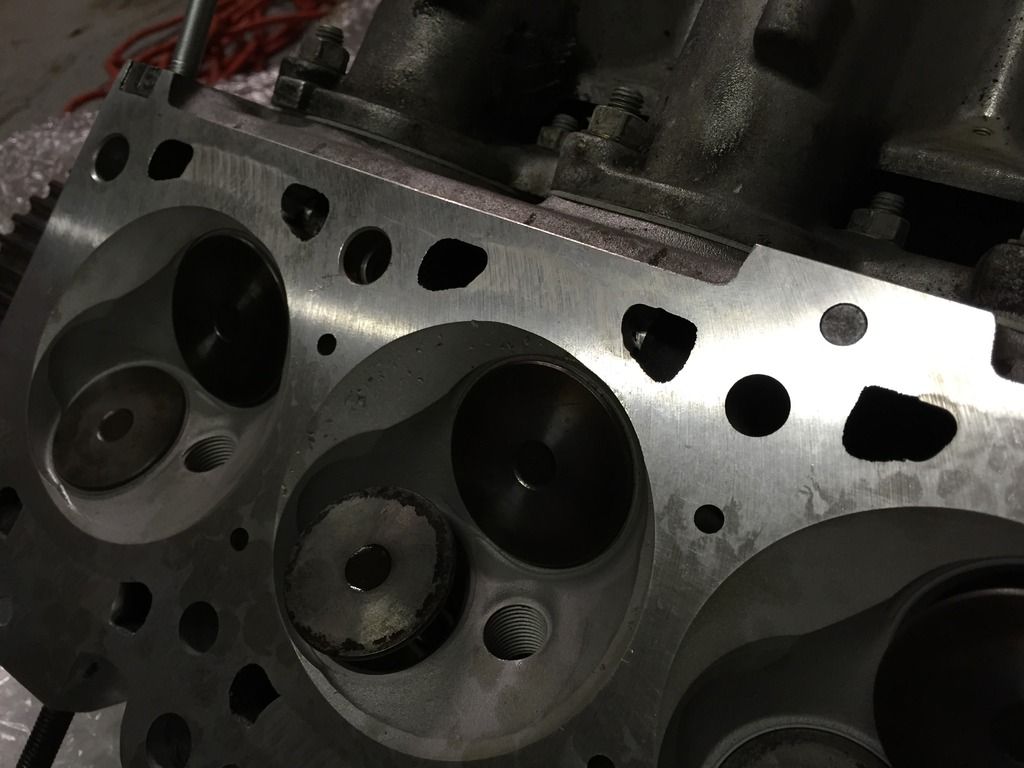

    So I got to work cleaning the faces of the block and head, sprayed the gasket with some copper spray and torqued it down to 70ftlbs in 3 even steps per the arp instructions.
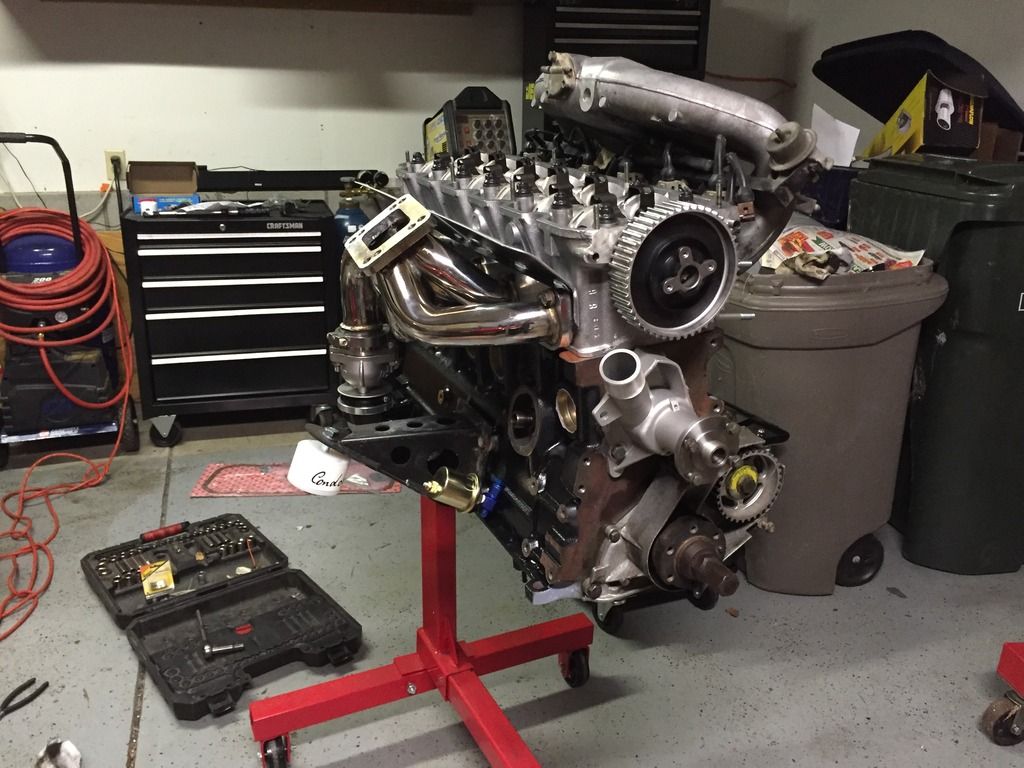
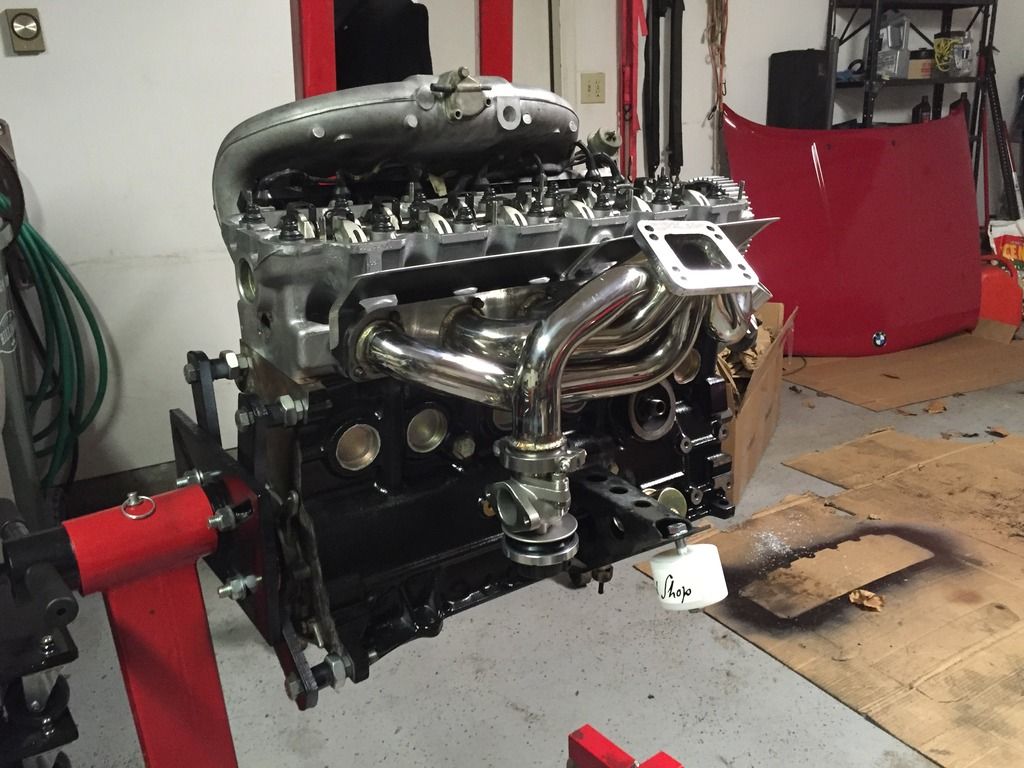
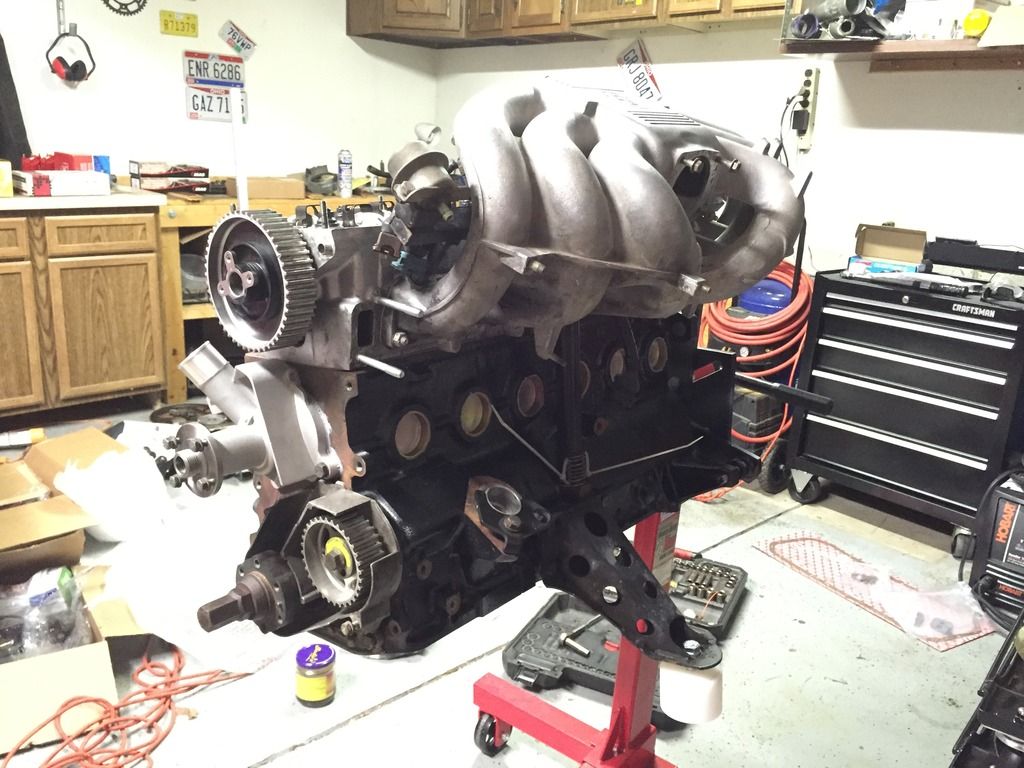


    Then I started putting the little things on
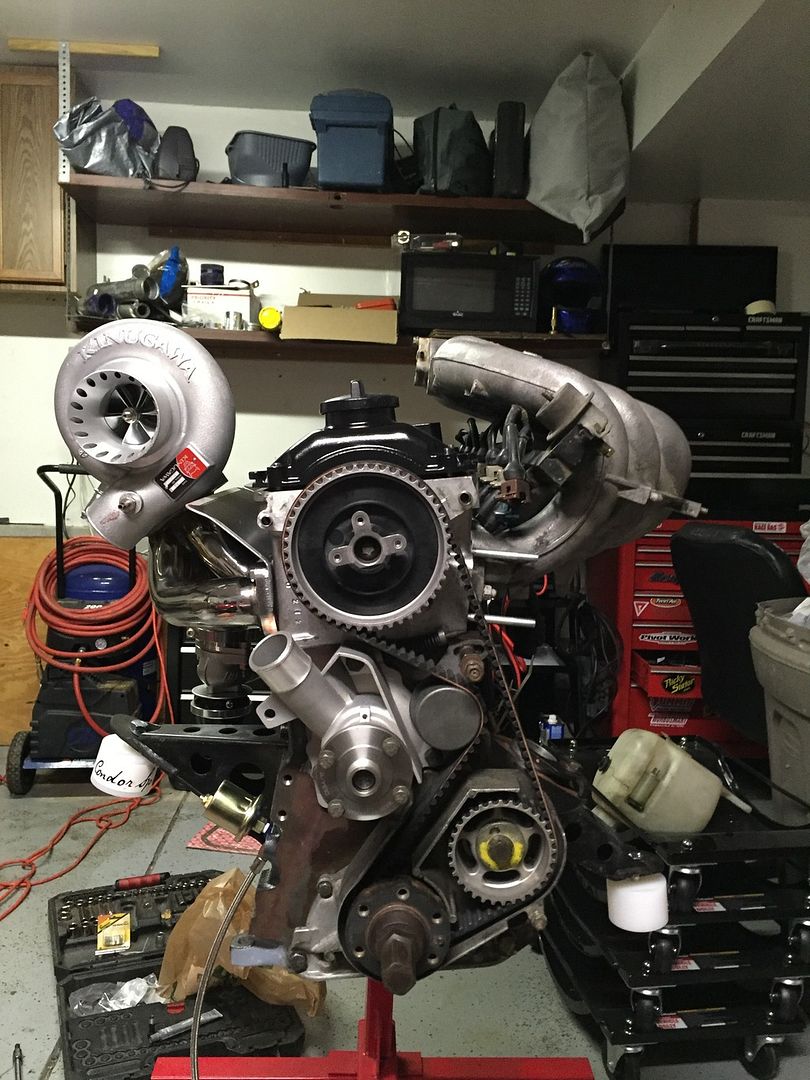


    Ended up here at the end of the day
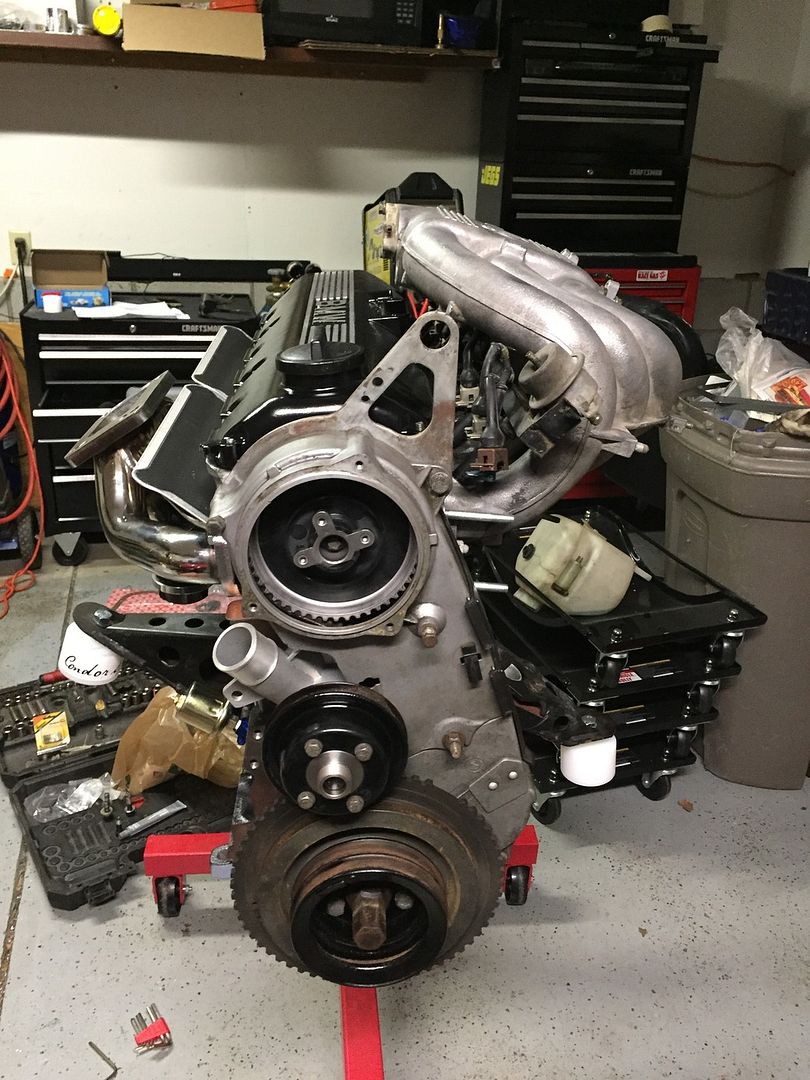


    I still need to torque that crank bolt the remaining 70ftlbs and get started on oil and water lines for the turbo. It's getting close though!

    Oh I also got a new mishimoti e36 radiator and a kamotors mspnp to give me a good starting point on the tune.

    Leave a comment:


  • Steve o 77
    replied
    Originally posted by digger
    no sandpaper or scoatchbrite basically anything where the grits/bits can come off is risky, gets some chemicals carby cleaner, oven cleaner (none on aluminium tho), brake cleaner etc avoid geeting into bores and behind rings /into sump oil etc (have piston down bores and stuff rags in there a section at a time). if nothing comes off with elbow grease it'll be ok
    Oh I've definitely scrubbed with carb cleaner and it didn't touch it, nothing came off.

    I'm just going to leave it and hope for the best. I know the o rings will hold at least.

    Leave a comment:


  • digger
    replied
    Originally posted by Steve o 77
    Hmmm, well I guess I can try hitting it with some red scotch brite or sandpaper. I can't catch any of that off Color stuff with my nail though so I figured it would be ok. The block was hot tanked in a bearing safe tank because I'm re-using the intermediate shaft bearings.
    no sandpaper or scoatchbrite basically anything where the grits/bits can come off is risky, gets some chemicals carby cleaner, oven cleaner (none on aluminium tho), brake cleaner etc avoid geeting into bores and behind rings /into sump oil etc (have piston down bores and stuff rags in there a section at a time). if nothing comes off with elbow grease it'll be ok
    Last edited by digger; 01-31-2016, 10:19 PM.

    Leave a comment:


  • Steve o 77
    replied
    Originally posted by digger
    agreed but that doesnt look particularly clean though, ....while the block is at the shop it seemed odd not to. its an SETA bottom end with CR 8.5:1 nominally its not going to matter if it increases a bit
    Hmmm, well I guess I can try hitting it with some red scotch brite or sandpaper. I can't catch any of that off Color stuff with my nail though so I figured it would be ok. The block was hot tanked in a bearing safe tank because I'm re-using the intermediate shaft bearings.

    Leave a comment:


  • digger
    replied
    Originally posted by TobyB
    I don't cut the decks, either, unless there's a good reason to. Clean and straight is
    clean and straight, and I've never had a problem... and a cut deck adds another
    variable into the already not- trivial cc equation, especially when you're targetting a
    particular cc and sending parts off for work based on this...

    I do spend money on
    pistons, maybe because I'm a fool,
    maybe because the M10 seems to always eat them.

    If they measured ok, they should be fine.

    One of these lifetimes, I really wanna do this.

    t
    agreed but that doesnt look particularly clean though, ....while the block is at the shop it seemed odd not to. its an SETA bottom end with CR 8.5:1 nominally its not going to matter if it increases a bit

    Leave a comment:


  • Steve o 77
    replied
    Originally posted by jeffnhiscars
    I have an intake plate off the b23 (731) head donor and it has a range of vacuum openings, cold start valve etc. I'll post a pic In case it turns out to be useful.

    I just use an old timing belt and vice grips to hold the pulley. It's not like the crank bolt in terms of torque.
    Yeah I have the plate from the seta intake which has 2 ports so I could just tee one of them I guess.

    Also I threw away the old timing belt... Dammit. Oh well I should be able to get it once I get the new belt installed.

    Leave a comment:


  • jeffnhiscars
    replied
    I have an intake plate off the b23 (731) head donor and it has a range of vacuum openings, cold start valve etc. I'll post a pic In case it turns out to be useful.

    I just use an old timing belt and vice grips to hold the pulley. It's not like the crank bolt in terms of torque.

    Leave a comment:


  • Steve o 77
    replied
    Just doing small things while I wait for the head.

    Tried torquing the crank bolt but my weaksauce tool only held 220 ftlb so I'll have to beef it up.
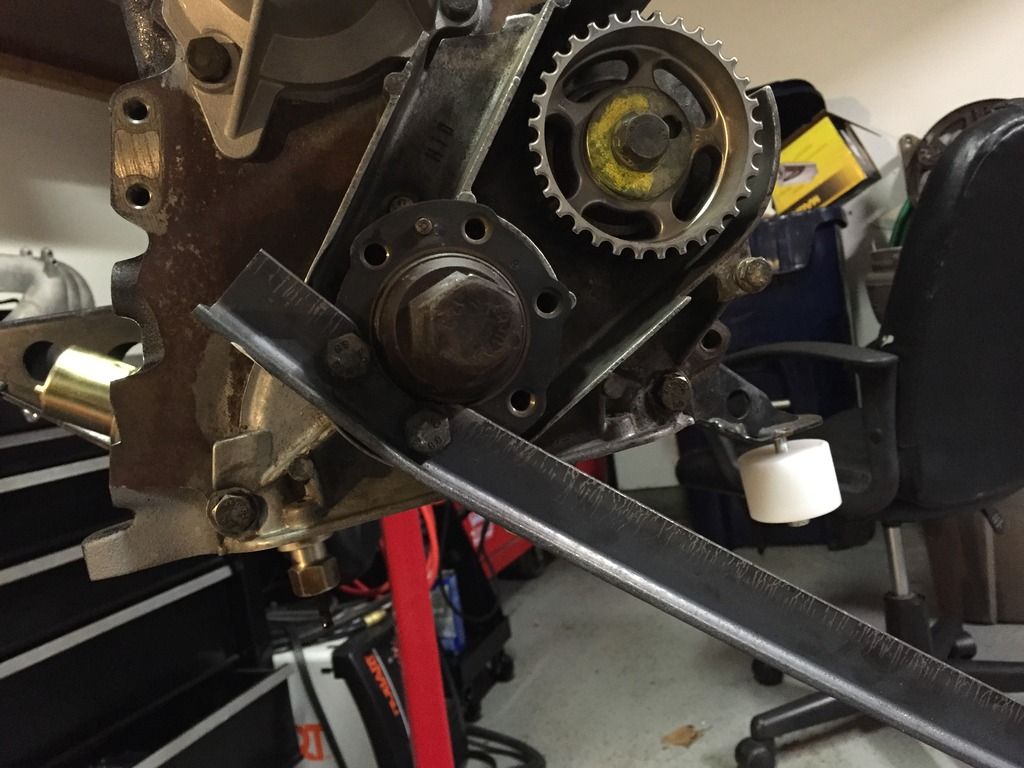


    How do you guys normally torque the intermediate shaft pulley bolt? I'm assuming wait till the timing belt is installed?

    And got the fuel rail/deka 60lb injectors all in.
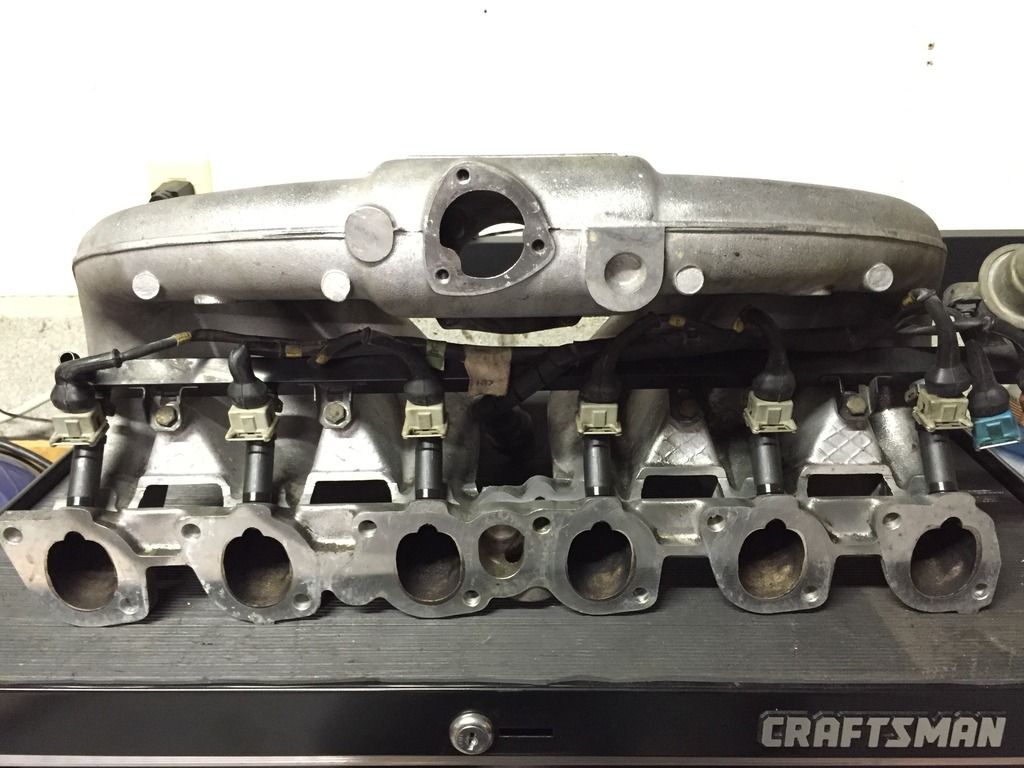

    I need to do some research on Fuel pressure regulators to see if I can run the seta unit. Also planning on drilling and tapping that intake manifold plate where the fpr vacuum source is so I can provide vacuum sources for the MS, waste gate, and BOV.

    I know lame update, much more to come next weekend once I get the head.

    Leave a comment:


  • Steve o 77
    replied
    Originally posted by TobyB
    I don't cut the decks, either, unless there's a good reason to. Clean and straight is
    clean and straight, and I've never had a problem... and a cut deck adds another
    variable into the already not- trivial cc equation, especially when you're targetting a
    particular cc and sending parts off for work based on this...

    I do spend money on
    pistons, maybe because I'm a fool,
    maybe because the M10 seems to always eat them.

    If they measured ok, they should be fine.

    One of these lifetimes, I really wanna do this.

    t
    Sounds good, I'll run it and see how it holds up. I'm not going crazy with the boost (famous last words). 15-18psi at most.

    Leave a comment:

Working...