-
The pan has 1" of clearance between the steering rack. That IMO is too much. I would suggest shortening the engine brackets. -
Sounds like you need a sweet hood blister over the turbo. Time to get out the sandbag and round mallet.

Leave a comment:
-
Jim, I thought you said you were going to take care of that for meLeave a comment:
-
Have fun getting that intake manifold on :)
Hood clearance is most likely the turbo. I had no problem fitting my turbo in there with qbang mounts. We shall see if my new turbo fits any better or worse with the e30.de mounts.
Car is coming along great. Keep up the good work!Leave a comment:
-
The mounts are from QBang so I assume they are the same as what he always produces. The turbo is pretty freakin big though. I have a couple of ideas on how to make it work so I have no plans at the moment to step down in the size of the turbo.Leave a comment:
-
I'm serprized your turbo will not clear the hood. Are the steel motor mounts a little tall?
The work on the project is looking good.Leave a comment:
-
I'm really impressed with this and I like your attention to detail. It's pretty awesome how you make things fit as if they were supposed to be there. Keep up the good work, I can't wait to see the finished product.
Sent from my SAMSUNG-SGH-I727 using TapatalkLeave a comment:
-
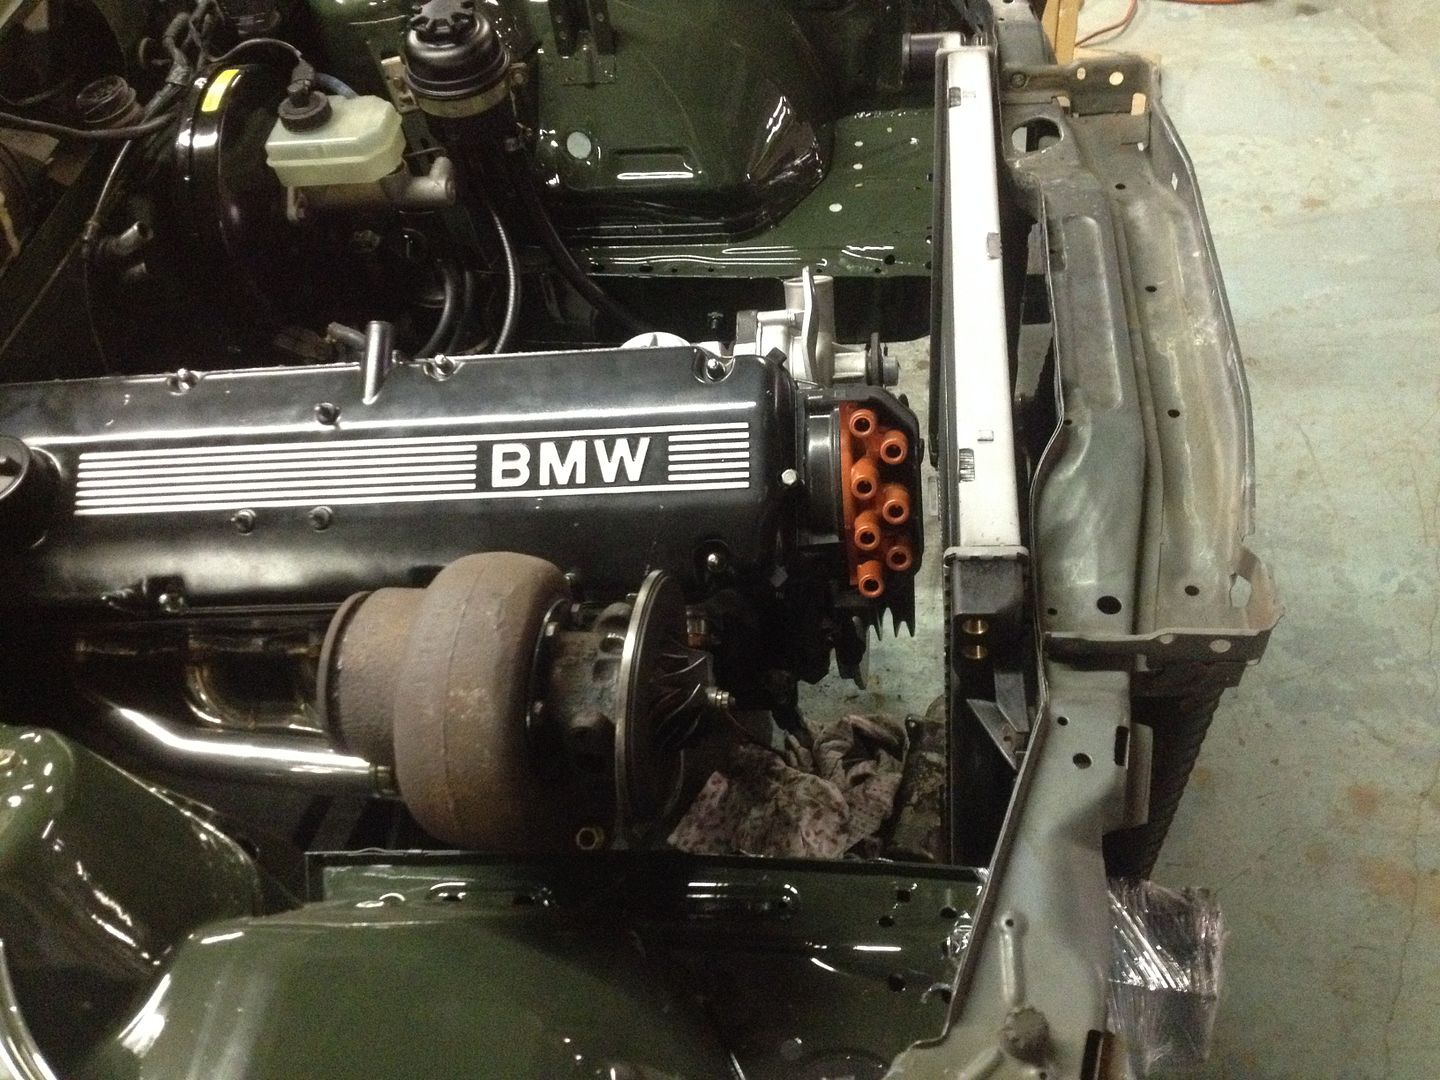
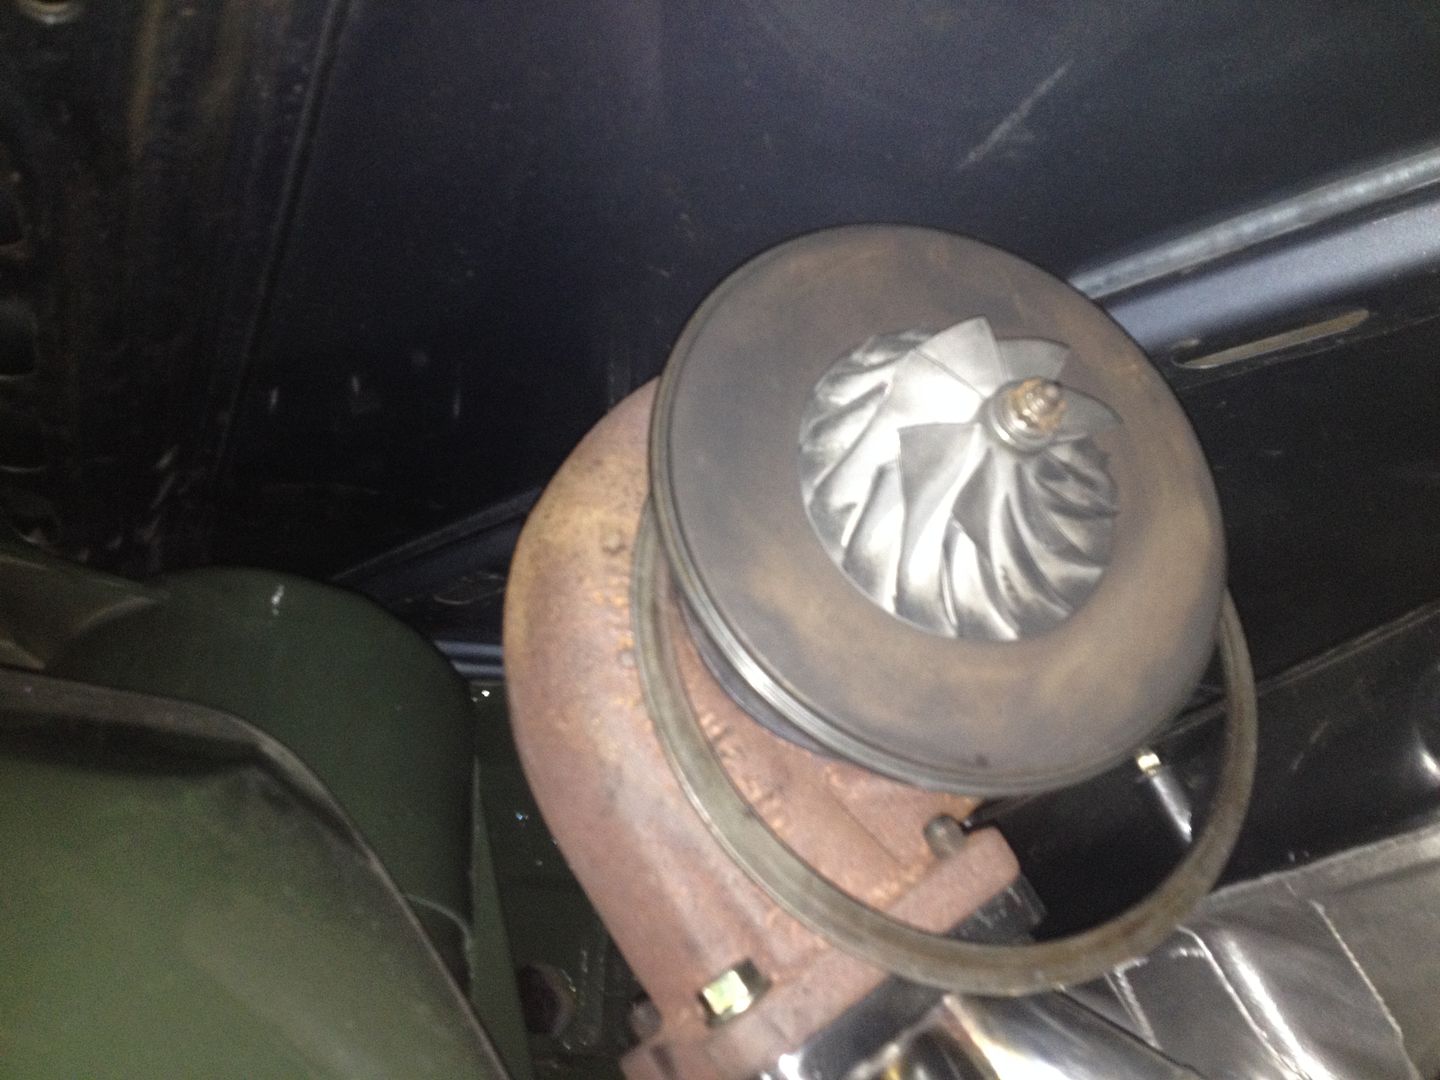
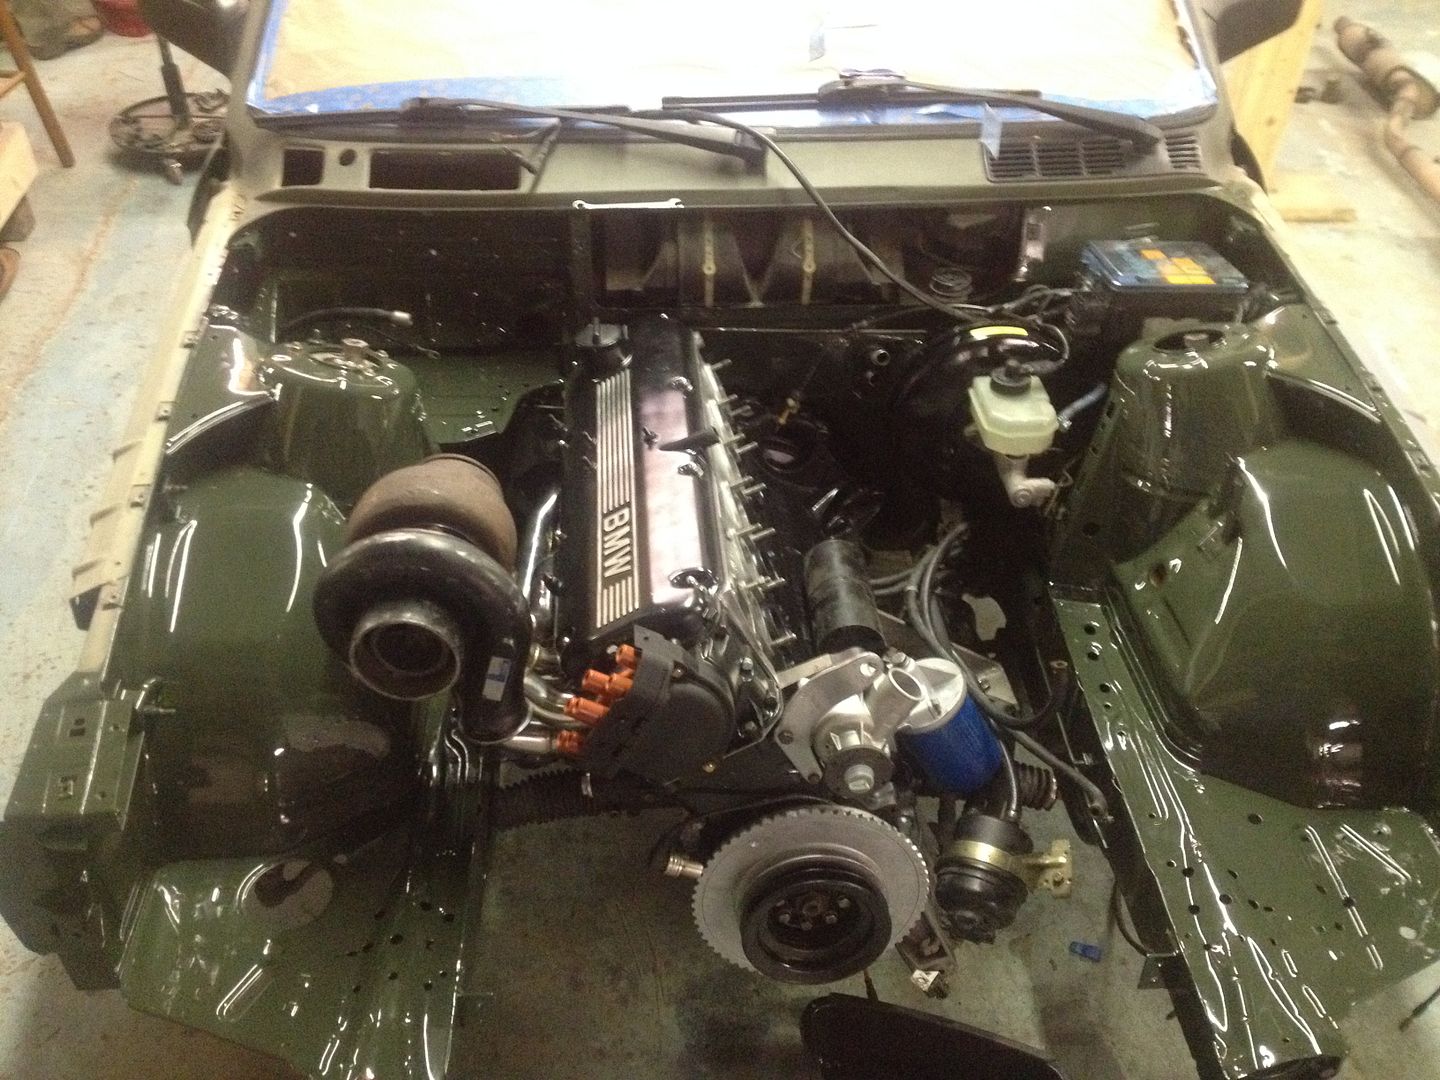
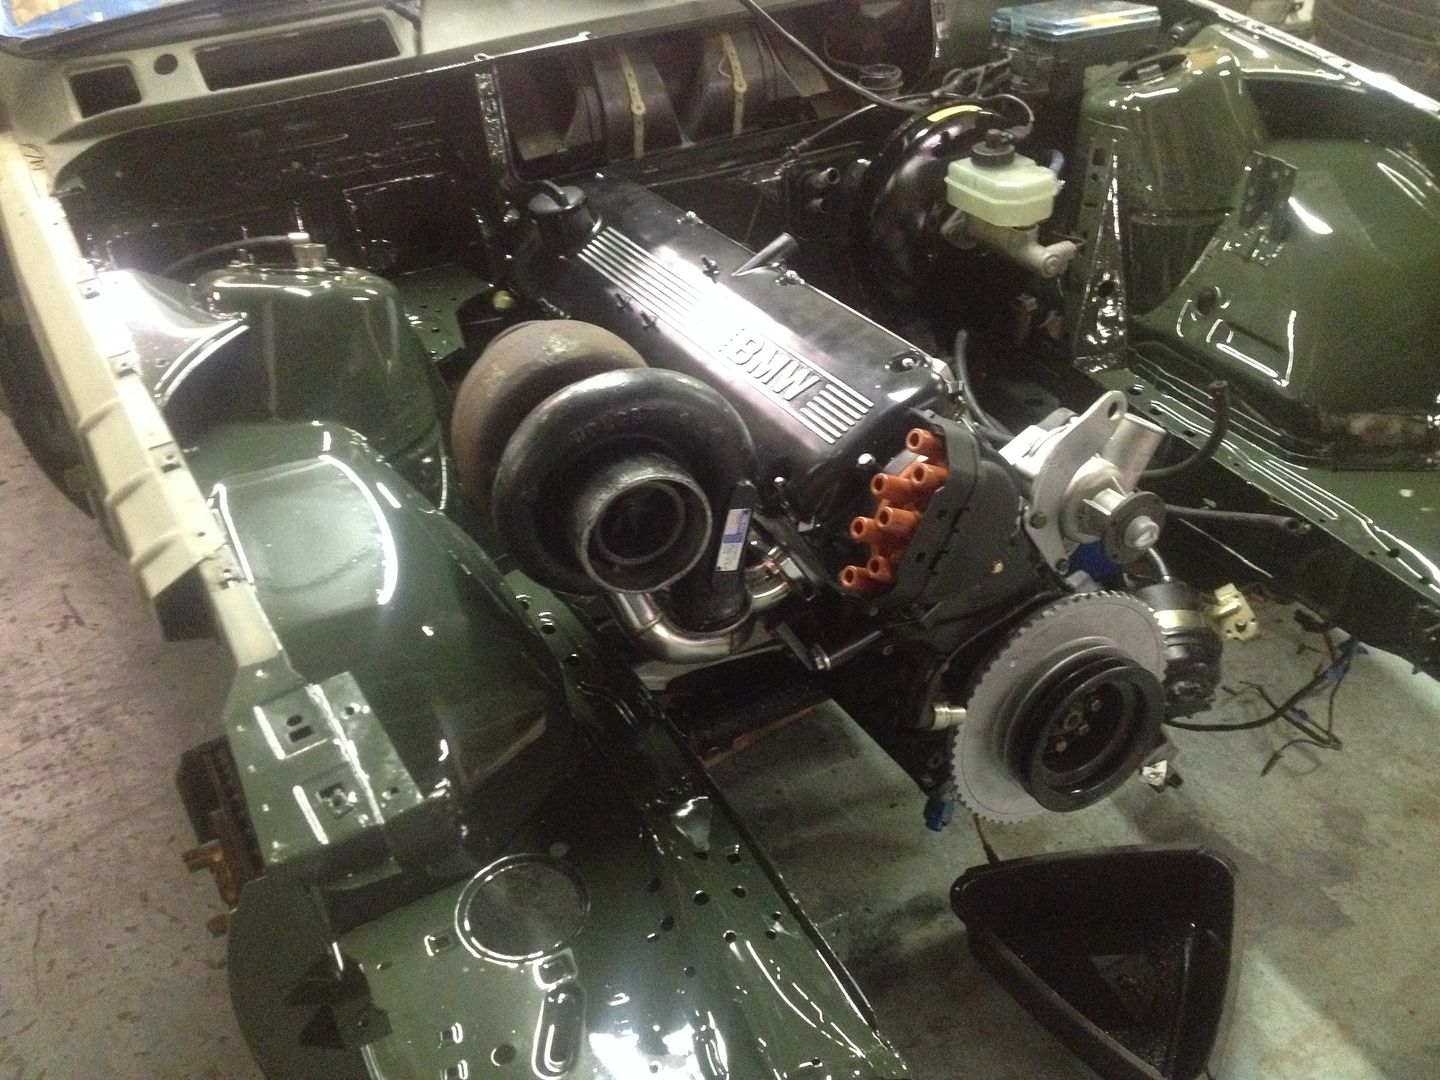
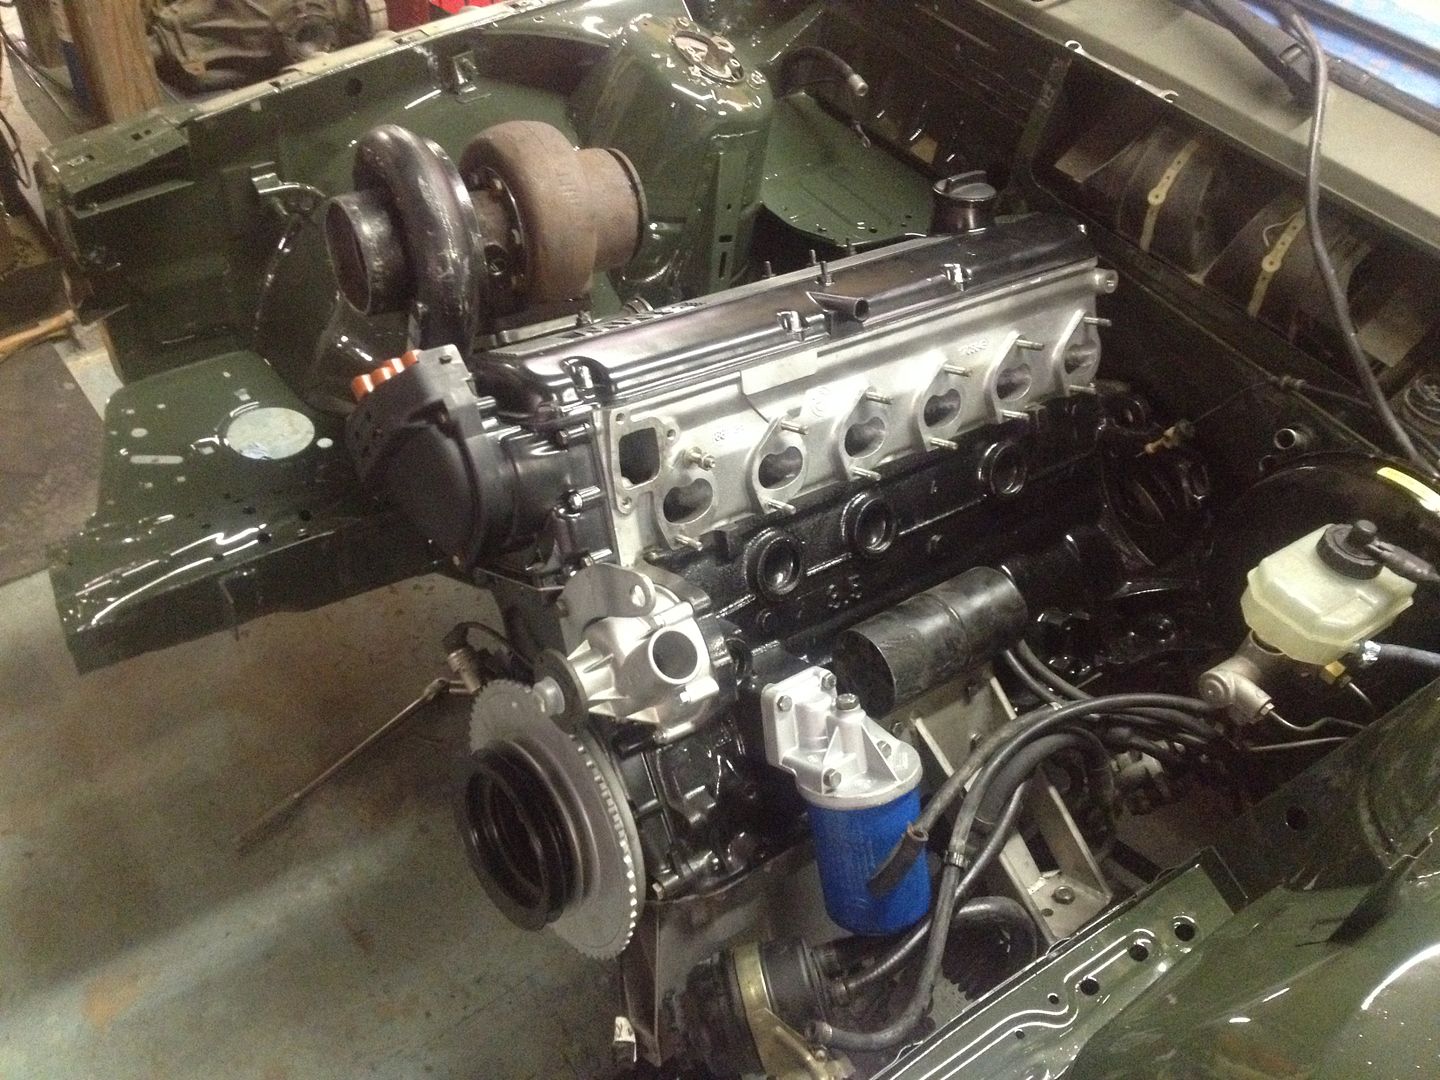
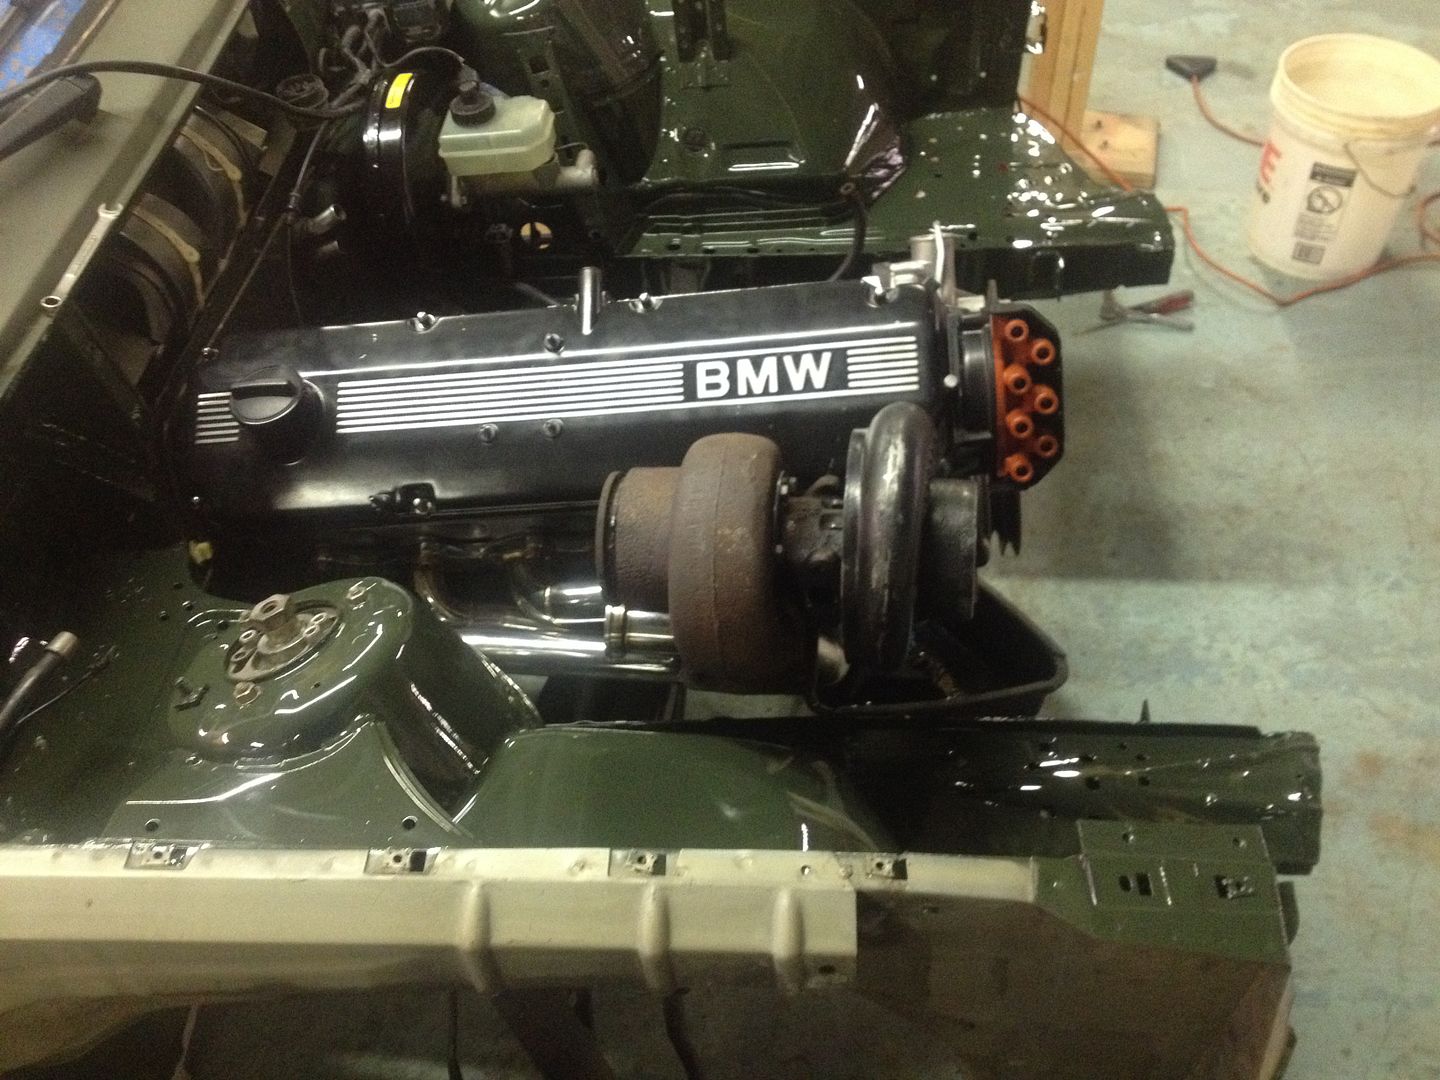
I will start off this weekend's update with some clearance pics. I am happy with it but by all means comments are welcomed. I still have not adjusted for the hood to turbo issues but the over all fitment is nice.
I then set about bolting up the fenders and then took on my next big obstacle the upper intercooler mount.
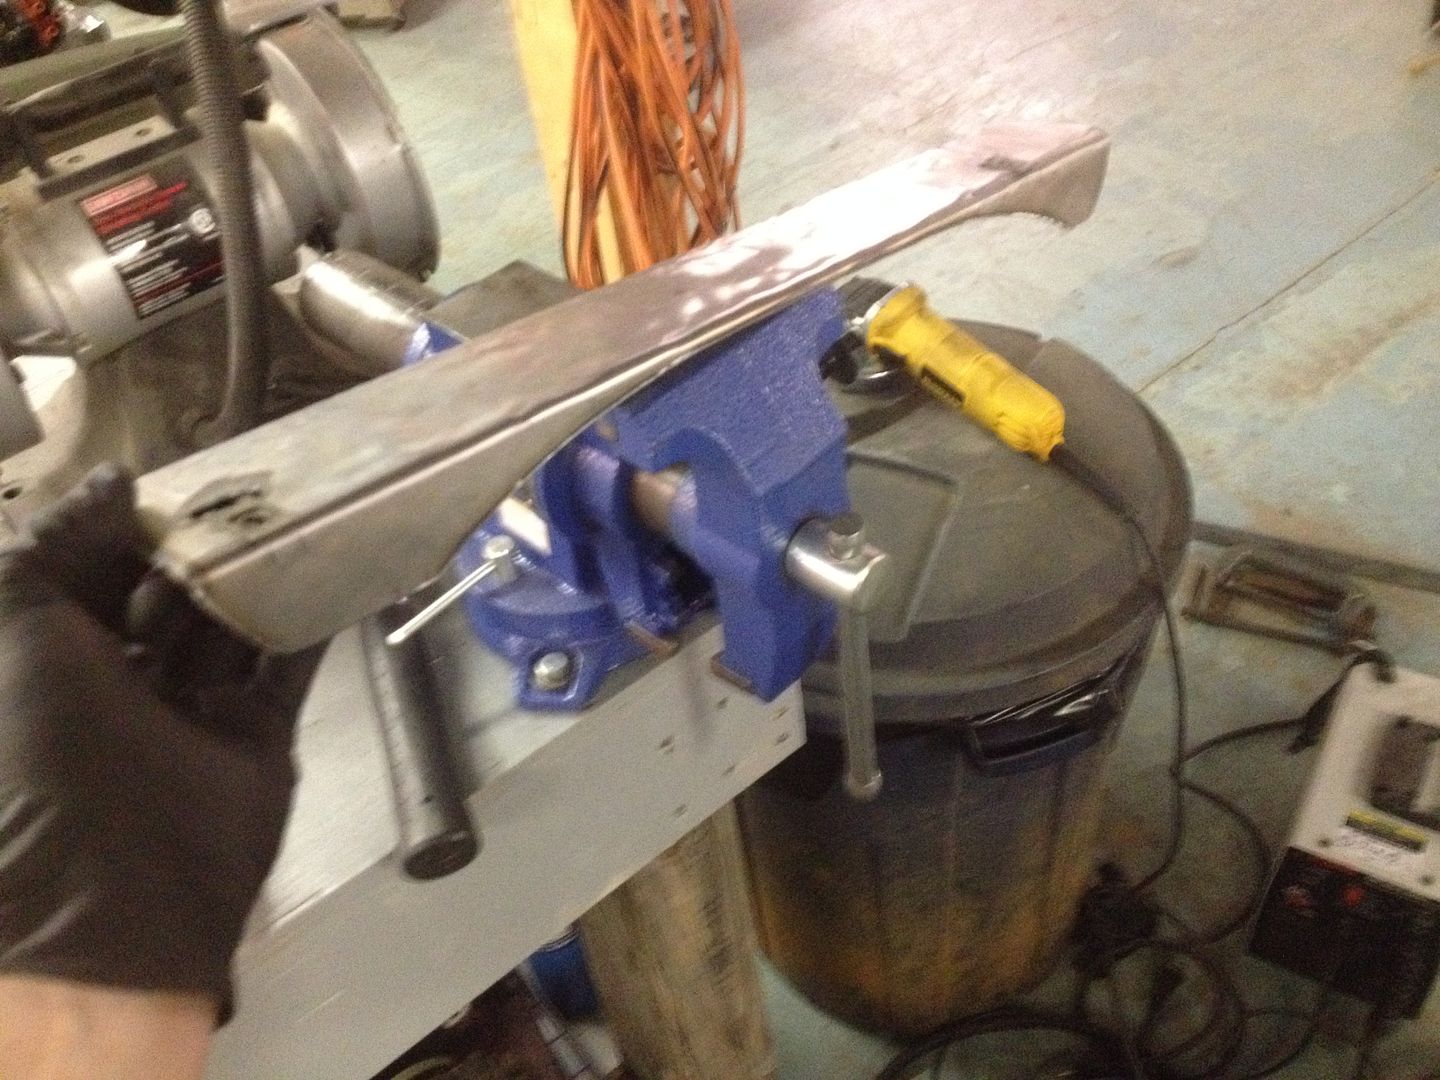
I made a cardboard template (which I feel is deceiving because it is so much easier to work with) that looks like a U-channel in which the top of the intercooler fits. I also was able to utilize two existing holes on the top of the radiator support to fasten my bracket.
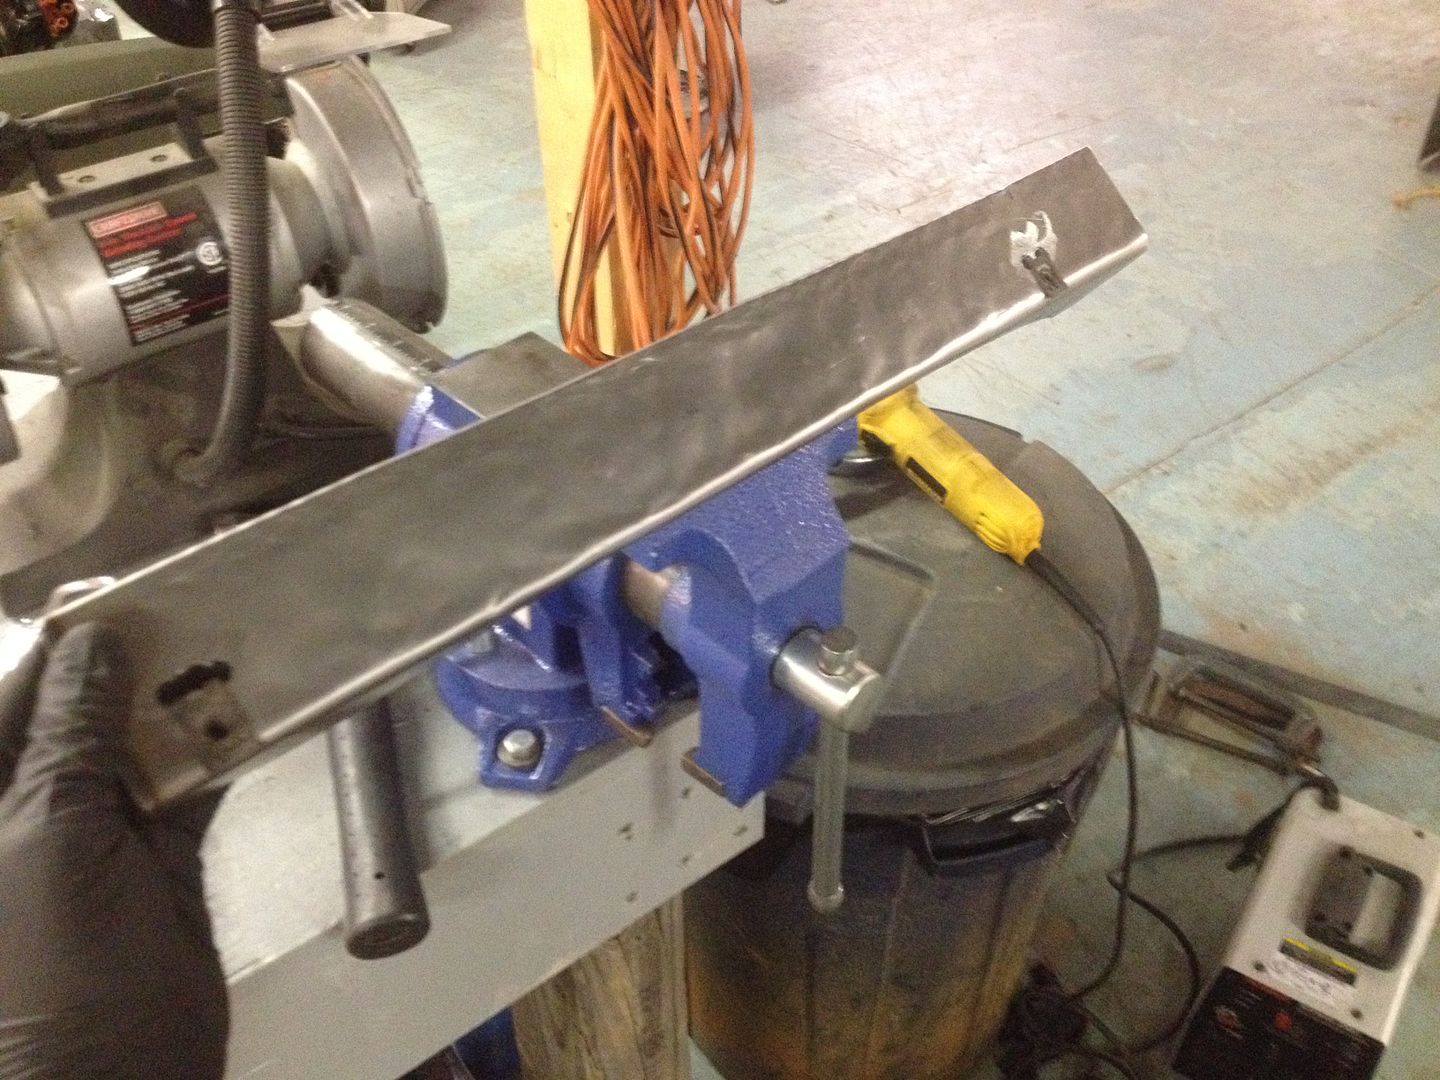
Once I transferred this supposedly simple design to my 16ga sheet metal I remembered that I don't have a sheet metal brake and I had to make two 90 degree bends that were 22" long!!! So after some not so fun efforts with c-clamps, a bench vice, some angle iron, and a 2x4 I was able to kinda sorta make a shitty sheet metal brake that almost worked. I finished the bends with a BFH and an anvil.
I then trimmed off some extra metal to make it pretty. Then I drilled some holes and fitted some u-nuts to it and did a test install. Final assembly will include some rubber bushings around the top of the intercooler to prevent vibration and damage.

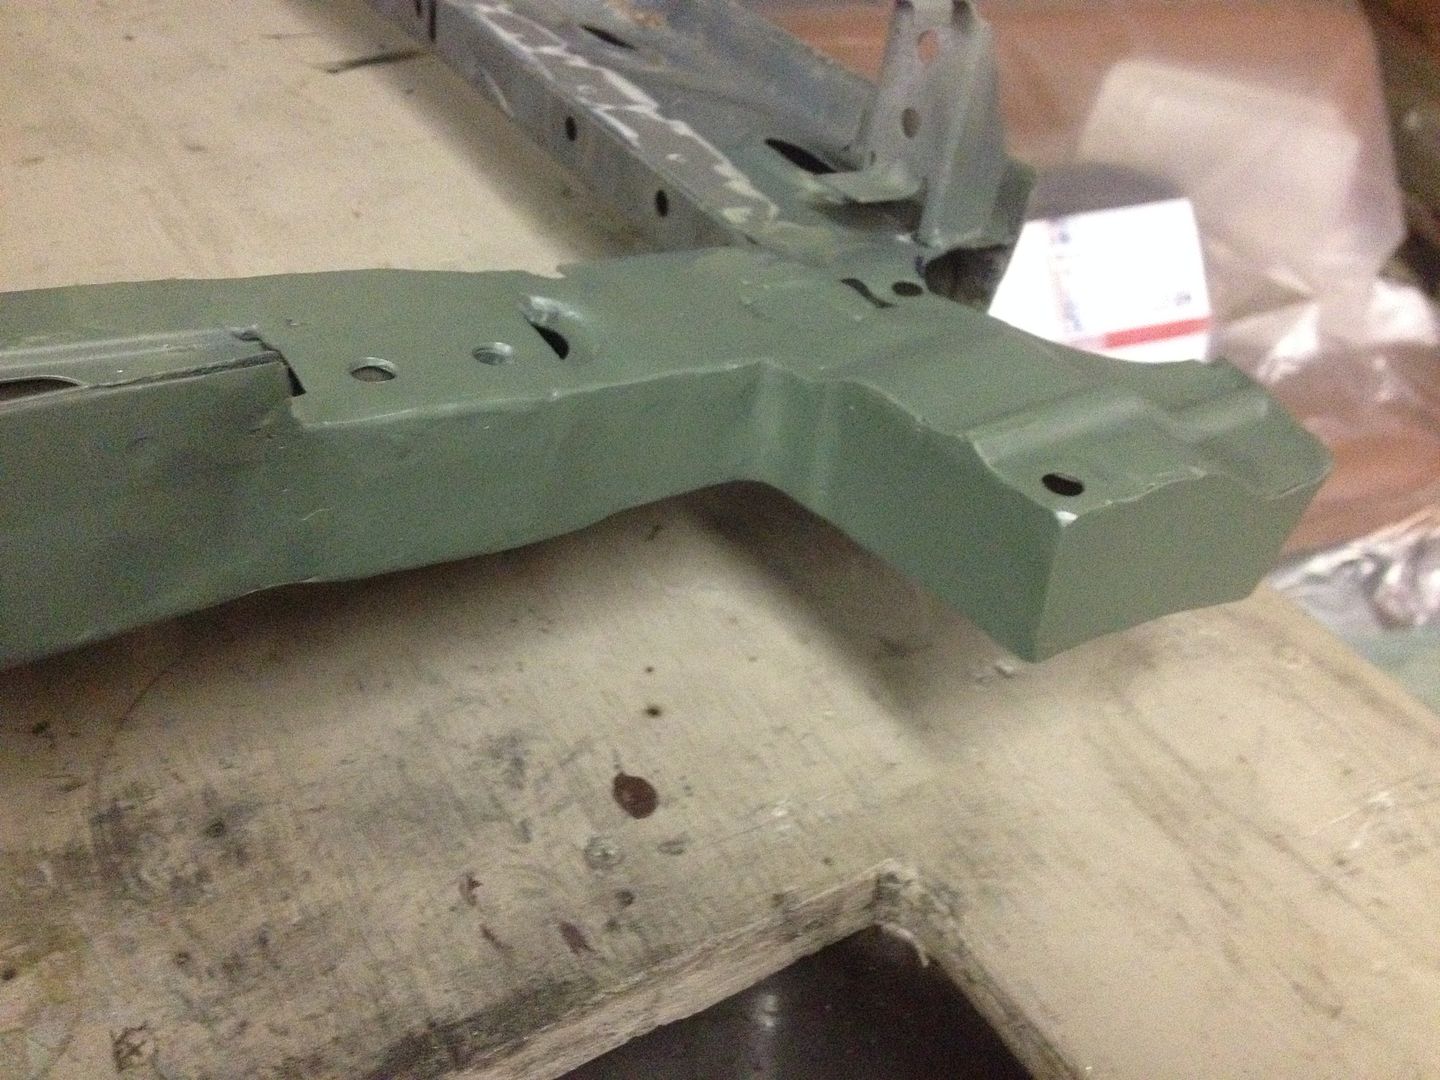
I also media blasted the hinge assembly and all the little pieces and sprayed them with self etching primer. Now they are ready for final paint.
I know that most people have become bored with this thread because it is not running yet and it has been 2.5 years in the making.... Oh well. This project has taken so many different turns and I have taken so many little detours along the way but in the end I don't want to be that guy who says, "Ah man I wish I had done that while I was doing the swap!"
Next steps:
1) strip the radiator support and prep for paint
2) Install starter
3) Install intake
4) Install wiring harness
5) build exhaust
6) crank it up for test fire
7) final assembly and break in (NA, boost after break in and MSII)Leave a comment:
-
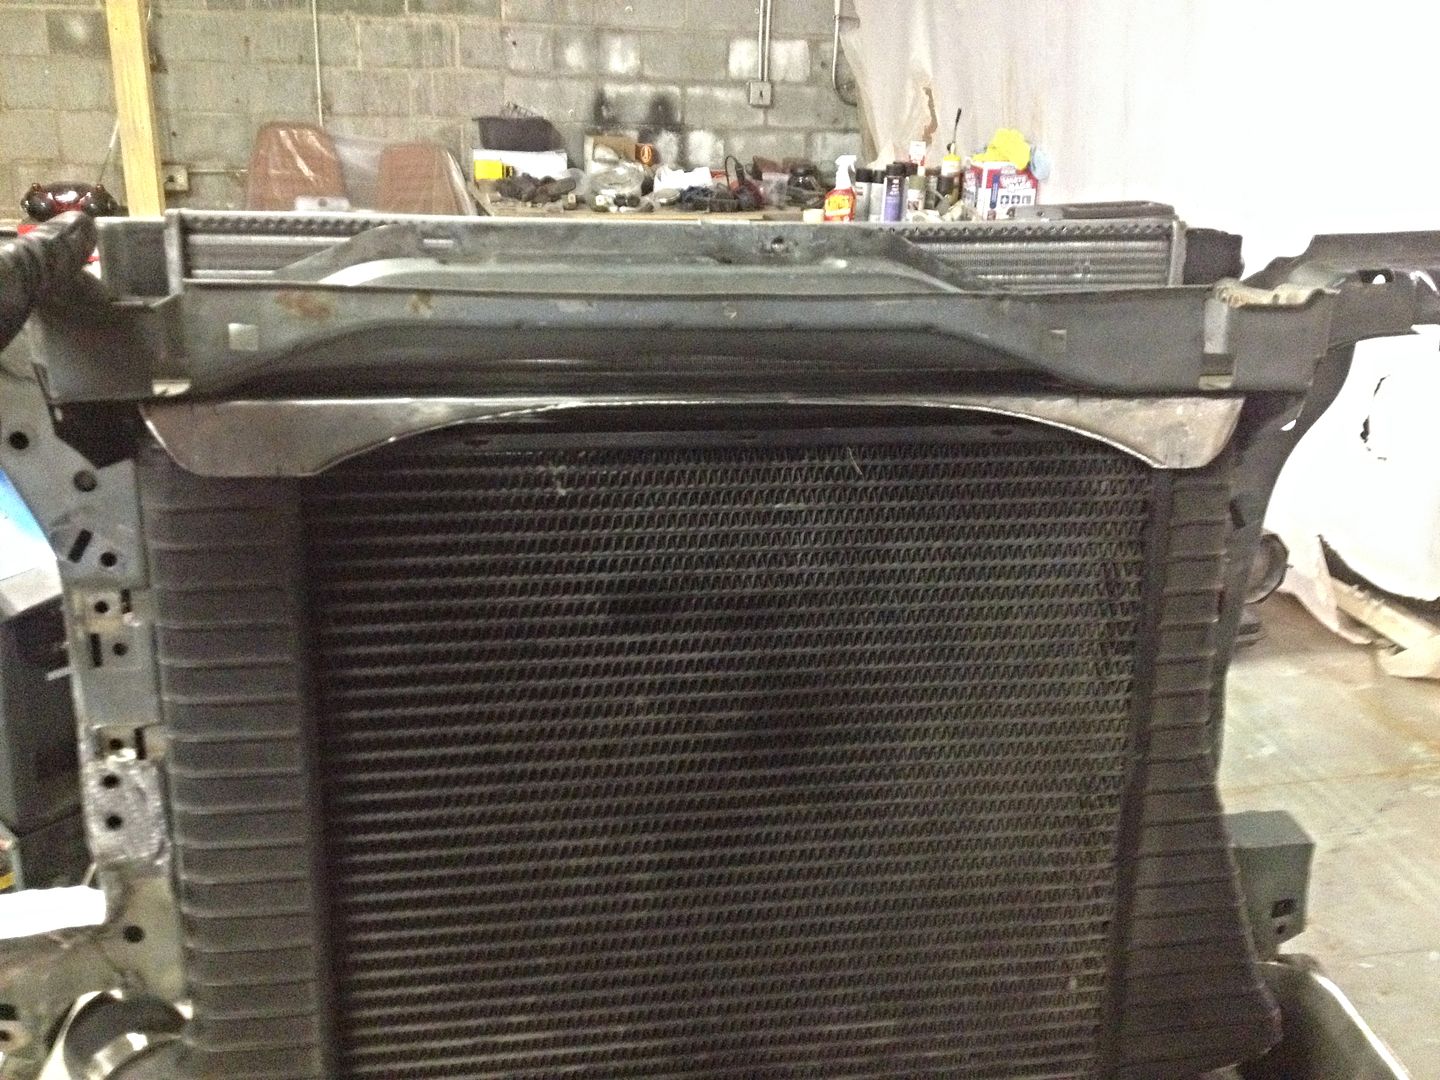
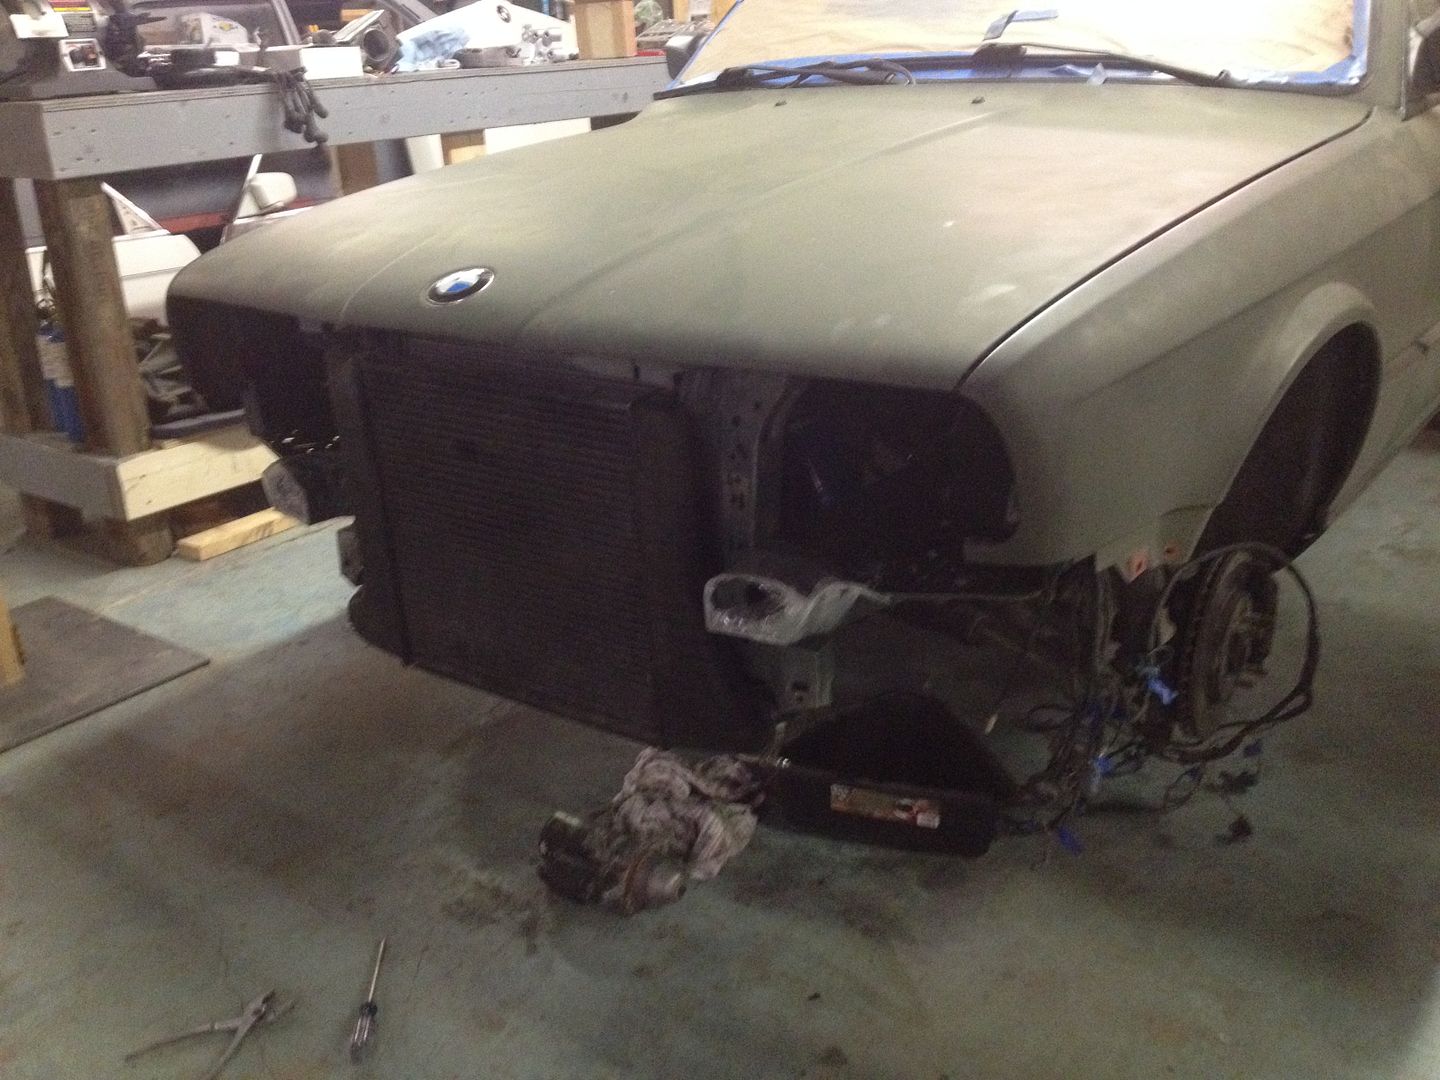
More progress was made today. I finished boxing in the radiator support and remounted the intercooler. I had to start from scratch with the intercooler and I finally found a position that kept it as snug to the radiator as possible and a minimum amount of the intercooler hanging below the radiator support. The lowest point of the intercooler is still slightly higher than the oilpan so I figure I am good. The valance still fits in the original configuration without touching the intercooler even though It is super tight.
iPotato pics
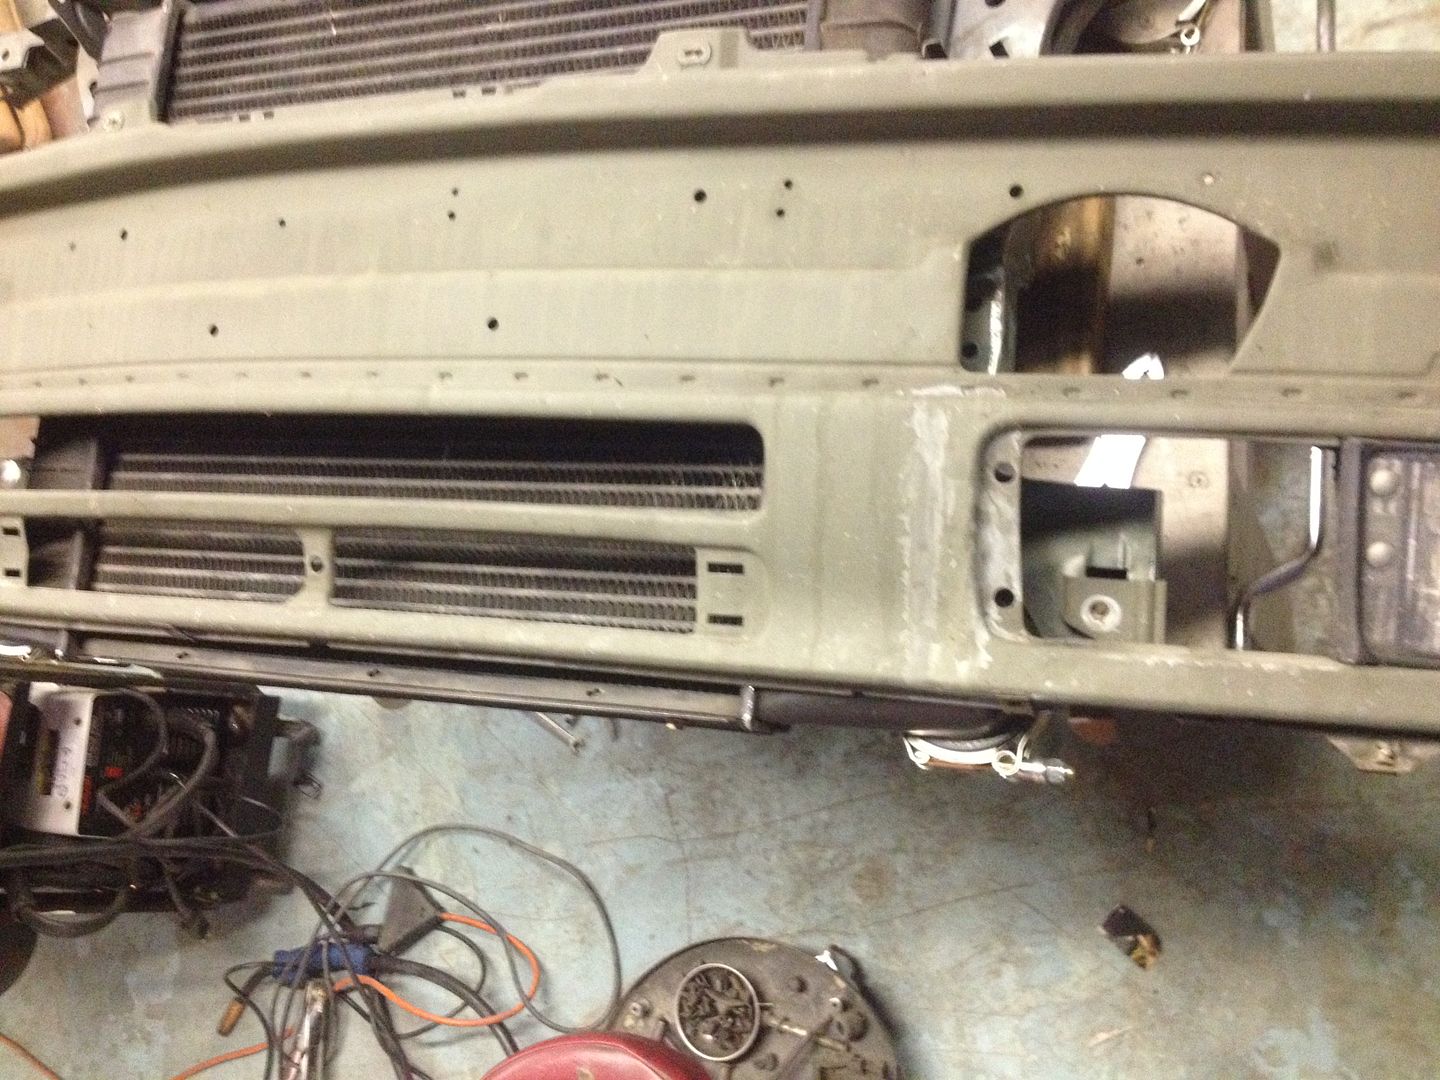
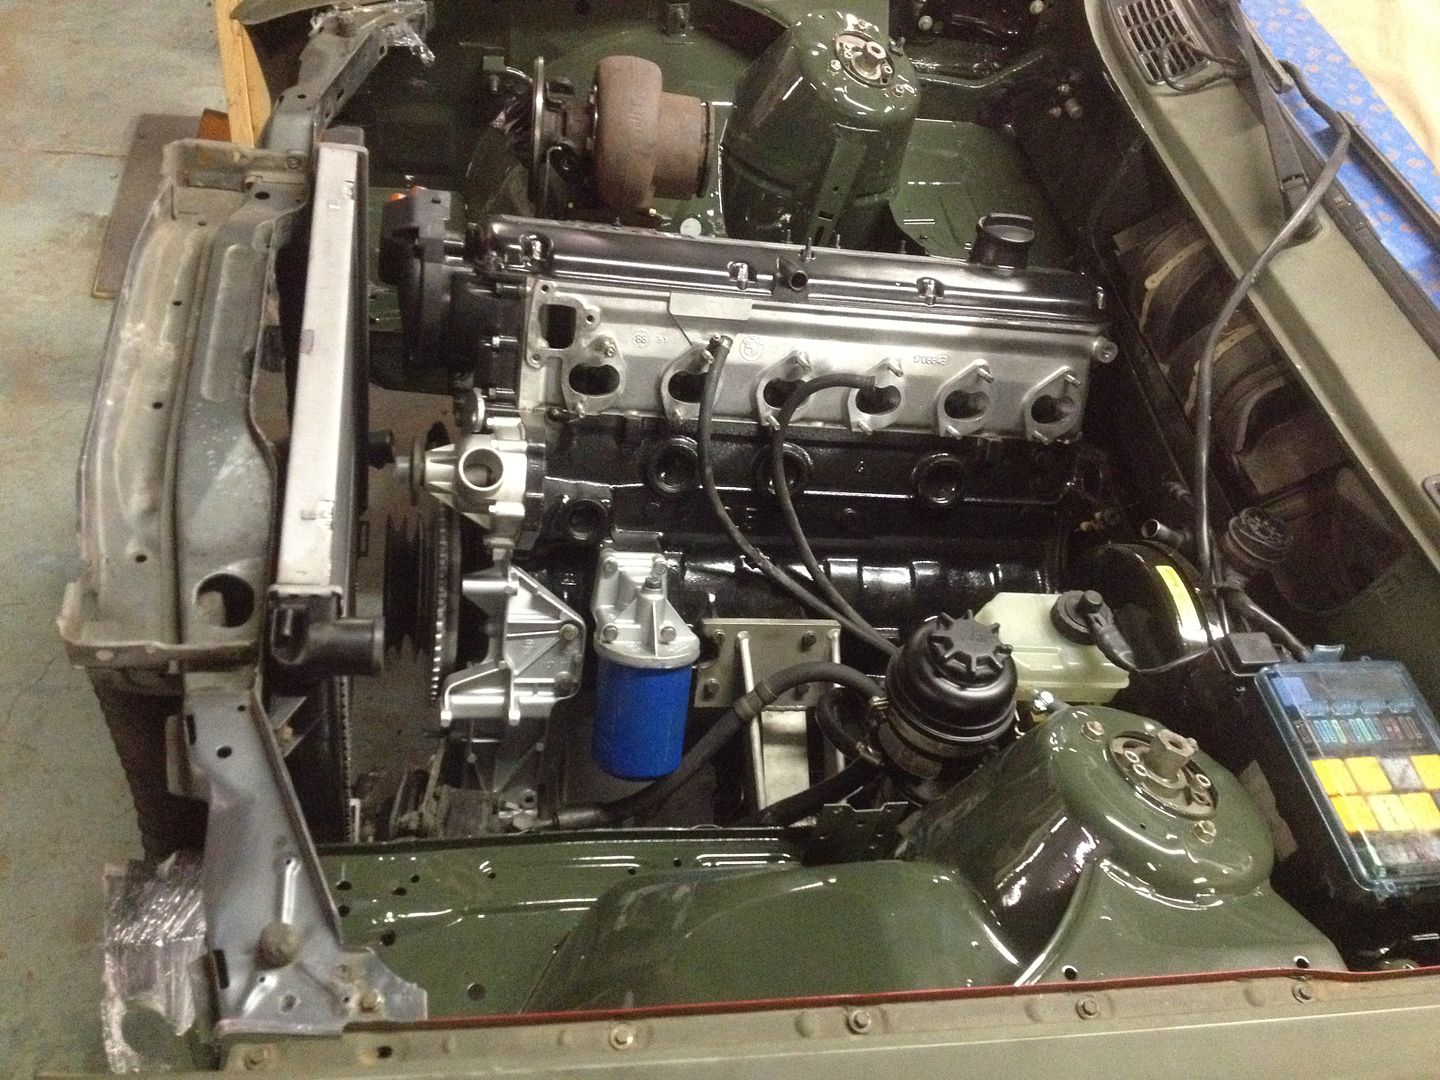
Then I mounted the radiator support (Being super careful with the new paint) and I set the fenders and hood on the car just to see what the clearance of the radiator, dizzy, and turbo looked like. Good news, the radiator and distributor have plenty of room. Bad news, no matter how I clock the turbo it will not clear the hood. I need almost 3/4" in order for it to clear and still be functional. Next step will be to lower and twist the engine using custom solid aluminum engine mounts, which should be a nice little upgrade as well.
Leave a comment:
-
I have had a couple of opportunities over the last 2 weeks to get some work done.
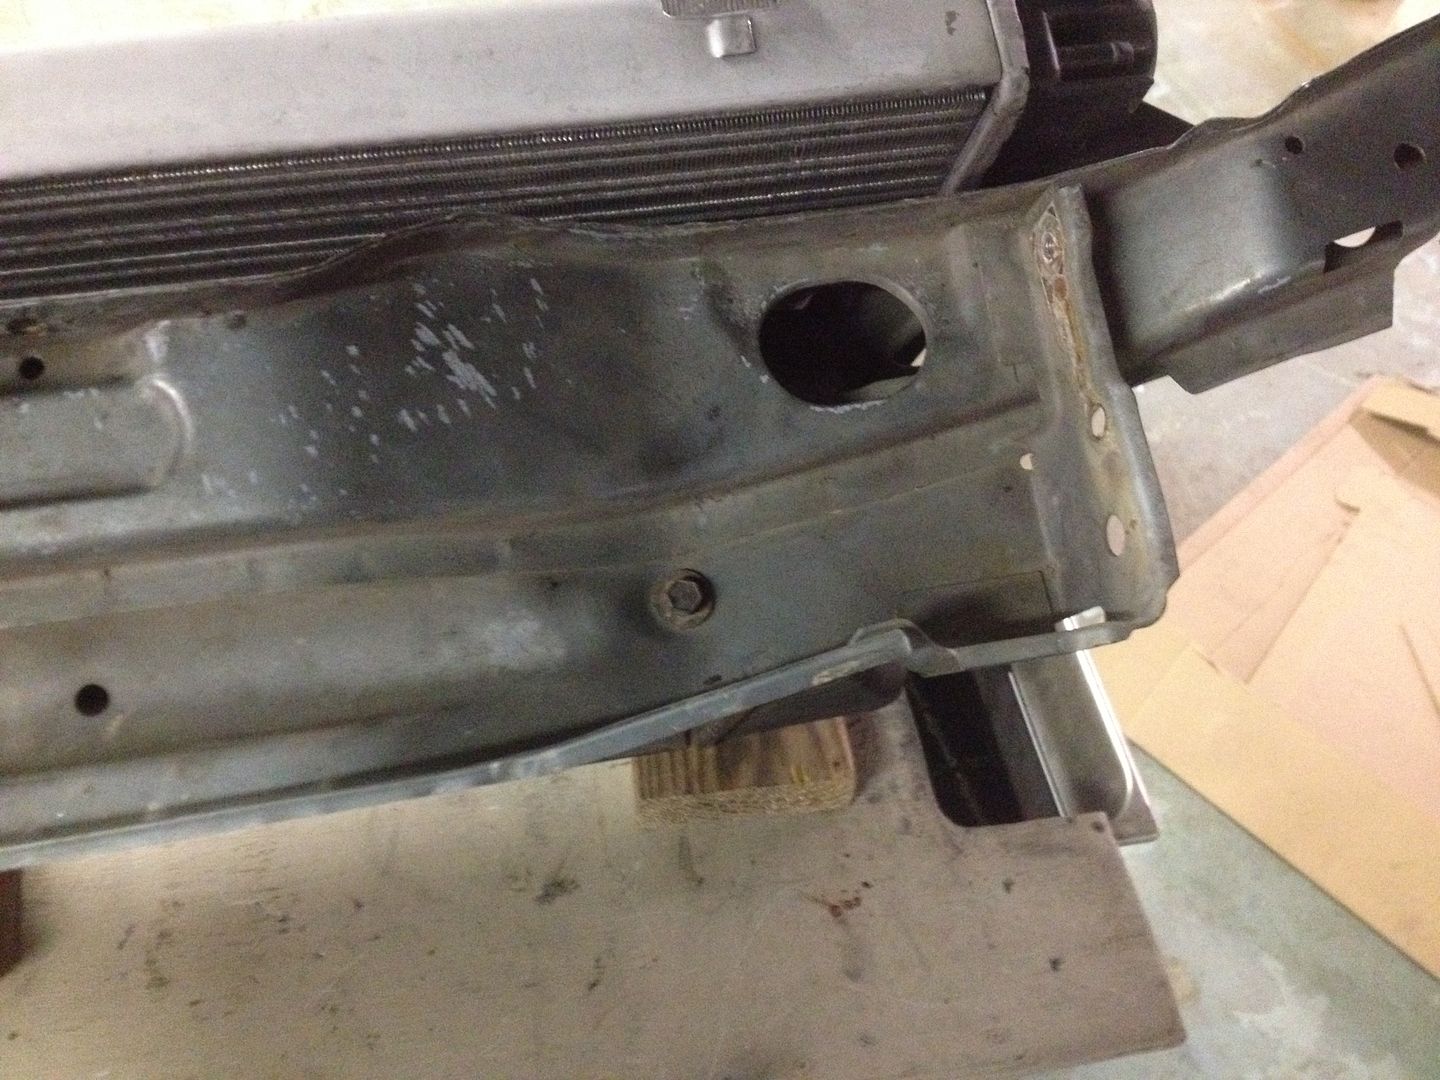
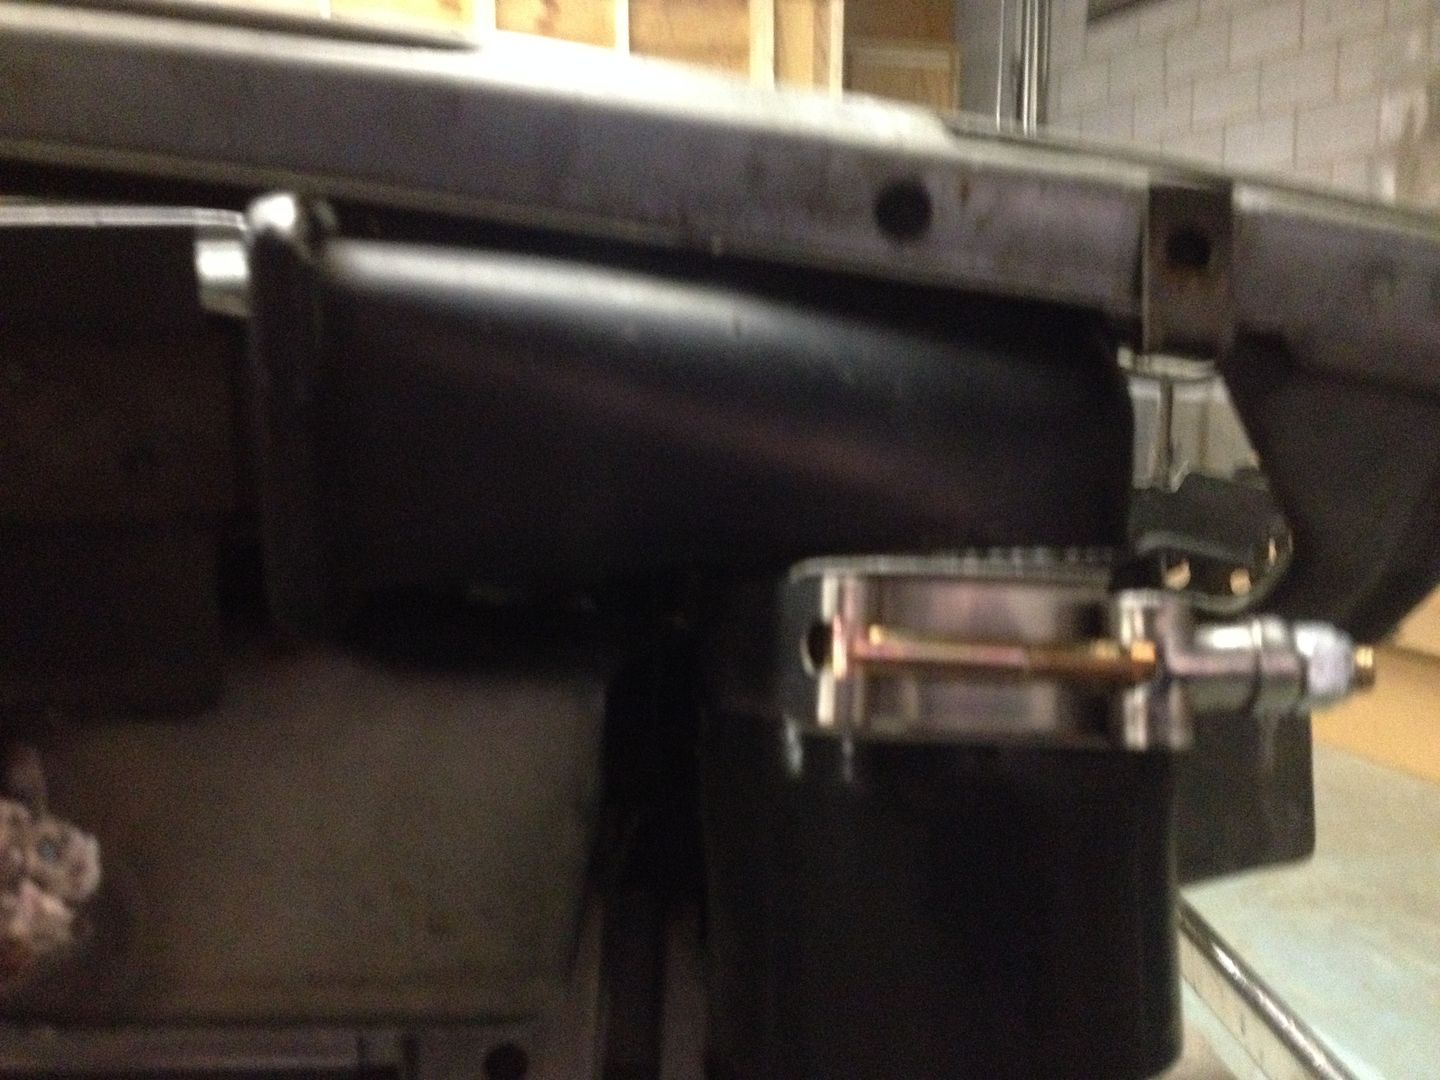
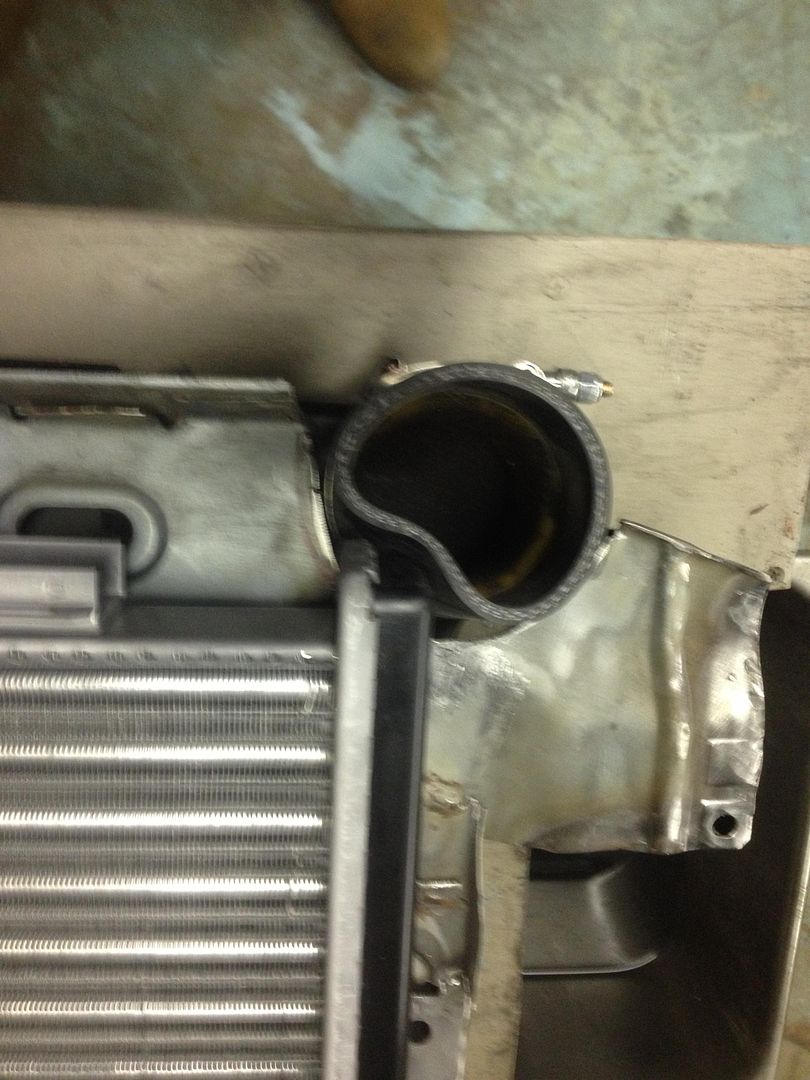
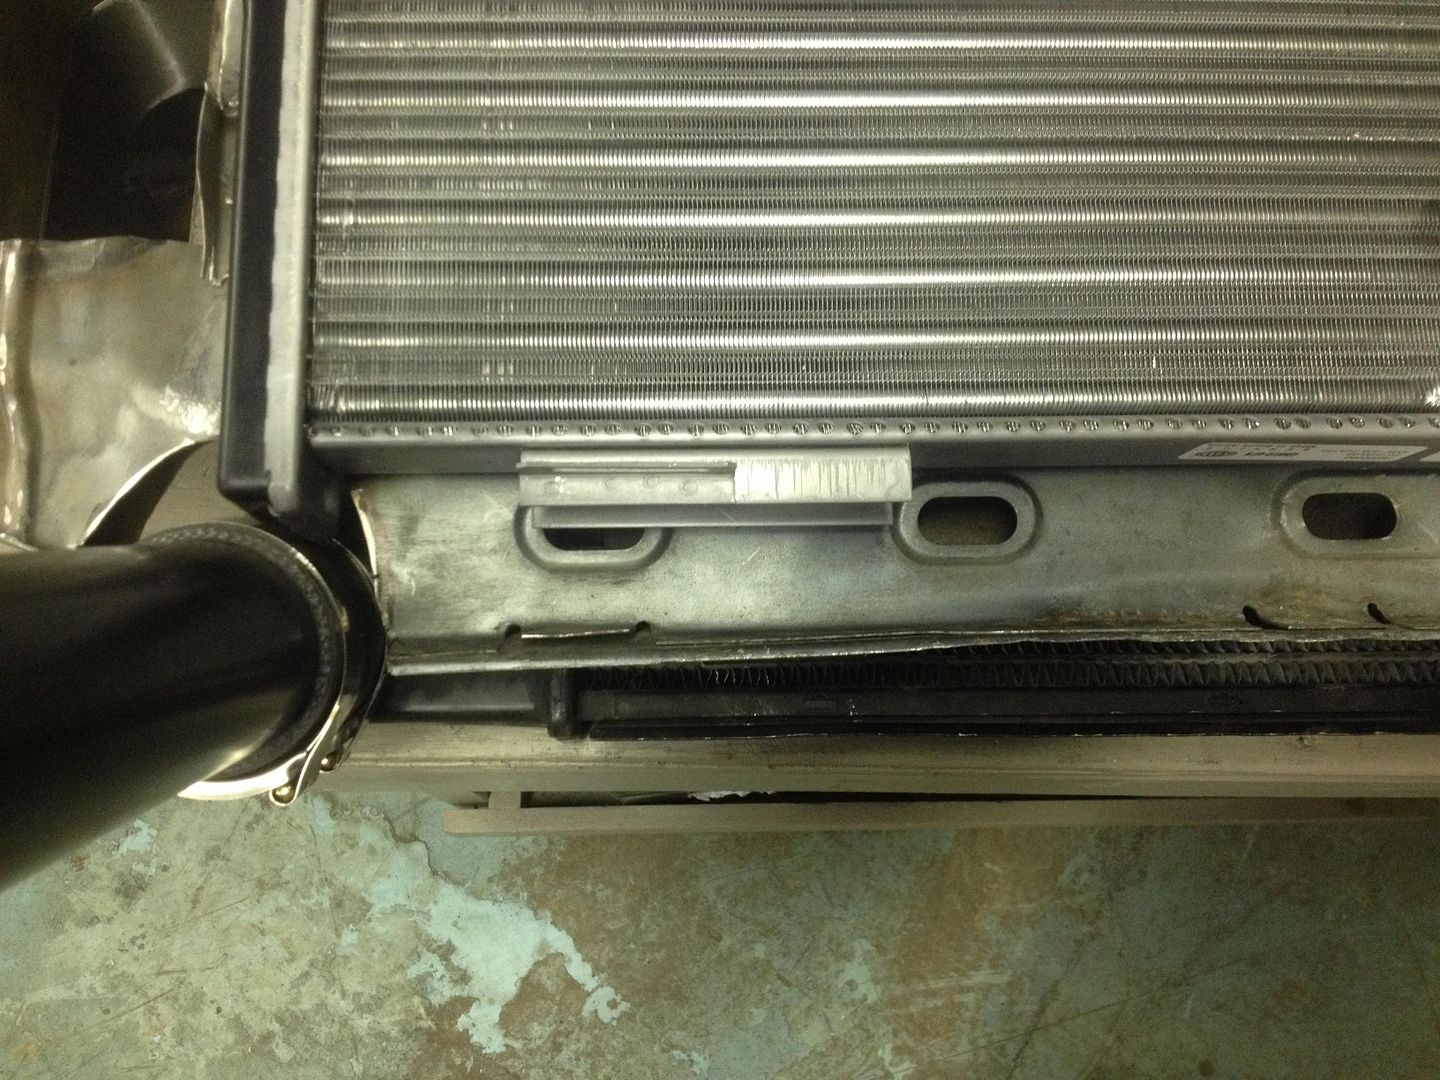
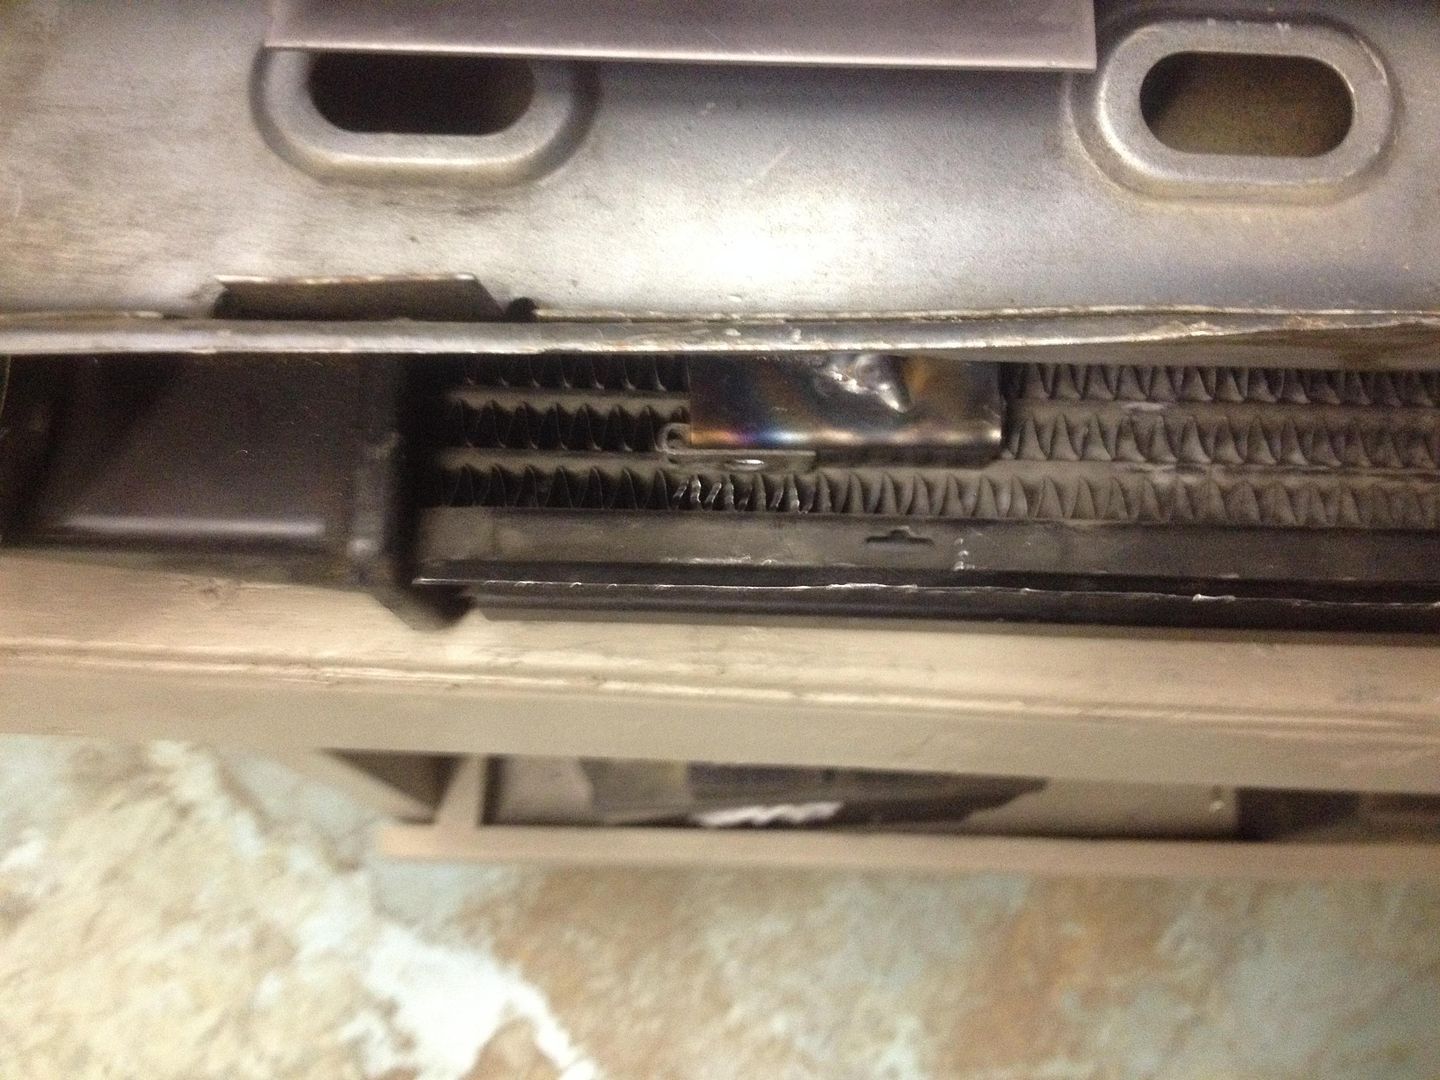
I have a slight obstacle to overcome, the e28 radiator is about 1/2" longer than I expected. This extra length interferes with the drivers side intercooler inlet. So now I need to rework my intercooler mounts.
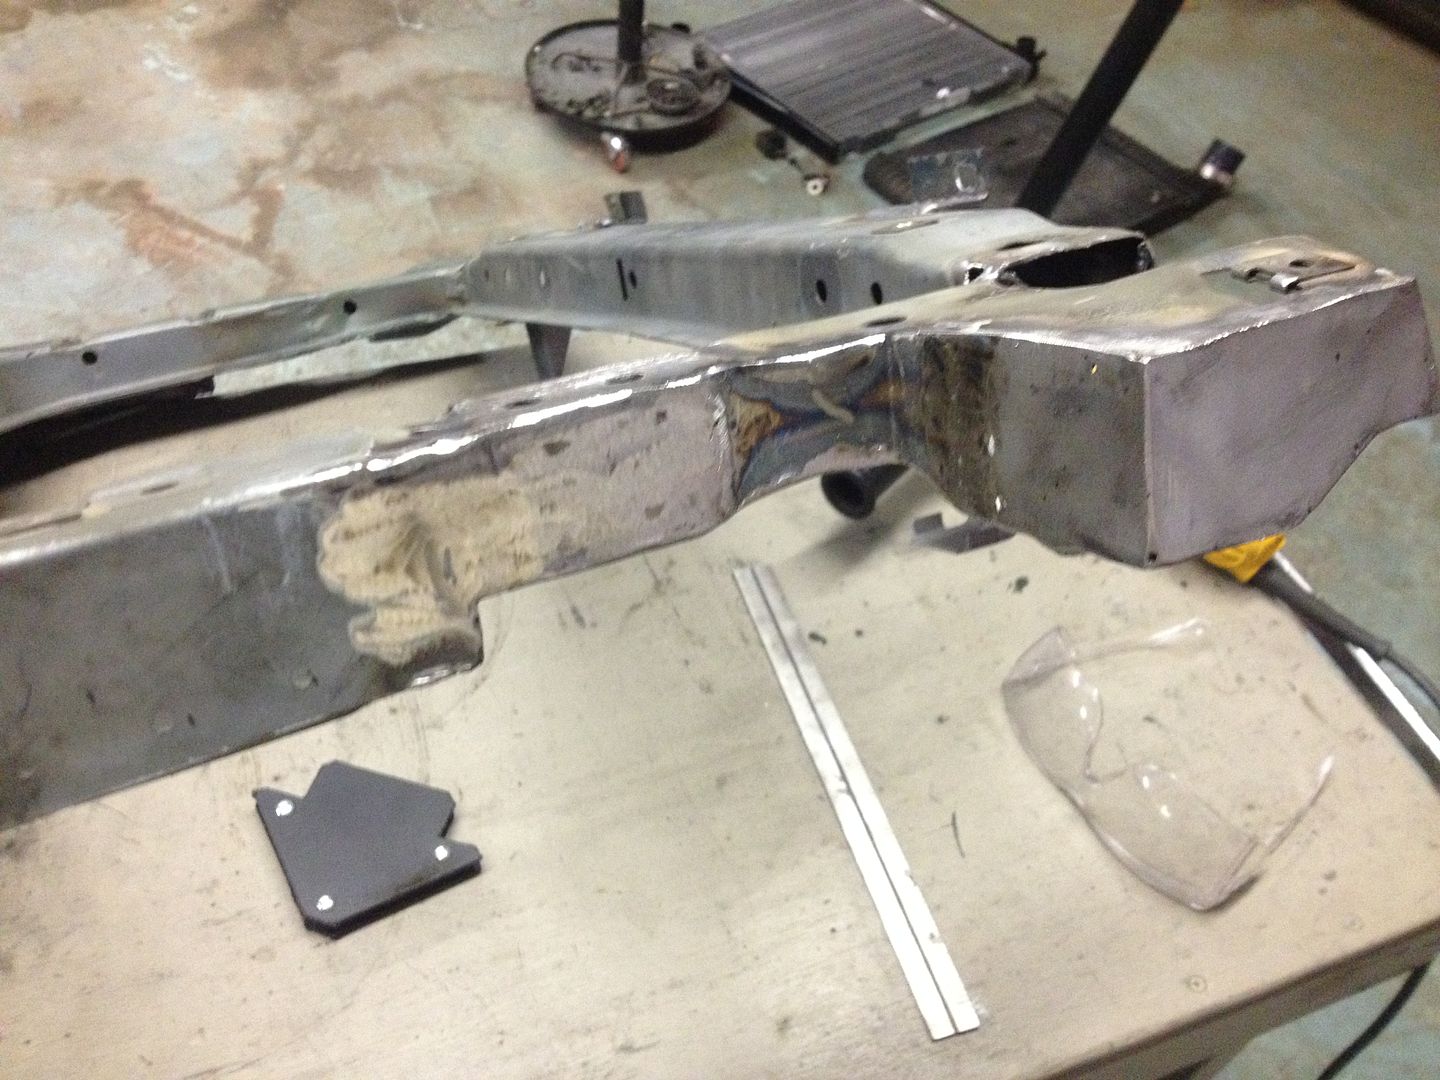
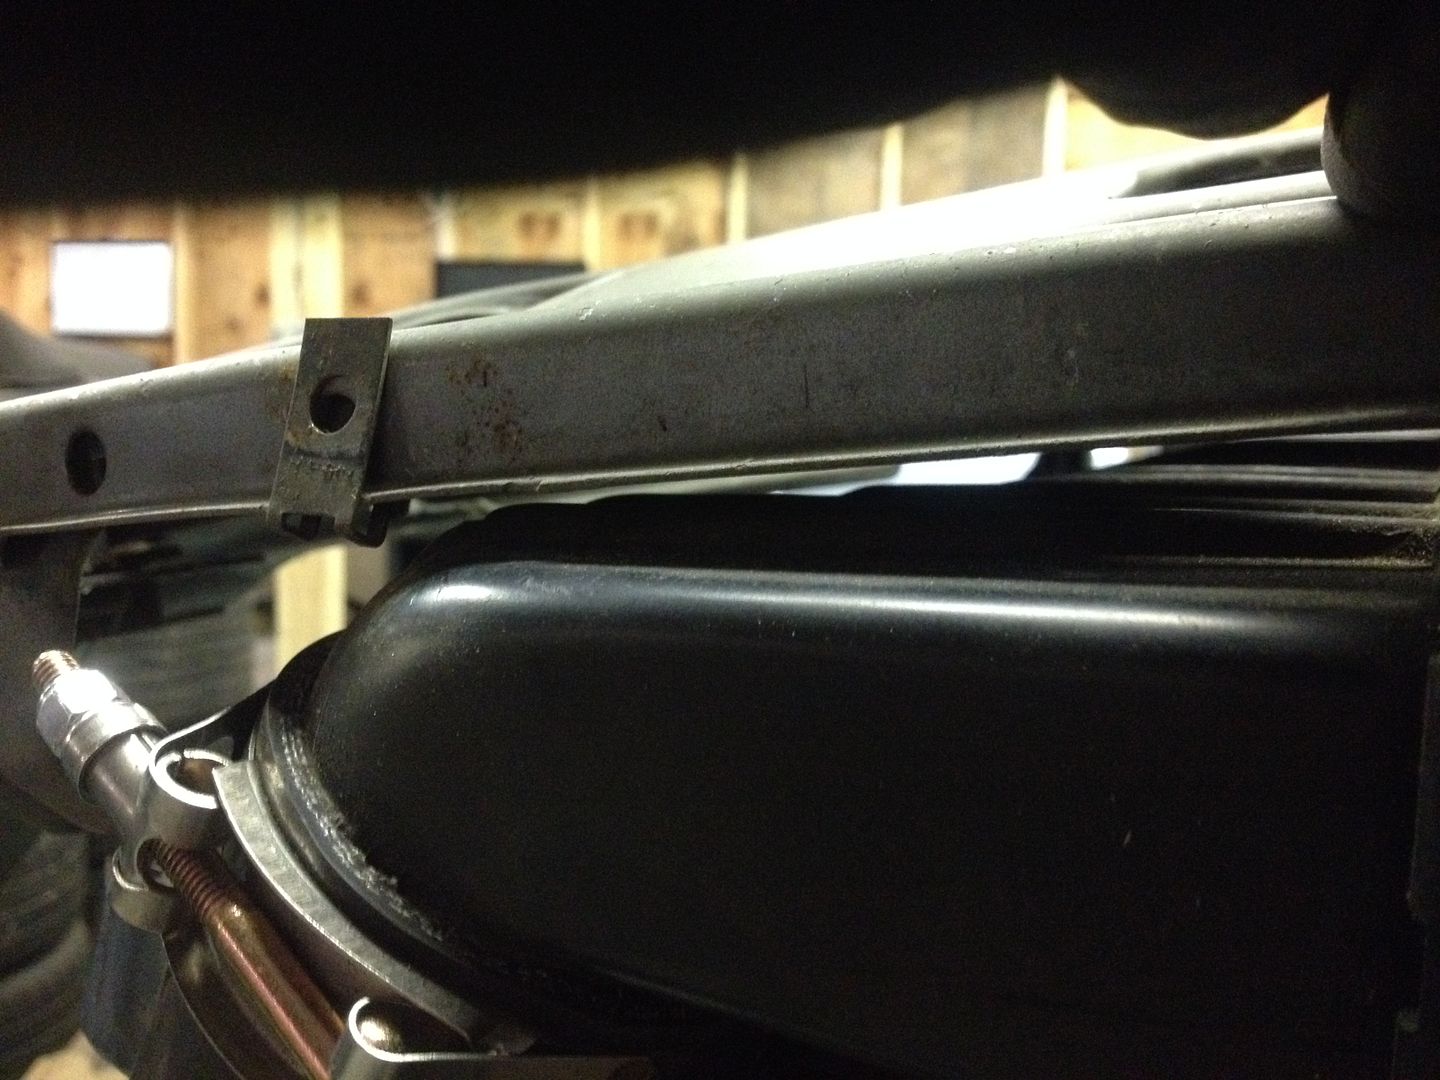
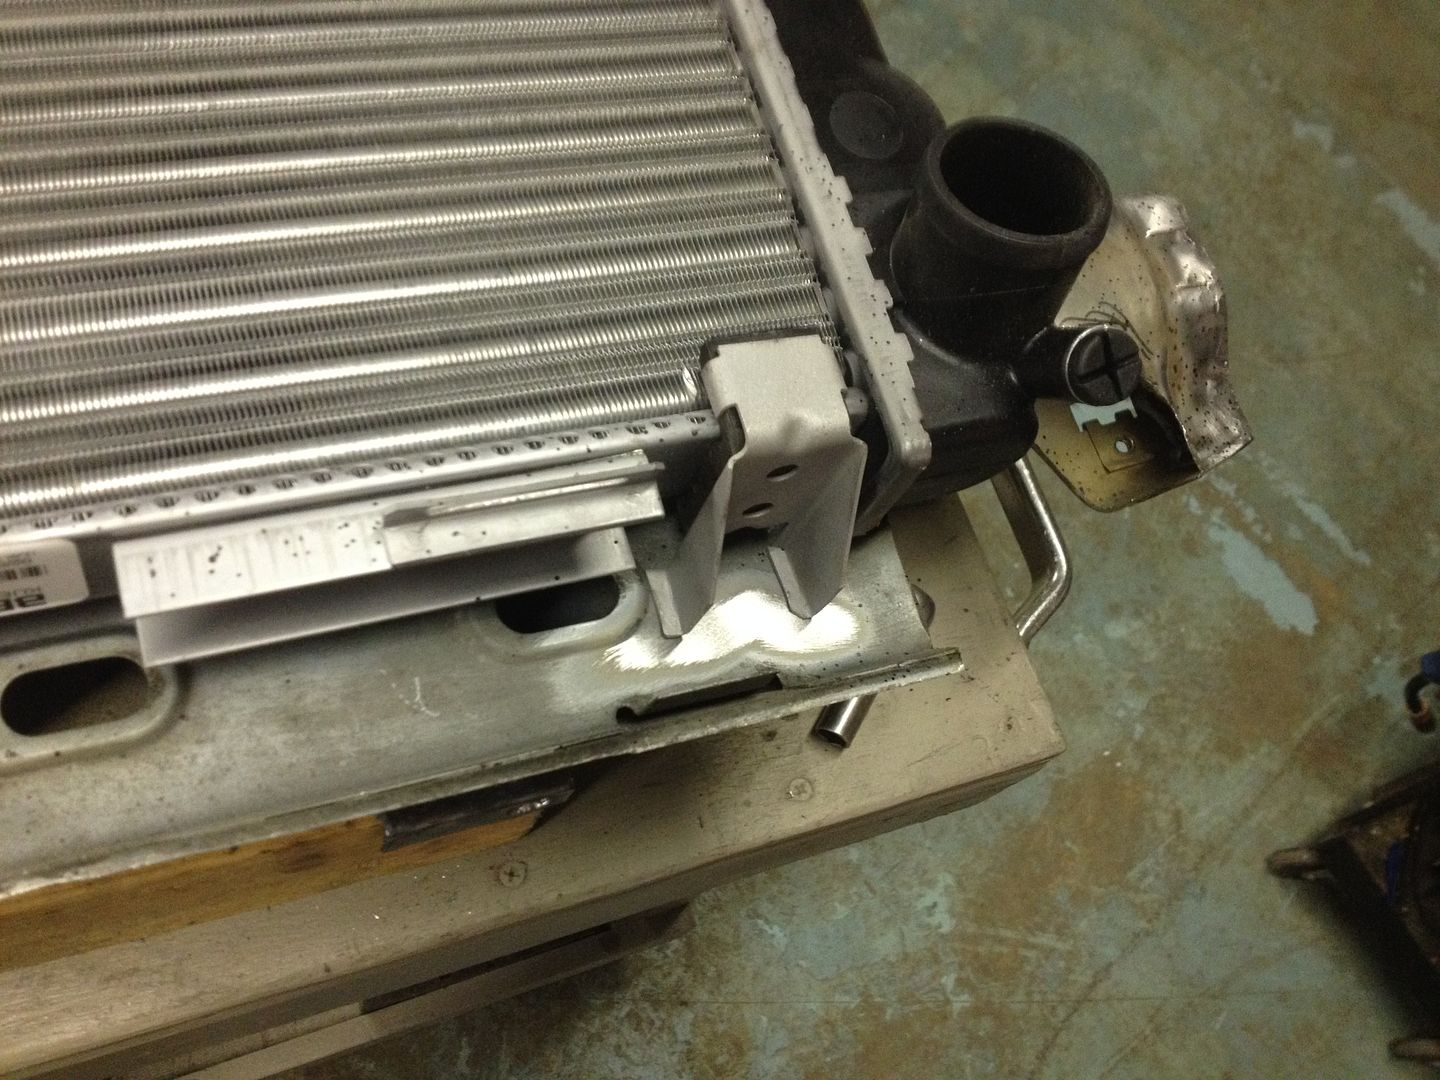
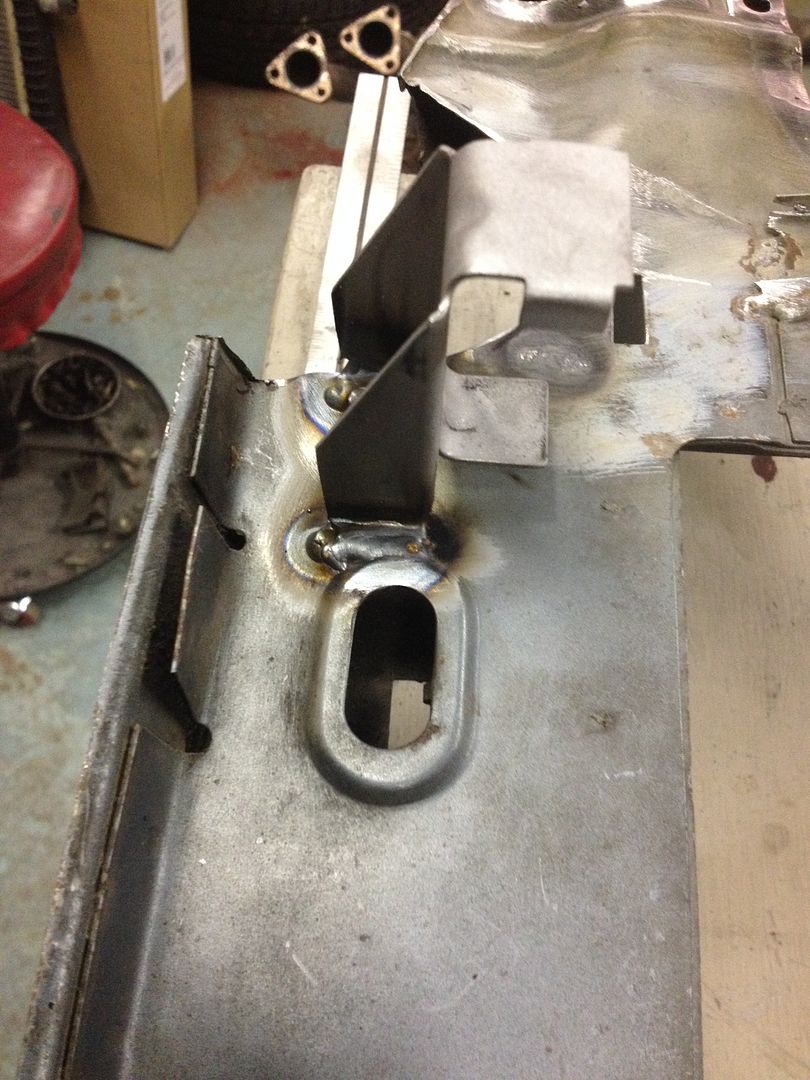
But the work I got done was good. I got the e28 radiator lower brackets installed and looking factory. I found that e21 lower radiator mounts and rubber bushings are a perfect mate for the bottom of the 535i radiator. I cut them off the e21 and modified them to hold the radiator off of the support where I want it. A little trimming and bending and welding and then perfection. I then proceeded to work on boxing in the drivers side of the radiator support around the frame mount modification. Next time I will finish the passenger side and remount the intercooler and start fabbing up the shrouds that will direct the air through both the intercooler and radiator. OH and I have to get the 2 speed fan picked out and purchased and of course installed.
PICTURE TIME!
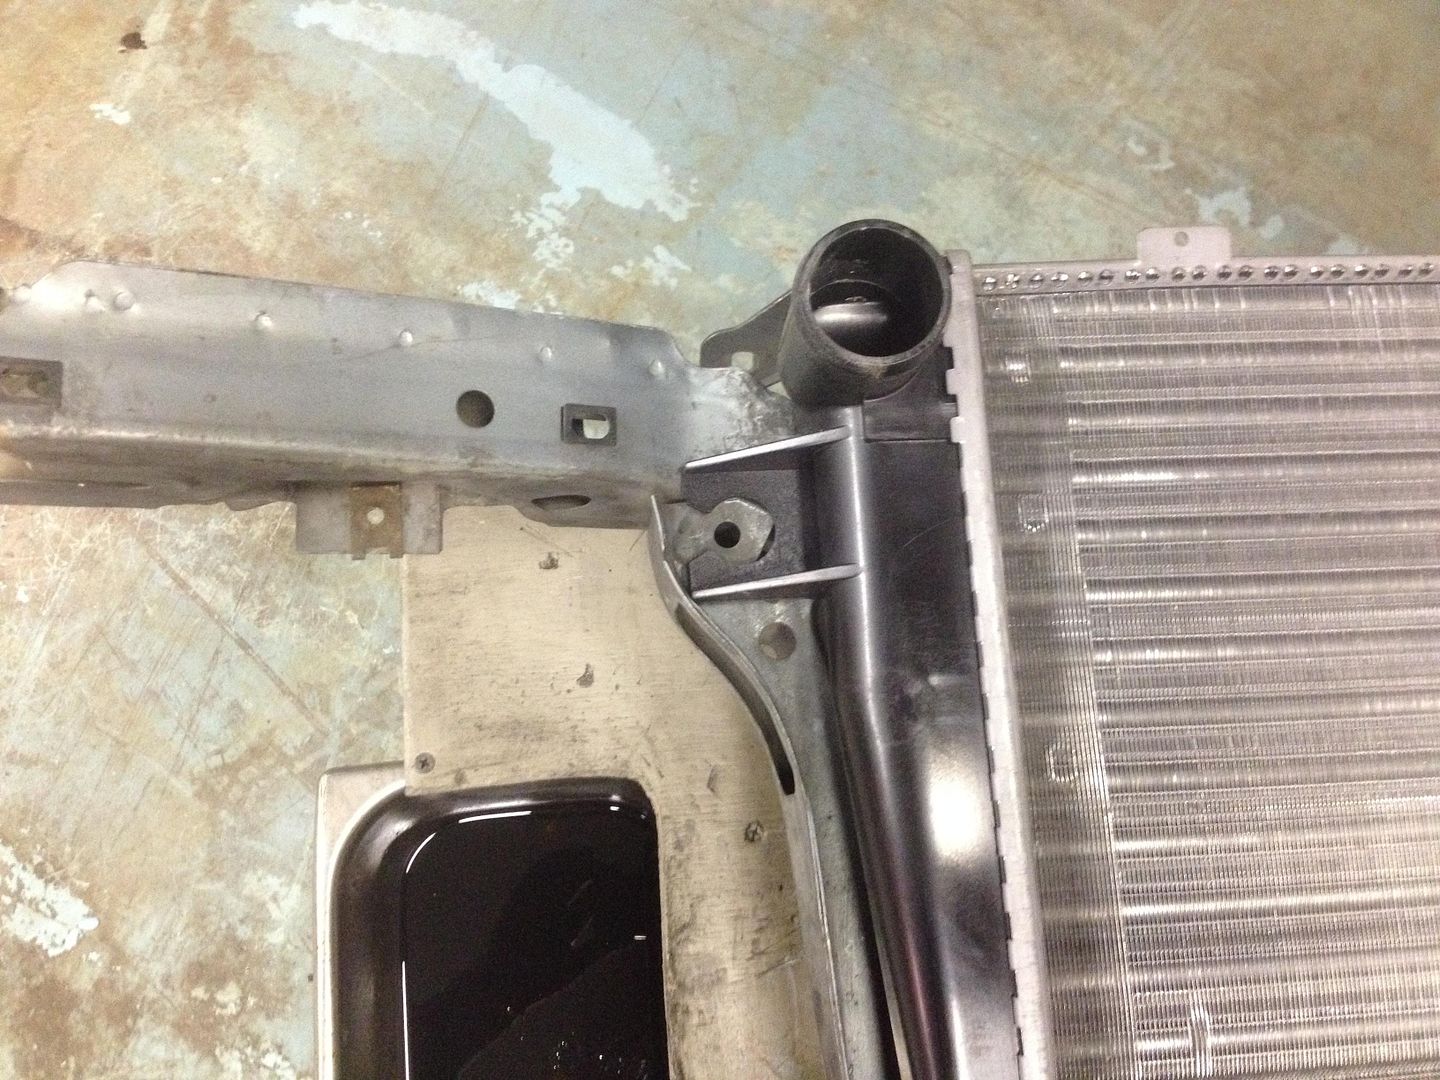
It looks like this in the original intercooler mounting position.
With the radiator using the existing u-nut locations on the radiator support. And I am 99% sure it can not go any higher.
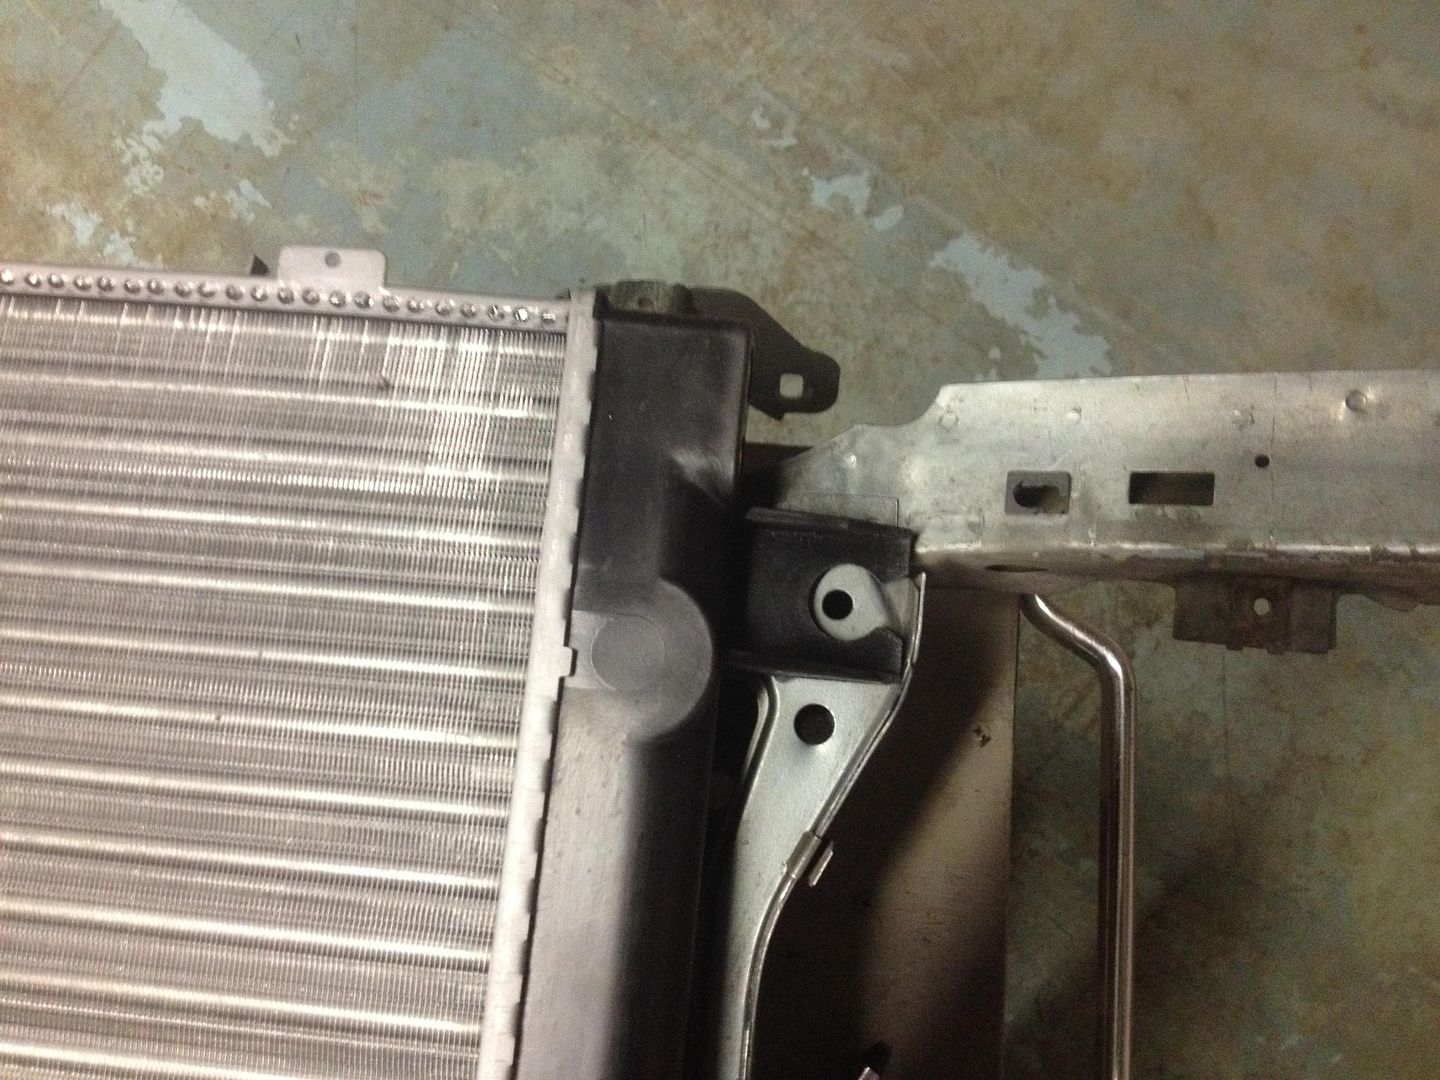
And if I move the intercooler down the gap in the cutaway that I did previously looks like the fender gap in a stock 1985 318i. And it hangs about 3/4" below the radiator support which concerns me a little.
And up next are pictures of the lower radiator mount brackets and the boxed in section. I know it isn't much but progress is progress.
Leave a comment:
-
^ Thanks Jeff. I am excited to finally be able to open my hood at the Vintage!Leave a comment:
-
I know I know! Hmmmm What to do with all that room..... Maybe down the road the turbo will grow into it, that is if I can get the current turbo to clear the hood!Leave a comment:
-
That's one big mama turbo dude..!!! Look at all that room around it
Leave a comment:
-
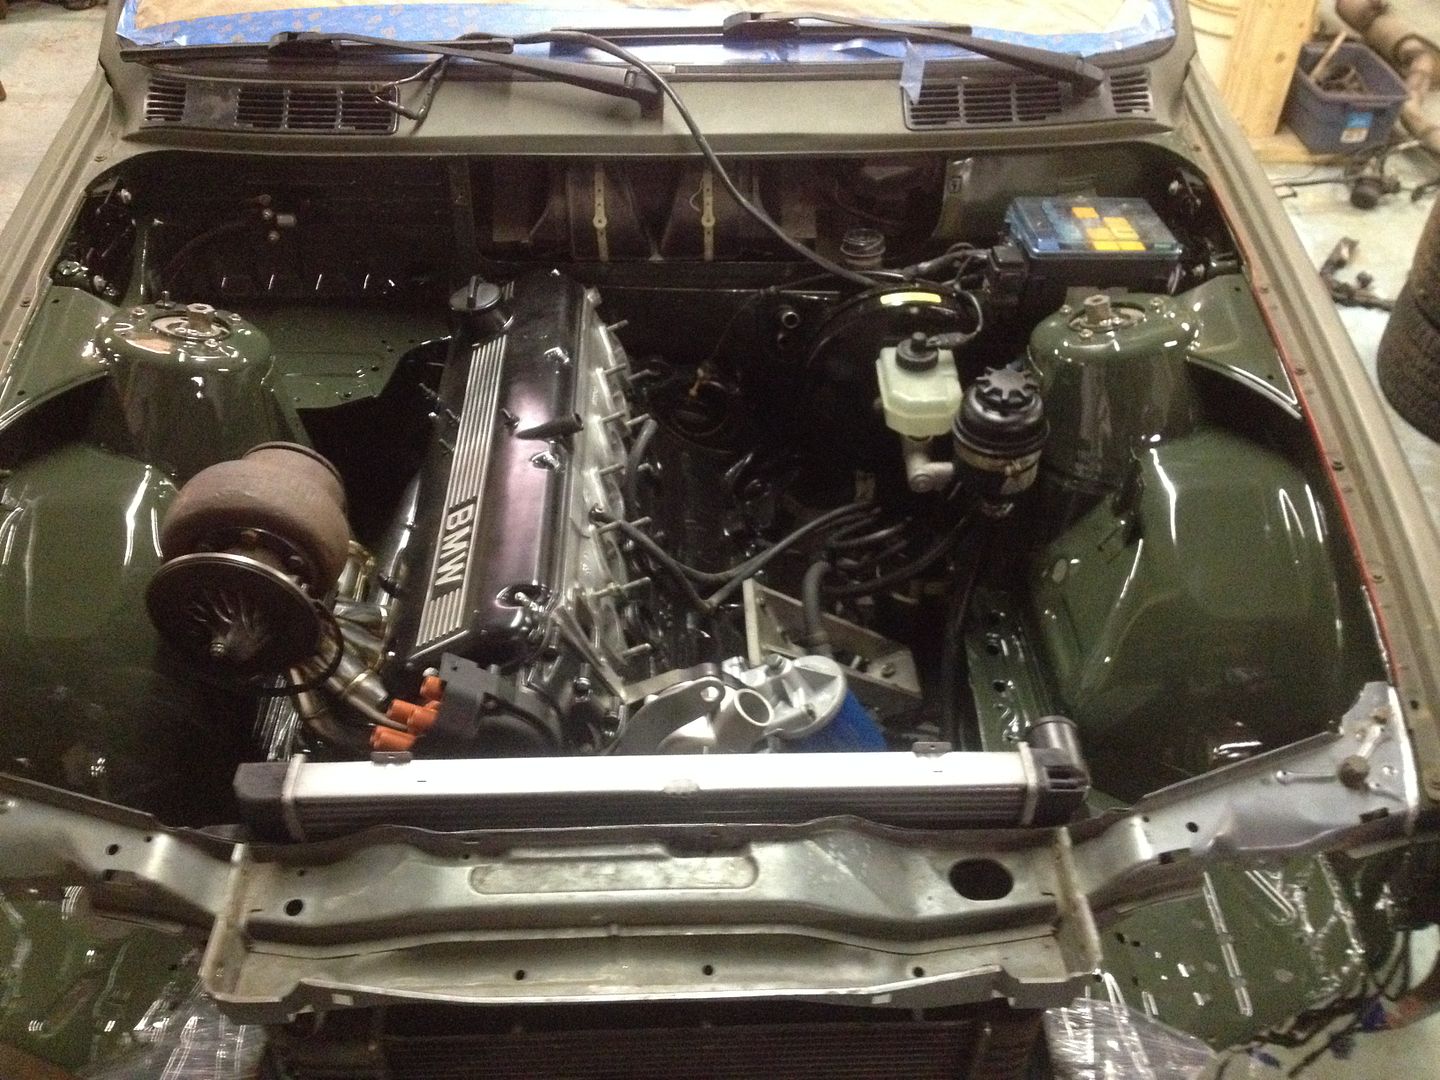
Goal Met!!!!
I have to change my engine mounts (not the arms just the rubber pieces) because there is about an inch of clearance between the oil pan and cross member. And currently the turbo is sitting almost an inch to high to clear the hood. So small adjustments aside the engine and trans are mounted in the painted engine bay. I plan on making an adapter to replace the turbo until I am ready for it so that I only have to do the exhaust once. I am have a surprise in store for the exhaust.
 Last edited by RagtopE30; 01-12-2014, 04:47 PM.
Leave a comment:


Leave a comment: