
I have researched it as well and any pics you want to post would be appreciated. I am always open to new ideas.
I have access to a fab shop so I planned on having a custom strut brace made.
-
I did a firewall mounted setup on my b34 swap. I think it looks pretty slick but you do give up some things like the ability to run a strut brace. At least I've never seen one that will clear. If you want to go that route I could post some pics of my setup but all said and done it works either way.Leave a comment:
-
Lol yeah came to a similar conclusion. Worst case scenario the HX40 will hide all of it!Leave a comment:
-
Looks great...!!! Don't worry about the imperfections in the paint. Once the engine is in and few hundred miles driving you won't notice.Leave a comment:
-
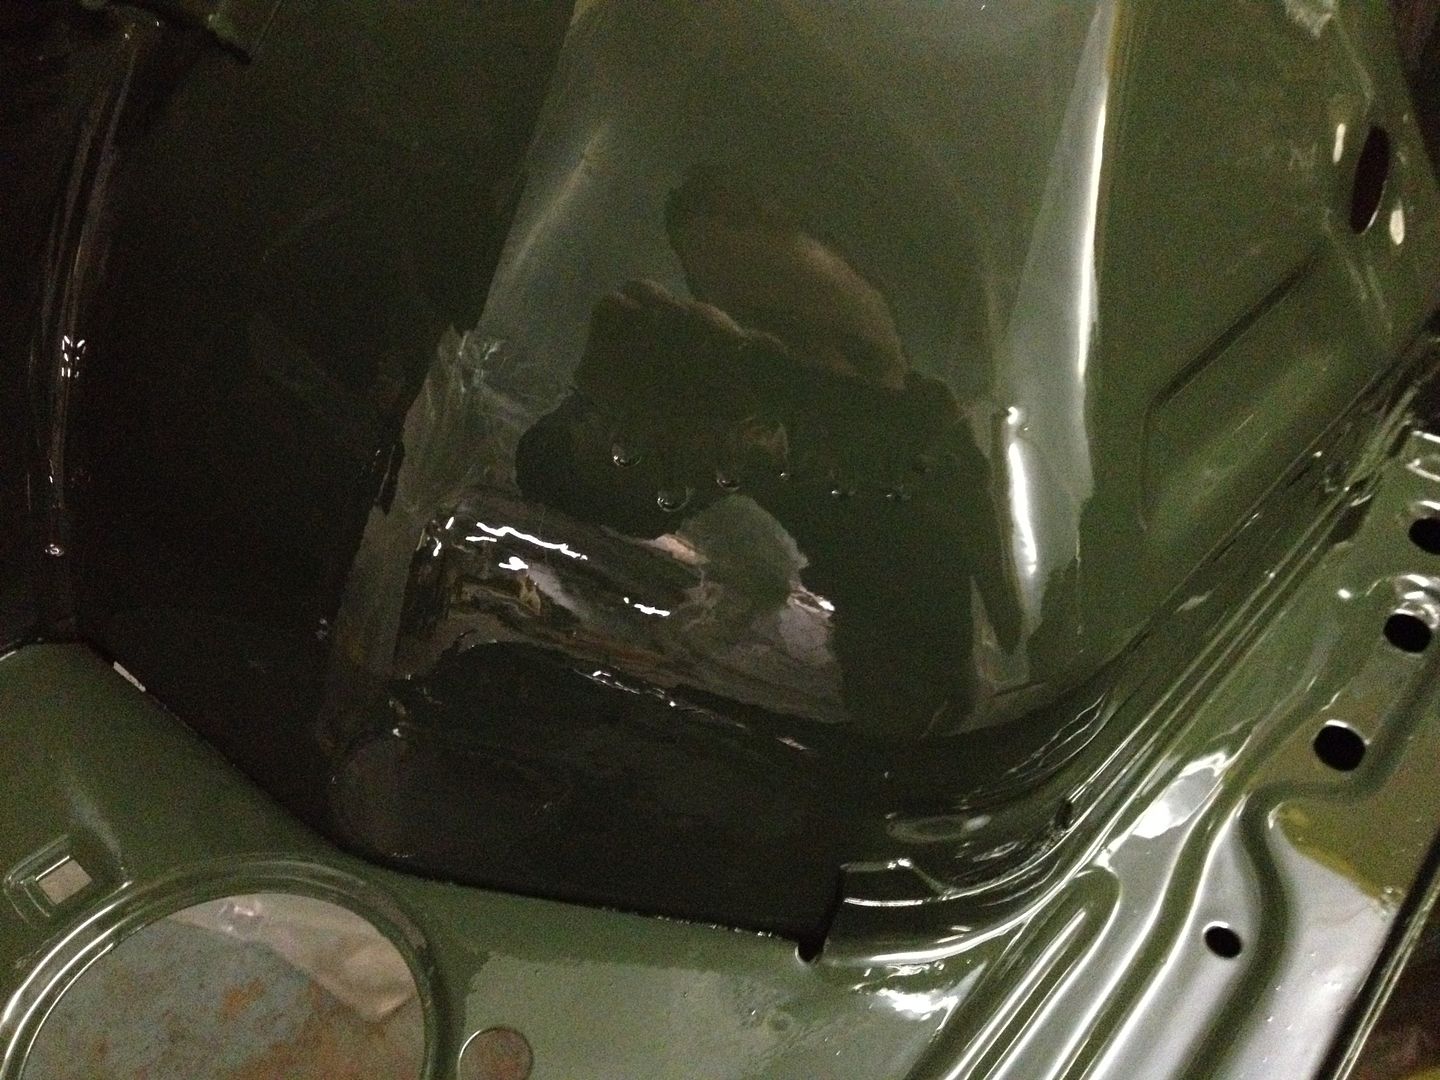
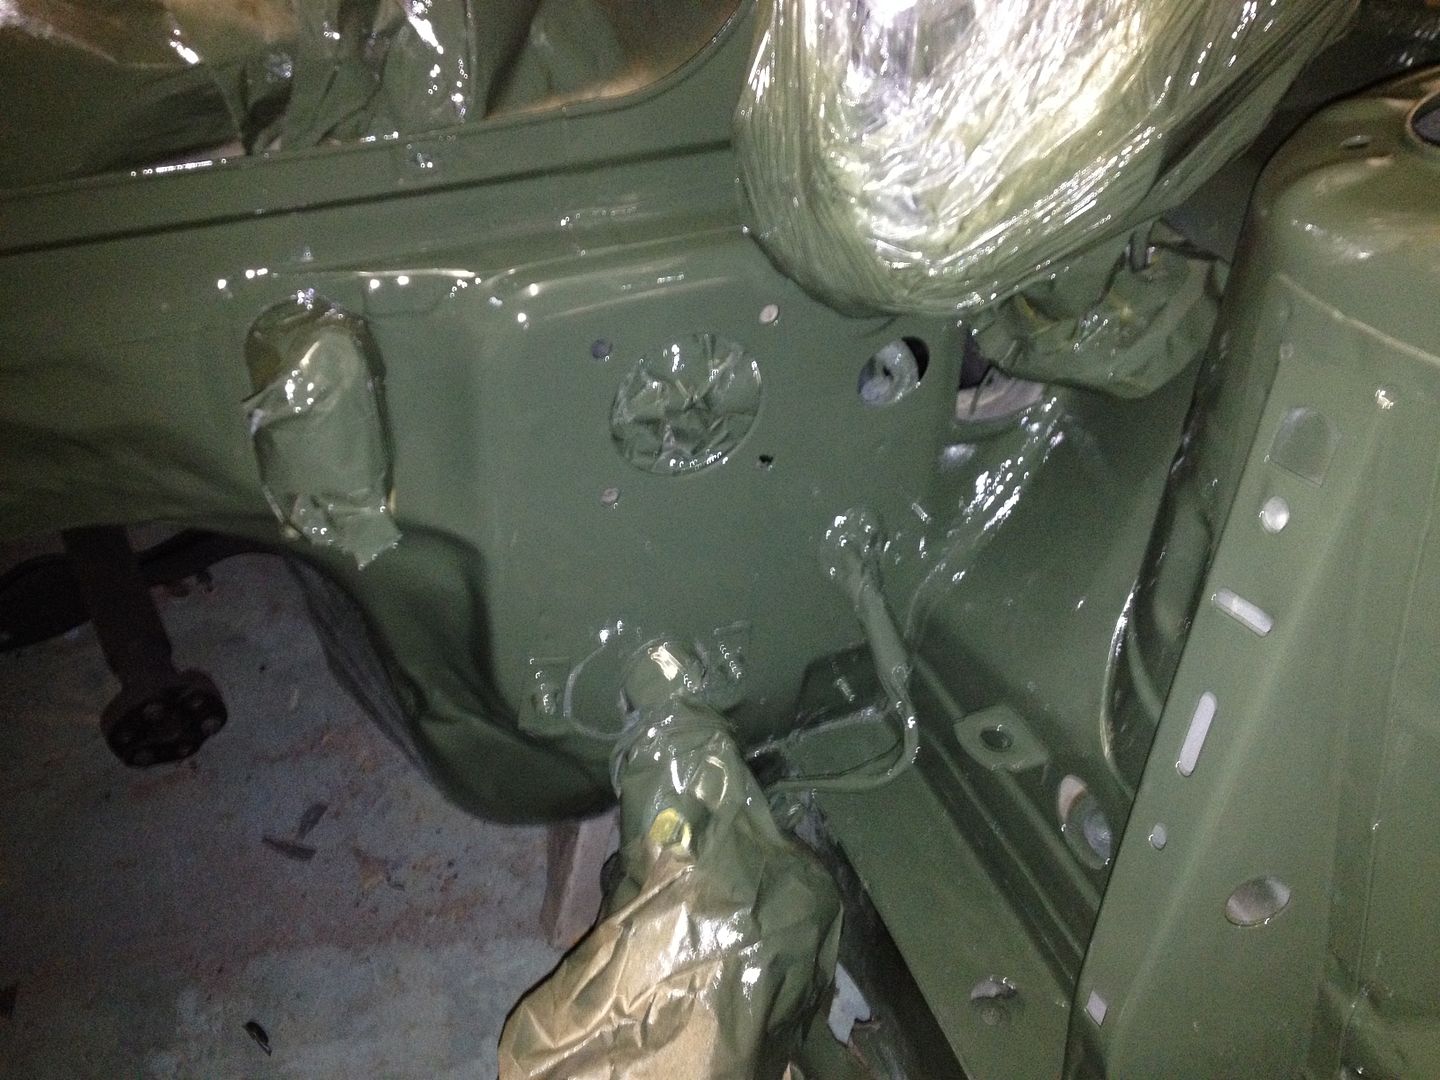
I went back today and finished up the paint behind the fuse box. There is a little more trash in the paint than I first thought but it really is not bad being my first dance and all.
I looked into how I can fix the runs and all the options involve a great risk of screwing up the nice finish I achieved on the first attempt. Considering that the runs are exactly where I plan on placing the reflective heat protection for the turbo set up I will just knock down the worst of the run and then apply the heat protection. It will be like it never happened and will only leave one singular drip on the drivers side that is pretty hard to see unless I point it out. I am happy with this.
So no updates for a few days while the paint cures. I plan on unwrapping the car and reinstalling the engine and trans on Sunday and then I will post some automotive porn.Leave a comment:
-
This... is insane and looks very nice. Keep up the good work, wish I had done a lot of this when I did my swap.Leave a comment:
-
What better way to spend the afternoon of the coldest day of the year but in an unheated shop painting a car with a HVLP gun for the first time ever! Yeah I figured the only way to do this was to stack the odds against myself as much as possible. In doing so I learned a few valuable lessons that I didn't see mentioned in any thread or how to video.
1st - As your spray booth gets smaller in size the protective clothing needs to cover more and more. My "spray booth" was very small and when it was all said and done my hair and eye lashes were crunchy.
2nd - DONT DO THIS ON THE COLDEST DAY OF THE YEAR IN AN UNHEATED SHOP!!
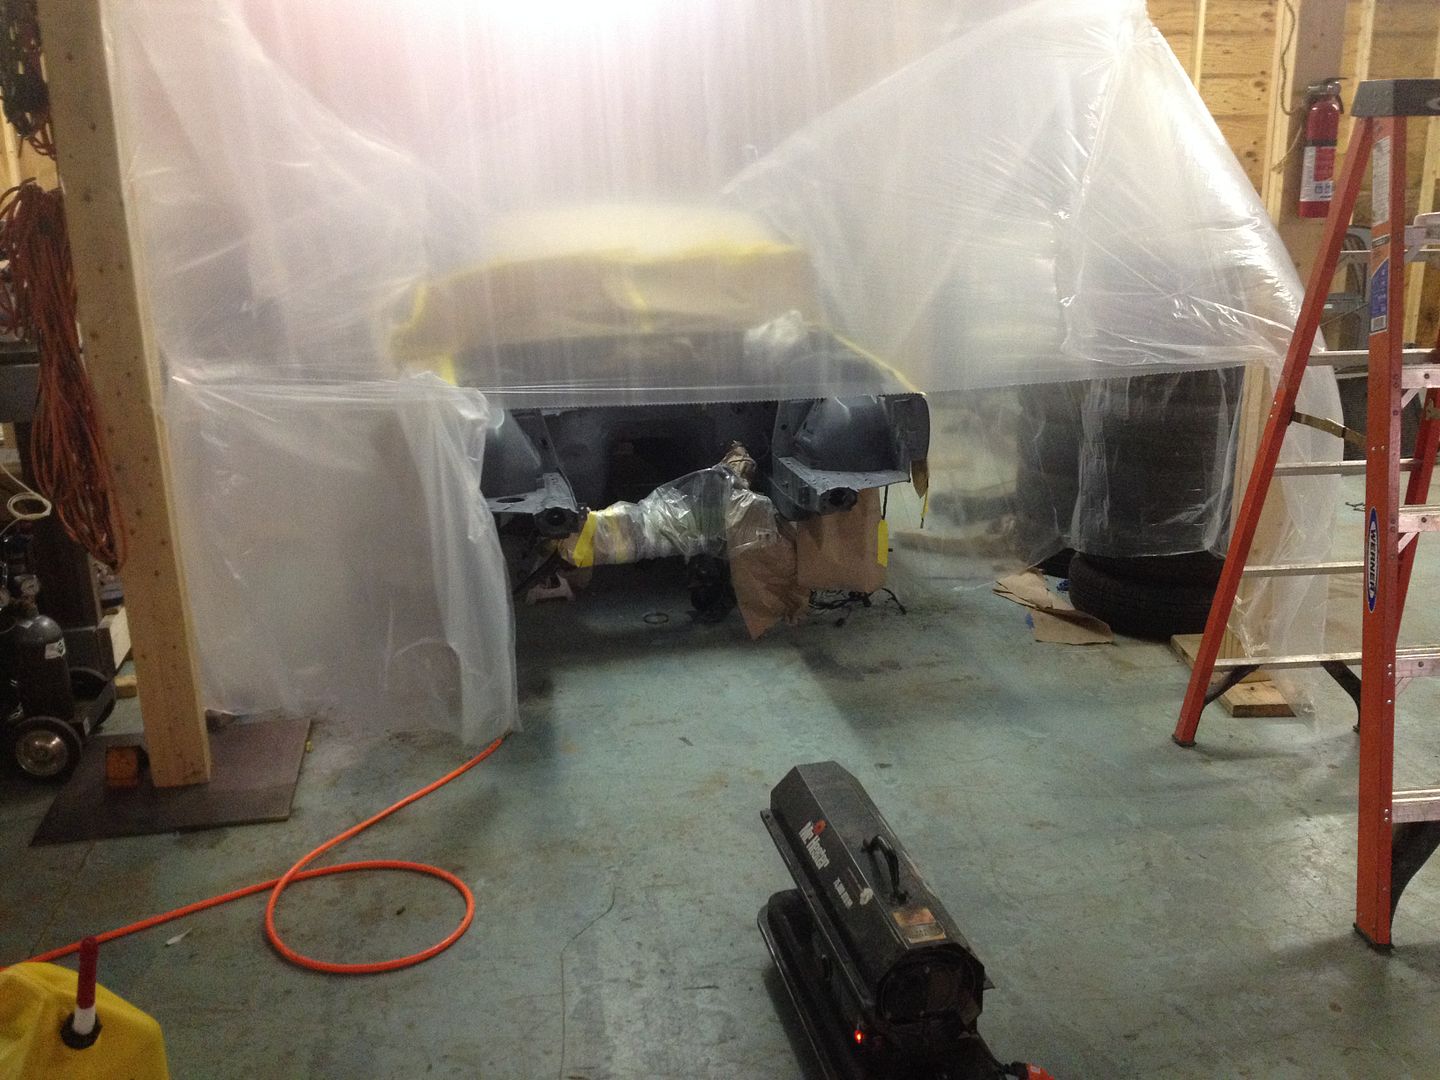
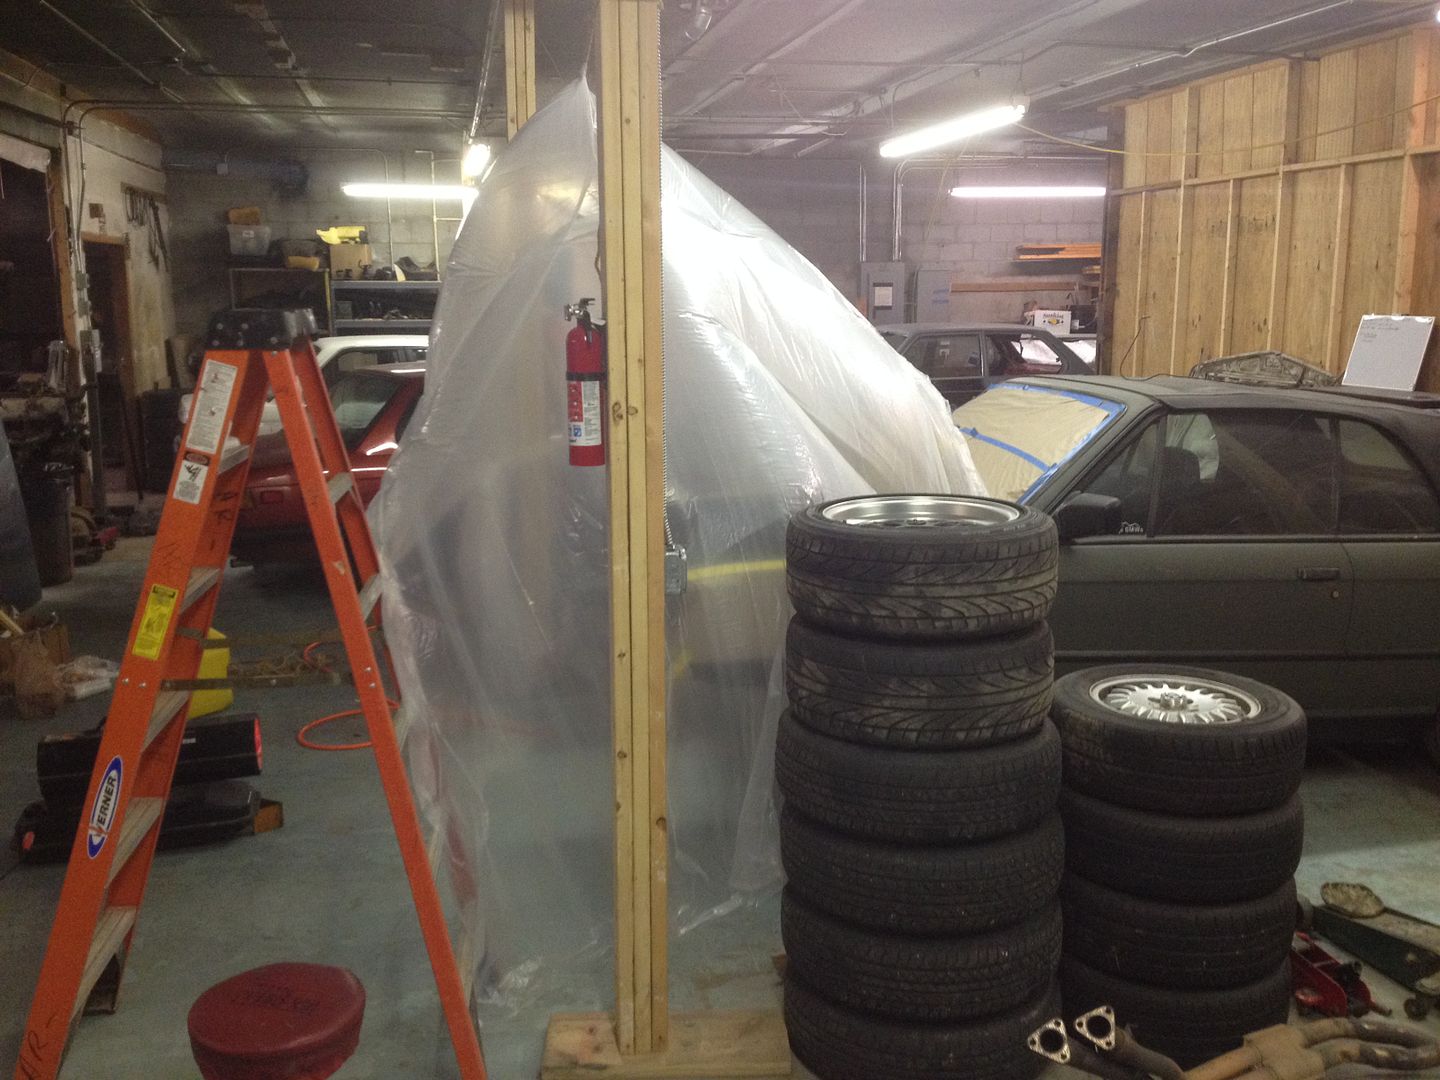
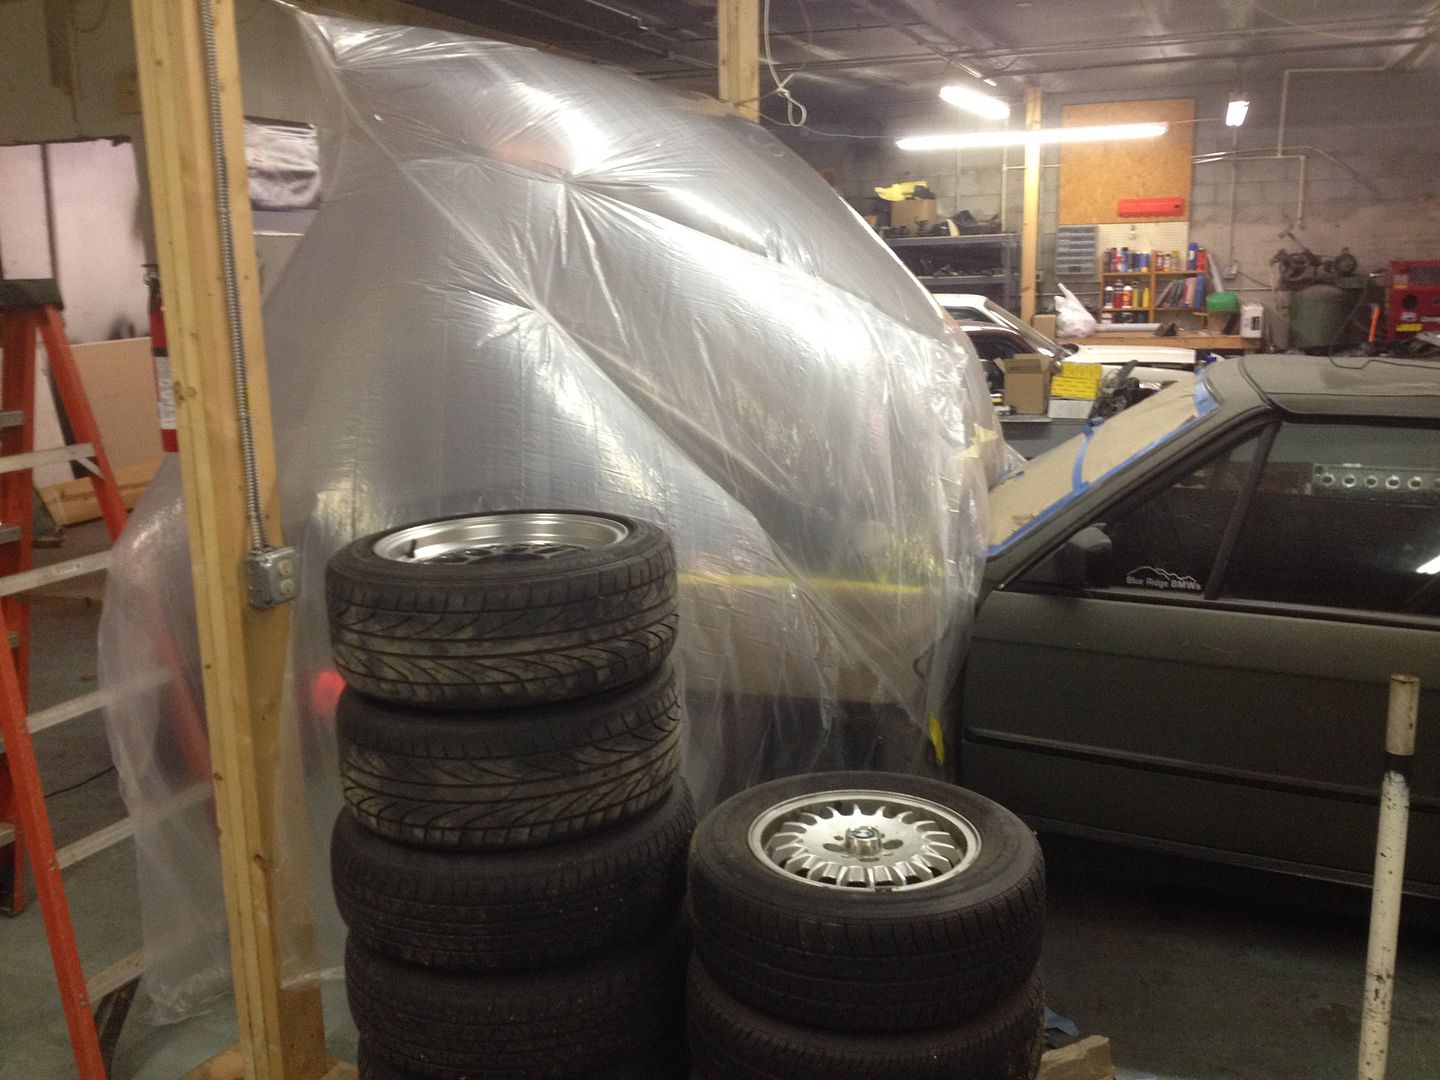
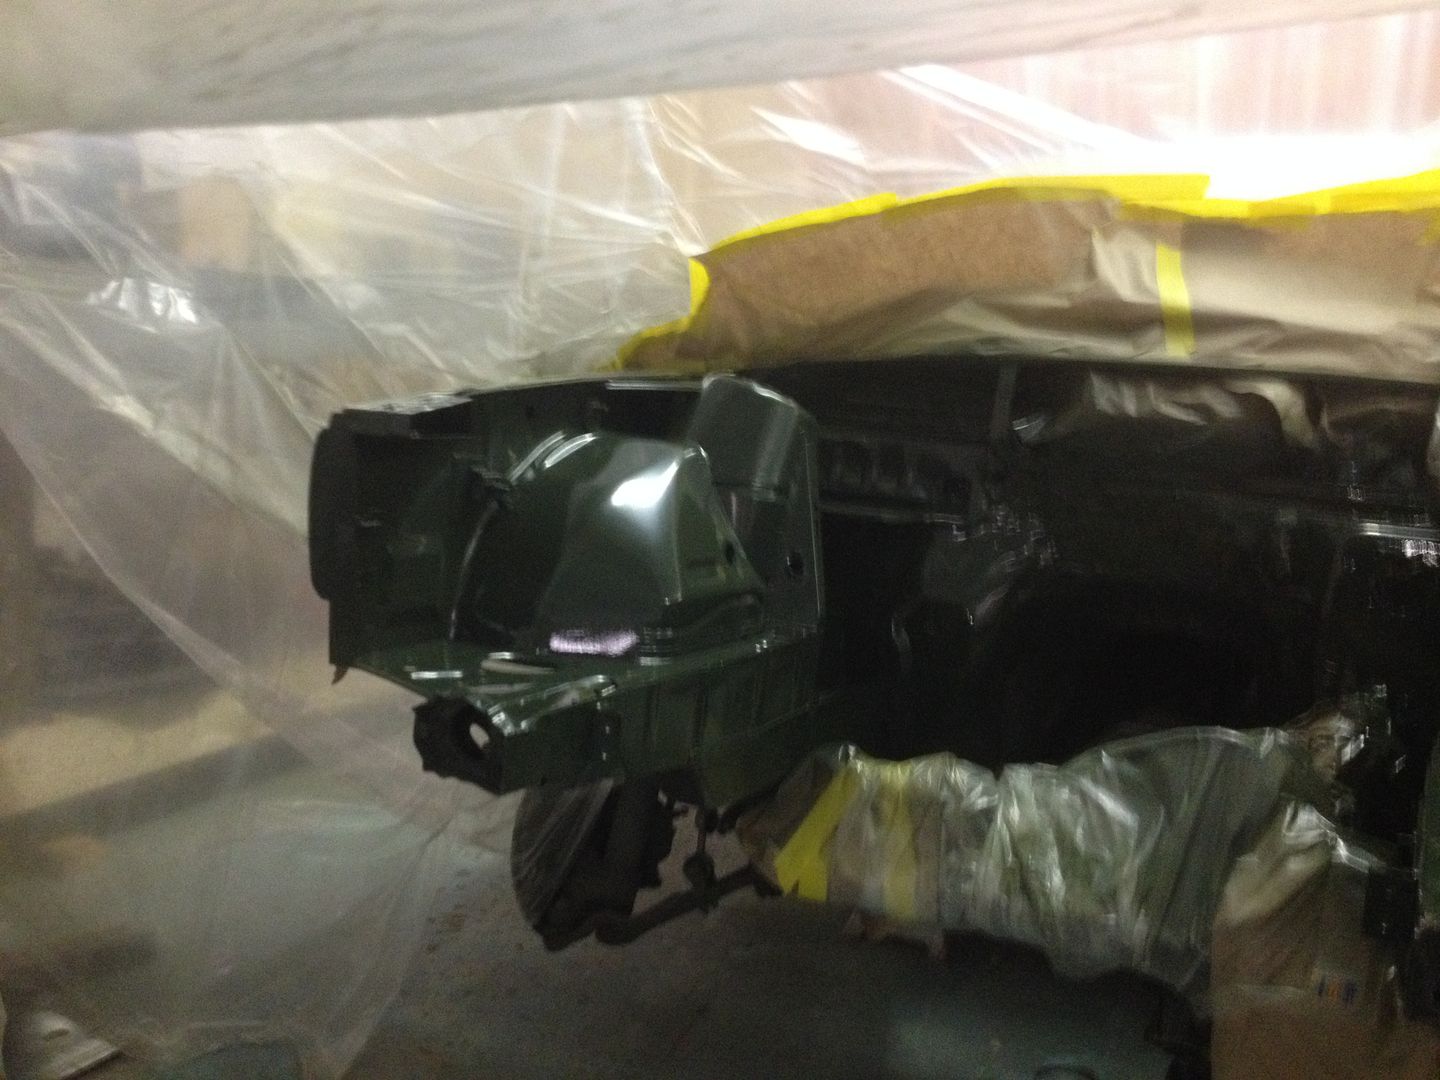
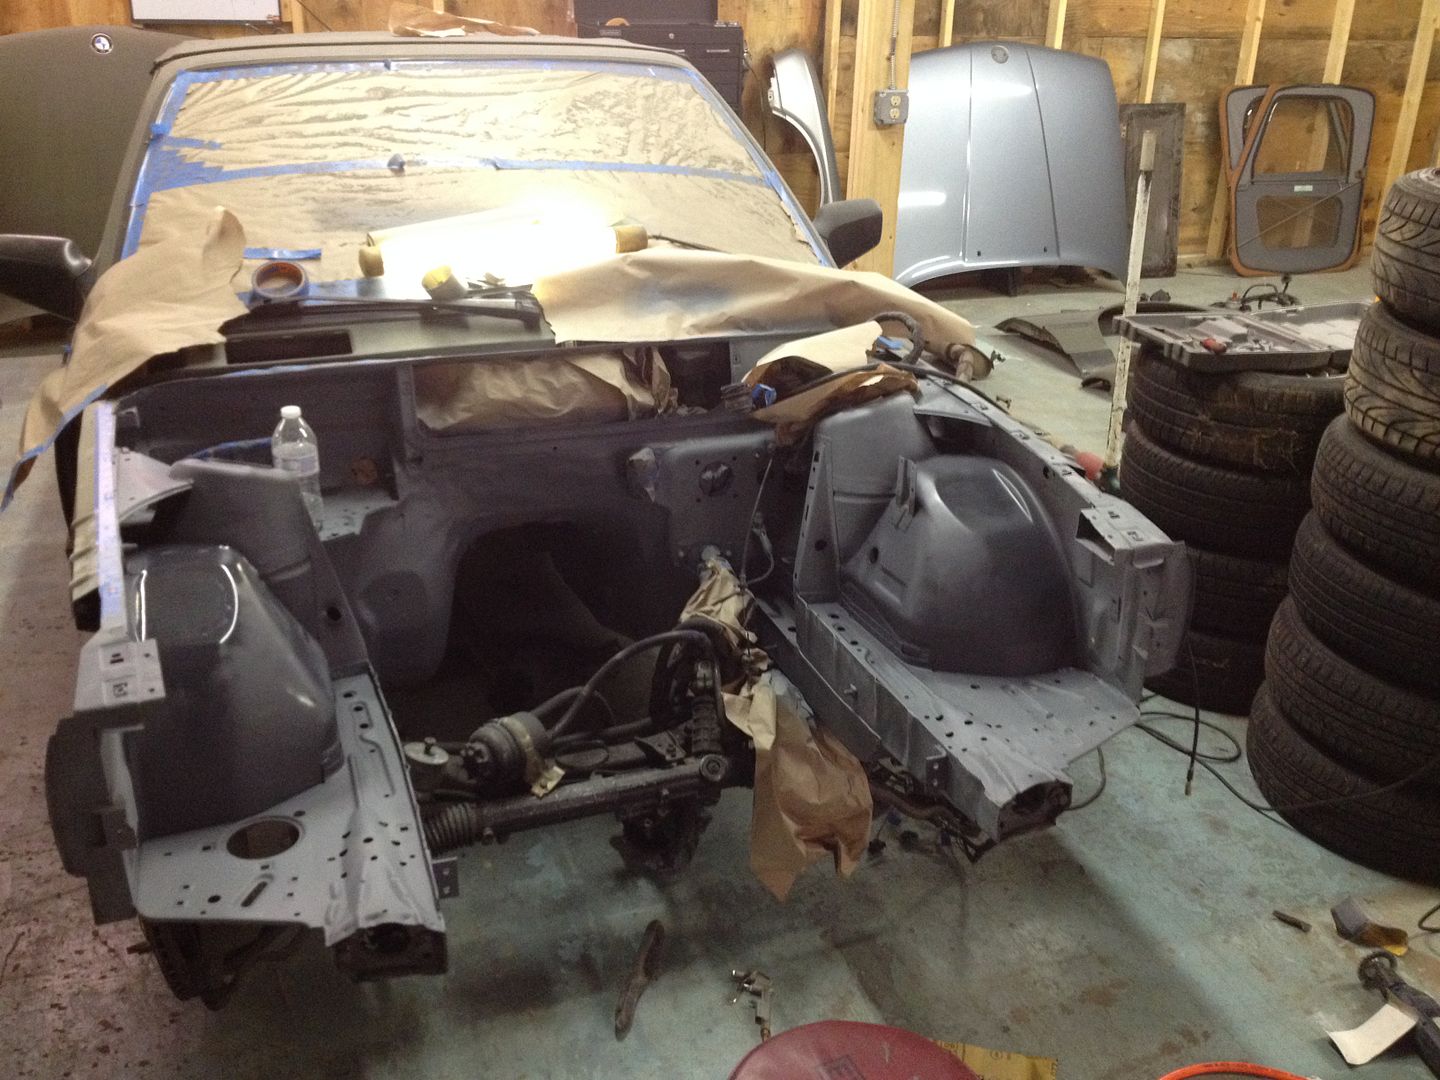
So I made a small enclosure, which I will refer to as my "spray booth" from here on, out of large sheets of quasi clear plastic and packing tape. You cant see it in the pictures but the front of the spray booth has a door that I drop when I started spraying. I masked off every thing I thought was important.
And I started my 75000 btu construction kerosene heater and warmed up the spray booth and sheet metal to around 100 degrees. It was like an oasis of awesome in the otherwise frigid shop.
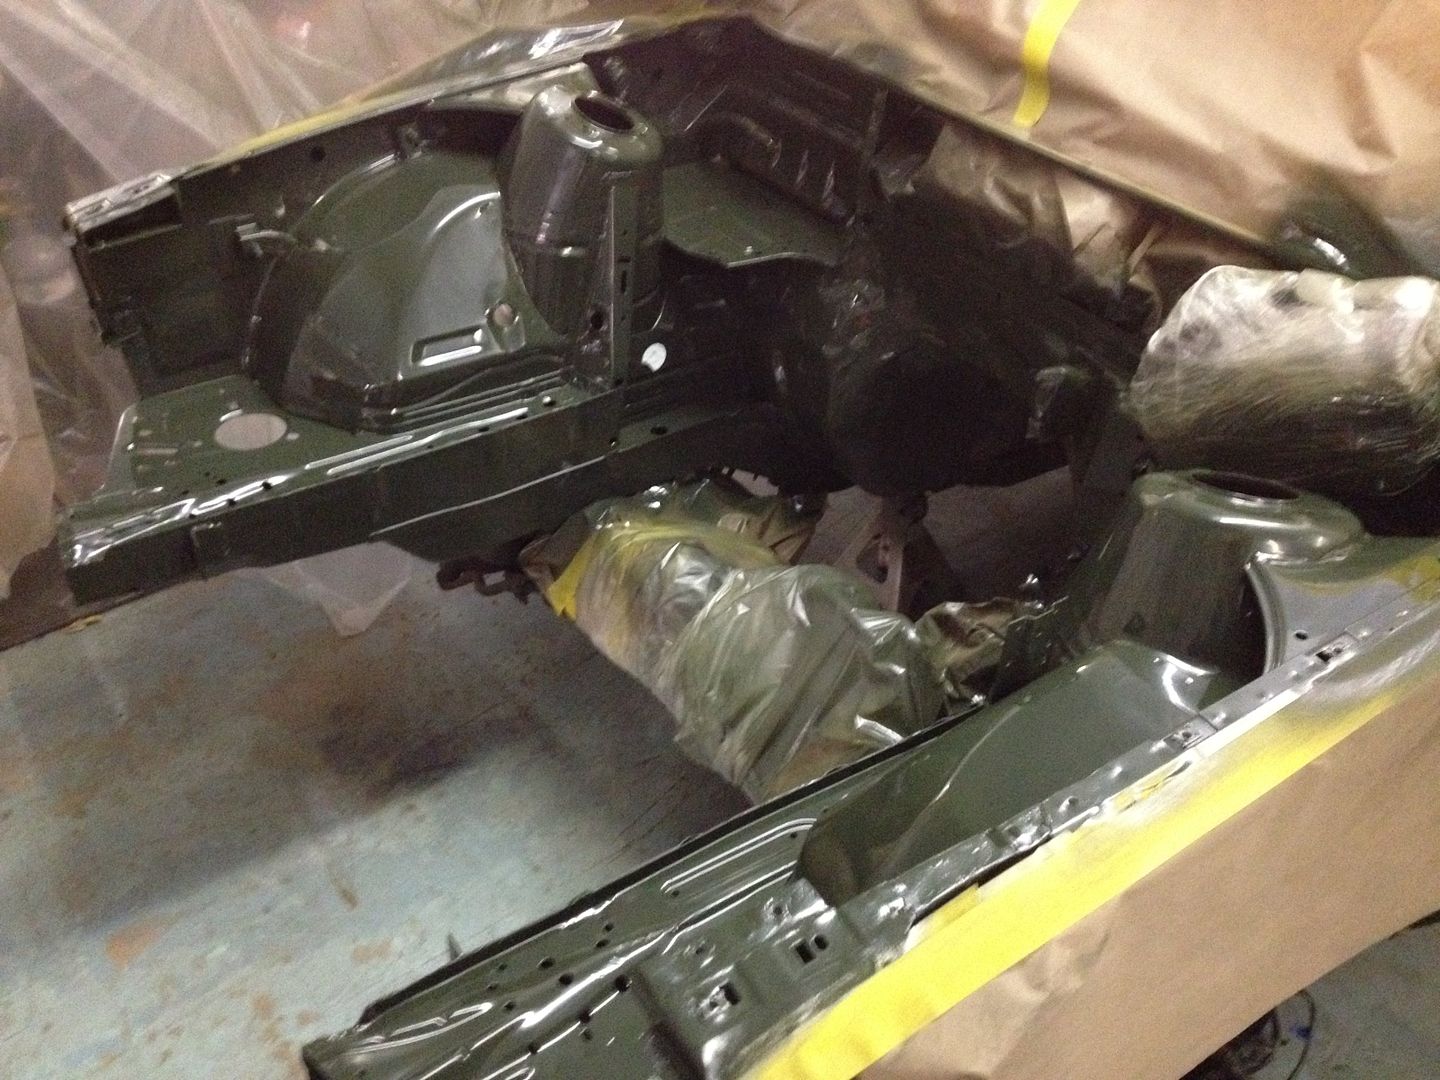
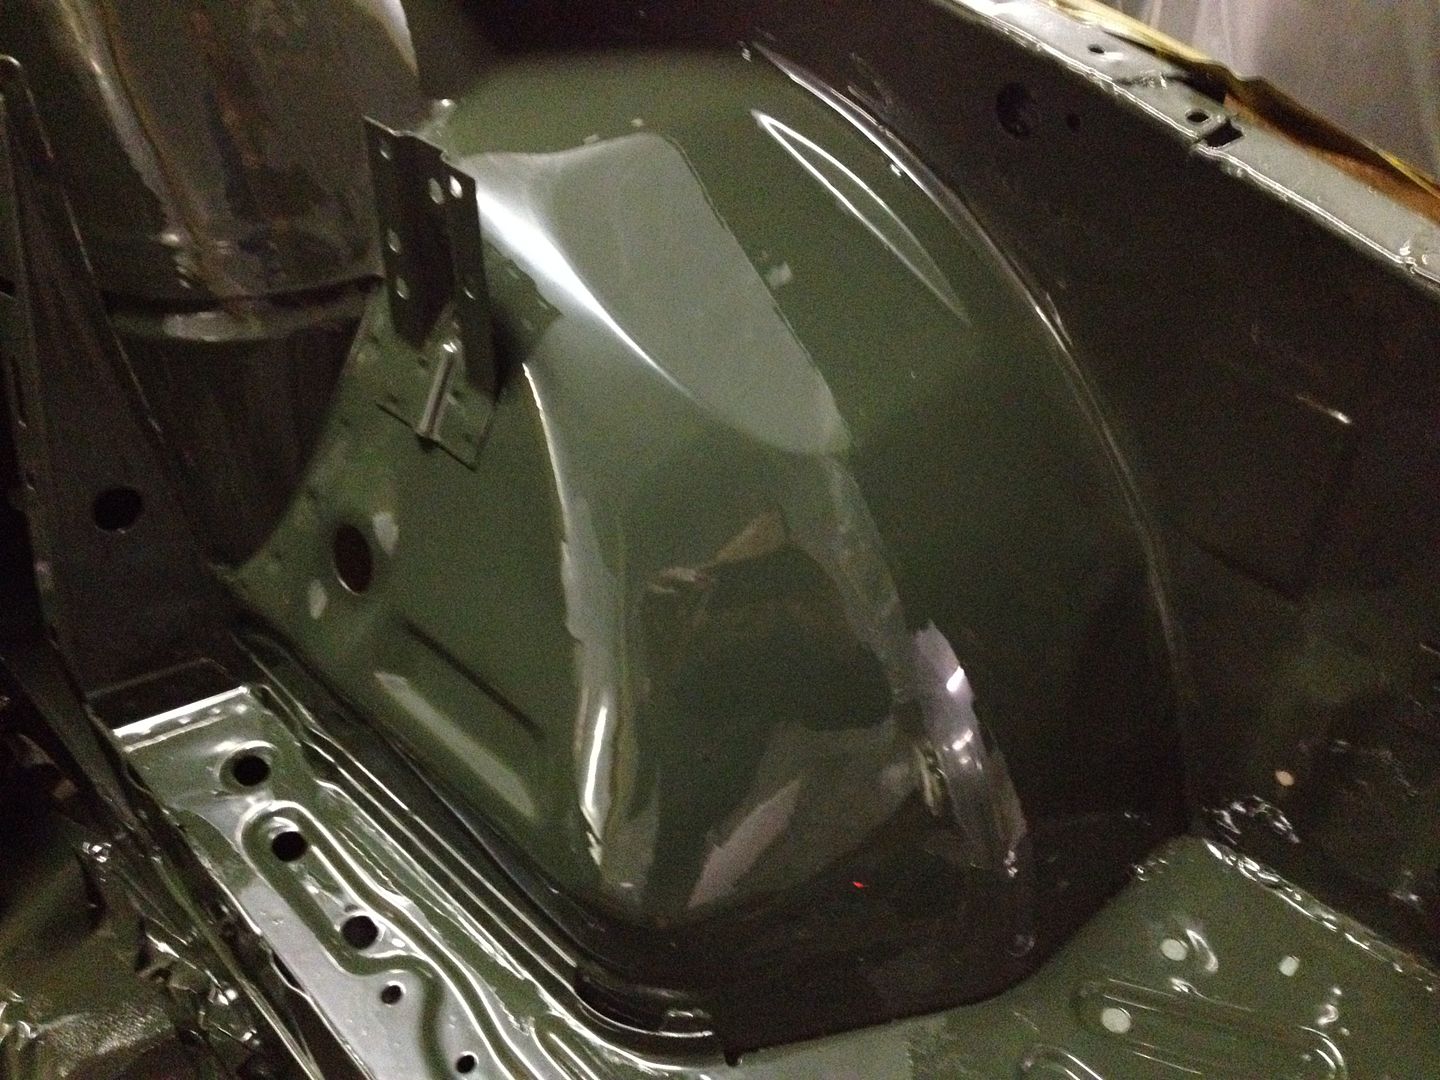
Earlier today I went to the local automotive paint supply store and picked up some Limco Acrylic enamel. The color I choose for the engine bay and eventually the exterior is from the 2011 Toyota FJ. It is the army green paint code 6V7. I also stopped by Home Depot on the way home and picked up a $49 HVLP spray gun. I got it all to my shop and proceeded to read the directions on both the paint and gun and went to town. Yes I did use a pressure regulator and kept the pressure between 25 and 30 psi.
Keep in mind this is my first time painting with a HVLP gun and with enamel so be kind.
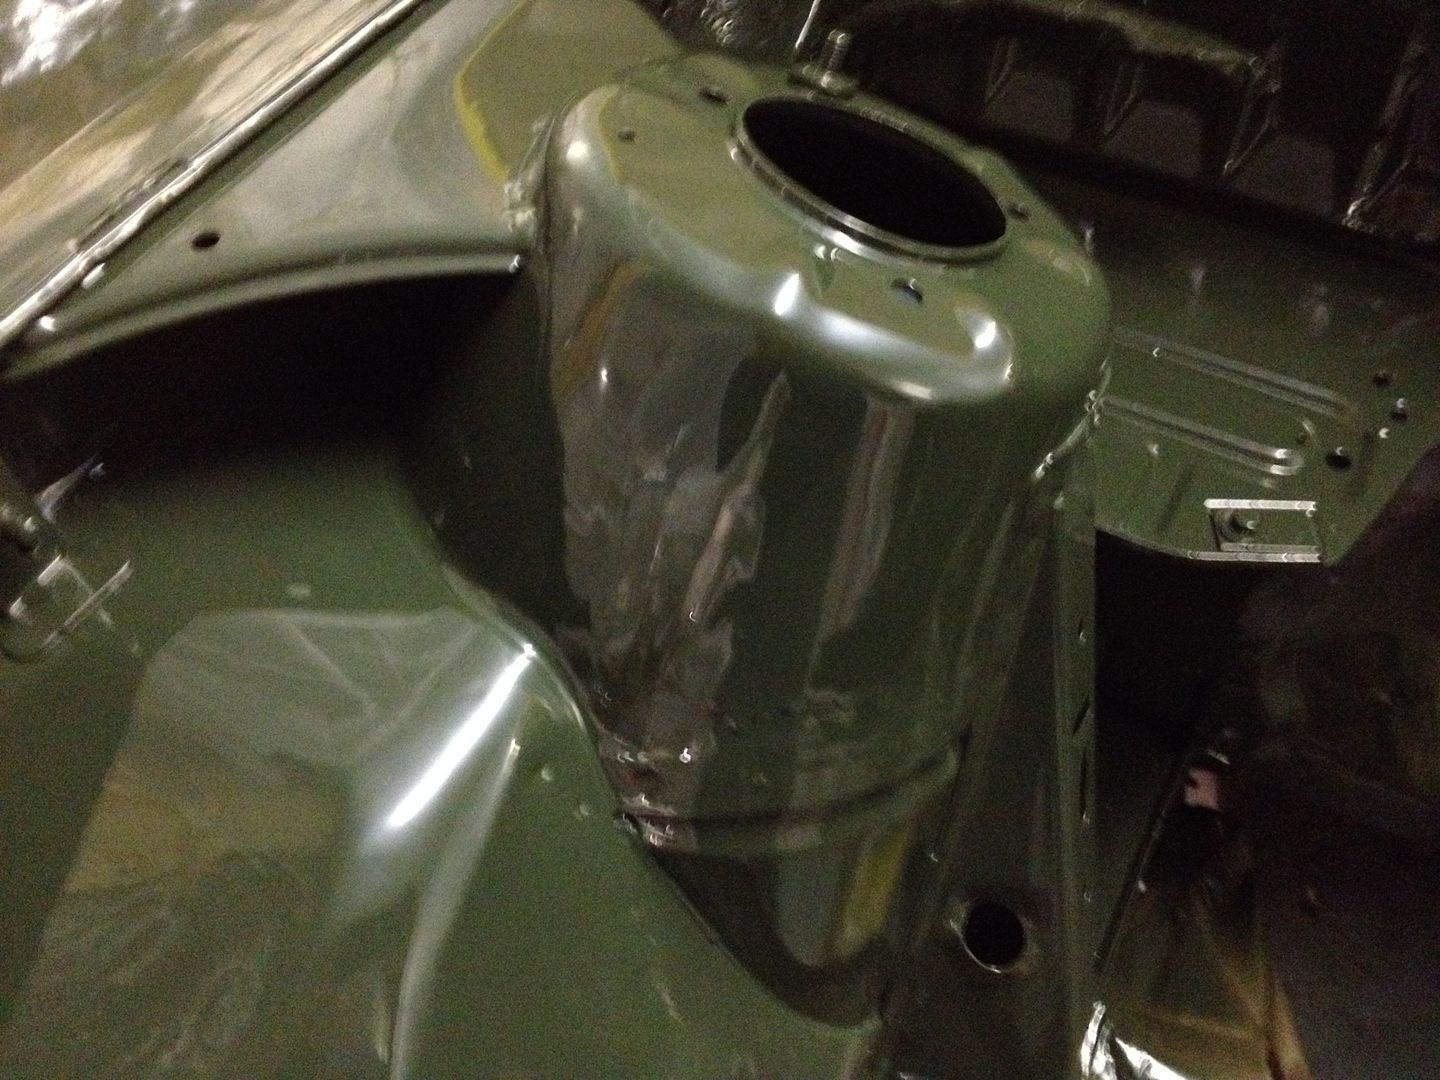
This is a sneak peek after the first coat.
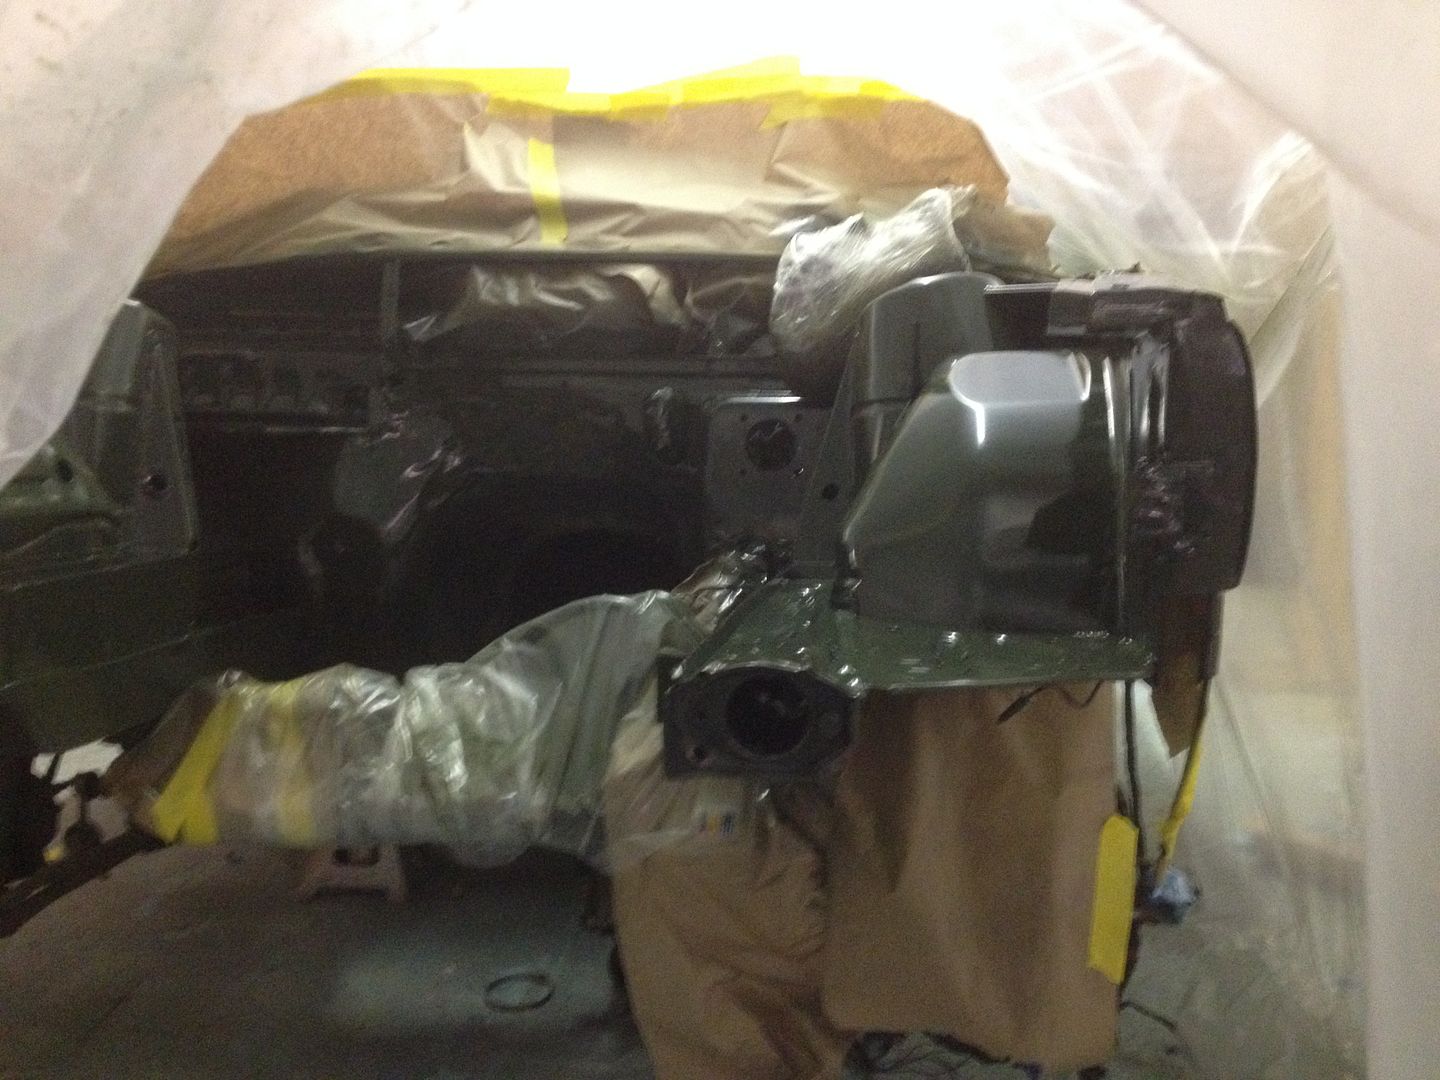
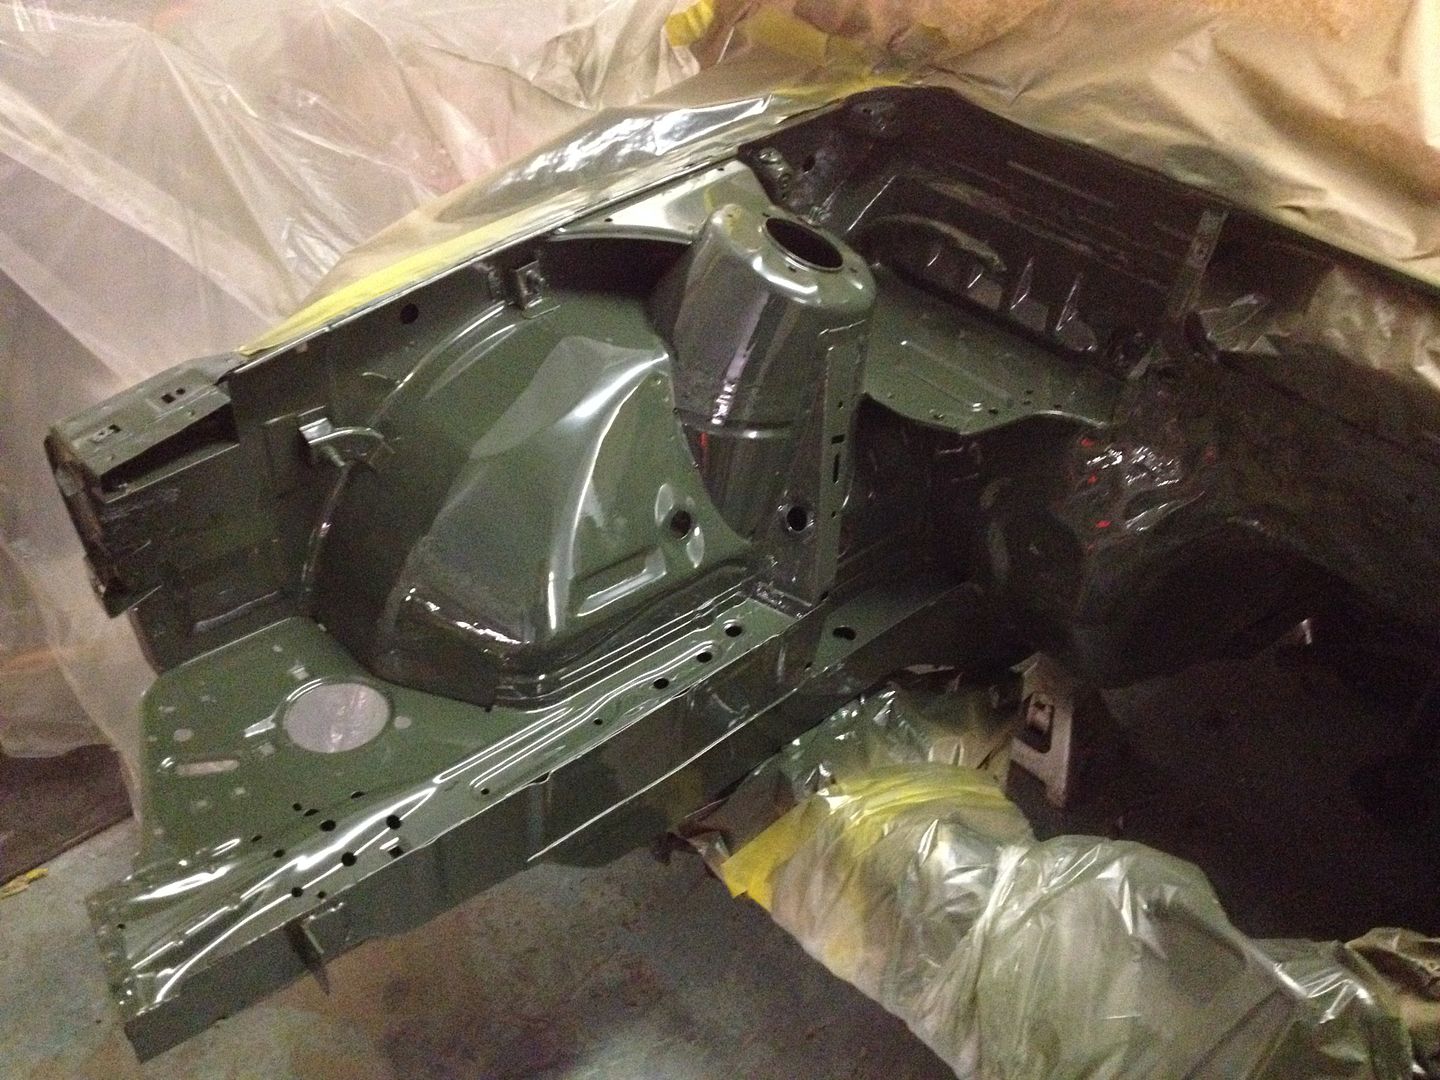
I did a total of 3 coats. The second and third coats were pretty heavy and I went a little to heavy on the fender humps and strut towers on the last pass. I got a couple of runs but I will let it cure and cut/sand them down flush and spray another coat. I did get some trash in the paint but not as bad as I was expecting considering I had no filtration at all and I did very little to prevent dust from entering my specialized and extremely sophisticated spray booth.
This is what I ended up with today. A couple of the pics are only to highlight the runs.

I still need to go back in and shift the fuse box and paint where it was blocking. I will use that opportunity to fix the runs and then let it fully cure for a couple of days. Then everything goes back in. Followed by the final fab and paint of the radiator support once my radiator gets here.Last edited by RagtopE30; 01-07-2014, 05:12 PM.Leave a comment:
-
Very little progress to report today. The weather is turning super cold and the snow was stacking up so I didn't stay at the shop for long.
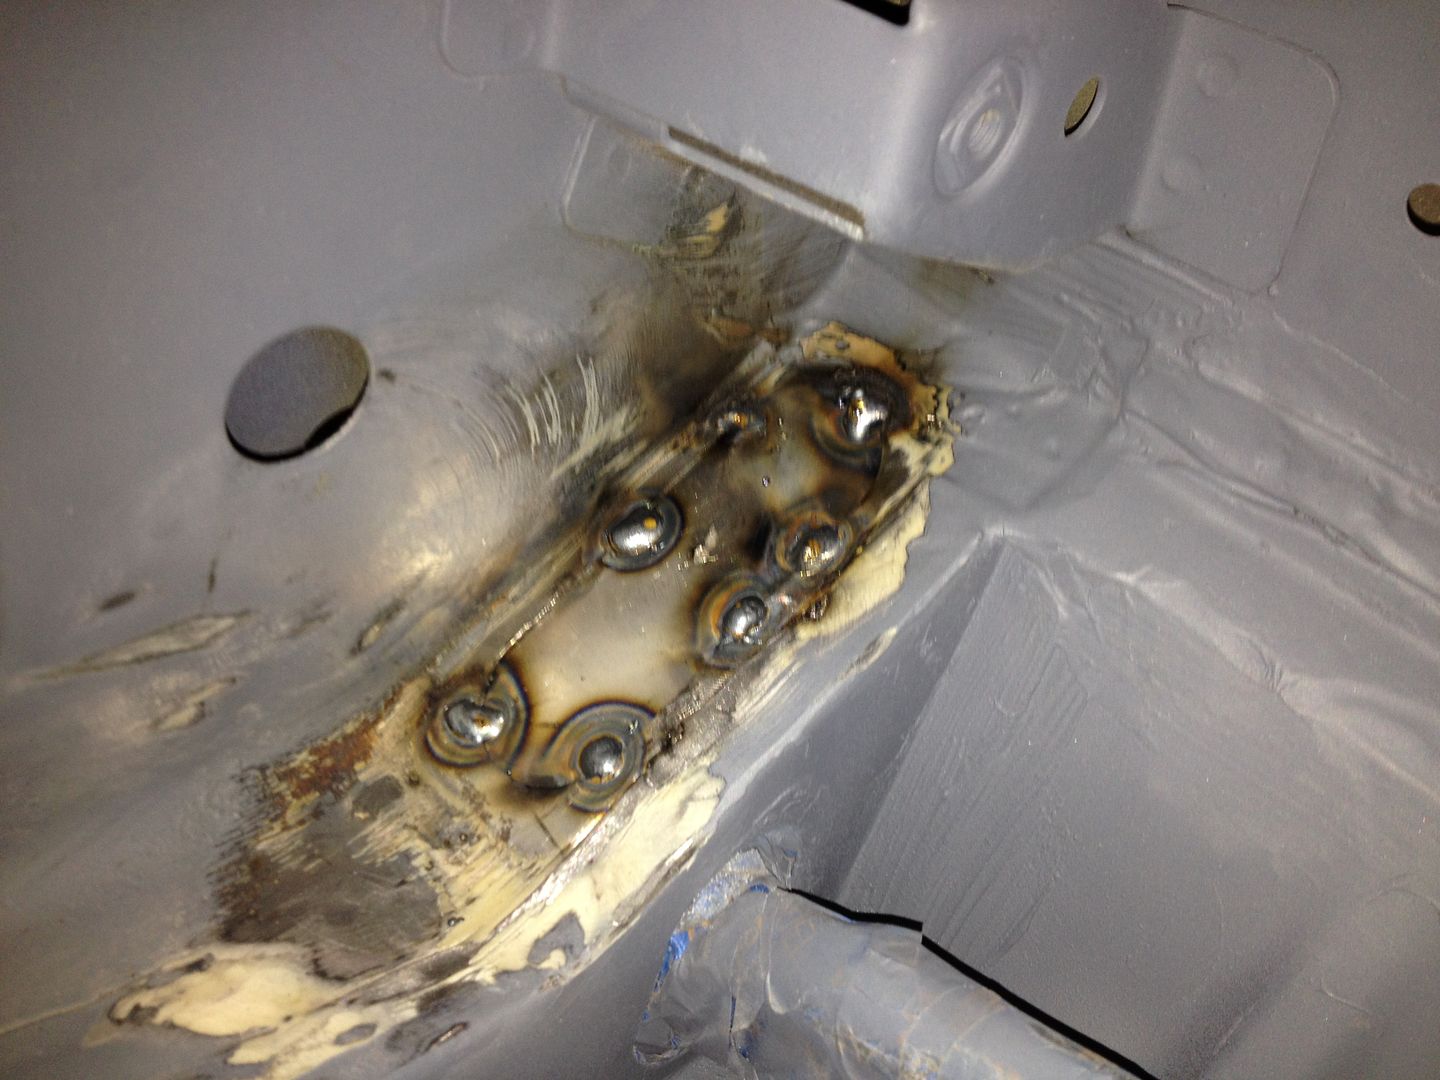
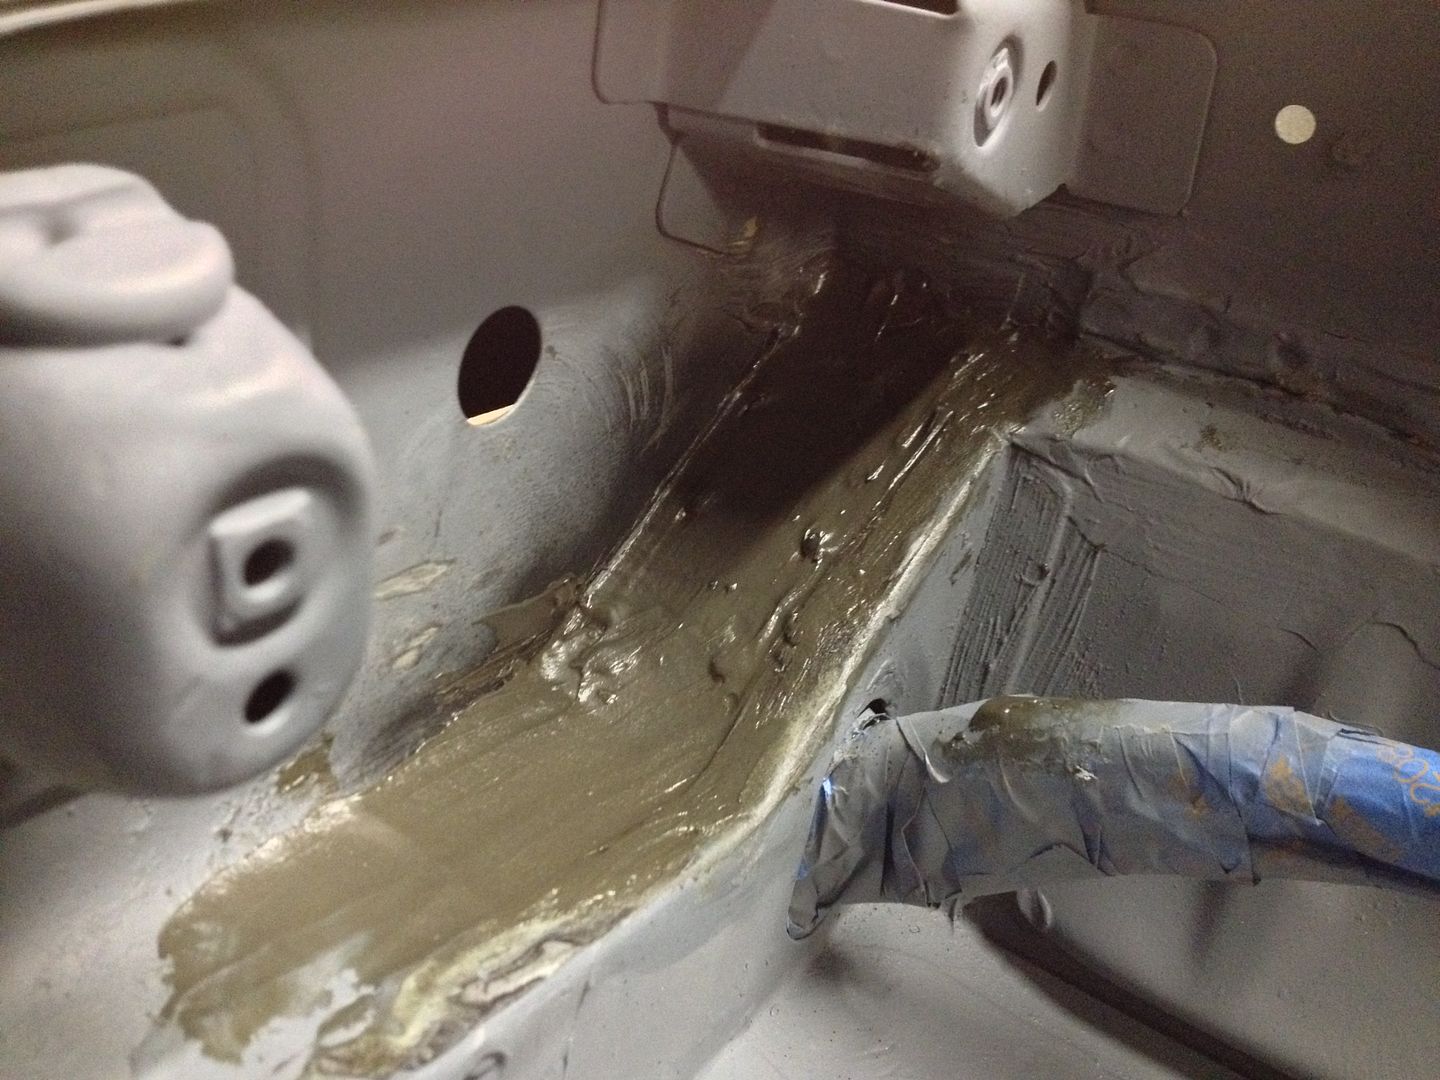
I cut a patch panel for the AC hole and tacked it in. I then sealed it and primed it. But now the engine bay is ready for final paint. The mud work is not perfect and I mainly focused on the sheet metal on and forward of the strut towers. The battery tray and area around the fuse box will be mostly hidden so I didn't worry to much about perfection there. Plus the battery tray was replaced a couple of years ago so the seams are not perfect anyways.
 Last edited by RagtopE30; 01-06-2014, 05:52 PM.
Leave a comment:
-
Glad to see you found a coolant reservoir. I like how it looks like a water bottle.Originally posted by RagtopE30;3983120[URL=http://s1219.photobucket.com/user/Mattkoppi/media/My%20Cars/M30%20Swap%20pics/B14EB924-508D-4D2F-B87B-AF478E91B30A_zps0l5mweoj.jpg.htmlLeave a comment:
-
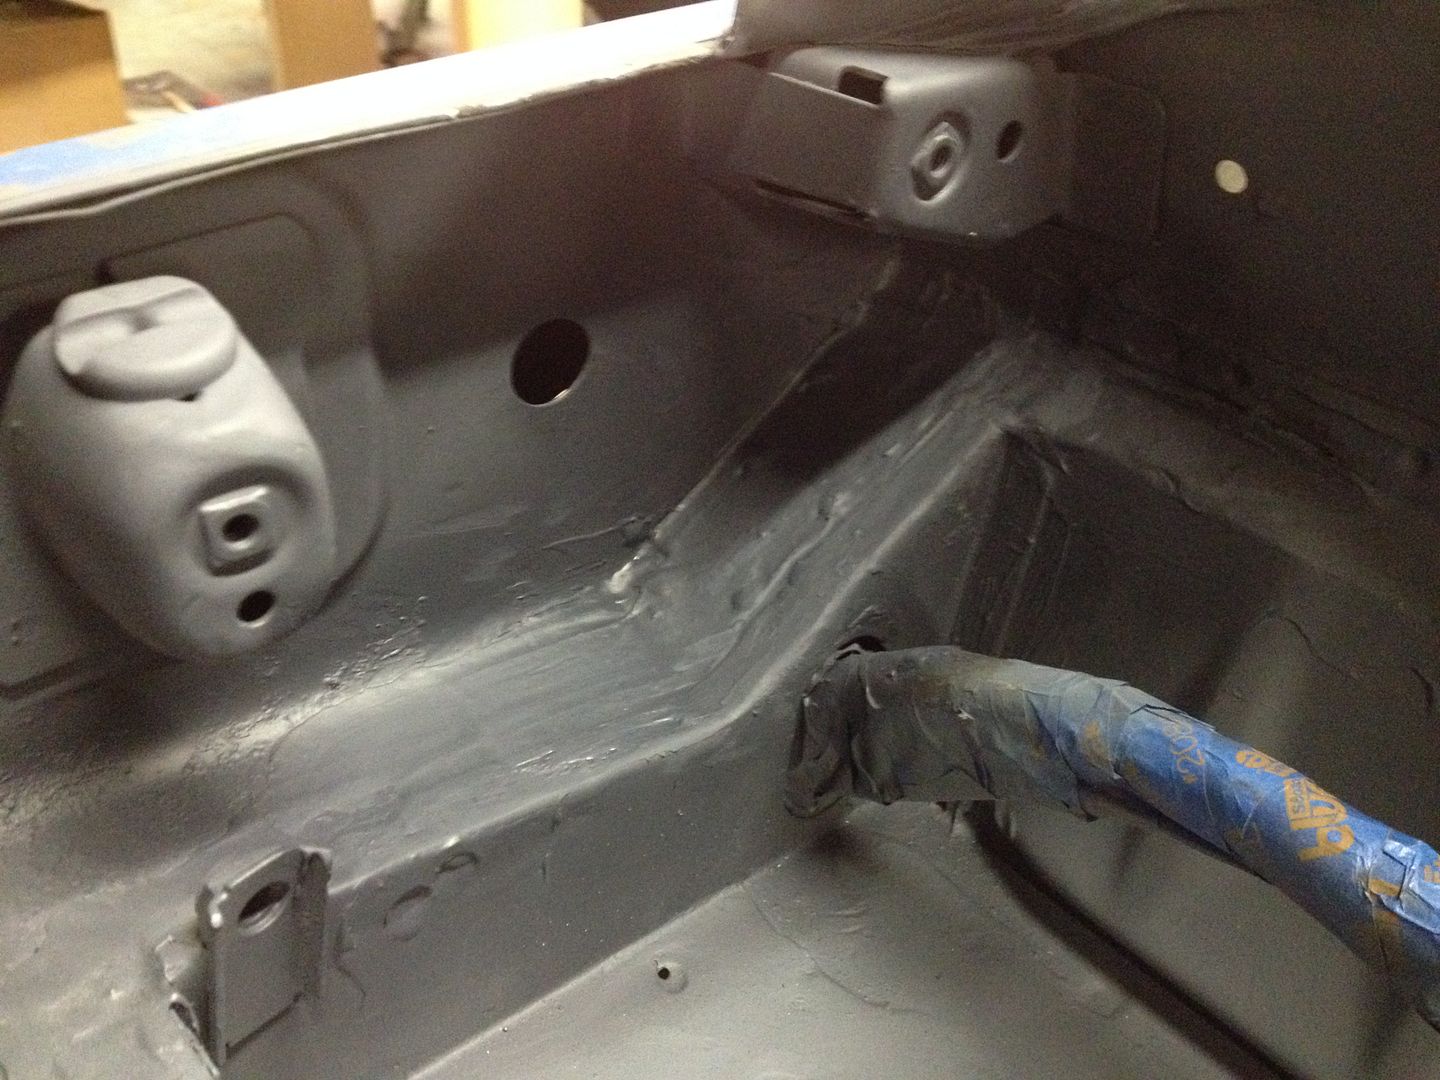
I spent 7 hours today working my fingers to the bone just so I can post a pic of what looks like ten minutes worth of spraying primer!!!! This rabbit hole is really deep, I think I have said that before... Fumes man FUMES!
But seriously, I finished stripping the drivers side of the engine bay and killed yet more uncovered rust lurking under seam sealer. I then smoothed out the uglies on the fender humps. Then I just shot it with another coat of primer to sit over night. I will be hopefully final sanding engine bay tomorrow after I weld in a patch panel in the hole that was once occupied by the AC lines. Then PAINT!! It is going to take me forever to clean up this shop when I am done.
Oh, And I figured out how to hide my hood release cable. Score one more for me!
Leave a comment:


Leave a comment: