
Awwwwww yeah.
The m90 (if that's an m90) may be a little small for that motor though. It'll probably still work. It just may make quite a bit of heat. But I say do dat shit.
-
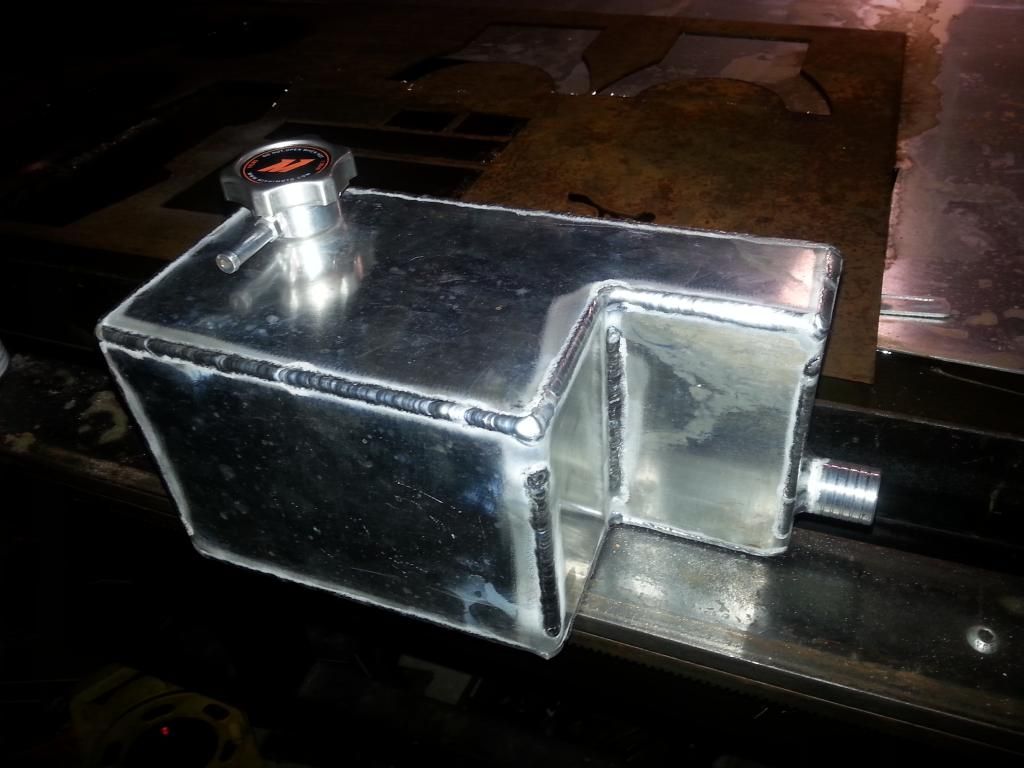
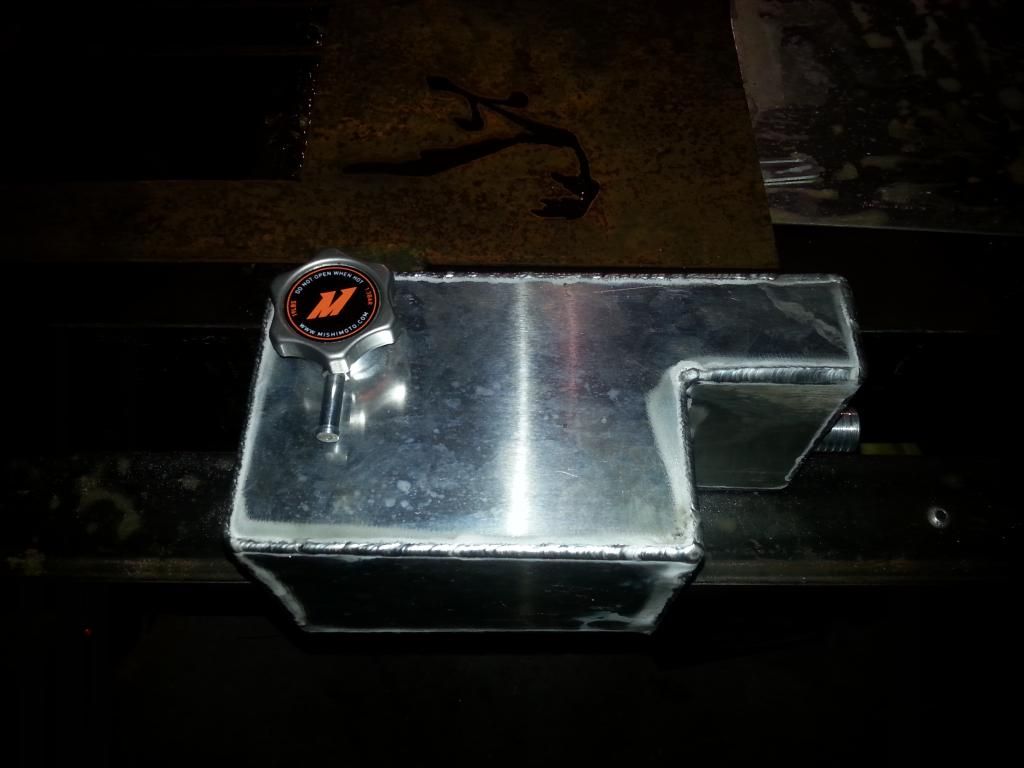
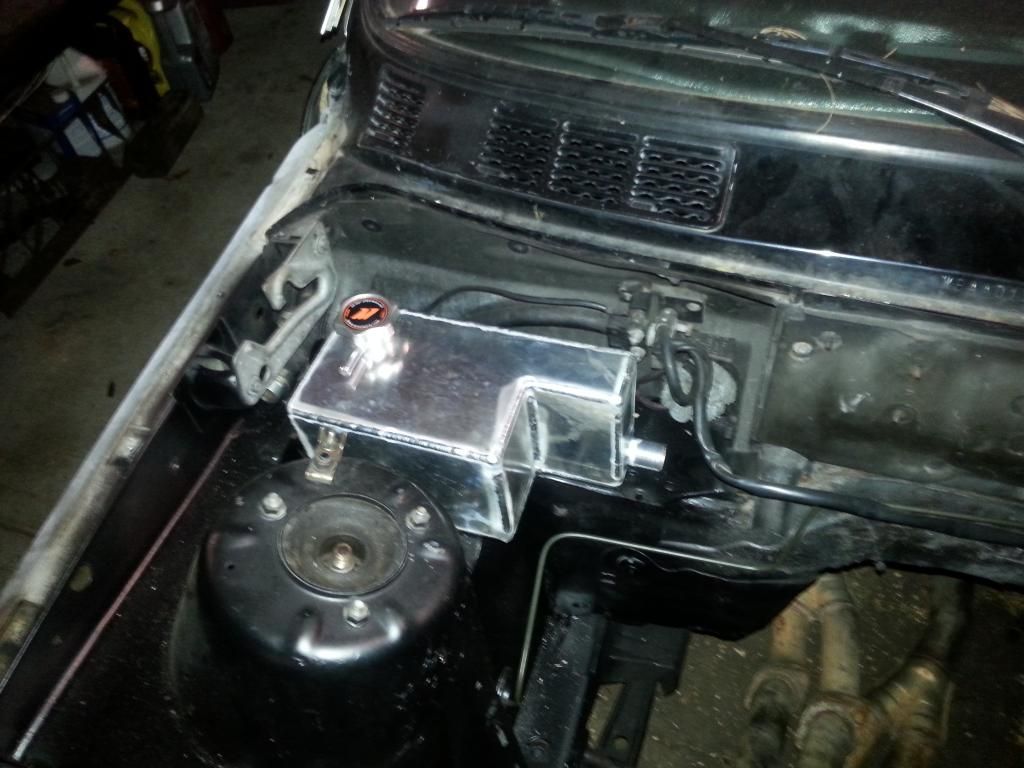
Dk's solution to our lack of a coolant expansion tank. Fit is great asnd should work well.
Stay Tuned
Leave a comment:
-
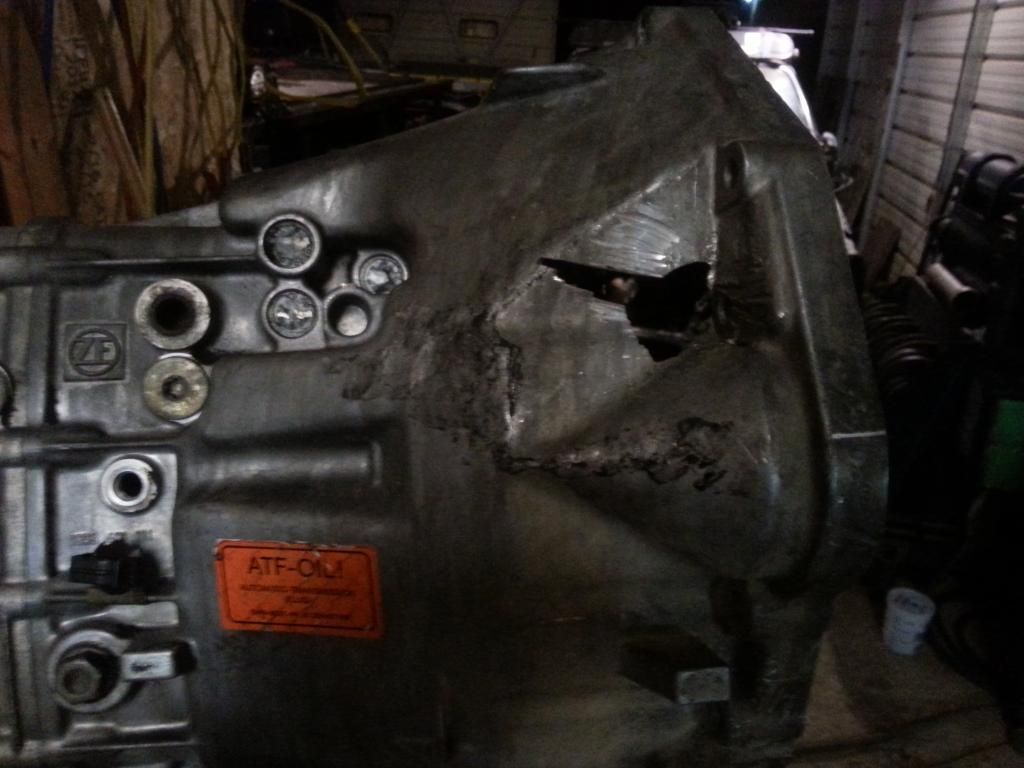
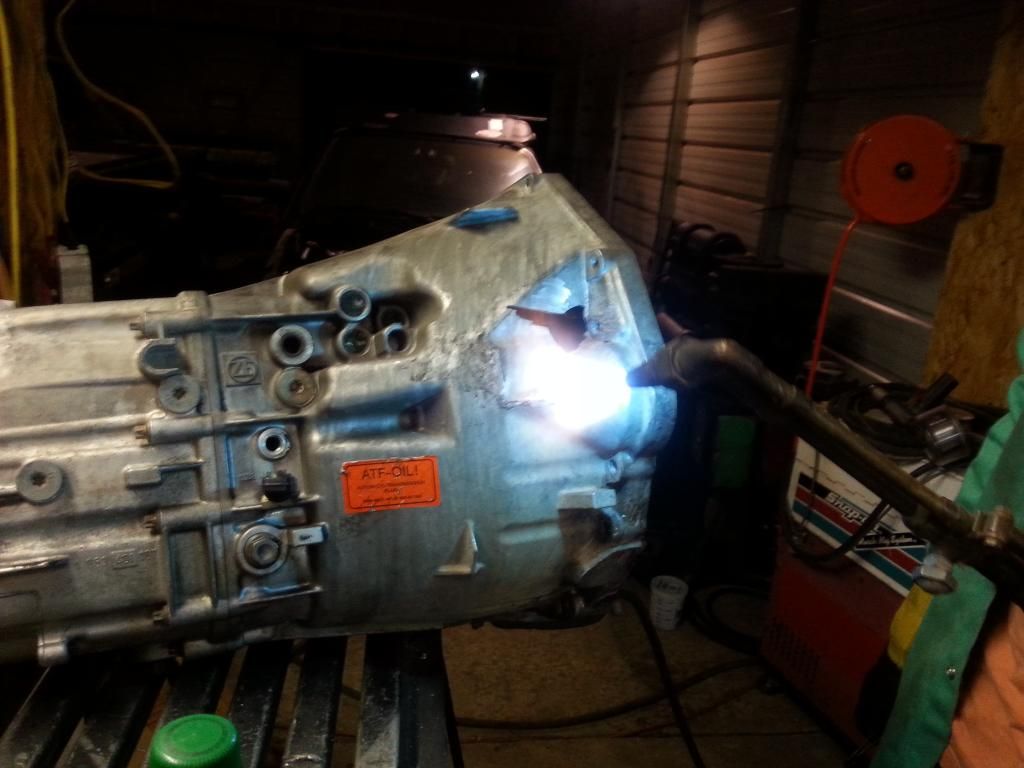
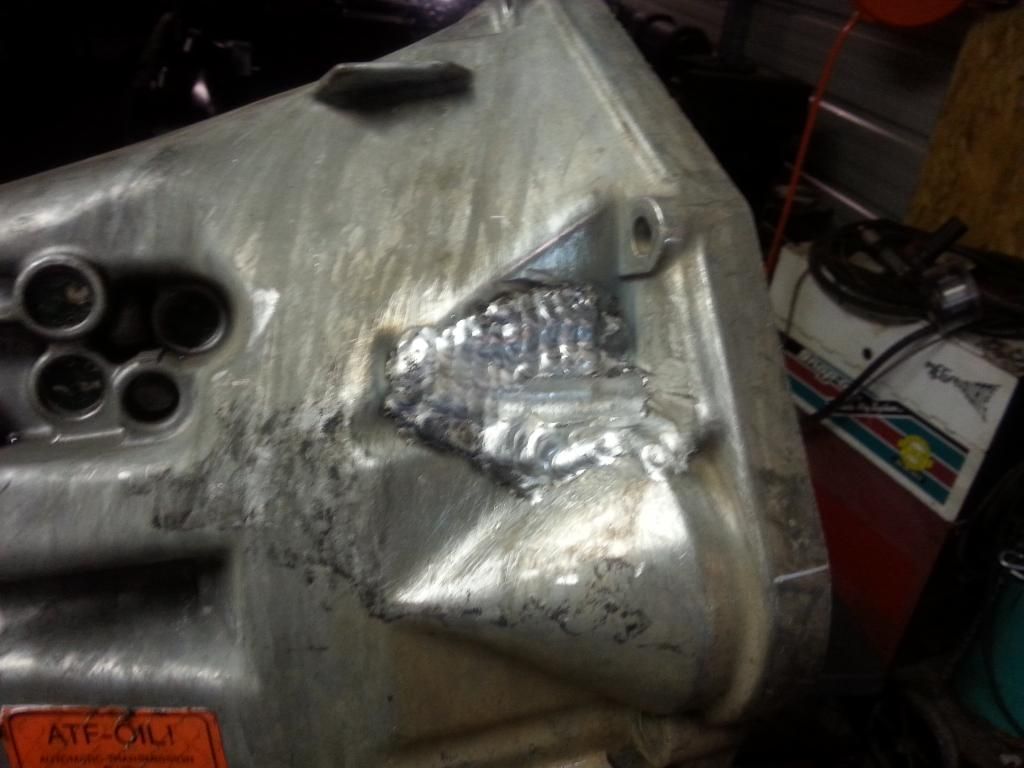
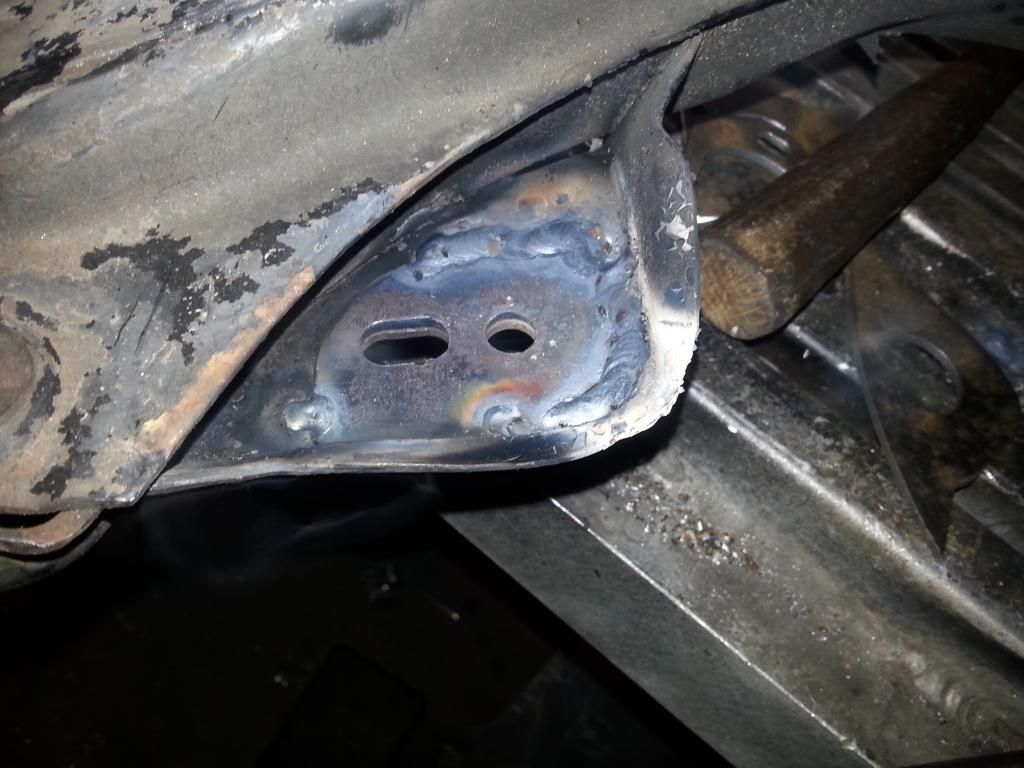
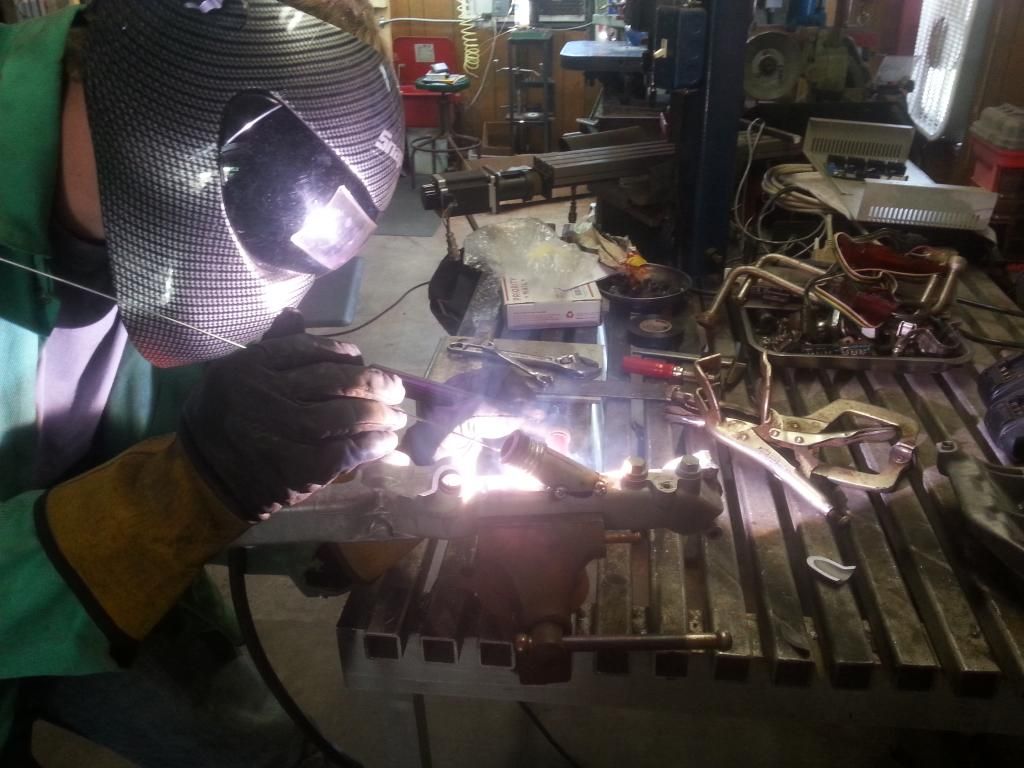
I bought the transmission with a hole in the bellhousing, looks like someone got a little frustrated! :up: Matt preheated, welded, then made sure we had even cooling of the cast bellhousing. Also did some strengthening to the subframe for the added v8 torque.
Leave a comment:
-
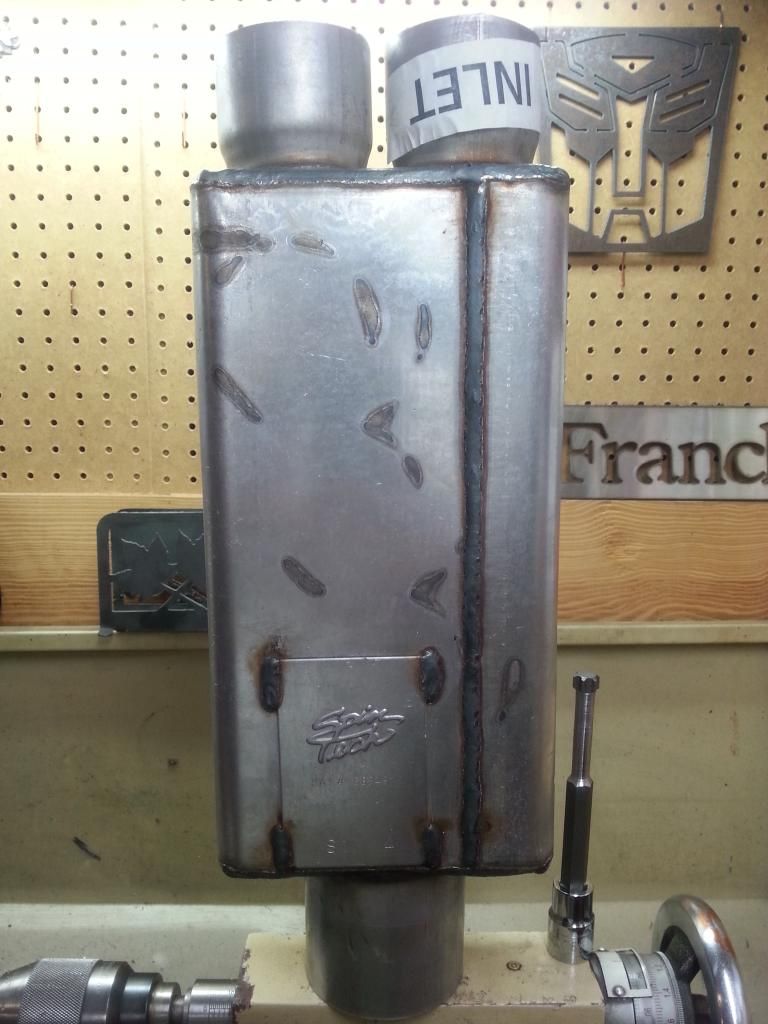
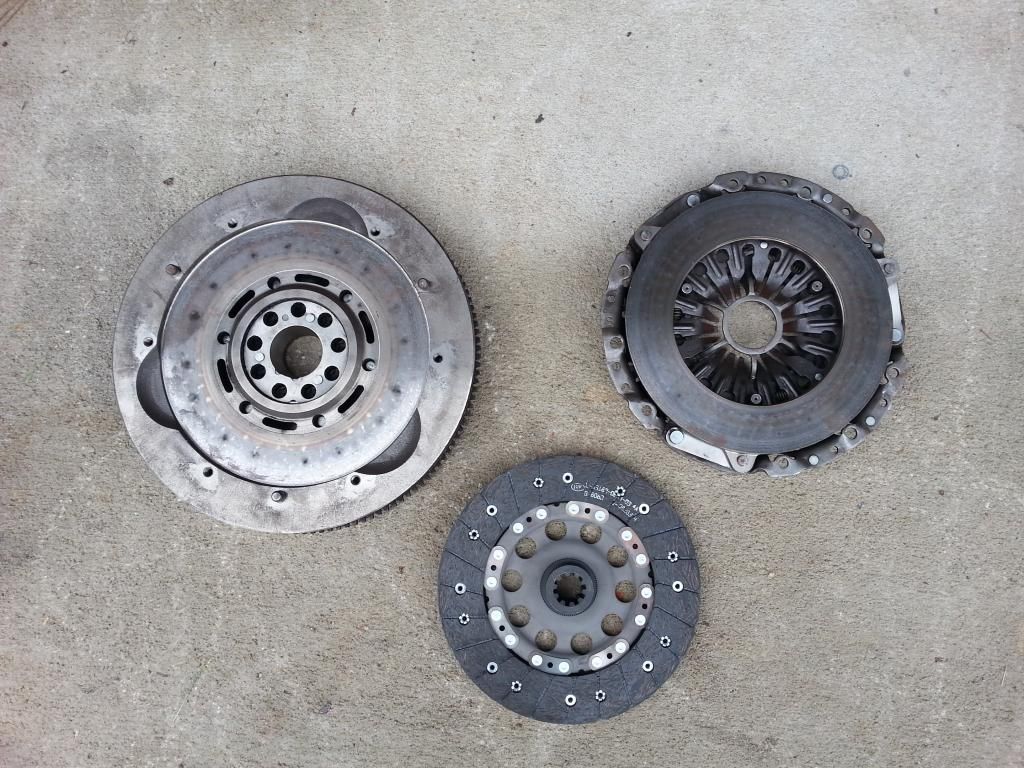
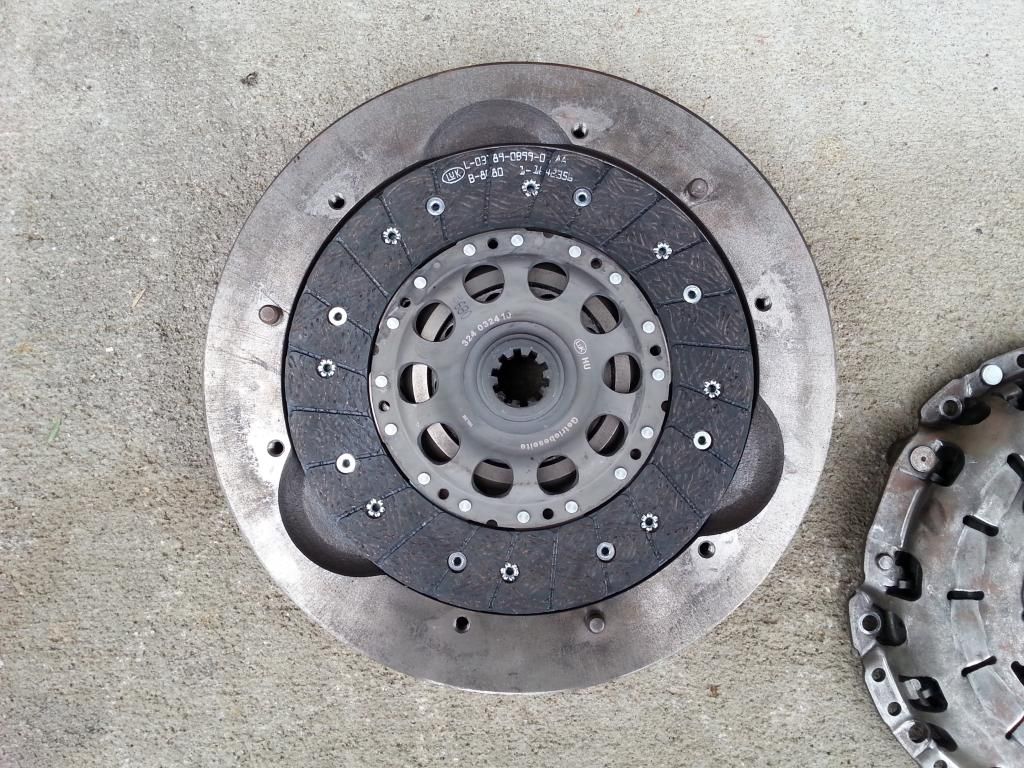
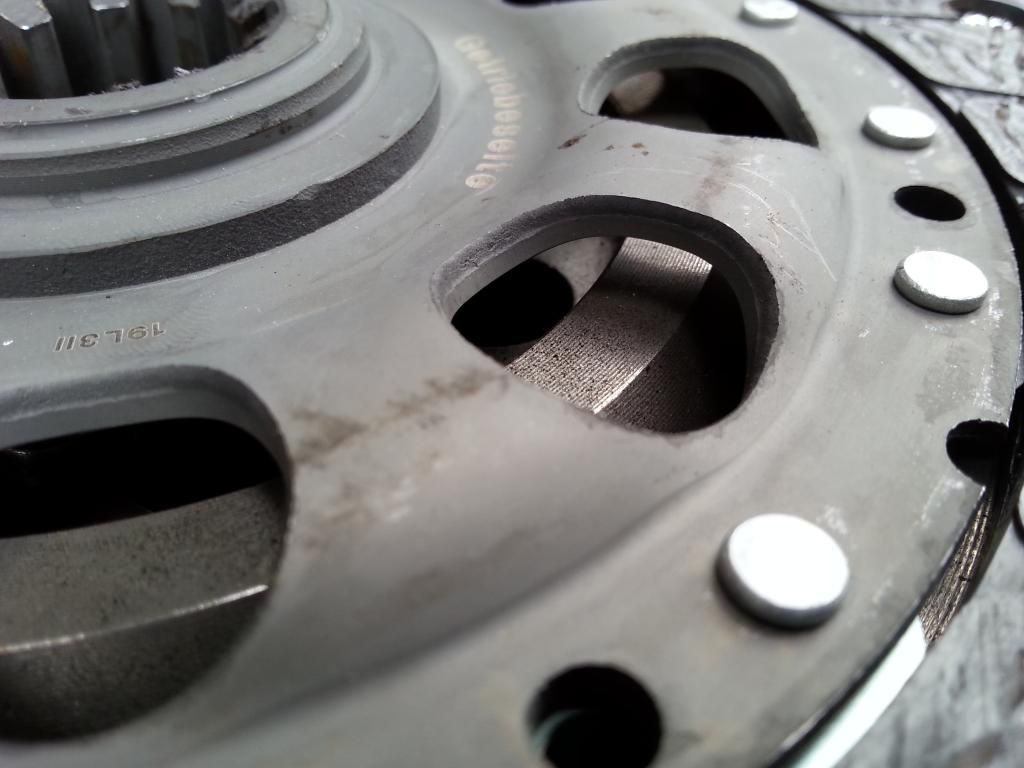
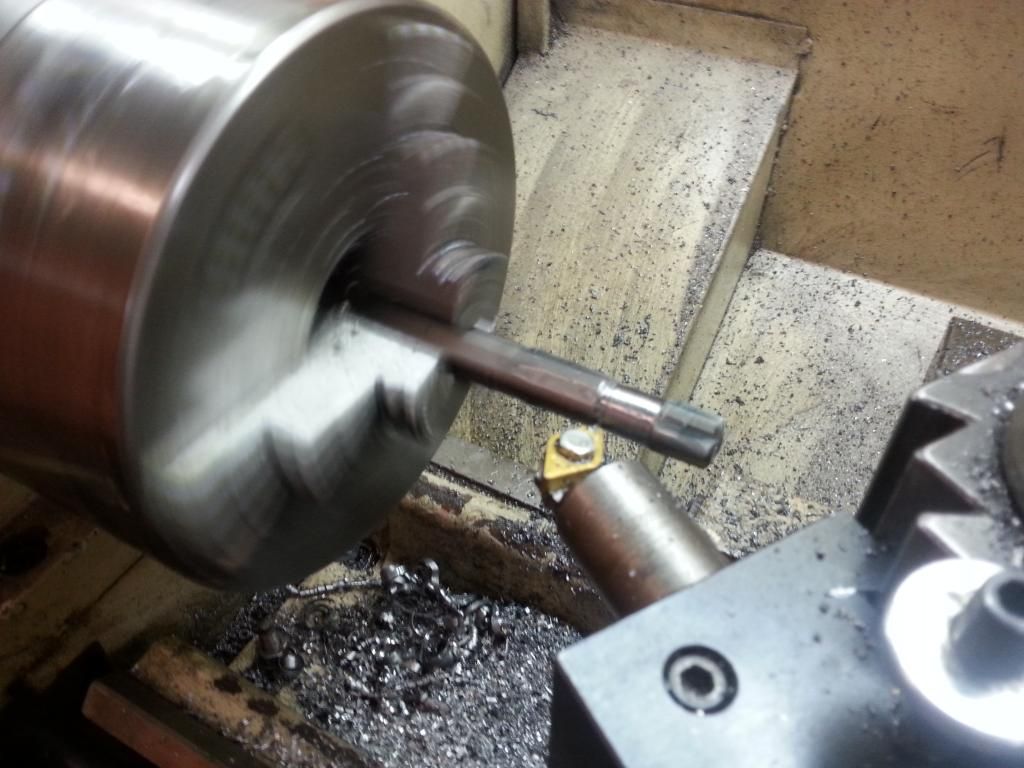
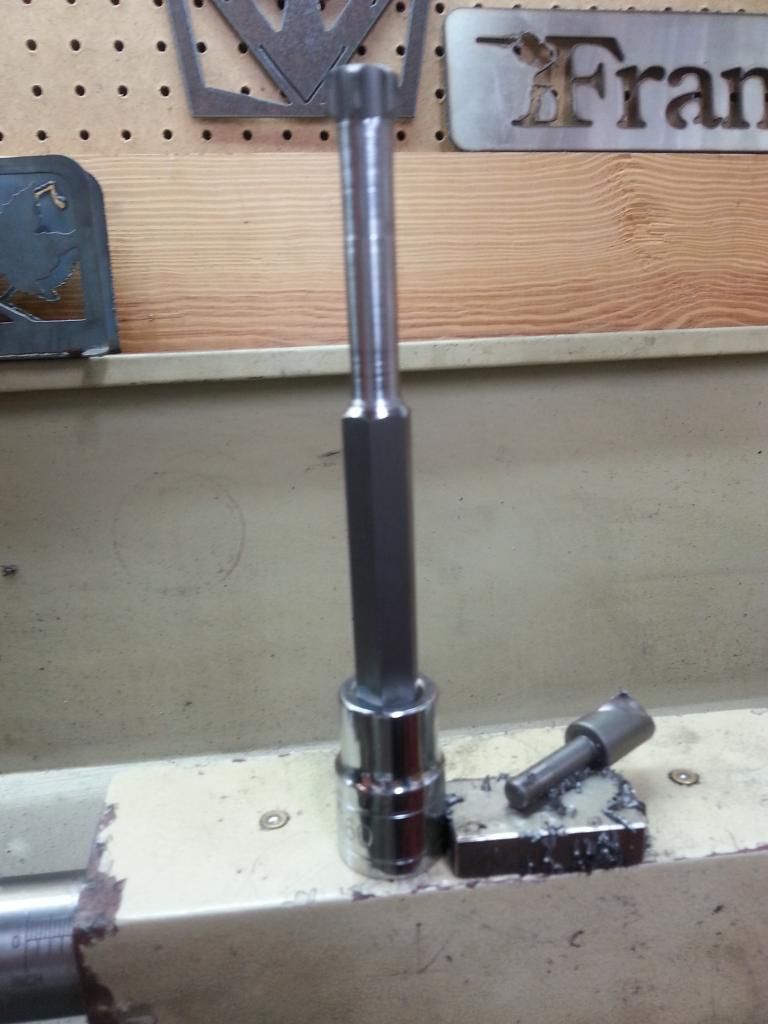
I was able to get down to Columbia this week and help out. My M5/530i clutch setup had arrived as well as my Spintech muffler. This muffler with the Vibrant resonators should sound great! We also modified a T-60 bit to be able to install the flywheel!
Leave a comment:
-
The m60 cover is a diff design due to dual row chain. This is the easiest solution. The design changes makes the covers just different enough to where they leak.Leave a comment:
-
-
Progress
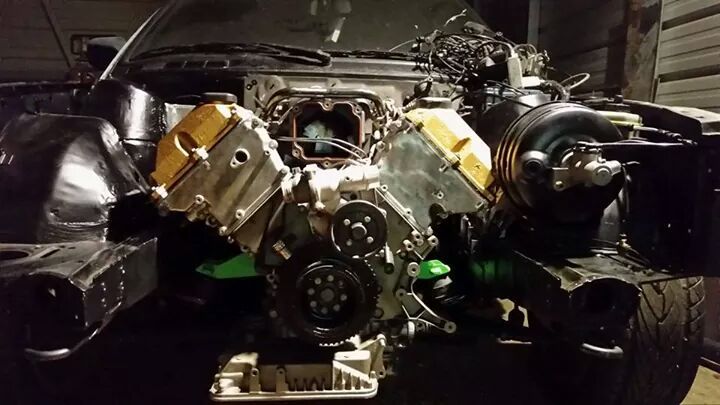
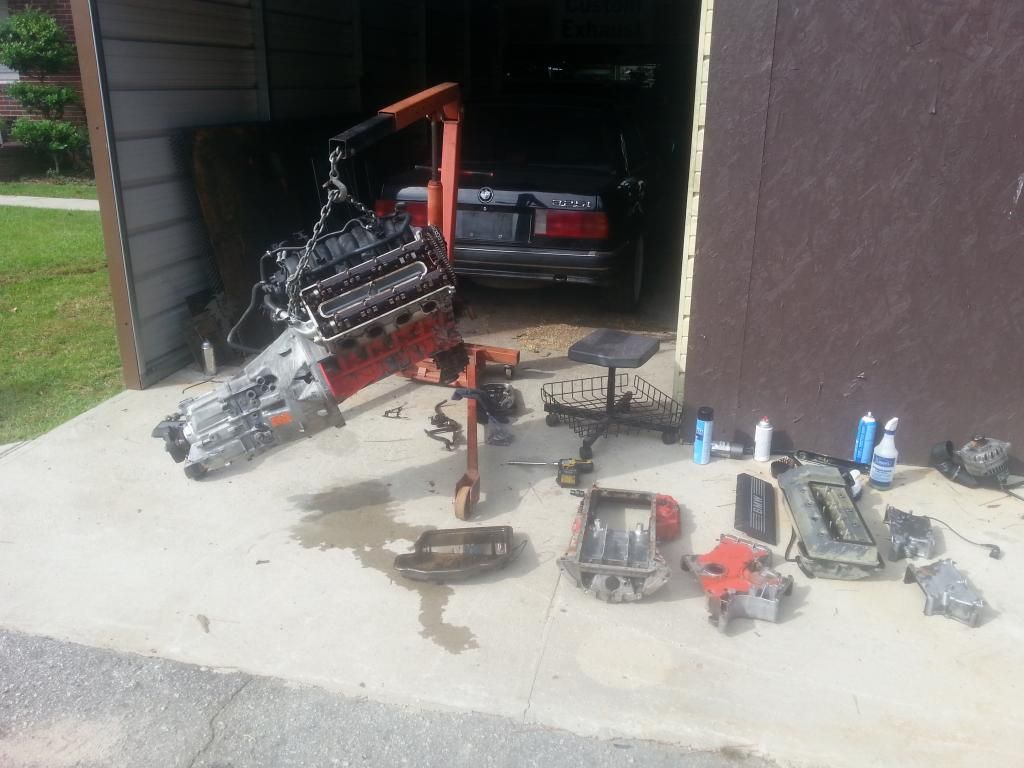
I was able to shoot down to columbia last weekend to help Matt knock out some of the work. The plan was for him to finish the chassis while I worked on resealing the motor to get it ready to drop in. We ended up working 18 hours that weekend, makes me miss winter.
Scored an OBD1 setup and 404 DME at the Charlotte LKQ before I headed south.
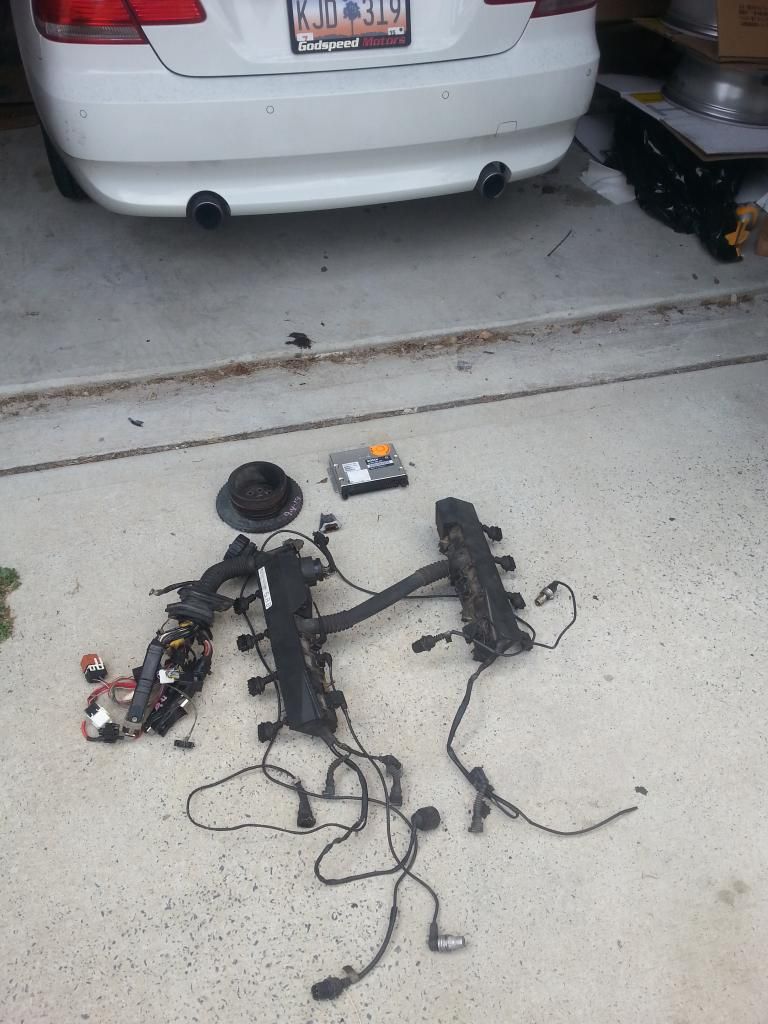
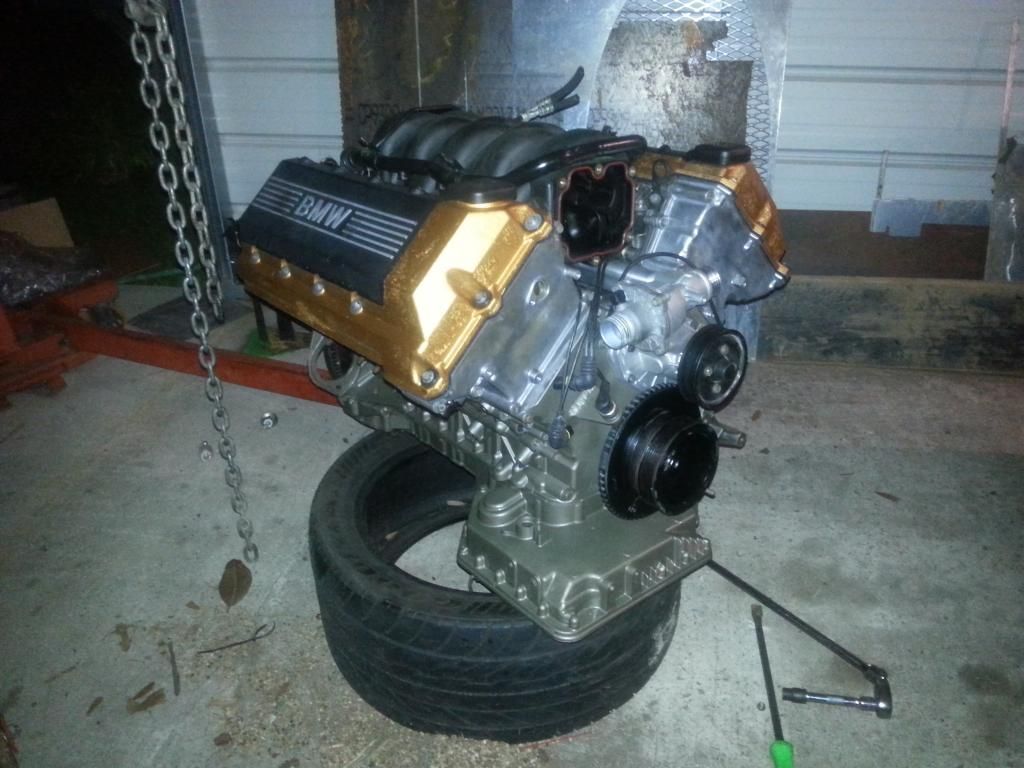
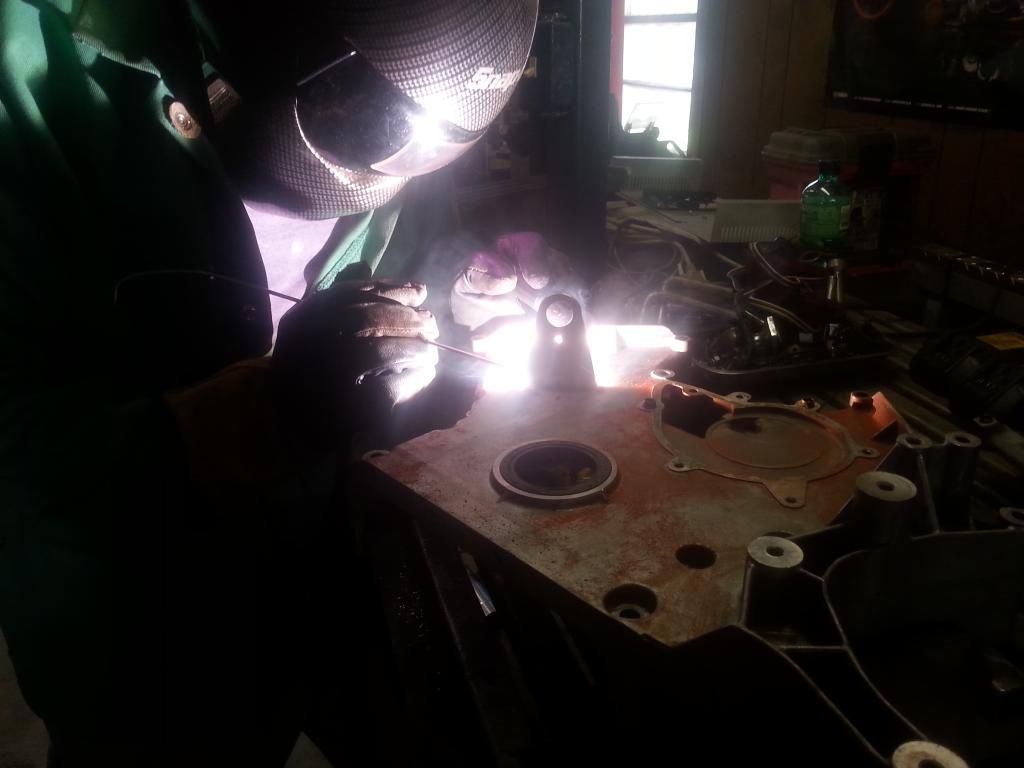
Resealing the motor/Replacing timing chain guides/Retiming the motor.
Dk welding on the rear coolant pipe for firewall clearance.
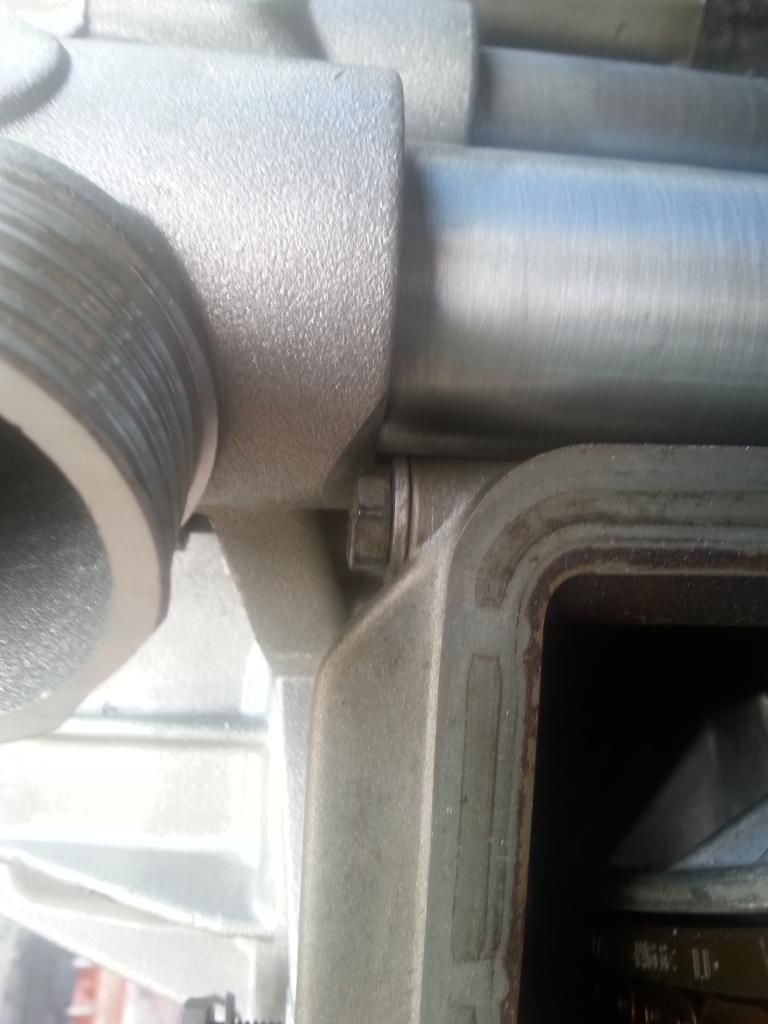
Found a problem with mounting the m60 water pump to the m62, seems the casing of the pump is larger and interferes with the m62 timing cover bolt. This was the case on our pump at least . Nothing an angle grinder couldnt fix.
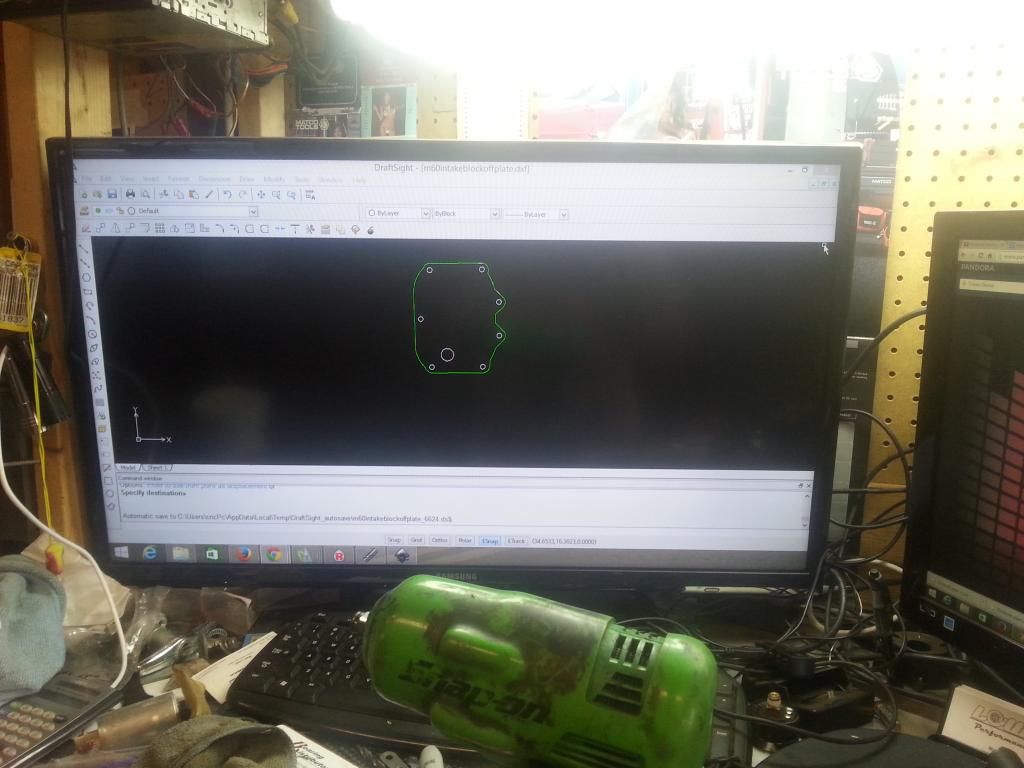
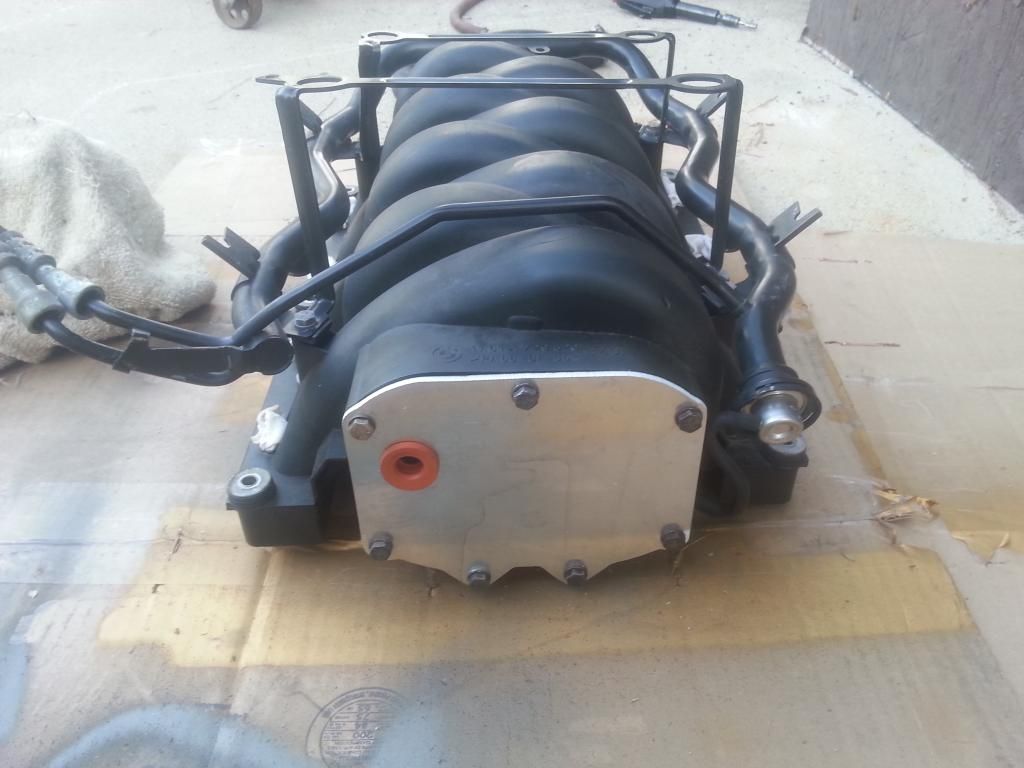
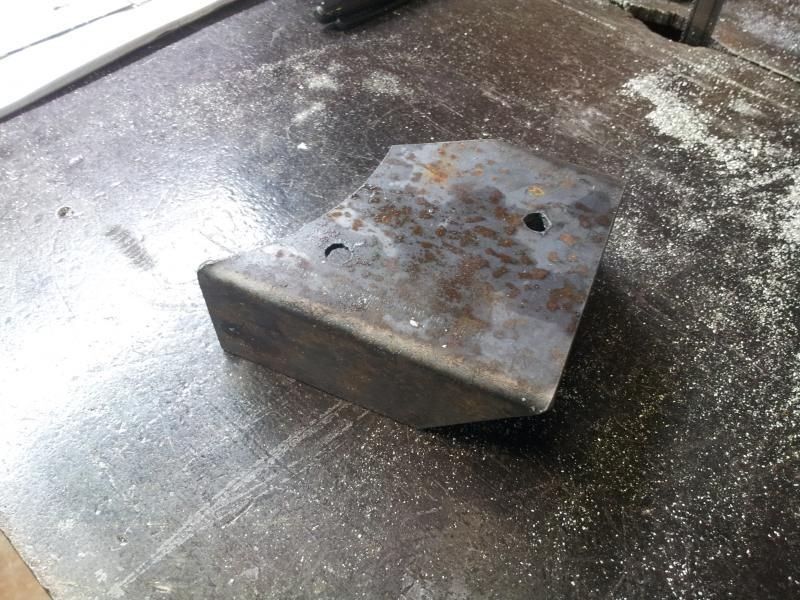
Had Dk cut out a rear blockoff plate for the m60 manifold , cleans up the rear nicely.
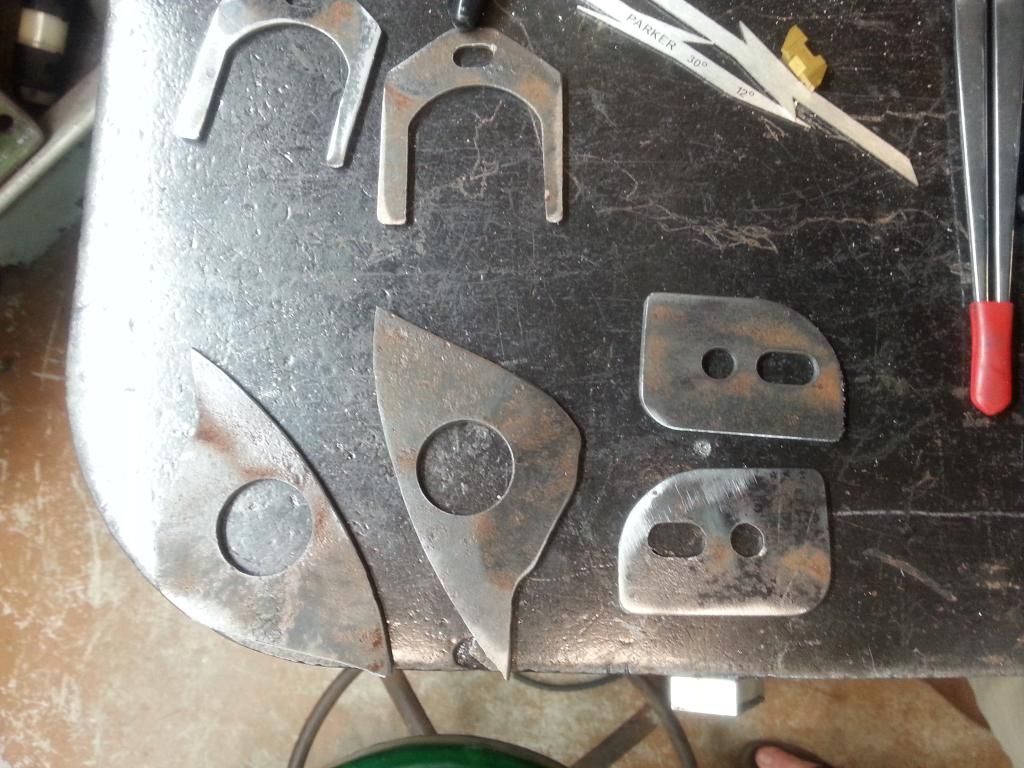
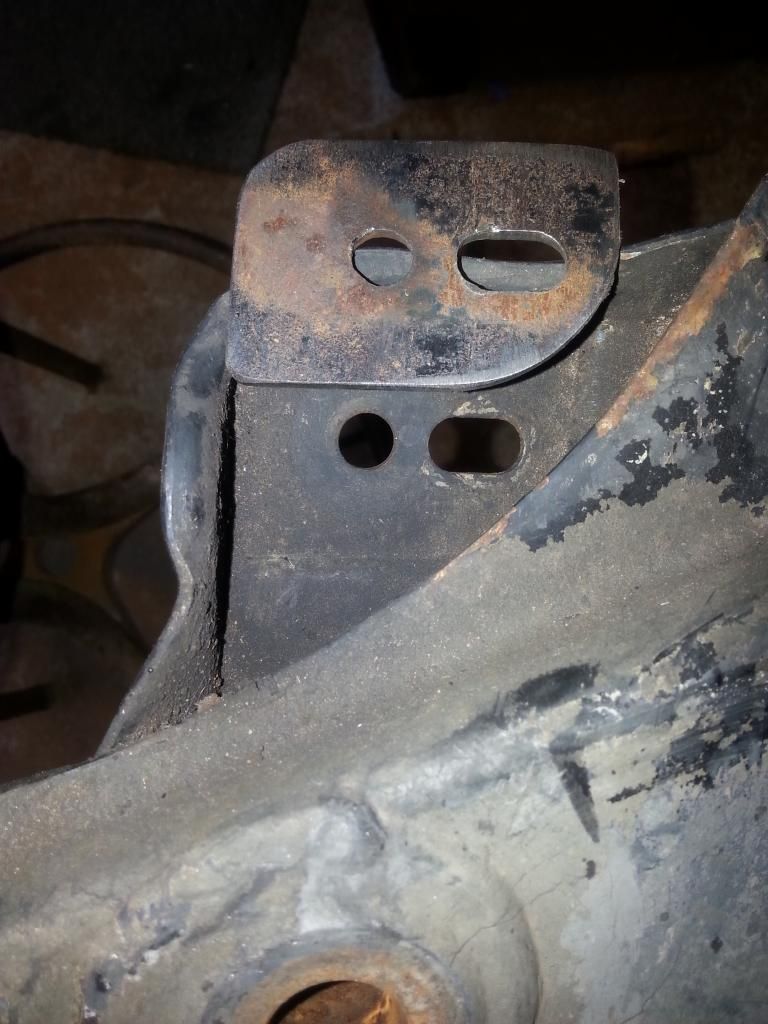
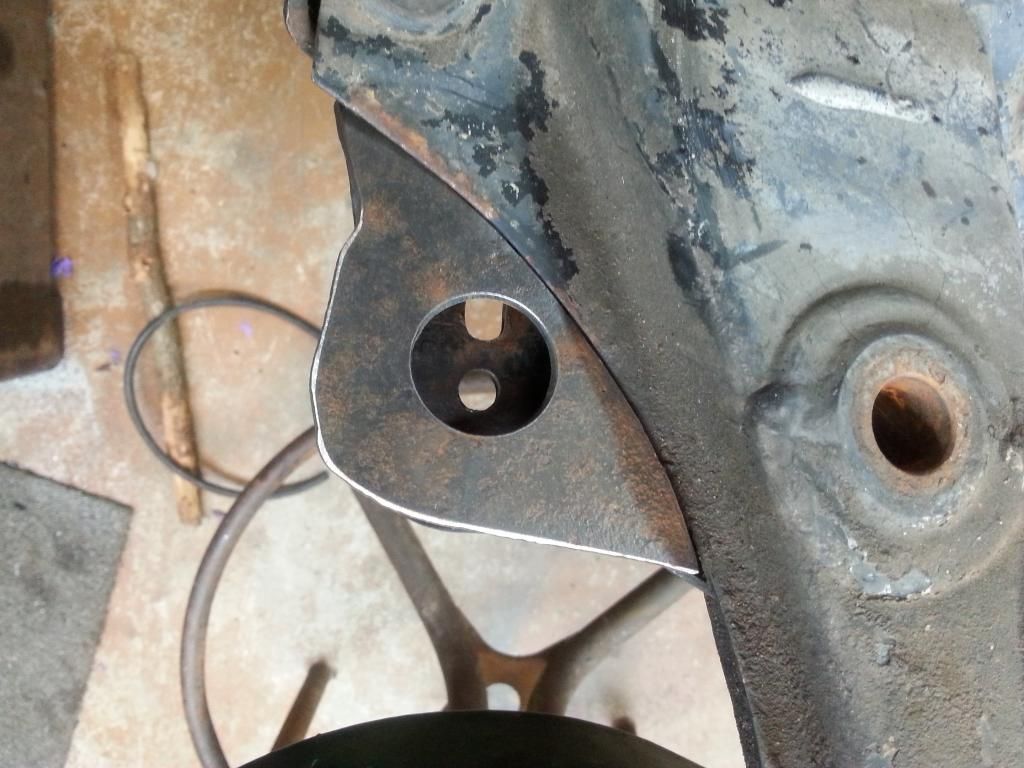
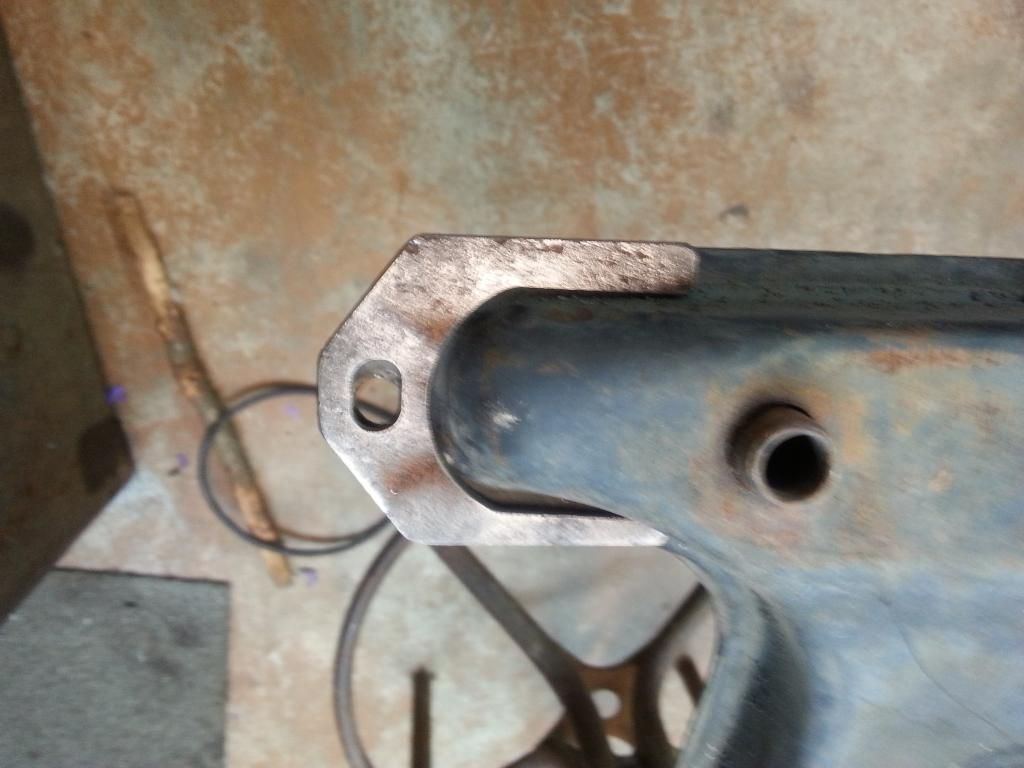
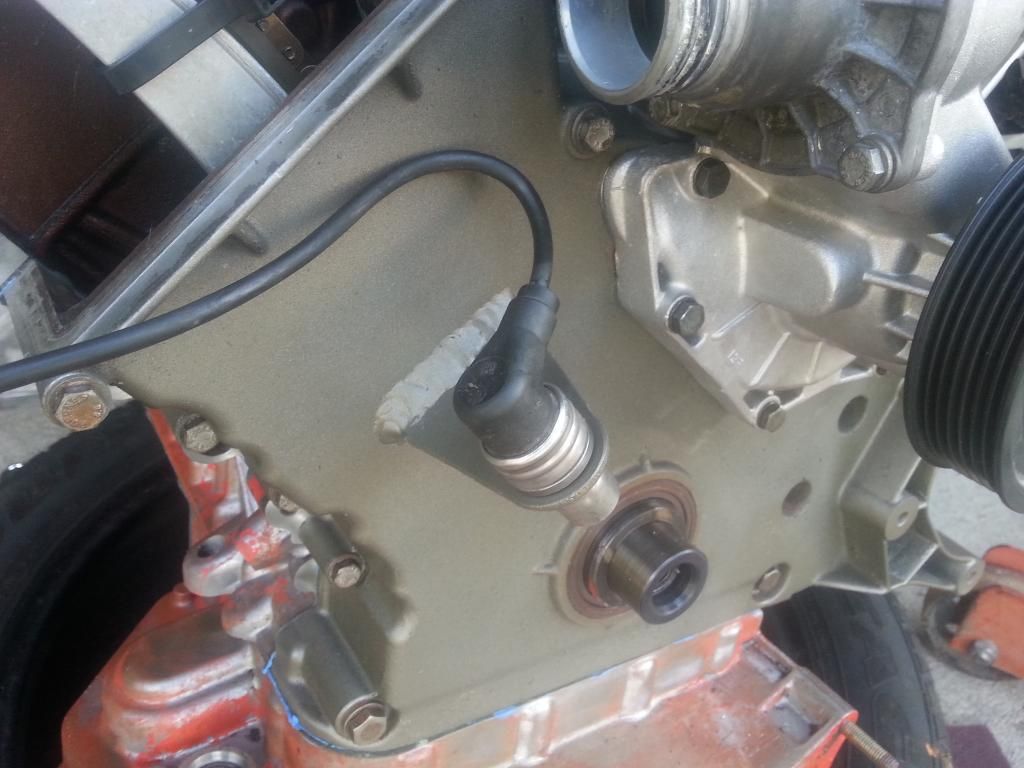
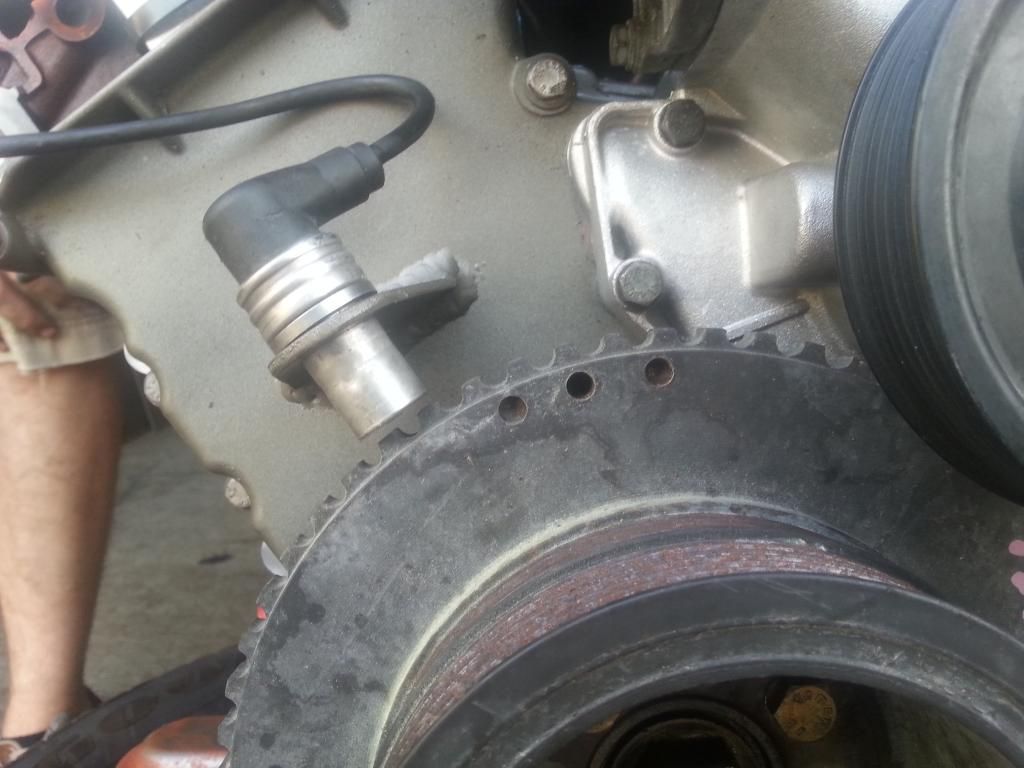
Now came the time to mount the OBD1 CPS on the m62 timing cover, we decided the cast mount looks terrible so we drew up our own.
Welded/Painted/Mounted
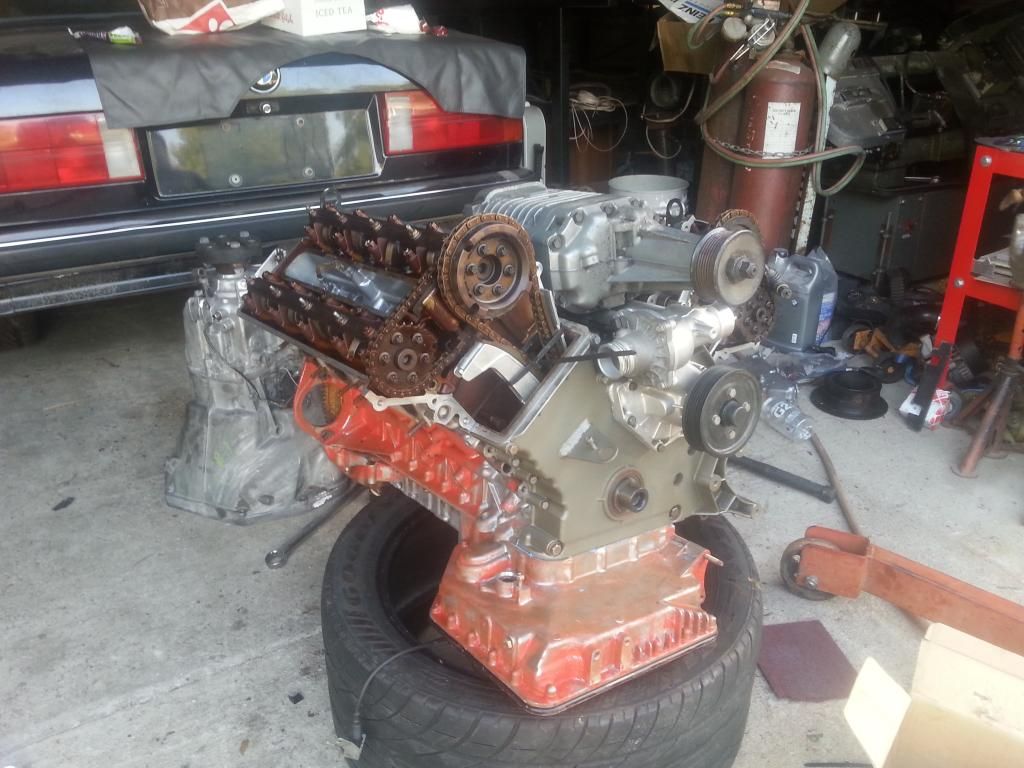
Got the chassis ready for its new motor and the engine is just waiting on the clutch setup. I plan on using e39 M5 flywheel/e39 530i Clutch disc/M5 pressure plate. Once that and the transmission refresh kit arrive we will be in business.
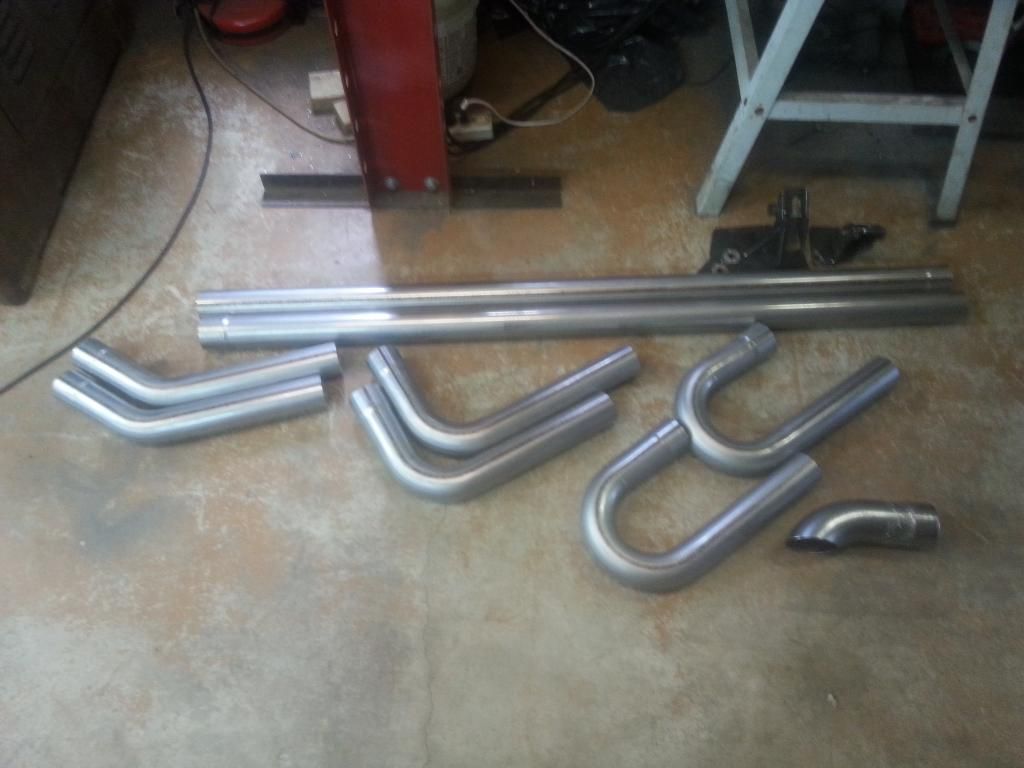
Some exhaust parts showed up! :nice:
Some future plans a la Monkey Madness...
I'm heading back to Lown Performance next week so stay tuned for updates!Leave a comment:
-
Haha, I felt like I was looking through my own build thread for the brake setup, except it got done in 1/10th the time, with 1/10th the aggravation, and looks better. I seriously envy your tools and fab skills. Nice work.Leave a comment:
-
Thanks man, Actually sold my e30 for the money to build the table. It was hard to let her go. Still dont have a e30...Leave a comment:
-
Awesome job on the engine mounts. I like how you eliminated the need for the oil line plate by incorporating your own into your mount.
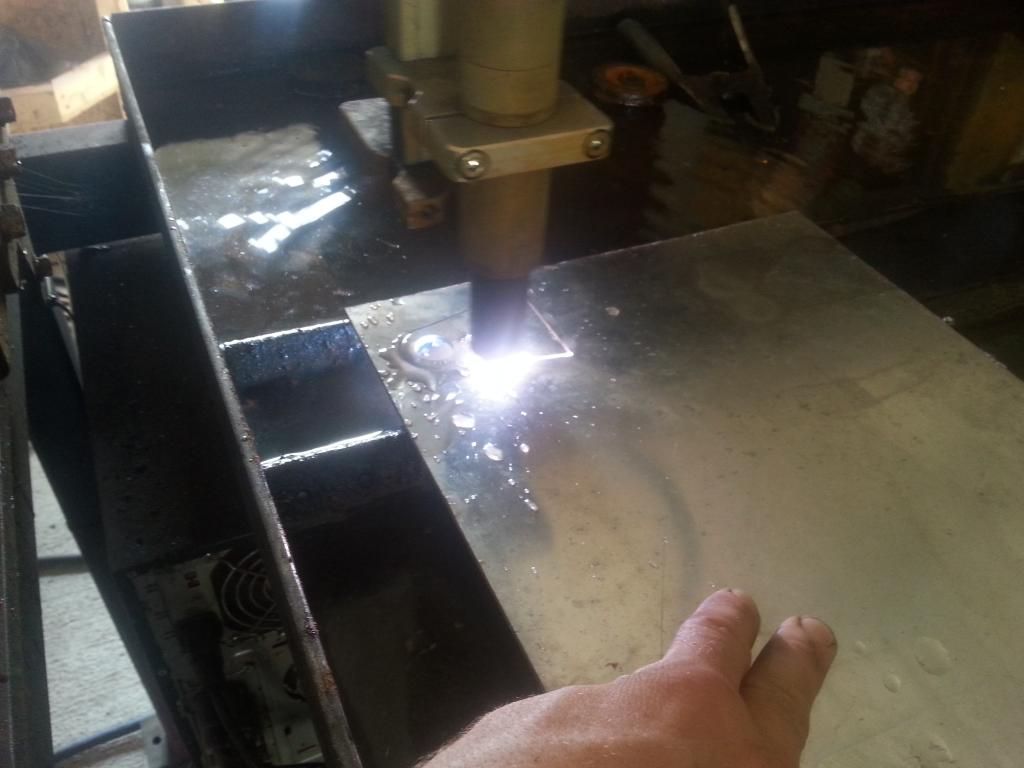
That plasma table has to be a sweet tool to have, I'm stuck drawing them in CAD, tracing them, and then doing the plasma by hand.Leave a comment:
-
Once all of that unfun stuff was done i was able to modify my pushrod length
Sorry about the crappy pics, ive not got a S5, so the pics should improve vastly.
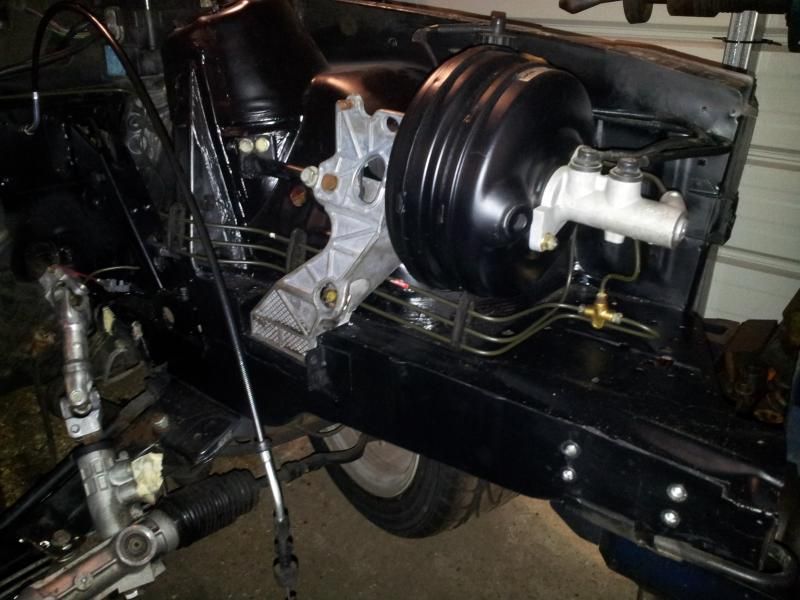
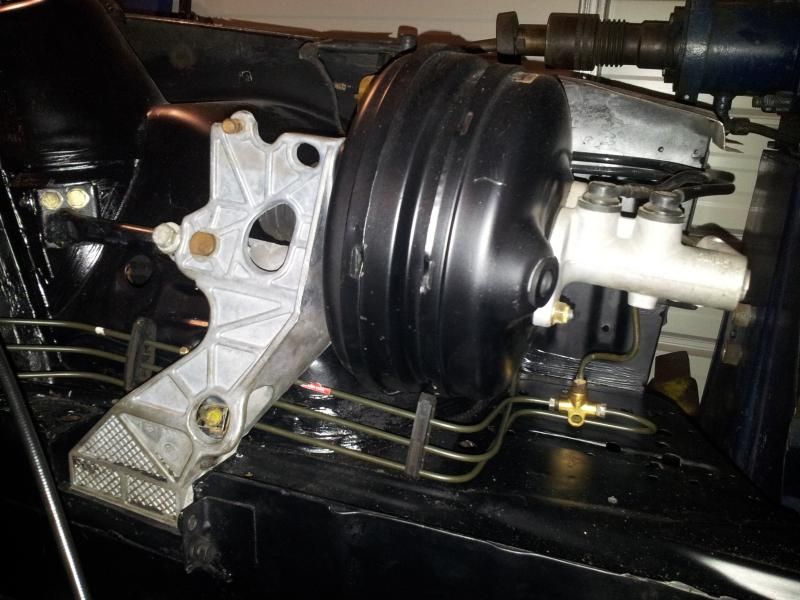
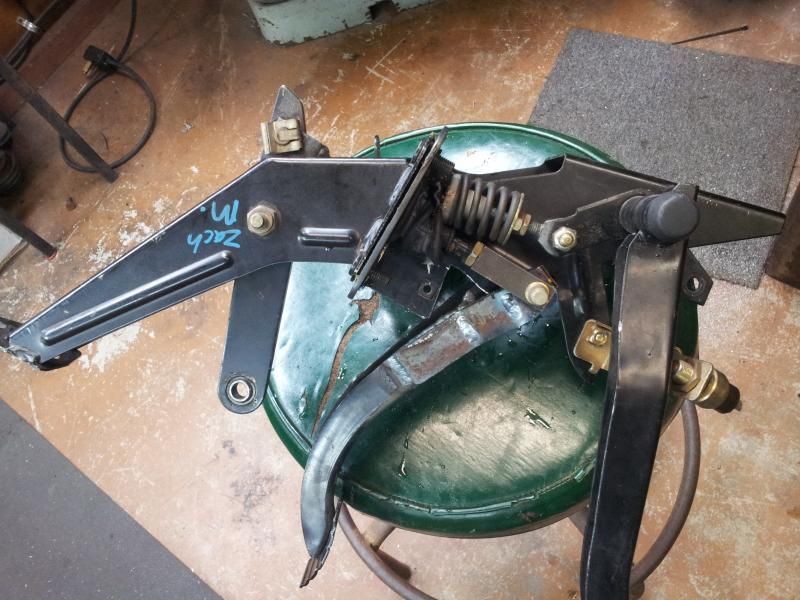
Once all of it was completed i cleaned it up and ran the brake lines(FML!!)
Zach and i decided to try out the e46 steering knuckles. Took 2 and made one! There is a sleeve pressed into both of the knuckles. So the weld is not taking any sheer load. Only as a retainment to ensure they dont come apart.
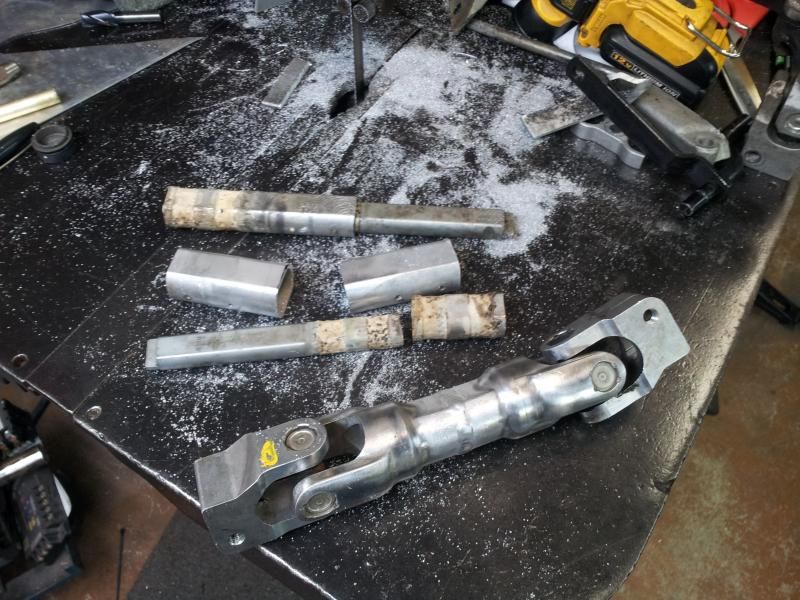
Heres the knuckle, (during cleaning)
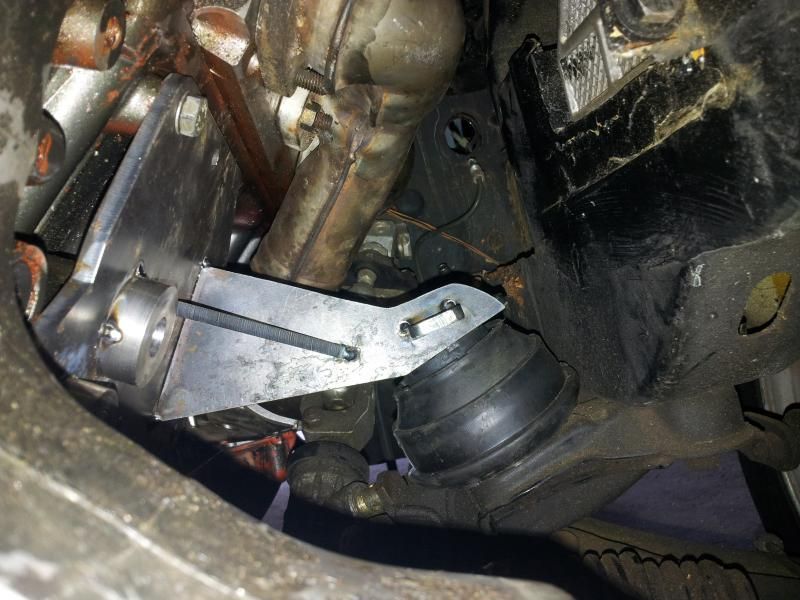
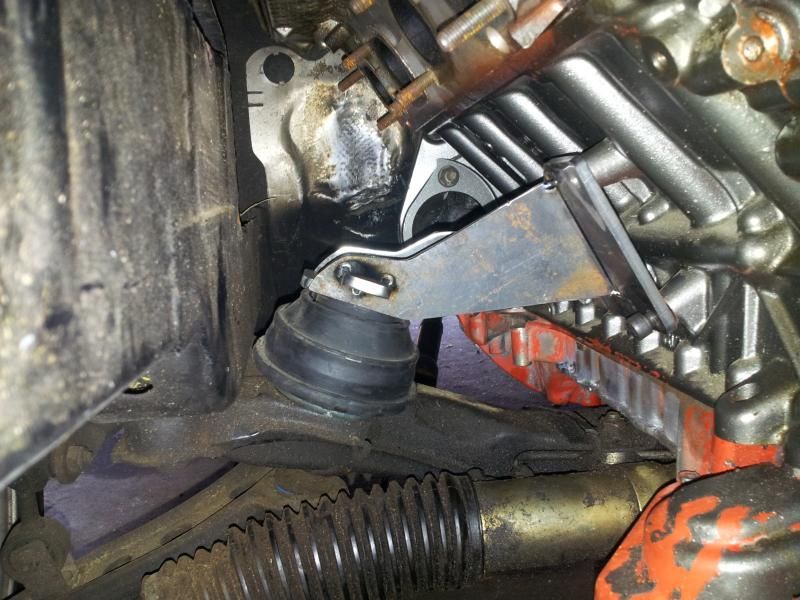
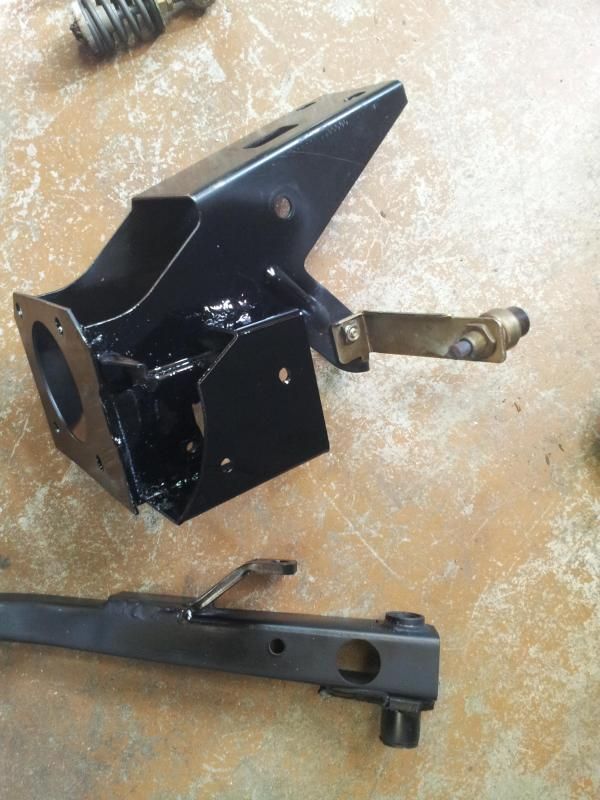
Heres pics of the mounts before welding and paint.
Leave a comment:
-
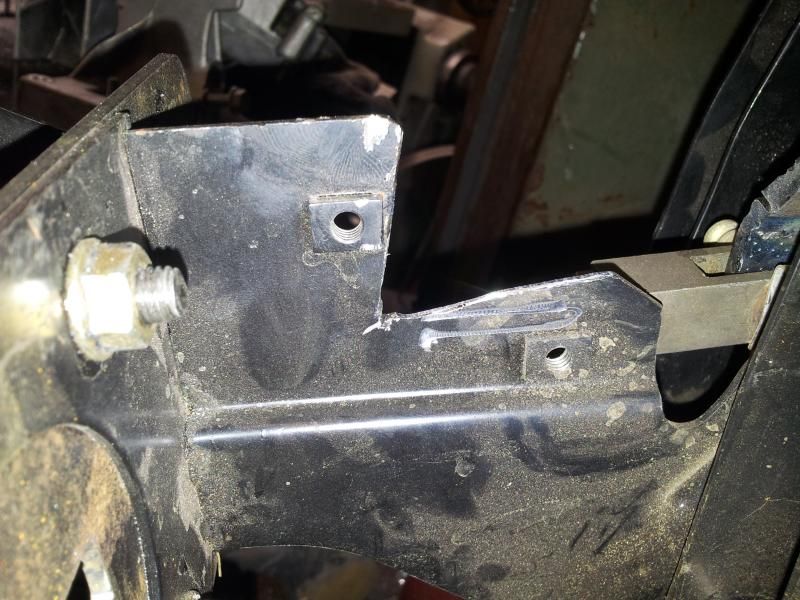
The hole for the clutch cylinder looks a little rough because it was a guess and i ended up having to wallow it a bit more. Im going to try to figure out a boot solution to keep the heat and dirt out. That comes later though.
After the throttle was squared away i was able to start messing with the clutch. This was a bit more of a pain.
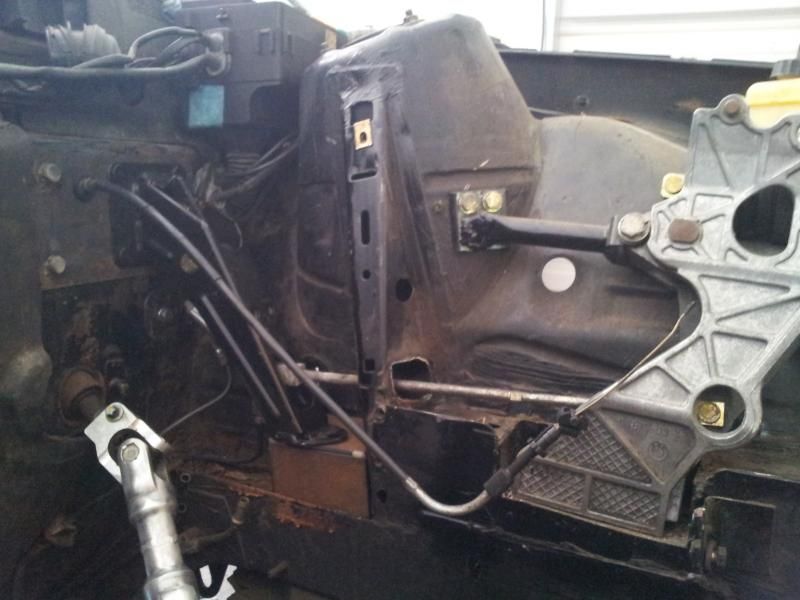
I started with modifying the clutch pedal tab over a bit. Using a new tab i burned out. The stock one was removed. Once i had the cylinder mounted to the tab i could figure out how to make my spacing bracket. While keeping the brake lever/rod in mind.
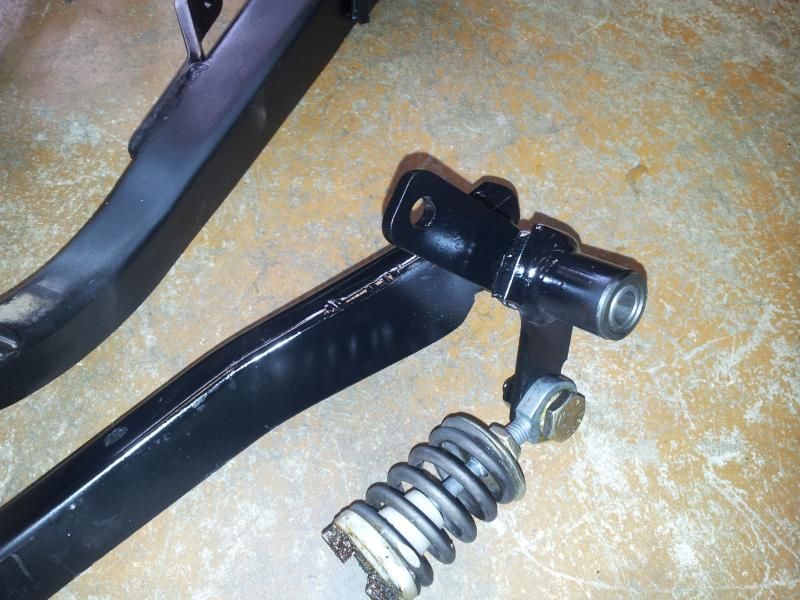
The tab is a bit twisted, i straightened it before it was welded.
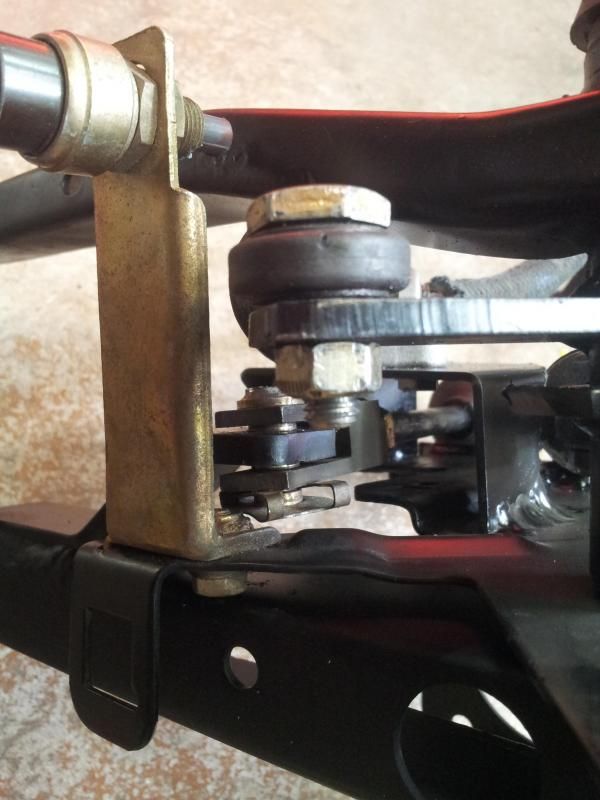
The brake lever was moved to the left side of the pedal. Due to clearance i had to "underhang" the bracket. Once its painted i dont think it will look that bad.
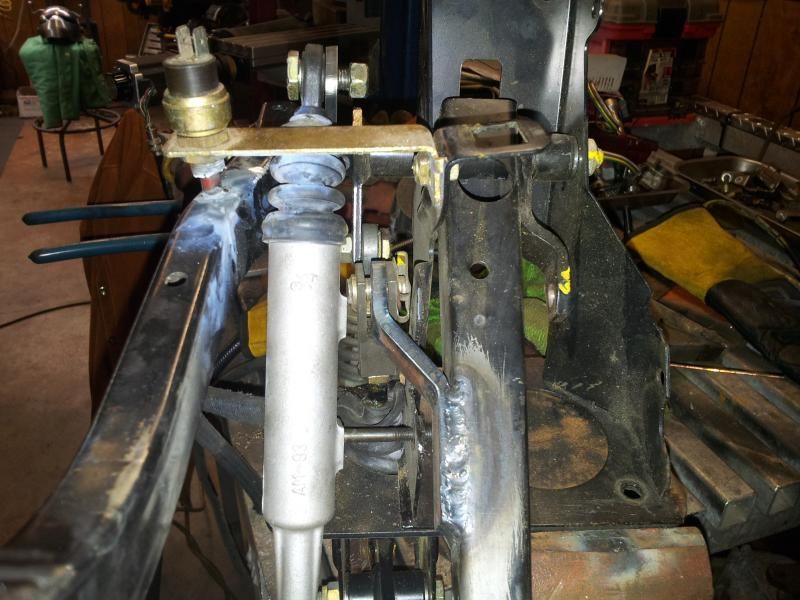
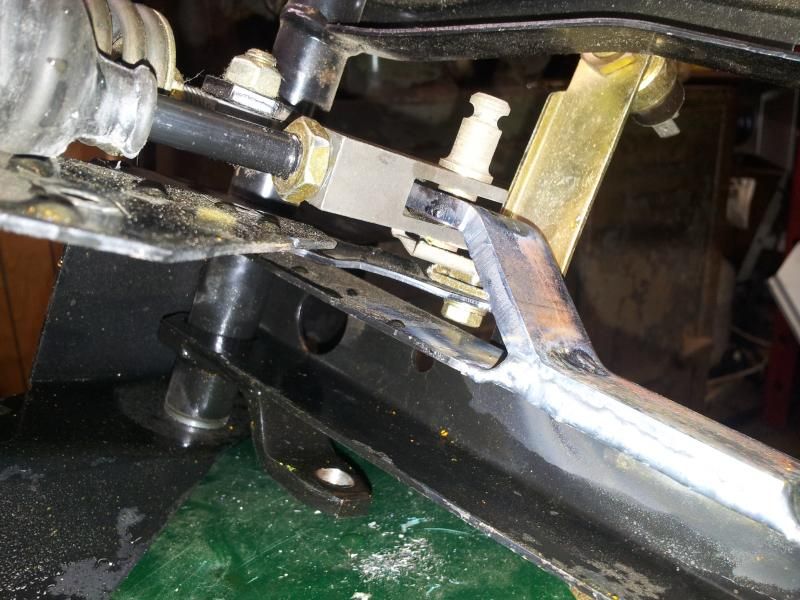
Note, you have to trim the pedal bucket where the factory clutch cylinder location was. This is needed to clear the modified brake lever location.
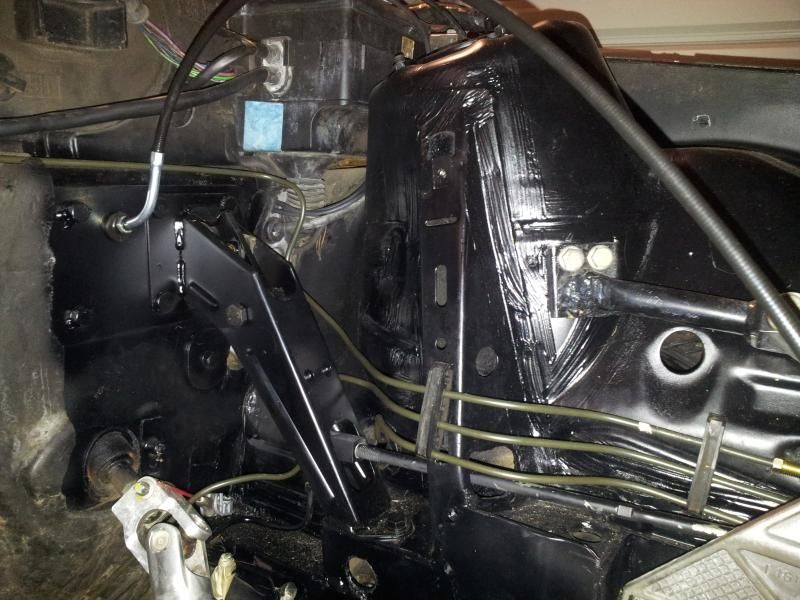
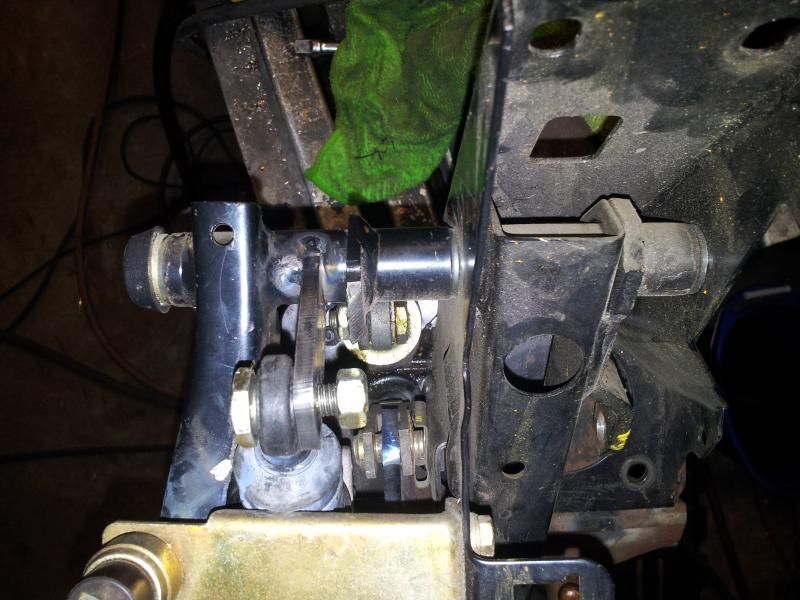
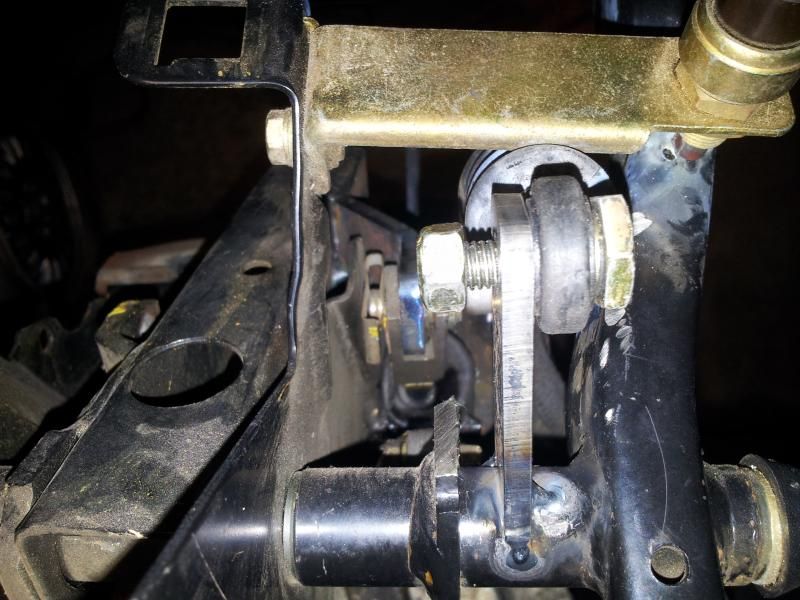
Bracket welded on and pedal painted.
Even though its tight, nothing binds,rubs or chaffs!
Leave a comment:

Leave a comment: