
 [/IMG]
-
Dude, I FUCKING LOVE your seats! Those are amazing! Quite possibly one of the best seat material combos I've ever seen.
The headliner turned out nice too, the insulation looks nicer than factory even. Great job!Leave a comment:
-
Finished my seats today... Have to take better pics of the whole interior!!
[IMG]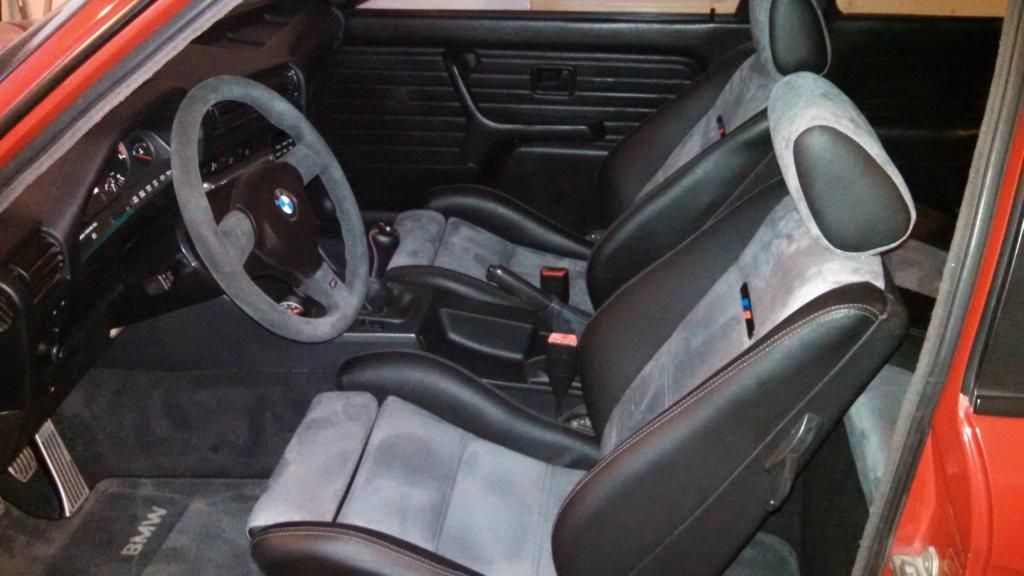 /URL][/IMG]
Leave a comment:
-
I don't think their the same because the headliner panel is different where it meets the A pillar not the same width. I got an headliner panel from a reg E30 because mine needs repairs. And the B pillar...I removed it very carefully....Leave a comment:
-
Looks good.
Do you know if the A pillar trim pieces are the same as a regular e30?
How'd you wrap the B pillar trim without cracking it?Leave a comment:
-
Most of those pictures of the headliner were taken while test fitting the fabric and make sure i had enough on all sides. keep in mind that i was doing this all by myself and as some of you might know its not FU*kin easy!! oh all of the A, B, and C pillars were re wrapped with new material.. i'll take pictures of what it came out like. Also installed some Auto Meter gauges because my temp gauge in the cluster had me freaking out at times.Leave a comment:
-
[IMG]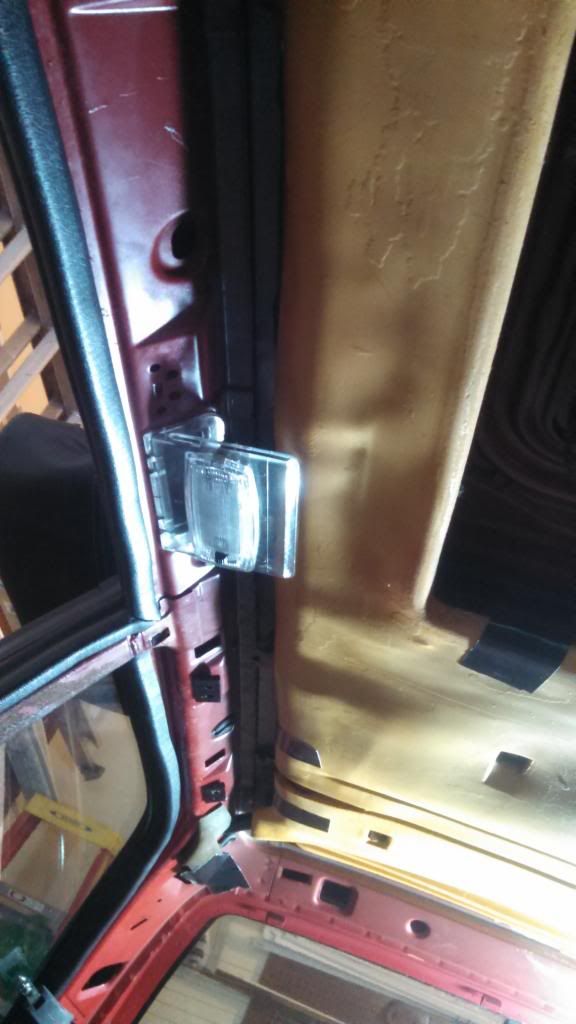 [/IMG]
[IMG]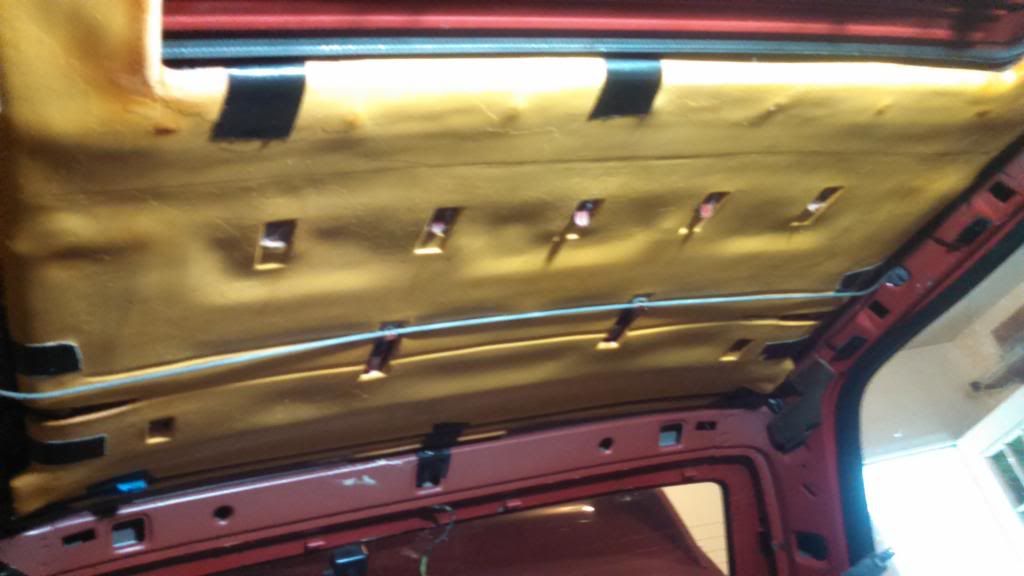 [/IMG]
Started with installation of headliner.
[IMG]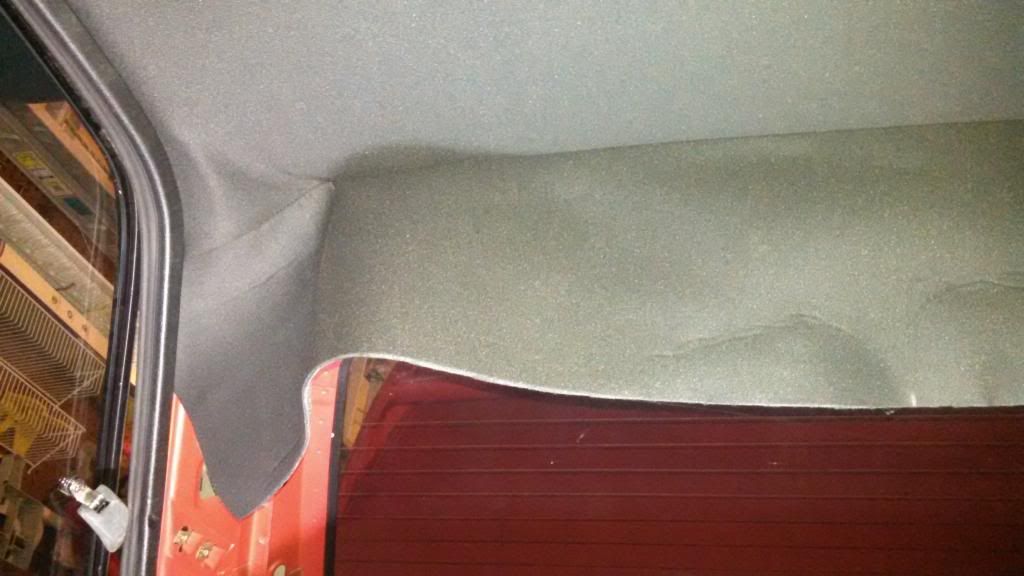 [/IMG]
[IMG]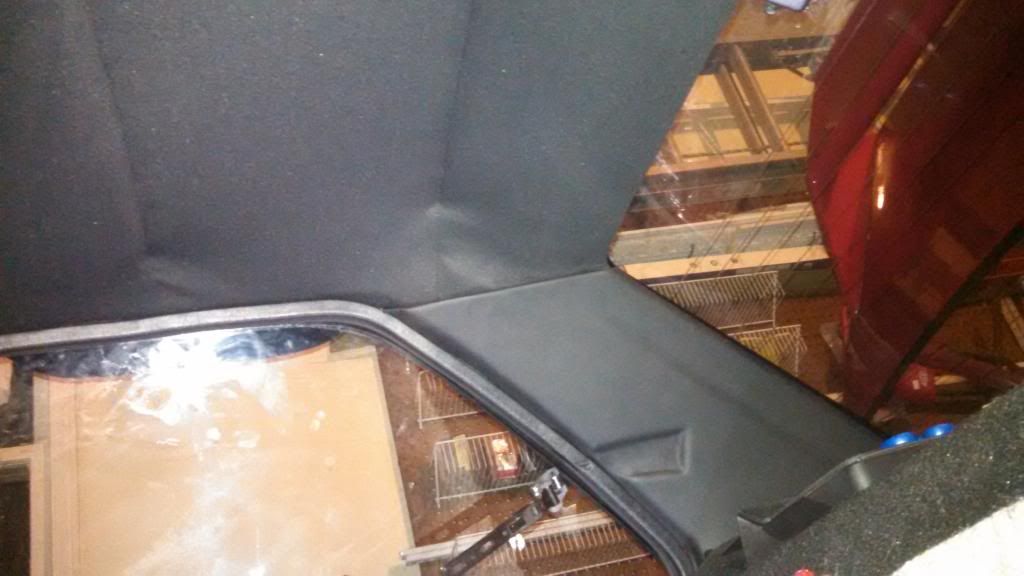 [/IMG]
[IMG]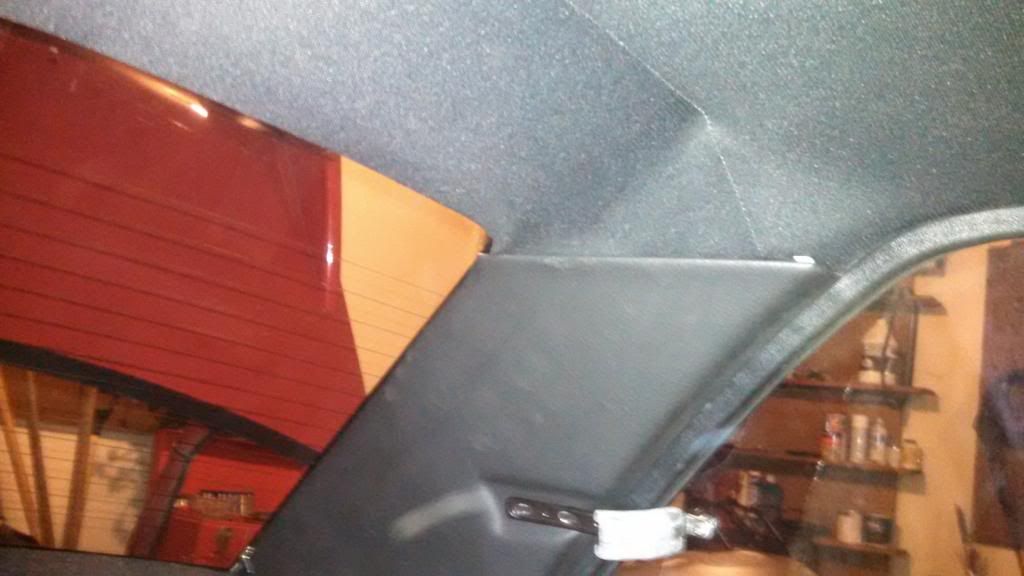 [/IMG]
[IMG]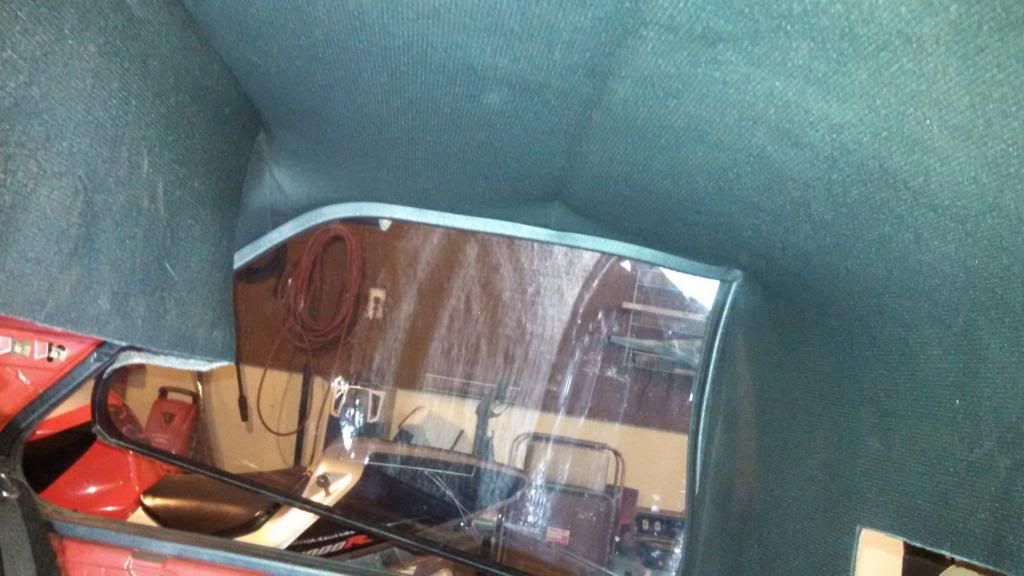 [/IMG]
After the headliner i started installing the rear seat and front passenger seat...
[IMG][URL=http://s1304.photobucket.com/user/natgomes82/media/IMG_20140606_145636_007_zpszpu5kwbv.jpg.html]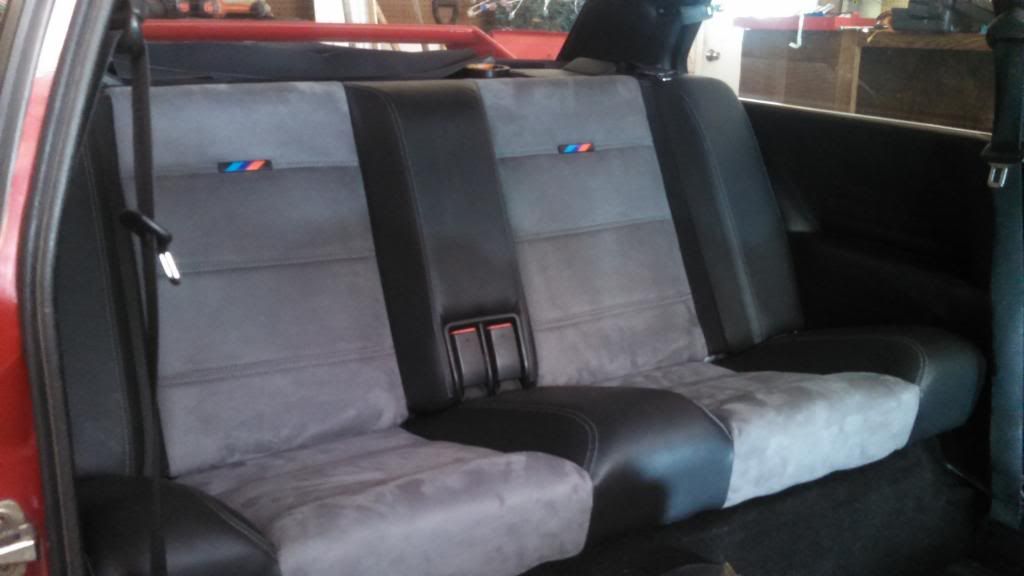 [IMG]
[IMG]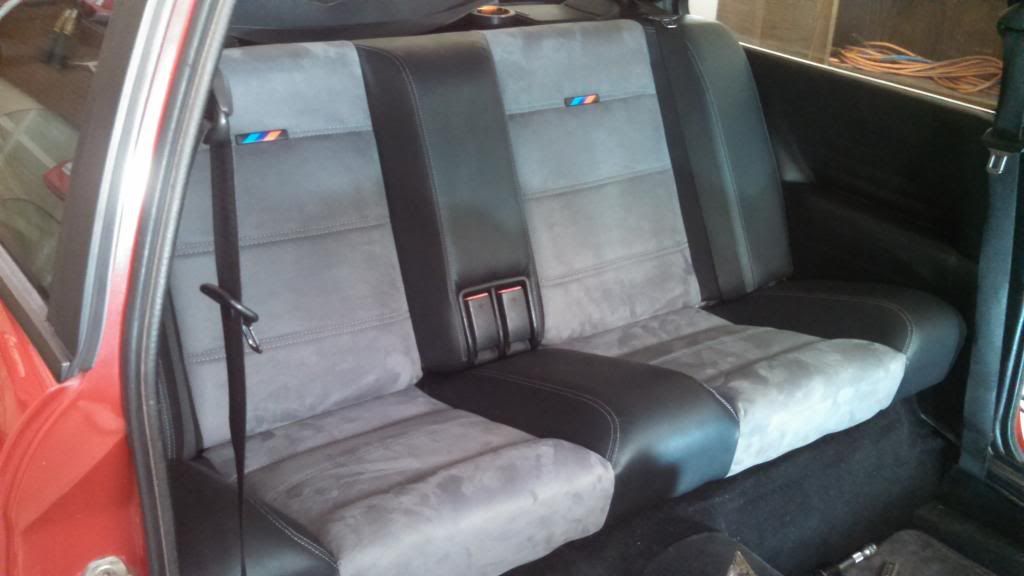 [/IMG]
[IMG]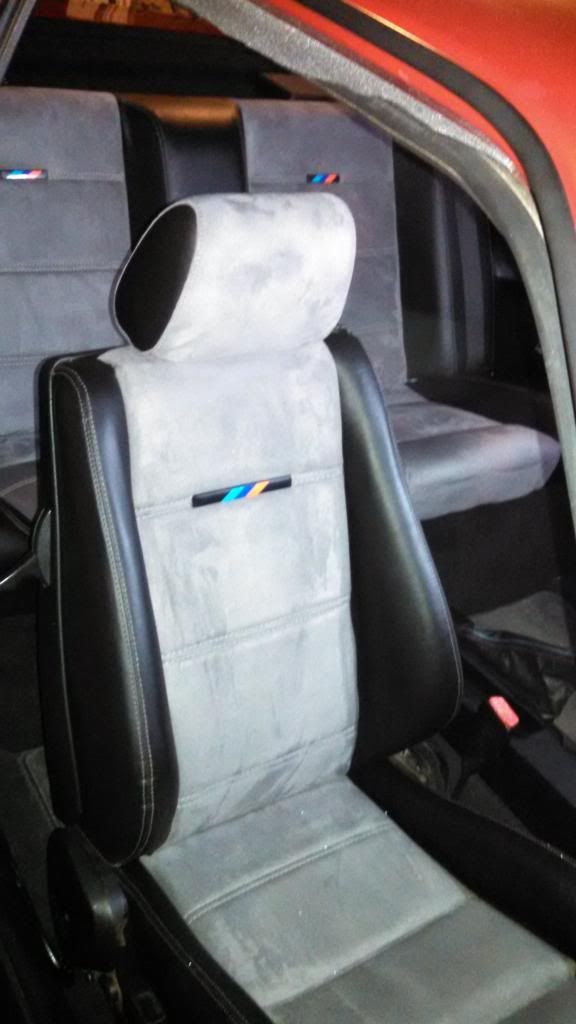 [/IMG]
Leave a comment:
-
Ok after a few months there are some updates... well i bought a new house with a two car garage so i could park the baby in and there has been some good progress on the M3. Pictures are crappy i warned you!!! but i can care less about buying a good camera! So i just used the good old DROID.Leave a comment:


Leave a comment: