
First step was removing the rear glass. easy. two bolts in the b pillar, suction cups helped keep it from dropping


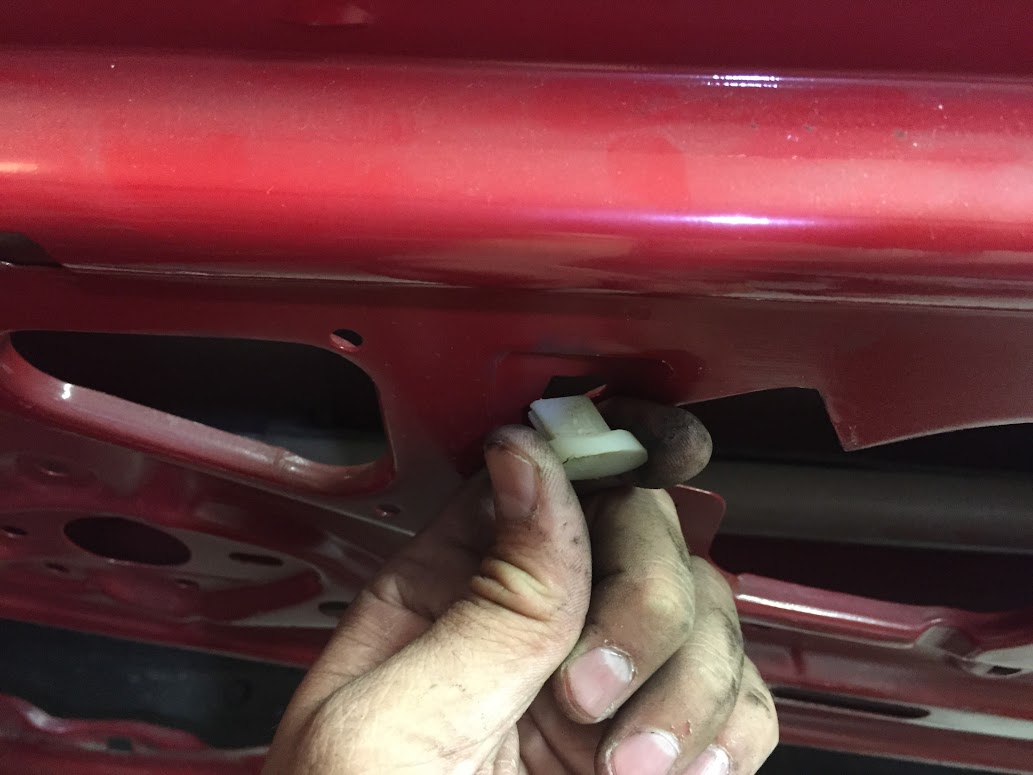
Next this clip had to come off, popped off easily with minimal force
This guy just pries off the back

These plastic pry tools are hugely helpful. I would never do this with a screwdriver - and they're less than $5 at Harbor Freight, so who cares if you break one - you arent scratching anything.


These are the clips on the lower window trim

Rubber was a bit tired. Going to be replaced


I was able to raise and lower the window manually fairly easily

The upper trim pries off with some moderate force in the front. Be careful and definitely use a plastic tool here. Be very gentle. I bent my passenger side trim a bit taking it off, but it should straighten easily with some careful re-installing. Driver's side came off perfectly - practice makes perfect.
This is the first clip

Clips all the way across the top

Little bend, should fix ok i think

The B Pillar trim comes off with some force pushing toward the front so it can clear the lip and clips.


So i tried to preserve the original moisture barrier when removing it... didnt go so well. The heat gun melted through it instead of loosening the adhesive. So I'll need new moisture barrier material - if anyone knows where i can find that...


These are the inserts the door tweeter speaker goes into. they just twist in

Window motor

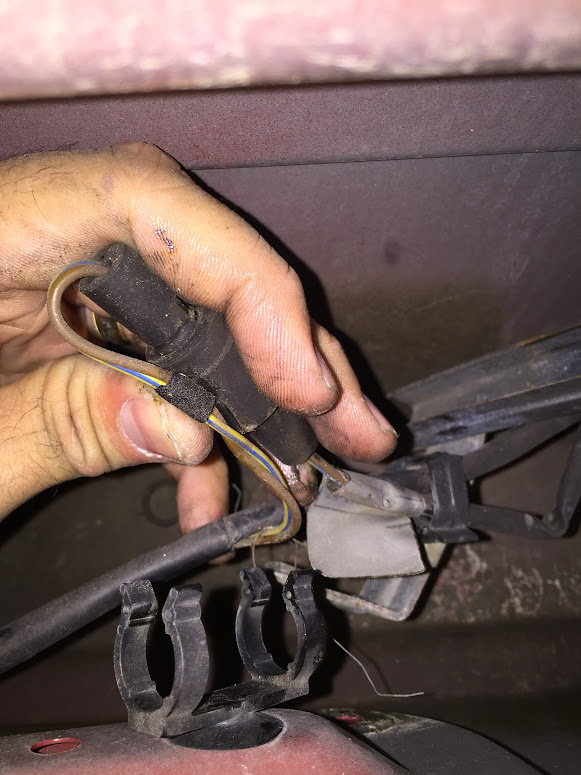
The wire is zip tied up the front part of the door (from the factory). I cut the zip ties to free the cable. You can see both ends of the cable here as i have it disconnected from the window wiring harness.

Disconnected the motor from the gear mechanism. This lets the window move completely freely. One trick i used to keep it from falling was to put a strong suction cup on the outside of the window so that the cup would get stuck on the door sill, preventing the window from falling down.

Two bolts and the motor wiggles free

The casing shell comes off easily, but i stored the two together


Window down to remove weather stripping

Worked the weather stripping down from the top. There's a surprising amount of rubber down in the door itself.


Now the upper trim on the body of the car
Started prying here

First clip released. They are old and fairly small, so they'll probably break. Fortunately replacements are cheap and plentiful

Some of the clips came off with the trim, leaving scratches. Not a problem in this case with the respray.

Worked my way up. Remember what i said about it being ok to break the plastic tools...


Now for this guy.

I just drilled out the center of the old retaining pins.

Then its just prying

And removing all the mounting clips and gaskets - not much hope of getting these off intact.

I removed the clips so the body shop has a clean surface to work with. Plastic pry tools again

And a gentle mallet tap sends the clip flying


And then on to the door mechanics. I removed the four bolts that hold on the window motor (three on the left, one in the bottom right corner of the door)


Here you see one of the two tracks on the bottom of the window glass. To the right is the insert on the window regulator arm that goes into the track. Its already out here obviously.

Once the runners are out of the tracks, the window just lifts out.

Glass out

Now to take out the regulator and arms. These two nuts hold it on.

Collapse it down into the right position and it lifts out easily.

Here its where those two nuts went

Now, this is a cool shot. Inside the door! The bolt at the bottom holds on the front track that the rubber window stripping fit into.


There is a little hook at the top that you have to watch out for, the track has to drop down before it will release. Dont force it and break this.

Now looking toward the back

The other track is held on by one of the four bolts that held in the window regulator

The little black plastic plastic clip just below center in this pic holds a clip that holds a connection on the window wiring harness.

These two bolts hold in the door lock actuator

Disconnect the hook at the top

Then disconnect the electrics

Getting emptier. Left the hook for the lock actuator hanging.

Door hardware coming off

BMW gave you a metal bracket with your metal bracket so you can bracket while you bracket.

Then there's this goo

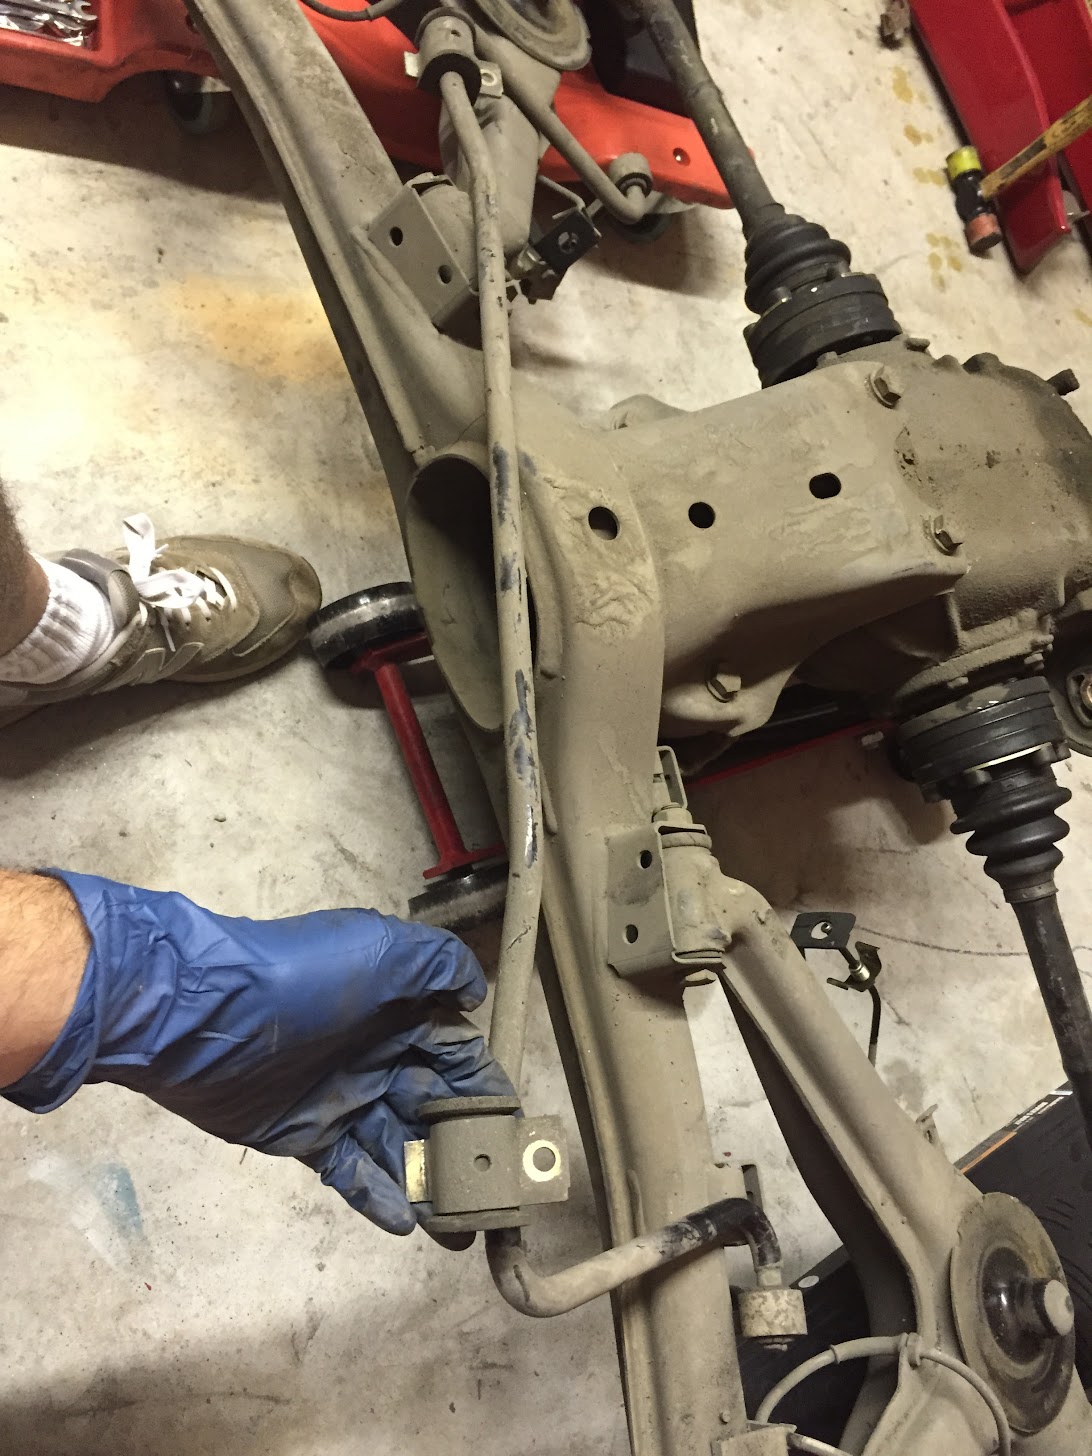
Rear bracket

How it all goes back together

And black rubber goo coming out

Door handle


Another hook

Wiring harness extraction

Tagging

Speaker wires

More mounting points for clips


Couple more zip ties

Powered mirror connection


The last wires are on the door latch box. This thing was not easy to get off. The bolts are torqued hugely tight and the screw metal isnt super hard. My advice, do what i did on the driver's side and use hand tools - a screwdriver bit paired to a long wratchet works very well. Power tools stripped the screws almost without fail. then you have to get mean and use dremmels, flat screw drivers, and force. Fortunately all came out nicely and new bolts will be used on install of course.


Door handles are easy

here's the back, inside the door


This little guy lives on the inside of the door and provides the bolt studs for the nuts to hold the door handle hinge.
Here's how it fits in

Unhooking more electrics. This looks like a sensor that sits on the door lock arm.

Here what it looks like after you remove the black box

One more bolt to release the high tech motion control mechanism... steel rods

How it sits in the car.

Misc door hardware


lock releases with this C clip


EMPTY DOOR!! Now, just do it all over again on the other side


And some organization afterward will help later

Remember what i said about door latch box hand tools? Proof from the driver's side...

And the driver's side lock didnt look so hot. Guessing this is related to the dent that is in the same location. Body shop is working that one out


Leave a comment: