
Rebuilding my BBS RS003's
STEP 1 - Taking them apart, and removing the clear coat.
Tools needed:
- 8mm 12 point socket
- 10mm 12 point socket
- Appropriate ratchets
- Rubber Mallet
- Oven
- Paint stripper / gloves
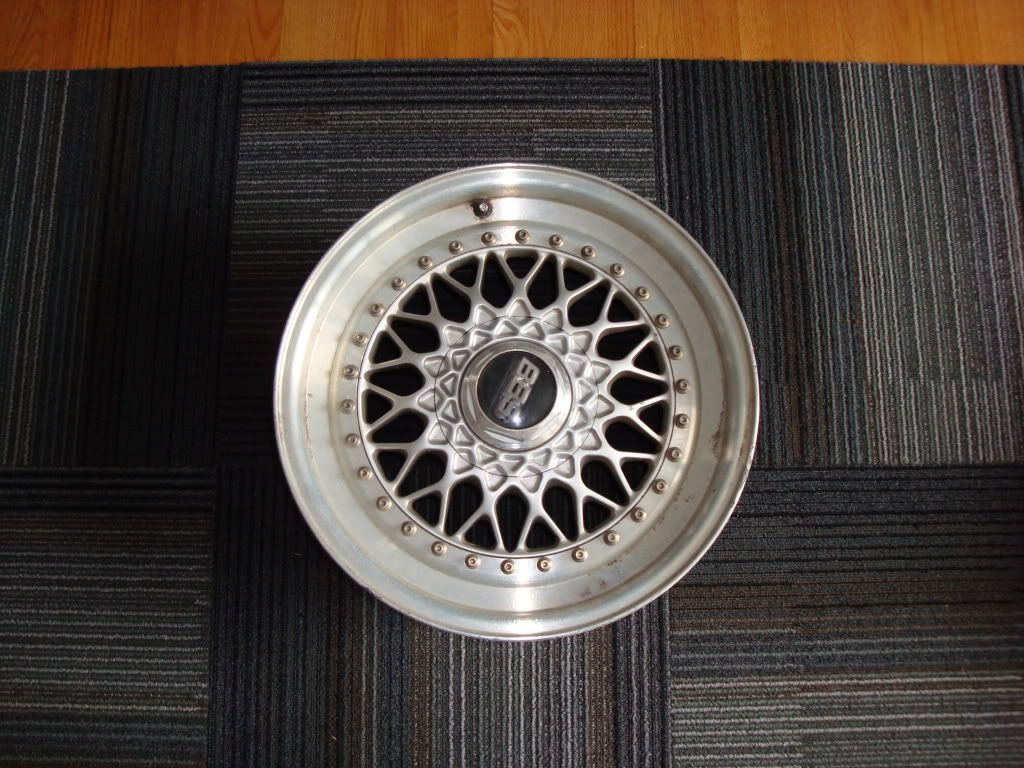
Intact:
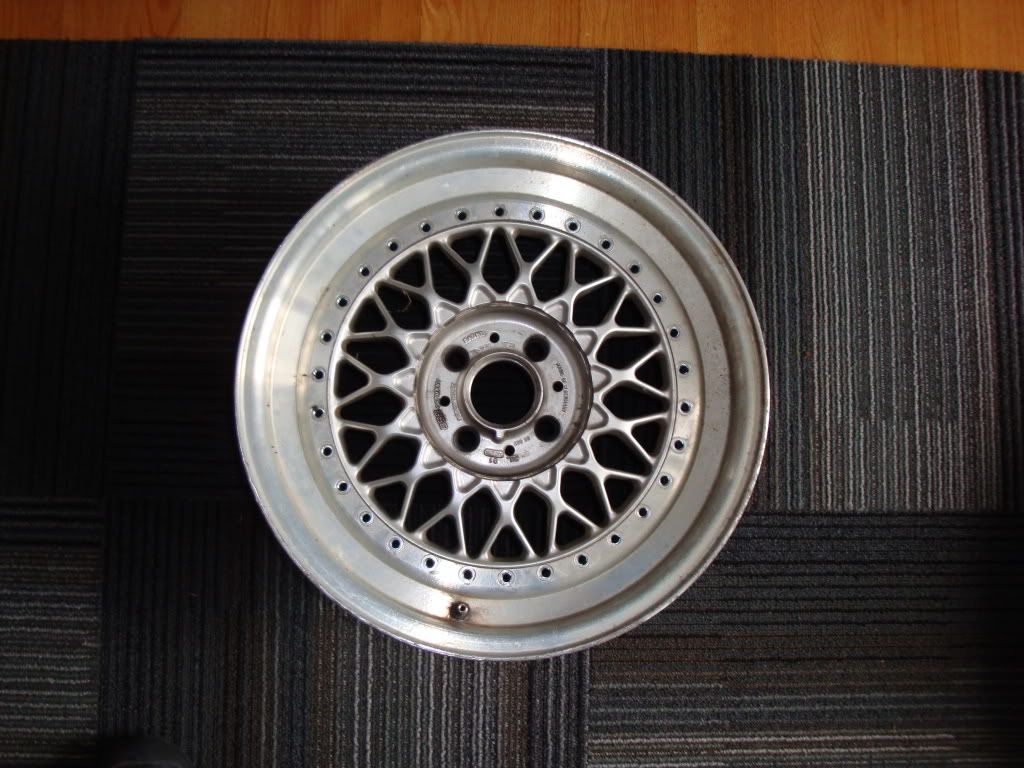
Bolts removed:
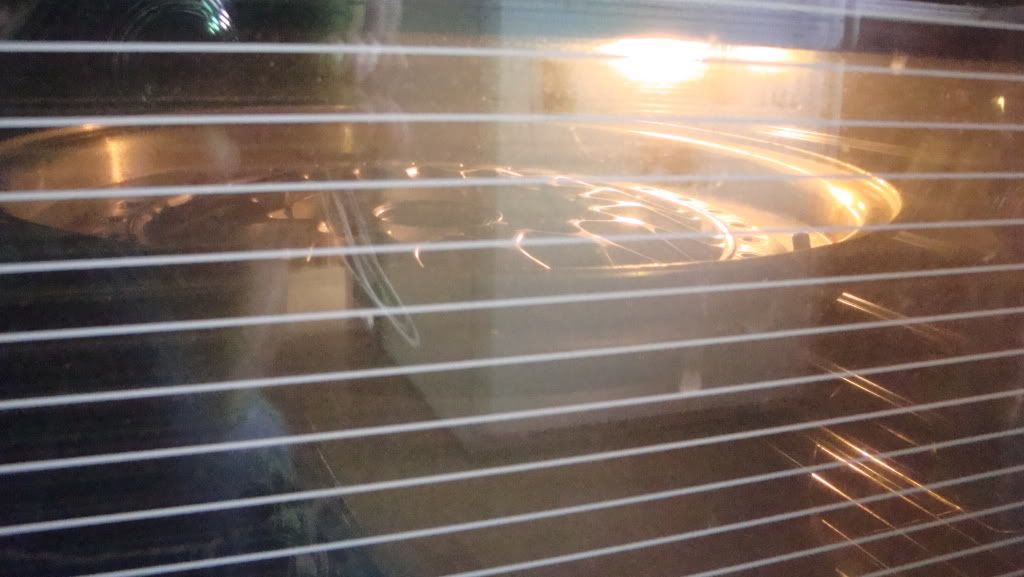
In the oven: 350F for 5 minutes... DON'T BE A RETARD, USE OVEN MITTS WHEN YOU REMOVE THEM. Girlfriend wasn't impressed, told her she never used it anyways... less impressed.

Looks tasty...
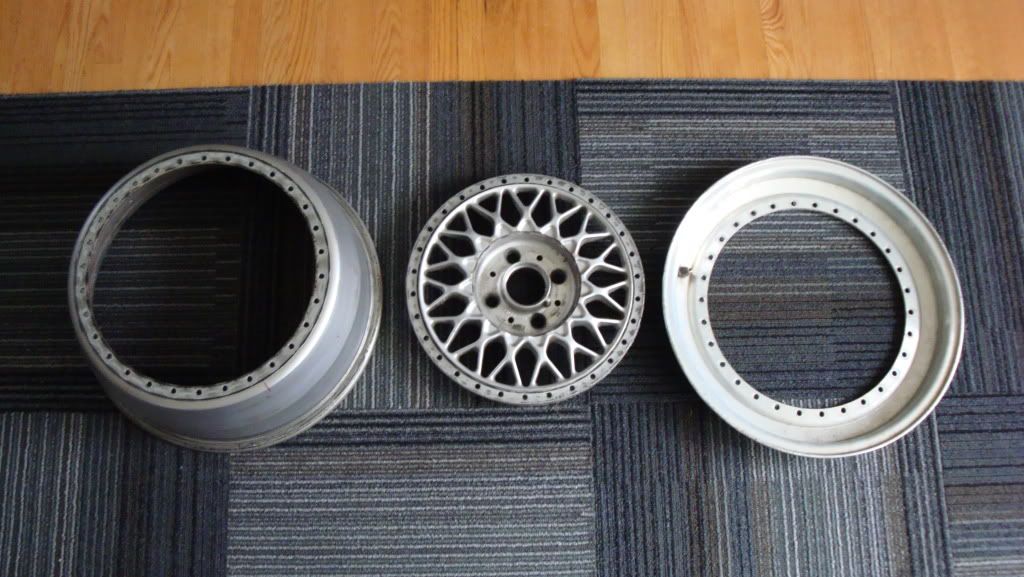
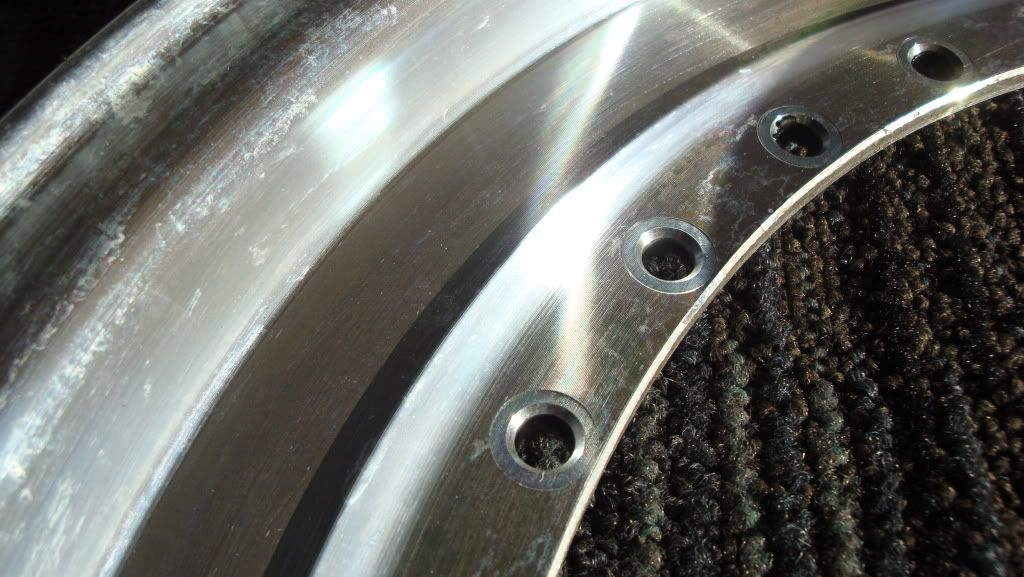
In pieces: (this is where you use the rubber mallet) Also, before I seperated them, I marked them with a permanent marker, indicating wheel # and where they had been aligned (drawing a line across all three pieces)
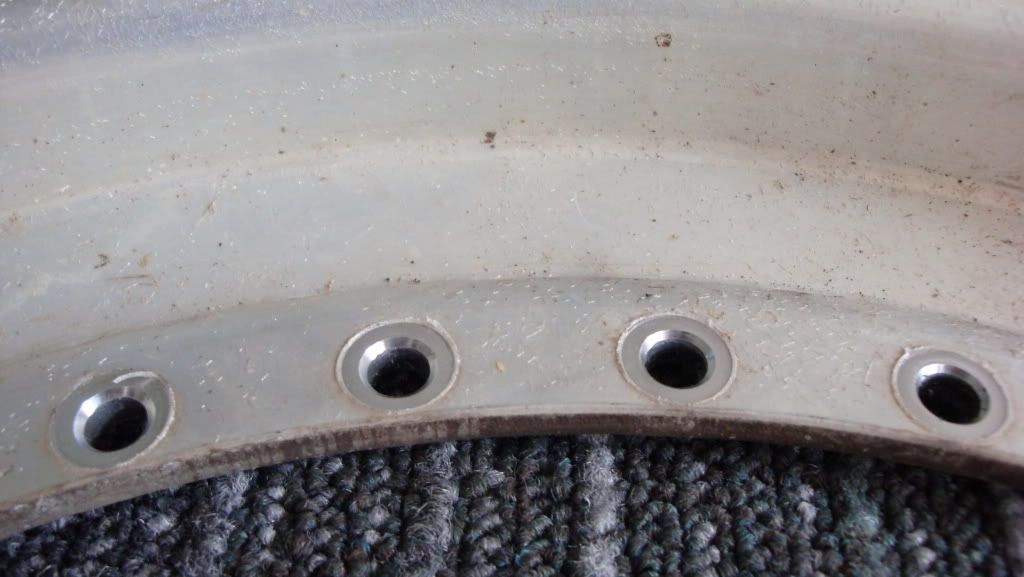
Close up of clear:
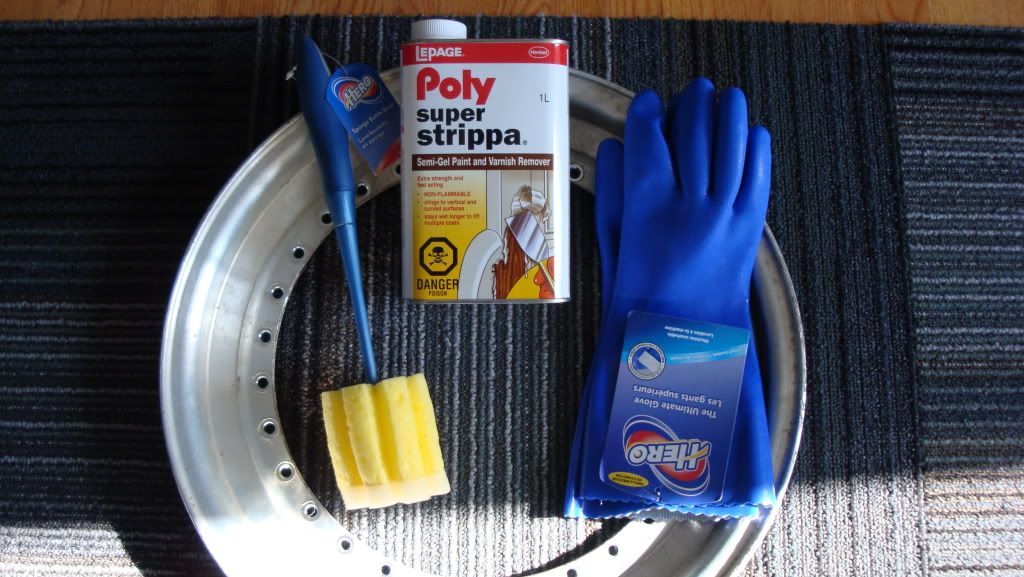
Cleaning products: (tip, buy gloves that fit... trust me) Bought teh super strippa cause it made me laugh. Proceeded to refer to girlfriend as "Super Strippa"
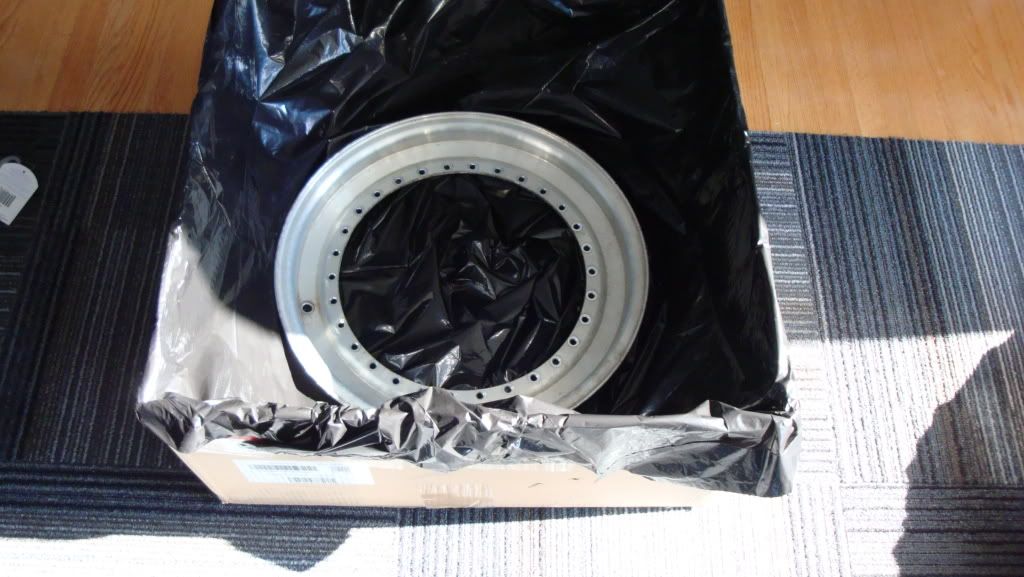
Makeshift cleaning station: Printer box, chopped down, with a garbage bag liner.
STEP 1 - Taking them apart, and removing the clear coat.
Tools needed:
- 8mm 12 point socket
- 10mm 12 point socket
- Appropriate ratchets
- Rubber Mallet
- Oven
- Paint stripper / gloves
Intact:
Bolts removed:
In the oven: 350F for 5 minutes... DON'T BE A RETARD, USE OVEN MITTS WHEN YOU REMOVE THEM. Girlfriend wasn't impressed, told her she never used it anyways... less impressed.
Looks tasty...
In pieces: (this is where you use the rubber mallet) Also, before I seperated them, I marked them with a permanent marker, indicating wheel # and where they had been aligned (drawing a line across all three pieces)
Close up of clear:
Cleaning products: (tip, buy gloves that fit... trust me) Bought teh super strippa cause it made me laugh. Proceeded to refer to girlfriend as "Super Strippa"
Makeshift cleaning station: Printer box, chopped down, with a garbage bag liner.


Comment