
Hi guys, thought I would share our newest 5 series install with you.
We did a new 10" box and amp rack (they will be on the site shortly!) and have developed our own speaker system using a mix of aftermarket and OE speakers with our Passive Crossover Network...which will also be on the site soon.
Our goals were, as always, getting the best sound quality with the least impact on trunk space. Our man Dan was all about letting us do pretty much whatever we wanted, so we decided on using some pieces he already had and worked out a plan of attack.
Components used were:
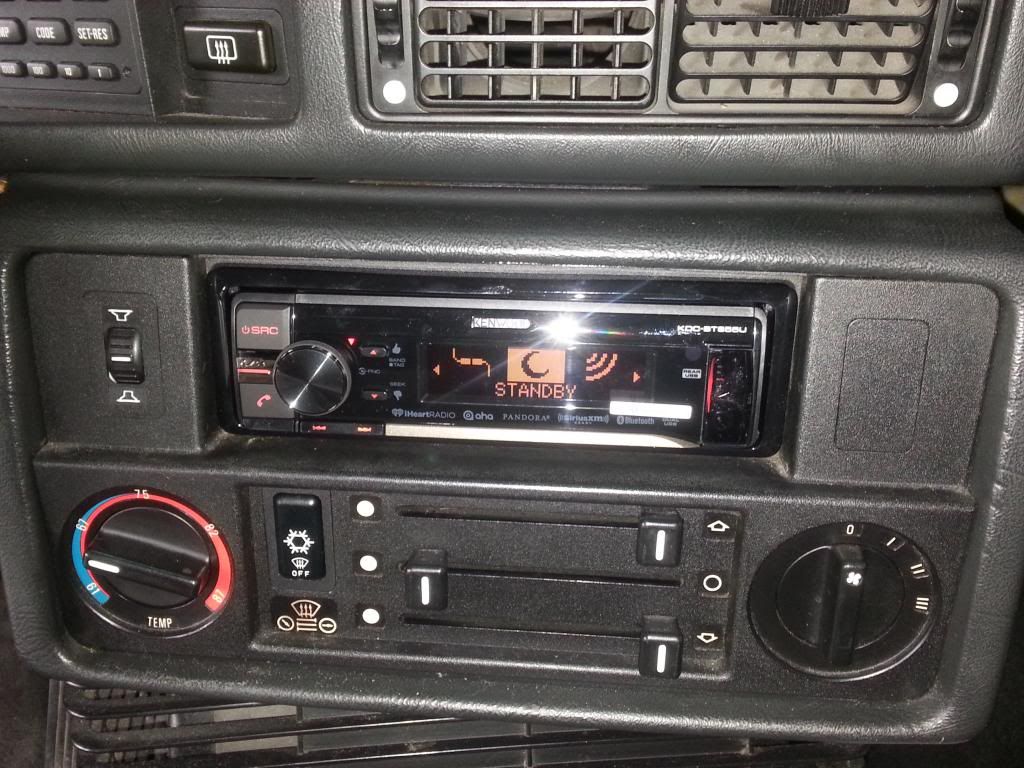
Deck: Kenwood KDC-BT858U
Amplifier: Alpine PDX5
Cables: Belva BAK44/BBIC5
Subwoofer: JL Audio 10W3V3
German Audio Specialties Passive Crossover Network combined with
Front:
Tweeters: BMW 65138375085
Midrange: FaitalPRO (link) 4" 4 ohm
Rear:
Tweeter: BMW 65138375085
Midwoofer: BMW 65138370936
Enclosure: G.A.S. E2810 (black) and E2810A/R
So, lets start off with the harsh part: you need to cut a hole in your beloved E28. Sorry, we know its terrible, but it makes for a far superior sound with no rattles. There are a million ways to cut metal, but I used a body saw, like this:

...and Snap-On Aviation style tin snips, I use DAL9 and DAR9 myself, but whatever it takes to make a nice clean cut. Airsaws are noisy, so i use tinsnips mostly.
Fortunately, it isn't that bad to do, we basically just follow the shape of fold down arm rest.
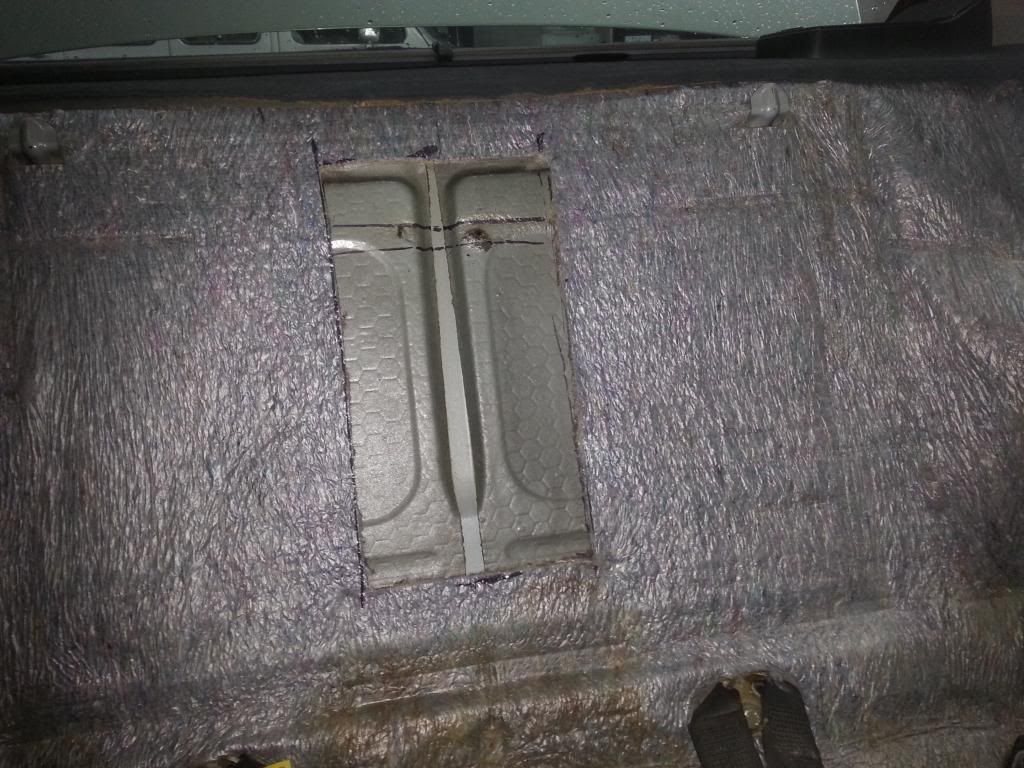
I was hoping to retain the seat mount behind the arm rest...nope, no such luck.
(oops, forgot to get a pic of the front)
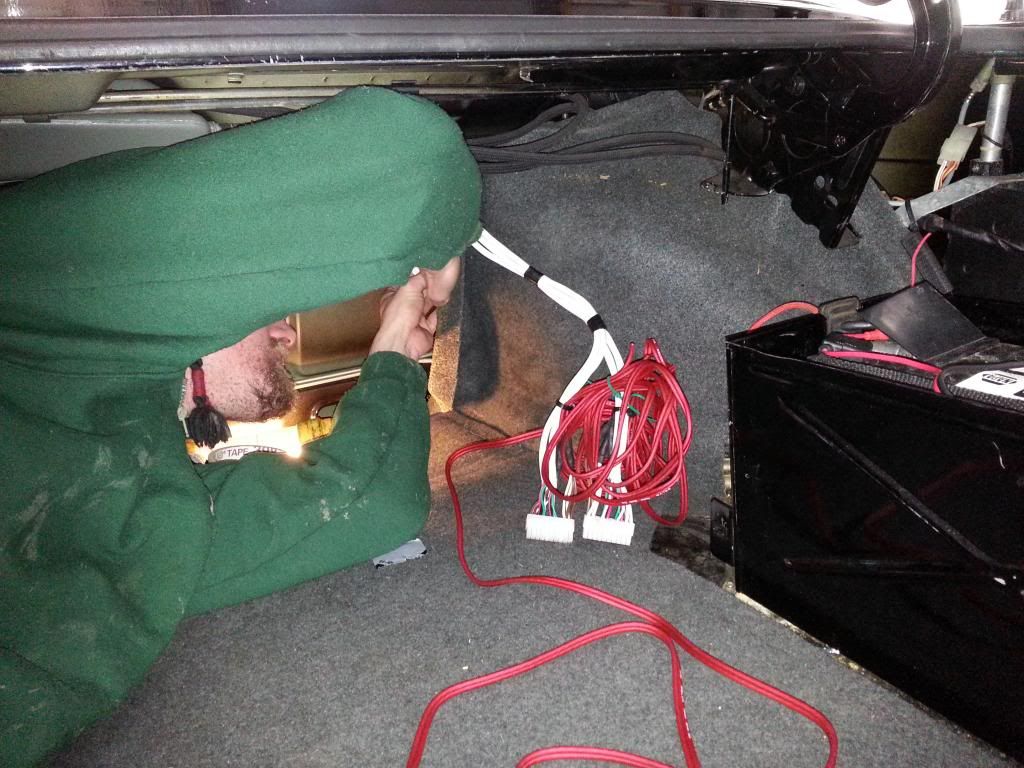
The G.A.S. PCN comes with all new wires, as the design requires all new wire for all the speakers. Each of the wires has 4 conductors, again a requirement for trunk mounting the crossover network.
In this shot, there are unterminated wires. The production parts already have terminations, so getting the wires to the correct speakers is important.
Note here we have 4GA power wire on the left, RCAs and speaker wires on the right. I won't bore you with a bunch of pictures showing all the wire running, its all tidy and ran along the factory routes.

The rear speakers just drop in the stock PS housings. They look and fit stock. Oddly enough, neither Justin nor I took any pictures of them...sorry.
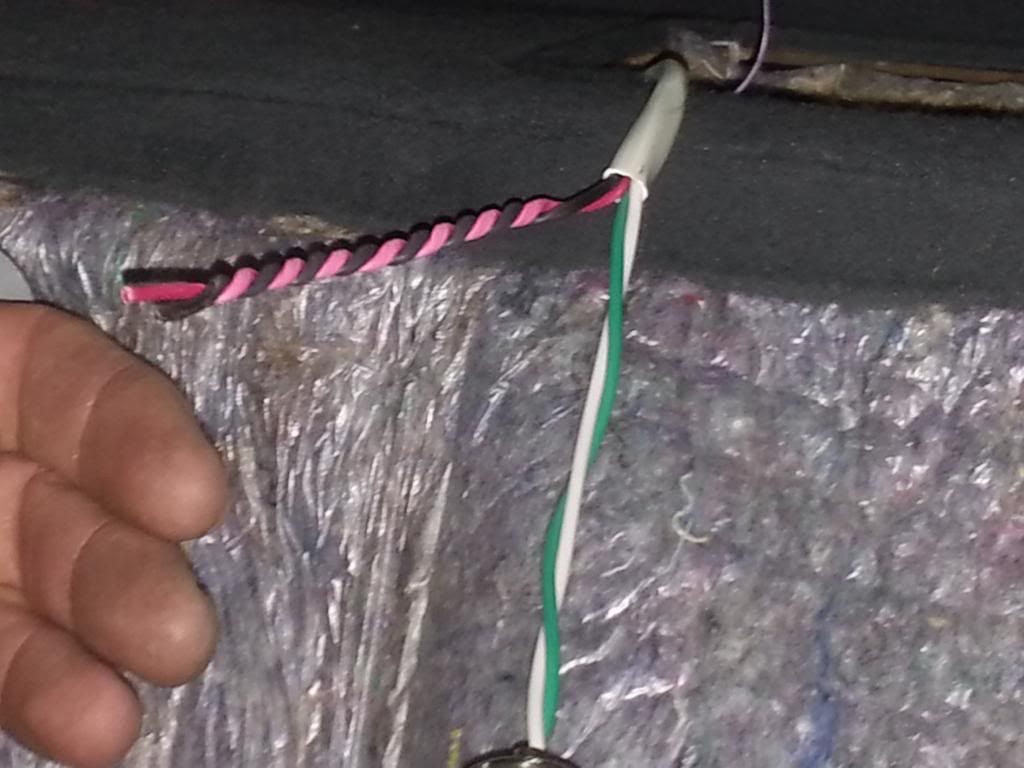
We ran the 16/4 wire to each stock speaker location and stripped the insulation back a few inches
<a href="http://s102.photobucket.com/user/stereoinstaller1/media/E2810%20with%20PCN/20140329_190753_zps598a32e0.jpg.html" target="_blank"><img src="http://i102.photobucket.com/albums/m117/stereoinstaller1/E2810%20with%20PCN/20140329_190753_zps598a32e0.jpg" border="0" alt=" photo 20140329_190753_zps598a32e0.jpg"/></a>
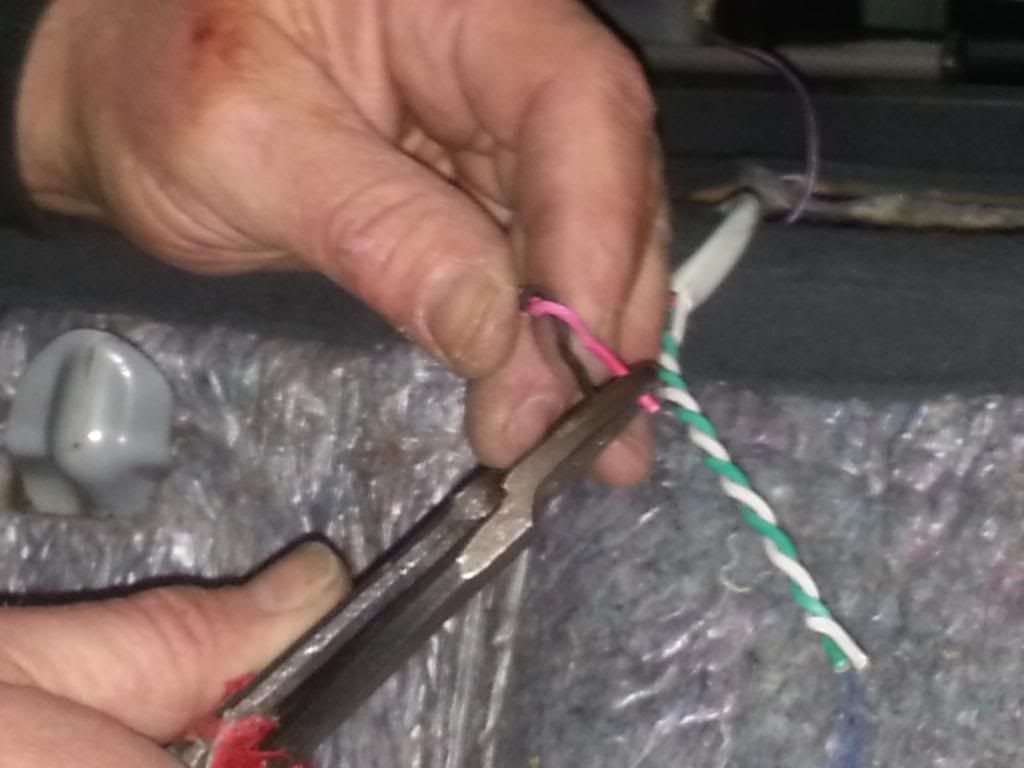
Twisted the pairs so they stay tidy:
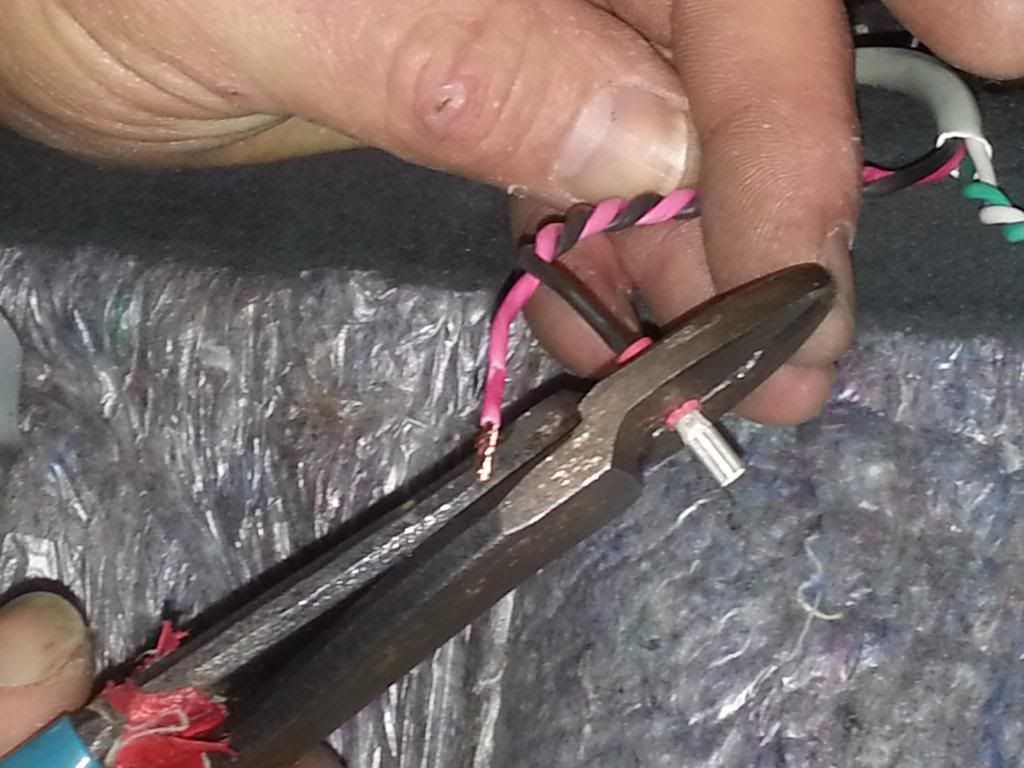
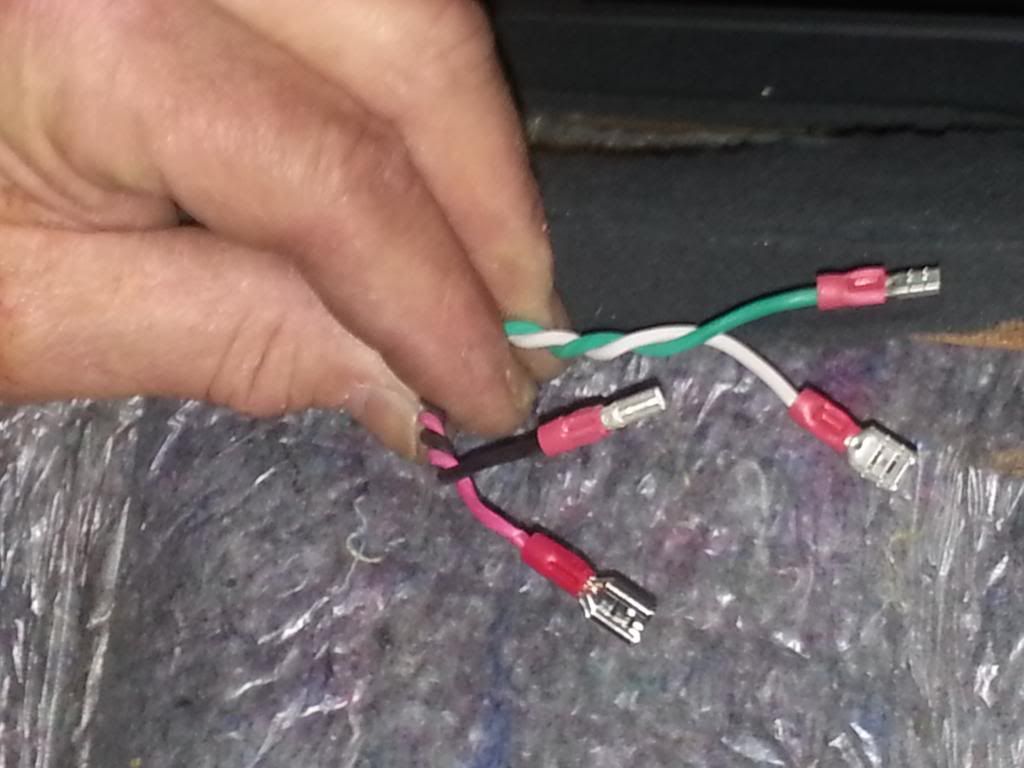
Put the correct terminals on:
And connected them to the speakers. The rear speakers were absolutely no issue, same screws, same exact fitment as stock.
I really should focus on taking more pictures, but we have all seen stock premium sound rears, right?
Up front things are much the same, only this time the tweeter wires connect to the stock tweeter wires behind the speakers. Considering the condition of this 25 year old wire is incredible, there are no issues using it again.
So, wire poking out of the speaker hole:
Again, we simply follow the factory harness. A couple wire ties and careful tucking and the wiring should fit perfectly. I always leave extra wire and only cut to exact length after all wires are in place.
Again with the correct terminals and connected with butt splices to the stock gray/yellow and gray/green tweeter wires:
And just for practice, shoved the beautiful FaitalPRO 4" in its new home:

We are going to build some little baffles for these, there will be a separate story for the 4" install. Basically, what we did was emulate the stock Premium mount using 1/4" MDF so the speaker was properly baffled. Having heard the results, I hope someone will make a modifier plate that fits the BMW grille with this speaker. This driver is much beefier than the stock one, I will post pics of the two soon.
So, next is the deck. We ran the RCAs on the right, above the glovebox and down. Normall, there would be a sub level control cable, but not on this install. We also ran the left front speaker wire behind the radio and over to the speaker where it got the same treatment as the right.
Here is the mess we started with:

With the RCAs and power connections (no speaker connections behind the deck, they aren't needed) finished:
carefully wrapped in Super33:
and finished:
So now the speakers are done, the deck is done, all wiring ran.
Back to the trunk! First, pull out the stock amp and its brackets:

Then, double check your wiring. The crossover comes with plugs on the wires, so they will look like this:
(Justin shoved in the trunk of an E24 M6 LOL)
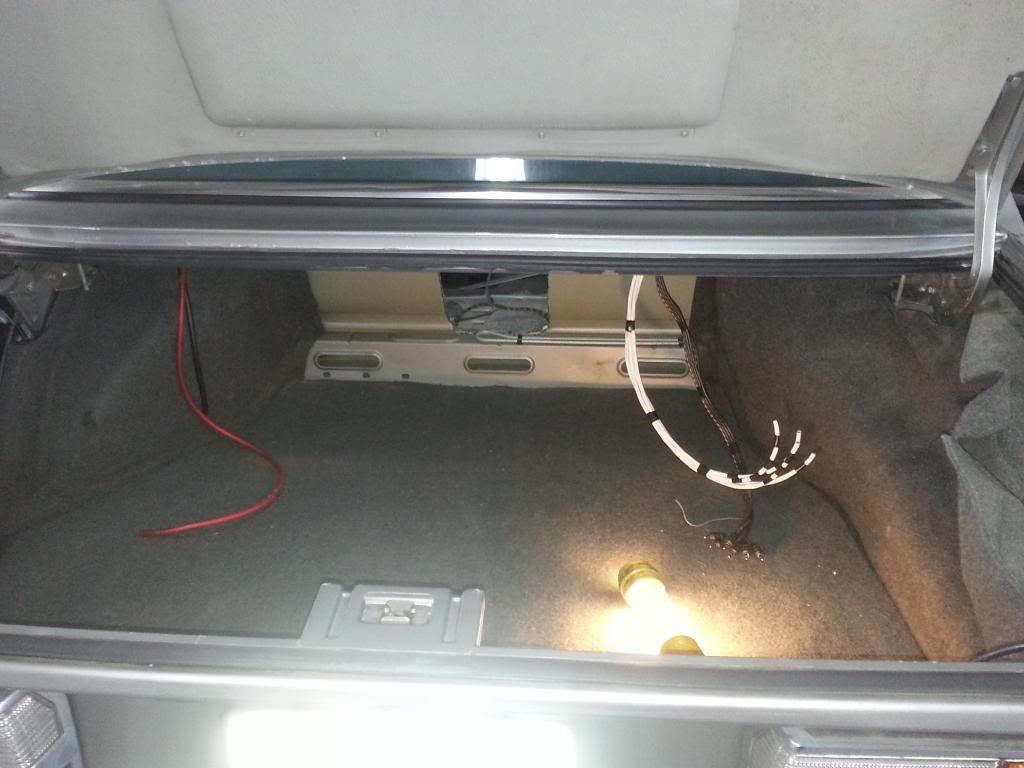
So, now its time to make the ground point, run the wire through the trunk lid to turn on the light in the amp rack, secure the wires out of the way, replace the trunk liners and install the box.
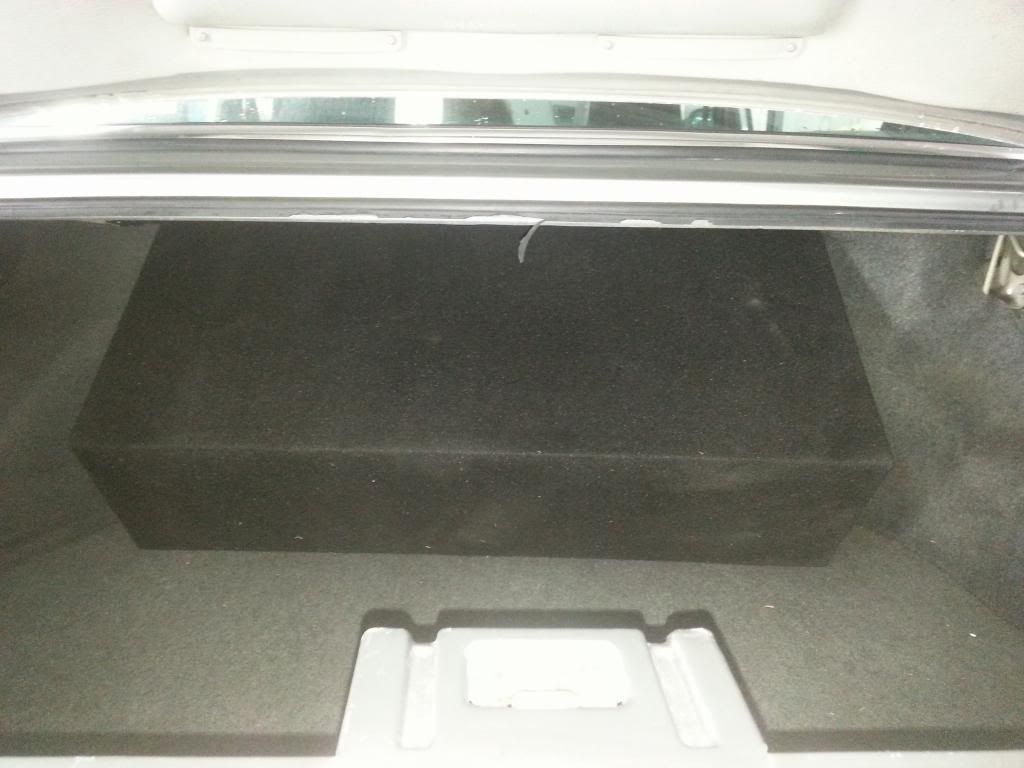
Here is the box. Note the thicker material around the woofer hole and ports, that is a layer of closed cell foam under the upholstery. Once the system is all working and ready to button up, we will shoot a couple of screws through the trunk bulkhead to squeeze that padding against the wall.

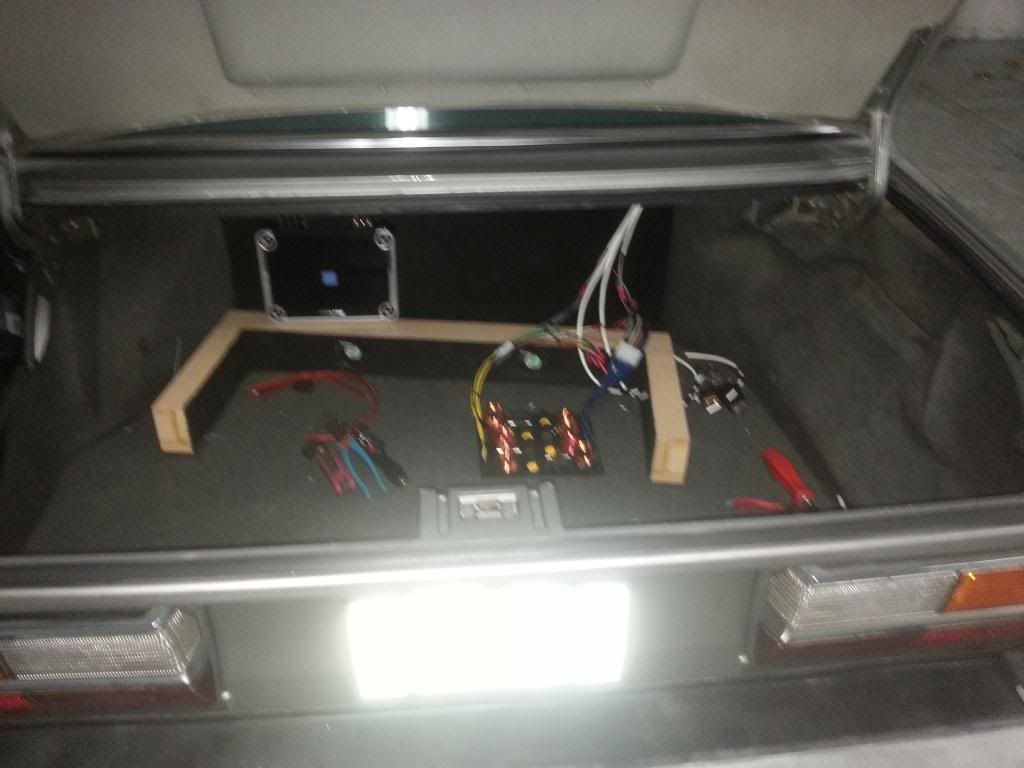
This being a prototype job, we had the trunk liners in and out a half dozen times, this shot still does not have the plugs on the wires, the amp rack wiring or the ground cable, but you get the idea here that all the wires are routed to the top of the enclosure, I.E.. not along the floor:
Putting the box in is a bit of a hassle. The box is actually taller than the trunk opening, how I did it was to tip it forward and slide the front of the box in first, then sort of slide the bottom forward while standing the box upright. Its is a super-precise fit, but that is how it seals the bass into the cabin.
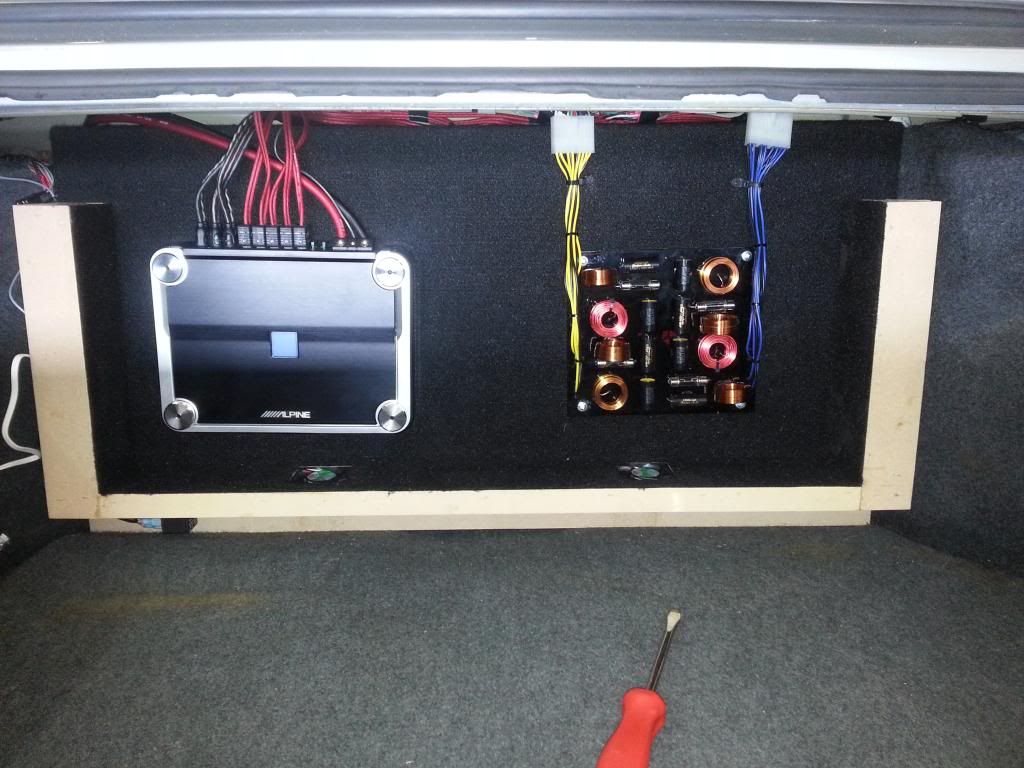
So, this miserable shot shows the amp mounted on the back of the box, the PCN and the frame of the amp rack. The plugs have been installed (took Justin 2 hours to do them in the trunk!) and you can see the fans in the amp rack.
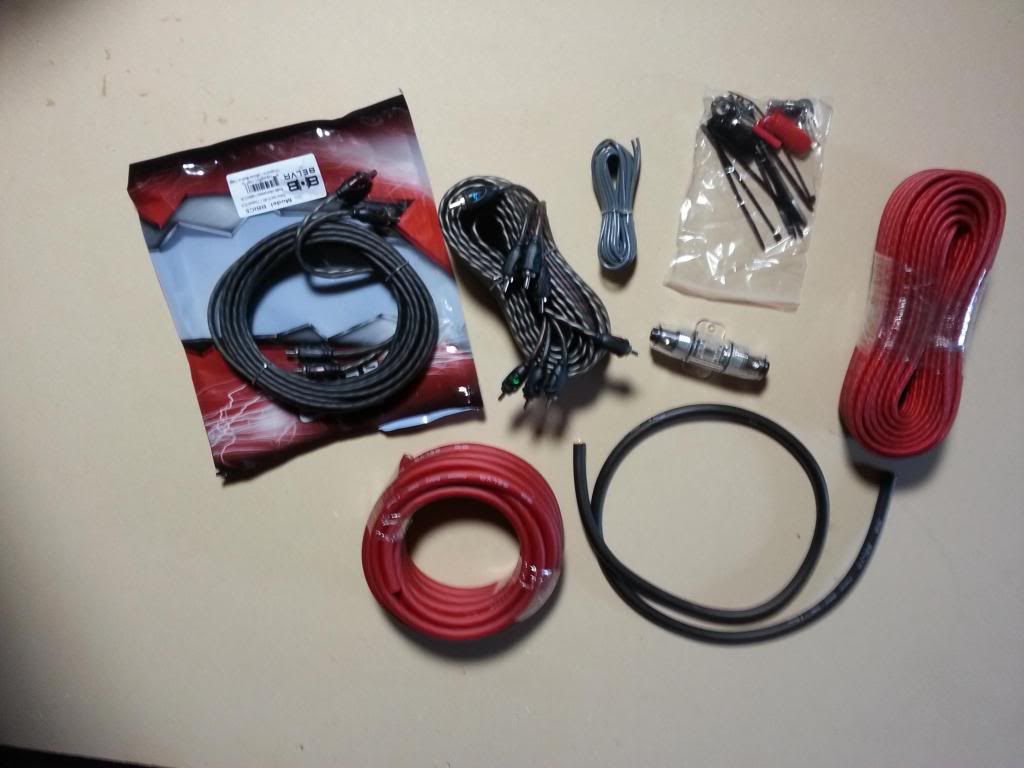
I am going to suggest buying a longer chunk of black 4GA for some amplifiers. This kit comes with about 3' of black, I would prefer to see more like 6'. I really do like the fuseholder and the overall quality of the wires, especially for such a low price.
OK, ran out of time again, but here are the parts all wired up and in place:
We did a new 10" box and amp rack (they will be on the site shortly!) and have developed our own speaker system using a mix of aftermarket and OE speakers with our Passive Crossover Network...which will also be on the site soon.
Our goals were, as always, getting the best sound quality with the least impact on trunk space. Our man Dan was all about letting us do pretty much whatever we wanted, so we decided on using some pieces he already had and worked out a plan of attack.
Components used were:
Deck: Kenwood KDC-BT858U
Amplifier: Alpine PDX5
Cables: Belva BAK44/BBIC5
Subwoofer: JL Audio 10W3V3
German Audio Specialties Passive Crossover Network combined with
Front:
Tweeters: BMW 65138375085
Midrange: FaitalPRO (link) 4" 4 ohm
Rear:
Tweeter: BMW 65138375085
Midwoofer: BMW 65138370936
Enclosure: G.A.S. E2810 (black) and E2810A/R
So, lets start off with the harsh part: you need to cut a hole in your beloved E28. Sorry, we know its terrible, but it makes for a far superior sound with no rattles. There are a million ways to cut metal, but I used a body saw, like this:
...and Snap-On Aviation style tin snips, I use DAL9 and DAR9 myself, but whatever it takes to make a nice clean cut. Airsaws are noisy, so i use tinsnips mostly.
Fortunately, it isn't that bad to do, we basically just follow the shape of fold down arm rest.

I was hoping to retain the seat mount behind the arm rest...nope, no such luck.

(oops, forgot to get a pic of the front)
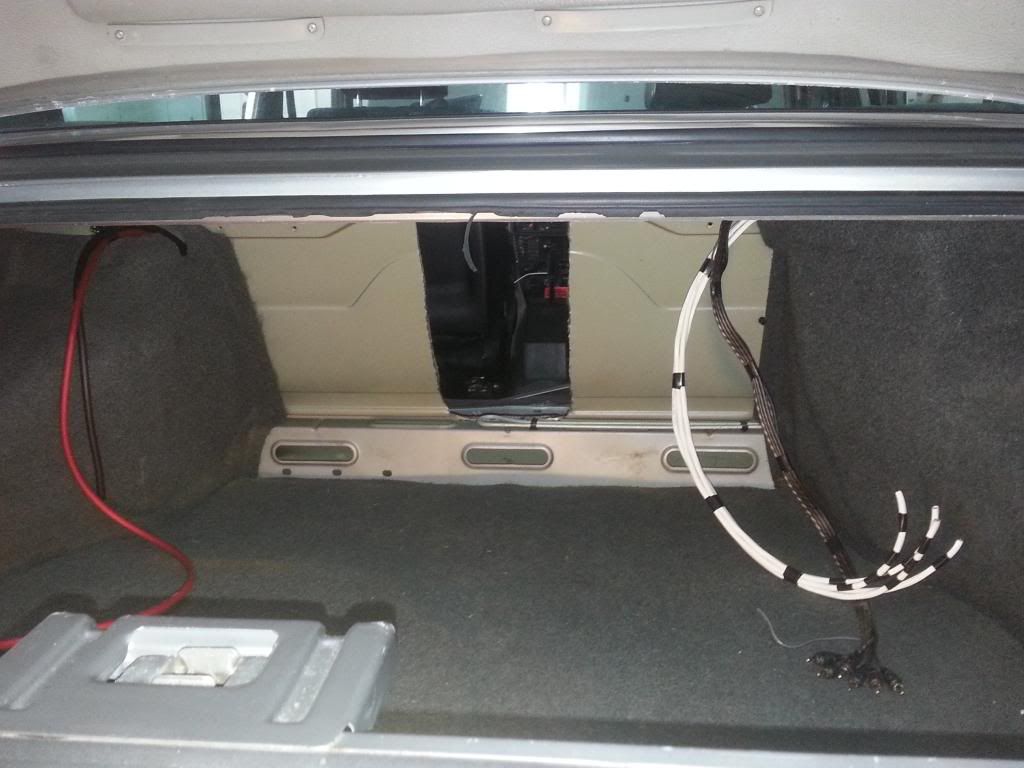
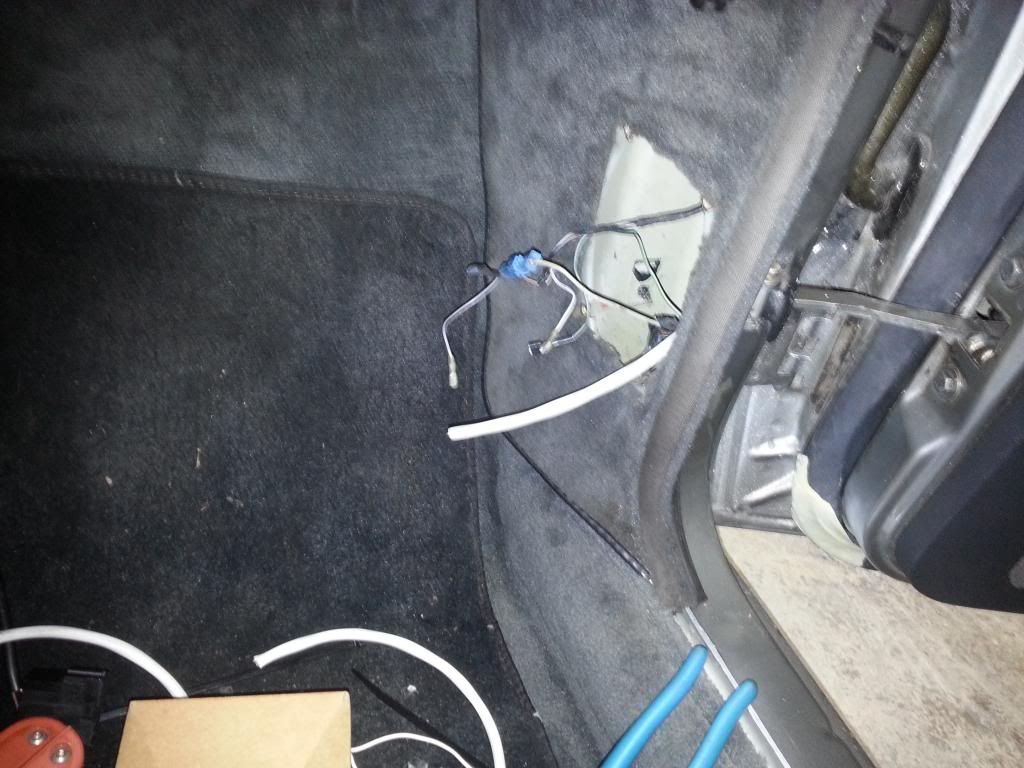
The G.A.S. PCN comes with all new wires, as the design requires all new wire for all the speakers. Each of the wires has 4 conductors, again a requirement for trunk mounting the crossover network.
In this shot, there are unterminated wires. The production parts already have terminations, so getting the wires to the correct speakers is important.
Note here we have 4GA power wire on the left, RCAs and speaker wires on the right. I won't bore you with a bunch of pictures showing all the wire running, its all tidy and ran along the factory routes.

The rear speakers just drop in the stock PS housings. They look and fit stock. Oddly enough, neither Justin nor I took any pictures of them...sorry.
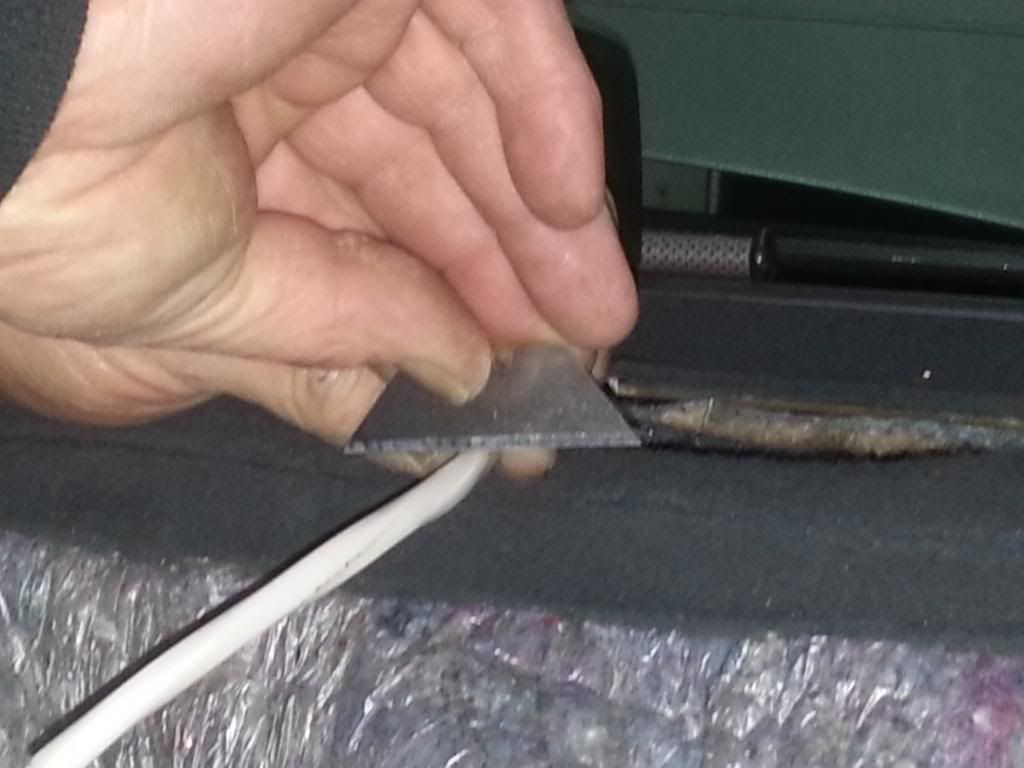
We ran the 16/4 wire to each stock speaker location and stripped the insulation back a few inches
<a href="http://s102.photobucket.com/user/stereoinstaller1/media/E2810%20with%20PCN/20140329_190753_zps598a32e0.jpg.html" target="_blank"><img src="http://i102.photobucket.com/albums/m117/stereoinstaller1/E2810%20with%20PCN/20140329_190753_zps598a32e0.jpg" border="0" alt=" photo 20140329_190753_zps598a32e0.jpg"/></a>

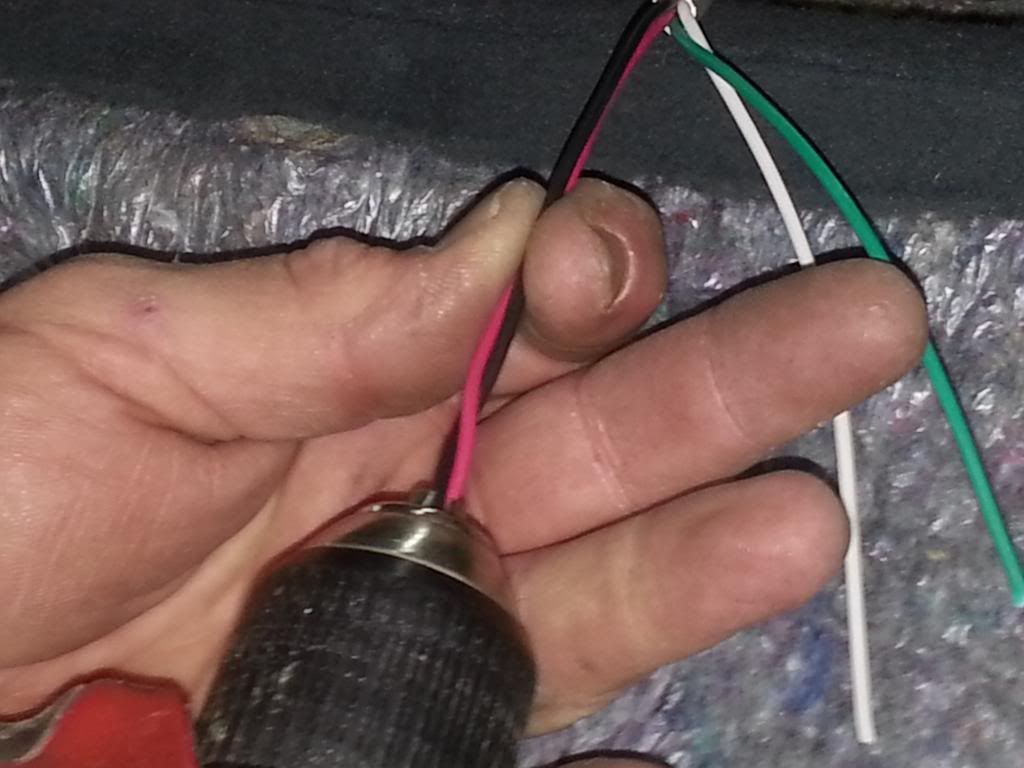
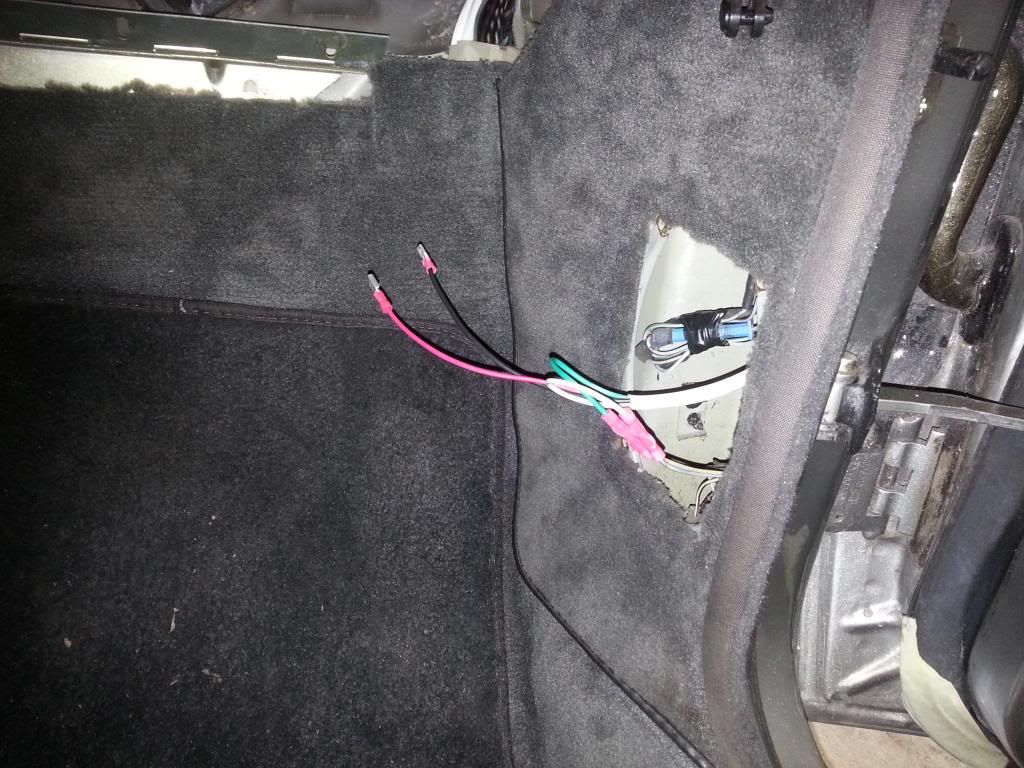
Twisted the pairs so they stay tidy:


Put the correct terminals on:


And connected them to the speakers. The rear speakers were absolutely no issue, same screws, same exact fitment as stock.
I really should focus on taking more pictures, but we have all seen stock premium sound rears, right?
Up front things are much the same, only this time the tweeter wires connect to the stock tweeter wires behind the speakers. Considering the condition of this 25 year old wire is incredible, there are no issues using it again.
So, wire poking out of the speaker hole:

Again, we simply follow the factory harness. A couple wire ties and careful tucking and the wiring should fit perfectly. I always leave extra wire and only cut to exact length after all wires are in place.
Again with the correct terminals and connected with butt splices to the stock gray/yellow and gray/green tweeter wires:

And just for practice, shoved the beautiful FaitalPRO 4" in its new home:

We are going to build some little baffles for these, there will be a separate story for the 4" install. Basically, what we did was emulate the stock Premium mount using 1/4" MDF so the speaker was properly baffled. Having heard the results, I hope someone will make a modifier plate that fits the BMW grille with this speaker. This driver is much beefier than the stock one, I will post pics of the two soon.
So, next is the deck. We ran the RCAs on the right, above the glovebox and down. Normall, there would be a sub level control cable, but not on this install. We also ran the left front speaker wire behind the radio and over to the speaker where it got the same treatment as the right.
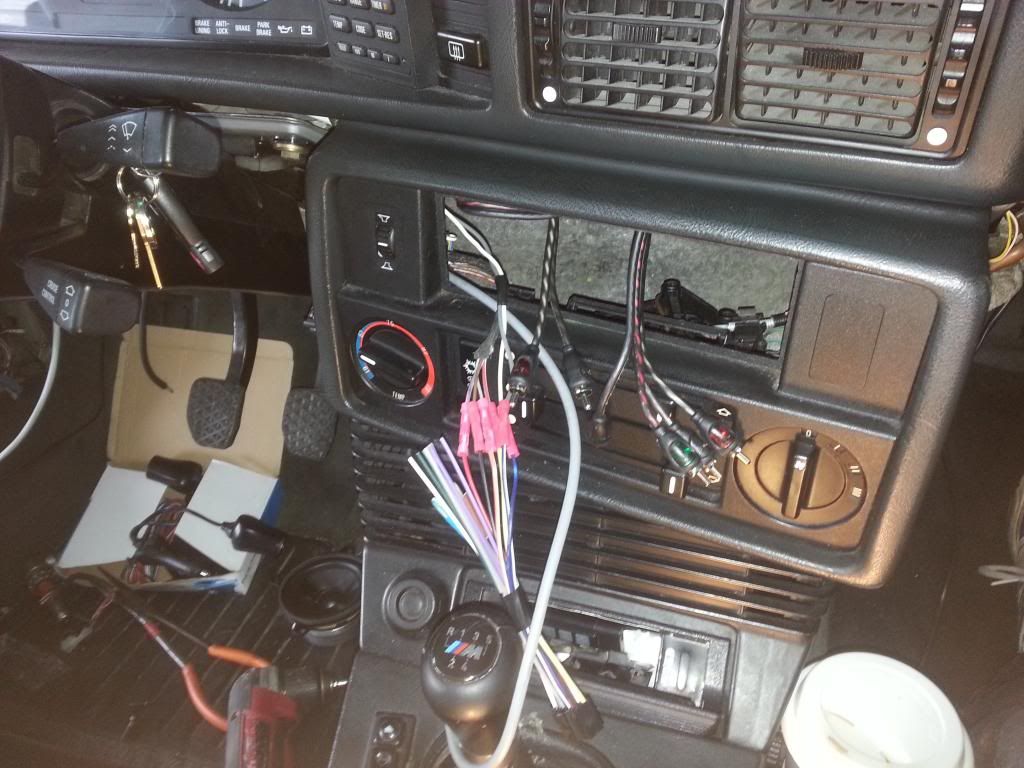
Here is the mess we started with:

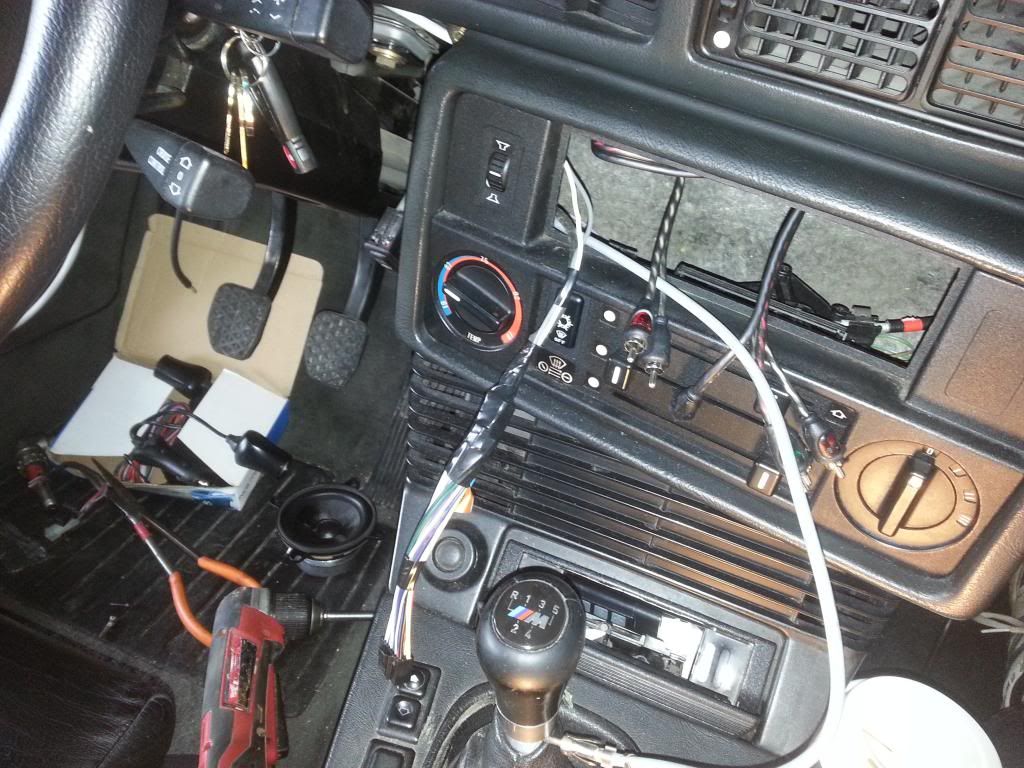
With the RCAs and power connections (no speaker connections behind the deck, they aren't needed) finished:

carefully wrapped in Super33:

and finished:

So now the speakers are done, the deck is done, all wiring ran.
Back to the trunk! First, pull out the stock amp and its brackets:

Then, double check your wiring. The crossover comes with plugs on the wires, so they will look like this:
(Justin shoved in the trunk of an E24 M6 LOL)

So, now its time to make the ground point, run the wire through the trunk lid to turn on the light in the amp rack, secure the wires out of the way, replace the trunk liners and install the box.
Here is the box. Note the thicker material around the woofer hole and ports, that is a layer of closed cell foam under the upholstery. Once the system is all working and ready to button up, we will shoot a couple of screws through the trunk bulkhead to squeeze that padding against the wall.

This being a prototype job, we had the trunk liners in and out a half dozen times, this shot still does not have the plugs on the wires, the amp rack wiring or the ground cable, but you get the idea here that all the wires are routed to the top of the enclosure, I.E.. not along the floor:

Putting the box in is a bit of a hassle. The box is actually taller than the trunk opening, how I did it was to tip it forward and slide the front of the box in first, then sort of slide the bottom forward while standing the box upright. Its is a super-precise fit, but that is how it seals the bass into the cabin.

So, this miserable shot shows the amp mounted on the back of the box, the PCN and the frame of the amp rack. The plugs have been installed (took Justin 2 hours to do them in the trunk!) and you can see the fans in the amp rack.

I am going to suggest buying a longer chunk of black 4GA for some amplifiers. This kit comes with about 3' of black, I would prefer to see more like 6'. I really do like the fuseholder and the overall quality of the wires, especially for such a low price.

OK, ran out of time again, but here are the parts all wired up and in place:


Comment