

Hello Ladies and Gentlemen
My name is Sylvain, I'm from France,
This e30 is my first ever car, I was 18 years old when I got it, It was 15 years ago, I bought the car with a brocken rocker arm, I didn't know much about cars back then .
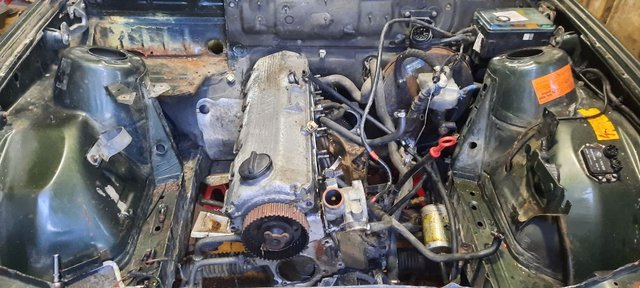
We decided to swap the engine with a friend, and ended up doing an involuntary upgrade to an M20b25, The seller was sure that it was a M20b20 and I didn't know the difference between the two at that time
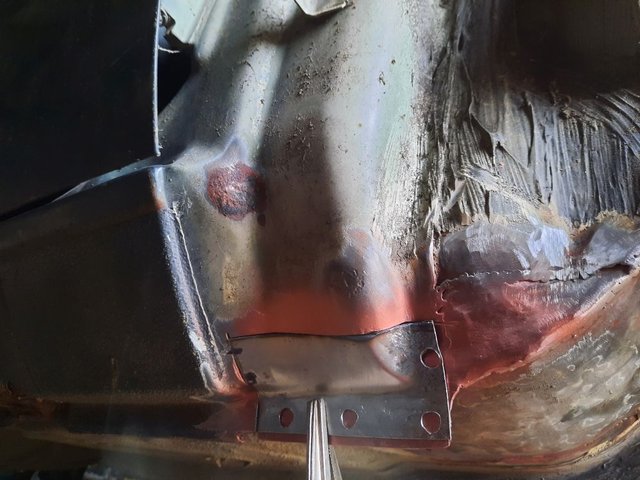
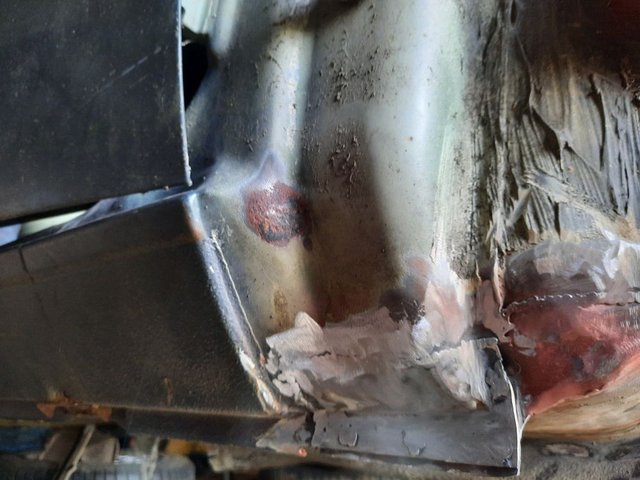
After months of wiring harness modification, and parts buying, I tried to start the car, And the fuel pressure regulator gave up on the first start, Engine immediately caught on fire and ruined monthes of effort
I swapped the engine again a few monthes later, But ended up not driving the car that much because I had other projects I was working on
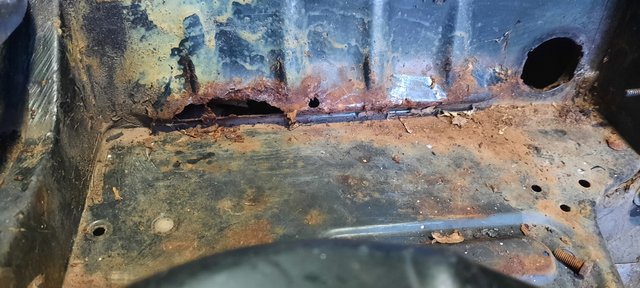
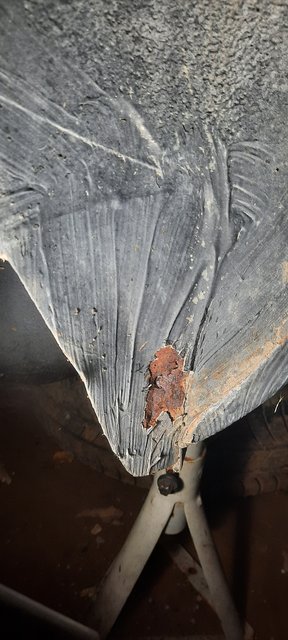
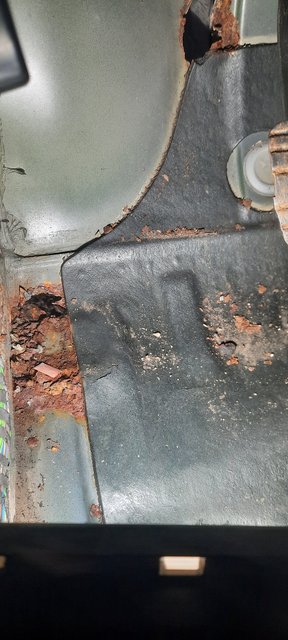
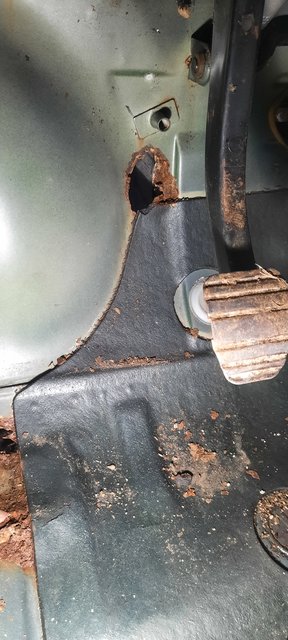
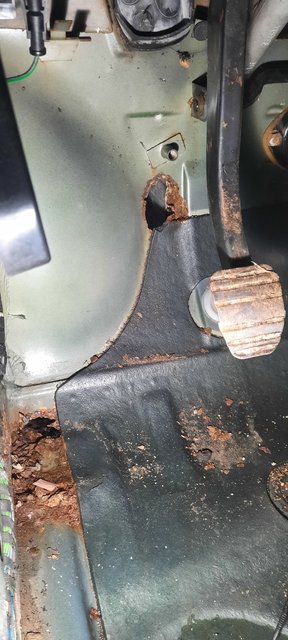
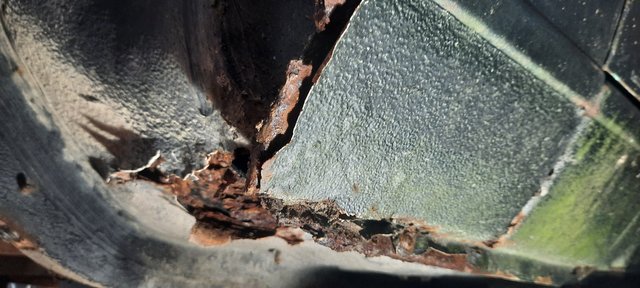
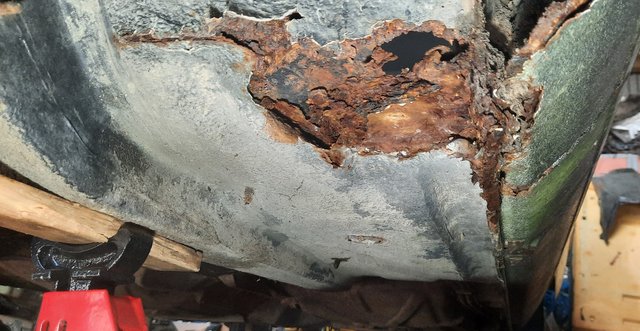
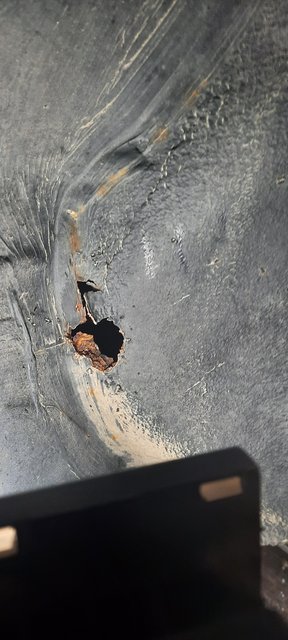
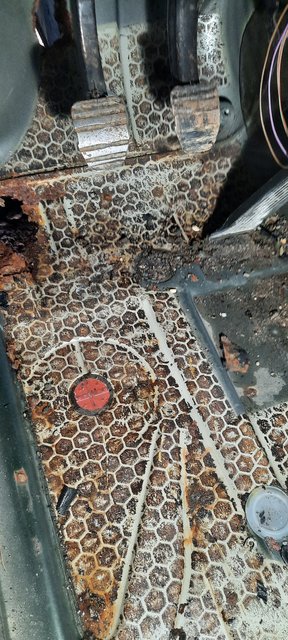
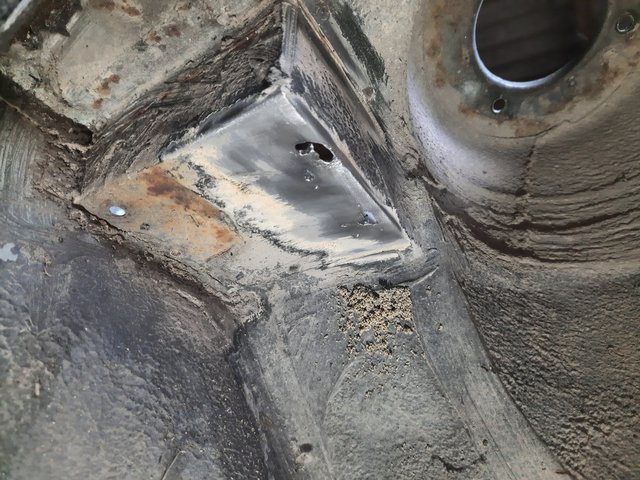
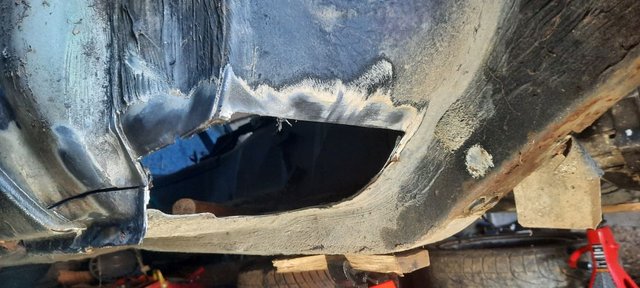
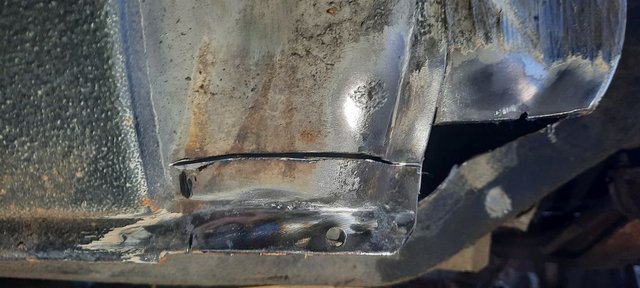
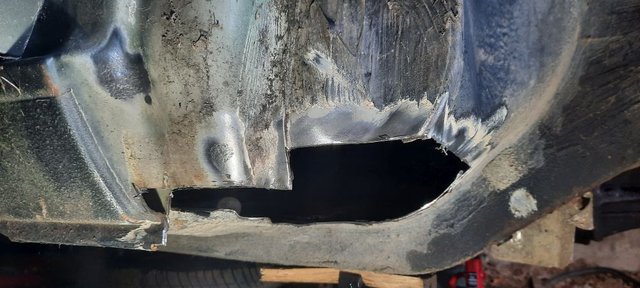
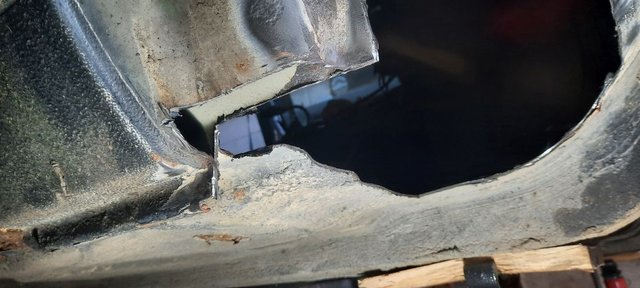
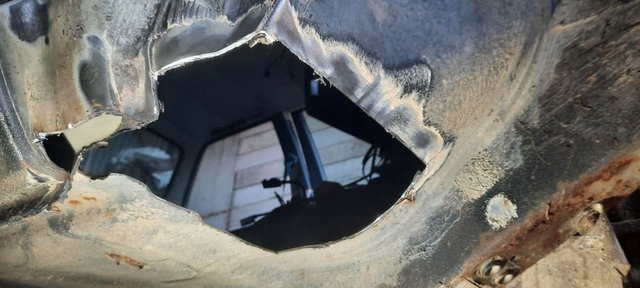
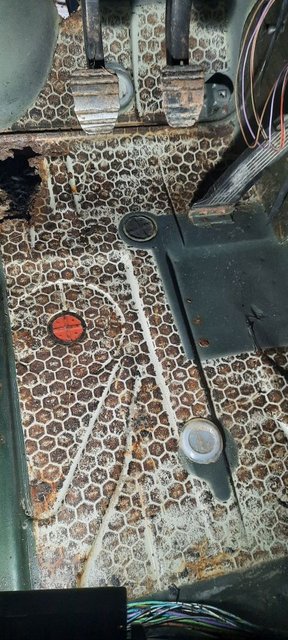
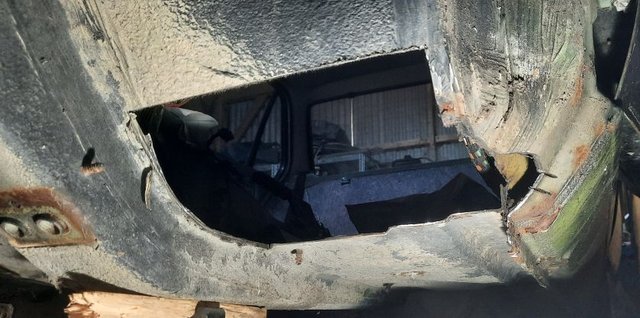
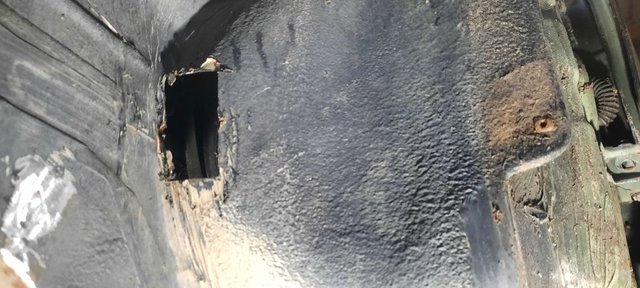
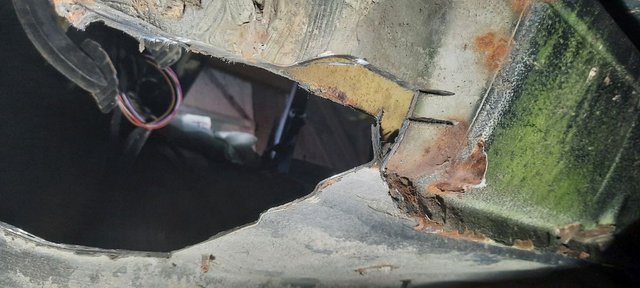
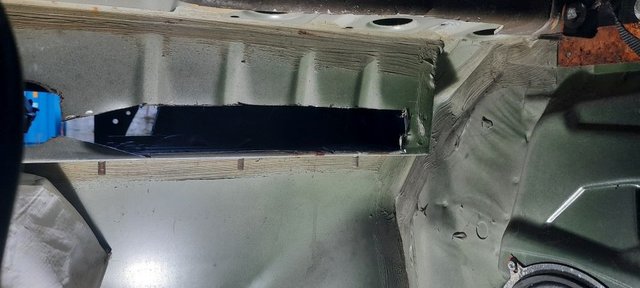
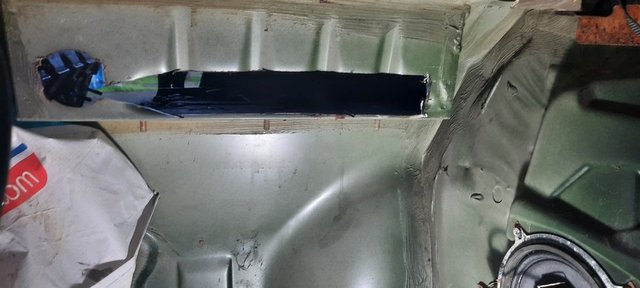
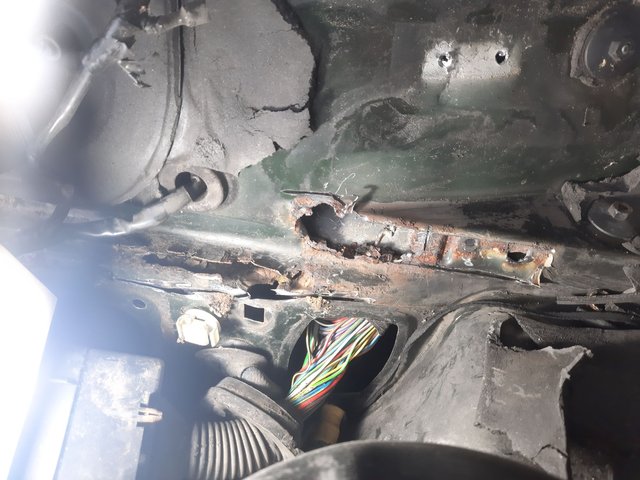
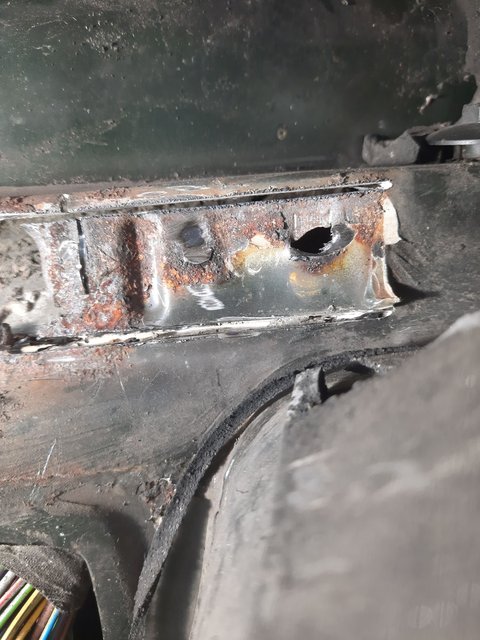
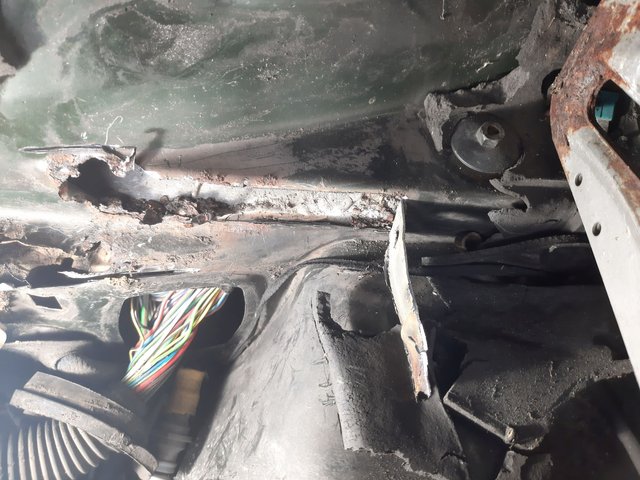
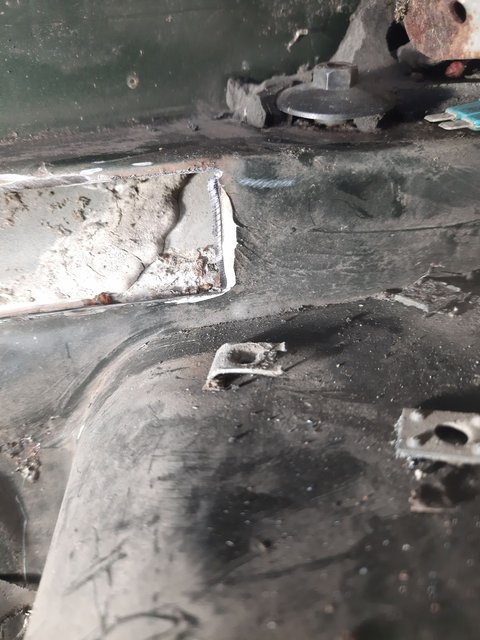
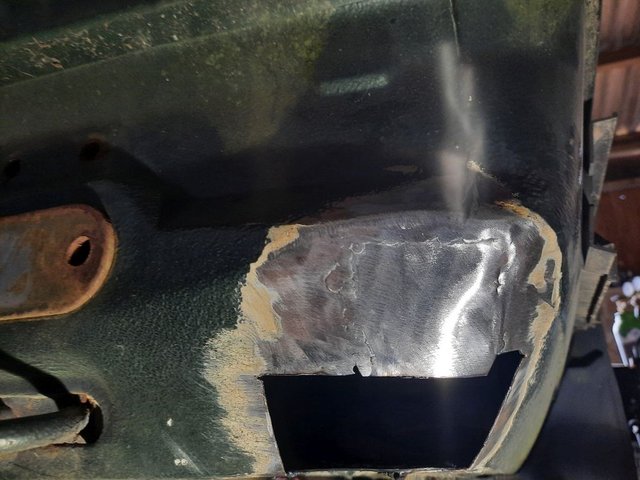
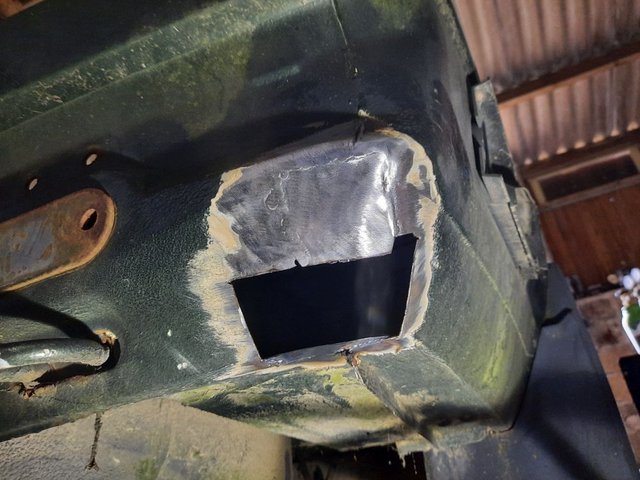
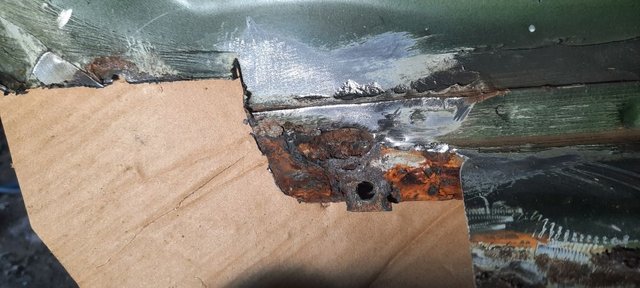
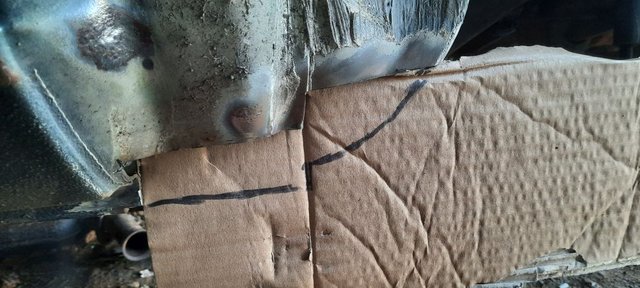
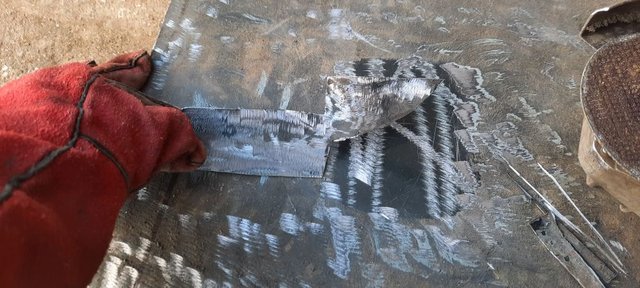
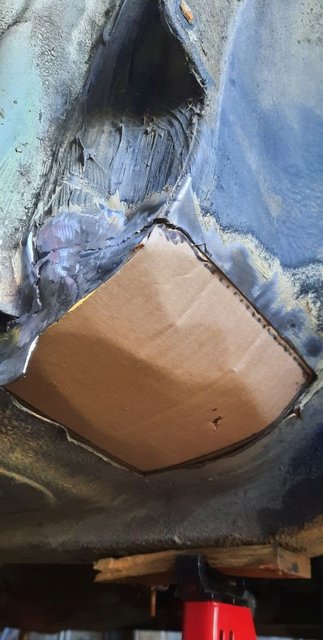
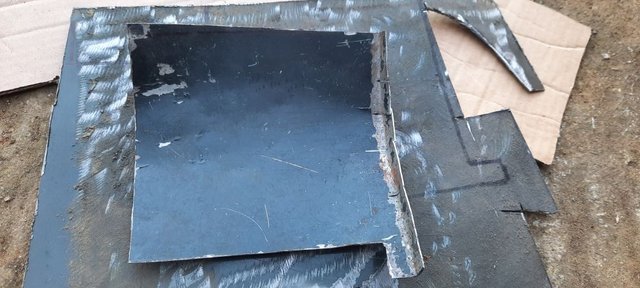
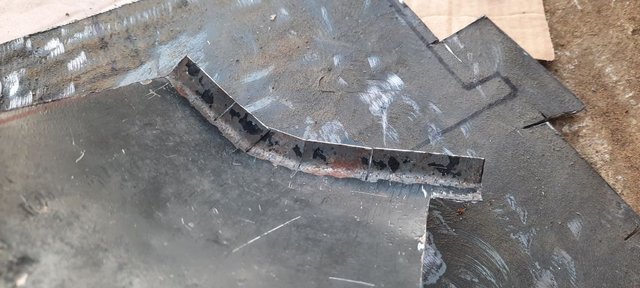
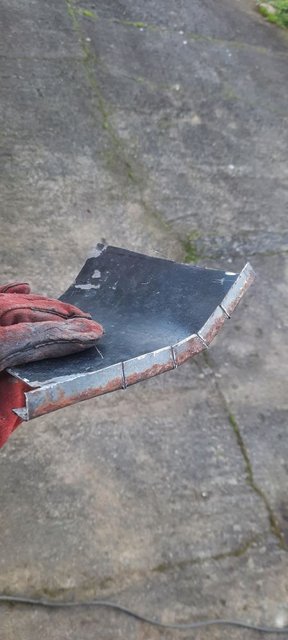
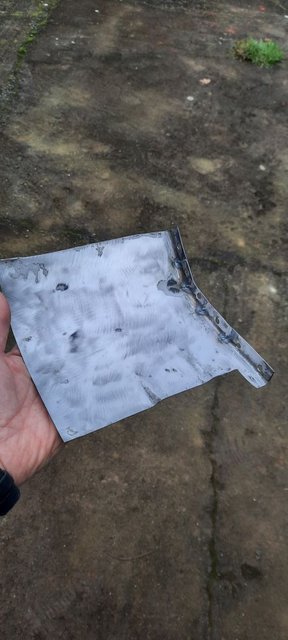
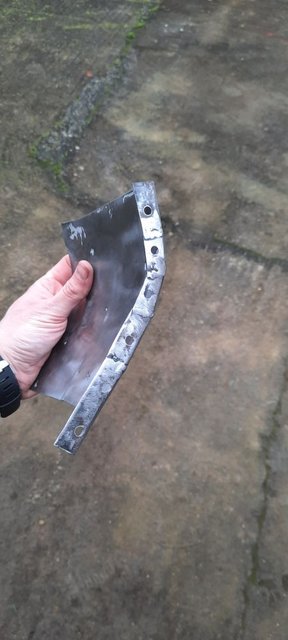
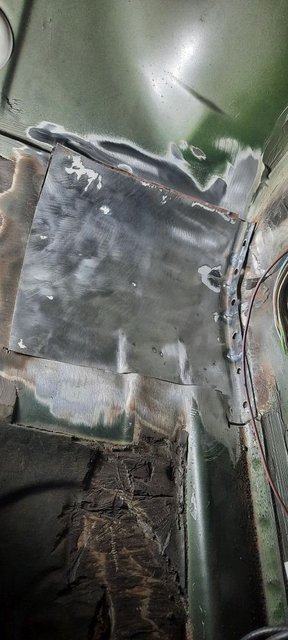
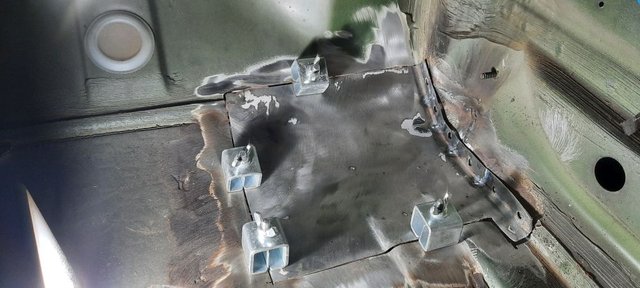
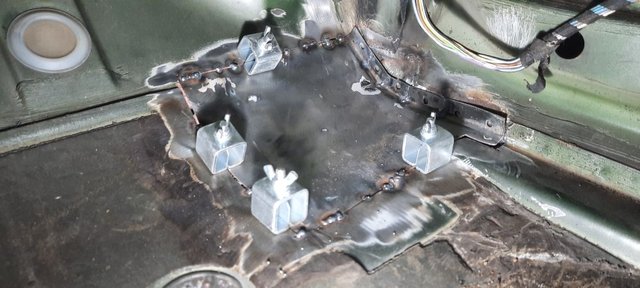
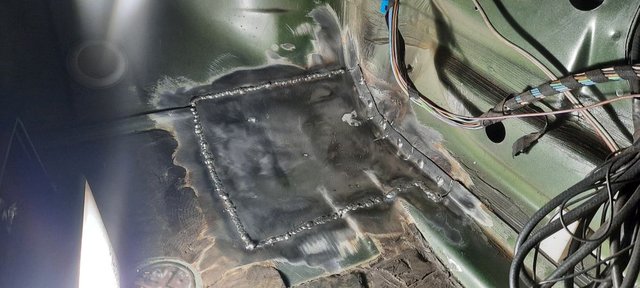
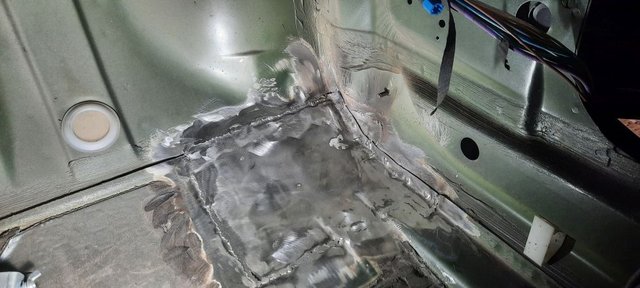
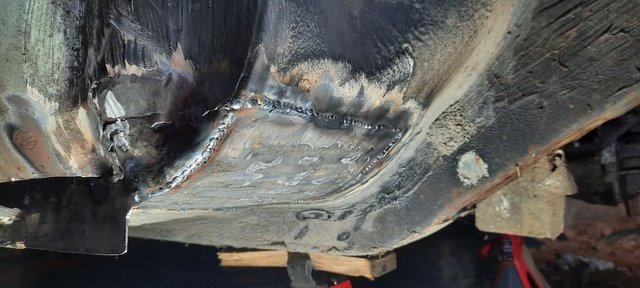
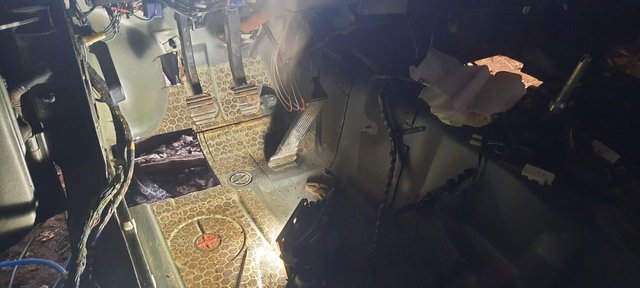
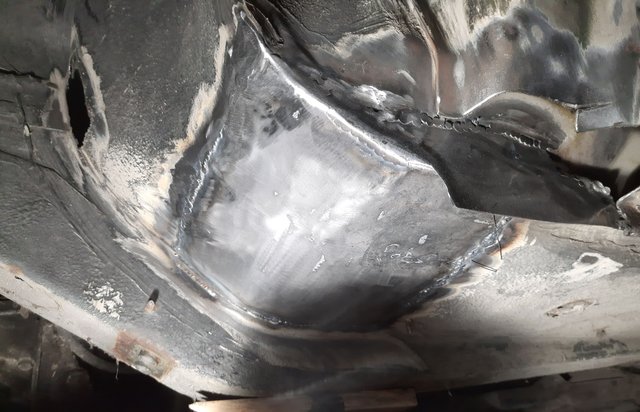
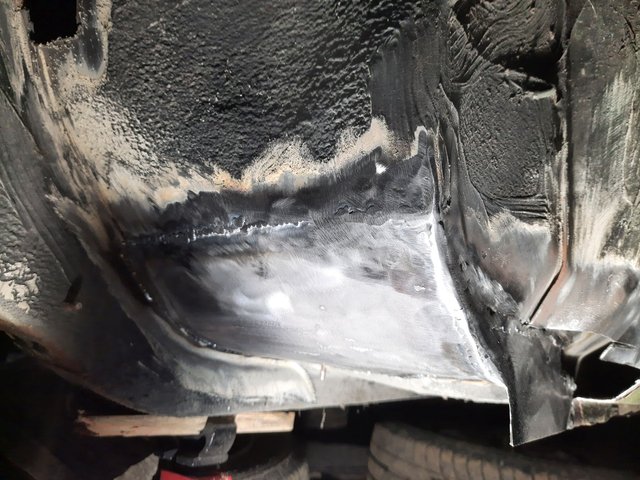
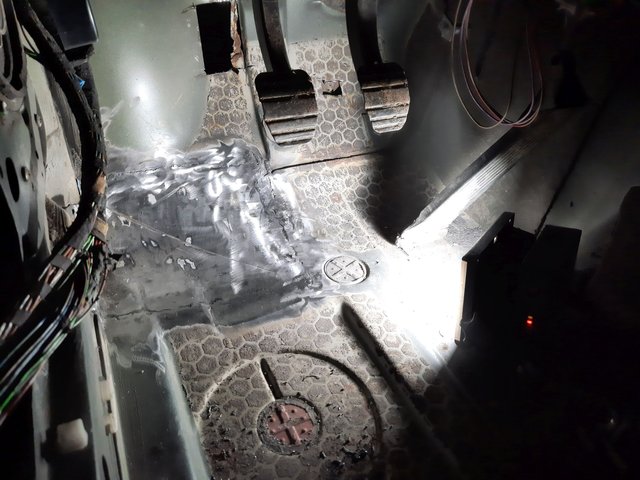
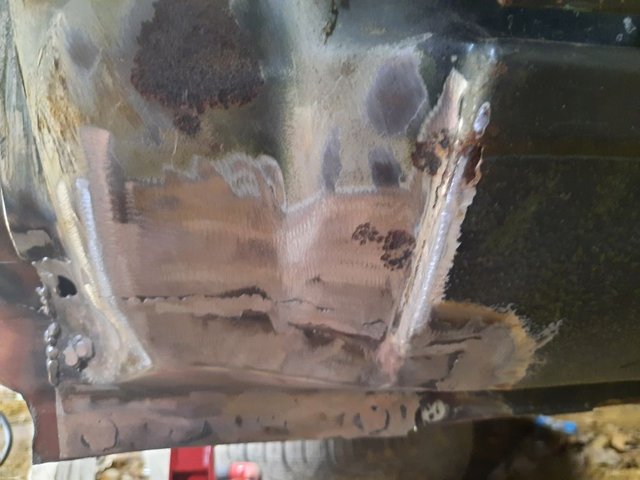
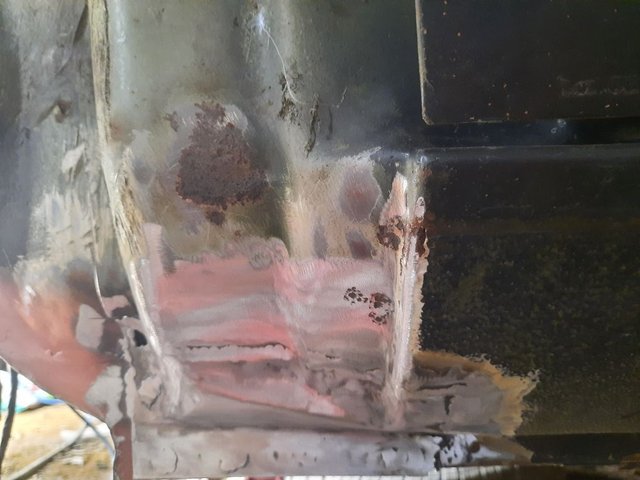
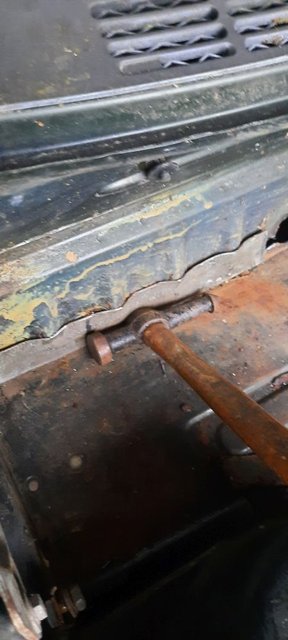
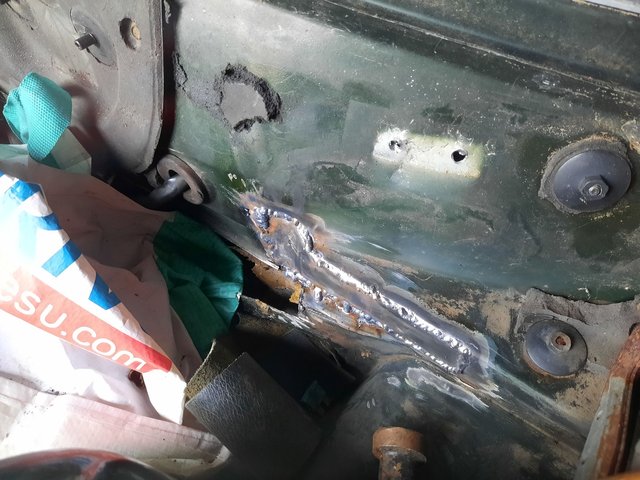
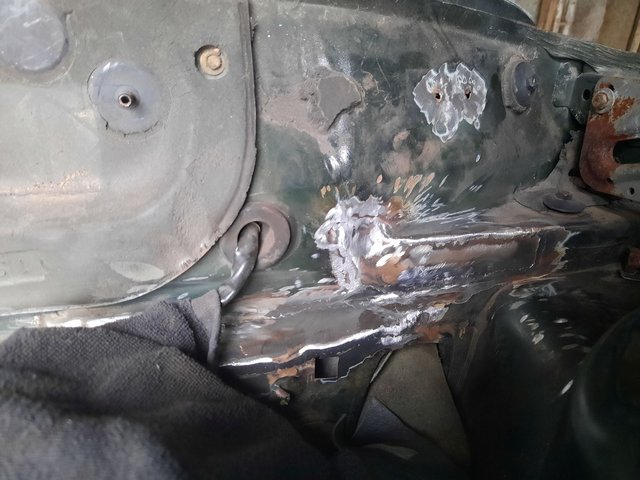
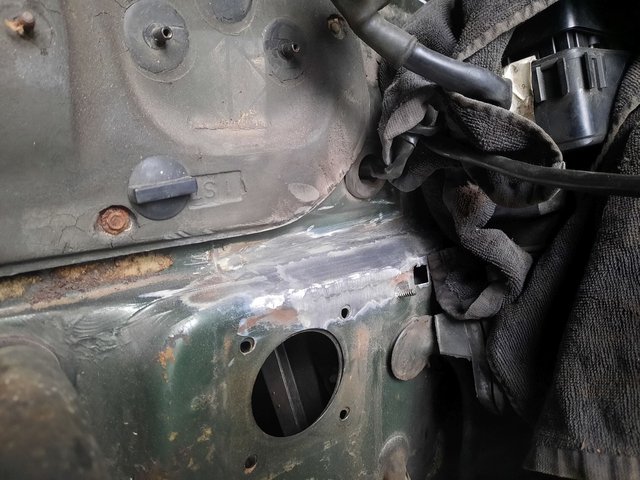
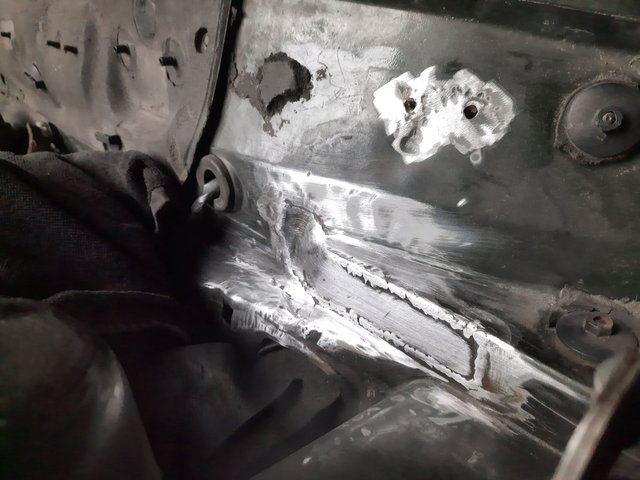
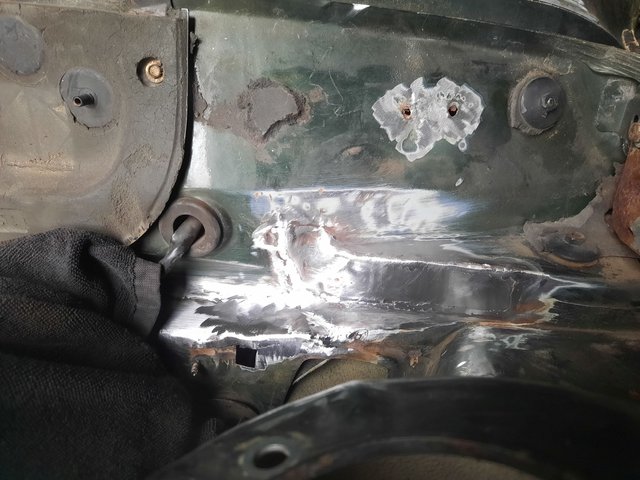
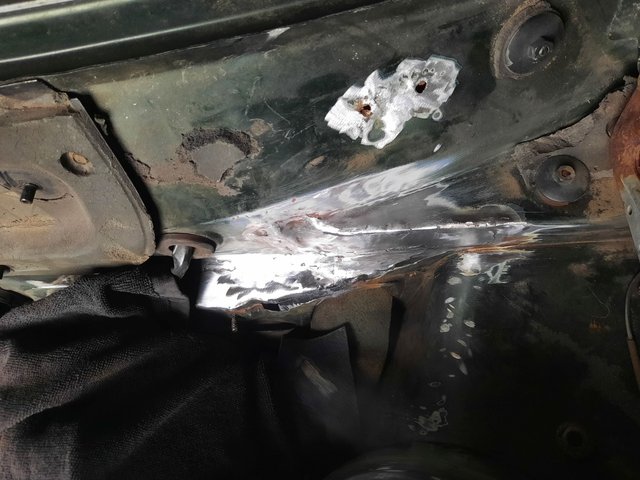
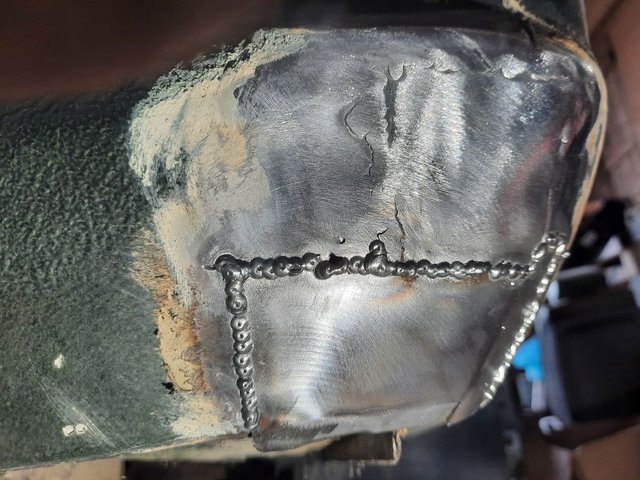
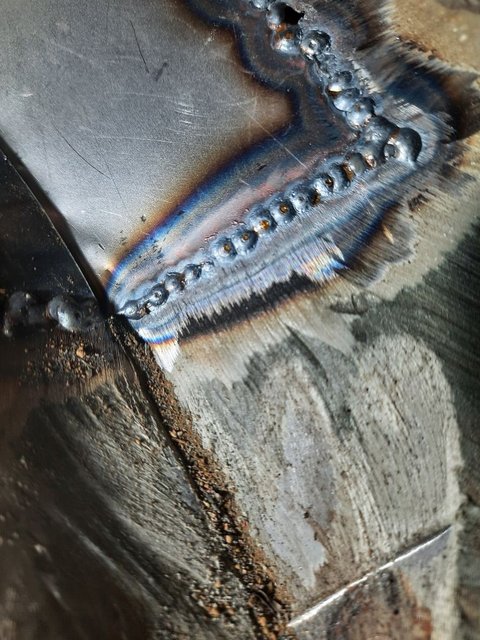
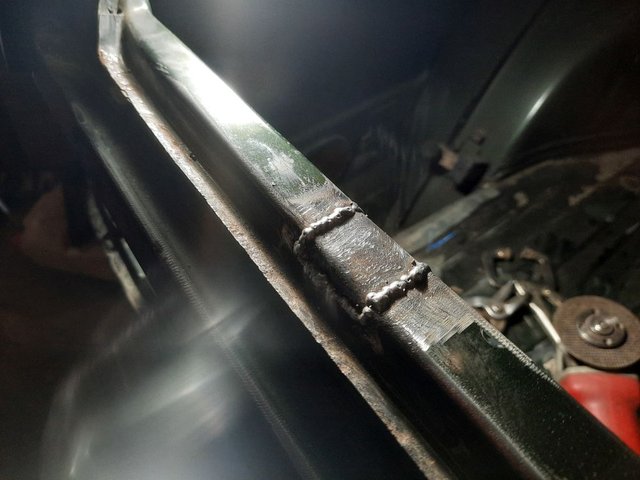
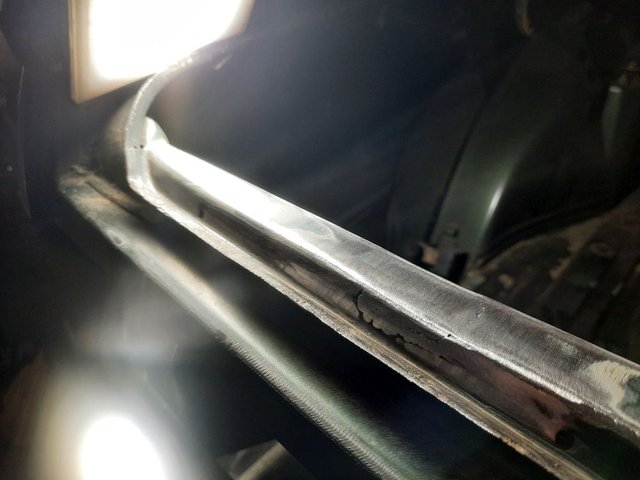
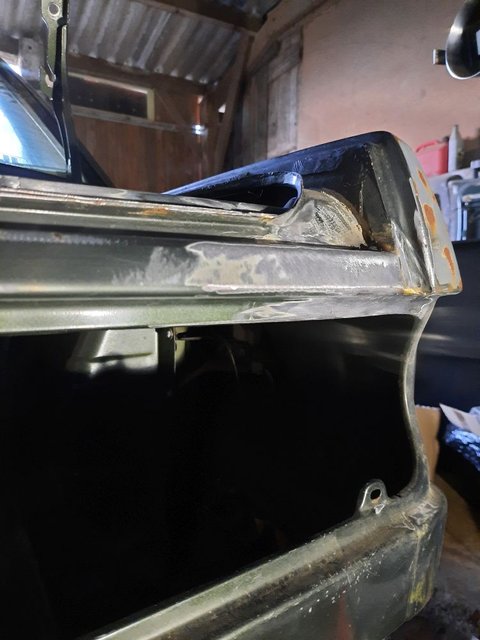
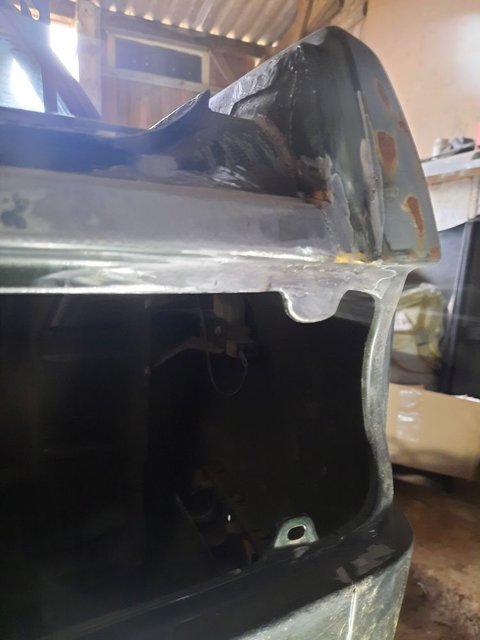
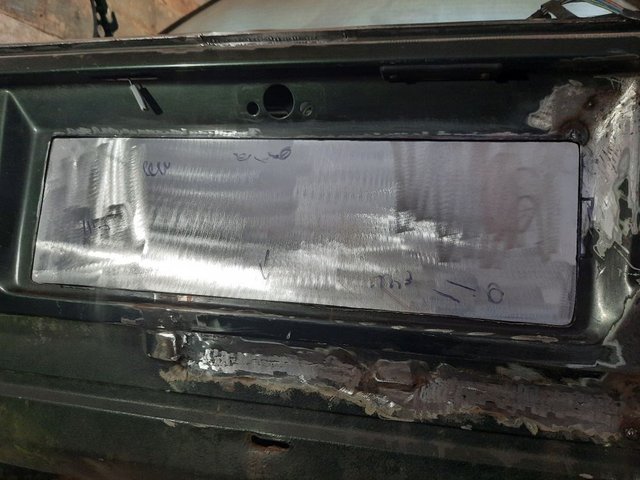
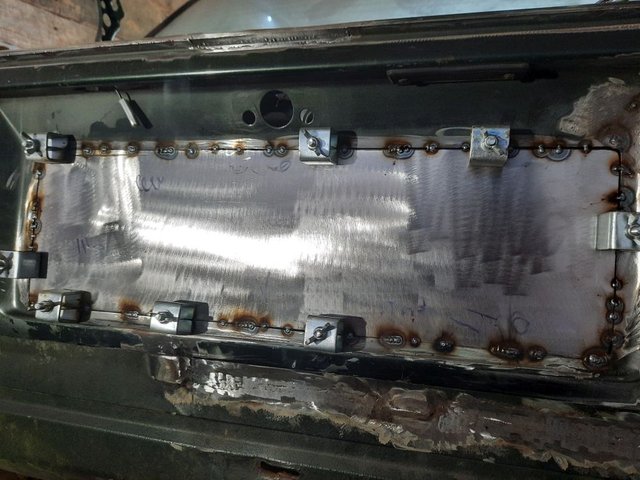
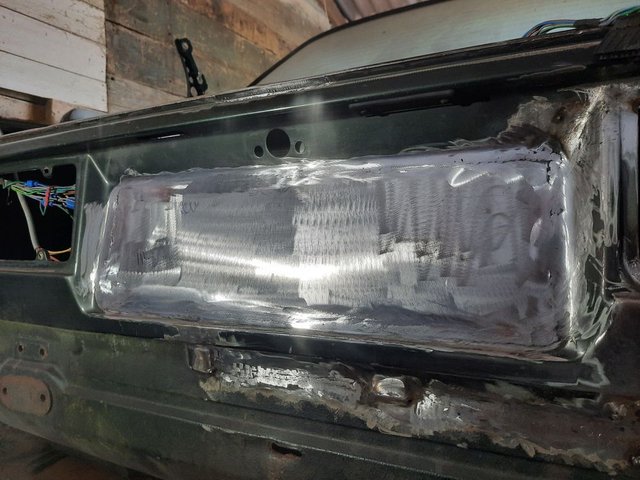
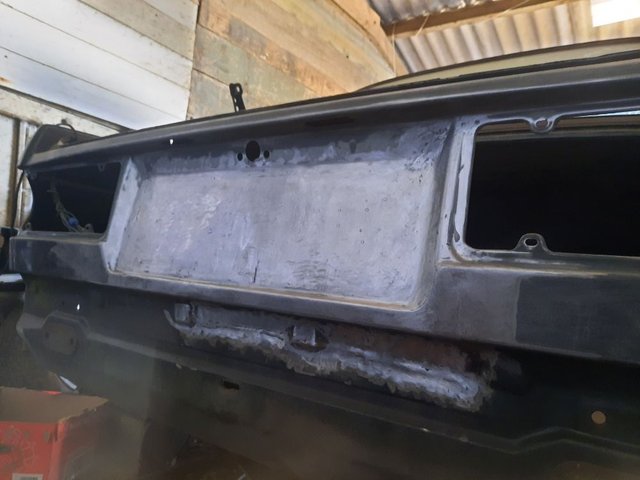
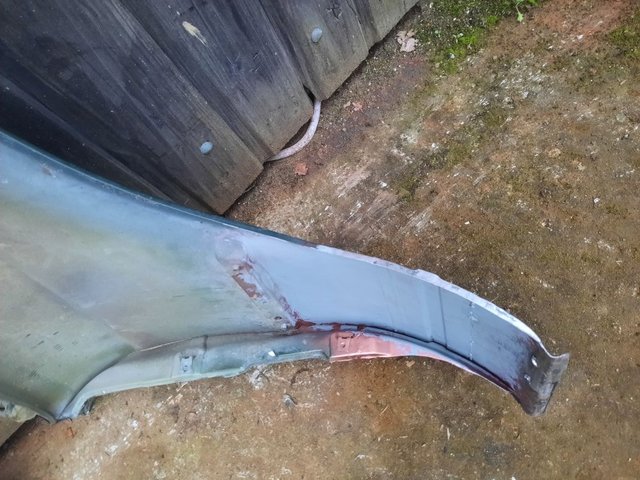
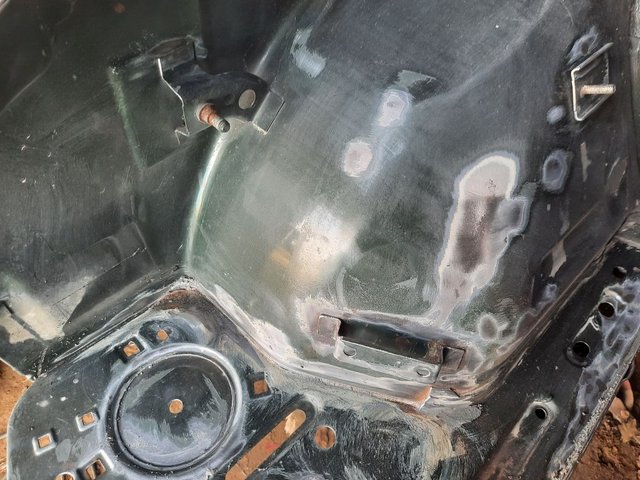
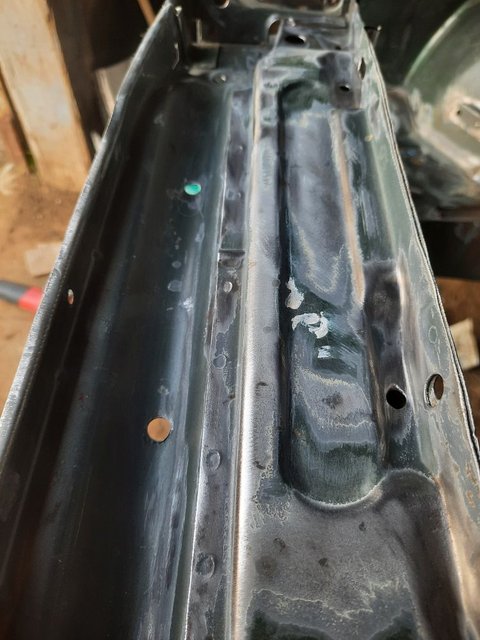
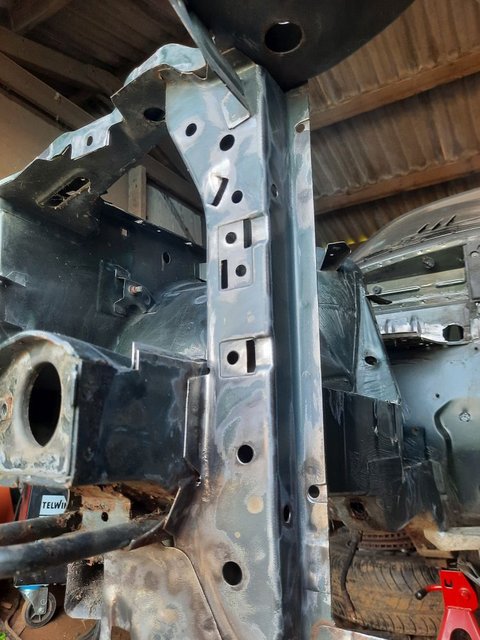
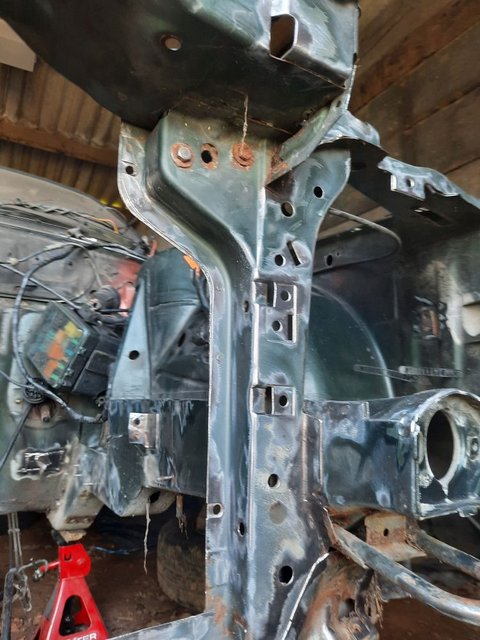
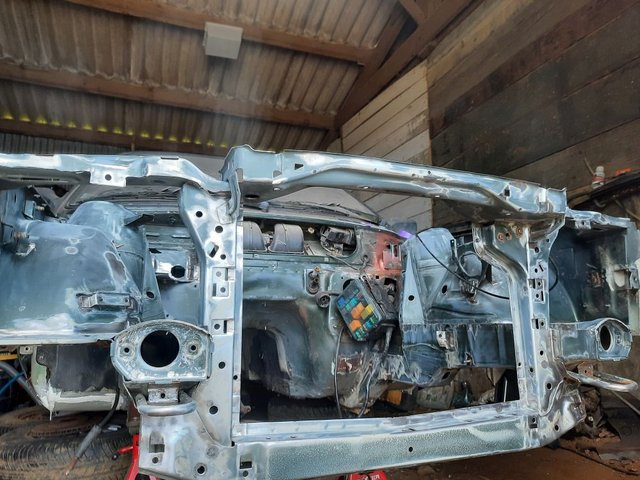
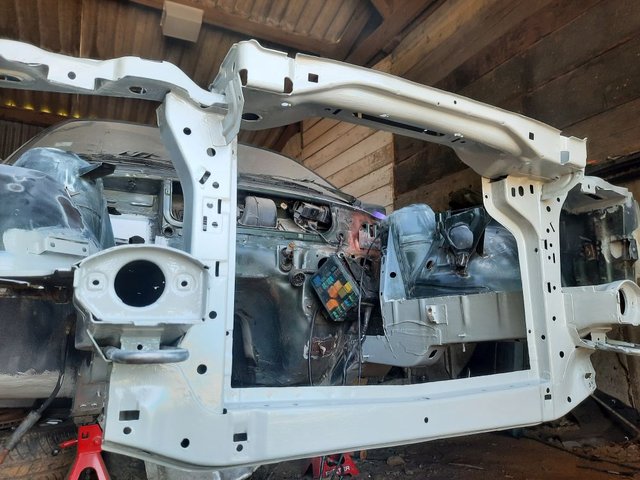
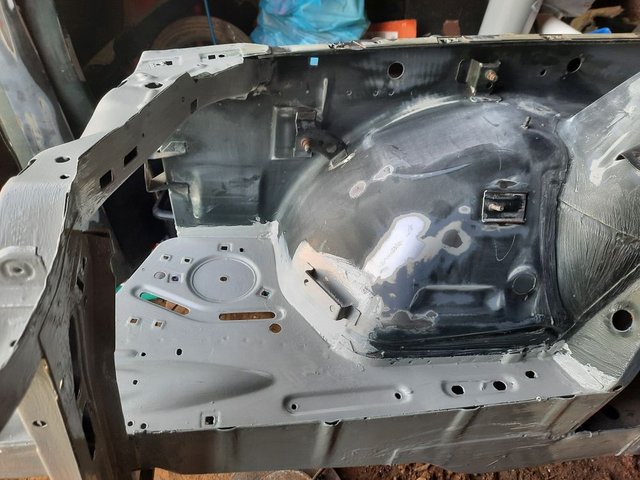
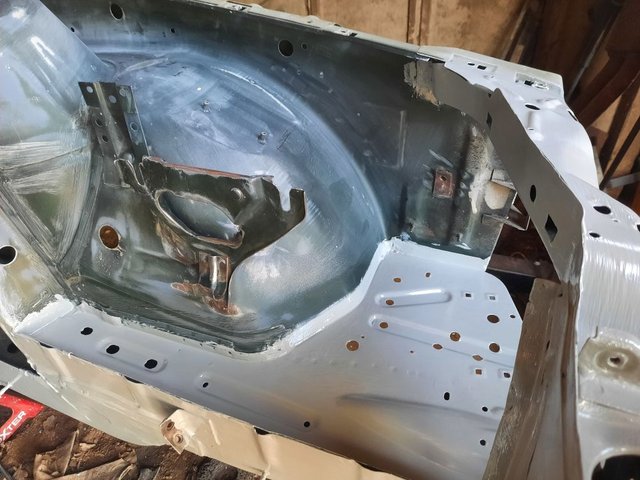
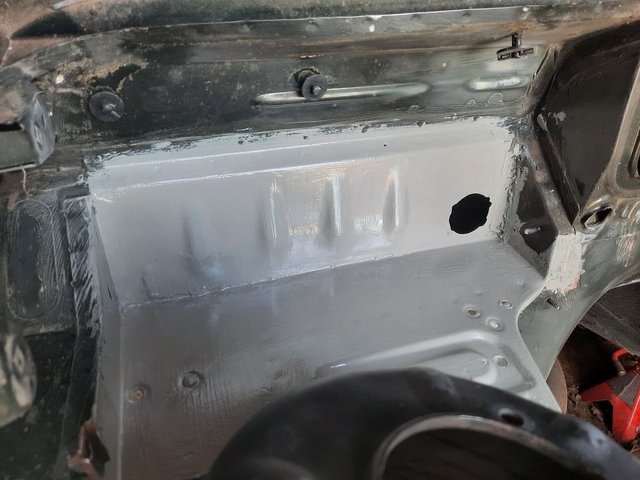
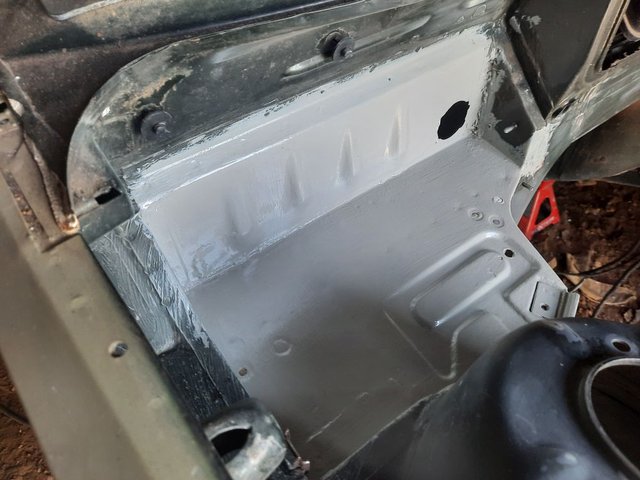
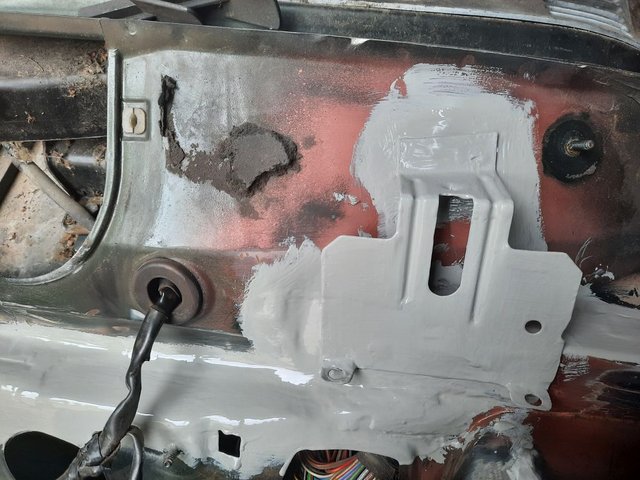
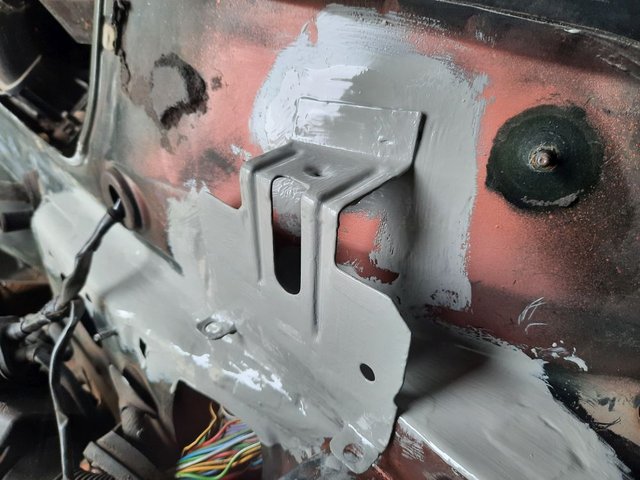
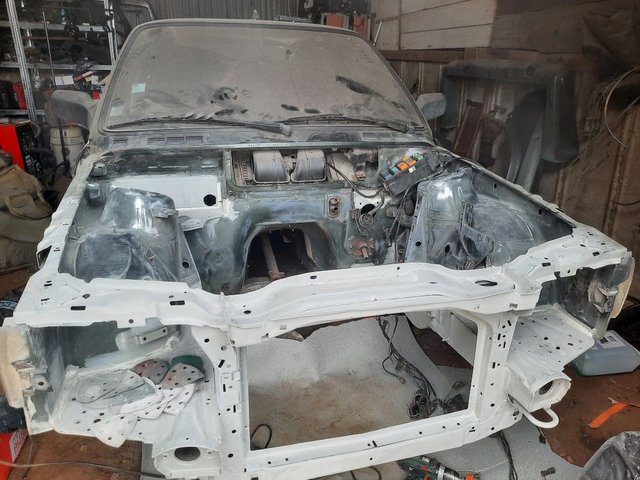
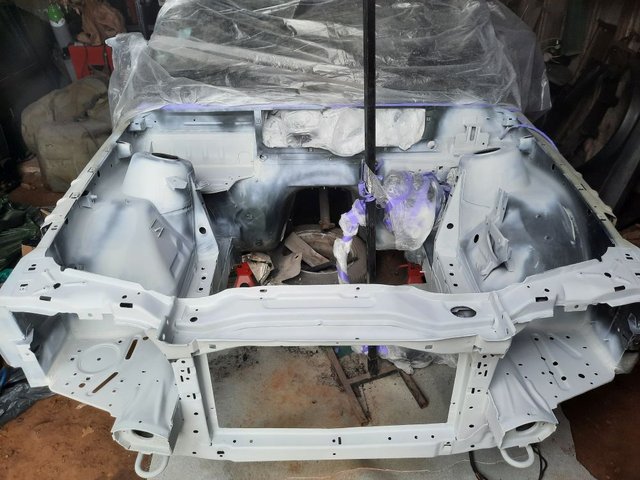
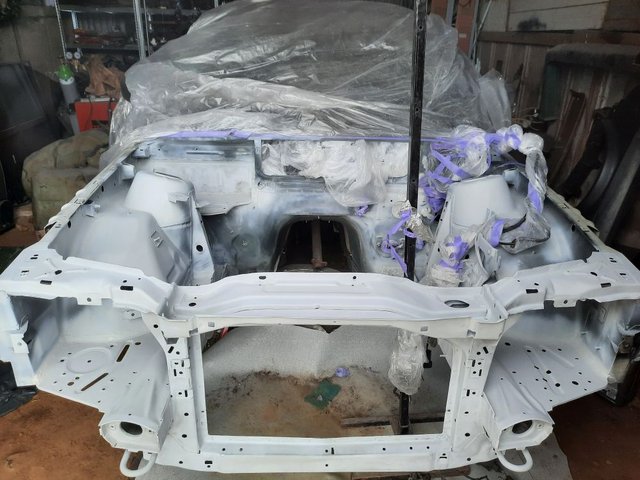
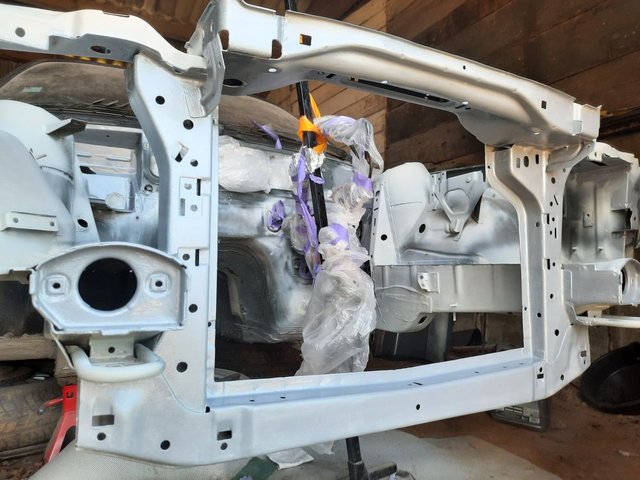
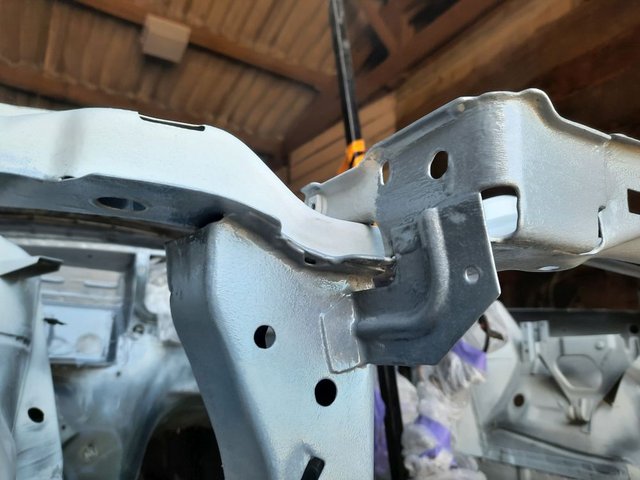
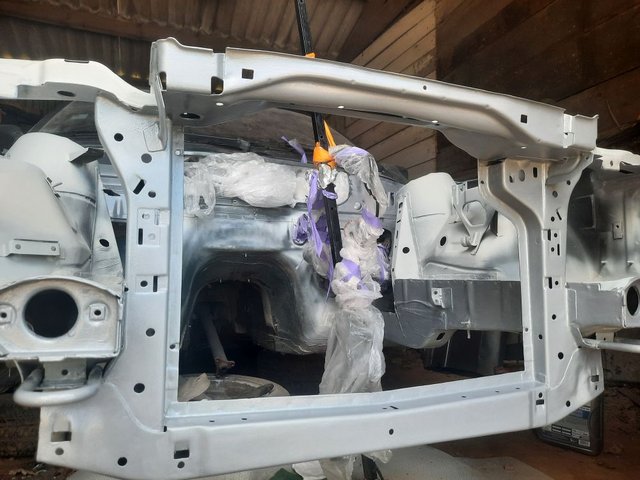
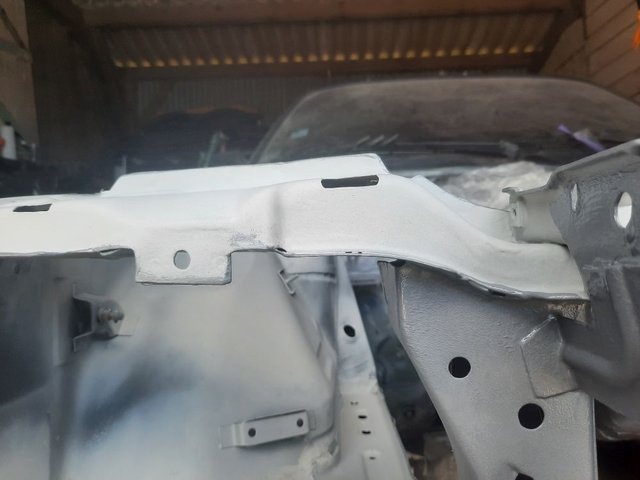
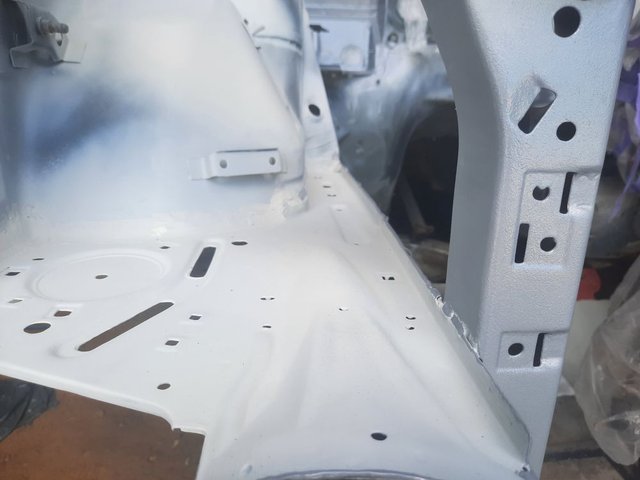
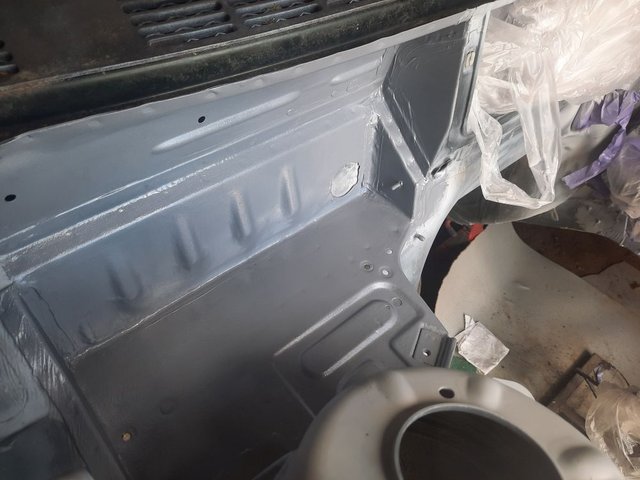
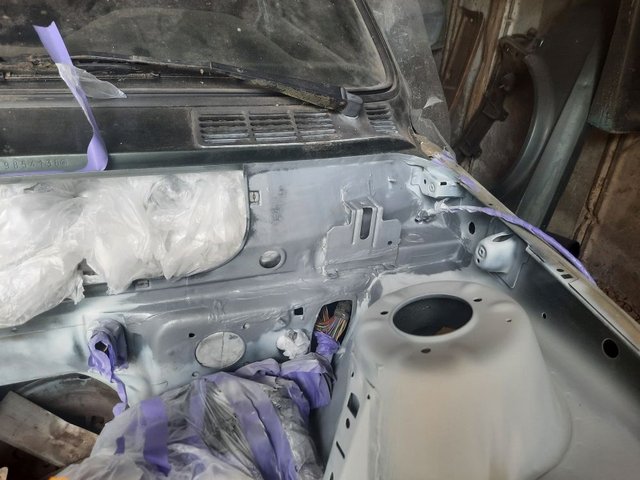
On January 2024,The car was sitting in my backyard, all rusted, I decided that it was time to restore this car back to its former glory, or maybe a bit more
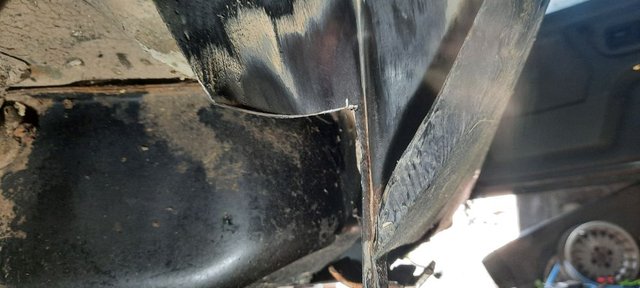
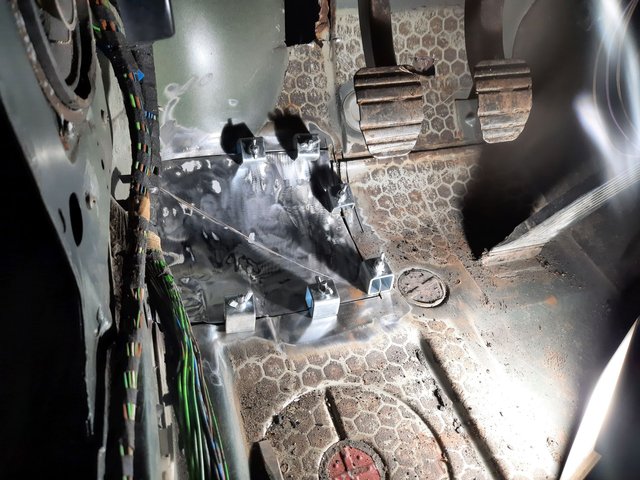
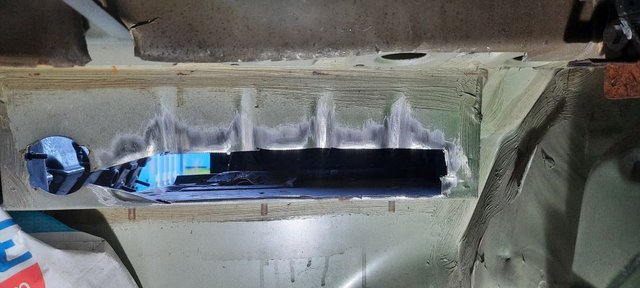
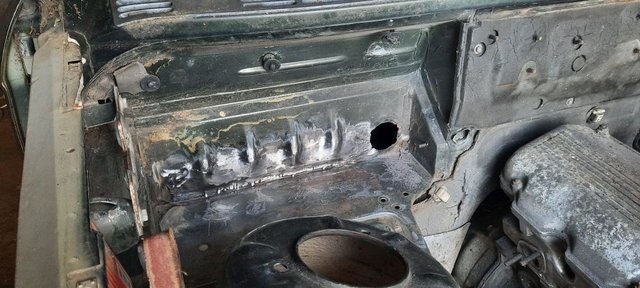
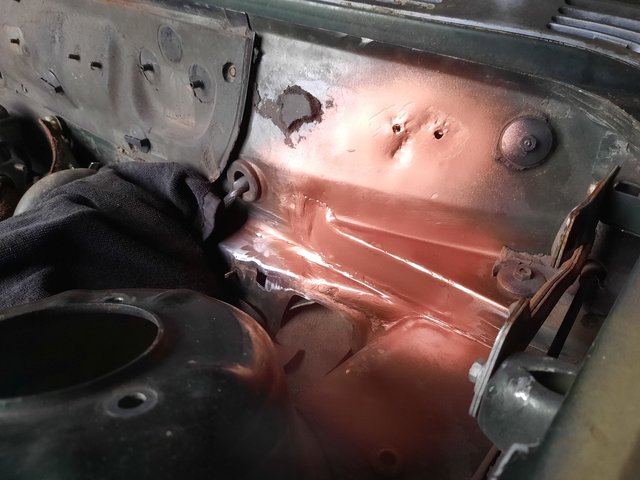
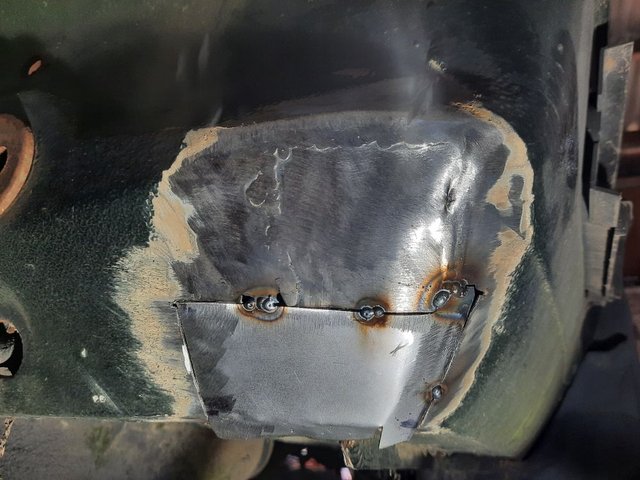
So here was the car, almost 2 years ago, I brought it into this small barn, and I'm going to restore it almost entirely here, Not ideal at all, I know, But I'm building a garage in a near future, I have all the equipment, And as long as we can keep the car inside, and dry, We are good !


My name is Sylvain, I'm from France,
This e30 is my first ever car, I was 18 years old when I got it, It was 15 years ago, I bought the car with a brocken rocker arm, I didn't know much about cars back then .
We decided to swap the engine with a friend, and ended up doing an involuntary upgrade to an M20b25, The seller was sure that it was a M20b20 and I didn't know the difference between the two at that time
After months of wiring harness modification, and parts buying, I tried to start the car, And the fuel pressure regulator gave up on the first start, Engine immediately caught on fire and ruined monthes of effort
I swapped the engine again a few monthes later, But ended up not driving the car that much because I had other projects I was working on
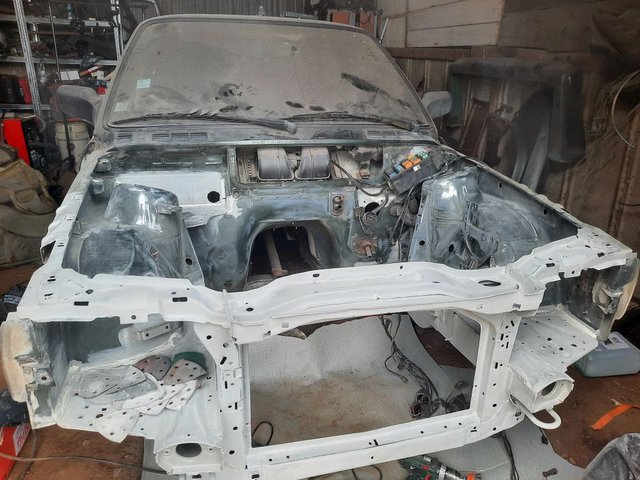
On January 2024,The car was sitting in my backyard, all rusted, I decided that it was time to restore this car back to its former glory, or maybe a bit more
So here was the car, almost 2 years ago, I brought it into this small barn, and I'm going to restore it almost entirely here, Not ideal at all, I know, But I'm building a garage in a near future, I have all the equipment, And as long as we can keep the car inside, and dry, We are good !
Attached Files


Comment