
Yeah that one curved piece came out surprisingly well. At least the top of it. Luckily I'm doing all the work at my friend's place and his dad has a ton of tools. One of them being a combination sheetmetal tool that allows you to roll curves and press 90 degree bends. There was a spot I patched by the rear shock tower that was really difficult to make. It was a compound curve (I think that's what its called) where its was S shaped in one axis and U shaped in the other axis. The first set of curves is easy but when trying to form the second set of curves on the parallel axis it wants to undo the first set. I eventually ended up breaking it up into 4 U shaped pieces and approximating the S curve using the multiple pieces, similar to doing pie cuts on a tube. It came out half decent, It'll be in my next update.
A little teaser vid from the other weekend before I got to work in the rear wheel well.
I'm going to a bachelor's party this Saturday so hopefully I'm not too hung over to work on my car Sunday. :drink:
-
Music fits well with the post. You do have some decent skill for fabricating the panels tooLeave a comment:
-
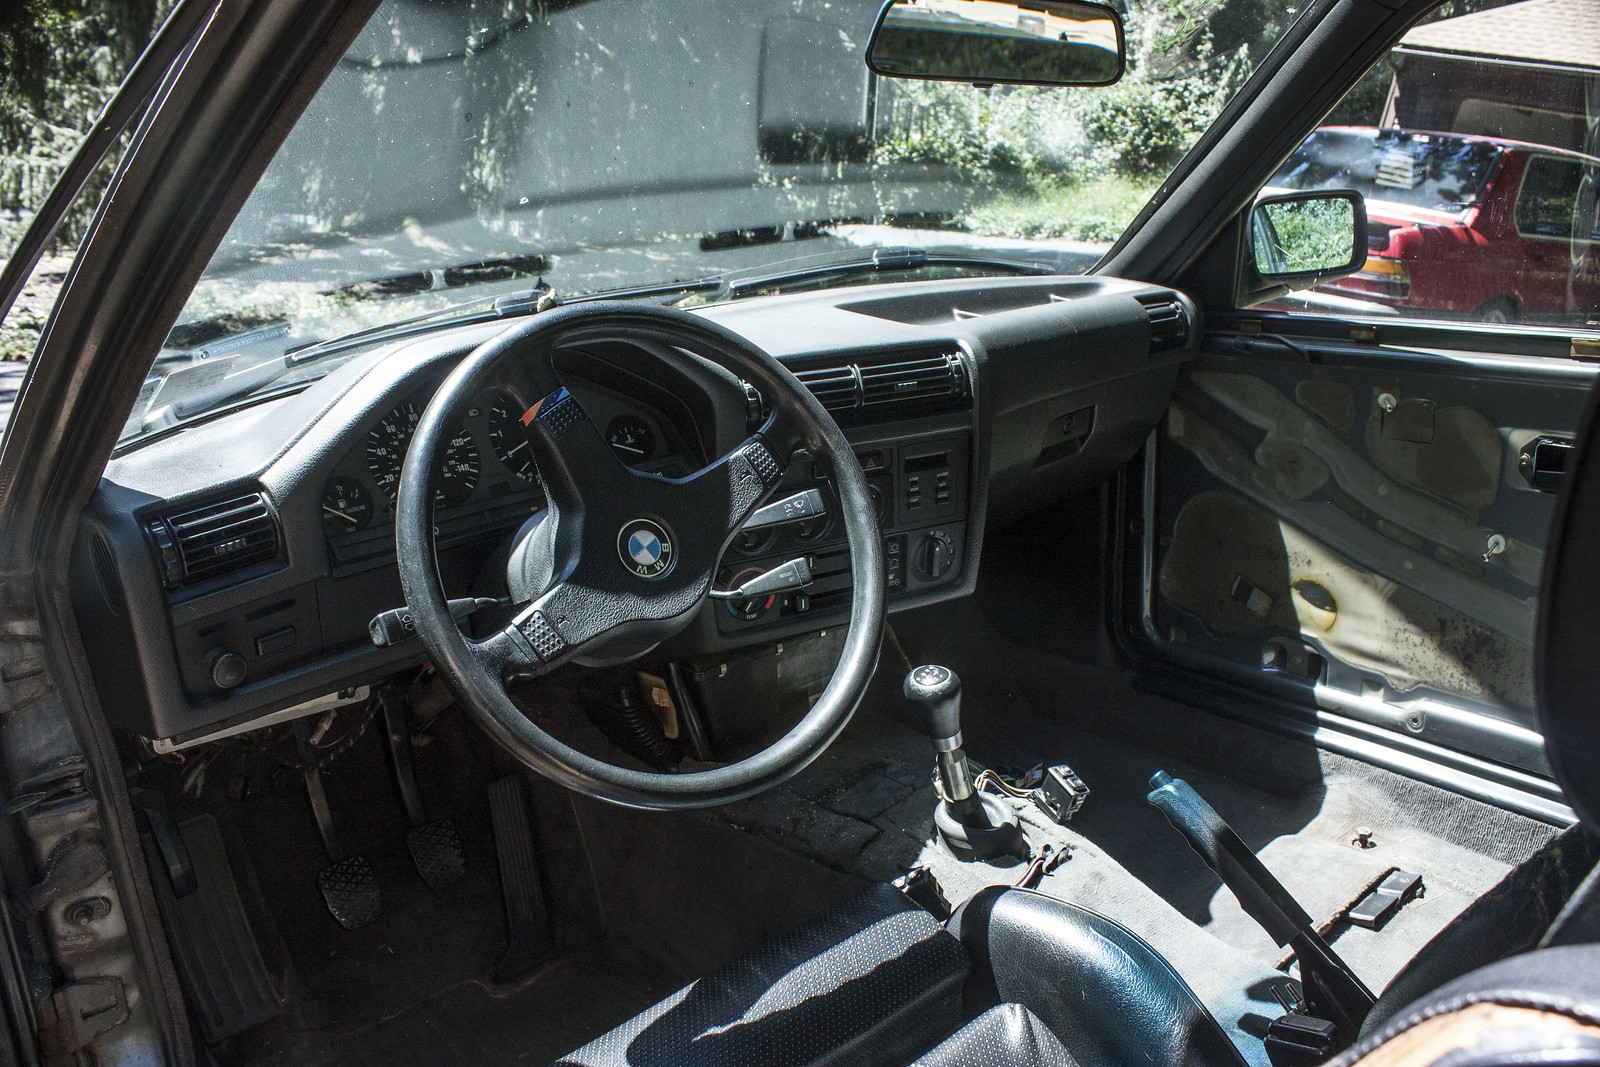
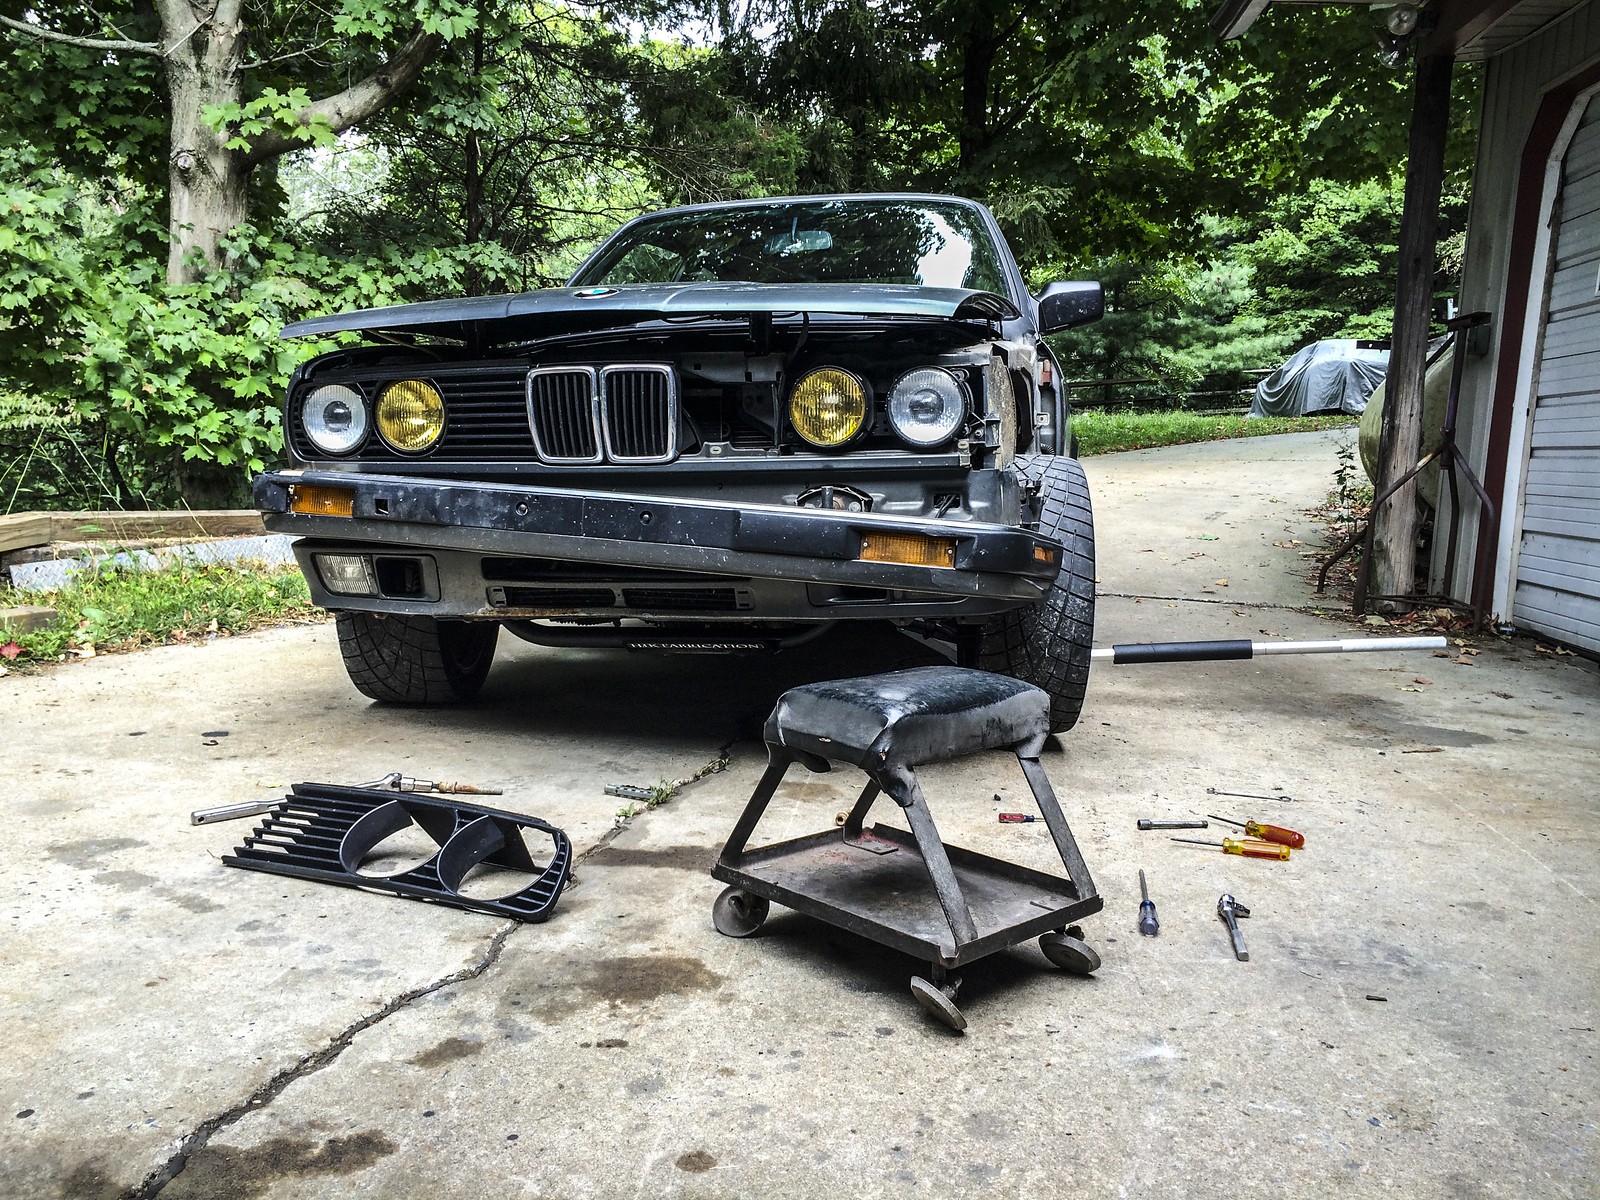
So the restoration begins. All these photos were taken August/Sept of last year.
Background music to listen to while you read this post
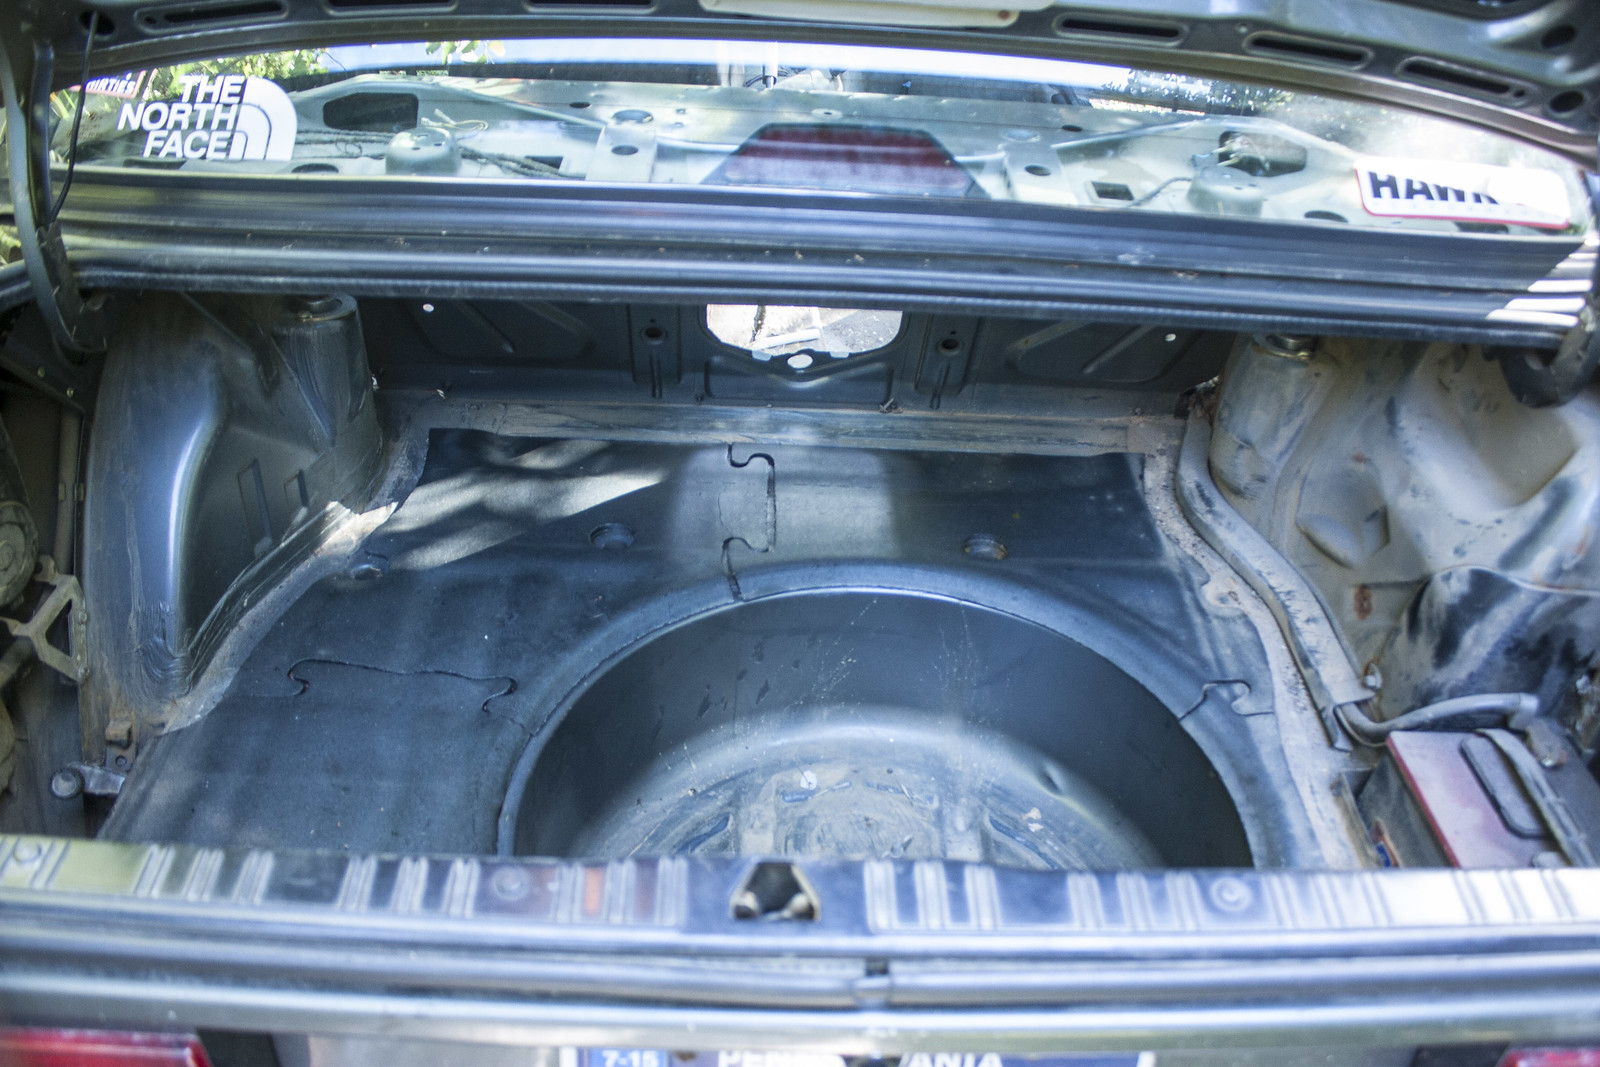
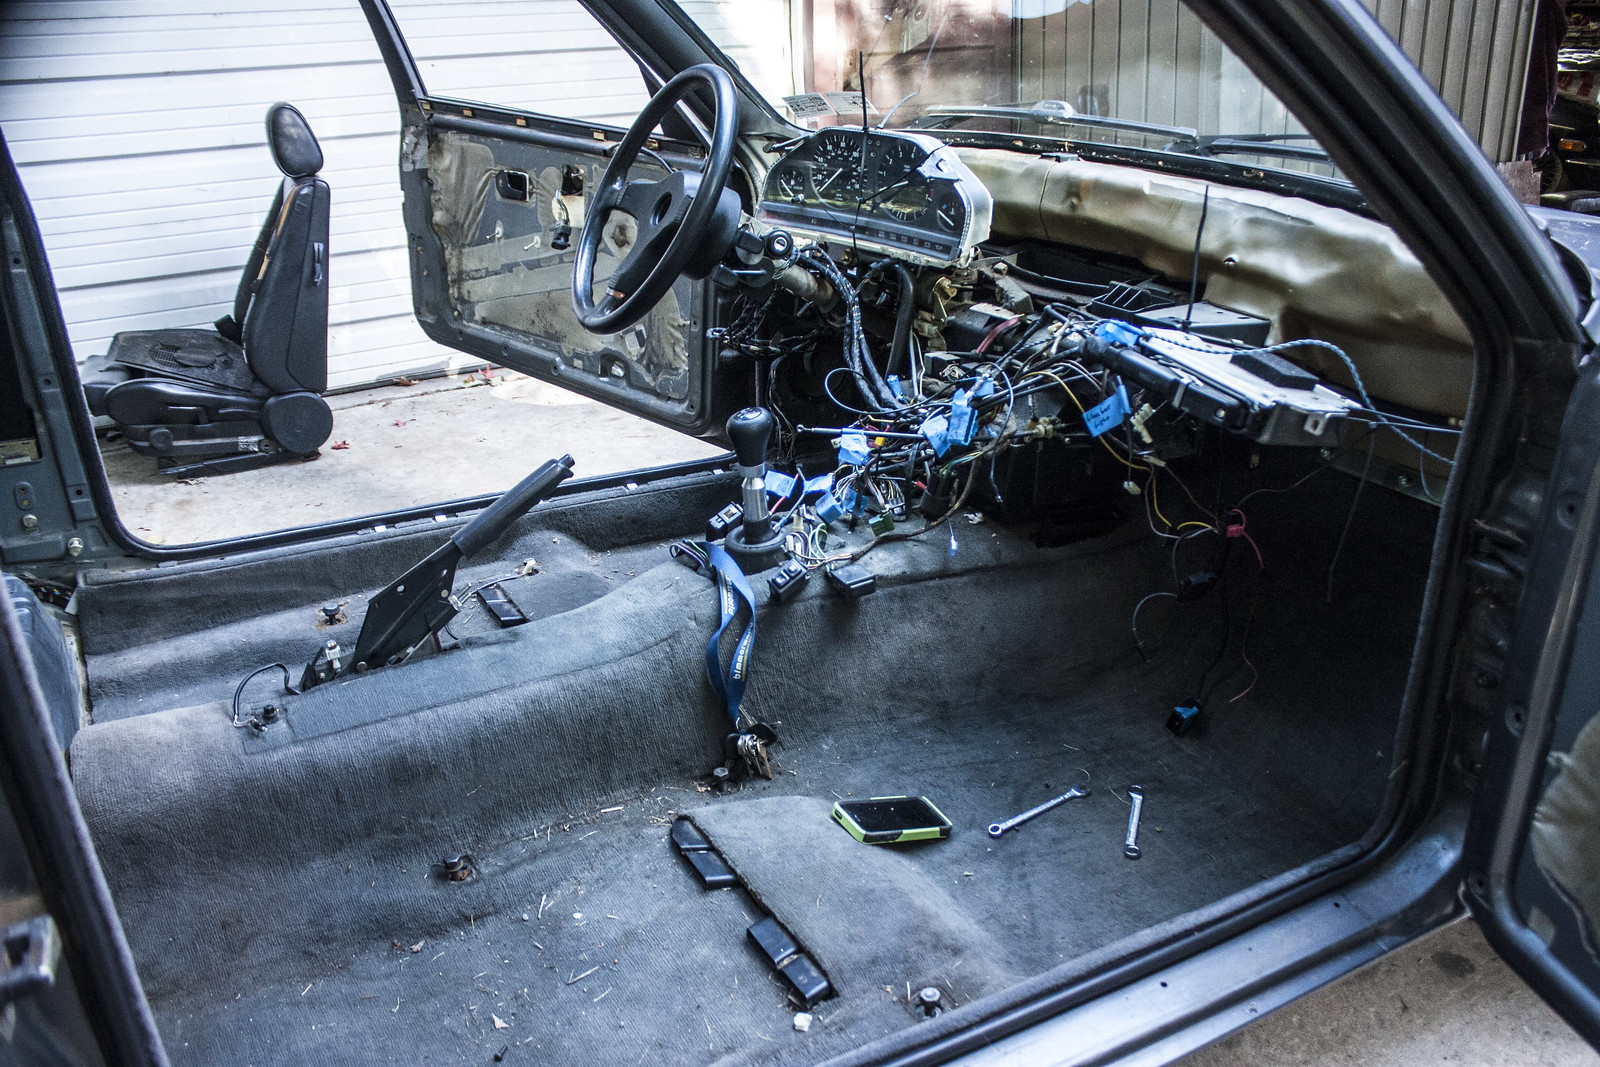
Teardown
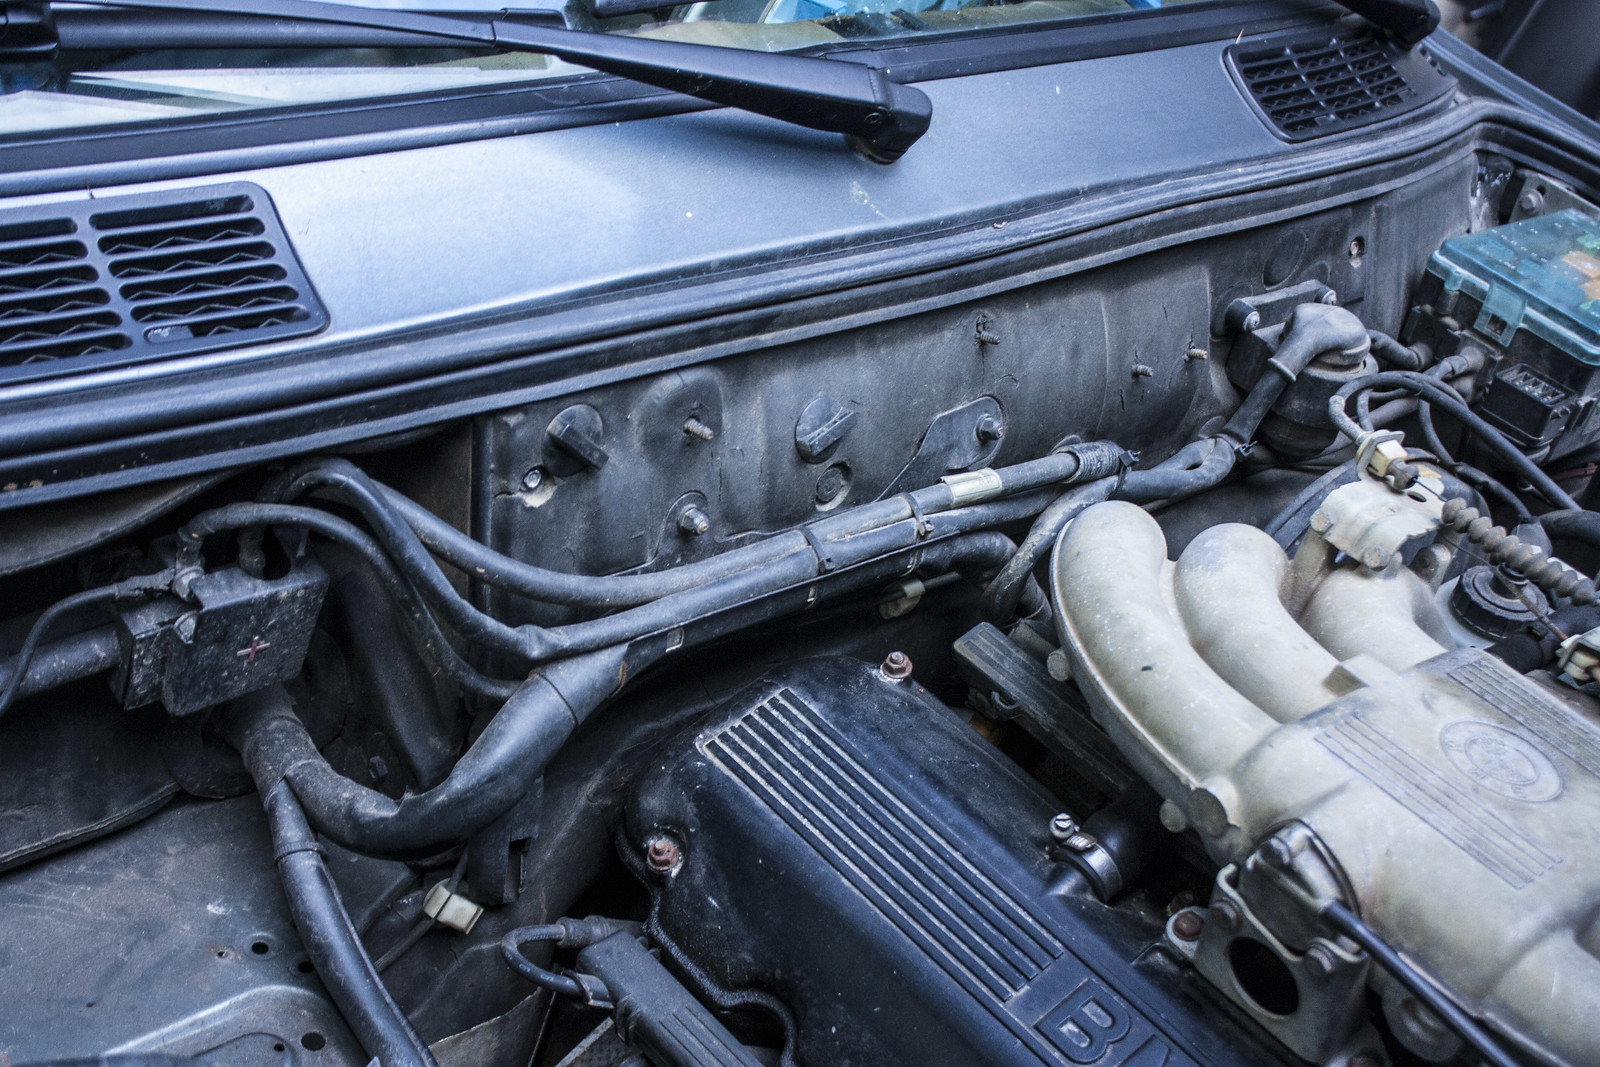
Note the rusted out fuel expansion tank tube on the left
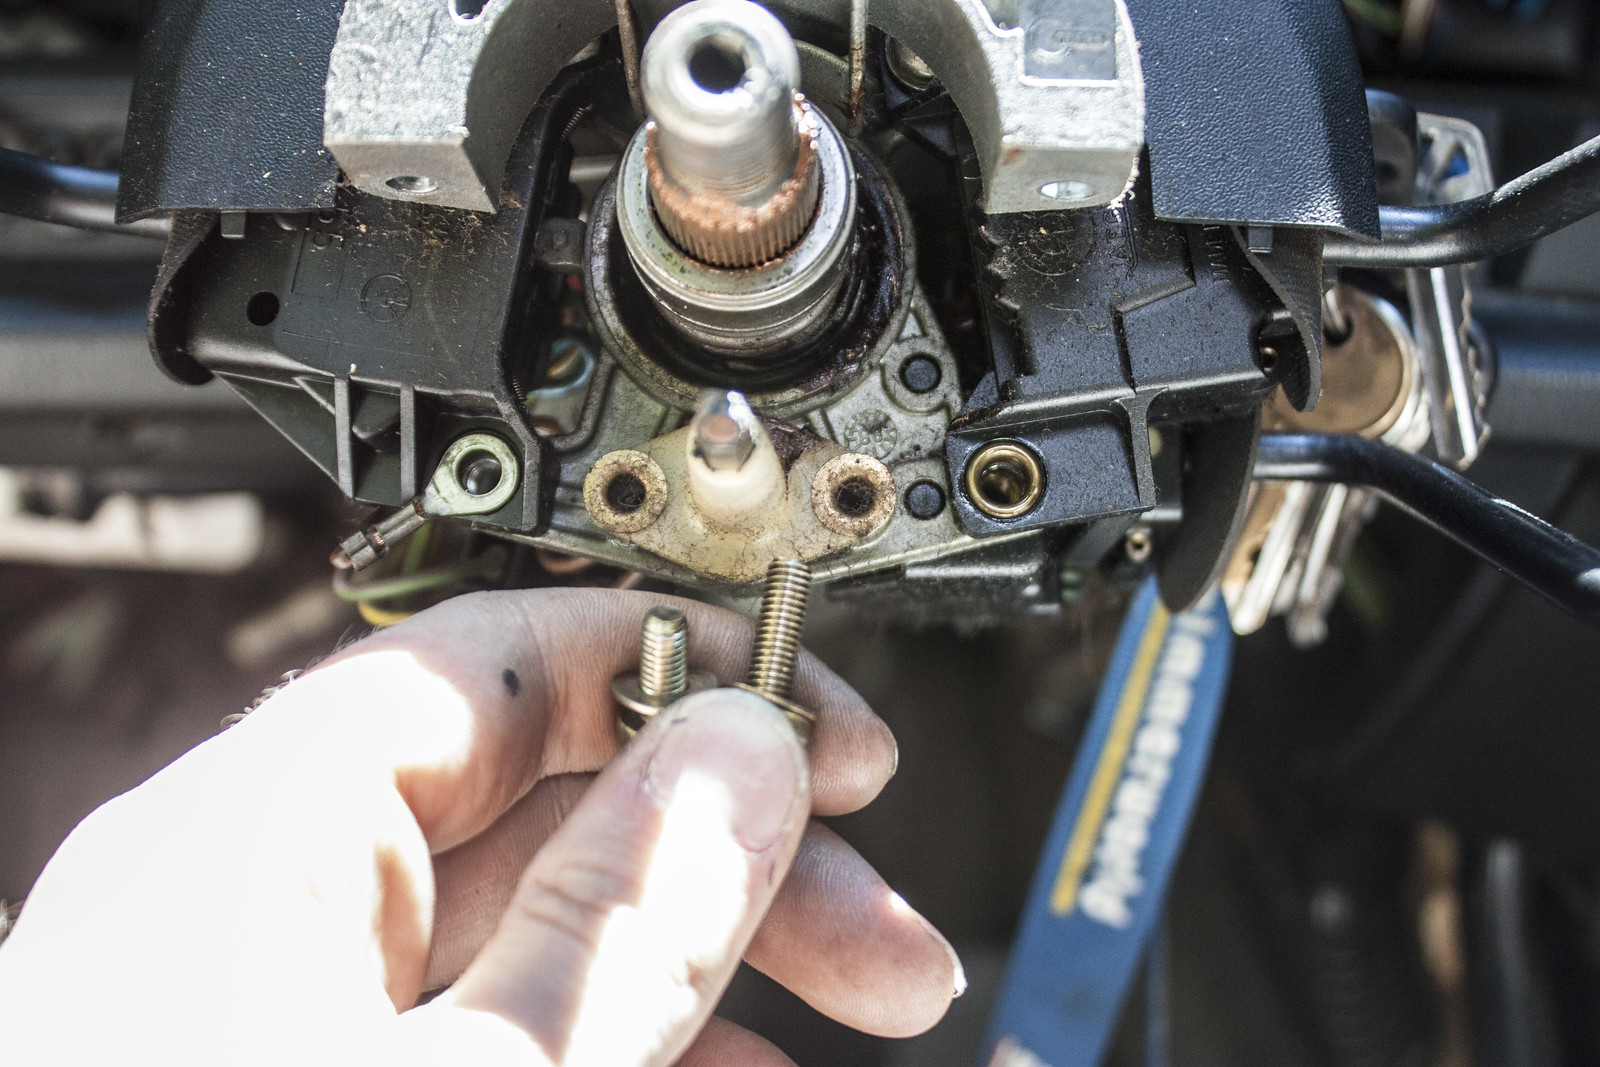
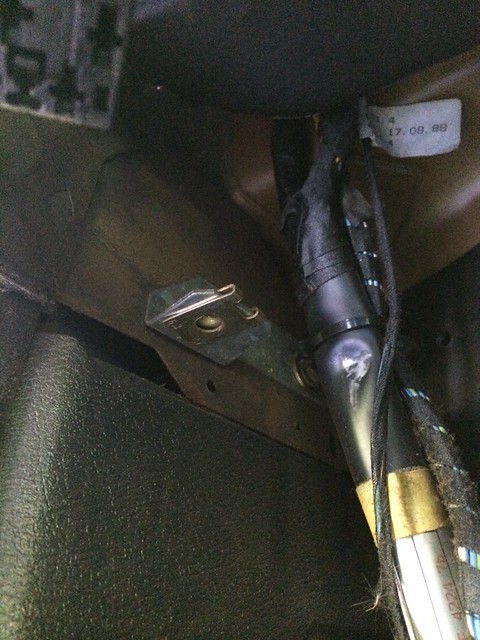
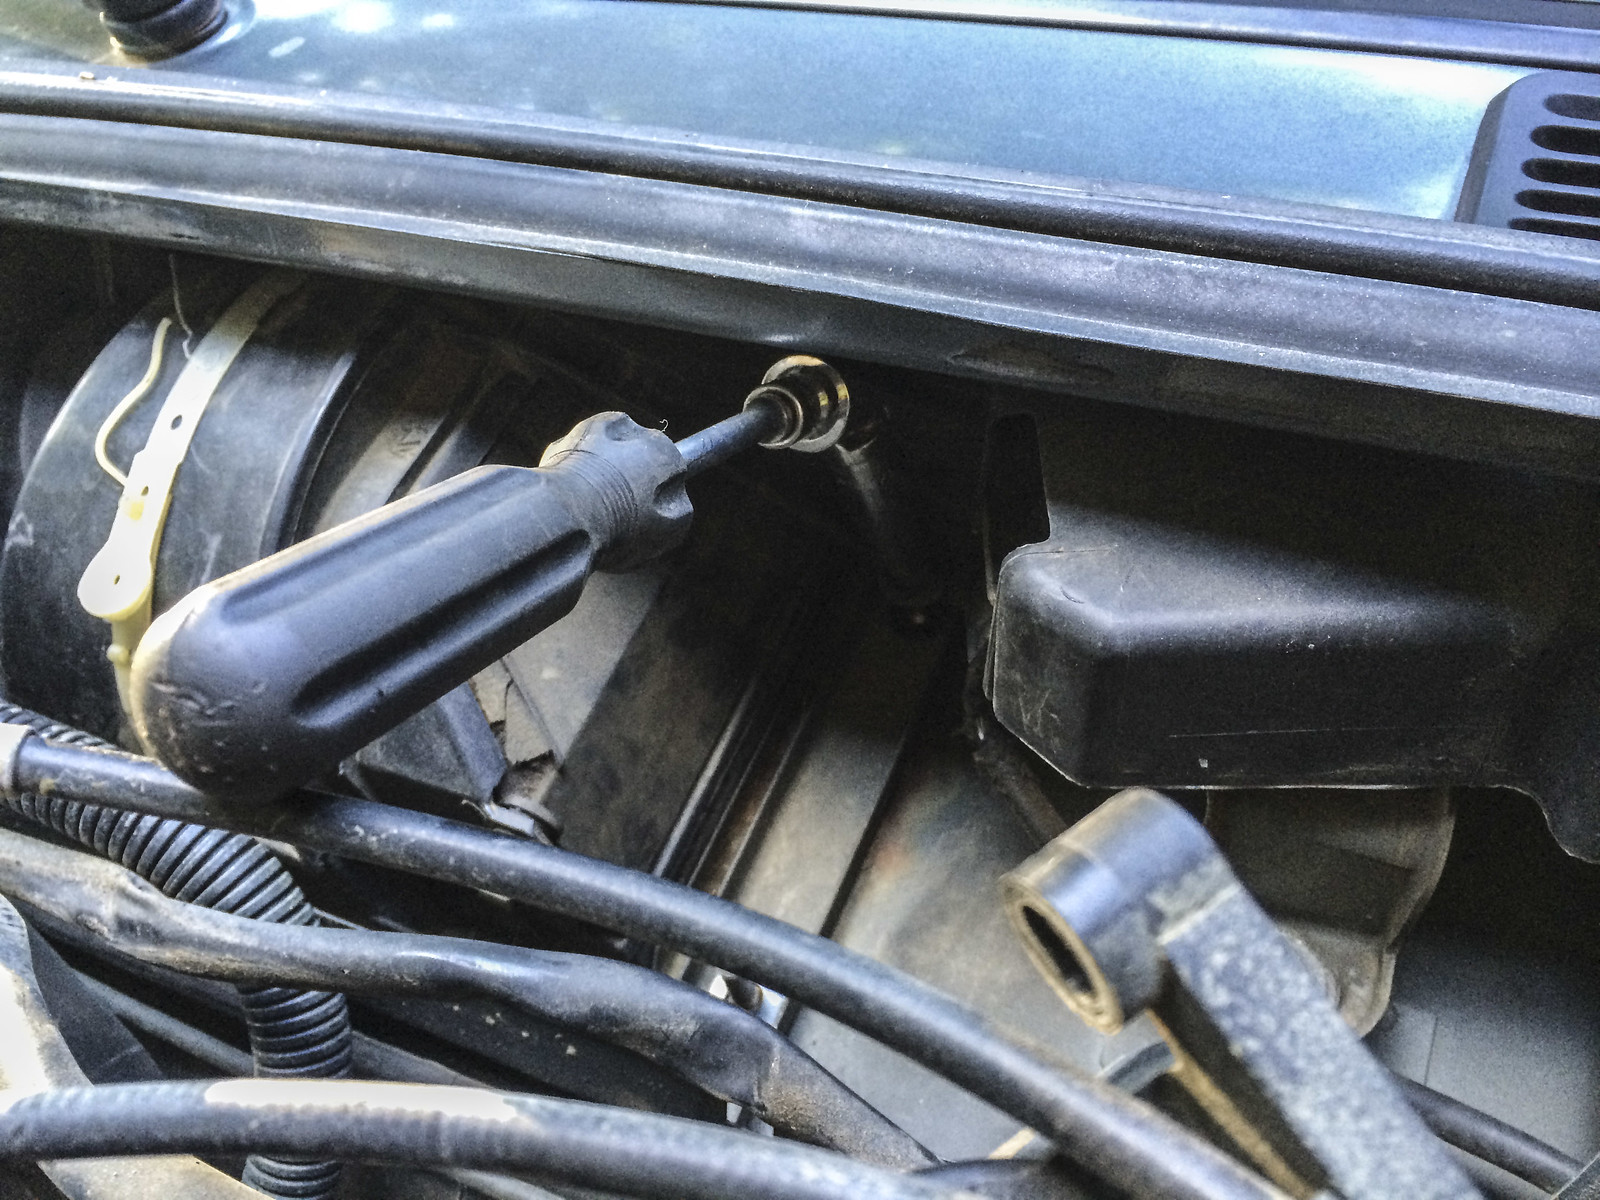
One of the few things that really piss me off in the 30. I'm sure the guy who did the dash assembly back in the 80s was a master at jiggling this nut just right to get it on.
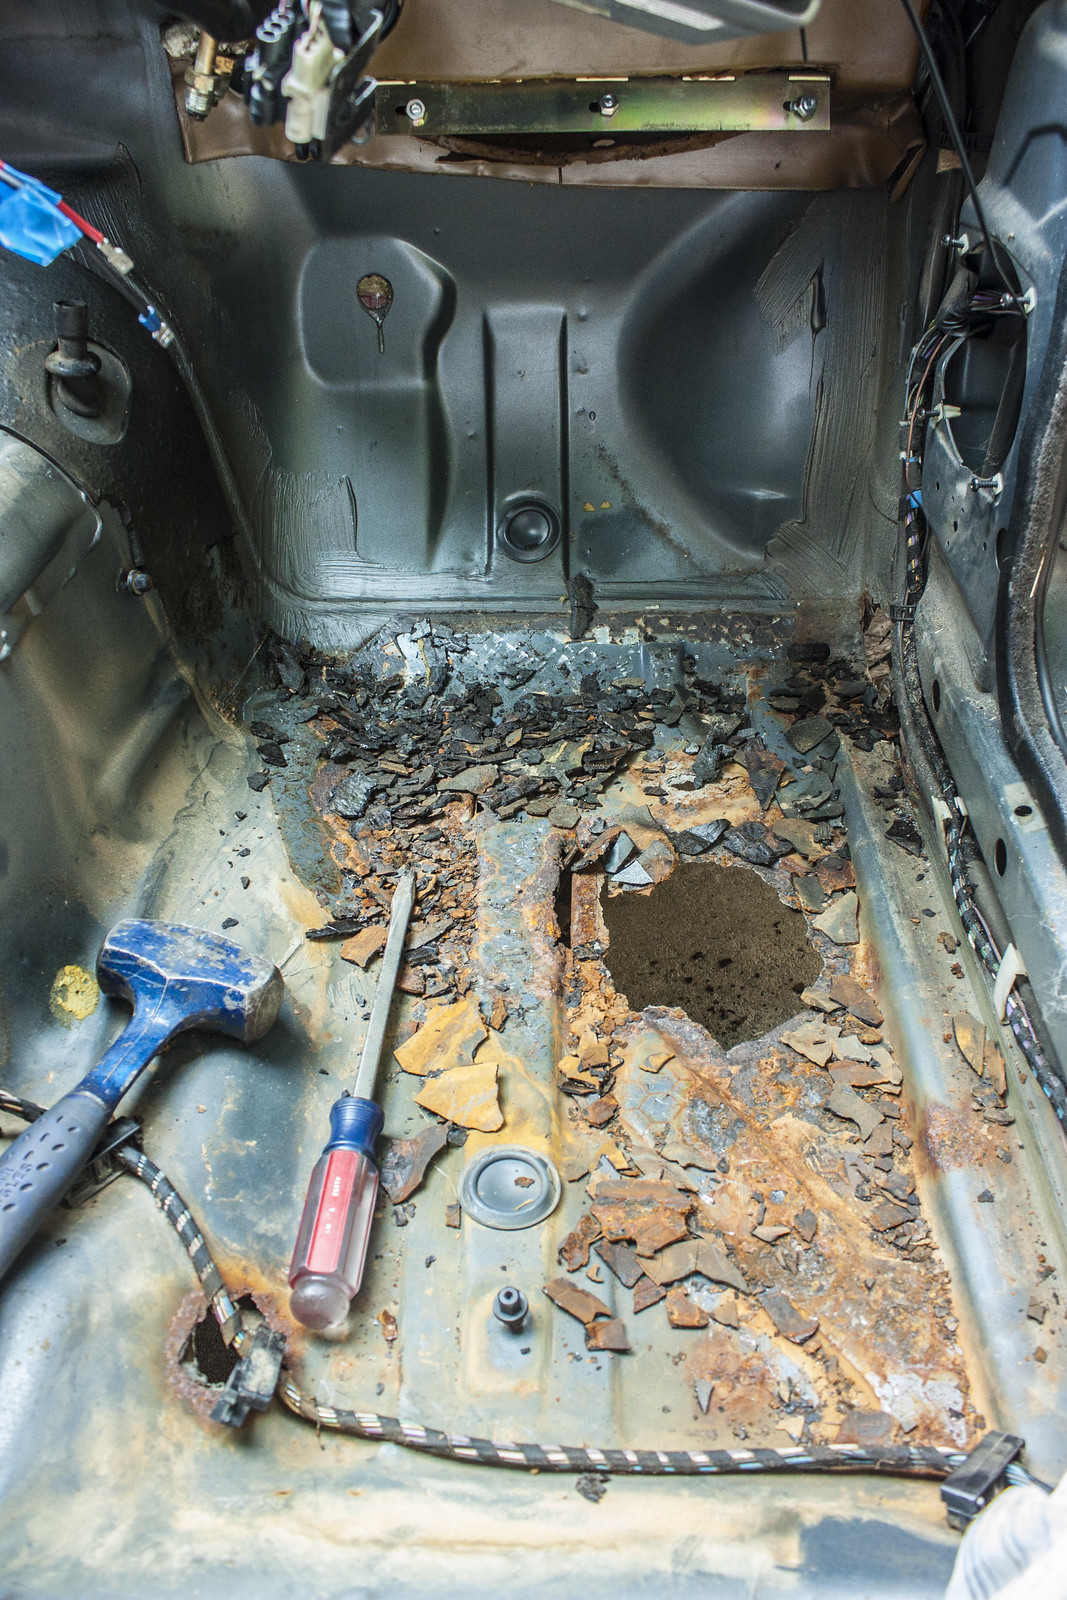
Essential dismantling tools
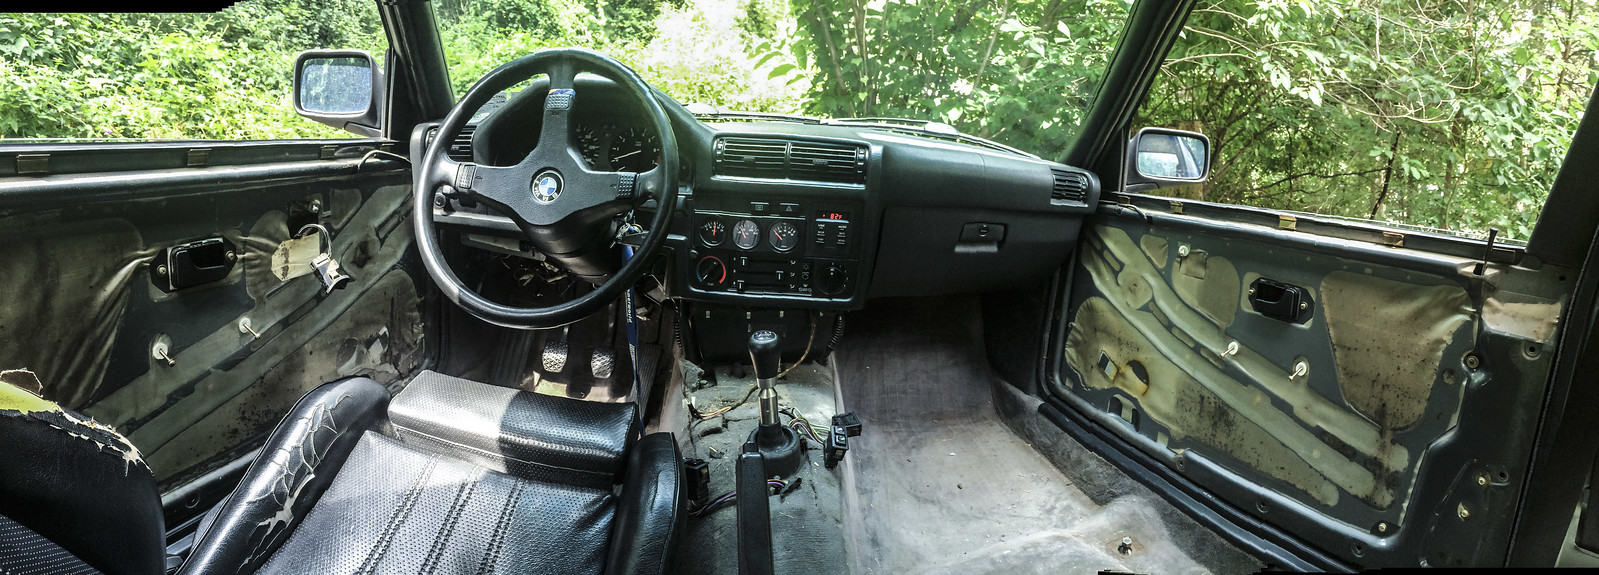
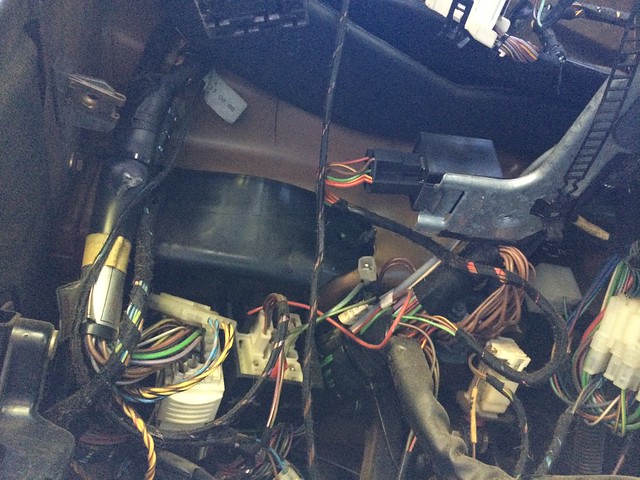
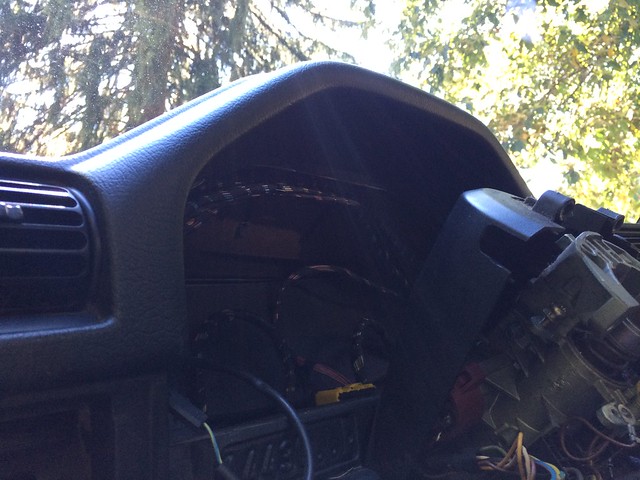
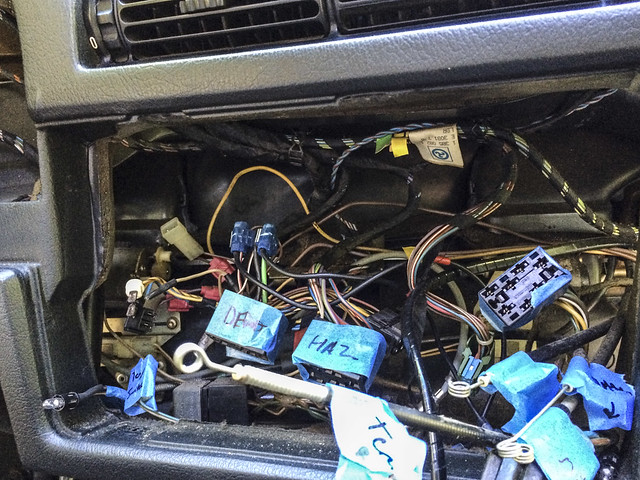
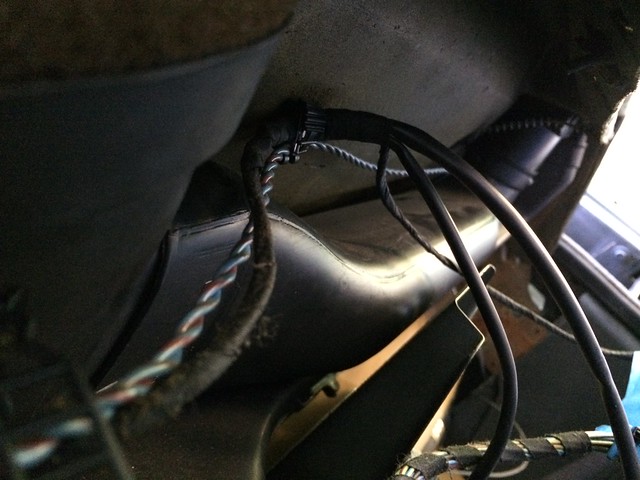
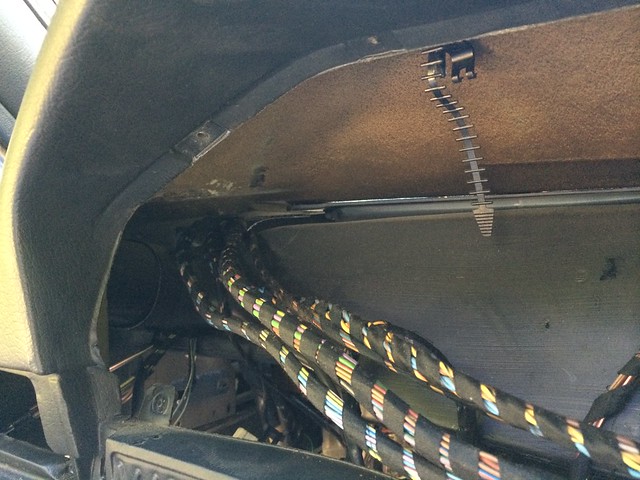
Misc pictures taken to for later reference for wiring routing


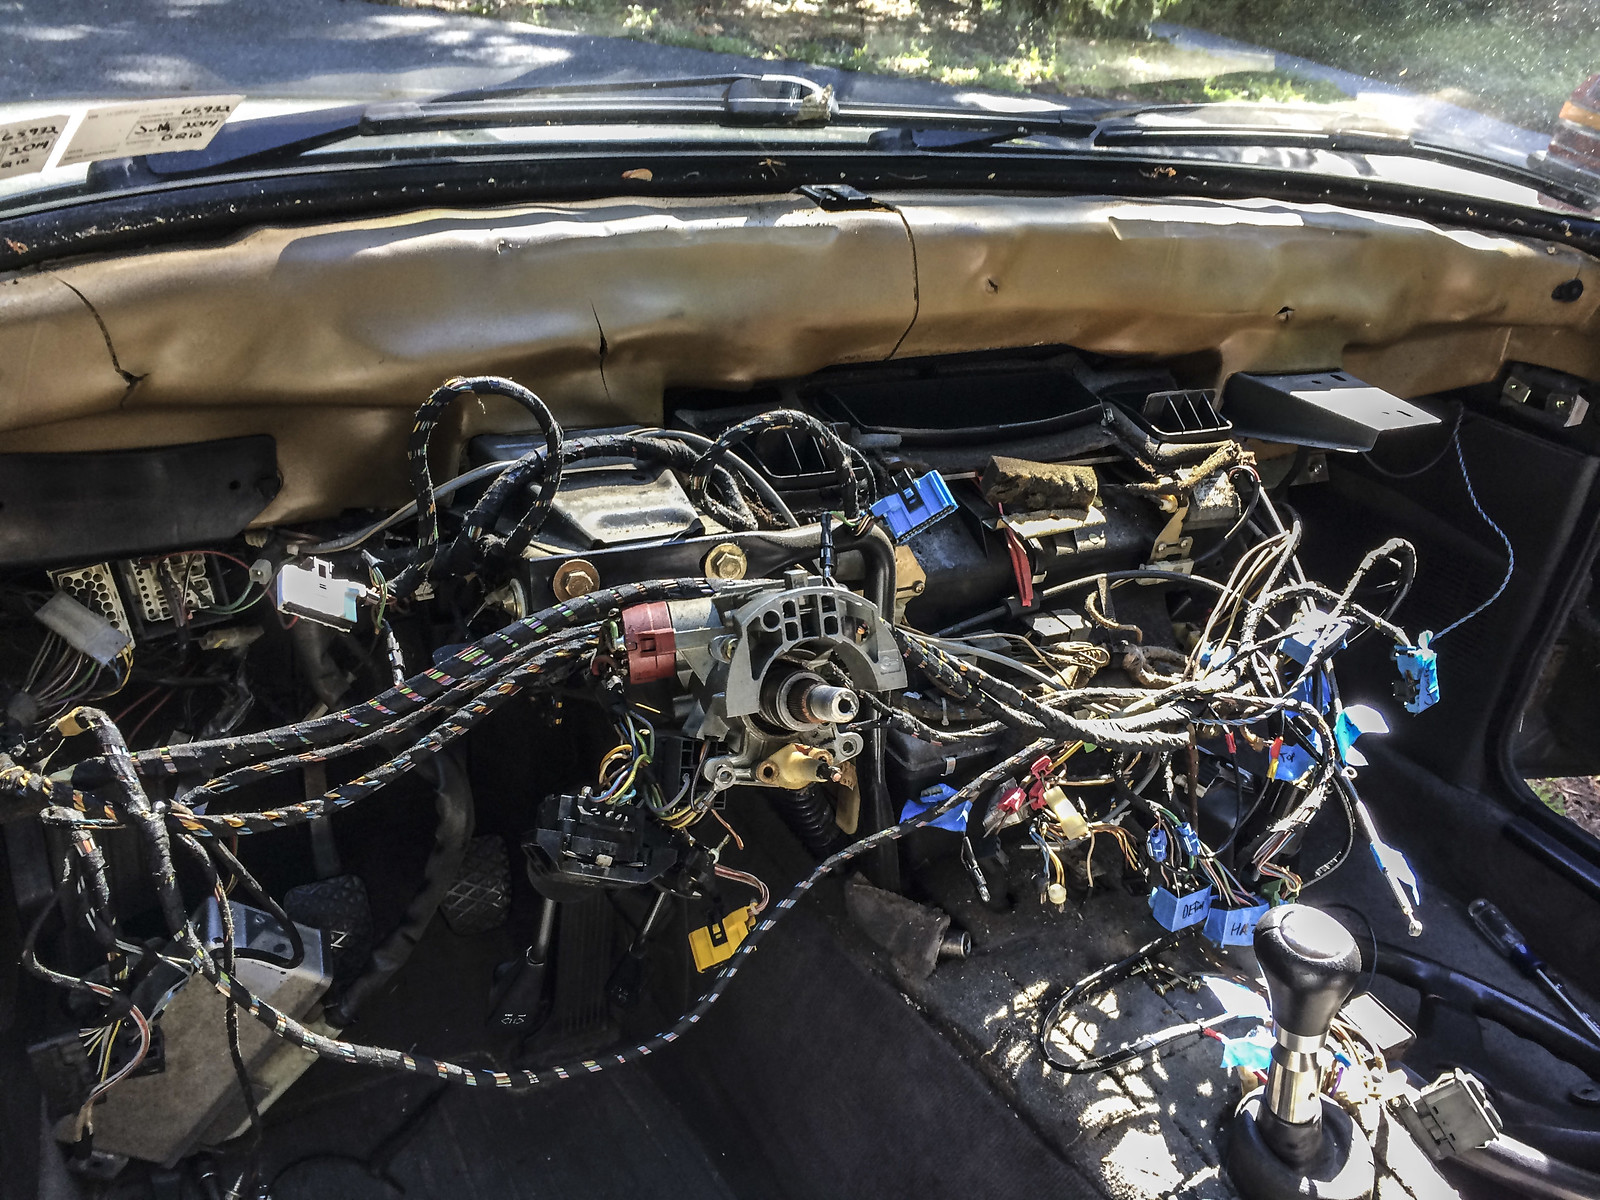
Dash out!!! Unfortunately I was doing it all by myself and scratched my A piller trim on the way out :(

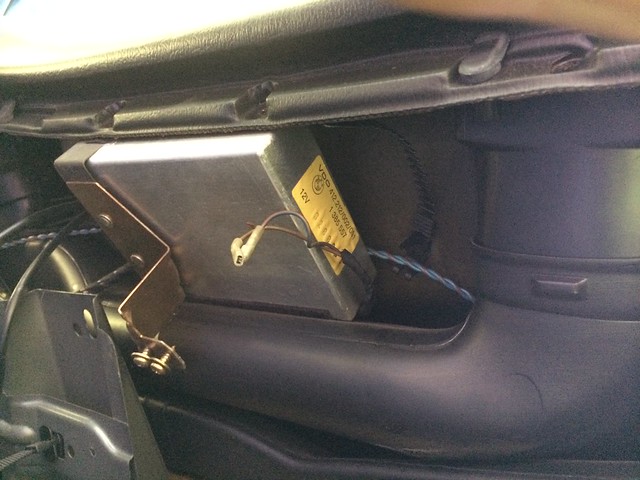
Zip tied DME and cluster for driving purposes B)
Removing the HVAC unit
4 of these guys holding it in

Complicated setup to get the rear ones out
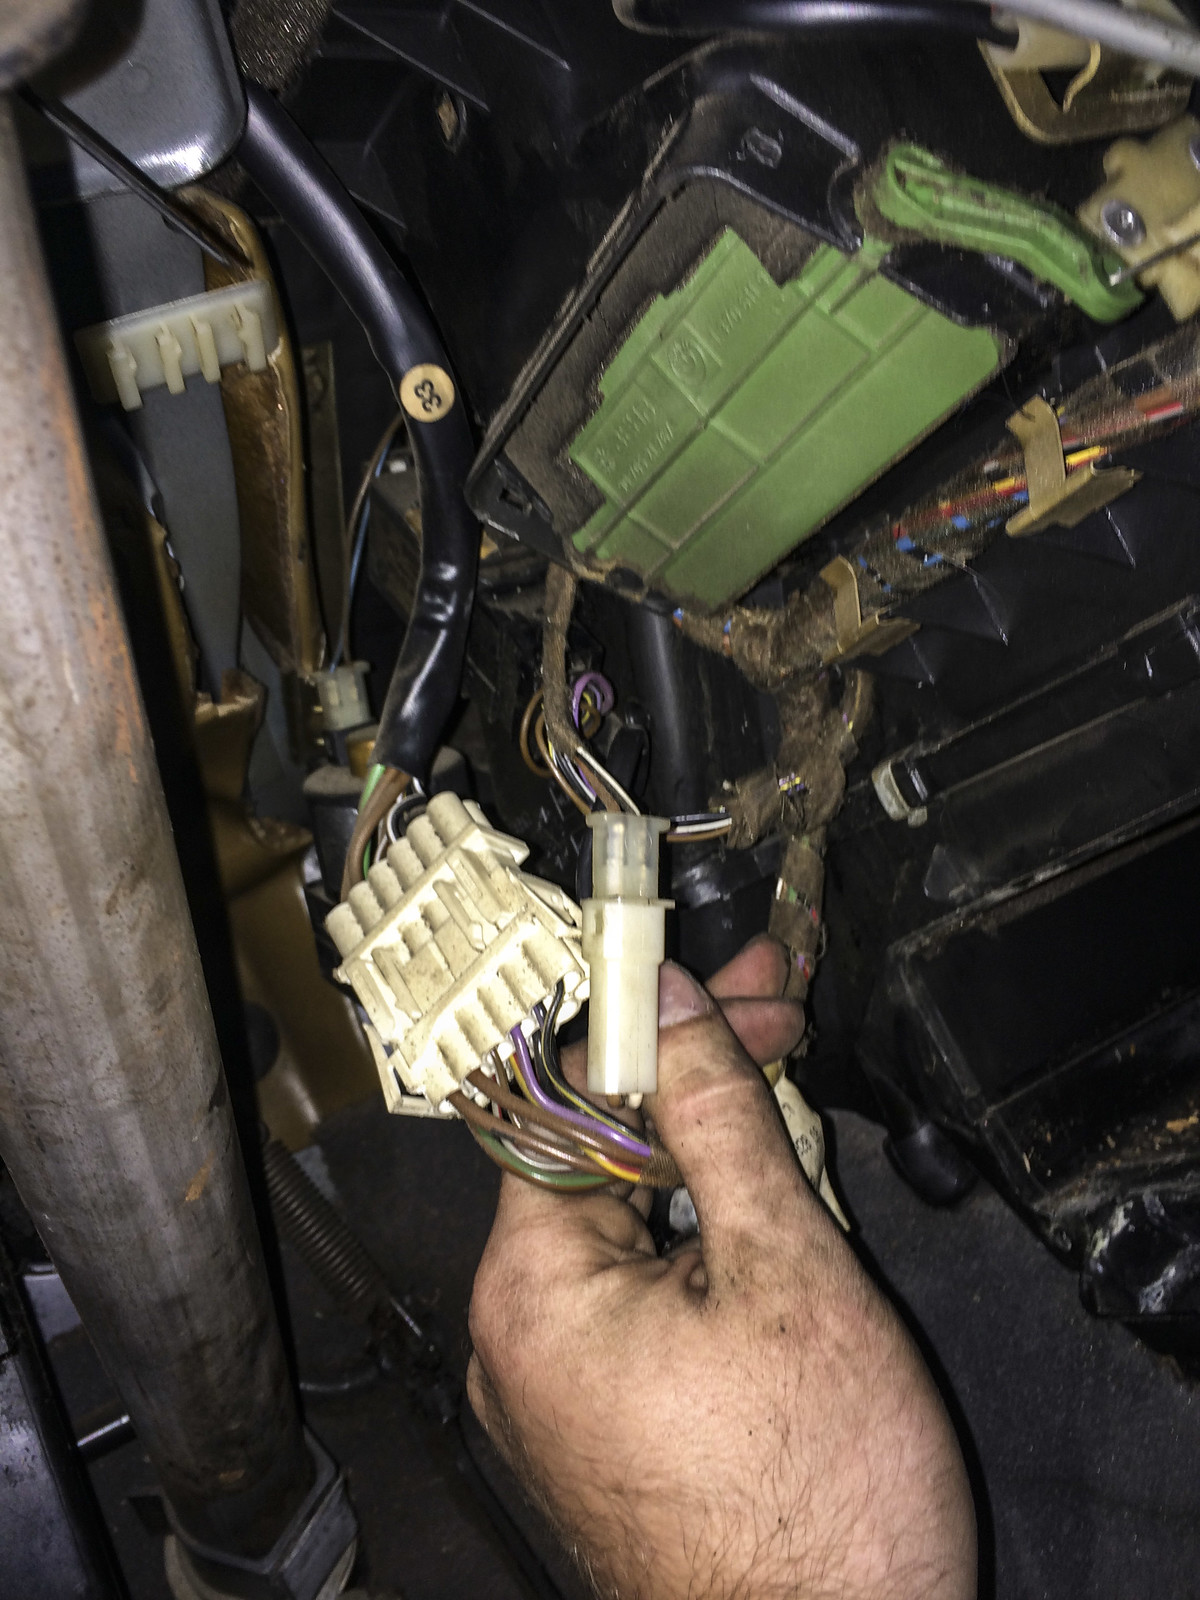
HVAC connections
And out

On to removing the carpet. Gas pedal was really fighting me. It did give out eventually....
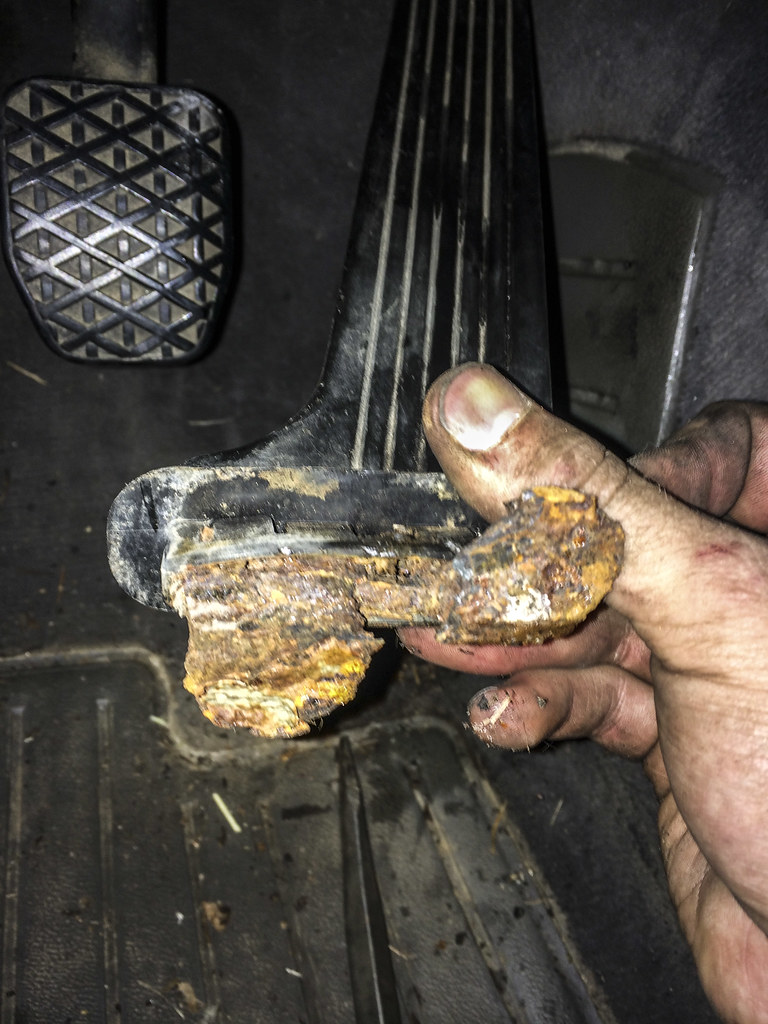
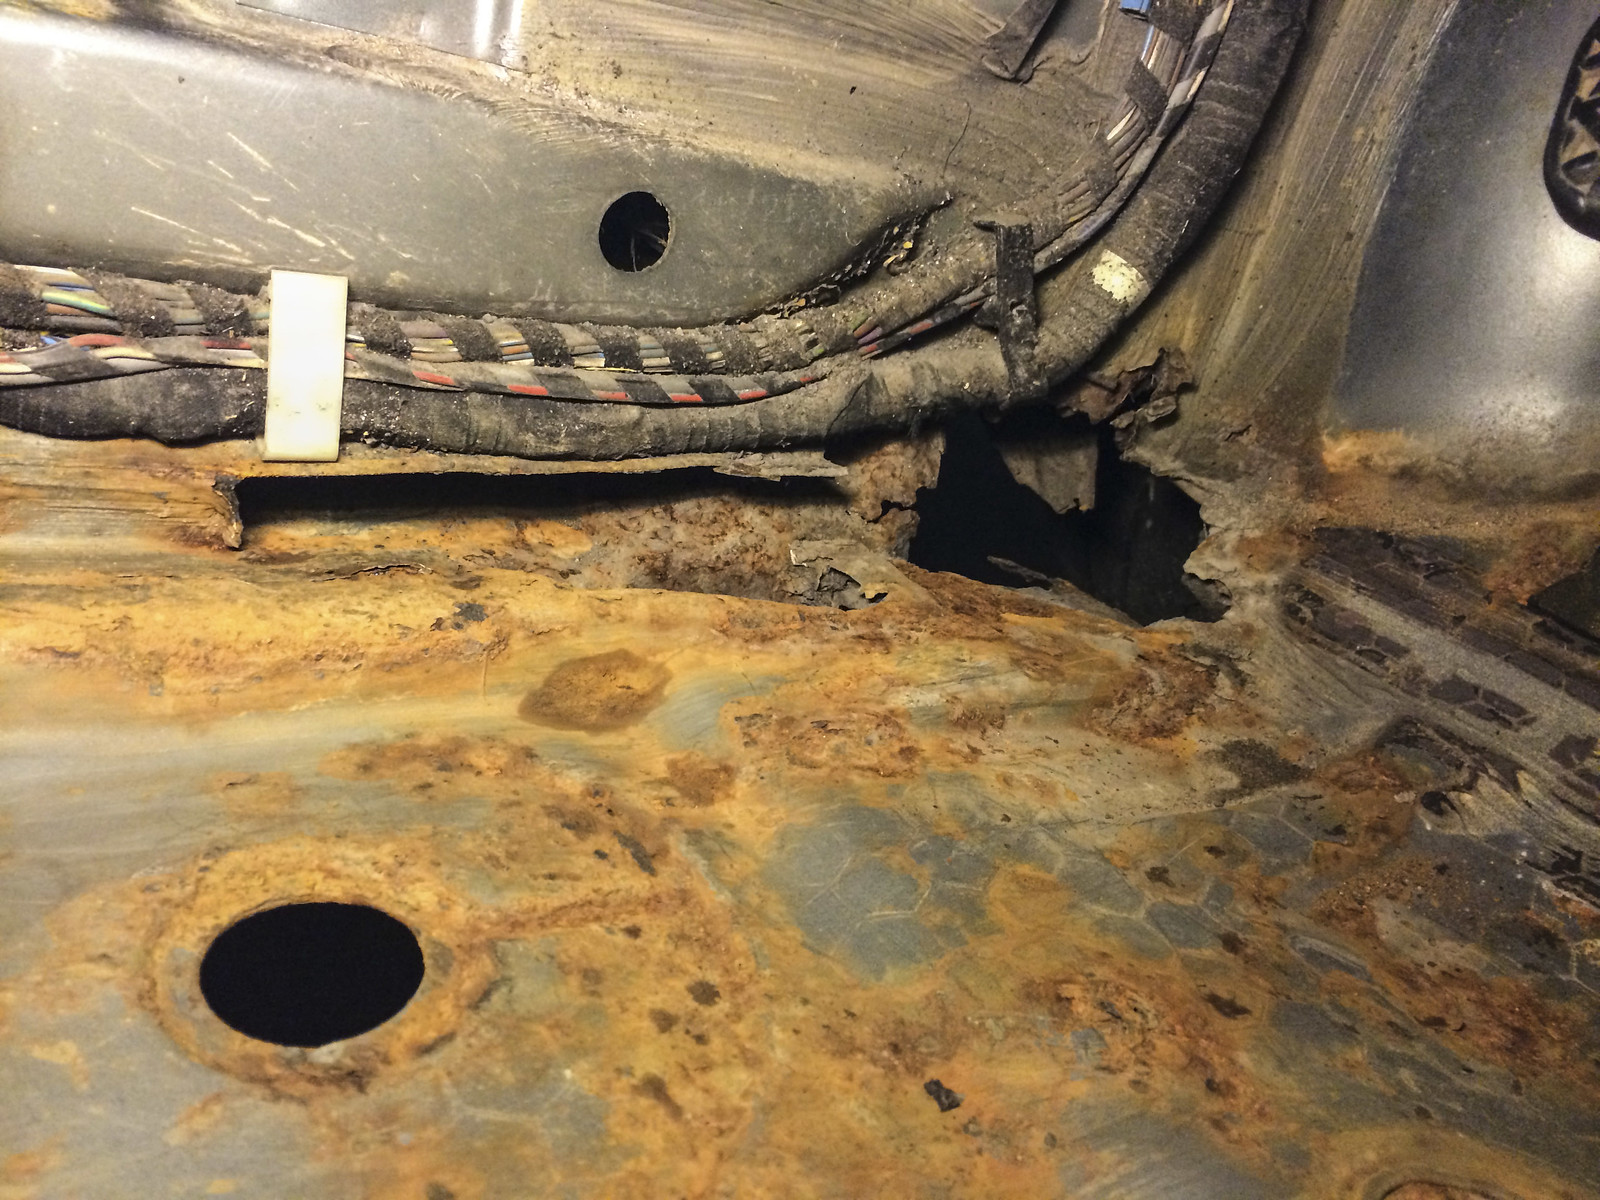
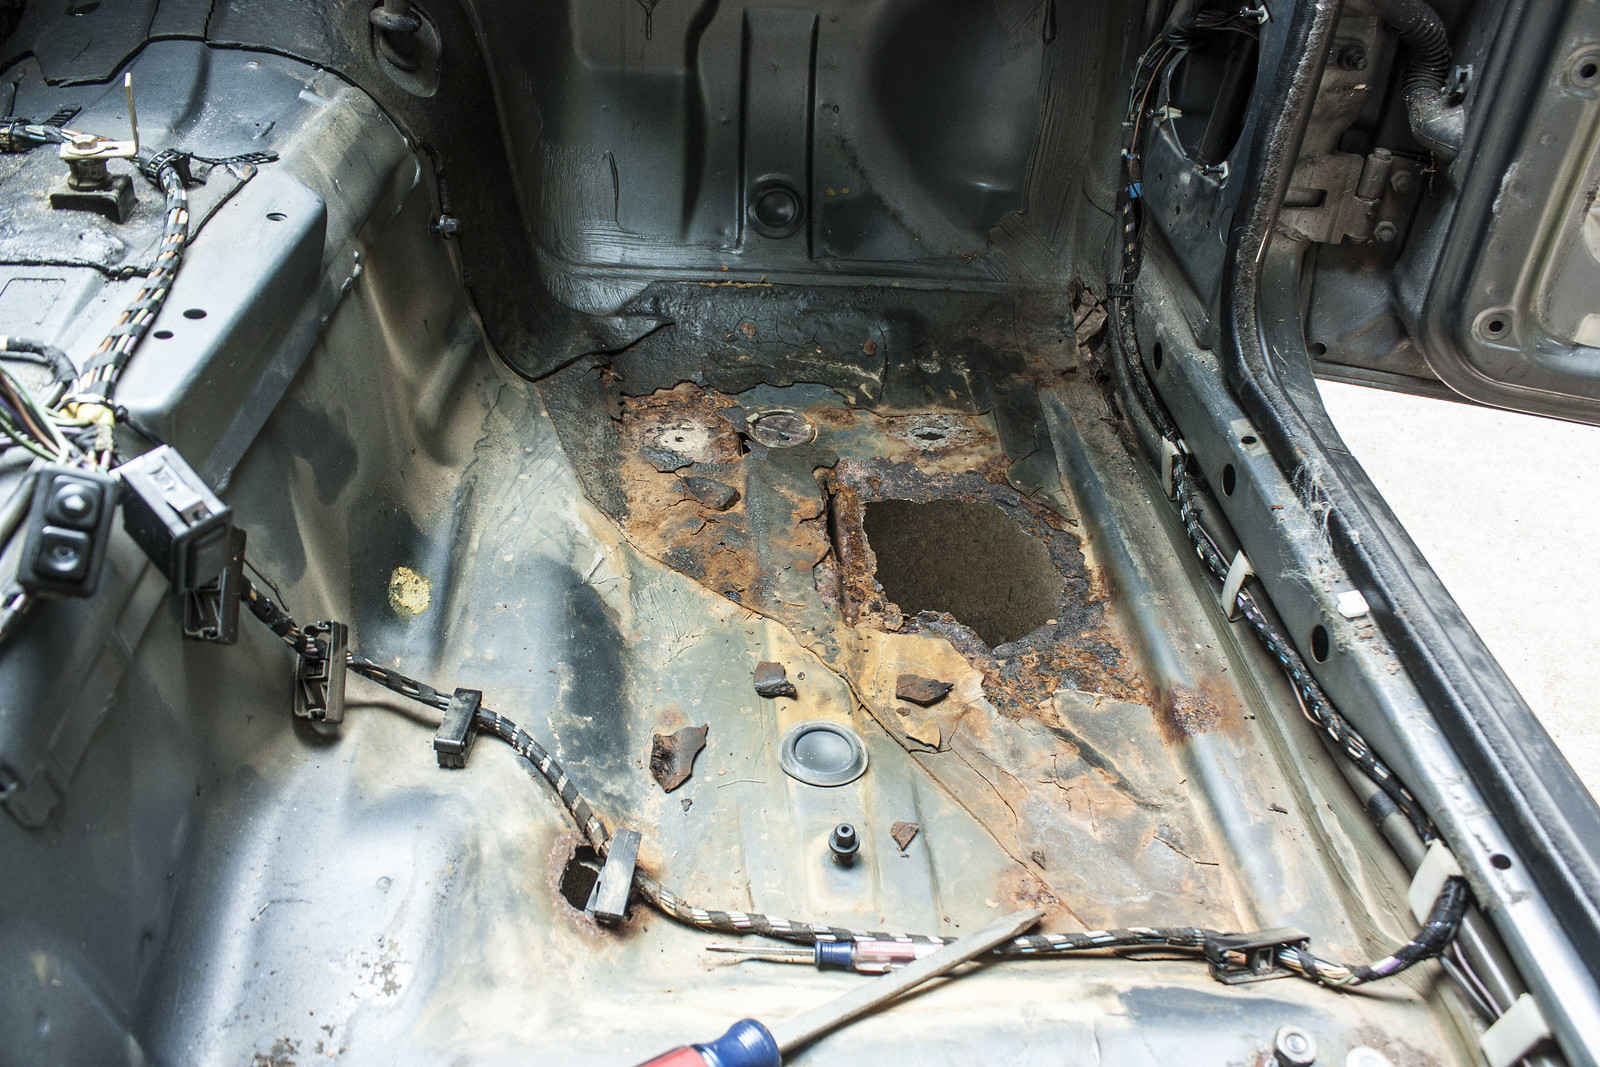
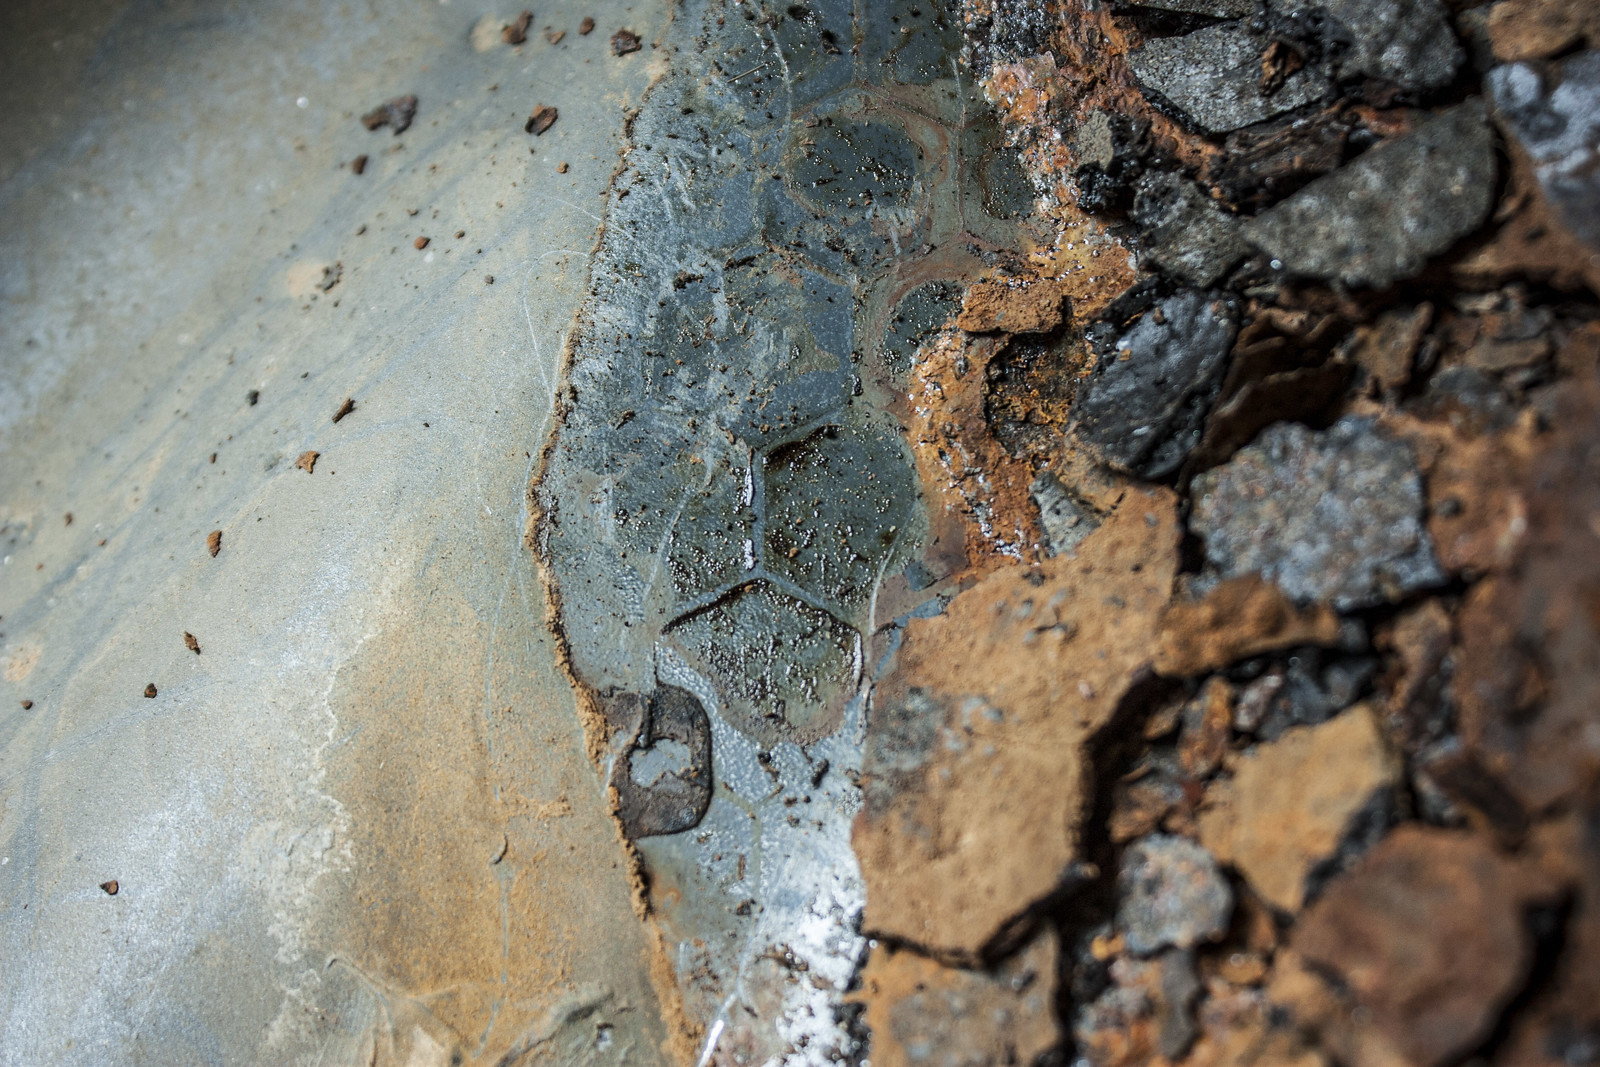
First look with the carpet out. Lots of rust, crumbly floor insulation and a ton of road debris packed on the left side in the rocker panel area.

Passenger side had tons of road gravel since it collects on the side of the road
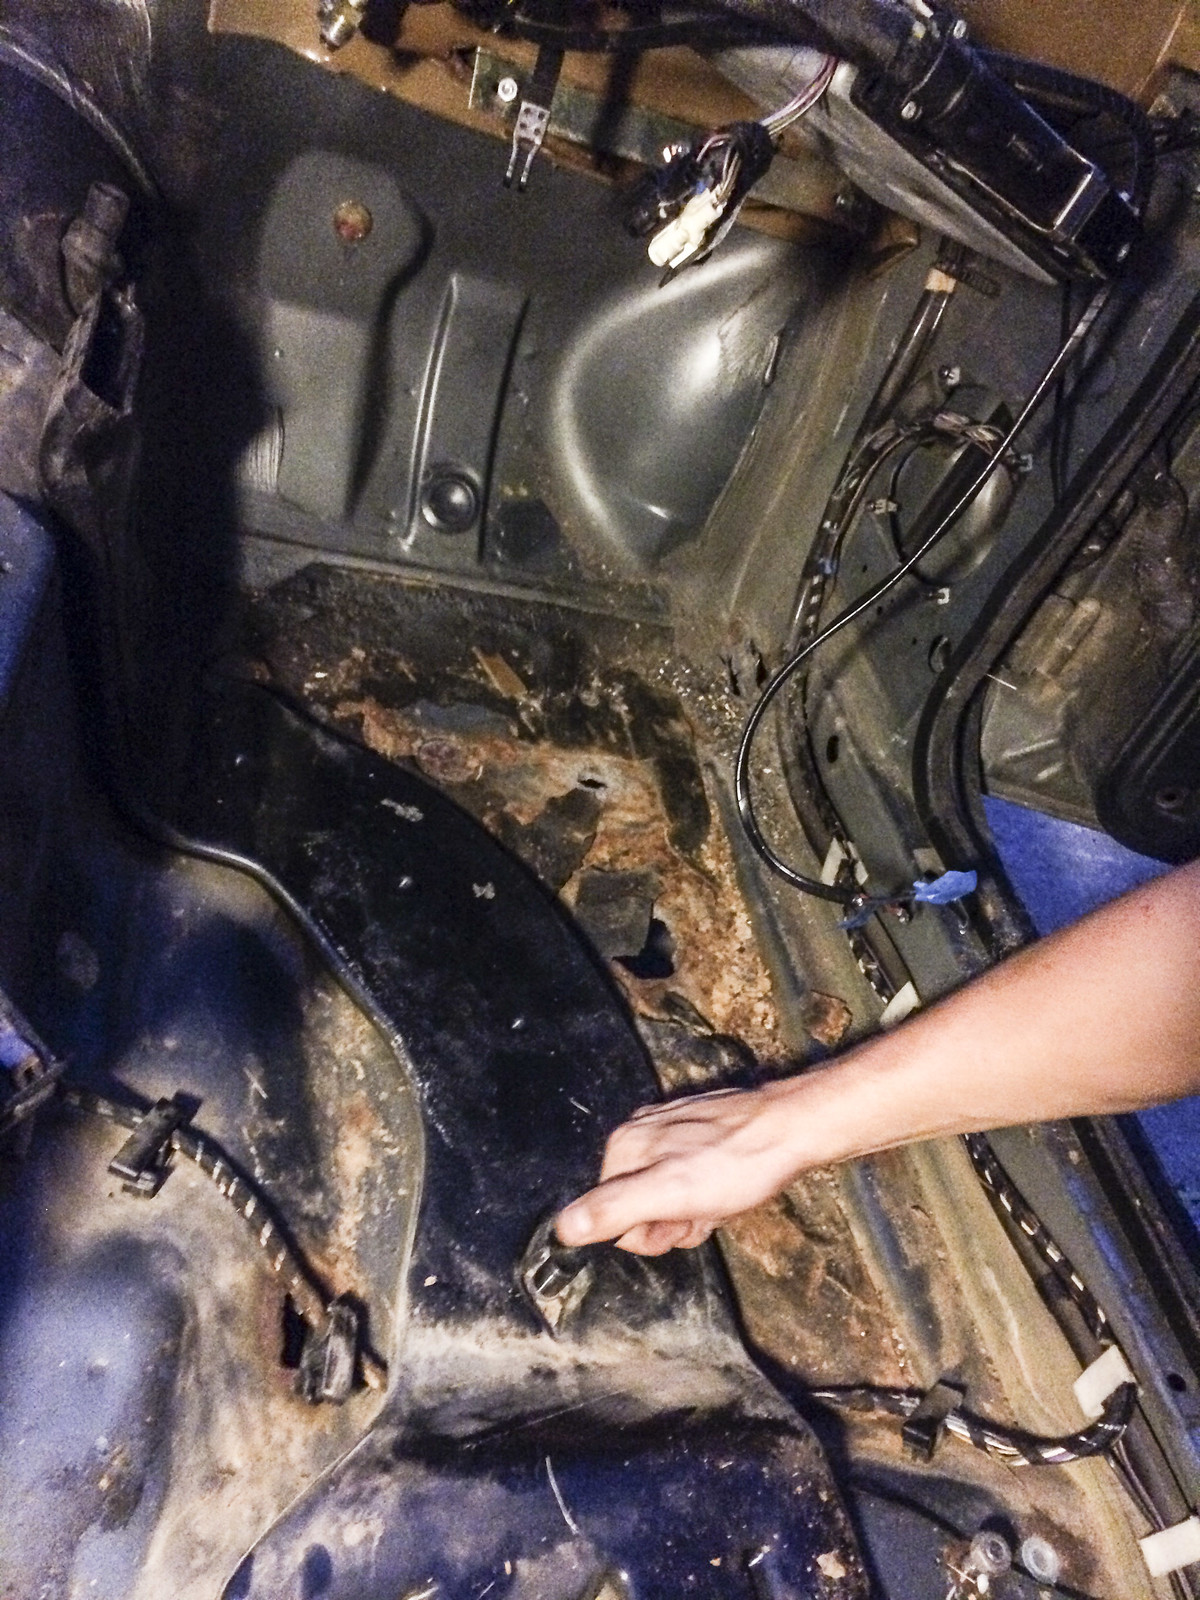
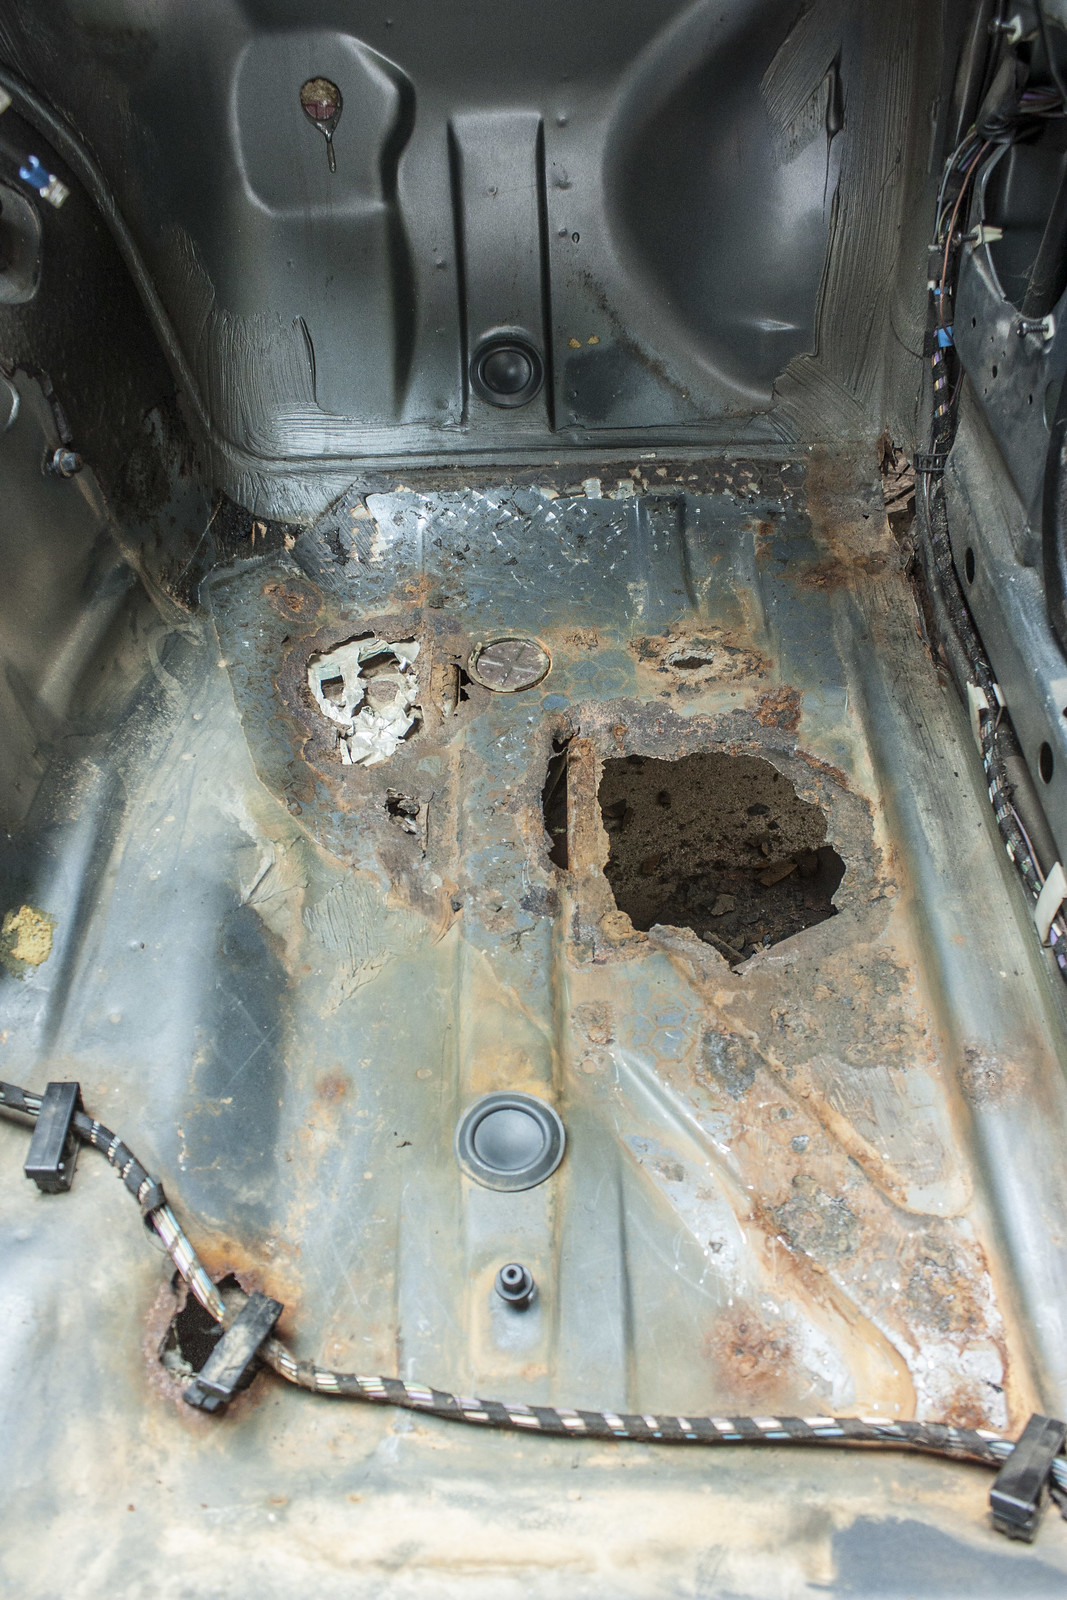
Insulation removed from driver's side
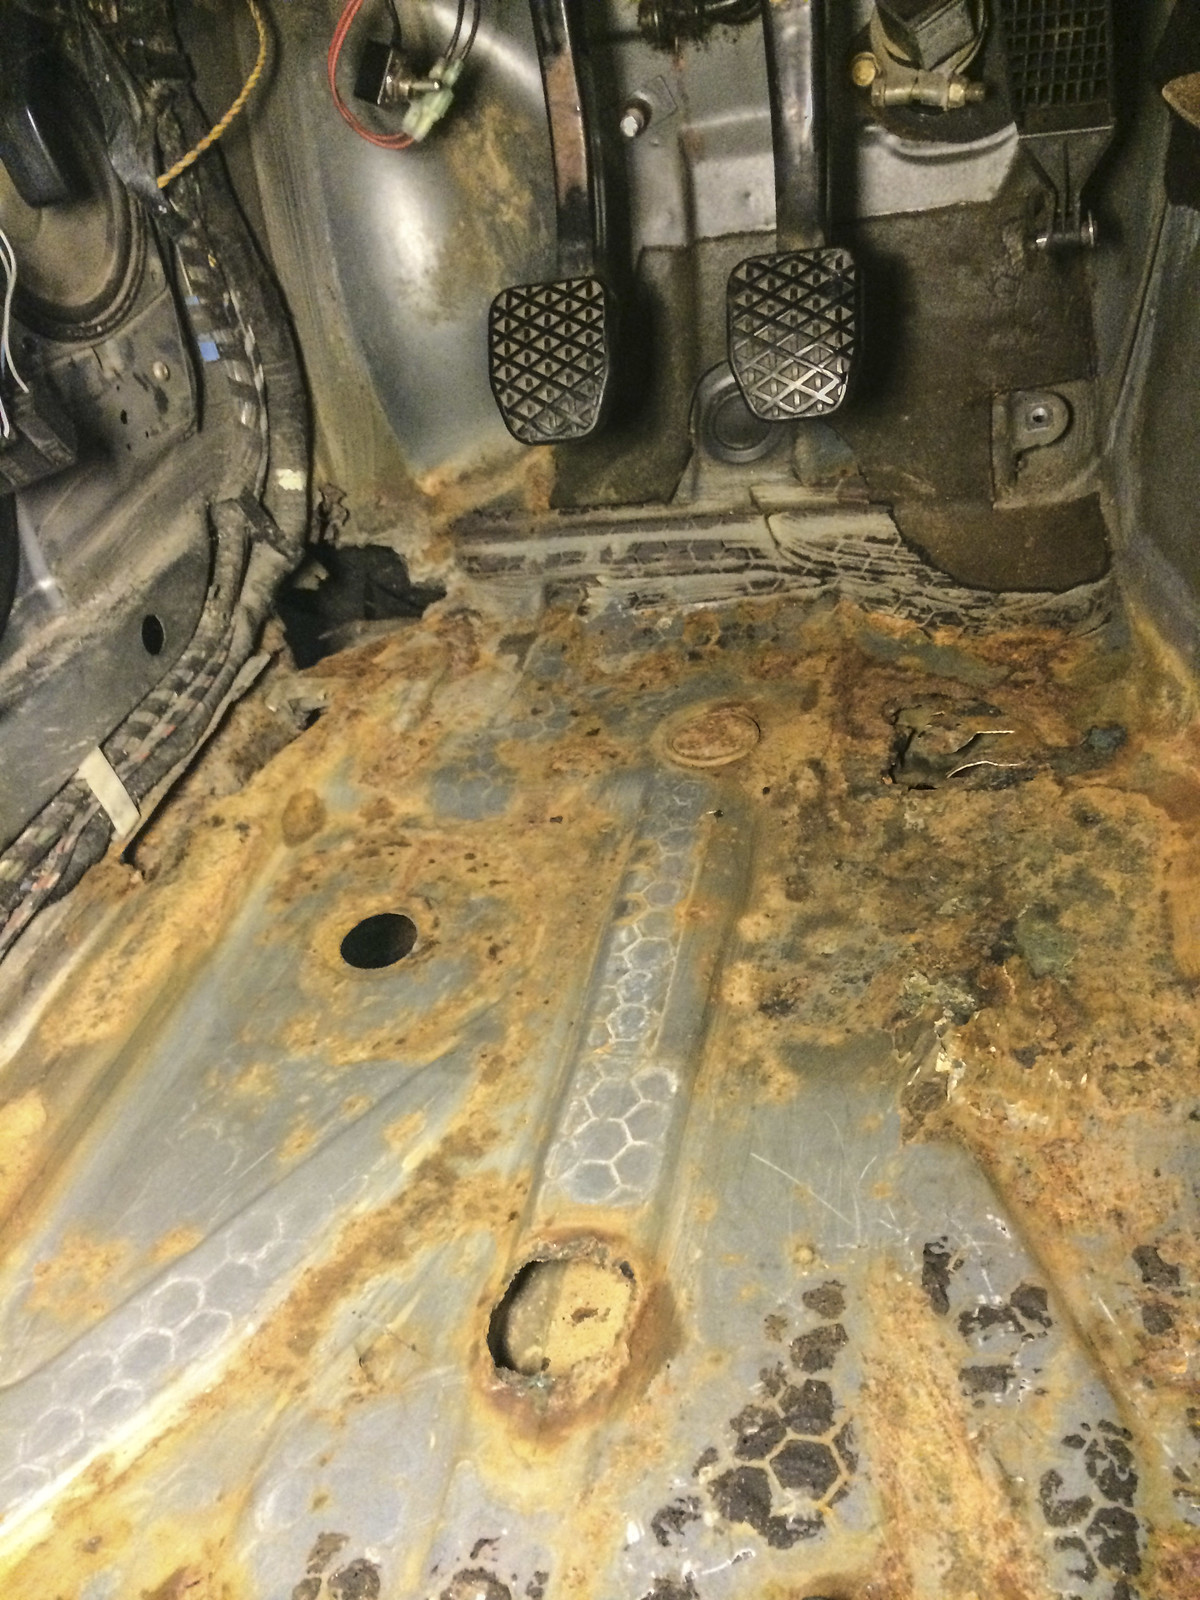
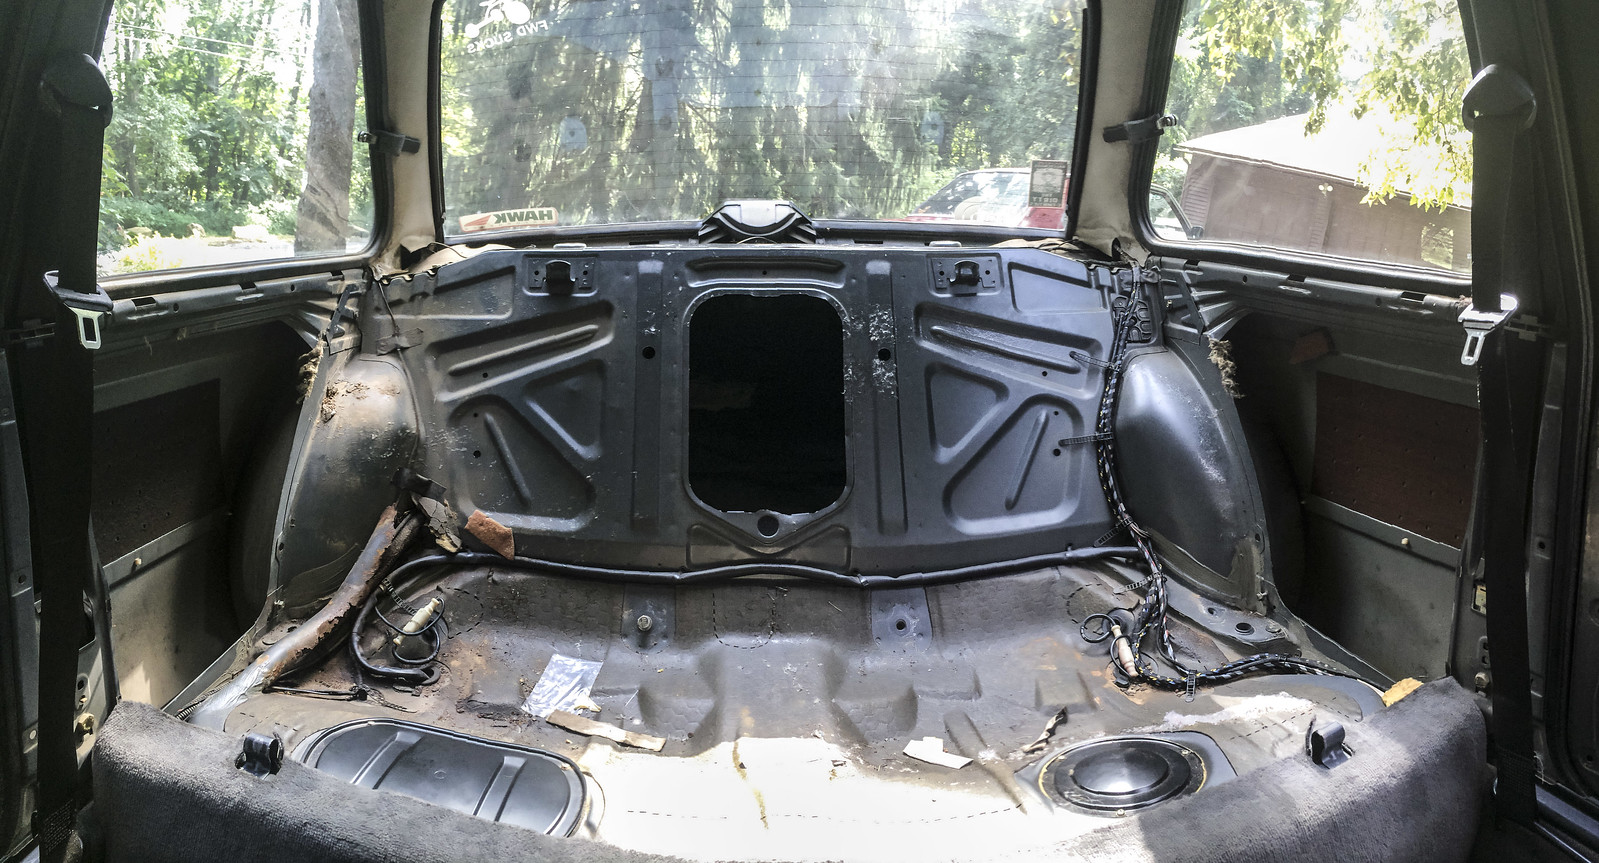
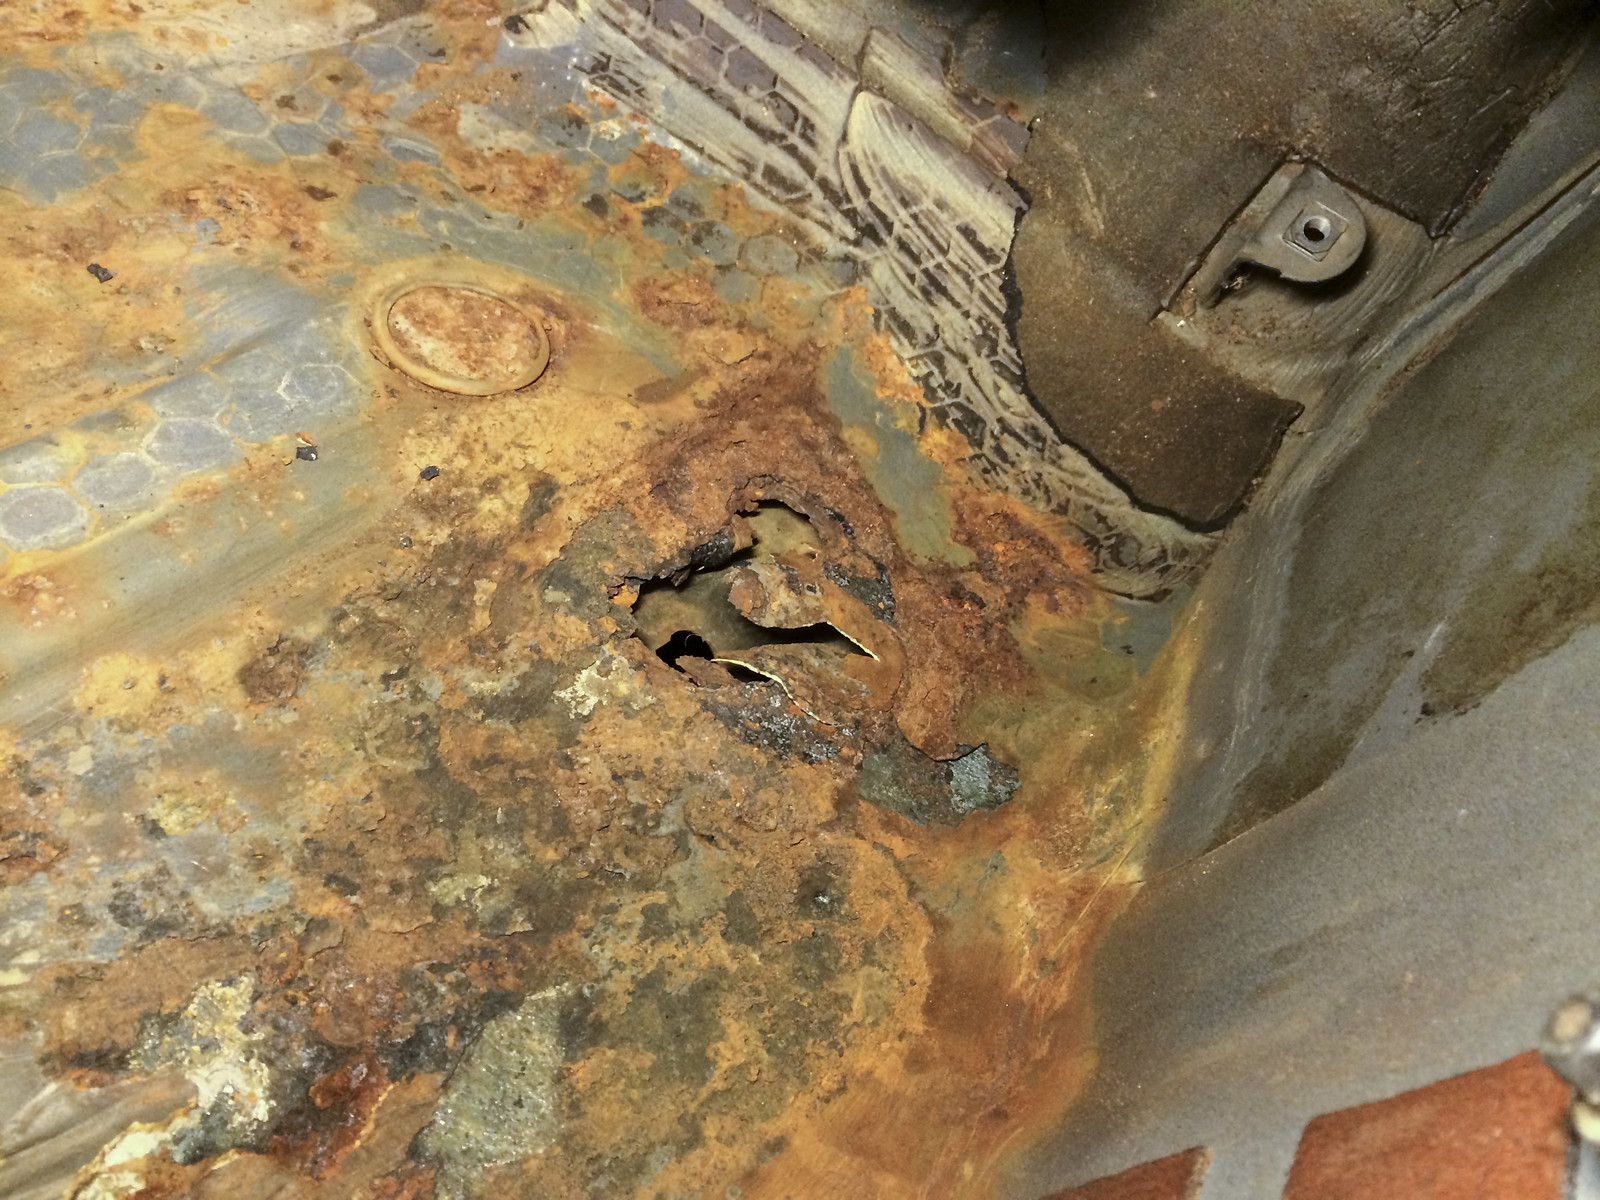
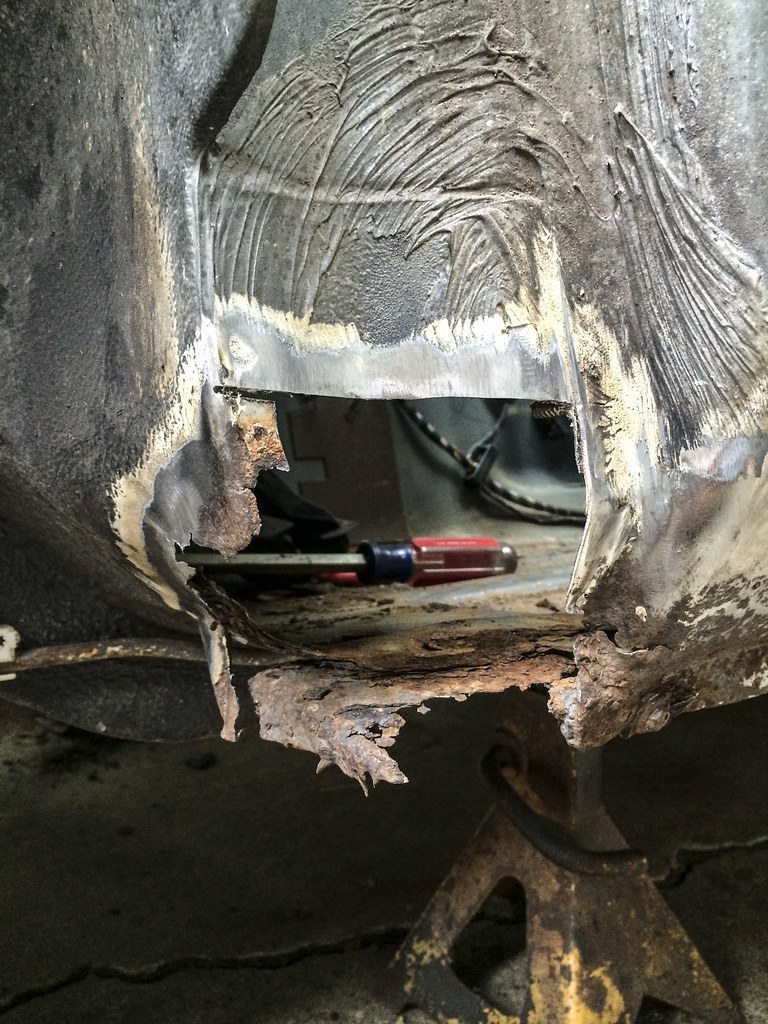
Big hole
Gas Pedal mount area
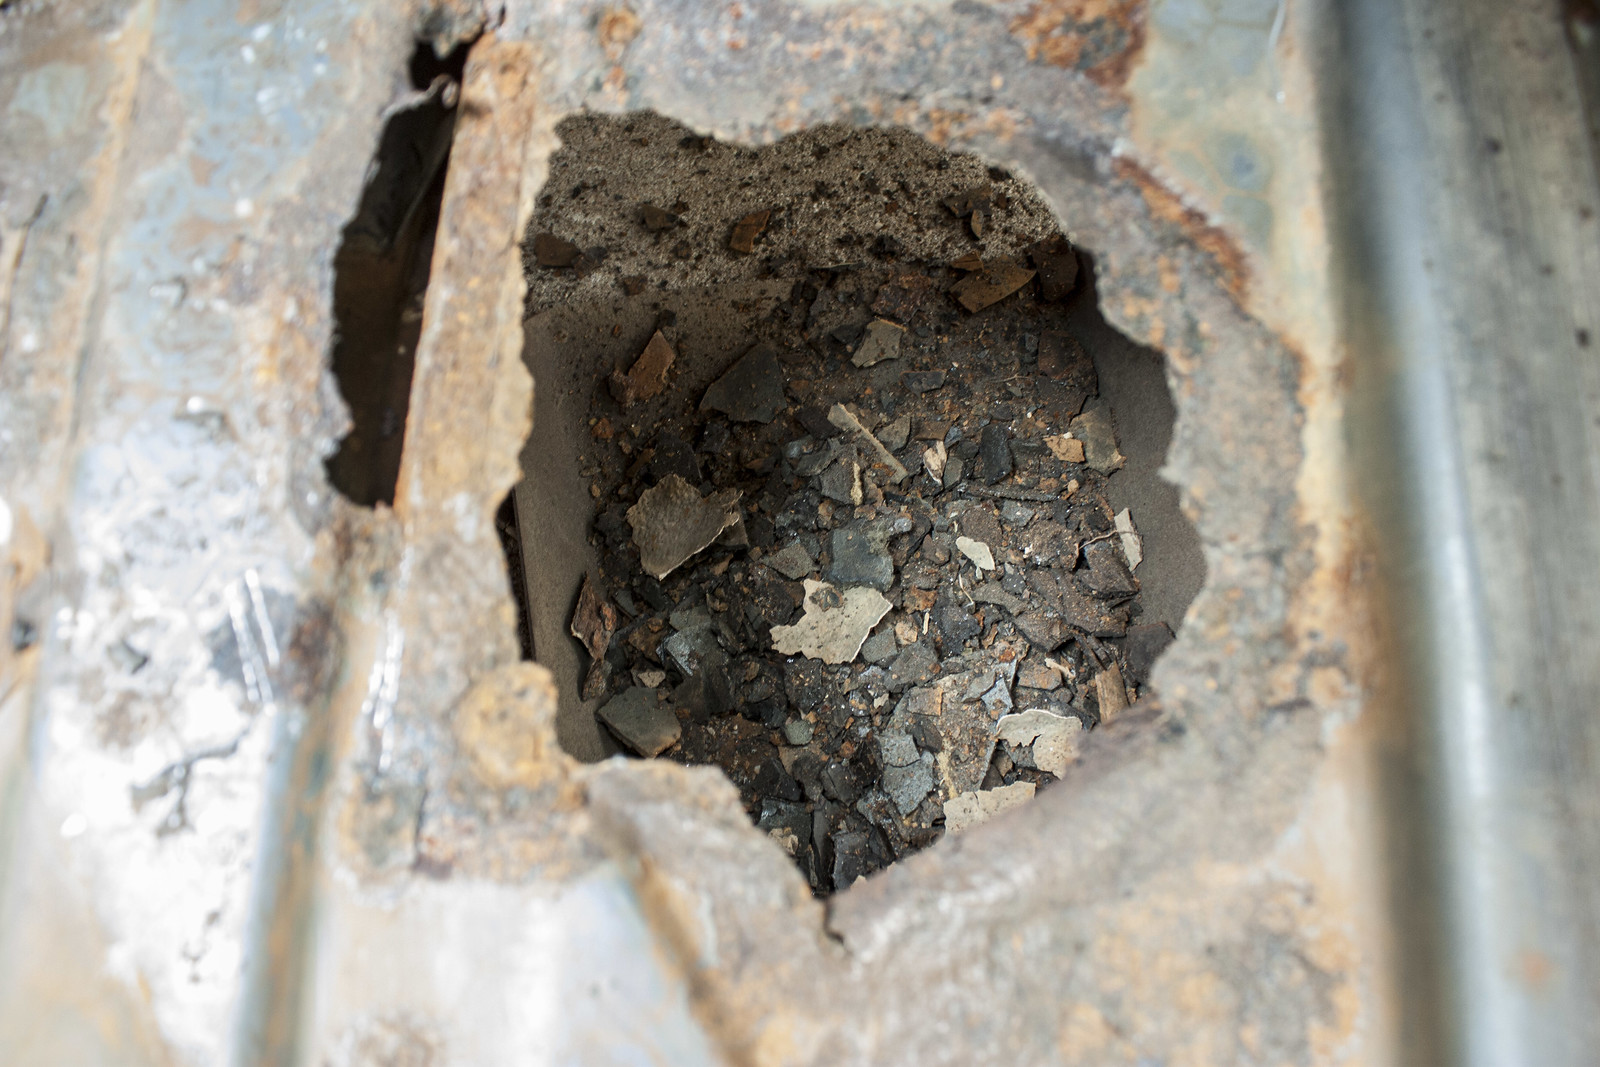
Next day. What the hole looks from the outside
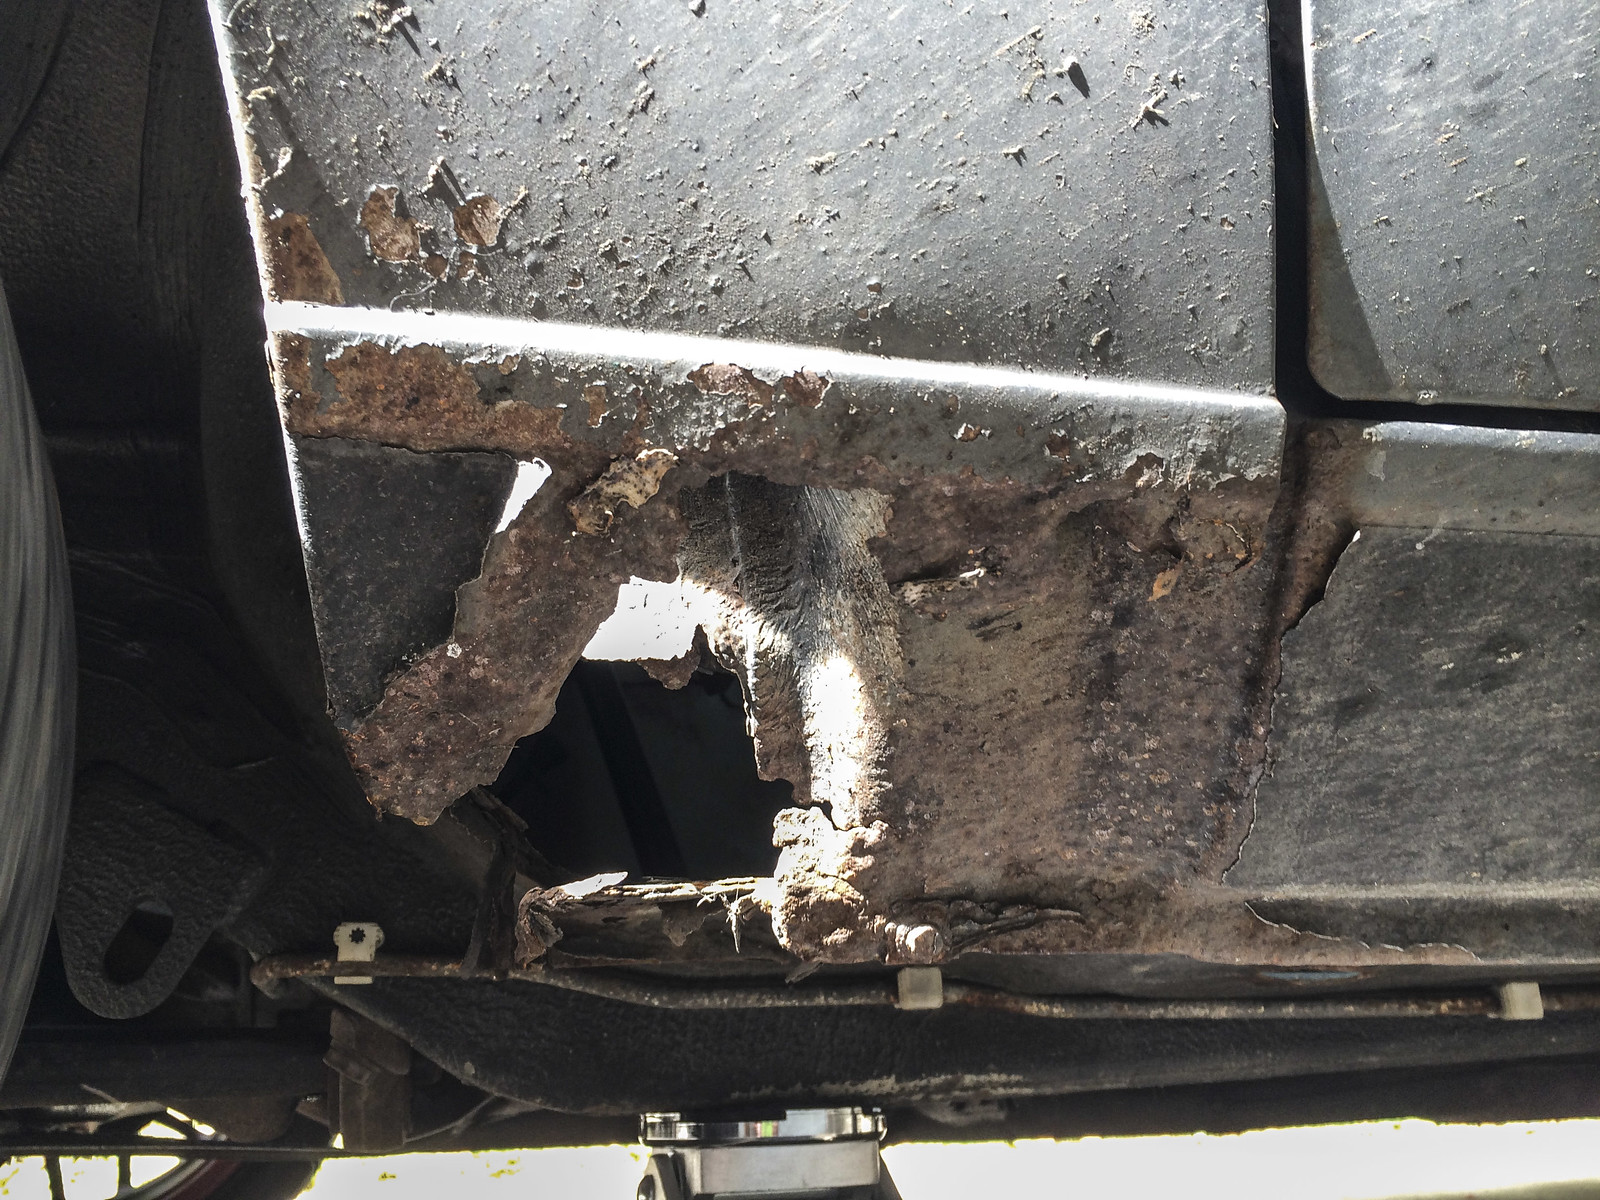
And floor

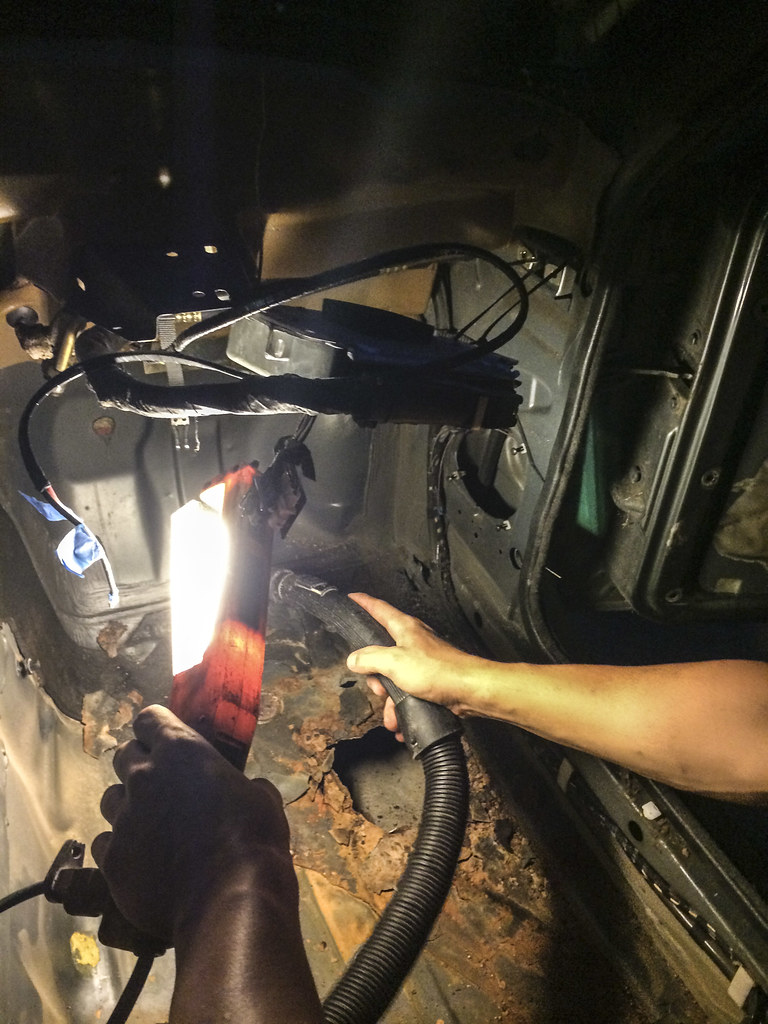
Passenger side de-insulating.
Removing it piece and piece and you can see there's still trapped moisture underneath
Convenient trash hole
Front rocker area fared much better on the passenger side
Fenders off
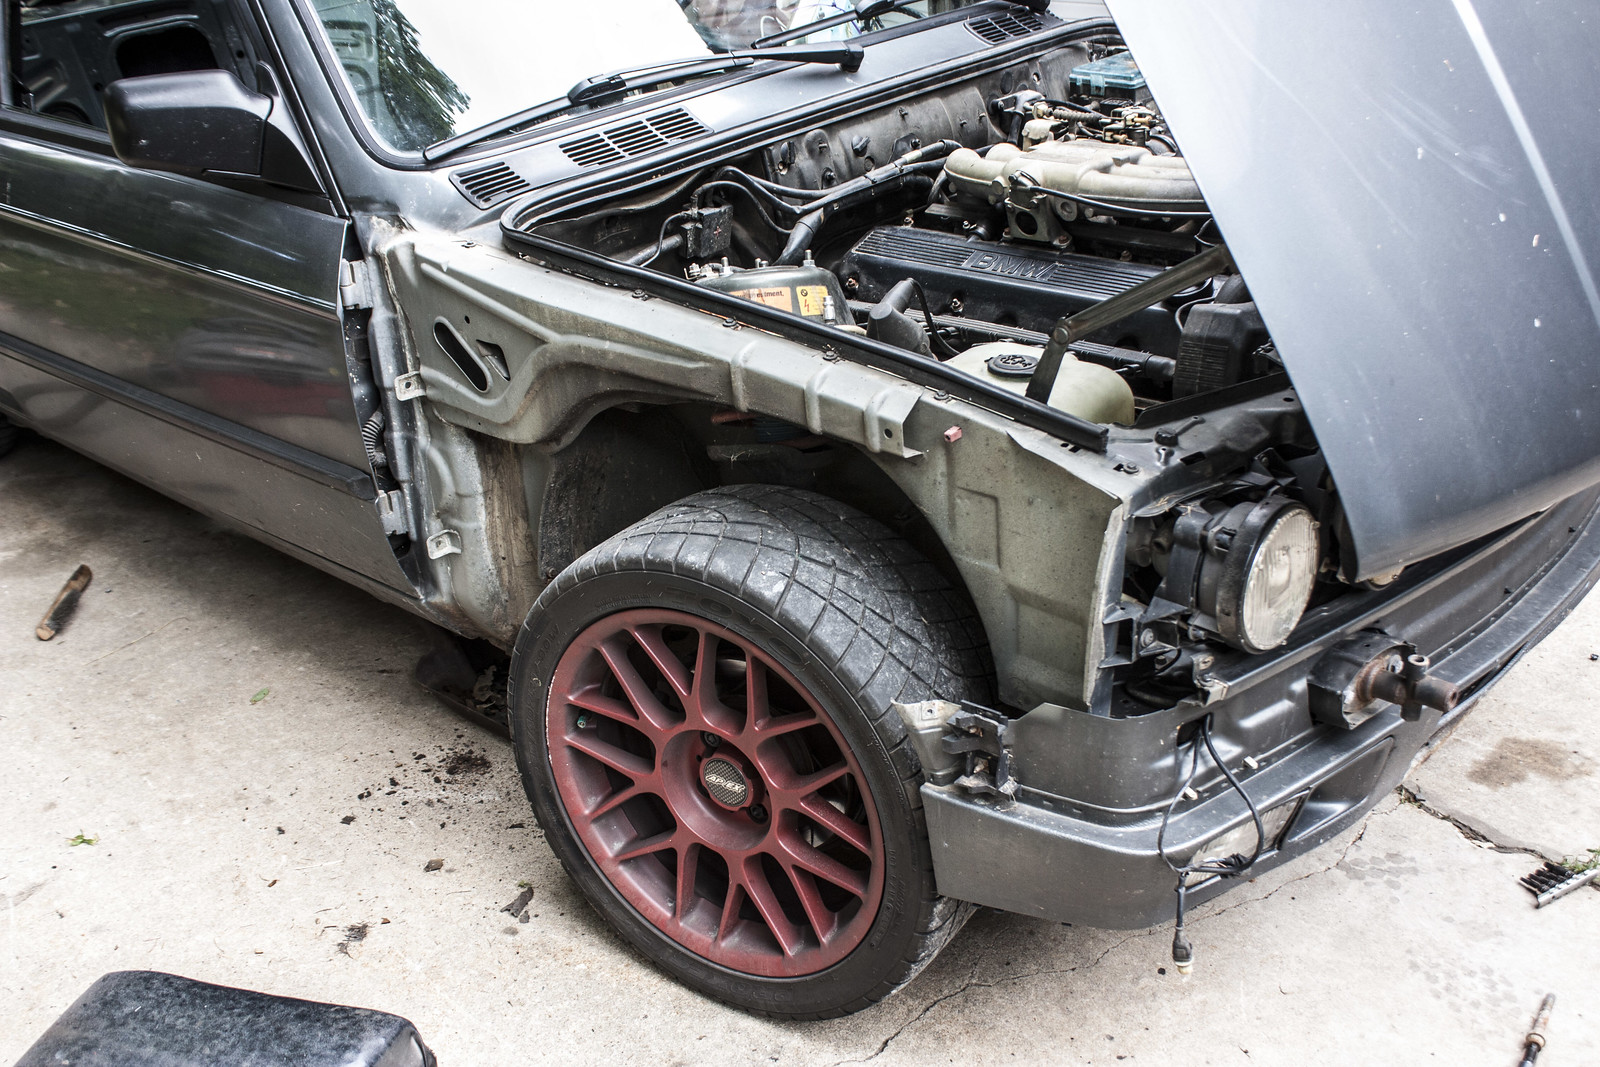
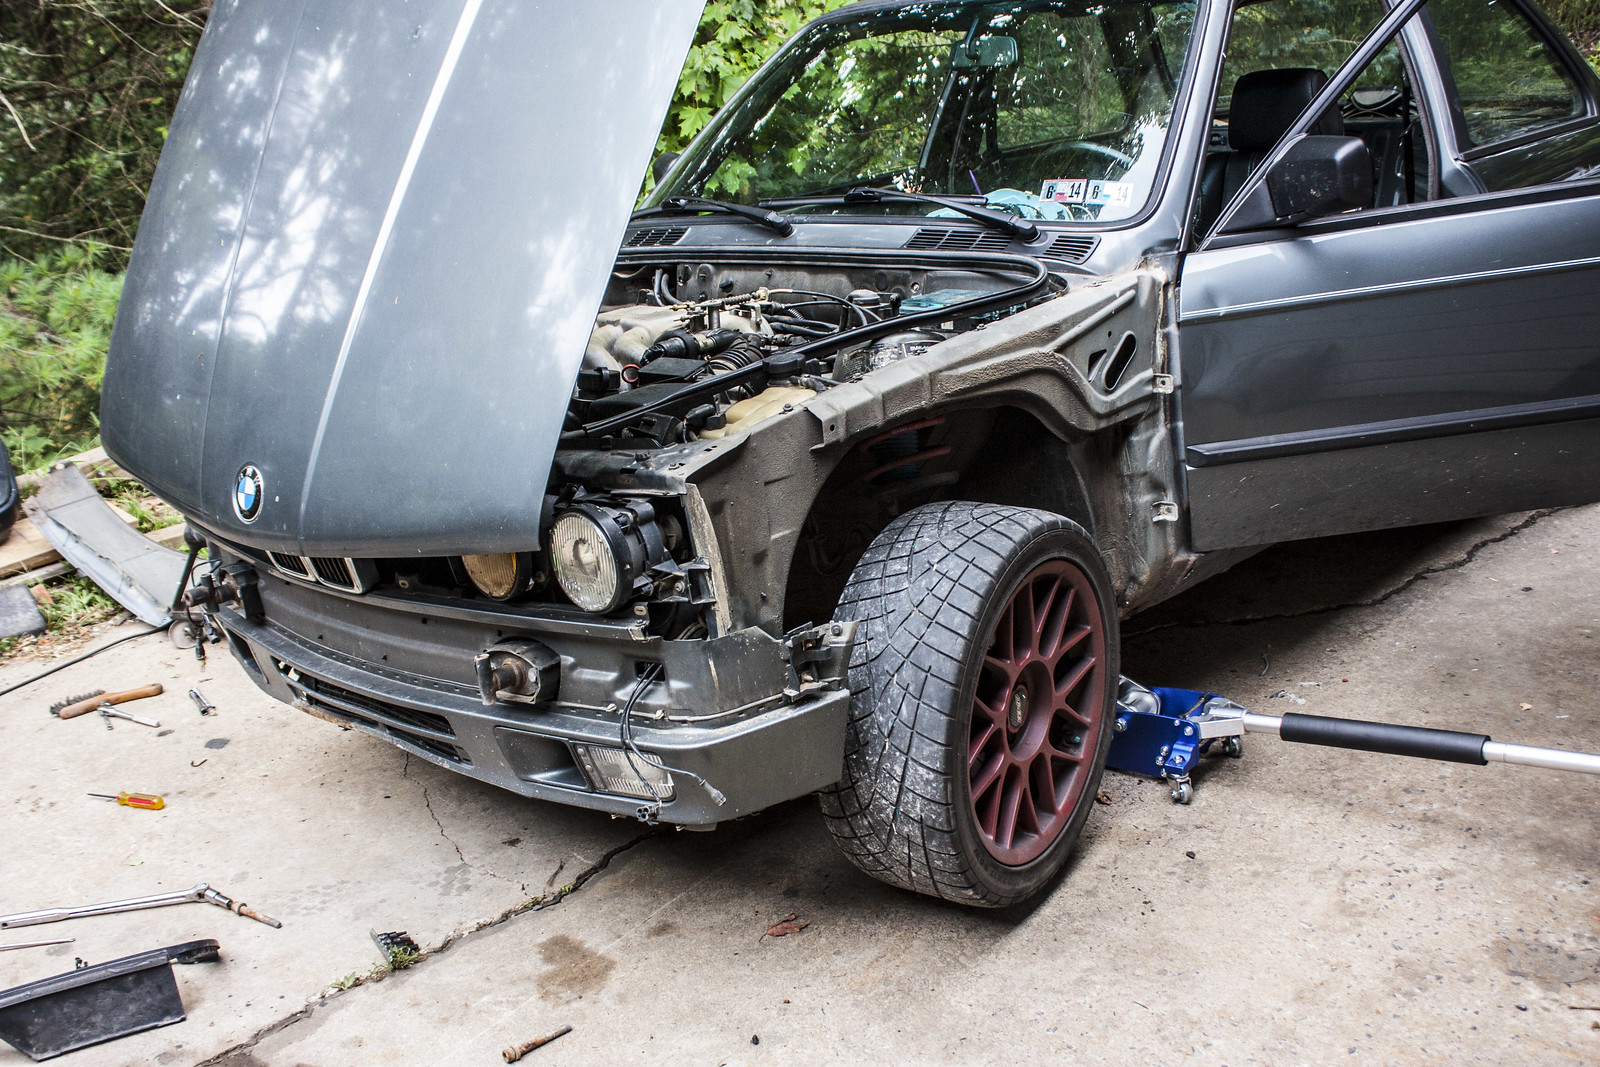
Probs my fave photo from that day, looking like such a pile
Driver's side hole

Pass hole

German tools for German cars

Children at play

My car is crying. Remember these are the lollypops I freshly painted when I installed the new CAs and CABs. :/
Starting doing some sanding and cutting....

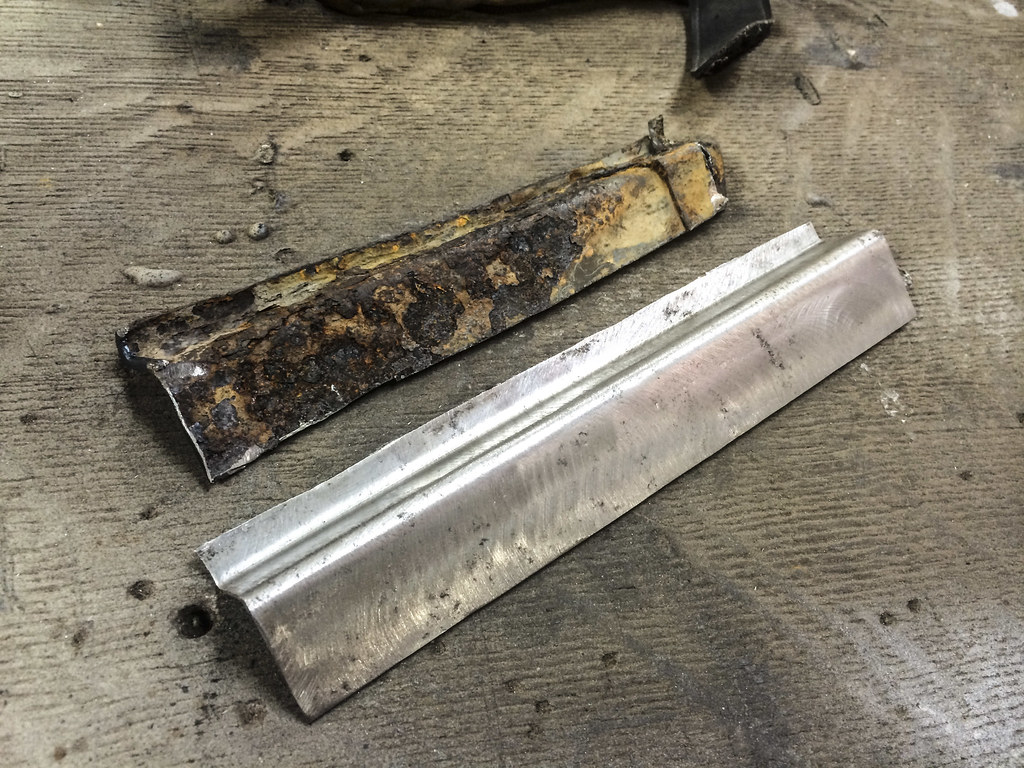
And after like 5 hours of this

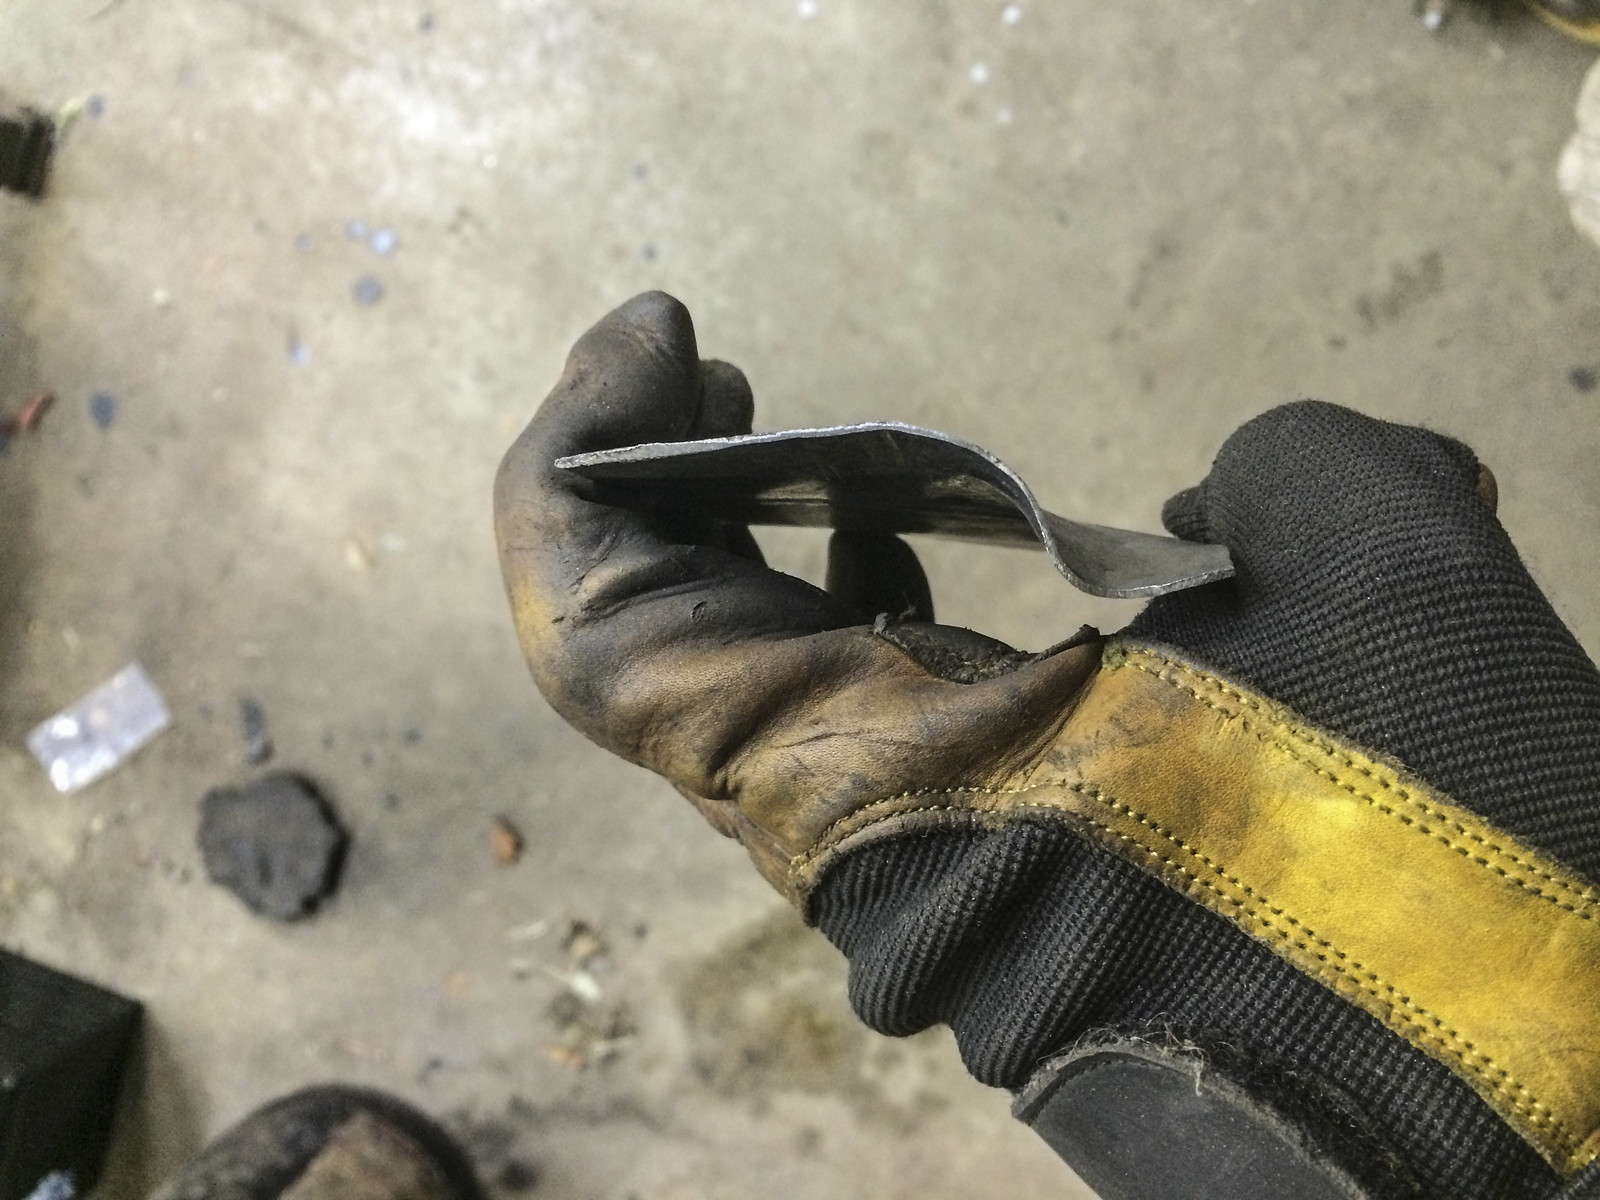
I made this

Did a pretty good job replicating the top curve but it has none of the lower curves to bend inward to meet with the fender. Attempts at making those were less than successful

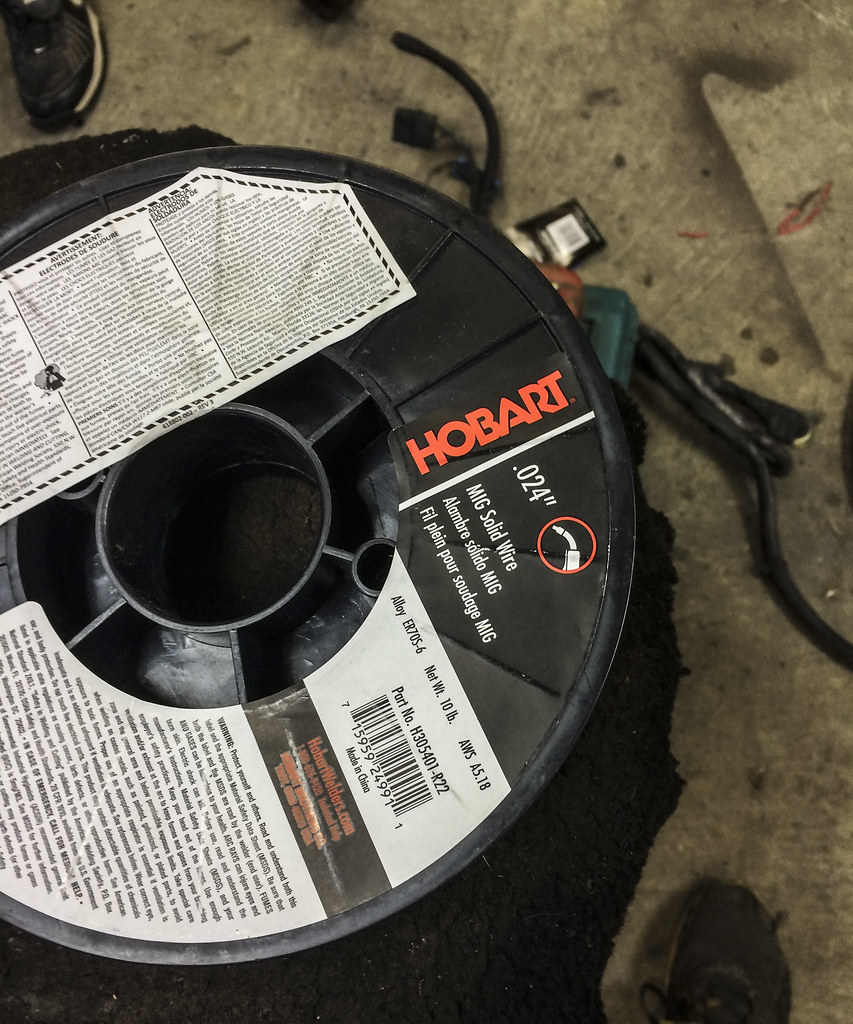
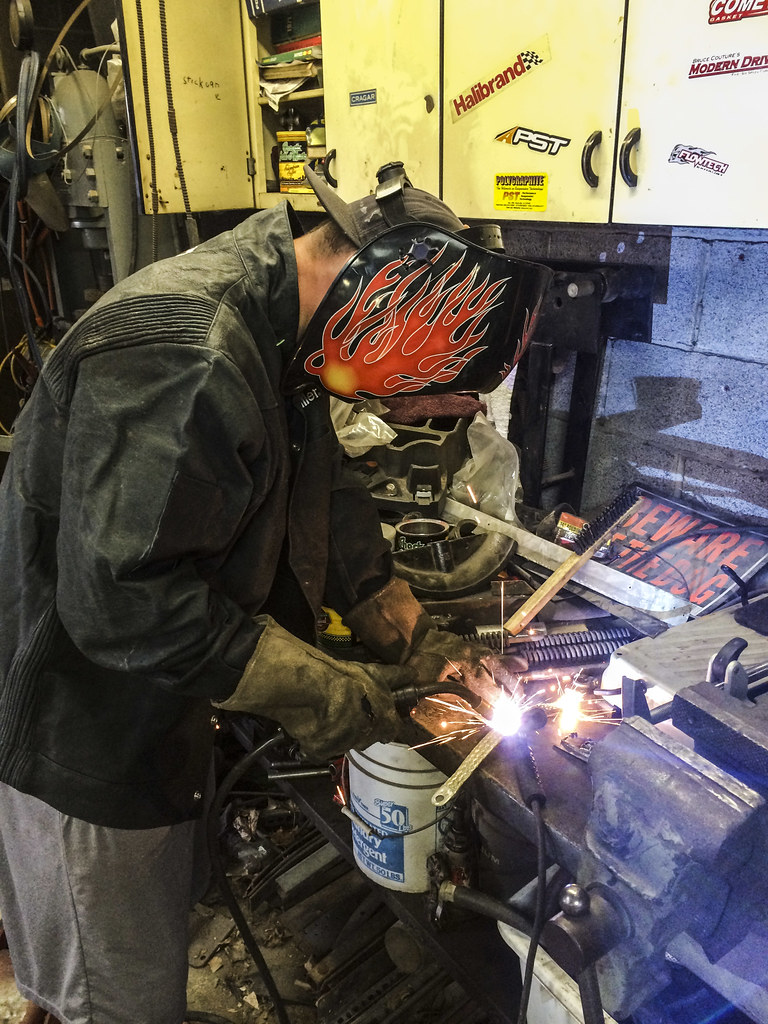
I got kind of tired of struggling with this piece so I decided to practice welding. I picked up a 10 pound spool of Hobart wire for this project. Went with 0.023" wire since 0.035 is more of a general welding wire and this is going to be used exclusively for thin bodywork.
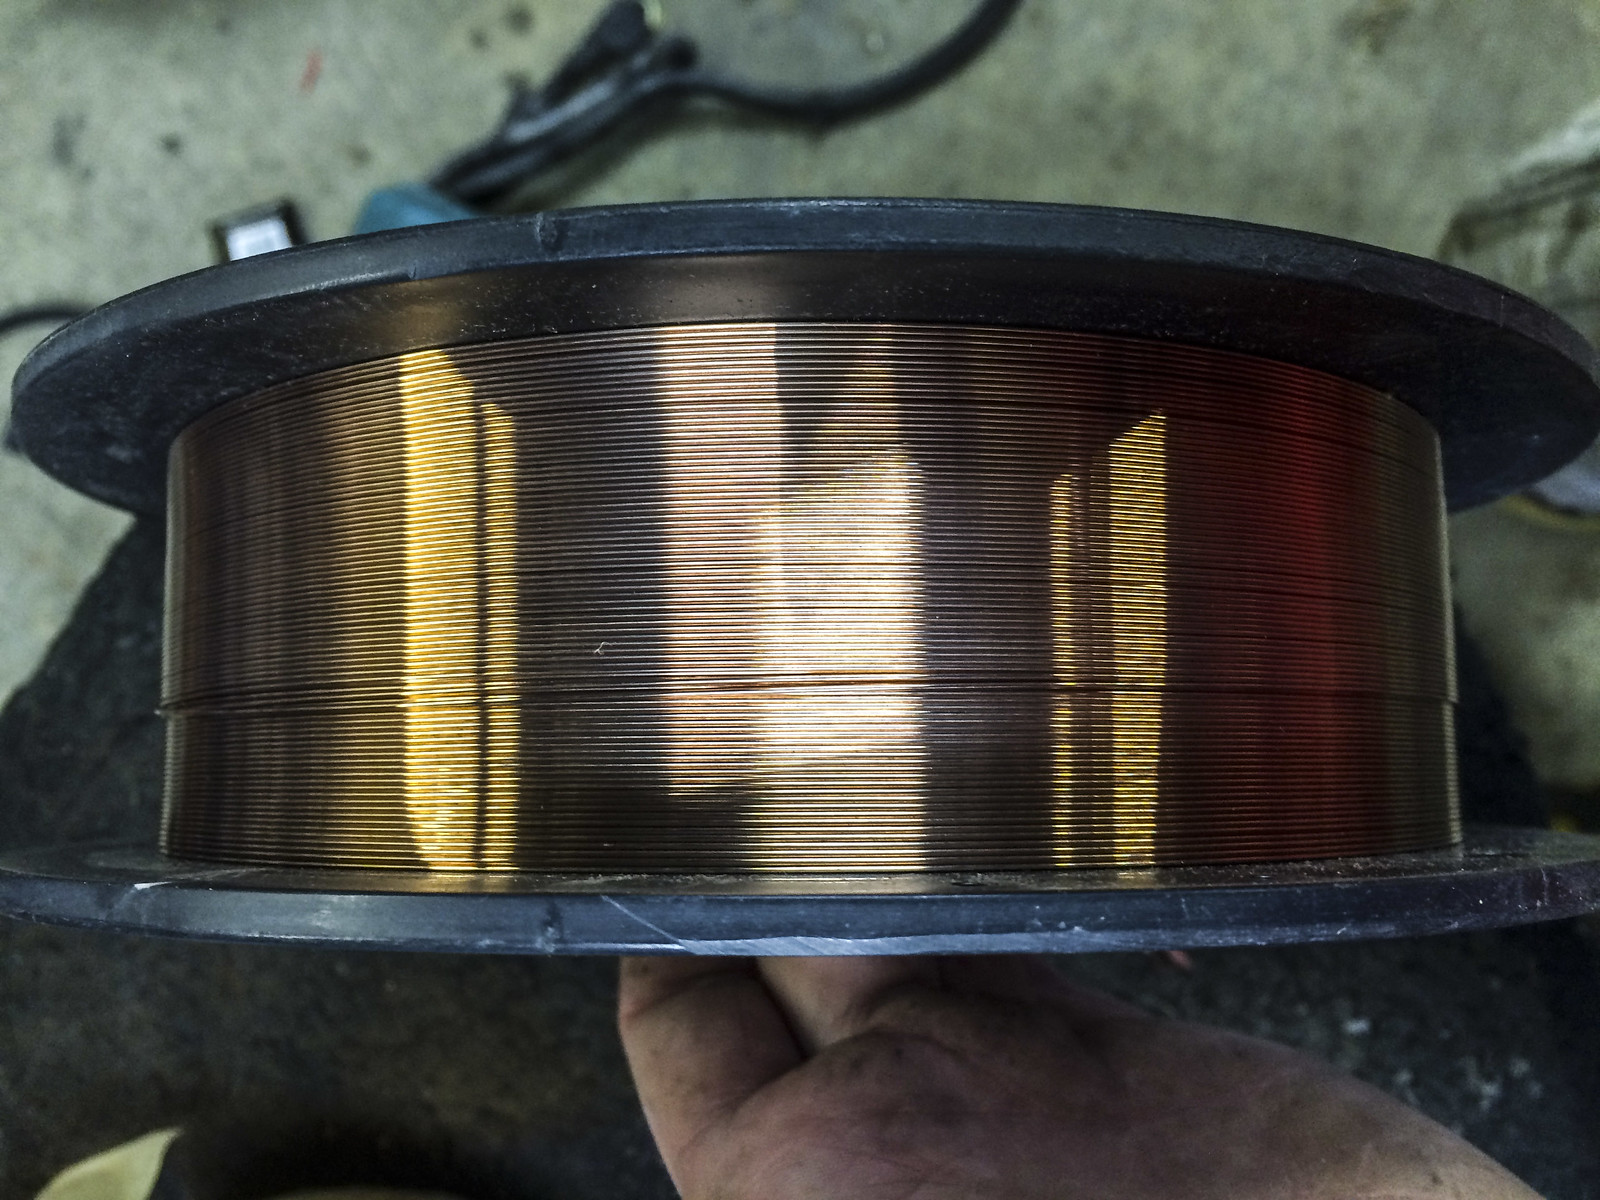
Copper coated
First weld attempted, a lap joint

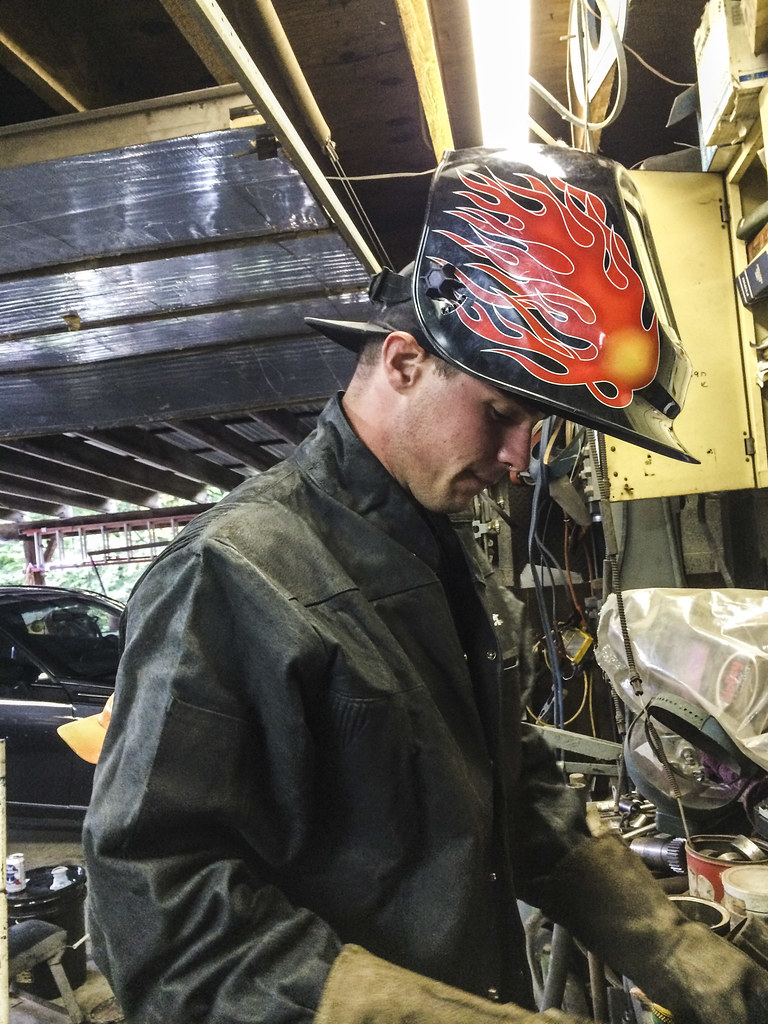
A non-car friend of mine was with. I gave him the welder for shits and giggles. Results were less than spectacular lol
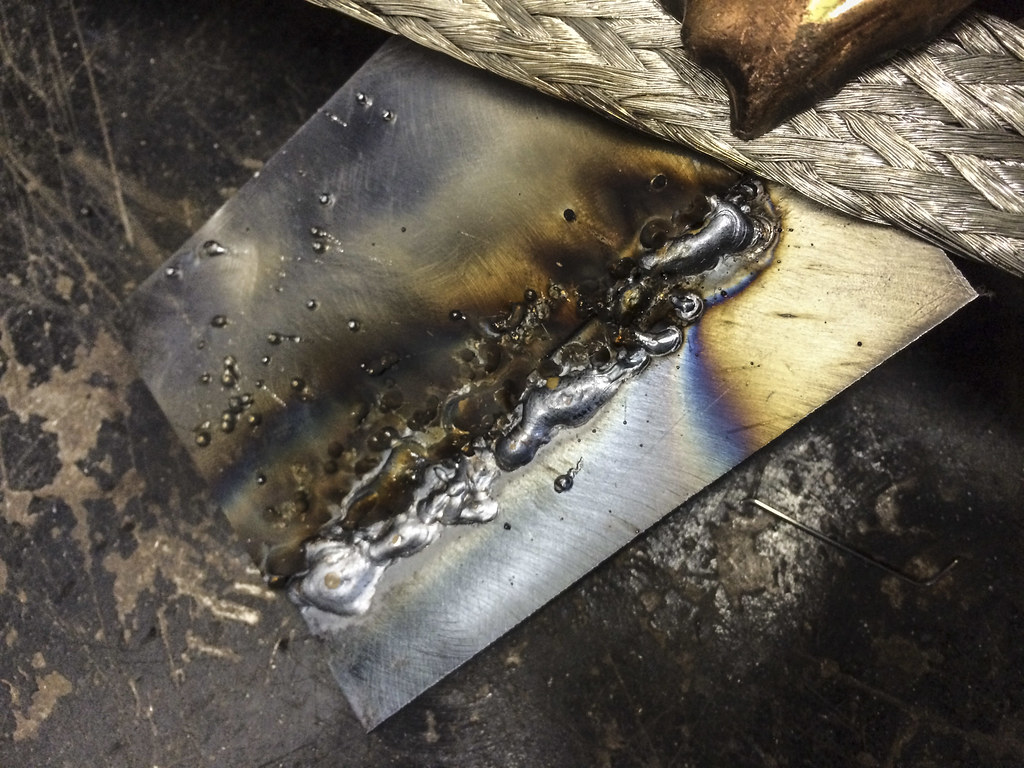
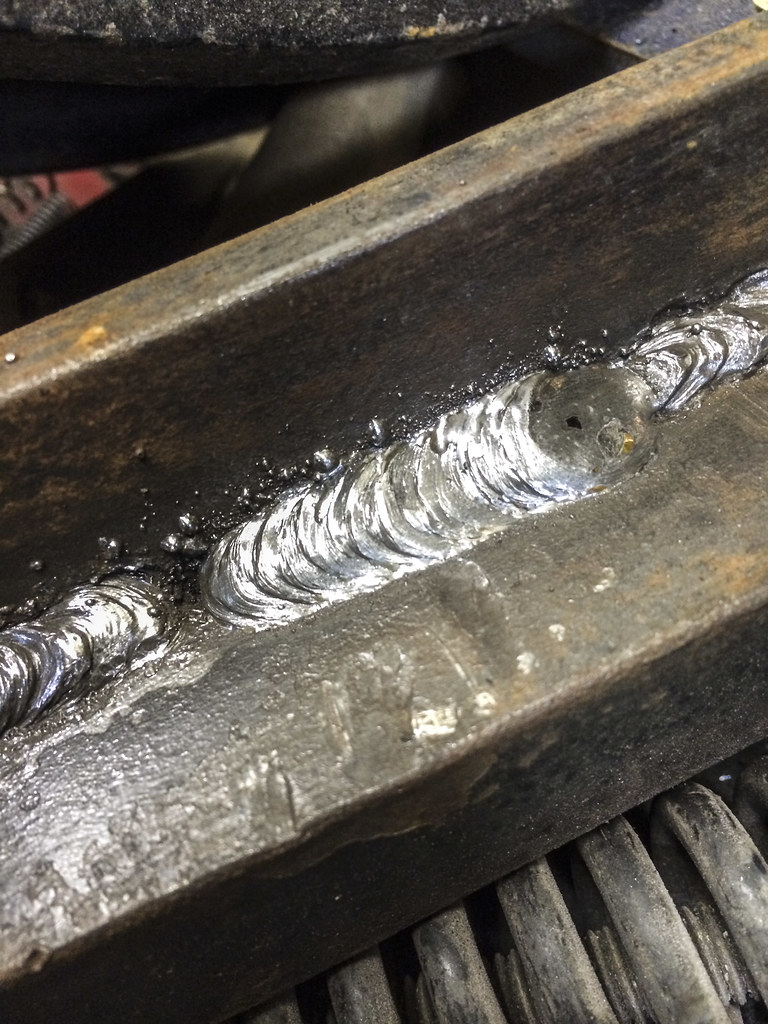
Another one of mine. I thought this was great at the time but in retrospect it probably needs a little more power so the puddle would have melted in more and not protruded out.
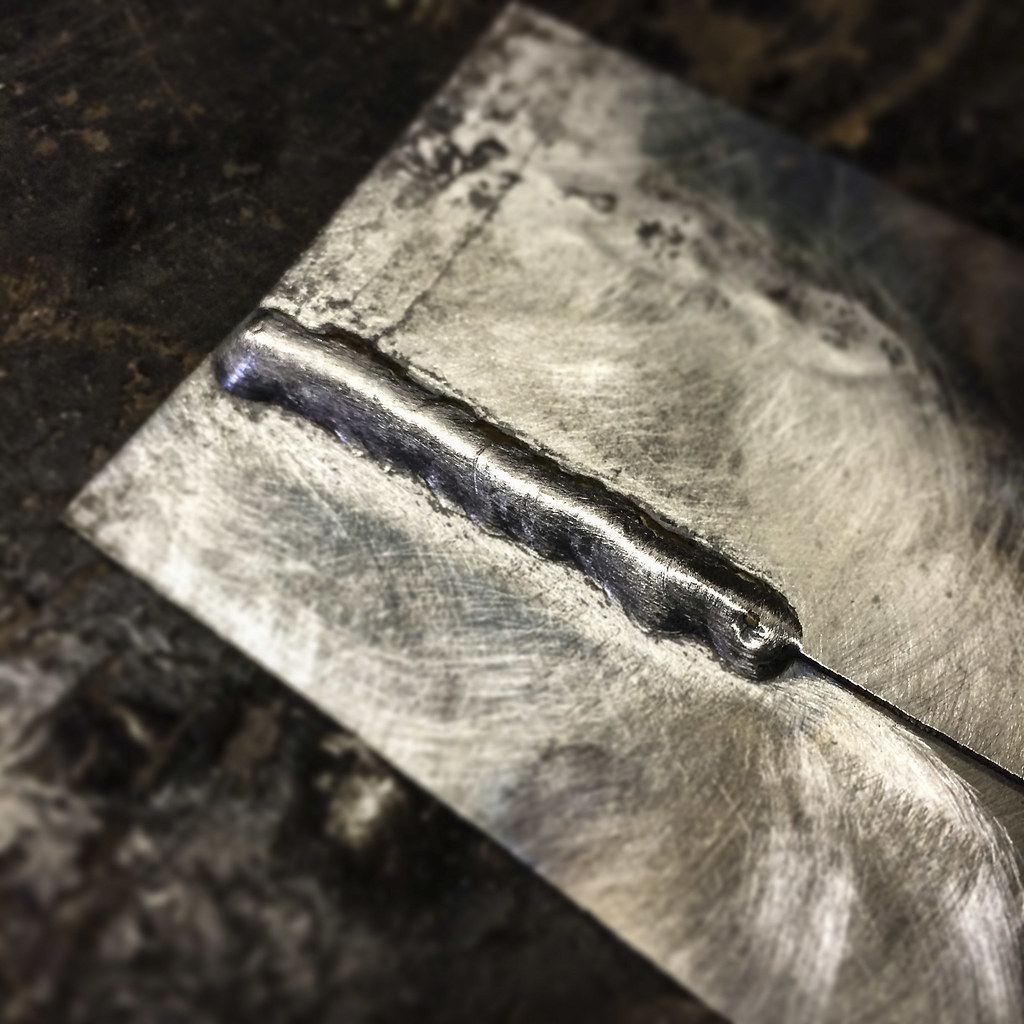
Then for funsies I found some super thick stuff sitting around the shop that I could try welding with the power and wire speed maxed out.
Looks good. Not sure how good the penetration is though. I didn't want to cut it.
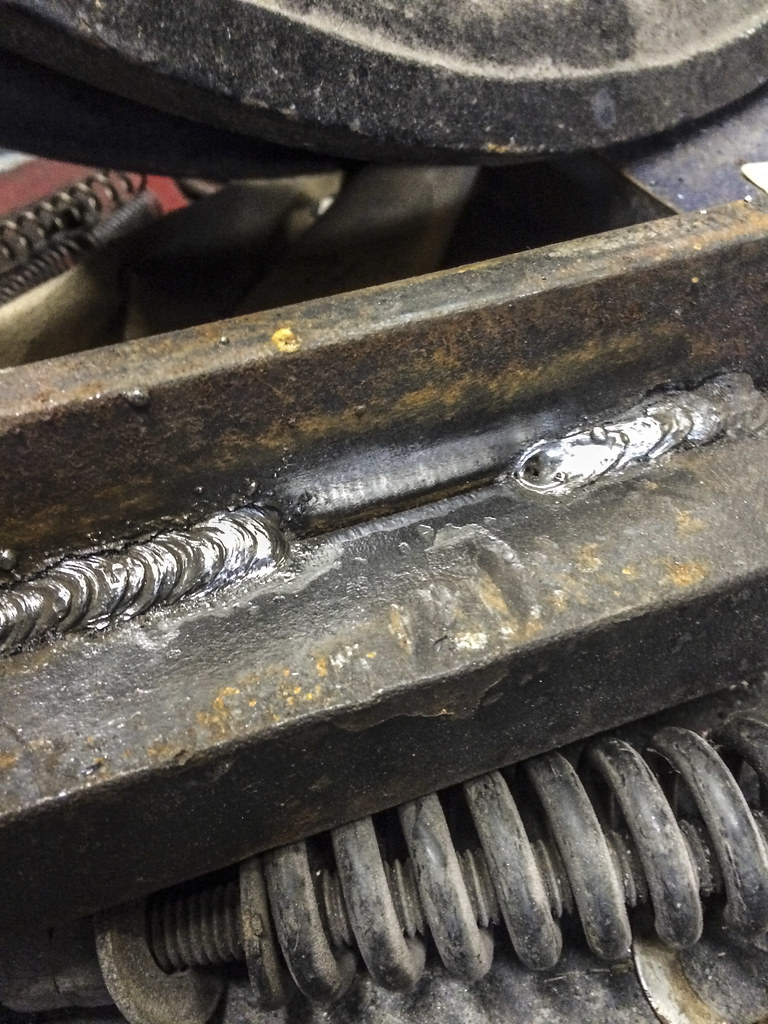
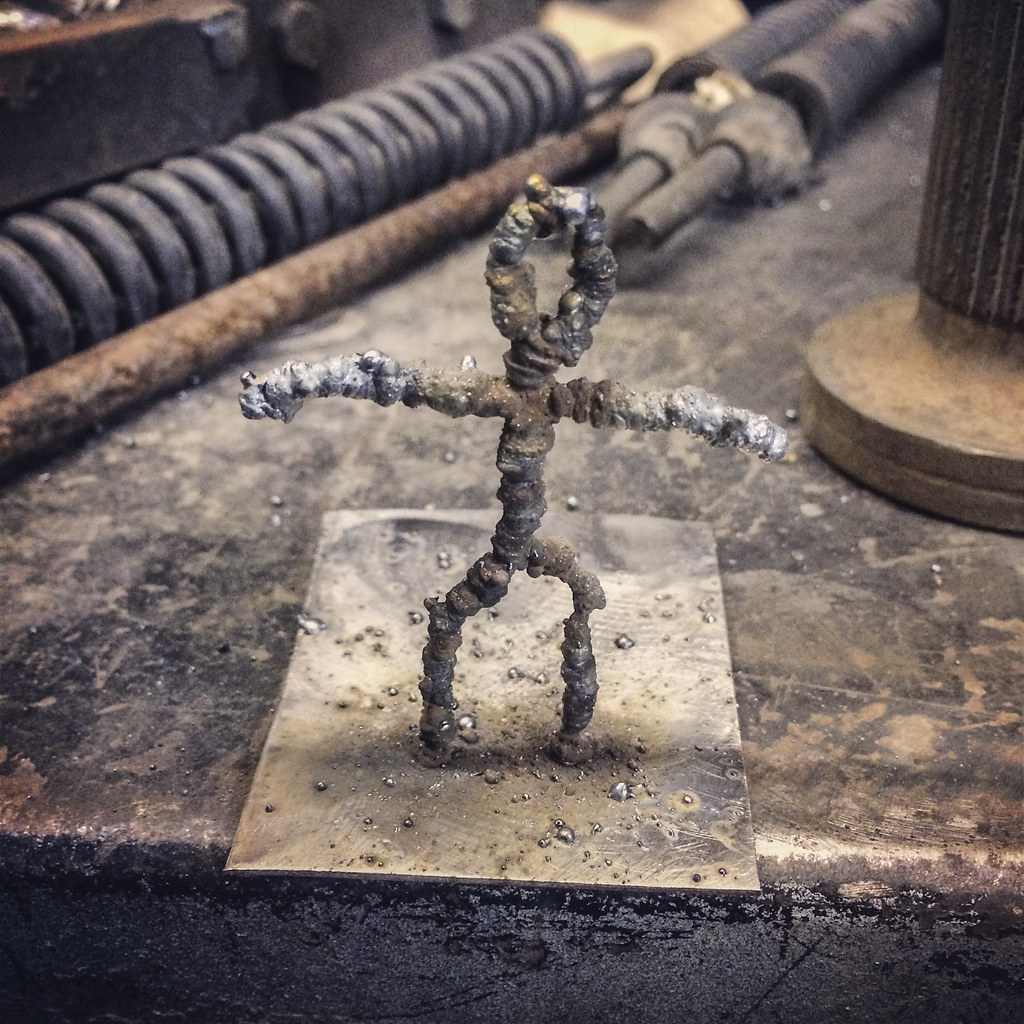
Also made this guy too. Ran out of shielding gas at the beginning so it looks kinda crappy.
Got back to hacking more rust out.
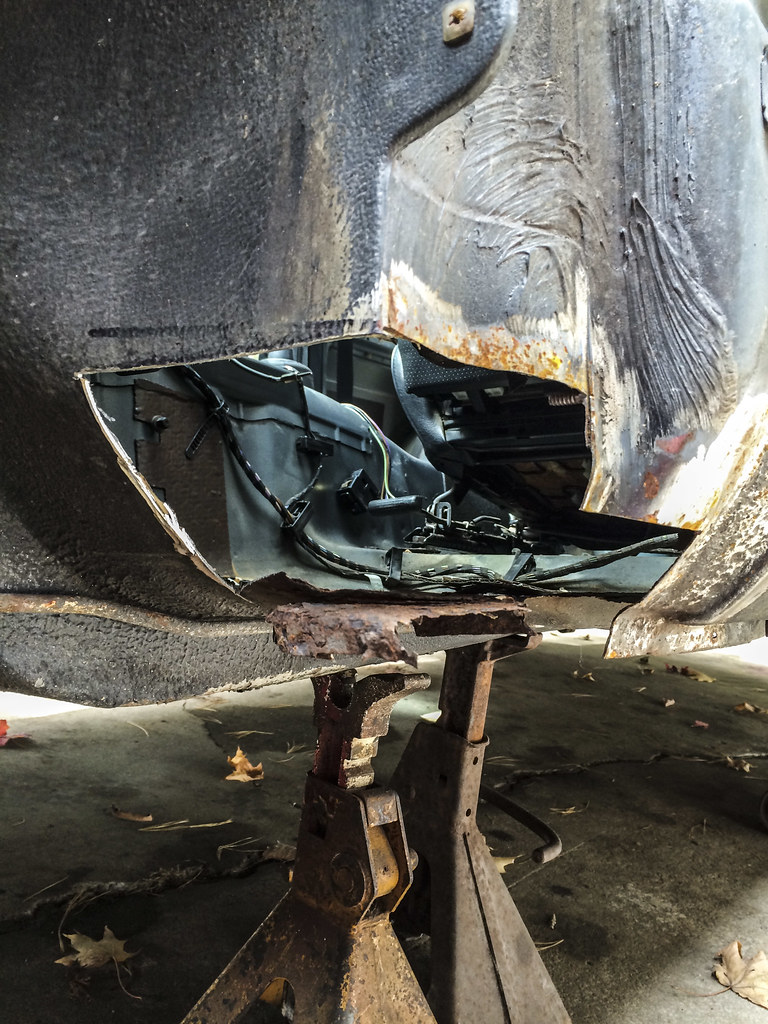
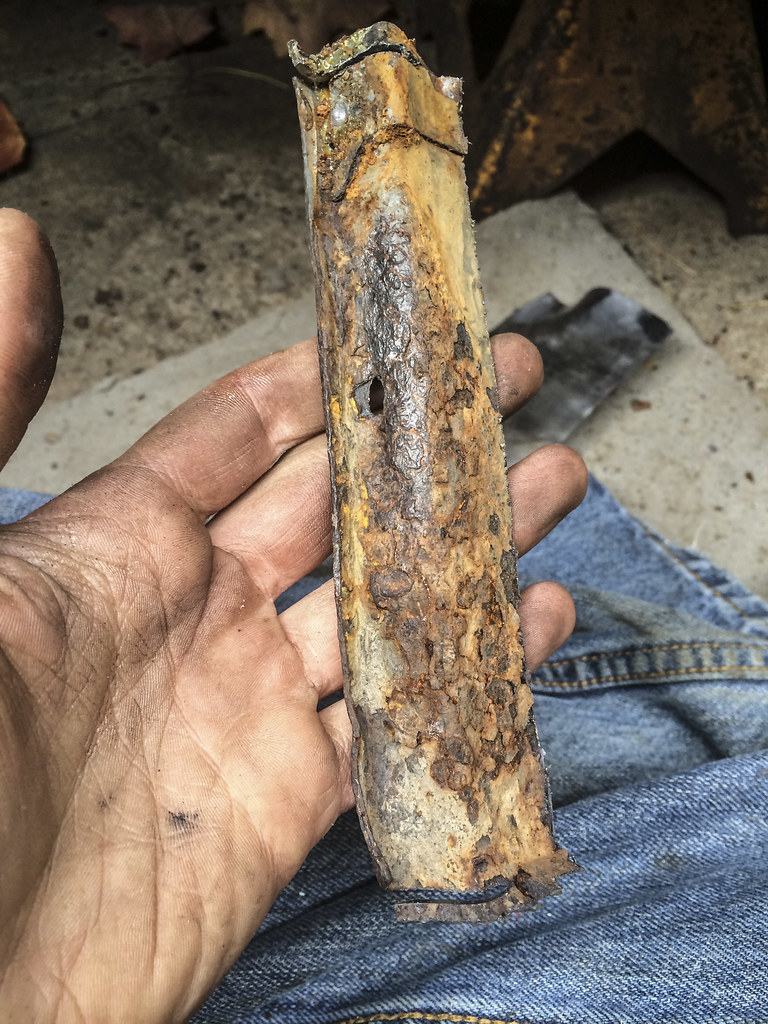
Photo of inside the rocker. Although it looked ok from the outside it was pretty rusted from the inside.

So I cut a section out.
And made a new piece
Some other pattern making and observation of the lap joint where the firewall and floor meet.
Then reality set in and had to work on the new DD to make her road worthy before winter came. All work on the e30 stopped while I replaced upper and lower control arms, swaybar links, ABS sensors, driveshaft, and a few other things on the e28. That will be in another thread though.
Winter came and she sat


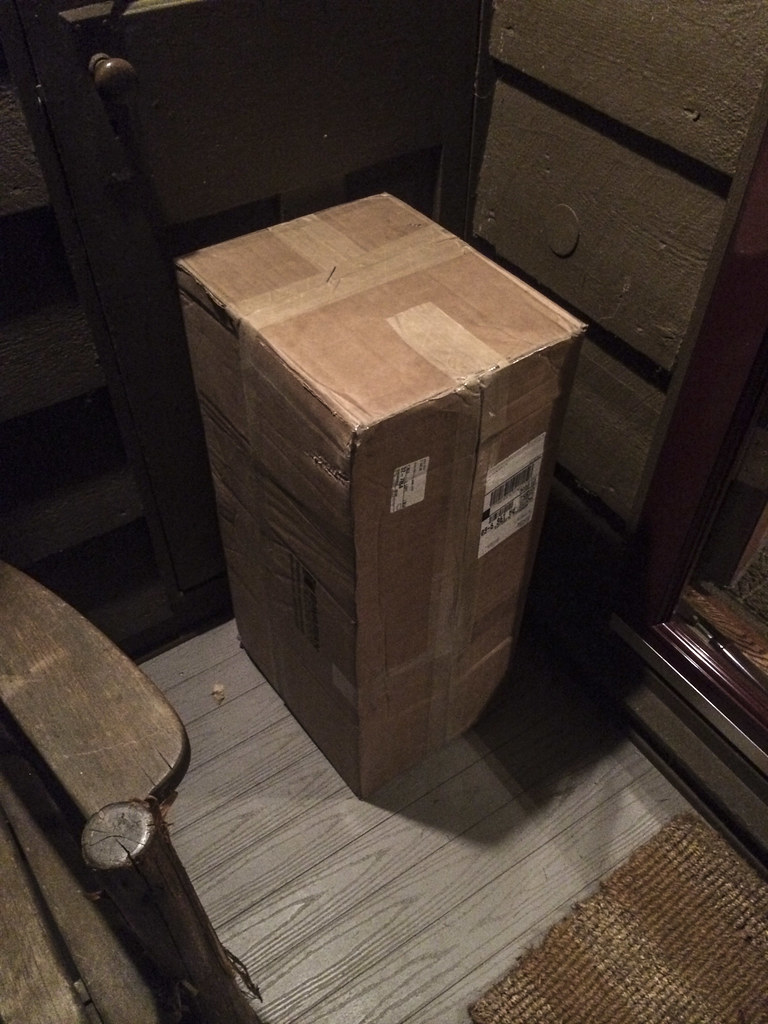
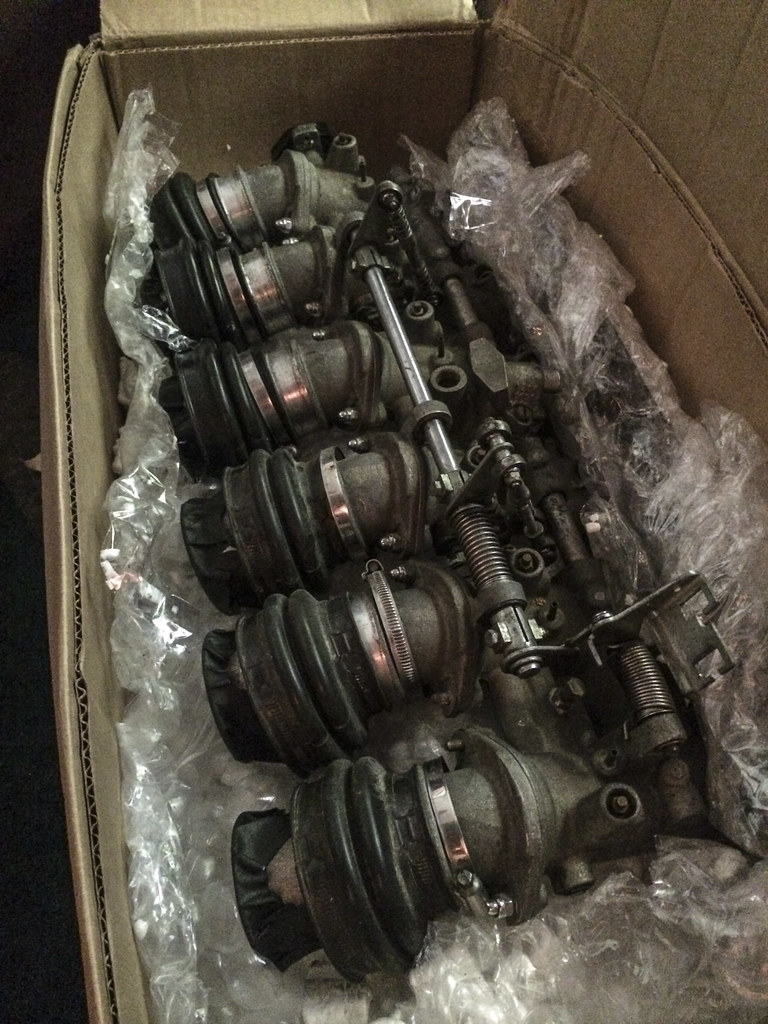
Some nice boxes came during winter though...
S38 ITBs
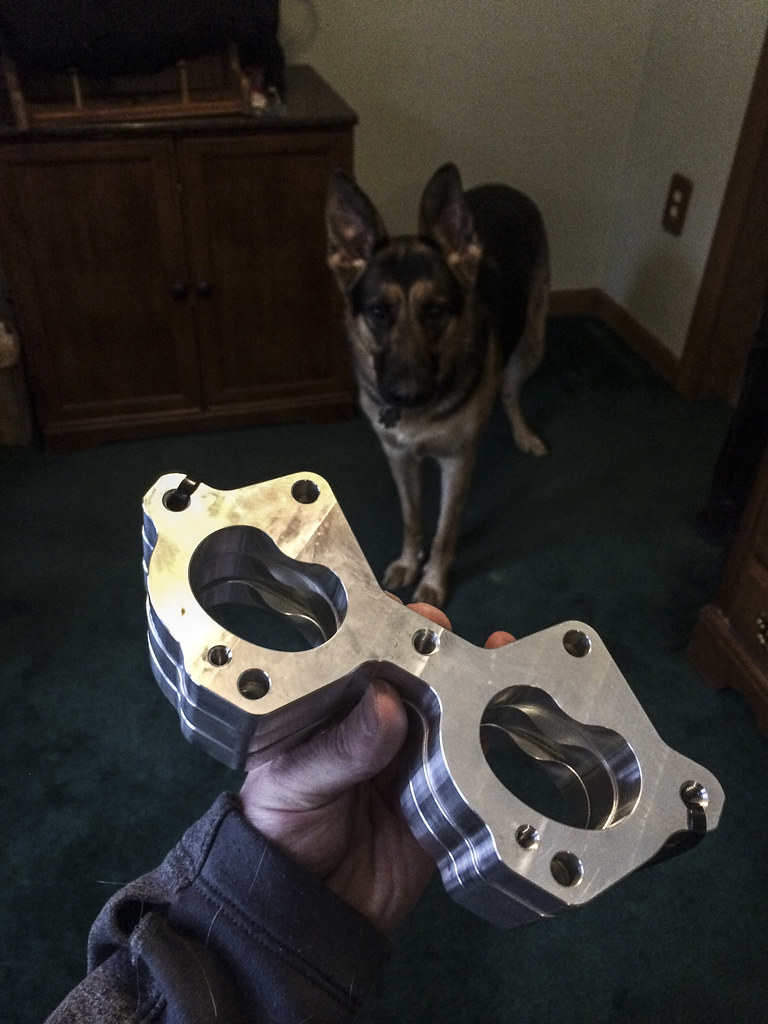
S38 ITB to M30B35 head adapter flanges
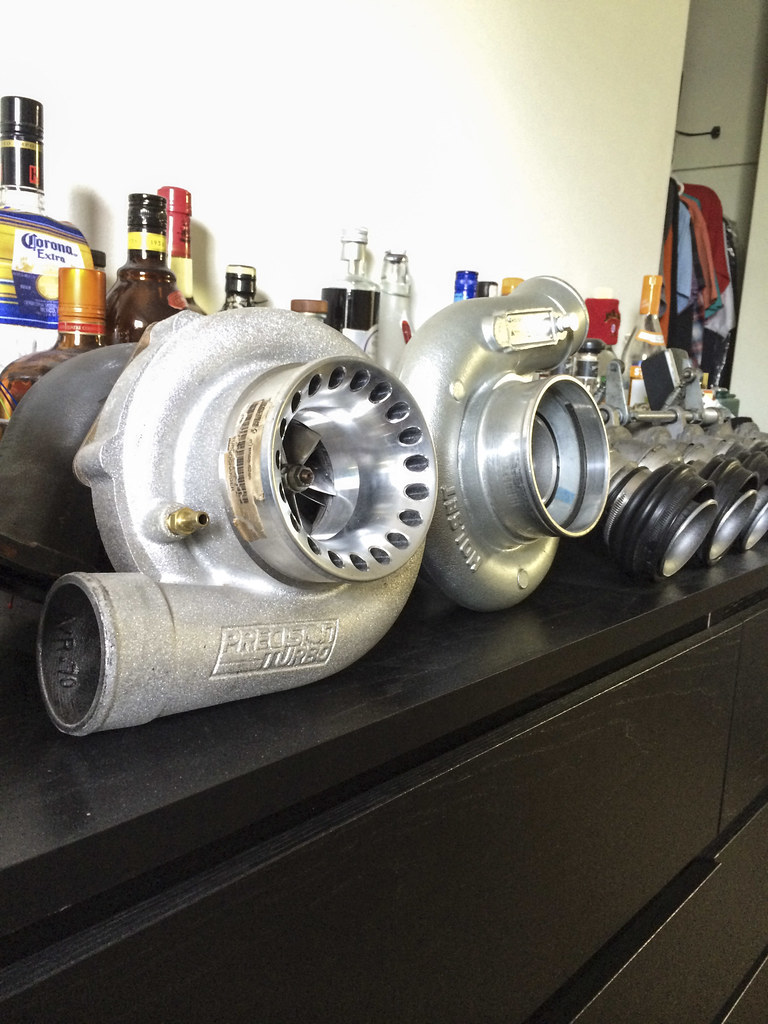
I'm pretty set on saving up and buying my own TIG welder to assemble the turbo manifold and after doing a lot of thought I decided that if I'm going to go to all this effort I might as well build a T4 manifold instead of T3 for the HX35. I know I'm going to want more power. So anyways I picked up Kamotor's gently used Precision 6266. Now someone buy my HX35 lol.
I never got around to welding all those pieces I made in. I was planning on fabbing up all new floors in the front but after some thought this winter I've been thinking it might be worth the money to find someone with a parts car with good floors to buy with all the time saved. Some of the curves around going to difficult to say the least.
Also I need to use my dslr more, photo quality is leagues above my iphone 5S in all but the brightest of light. The autofocus is broken on my go to 15-55mm lens and since I usually always take photos one handed for various reasons this has led to a decline of its use. I shall buy another lens.
I have started more restoration work in the past few weeks. I've temporarily halted work on the front floor areas till I decide what I want to do and have been working in the rear passenger wheel well which is a total mess. Once I get that area completed I will update the thread. I want to do more regular updates (small ones) now that I'm working on it now instead of the marathon ones I've been doing lately.Leave a comment:
-
That would be too easy though, so easy it would become boring...
Although I'm prolly going to kick myself later, I'm probably not going to put flares on right now. (When I do, expect real steel box flares )
)
Yeah I learned the hard way lol. It flexes for a reason, because its super thin!!!Last edited by Click; 05-11-2015, 11:15 AM.Leave a comment:
-
excited for m30 turbo + snow.
Are you gonna run flares?
Probably not your thing but you can get exhaust sealant tape and wrap it around for a temporary fix.
get that iX owner on r3v :DLeave a comment:
-
attention to detail is wow. I love how everything is made in germany.
your gonna need a whole new flex pipe, cut out the old one. go to napa, get a new one. you cant weld to a flex section lol.Leave a comment:
-
Bloody hell!!!! that was one LONG ASS POST!!!!
But thanks for that, it was one of the most informative single posts I have EVER seen on the interwebs before!!!!
The care & love spent on this car is AMAZING, though if I lived in such an icy climate, I would probs wanna have the iX as my dailyLeave a comment:
-
Thank you very much. Great documentation. The pictures of the new parts really helps; knowing the part numbers is nice.
Keep up the good work.Leave a comment:
-
So I'm quite bad at keeping this updated...
Anyways.
Installed proper euro grilles. (March 2013)


Figured out why my passenger side light stopped working. It's like impossible to find a replacement connector and terminals so I'll prolly just replace both sides with a newer style connectors.

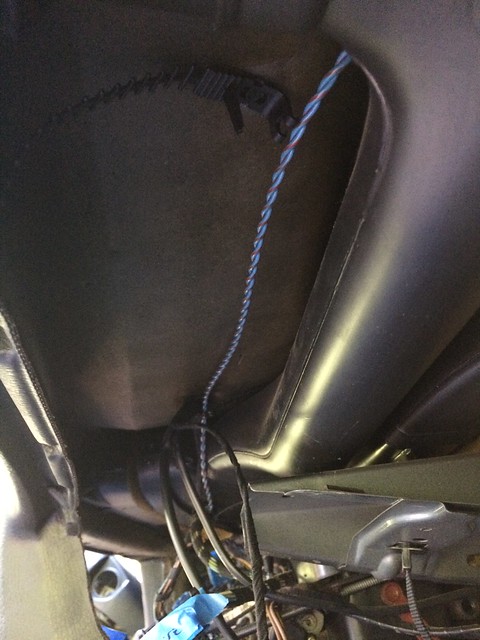
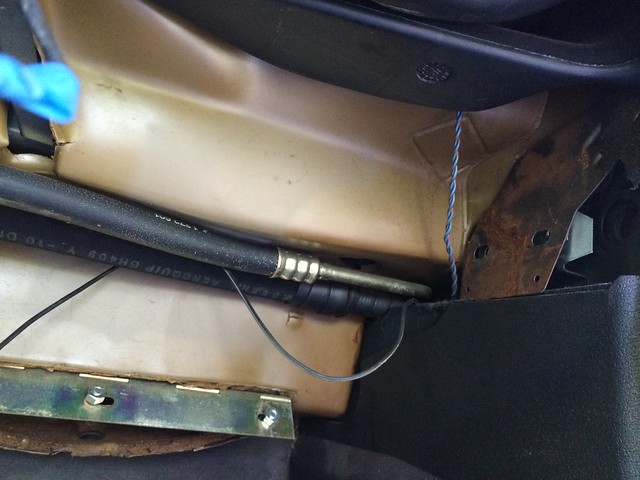
Brake lining light went from flickering to on steadily. After some searching I determined that my rear sensor wire was rubbed through. (May 2013)

Proceeded with freeing the wiring

Soldering in a wire to bridge the gap

Wrapping it to protect it from the elements

And zip tying it like crazy so it never happens again...

Twas getting sweltering hot out during the summer so I got a new A/C bracket as mine was stripped out. Interesting how the new one is shorter...

Like a turd wearing a diamond ring.

Much better (◠‿◠)

Fast forward to Rallycrossing (June 2013). Engine started making bad noises and I found my engine sliding into the rad. Both motor mounts were torn. Luckily this only manifested itself during the last heat and I only had 1 run left before I didn't want to drive it anymore. Many thanks to shEck3lls0 for letting me borrow his car for that last run.


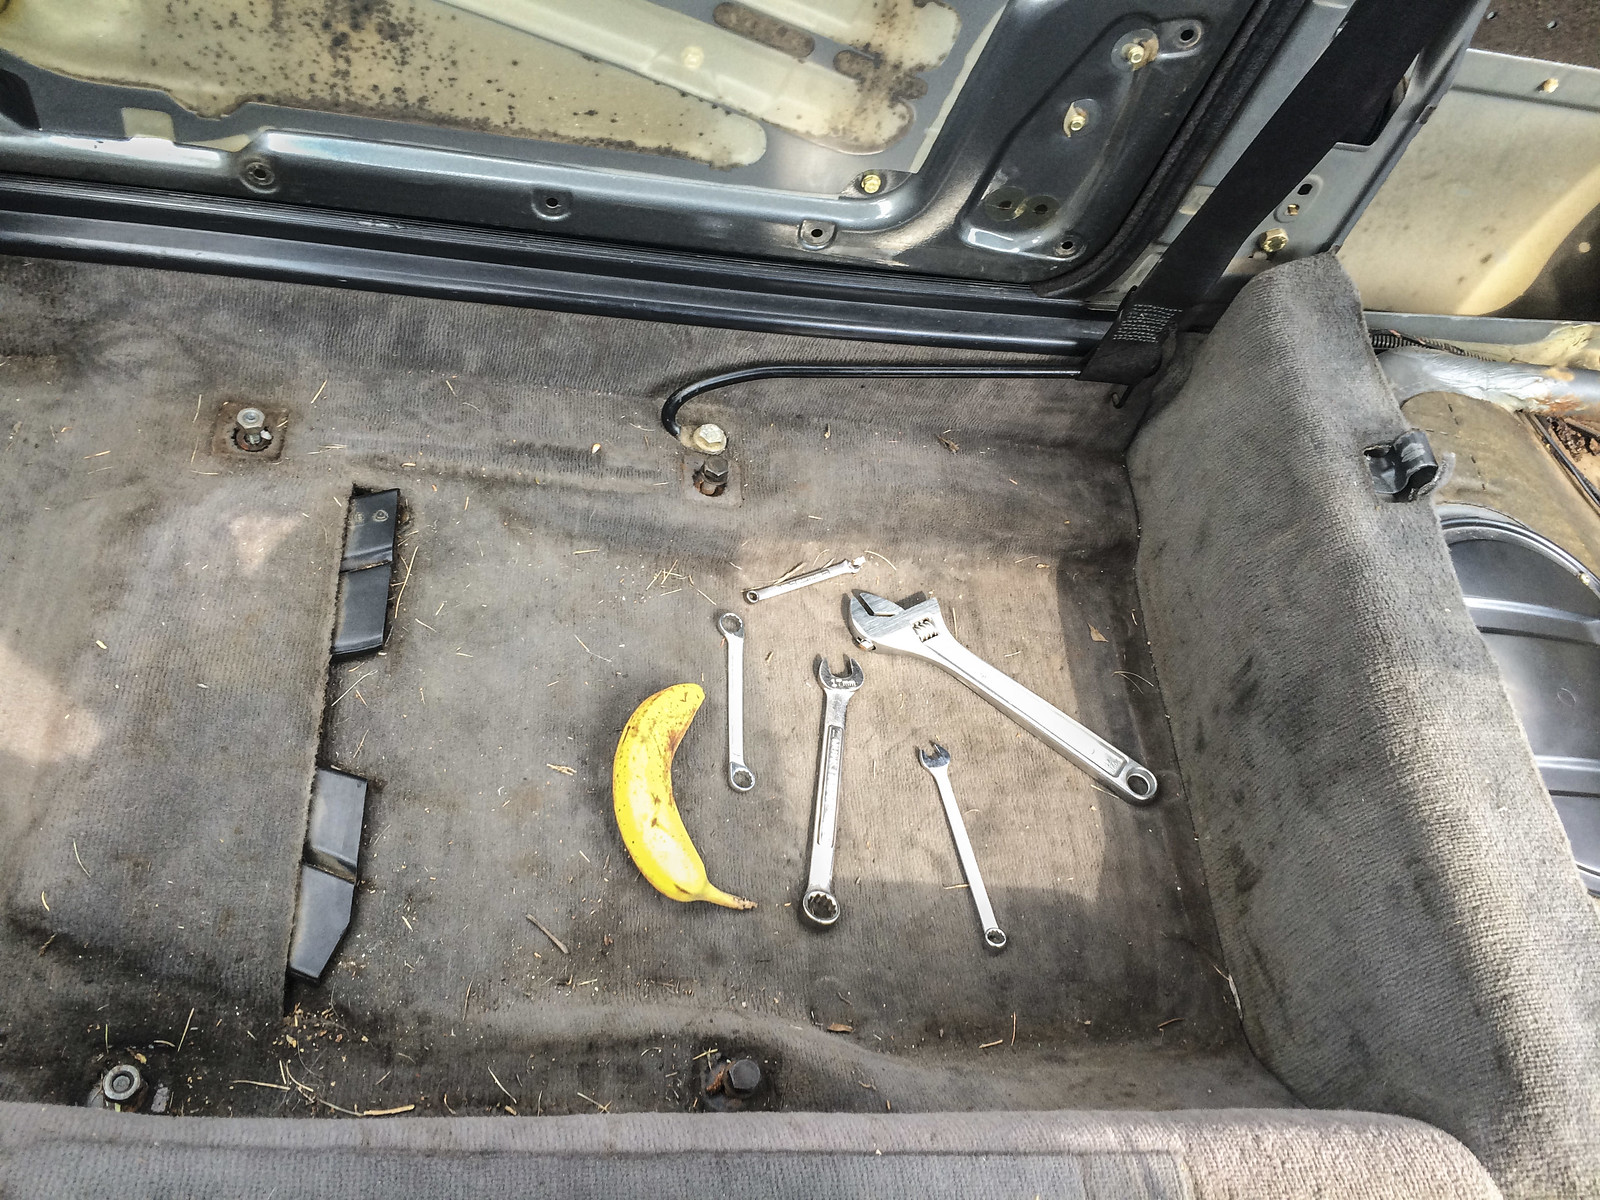
I drove the car to the hotel using the brakes very daintily and got to work in the back parking lot. Luckily I performed an oil change a week or two before and noticed the mounts were in bad shape so I ordered a set and brought them with me that weekend.

Totally shot.

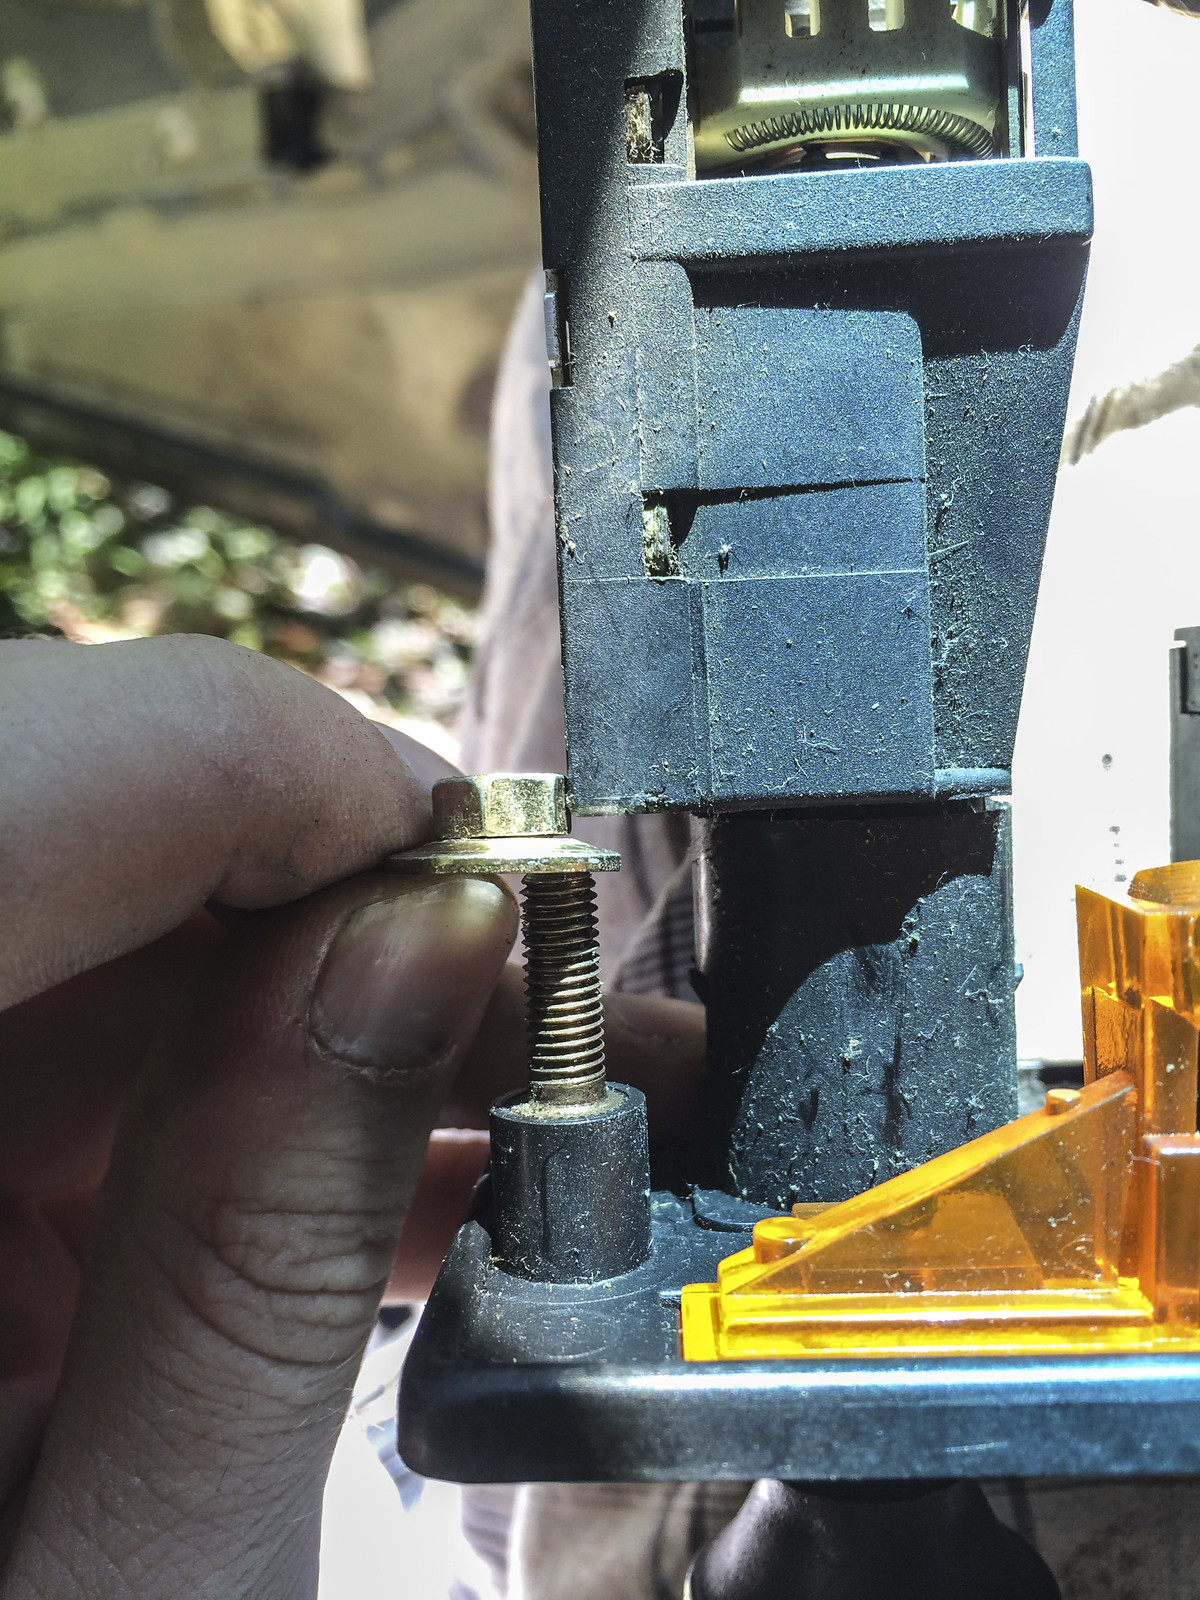
The magic combination to get the top drivers side nut off.

Unfortunately one of the nuts got stripped on the passenger side. I purchased a bolt extractor set from sears but it needed a SAE socket to be used so I wasn't able to replace it that night. Gratefully I borrowed the correct socket from the Hegelsons the next morning and replaced the passenger side mount in the field before the racing started. Literally as soon as I finished up tightening it down it was time to drive to the course.
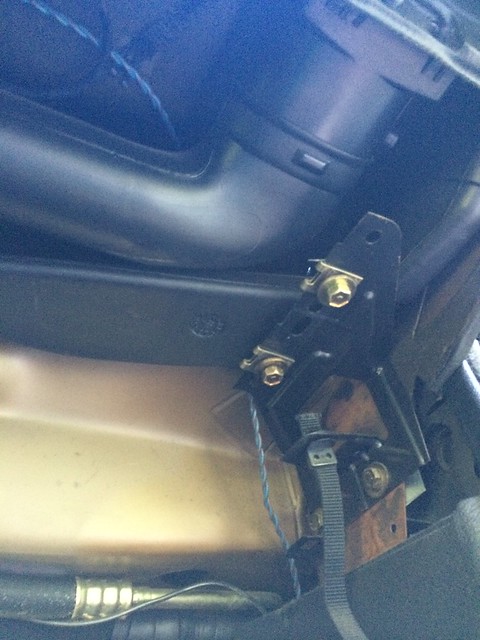
The passenger side reinforcing plate/shield thingy interfered with the mount and was not able to be used with the new mounts. Oddly it fit on the driver's side however.

Again, a turd wearing a diamond ring...

Since I'm a baby and it was hot out I was racing with my A/C on. Not for long though, while waiting in the grid a bunch of smoke came out from under my hood. Being 120 miles away from home I was quite concerned, luckily the smoke was just from an A/C line bursting and not something engine related as I feared.

Post racing pics. Left her at a friend's gf's house overnight during a storm. Left a nice mess in her driveway lol


That was the final race of the spring season so it was time to put the summer wheels back on. I had new tires mounted in the rear just prior to the race. Morons at the tire shop impacted the wheels on

For whatever reason I felt inclined to checkout my airbox. Nasty as expected.

Quite shockingly however I found a very fine dust on the "clean side" of my airbox. Time to order a new filter.


All cleaned up

Scored some lightly used H&R race springs and got a new set of billy sports on sale. Purchased GC camber plates for adjustability and since they let the spring sit higher for moar lowz.

On to the install.

Sprayed the strut retaining rings with PB blaster since I've never removed them before and they look hella rusted tight.

Removed brake caliper

Removing sway bar links

Using the jack trick to loosen nuts on spinny ball joints

Using a VERY BAD method of separating the balljoint from the knuckle. This was before I knew better. (actually this was in july 2013, like I said I'm bad at updating this thread)

Remove the shock mount nuts and she drops right out.

Compressing the spring

Fooling around

Races vs stockers :nice:

Now dis bitch

Couldn't get them off despite big man wrenches

Ended up using an oxyacetylene torch around the perimeter to get it to budge. I painted the burned off paint area later.

Fitting the Bilstein in

GC sent the wrong size washers

Assembled!

GC also sent the wrong threadpitch lock nuts as well which mangled my one strut :hitler:

Luckily the proper nuts still threaded on and when fully tightened were below the damaged area.
Remember how I said hammering with a nut is a bad idea to remove bjs? The passenger side control arm BJ was stuck particularly well and I may or may not have had the nut too little when I was hammering. Either way the threads were damaged at the top. I very carefully cut the damaged area off the top. There was still more than enough thread to properly tighten down the new locknut. Live and learn

Fast forward to August 2013. I was driving home from work and was making a left turn and all of the sudden I developed a missfire. I pulled over and jiggled my sparkplug wires to no avail. The next morning i did some diagnostic tests as per the bentley but came up empty handed. I did some searching and found out I could have broken a rocker. Pulled the VC and sure enough my #5 intake rocker broke. Despite what many poeple say you can replace them with the head in the car, it's just quite tricky. I made a special S shaped tool out of 1/2" steel rod that leveraged against the firewall to push the rocker shaft out. Before you do this though the rocker shaft has to be super clean or else it wont budge. I used brakleen to remove the oil deposits. In addition there were some marks on the front of the shaft from what looked to be from a pair of vice grips, I can't find a close up photo of these marks but I ended up sanding the marks down with 2000 grit sandpaper so the shaft didn't bind up in the head from the raised up bits of metal.

Note how much cleaner the intake shaft is.

Just barely made it. Had it been cylinders 1-4 I would had to pull the rad.

Bought two OE BMW rockers just in case I break one in the future. It's interesting how much the two are different from each other. The casting quality of the roundel and part number is better on one. Also the little hole above the cam pad is on different sides.


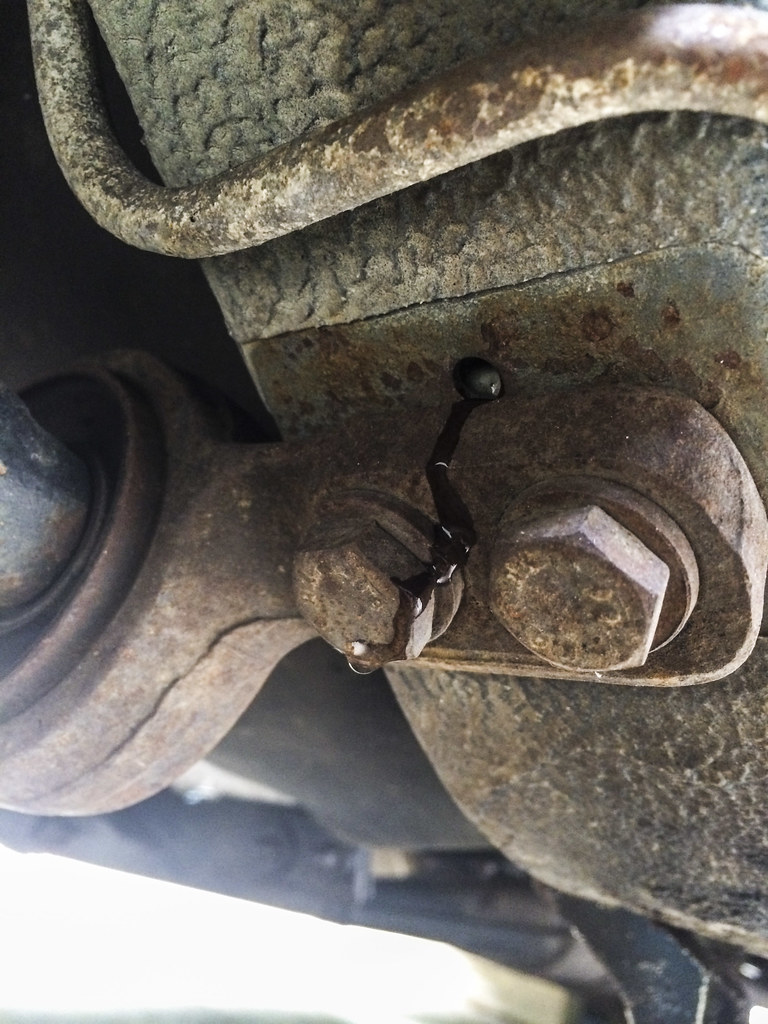
I think I gleaked on the rocker right before I took this photo, hence the tiny little droplets lol


Mileage of my car is unknown but the cam pad has a ton of meat left after comparing the old to the new


Much better roundel definition on the old one as well as a production year maybe?

You can see that the area between the shaft hole and the adjuster bolt is beefed up on the new one.


As seen from below. Have to wonder why they didn't beef up the other side as well....


Now get your German made montagepaste and apply to the new rocker


I also applied montagepaste to the cam lobe as well.
After tapping the rocker shaft back into place and replacing the locking key, clean up the plugs and the where they fit in the head.


(You can see those vice grip marks I was talking about earlier in this pic.

Apply some German made Curil sealant to the plugs and install. Make sure the orientation is correct or the cam gear with hit the plug.


Reinstall all the retaining clips for the rockers and adjust all the valves. Install valve cover with new gasket and you're golden.
Flirting with the devil...

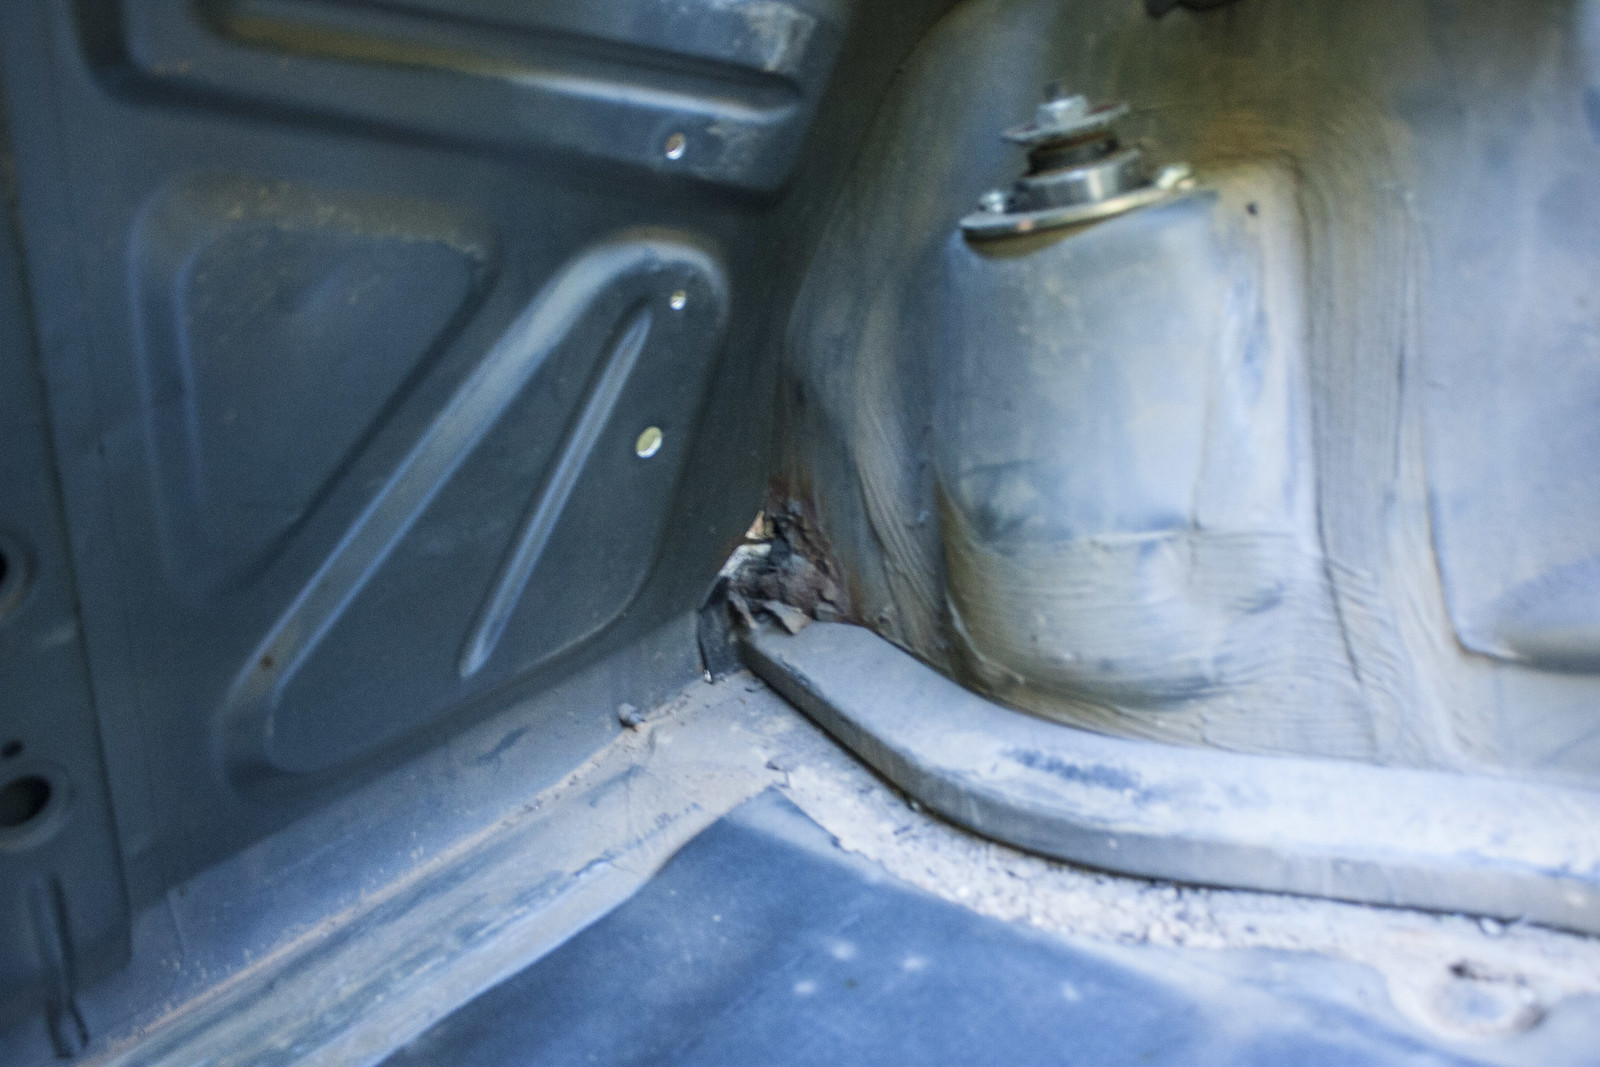
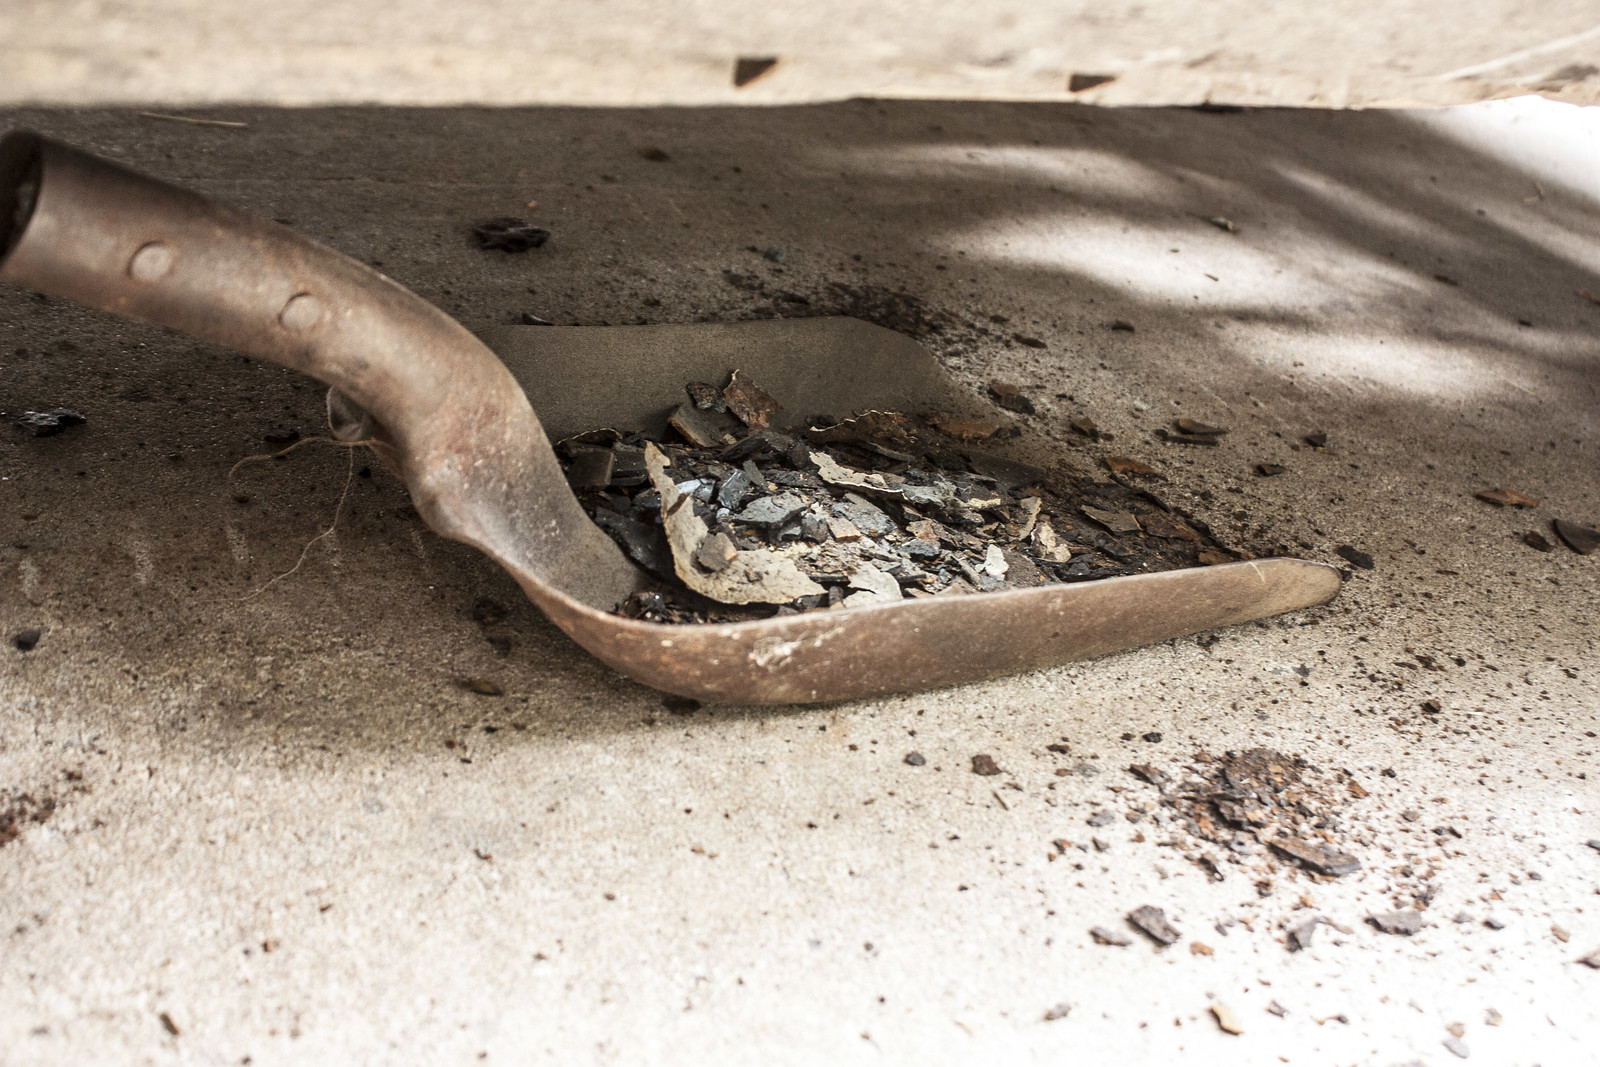
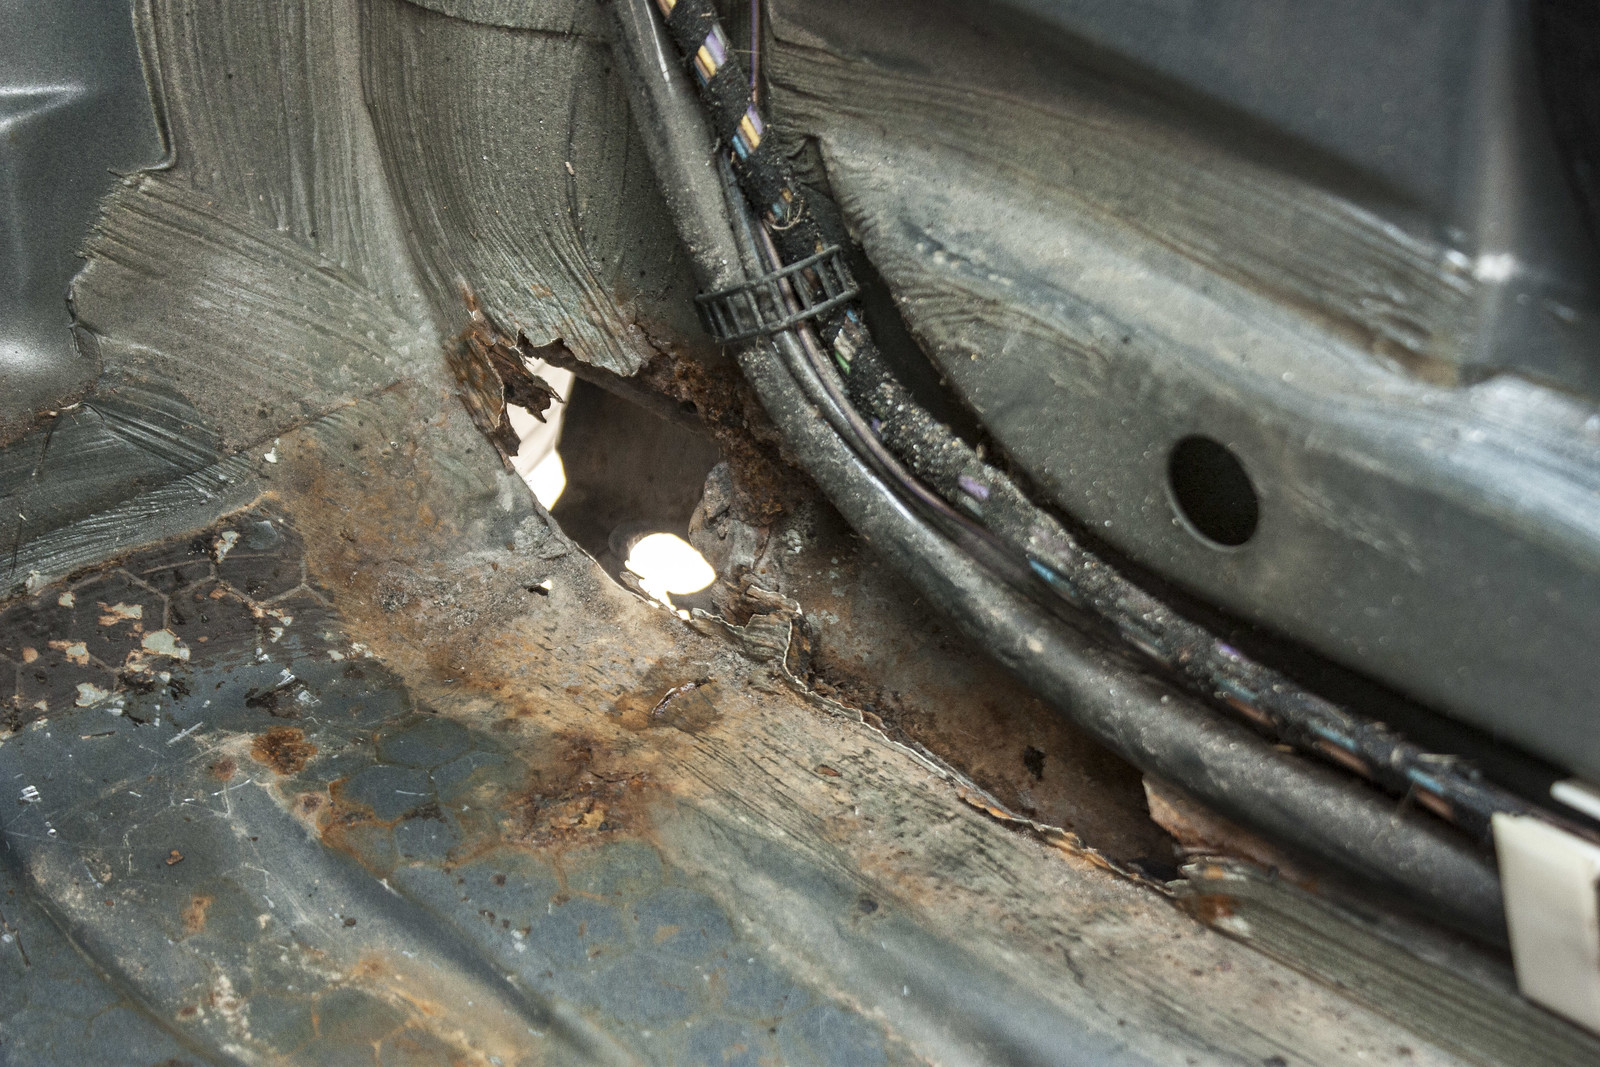
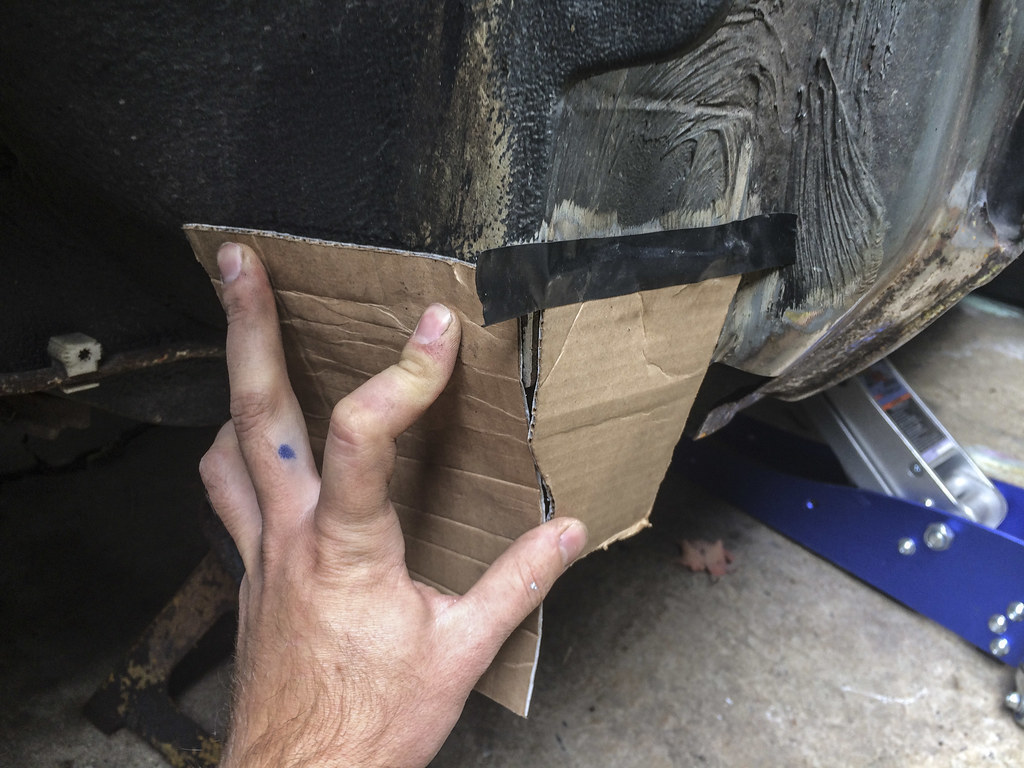
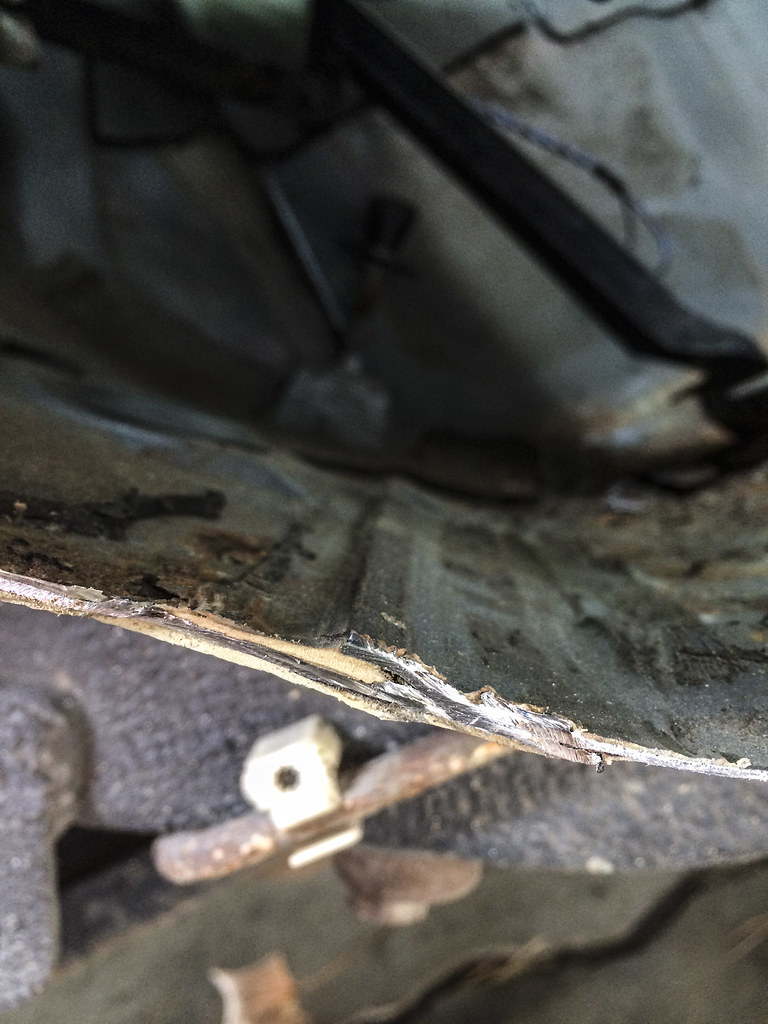
The tube that houses the breather hoses for the gas tank is in pretty bad shape. The cover in the wheel well was pretty obliterated so I installed a new one and sealed everything up to prevent water from coming in.


Also patched up a few other holes I found in the wheel well.


Bimmerbuddies shop circa 8/31/13


We were talking e30s and the guys like my exhaust so I fired her up and r3vved it a bit. I left the car on and we were talking in the rear and I look down only to find my leg all sooted up

Fuel hose was looking bulgey so I replaced them. (September 2013)

Craftstman makes a nice hose pincher tool that you can use to prevent gas from flying all over when you loosen the hose clamp.

Clamp was really starting to chew into the hose.


Proper German made BMW fuel hose I used.

I reinstalled with correct BMW hose clamps. This style of clamp will not chew into the hose since it has no slits in it.

Also made in Germany

Wire cutters make for good hose cutters


All attached. Replace one at a time so you dont get the lines mixed up.

Went rallycrossing the weekend after replacing the fuel lines. Installed the new airfilter the morning of the first day in the field lol. Toward the end of the day I had a coolant leak at the throttle body heater. I looped the lines with that never used 9mm socket and continued racing. I believed this was my last rallycross. I had so many things breaking when I went racing so I decided to quit before I broke something major and get stranded 100+ miles from home. I will return to racing some day however when I pick up a spare car and truck/trailer...


Went to upstate PA on a long weekend. Our cabin was in the middle of nowhere and there was like a 10 mile dirt road that lead to it. It was super fun to drive in the e30! Took this pic on way out. As seen on the 2014 Condor Speed Shop calendar. So sad they only accepted photos with condor parts for the 2015 calendar, I will not be buying on this year  I should make my own e30 calendar.

Noticed what I assume is a stress crack by the battery tray/passenger strut tower. Something to address when I do the restoration...

Blower motor started making bad noises, after a quick inspection it needed to be replaced.


One of my retaining straps was broken as well.


Cover removed

Using screwdriver to pry off terminals.

Remove old zip tie


After struggling with the motor retaining clip for quite some time, I figured out the best way to undo it was to grasp it with some good Knipex pliars and pull it down and off. Silly BMW, should have used the same system as in the e28 which is an easy tension clamp with a handle.

Free at last

The problem

The damage (nothing that bad)

Old motor, brushes were almost gone. It didn't have much life left even if the squirrel cage didn't come apart.


Since I'm never planning on selling the car I decided to shell out the big bucks and get brand new blower motor assembly. If anything I hope my purchase shows that there is demand for these and Behr continues to make them in the future (fingers crossed I can get a new motor 25 years from now when this one craps out lol)


Still making them new as of may 2013! (I installed this October 2013)


Brand new brushes for reference.


Not much has changed..


Replacement strap

All installed ready to go!


The foam gasket was pretty hammered on the firewall cover. Josh aka irish44j (I think) told me that a bad seal here can cause water leaks so I replaced it seeing as I have water leaks in my car.


Scraped it off with this homemade scraper tool I made from copper pipe and a screwdriver many years ago.


Acetone got rid of the rest of the residue

At this point I had some rust spots and the paint looked crappy so I decided to paint it as well. Started off by scuffing up the whole shebang with a scotchbrite pad.


Painted with some duplicolor trim paint


Then installed the overpriced foam stripping


Screwed the cover back on and now I have a perfect blower motor for the next couple decades.
I reinstalled the factory springs to get additional ride height for the upcoming winter and used new strut retaining rings. A week or two later I heard this clattering sound coming from the front driver's wheel area. Here the strut retaining ring backed itself out some and strut was bouncing up and down in the housing. (November 2013)

I cleaned the threads of the housing and retaining ring and reinstalled with some blue loctite.


Complicated setup I came up with for torquing the strut nut to spec lol

The weekend after that I changed the control arms. Not only were the control arm bushings hammered but the boot on the one ball joint was utterly destroyed.
In the meantime I got a proper German balljoint separator tool ;)


Start off by removing the control arm locknut and soaking it in PB blaster along with the control arm bushing bolts and middle control arm nut.


Couple taps with the hammer to the knuckle to help shock it then on to the fancy BJ tool 8-)


Remove le lollypop bolts


Little screwdriver prying gets it off.


I ended up needing to jack the engine up to get clearance for something so I unbolted the mounts and removed them. I believe it was to get to the mid BJ nuts.

Used a pickle fork to break the mid BJ free from the subframe. These were super tough to get out. That picklefork took a serious beating.


Old vs New


H A M M E R E D

Next thing was to clean up the hardware. I used this handy dandy kit from Sears. Surprisingly these are still made in the USA...


They're like nuts and bolts but with cutting slots in them. A step below taps and dies.


Cleaned all the bolts while holding them in a vise.

Before and after


Don't forget these!

New and old CABs. Yes the old ones were all ripped and torn, yes it handled like poo. I went with the solid E30 M3 offset cabs for the supposed better high speed stability. Also who doesn't like saying they have M3 parts on their car?

THE HORRORS
Installed new control arm

Now the trick of getting the cab onto the ca.

You need a temporary lube. I used soap and water, aka bushing juice.


Pour the bushing juice on the control arm weiner and in the control arm bushing bagina and ram away for it's a very tight fit. I think I used a large socket that fit over the hole and hit it with a hammer. Once both sides are in the bushings and the lollypops are mounted to the frame rails you must quickly lower the car back on its wheels so the control arms rotate to the correct angle in the bushings before the lube dries out. It was quite difficult and face paced process, no photos were taken in the process.
A photo I took at some point during the process...

Random shots...


Annoying ass leak

Winter weaves :pimp:


More winter pics from 2013-2014


Crazy ass storm I drove home in. There's one stretch of my commute that goes through a farm field, here the snow drifted to 12+ inches and I was just going full bore or else I'd be stuck for sure. It was crazy because snow was exploding up from all sides of the car!


Right as I got into the driveway the motor started bogging down. The next morning I discovered snow was all packed in the engine bay!


All the cruddy snow that was packed in the engine bay.

Victory donuts

January 2014. Driving home in some light snow and I drift a left turn and mid-drift I develop a misfire. Here we go again... Quick inspection and yup I have indeed broken another rocker. This time its cylinder 3 intake. Good thing I got that spare rocker arm...


The day I wanted to fix it it was pouring raining and cold. It genuinely sucked. Lucky a friend of mine has a car port that I borrowed.

Since it was cylinder 3 the rad and condenser had to be pulled to allow the rocker shaft enough room to slide out...

Fixed that, then later that week I found the source of my new exhaust rattle.

A quick stop at the stealership and I have a replacement polish rubber donut and yet another spare rocker if I am so unlucky to have another break on me...


I think my limited slip is shot #tireslayer

More random winter pics


lol

No wonder why my car is so rusty

Literally leaking salt

One night it got super cold out and my dash developed a crack between the storage tray and the glove box handle. I didn't condition the dash for months.... I wonder if freshly applied conditioner would have prevented it. This pic might be from that night.

Steep driveway struggs

Scored the last OE BMW m30b35 gasket set in the USA. The exhaust manifold gaskets have roundels embossed in them, it's so cute. :grin:

I get out of work one night to find everything with a coating of crunchy ice on it. Once I got up the mountain it was like an inch of snow covered with a layer of ice. Slippery but as the car broke through the ice and got into the snow there was some traction to be had. It was the coolest driving surface I've ever driven on. It was so fun I drove right by my house and just drove around for an extra half hour. I got so ballsy that I tried to go up a very steep hill, I almost made it but as I backed down into a driveway to turn around I got stuck. By chance luck they did a massive purging at work recently and I took some plastic lunch trays that were going to be trashed for whatever reason. I found a tray to be a very effective shovel and got myself unstuck it it. I drove home and got stuck halfway up the driveway like I always do. Pics from that night.


Exposed tire was covered in ice the next morning


Engine was making some concerning noises when first started up so I drained the 20w-50 and put some lighter oil in.


Always get stuck in this spot


Ballin hard with that markD chip

Car getting randomly impaled


More randoms


Battery was gross and I seemed to be having some power problems so I cleaned it up.


Battery cleaner is indicating meaning the areas that turn red have battery acid on them.


I will fix you soon!

New subframe and trailing arm bushings acquired

DIN Bubble flaring tool acquired

George graves wideband gauge acquried


Built an underbody car washer to get all the salt off.


Pretending to be a jeep

Acquired a spare rear subframe and a 2.93 LSD diff for when the m30 gets boosted

Tool slit

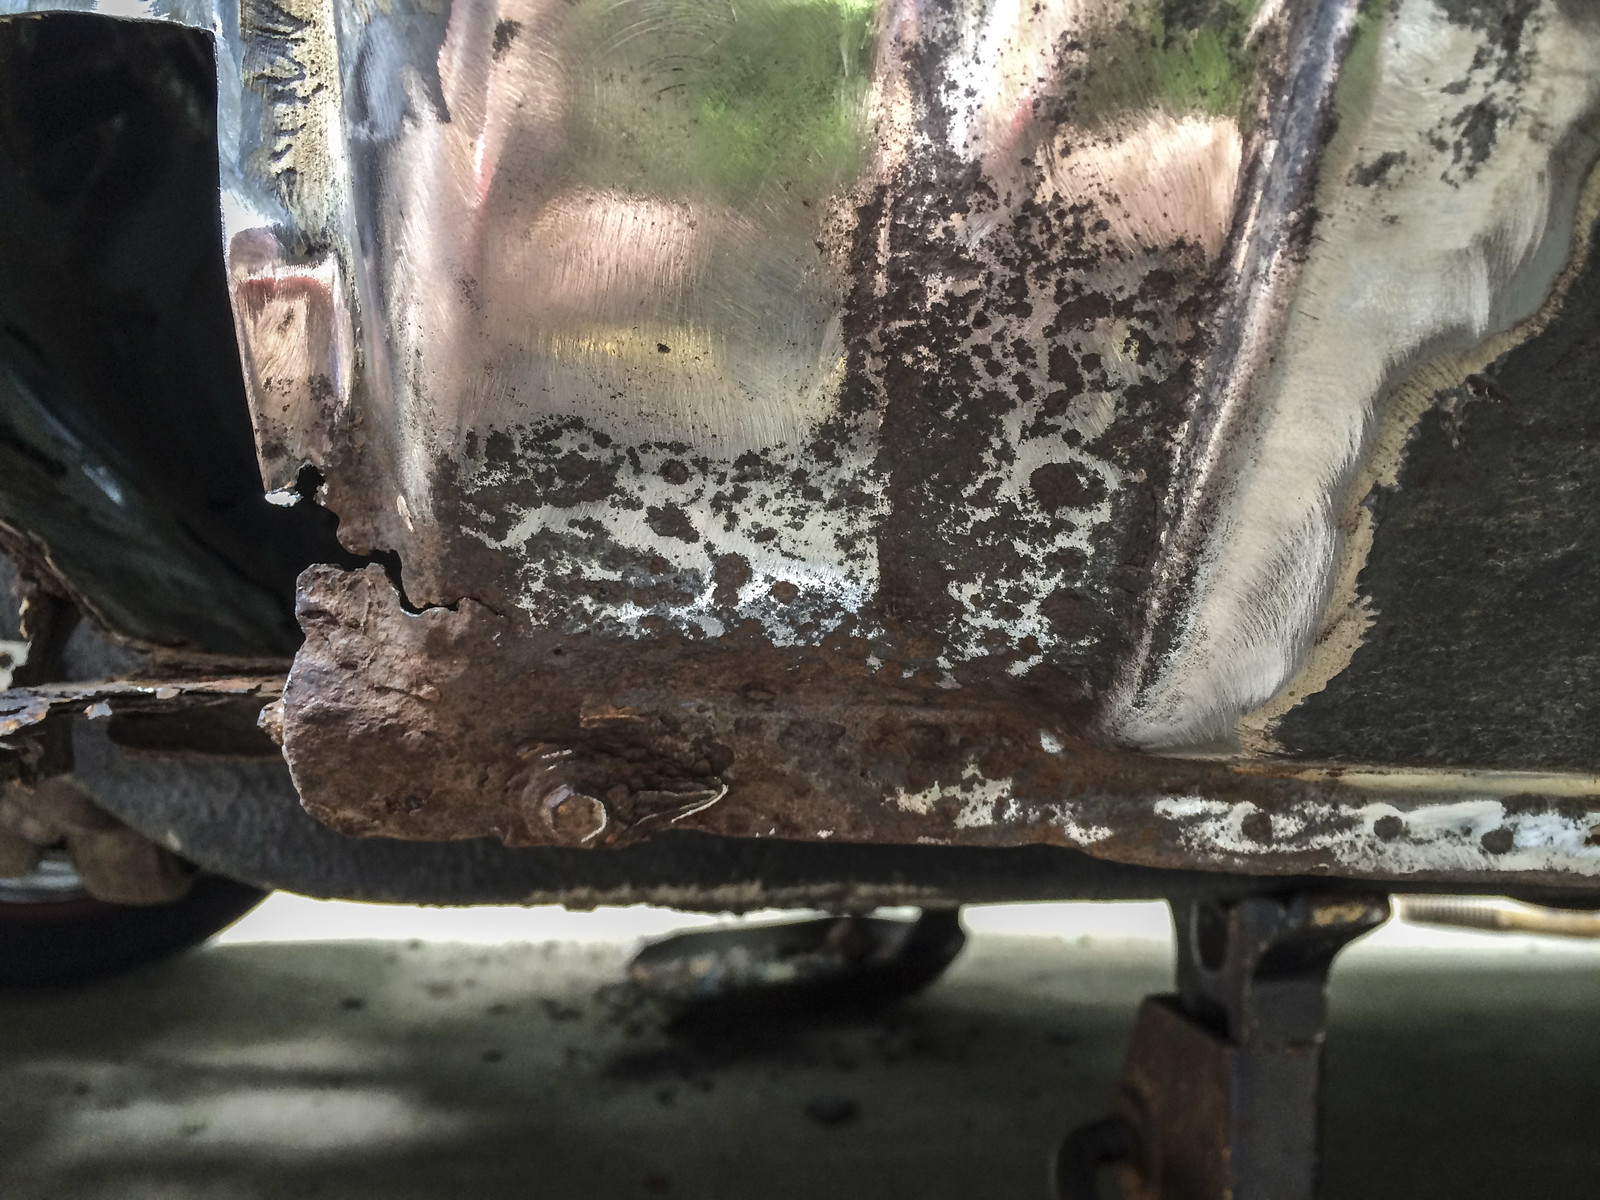
Rust sucks. Fixing all the rust is going to be the major hurdle of the restoration

Those new control arms and painted lolly pops I installed 6 months ago? Starting to rust :down:

These port holes are stupid


Hole at 9 o'clock

Turning the 30 into a truck

Damn little good old american-made CH air compressor that I got for a steal

Quick stop on the way home. Edited by some e30 chick

No more dancing with the devil


Yeah we suck


Installed and ready to drive over boulders (April 2014)

Installing the race springs for the summer. I picked up a second set of strut housings so I wouldn't have to swap springs back and forth...


Ran outta time and didn't get to the rears but still looks a lot better.

Lookin fynnneee

Had a visitor when I put the rear springs in

Torquring that shiz to spec :D


Mucho better

Holy camber

Swapping for some extra rubber.


Reset that ish


Clipped a deer one morning on the way to C&C, miraculously the only damage was a bad turn signal bulb.

Decided to be a seamstress


Prepunctured all the holes


It hurts my fingers and I am displeased face

Could be tighter in a few spots but good enough for now

F this side

Brand new HX35 acquired :)

Due for a refinish


Somehow managed to wear through that rear brake pad sensor wiring again. Different spot this time. Had a spare one and just looped it.


Decided it would be a good idea to french the high beams and plastidip the wheels for some reason


Looks good from afar but its far from good, despite like 5 coats

Post C&C hangs with the iX gurl


Alternator started making bad noises so I started keeping a spare in the car

I think my low gas light is brokennn

Checked the thickness of the b35 head. Never been shaved, nice :p

Did compression and leakdown tests and they were not good. Engine hasn't been run for over a year and the head has been on and off numerous times so these numbers are prolly useless


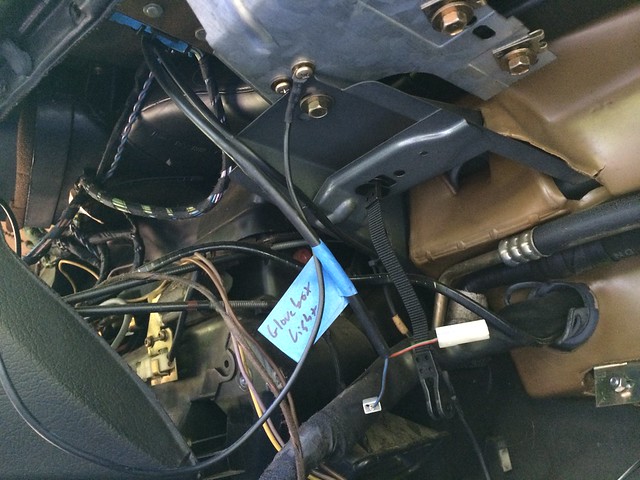
Scored a glovebox light from a guy at the deutsche classic car show in July 2014. It doesn't work but I only paid a few bucks for it and it looks nice. I'll have to see about fixing it sometime.


Drove up to brooklyn to look at an e28. Alternator really started howling on that trip so I swapped them out. The old had a lot more resistance to spinning.

Rolling shot of my car taken from the e28 on the drive home. She looks nice. Now that I have a second car I can take the 30 off the road and start the restoration soon once the 28 is sorted and inspected

Took the 30 to get inspected and it failed for an exhaust leak. Here it's leaking at the flex joint on the downpipe.

Pulled the exhaust and tried to weld it up but it was terrible. That flexpipe metal is paper thing and impossible to weld. Drove the car uninspected till the e28 got inspected.


That wraps up everything up until the beginning of the restoration. That will be the next post!Leave a comment:
-
You can get the kits anywhere, blunt, pelican, ecs etc.
When adjusting valves I have gone to a "three blade system" type of technique. Middle blade is the spec and then have one size larger and one size smaller, the +/- blades are sorta go/no go gauges. Adjust it as per spec and then test it with the other two blades. The +1 size shouldn't fit or if it does it's super snug, the -1 size should be really loose and not have any resistance at all. Also before you rotate the engine to do the next set, double check all the ones you just did are good for a final check.
Many thanks for the kind words. I really do need to update this thread haha, it's probably 9 months behind. This summer is going to be big. I plan on fixing all the rust and painting her as well as doing the m30 swap. #bigthingsthissummerLeave a comment:
-
beautiful ride dude, want mine to be the exact same, keep it up and rev onLeave a comment:
-
Where did you get the parking brake rebuild kit? Also, do you have some lessons learned tips on the valve adjustment? Mine are quite noisy.Leave a comment:
-
Great read.
Now some knowledge for ya that will help in the future.
Jumping pins 11 and 14 on the diag connector will tick the engine over for you, easy way to get on correct part of cam lobe while adjusting. Make sure car isnt in gear and ignition is off. Will also avoid any further fan crank water pump disasters.
Secondly.. This tool will make your valve adjustments spot on and quick
http://www.pelicanparts.com/cgi-bin/...Each%2520%2520
Put the tool in the eccentric when you've got your feeler gauge in there and it's loose, press tool so it bends at 45 degree angle (it's a spring basically) and tighten eccentric. Done. And always exact.
Btw the hylomar sealant u used is awesome stuff. They stopped selling it here in NY, was pissed when I was building engine for my charger, use to use it for sealing Valley pan to intake.
Sent from my SCH-I545 using Tapatalk 2Last edited by FLG; 02-03-2014, 02:35 AM.Leave a comment:


Leave a comment: