If this is your first visit, be sure to
check out the FAQ by clicking the
link above. You may have to register
before you can post: click the register link above to proceed. To start viewing messages,
select the forum that you want to visit from the selection below.
I just get obsessive when it comes to the cars I own, this one I went a bit overboard on.
I miss the northshore so much. Lived in Edgemont for the last 8 years, and just moved downtown at the beginning of the summer. I still get over there quite a bit as most my friends live in NVan. I'll keep an eye out for Veronica leaving Brigette and myself in the dust. LOL
Wow just read the whole thread, you take detail to the next level. Who ever buys this is going to be one lucky person, hopfully they are as much of an enthusiast as you. Amazing work.
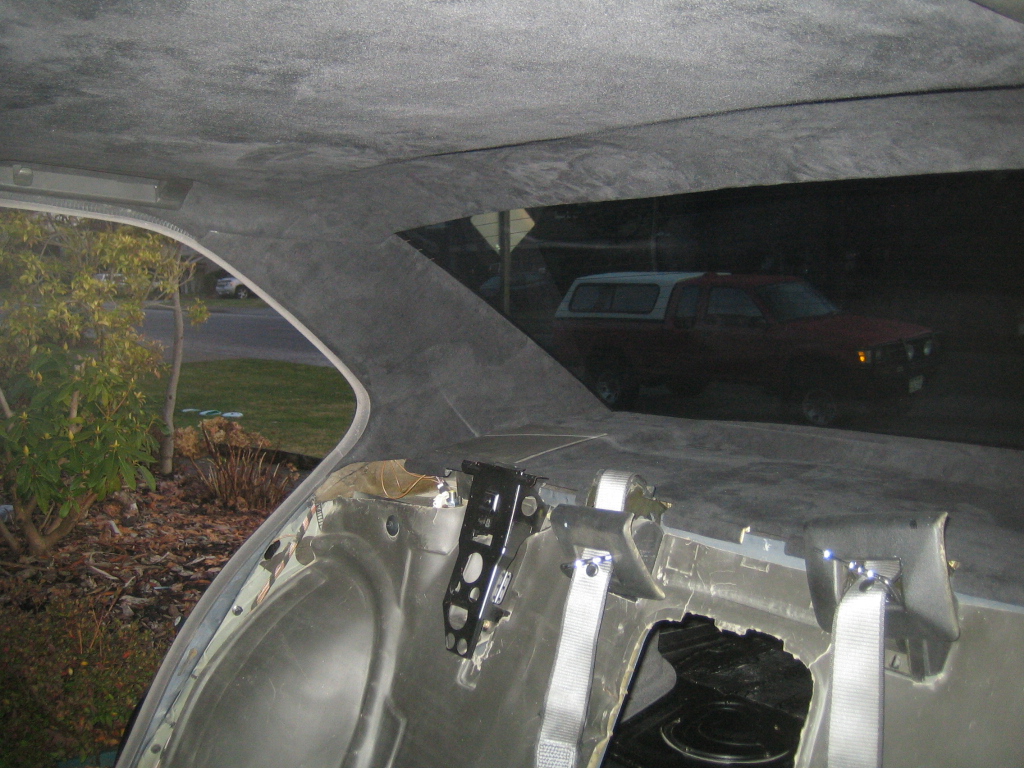
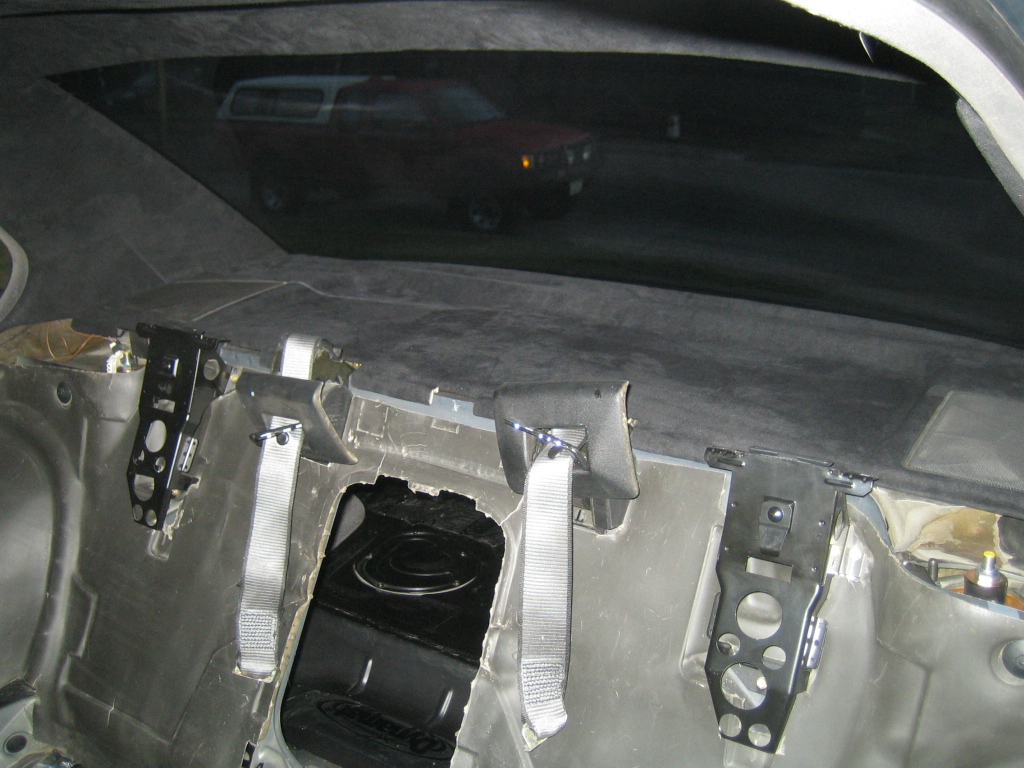
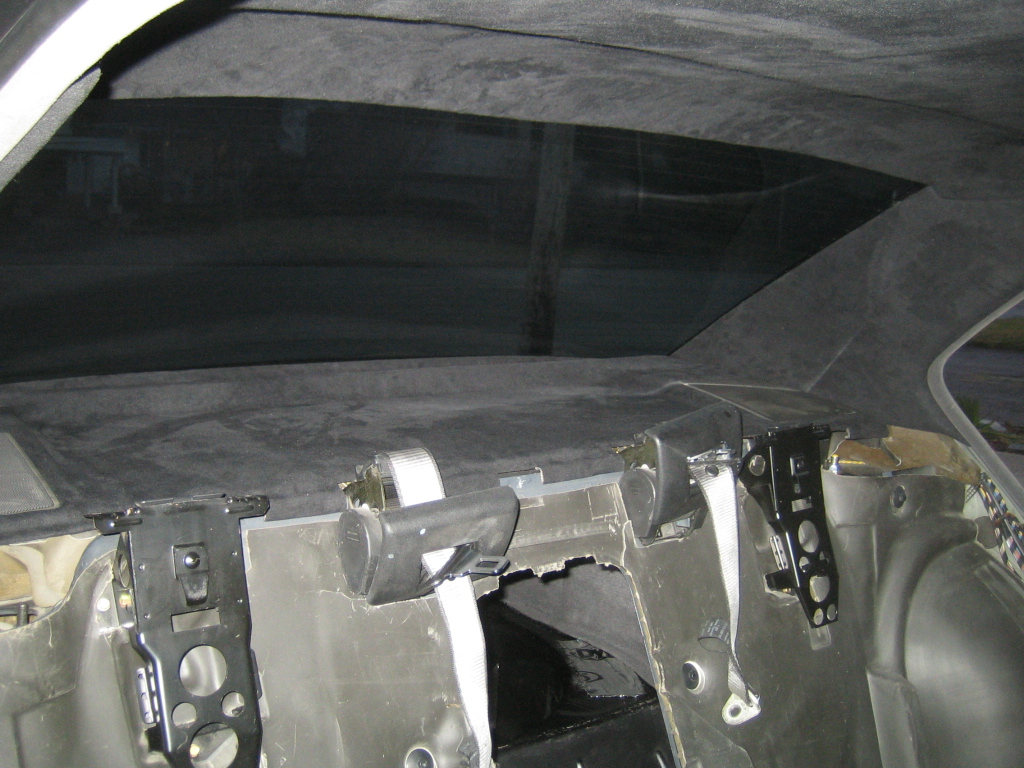
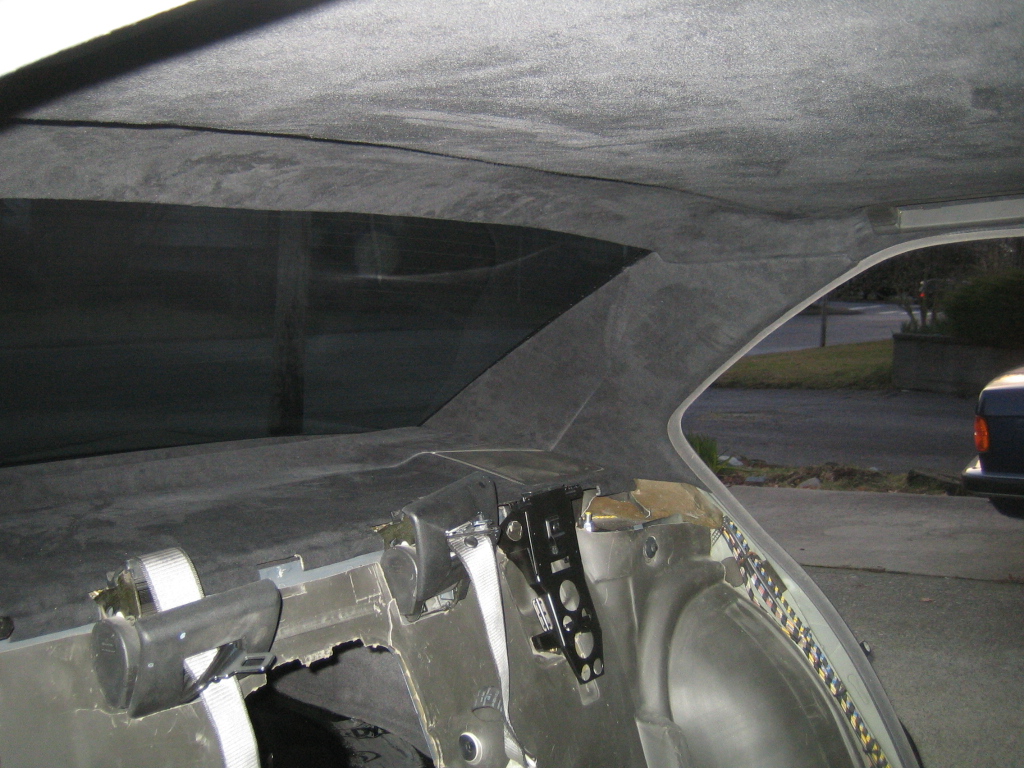
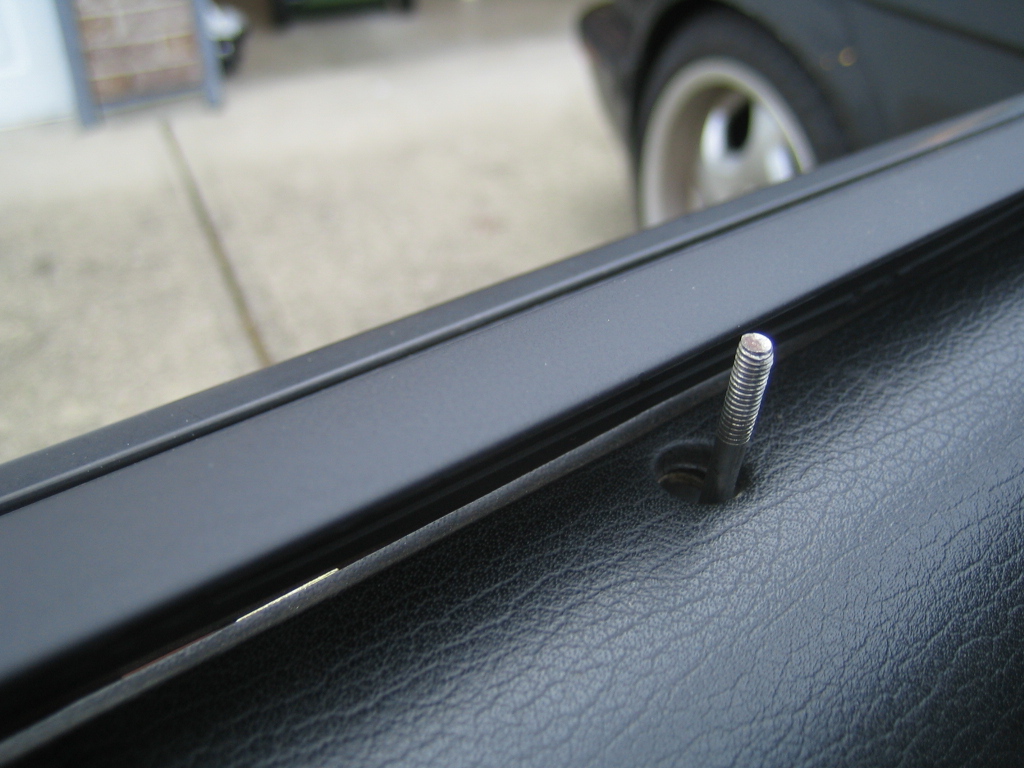
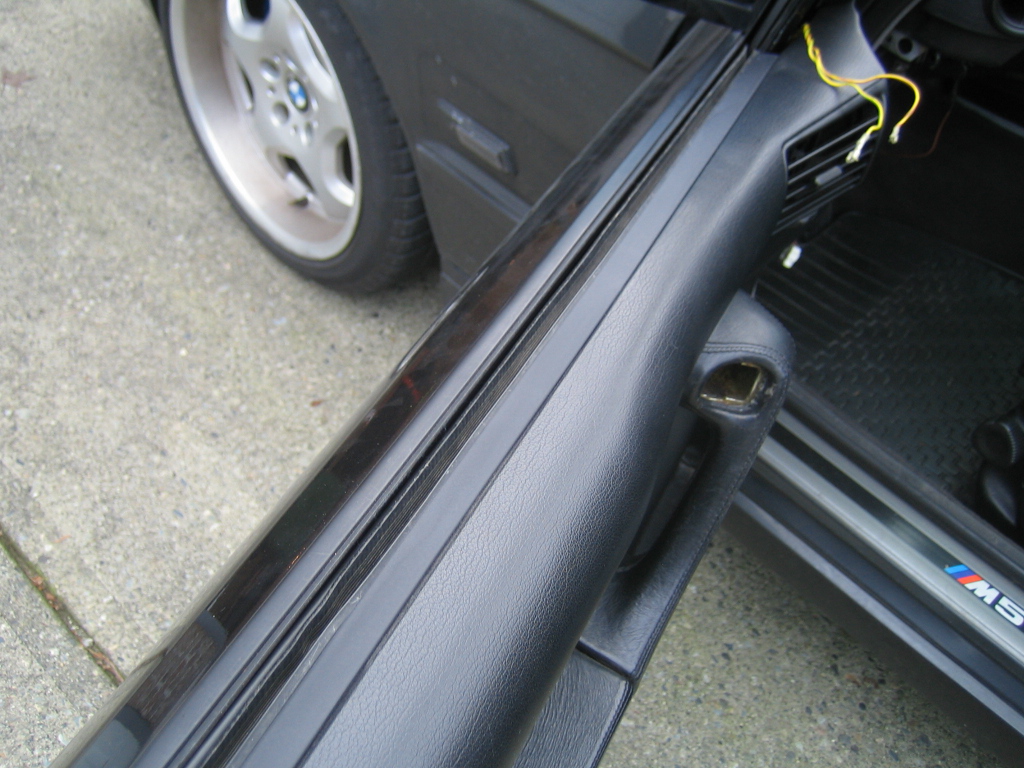
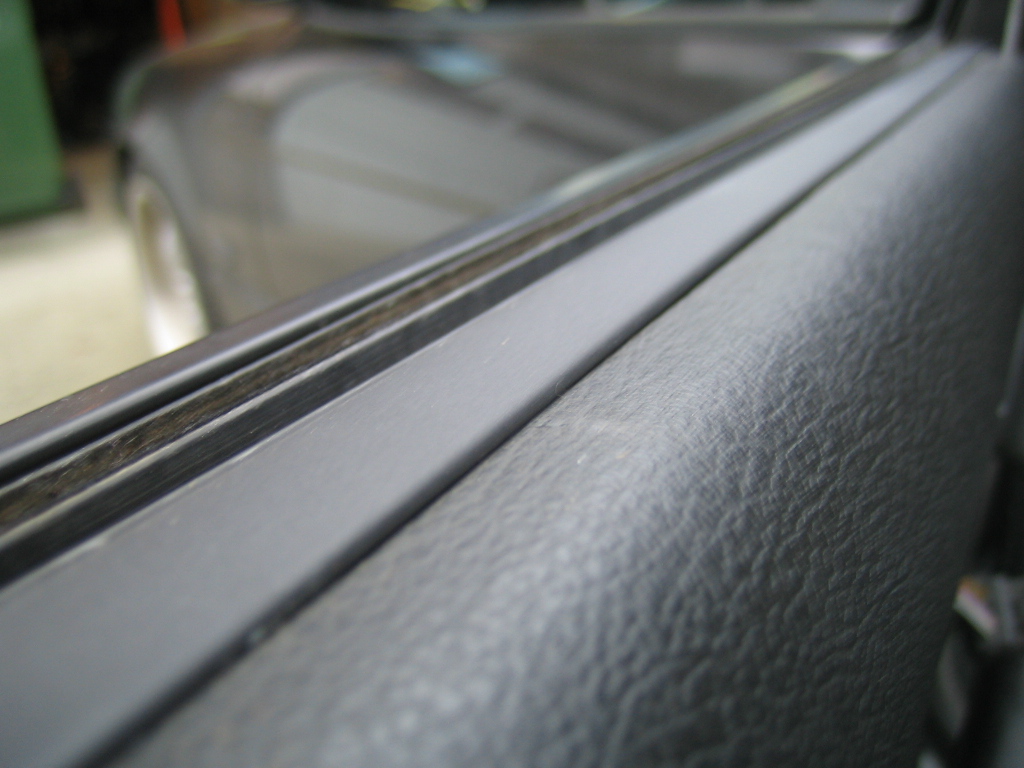
Now that my headliner and trim is installed it was time to put the door panels and trim back on.
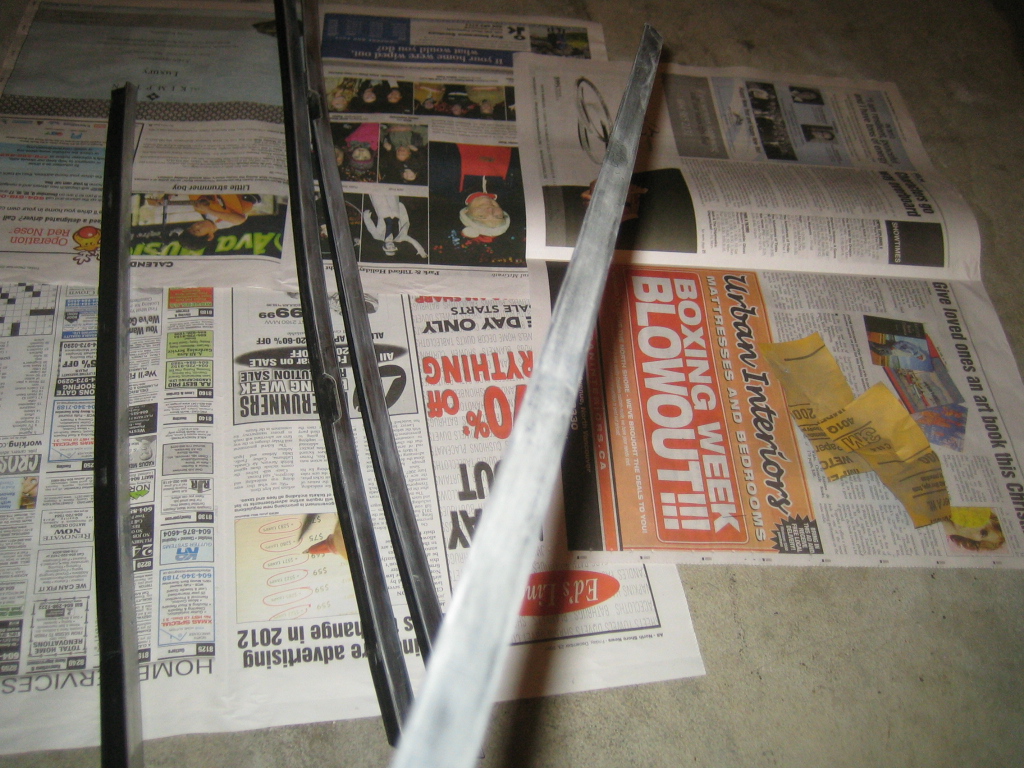
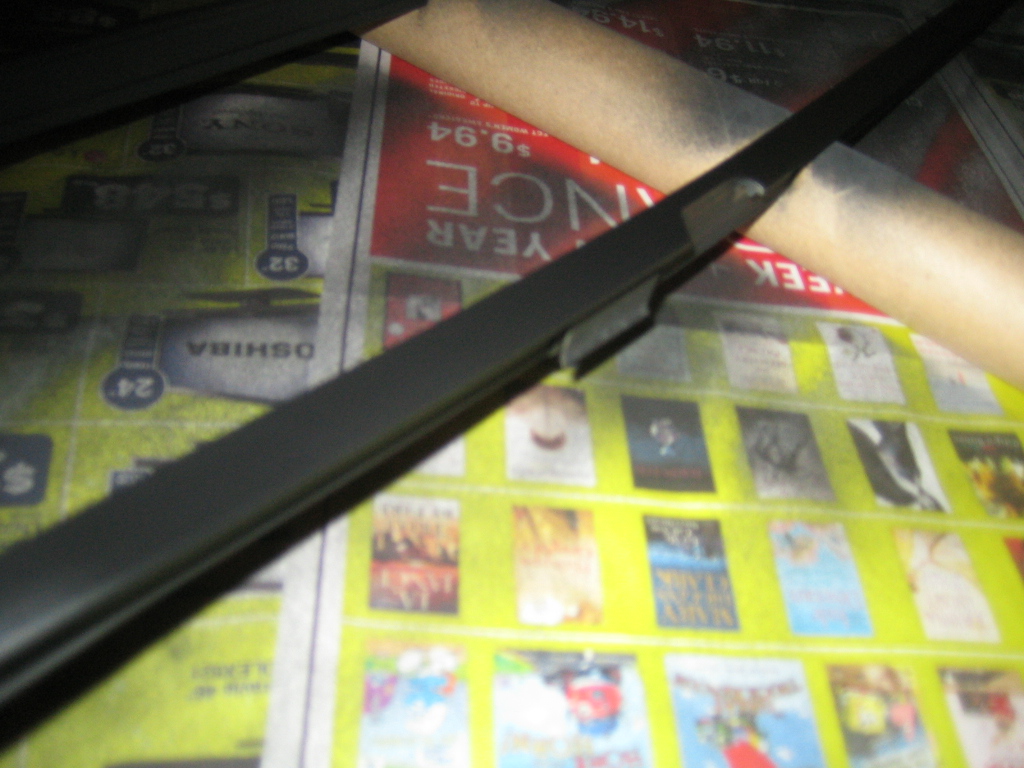
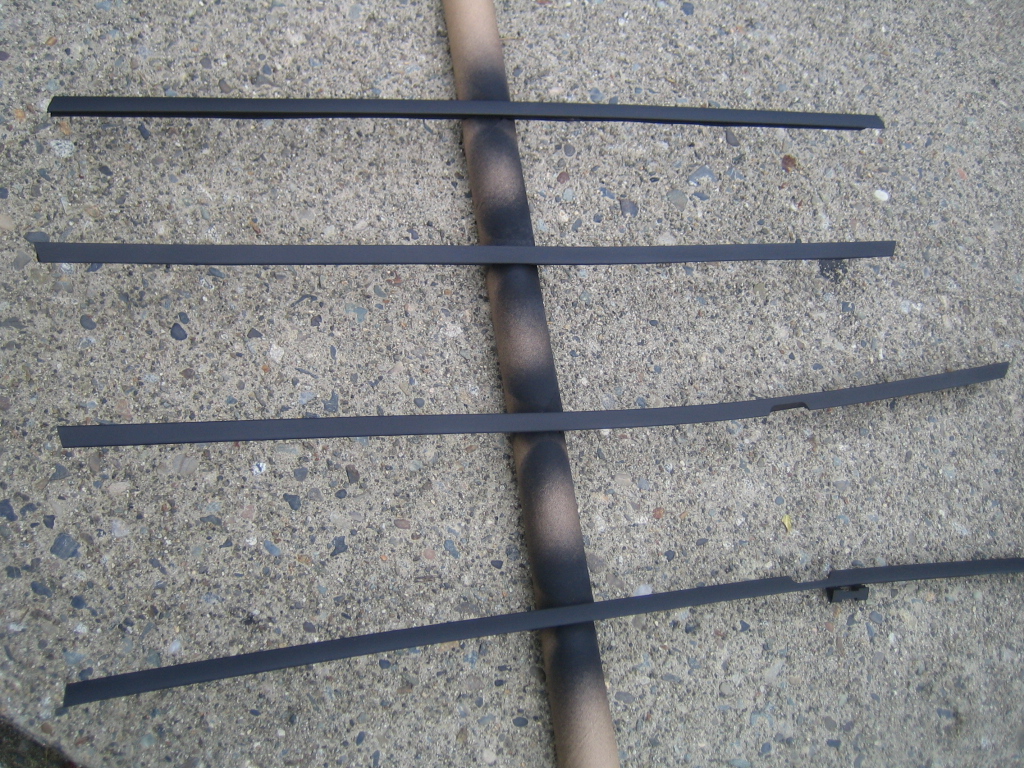
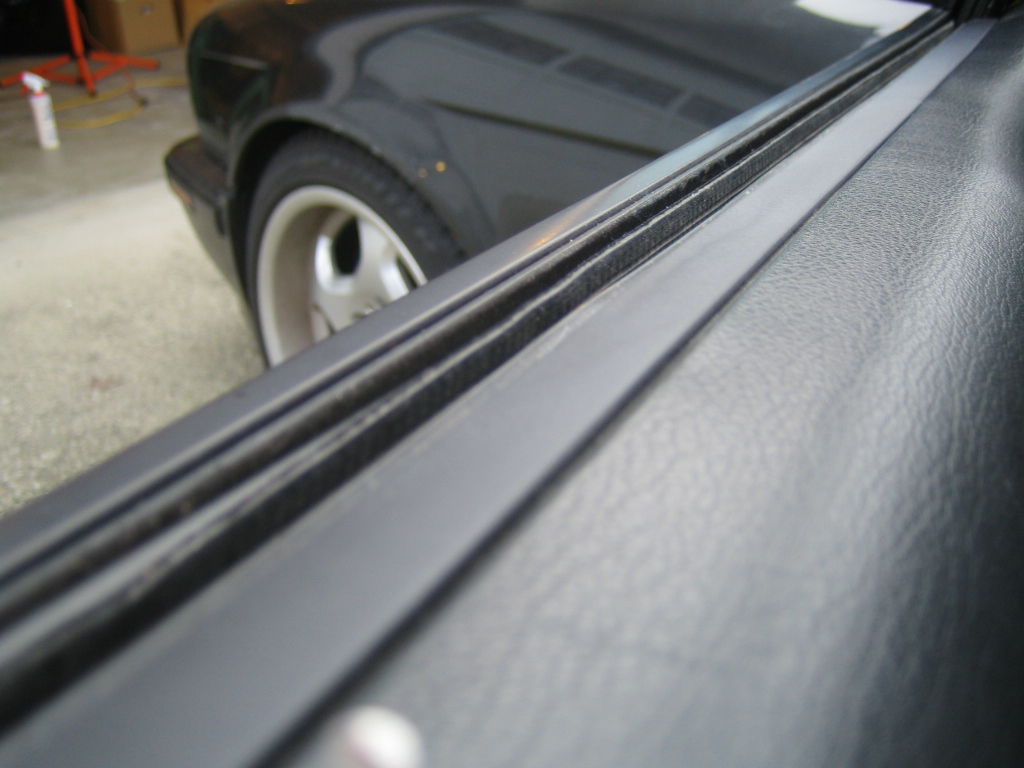
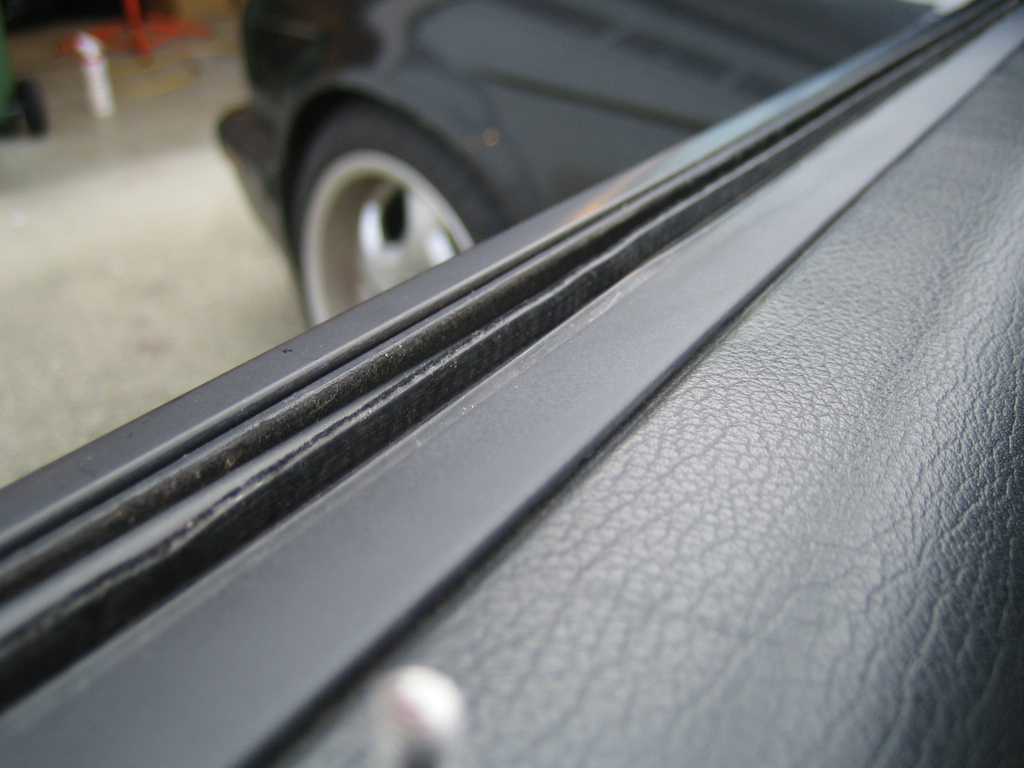
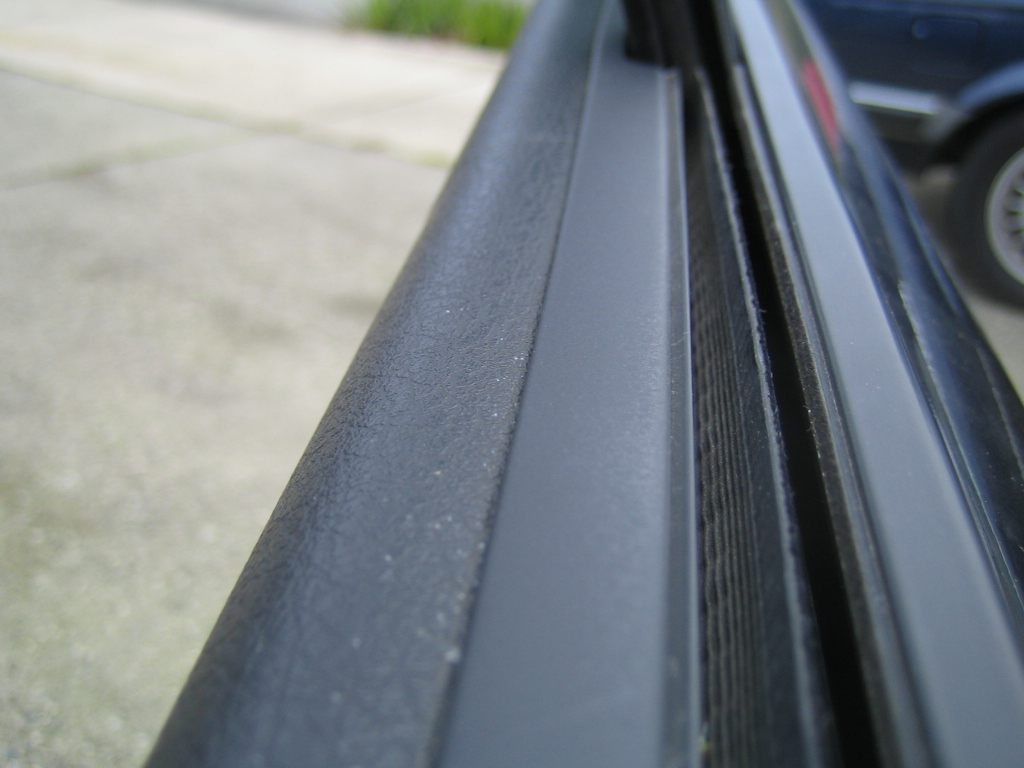
My M5 came with factory shadowline instead of chrome on the outside, but for some reason they team that built this car decided to keep the trim on the inside of the windows chrome.
Considering that there is no chrome anywhere else on the inside of the car I decided to do something about it.
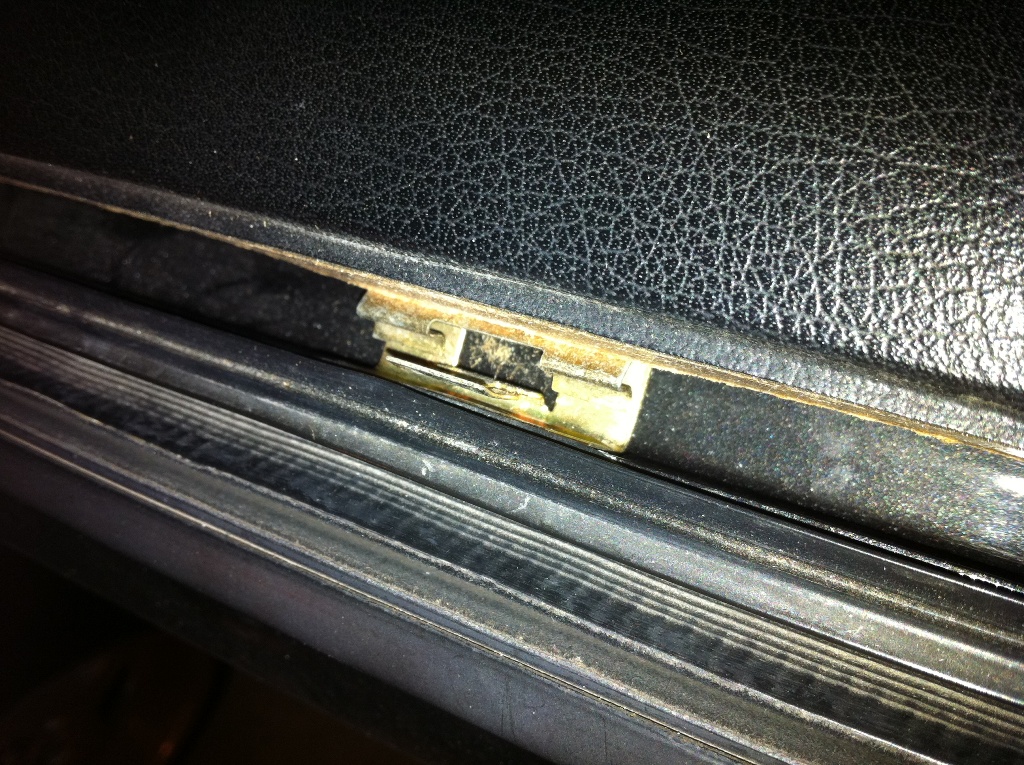
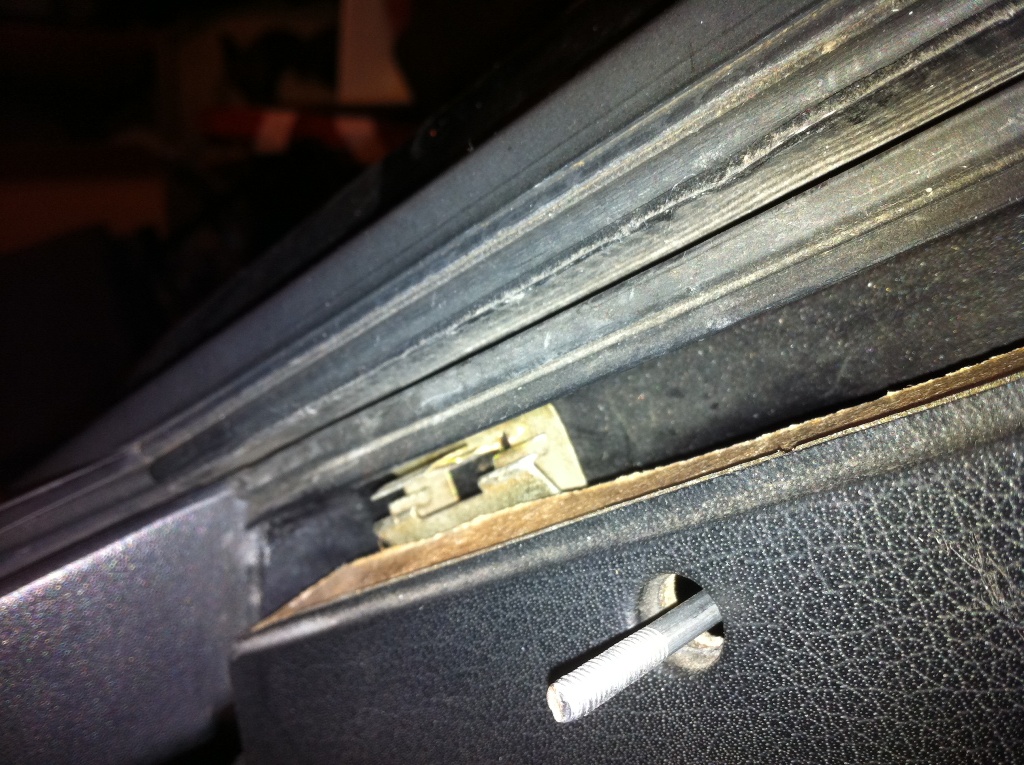
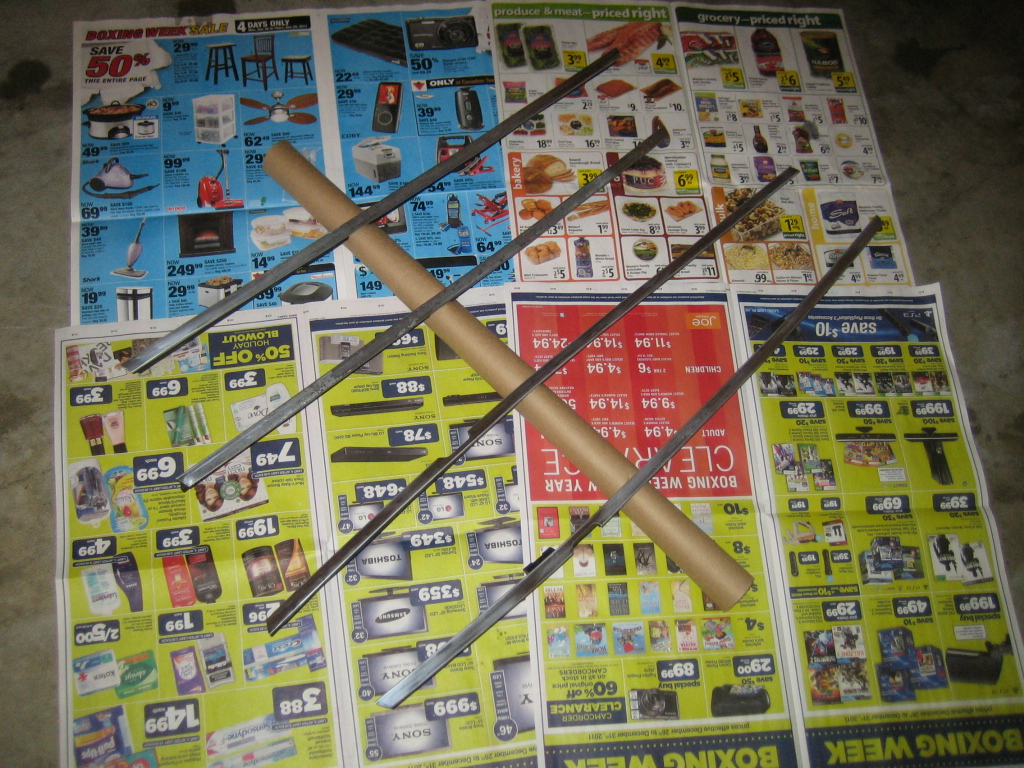
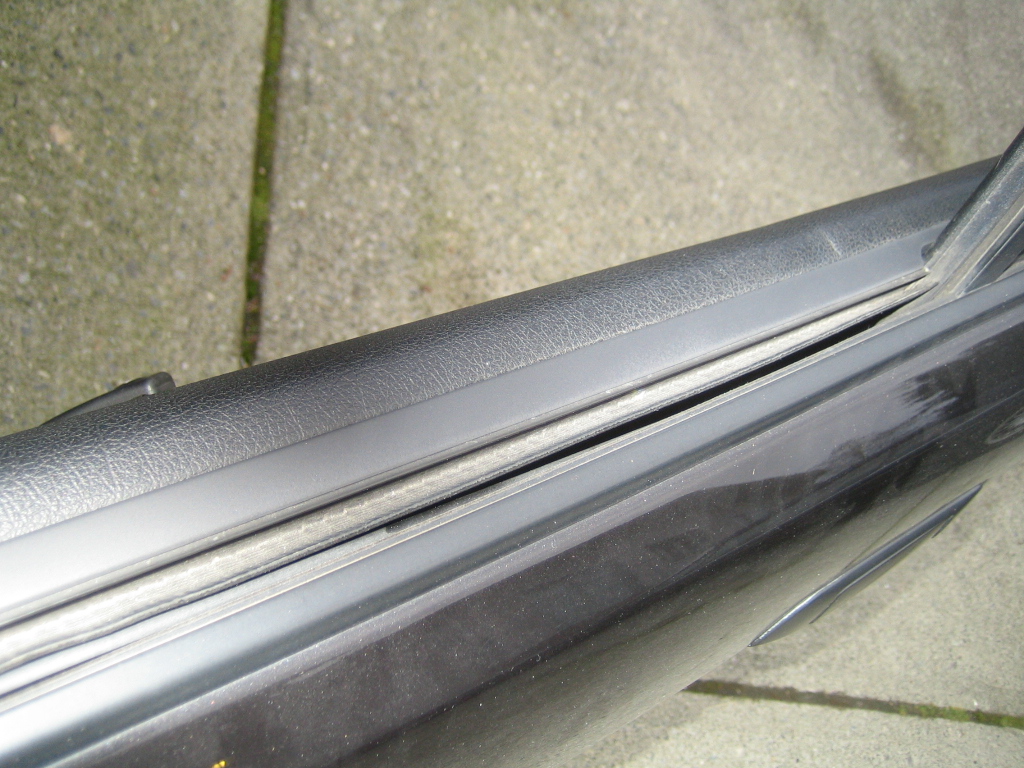
Here are the clips that you have to deal with to remove the trim. These clips won't break, but you will bend the trim pieces if you are not careful.
In the first picture, the square tab closest to you is the one that clips onto a ridge on the base of the trim pieces.
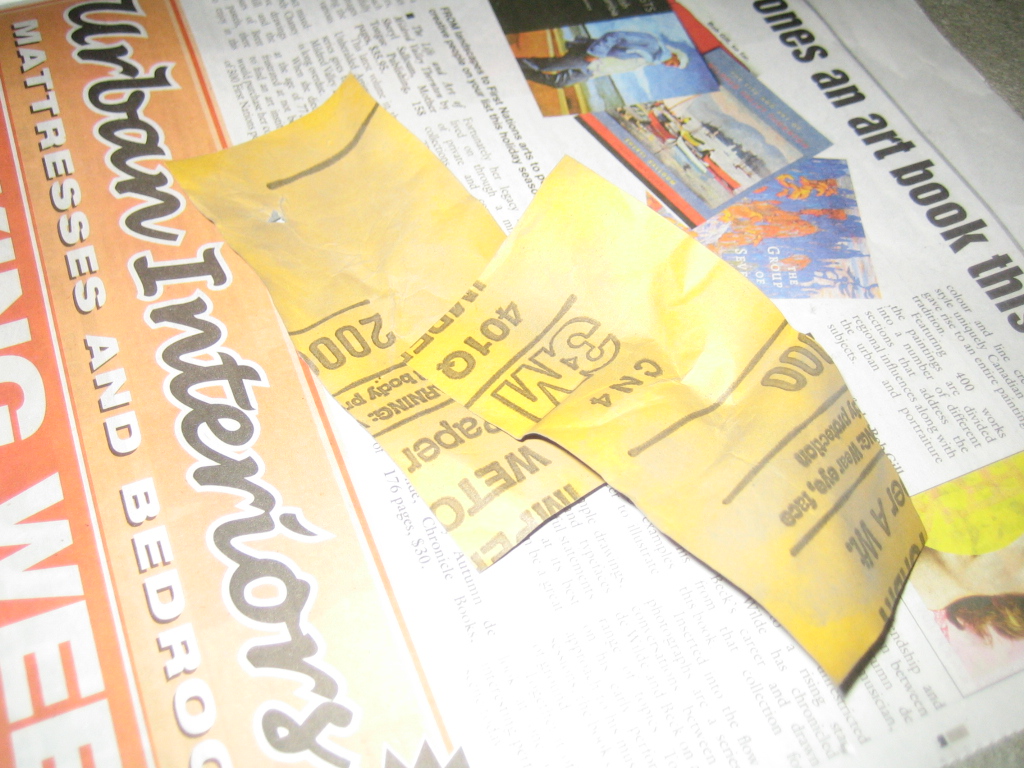
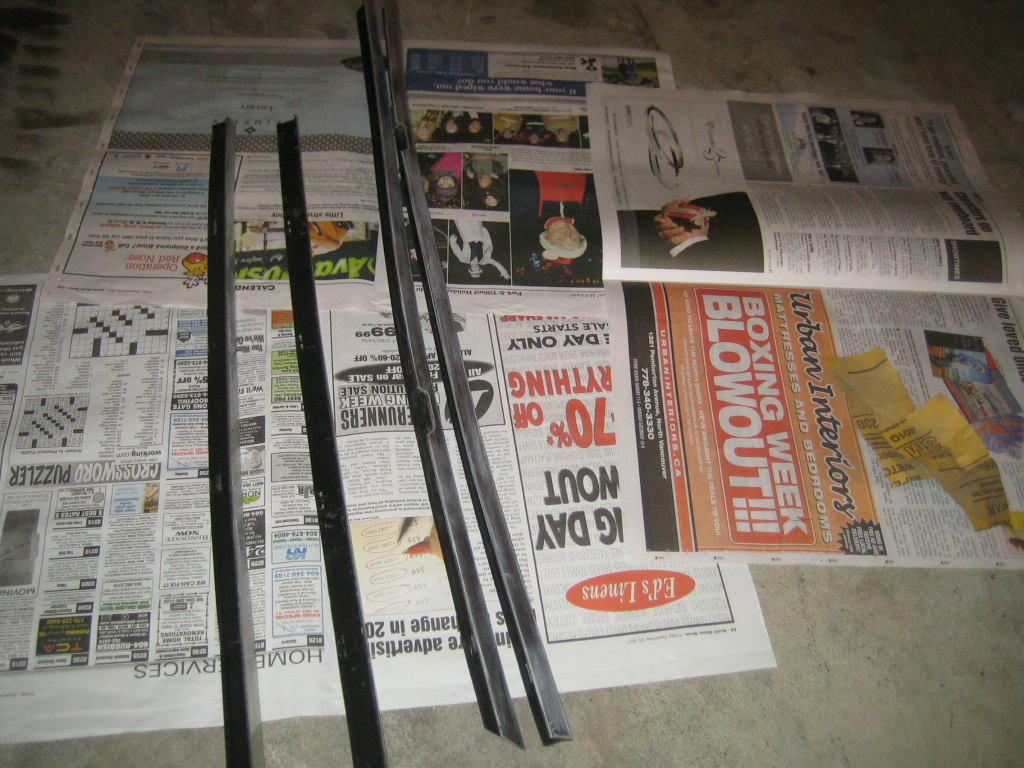
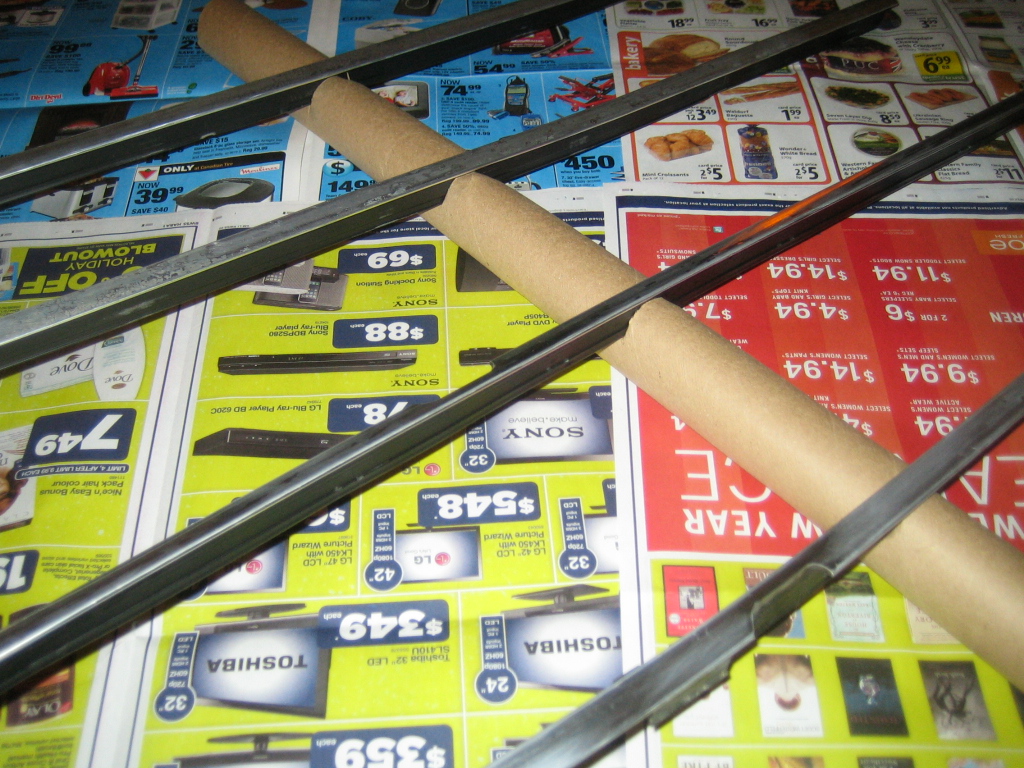
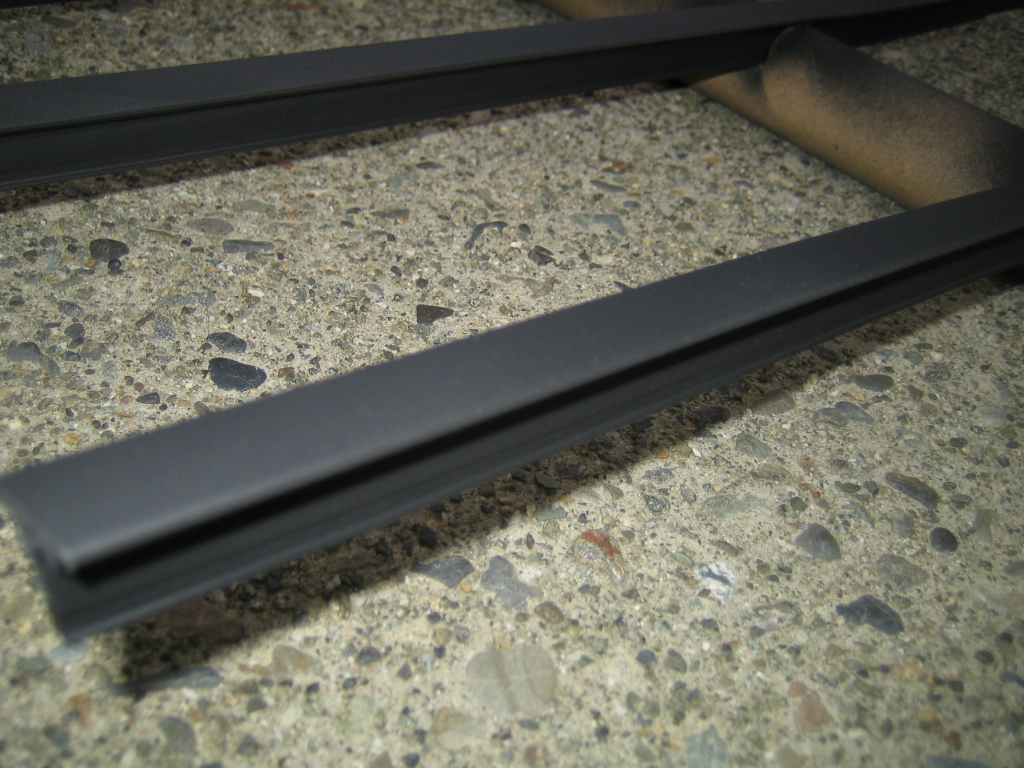
I took some 2000 grit sandpaper and scuffed up the surface of the trim pieces and then wiped them down with water and a rag
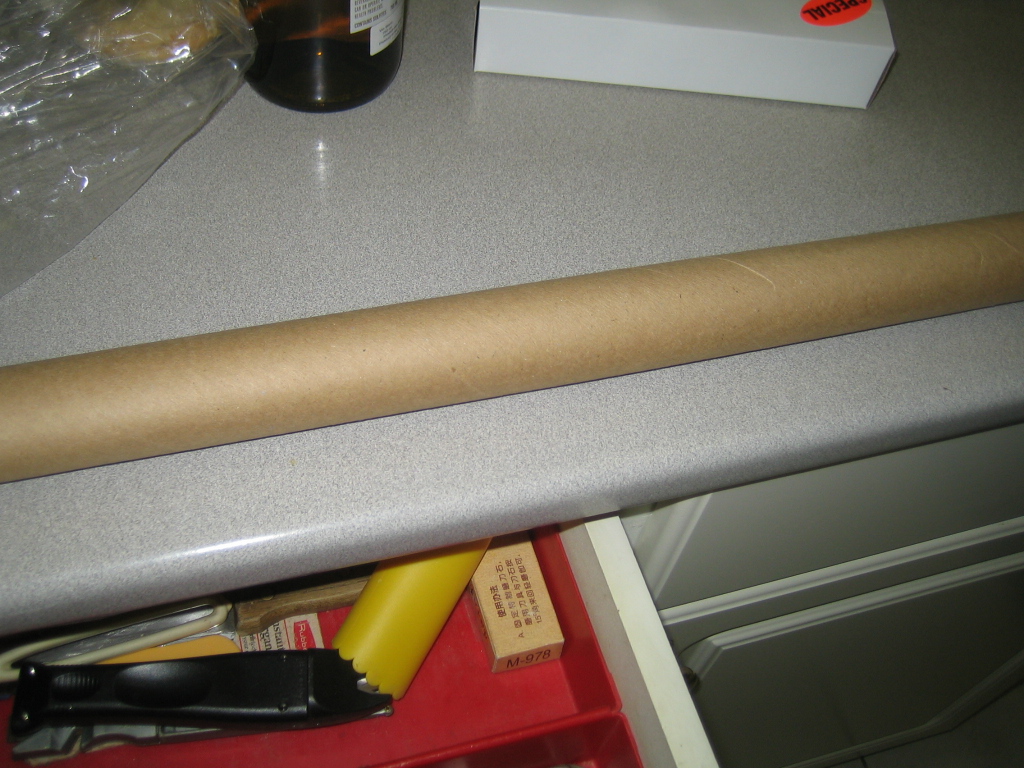
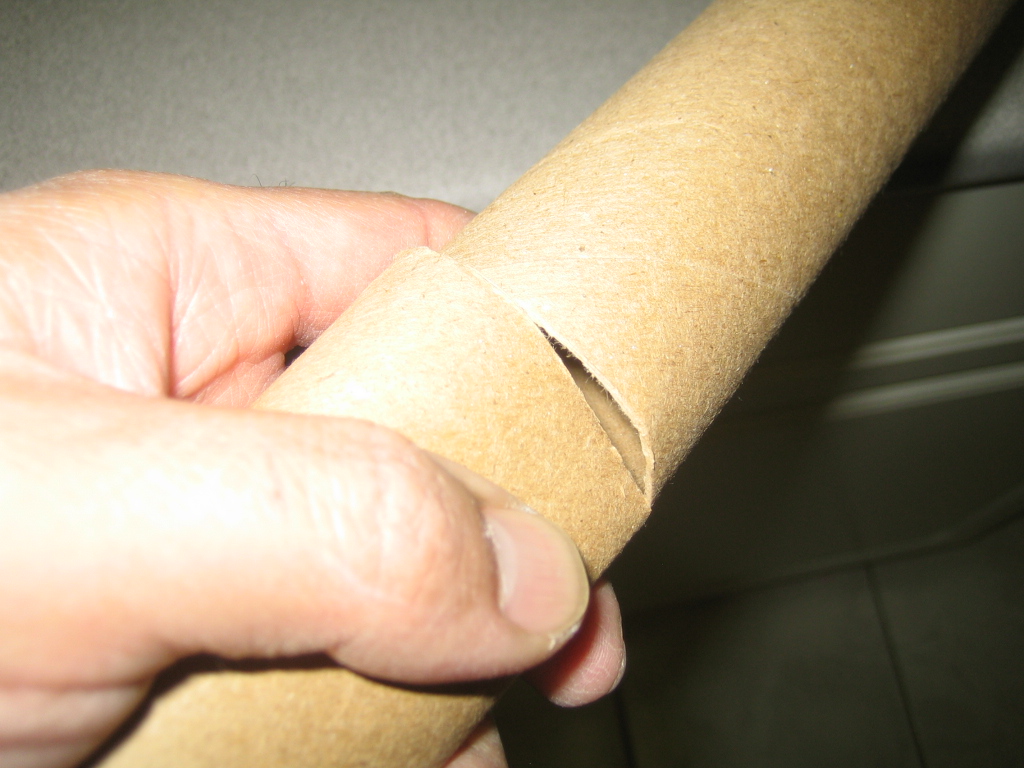
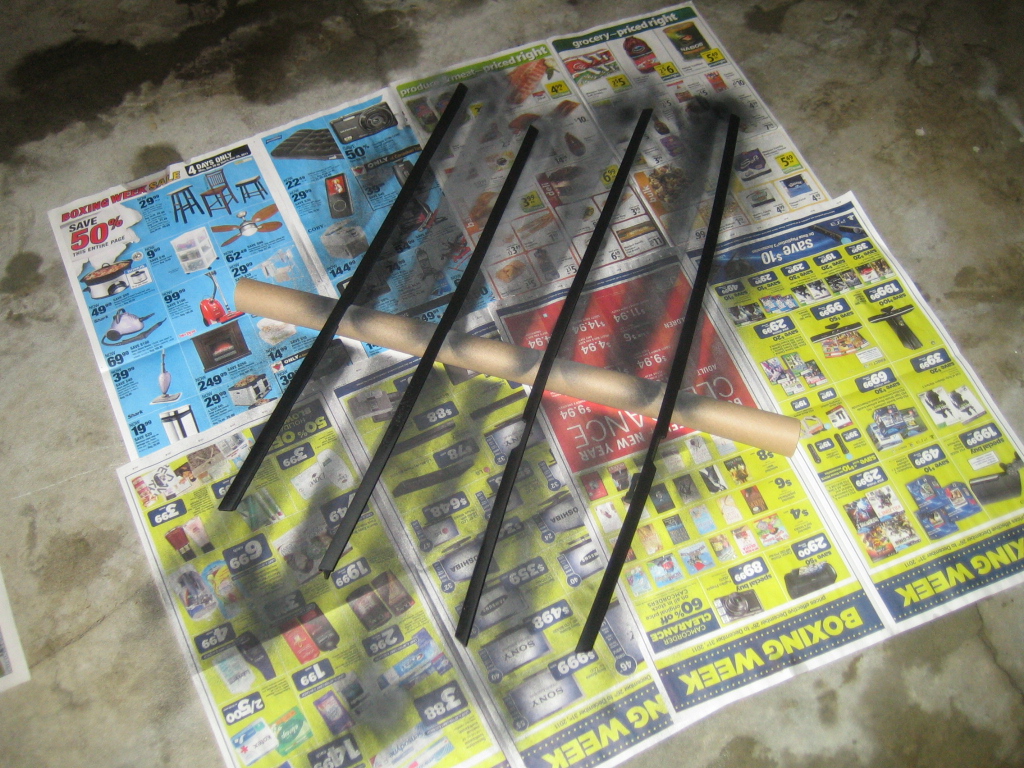
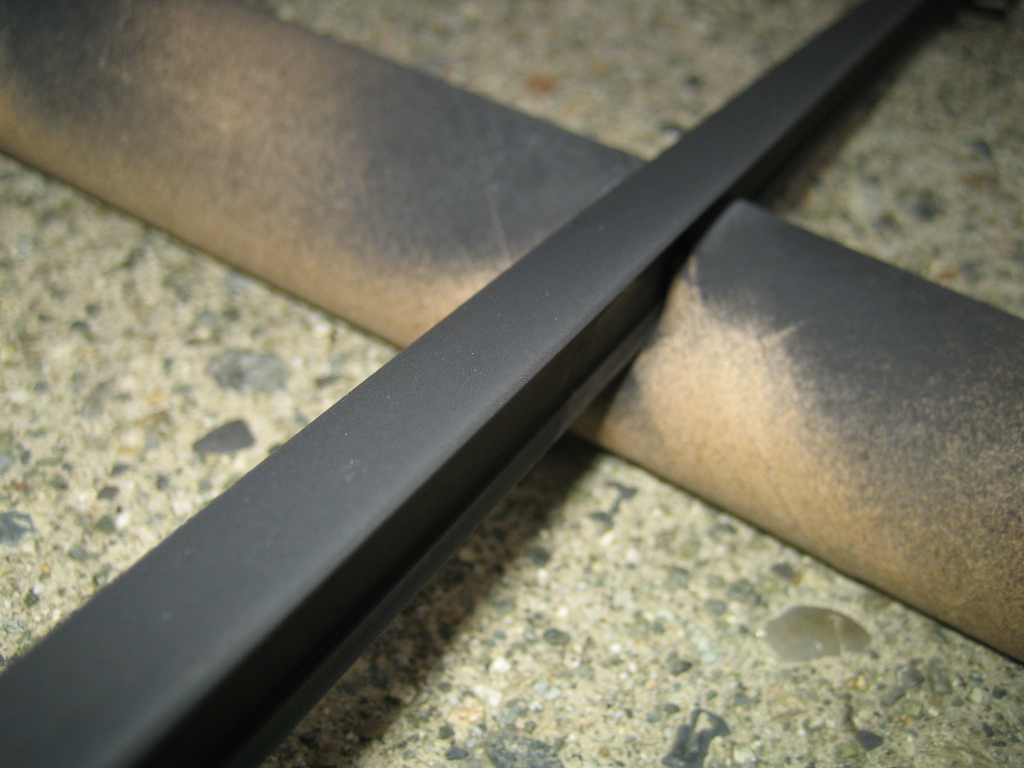
To hold up all of the trim pieces so I could paint them I found a wrapping paper roll, cut 4 slits in it and VOILA, a trim holder
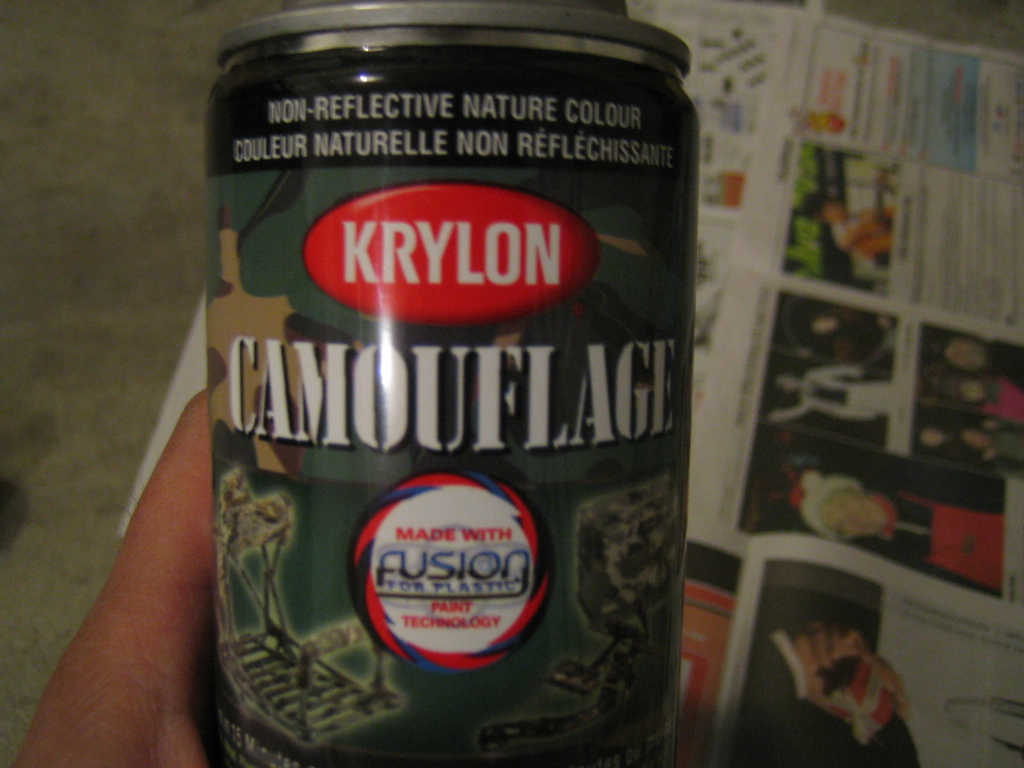
To get shadowline you have to use the super, mega flat ultra matte black paint
I gave each piece 4 light coats and then let dry overnight
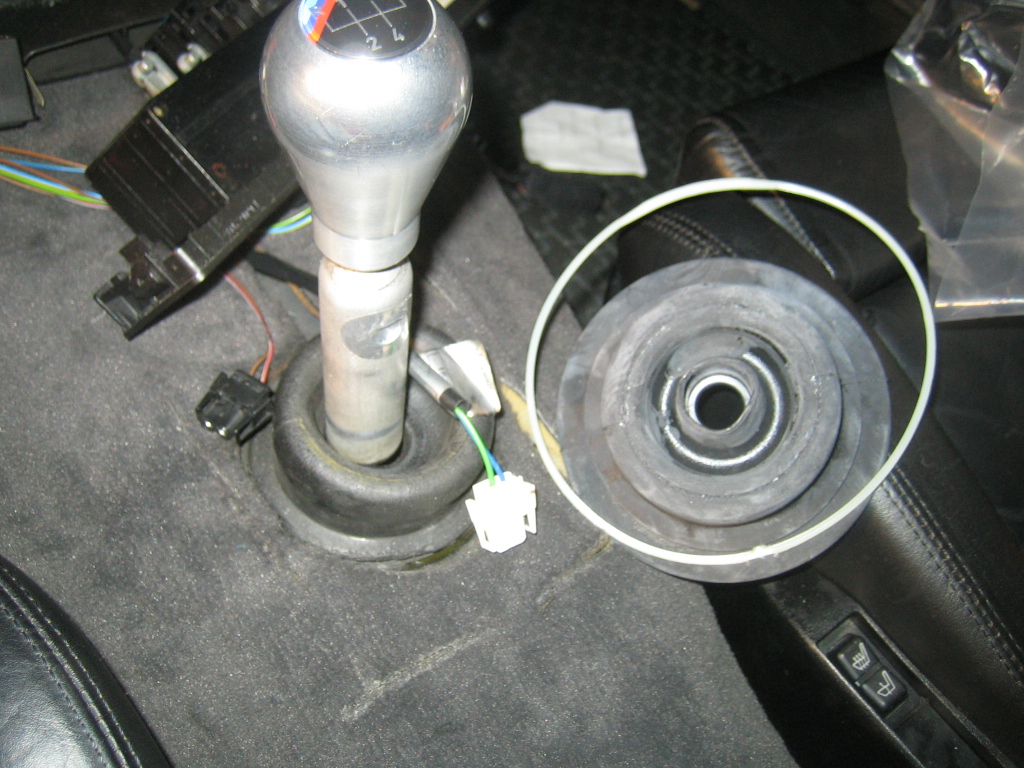
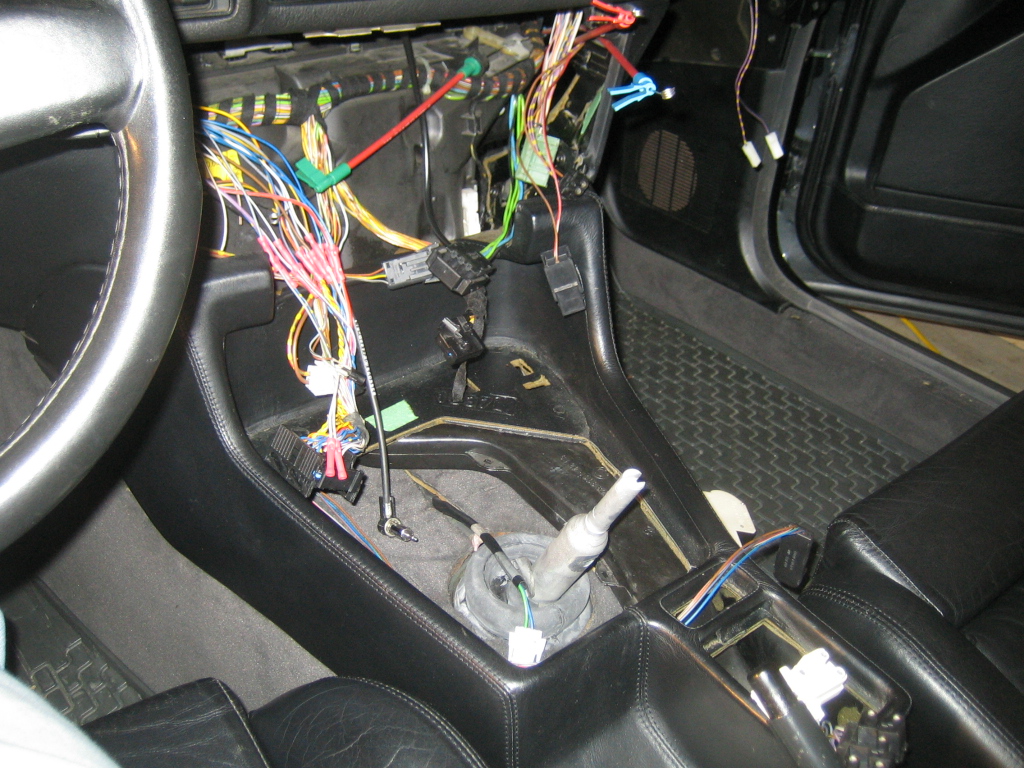
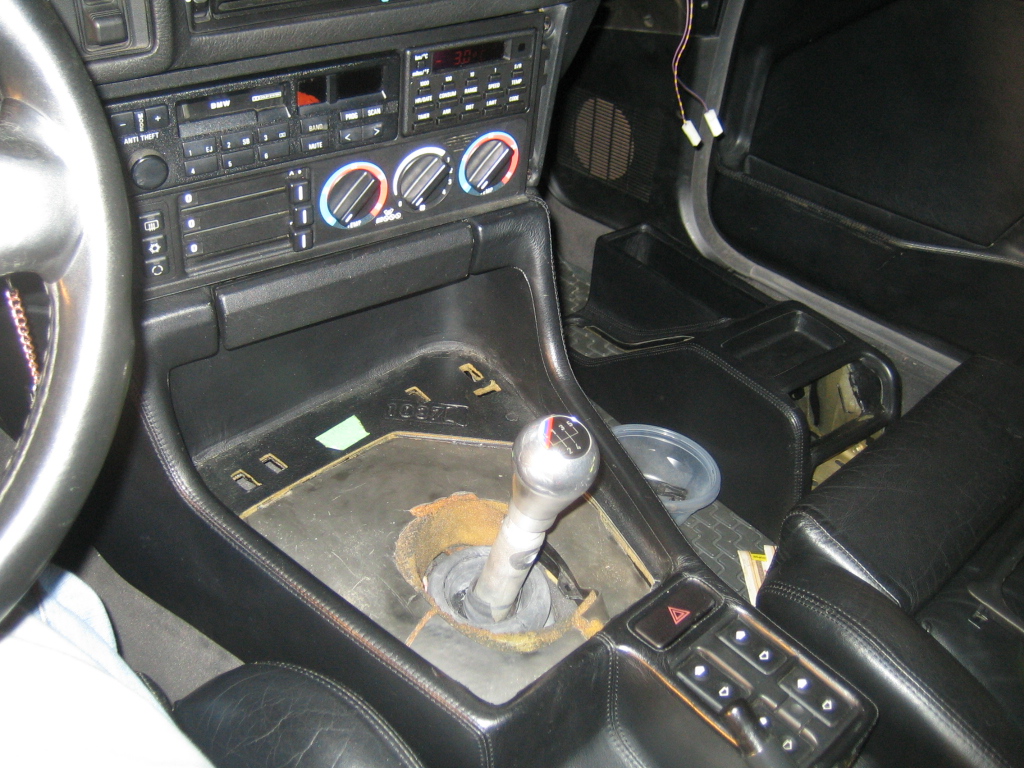
It's stupid cold but the weather was nice so I decided to put the interior back together.
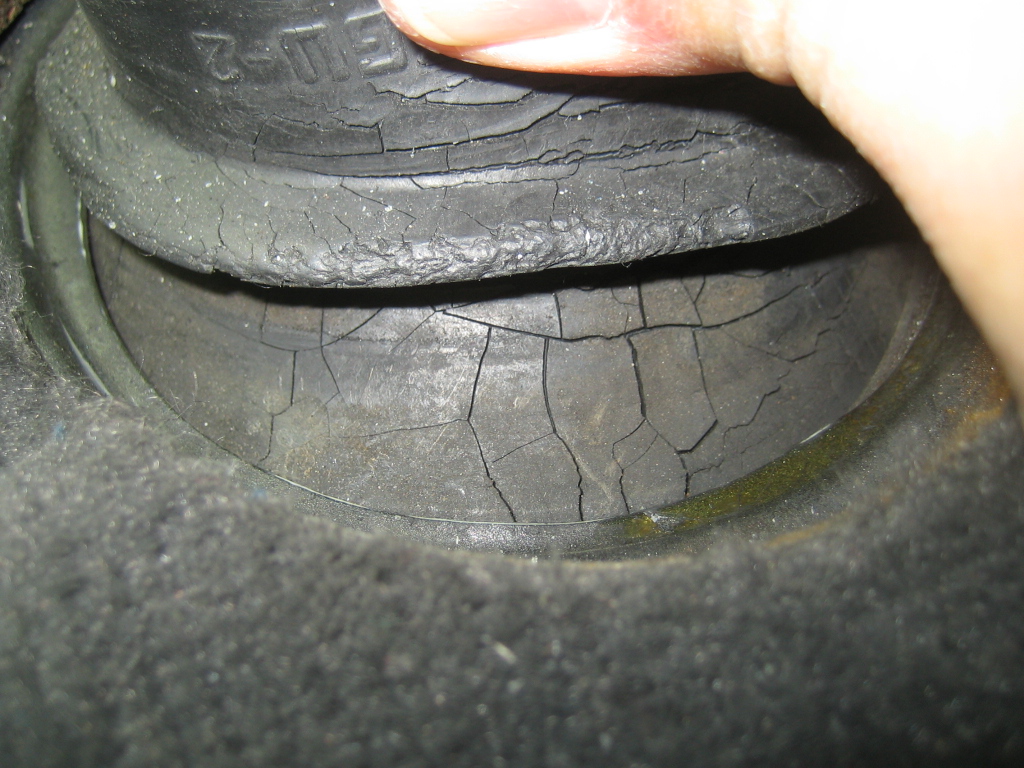
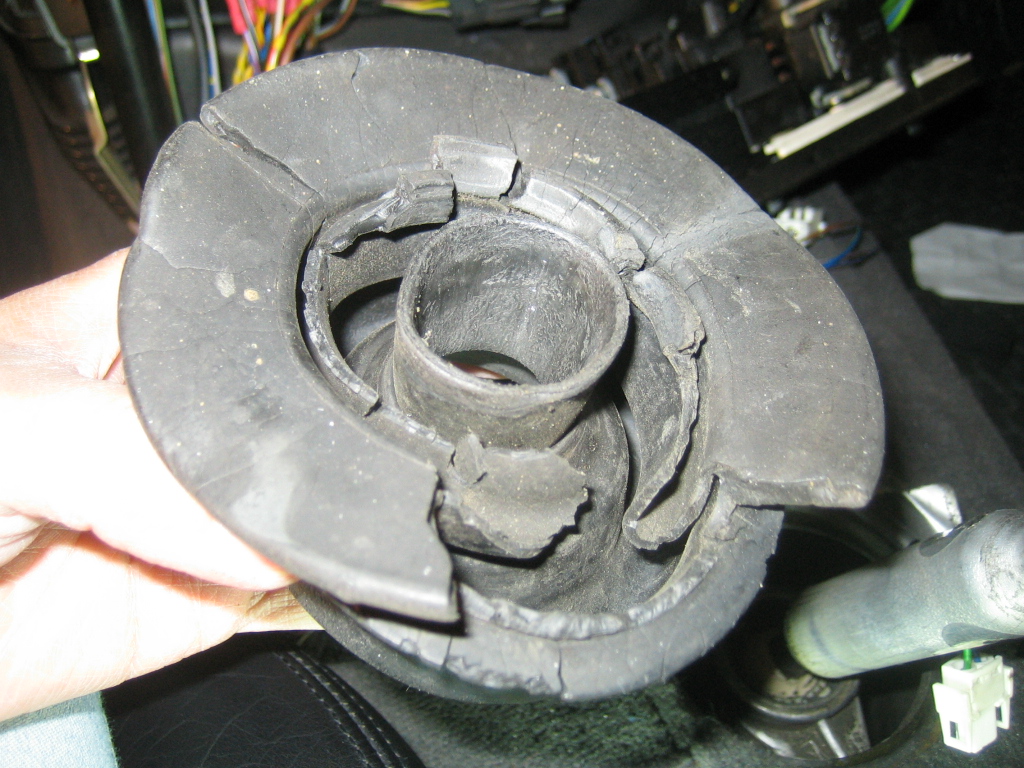
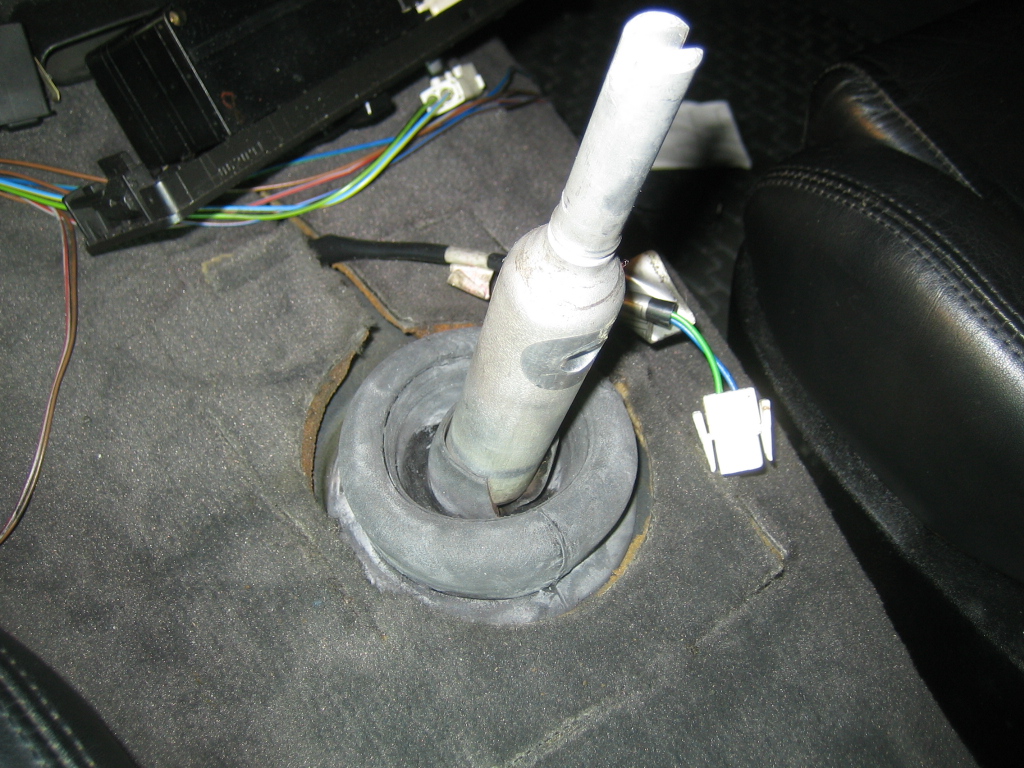
First I had to replace the old rubber grommet which isolates the heat and crap from under the car from coming in
Here is what a 20 year old rubber shiter grommet looks like
New one installed
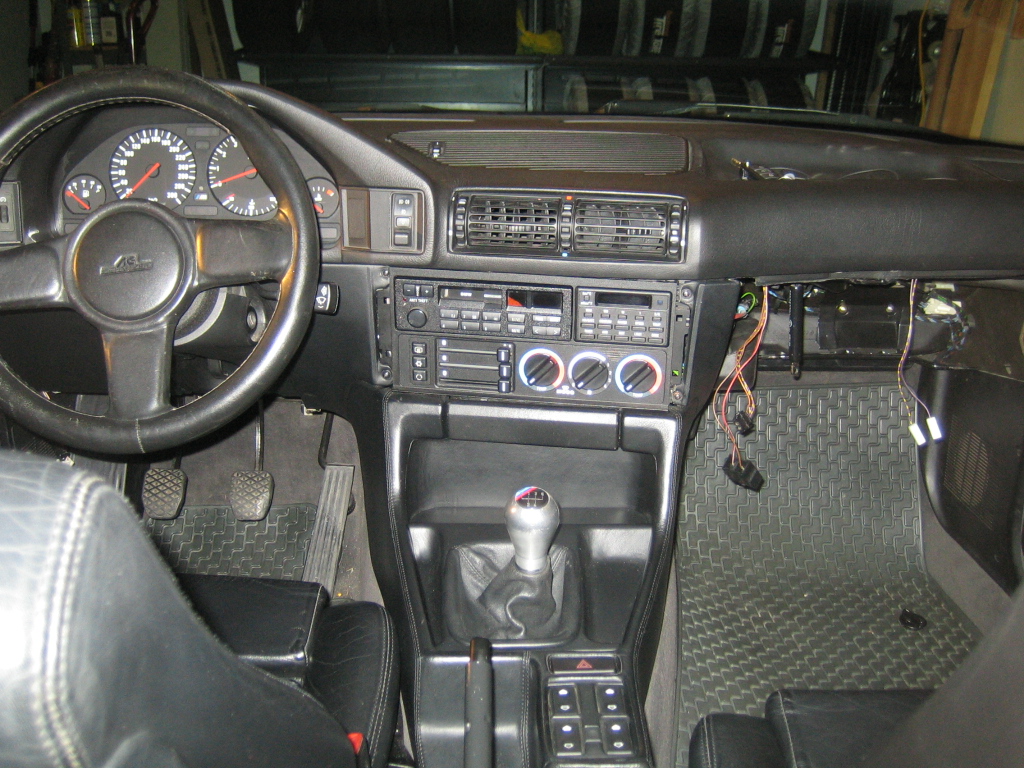
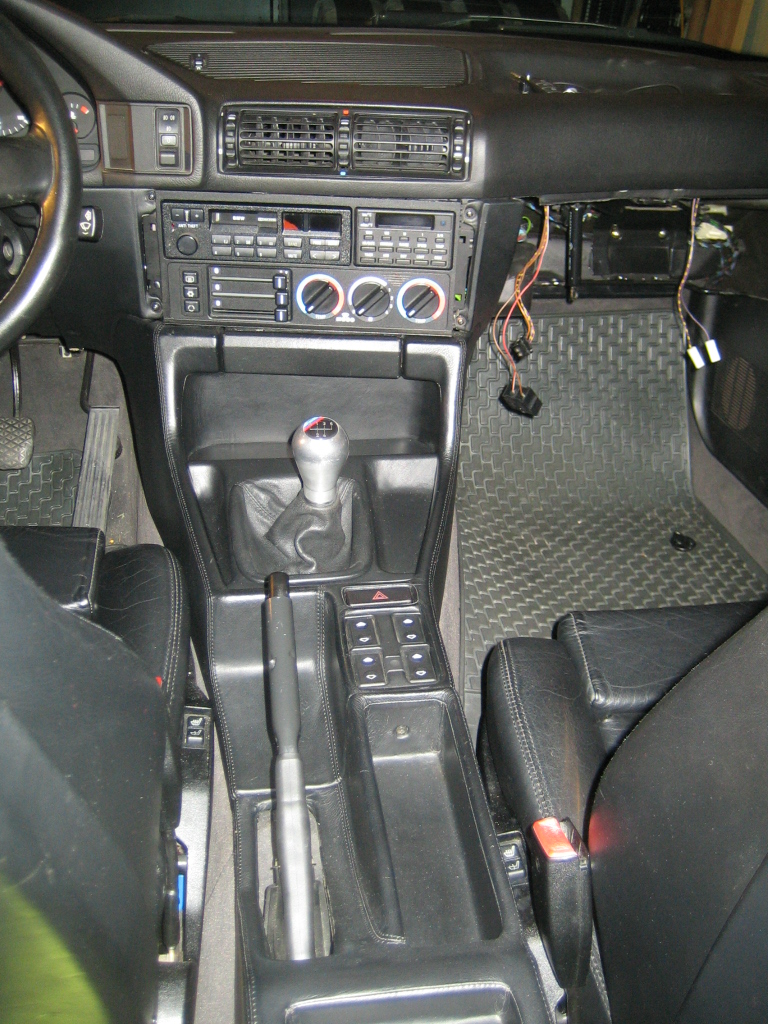
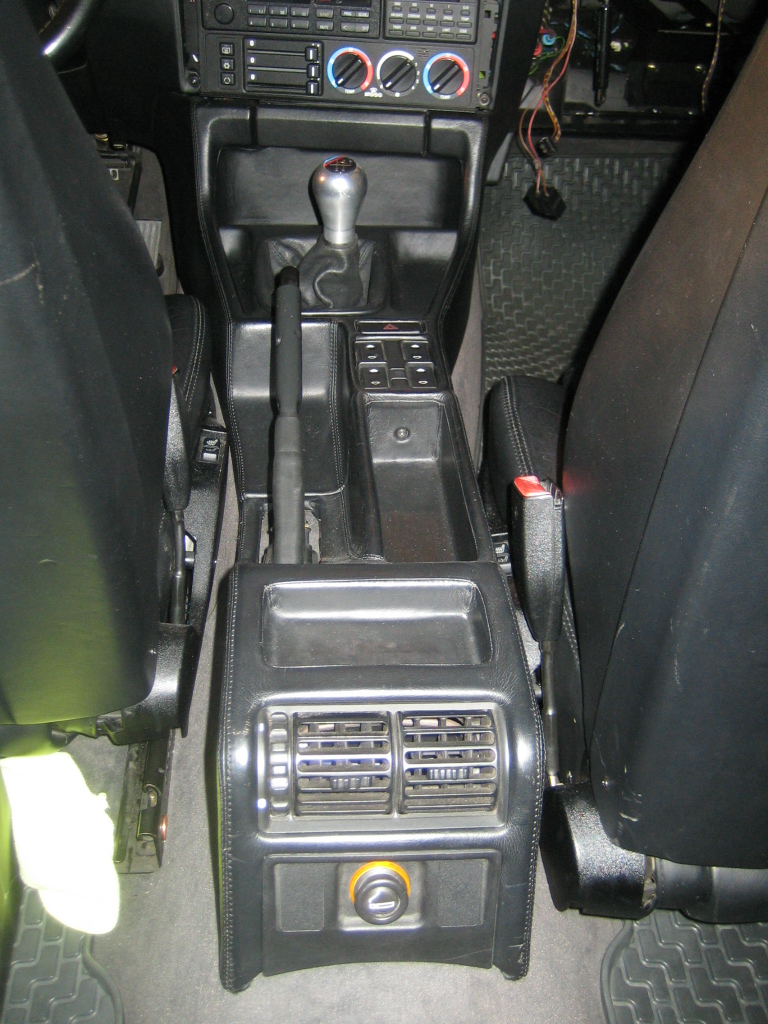
Front half of the restored extended leather console going in
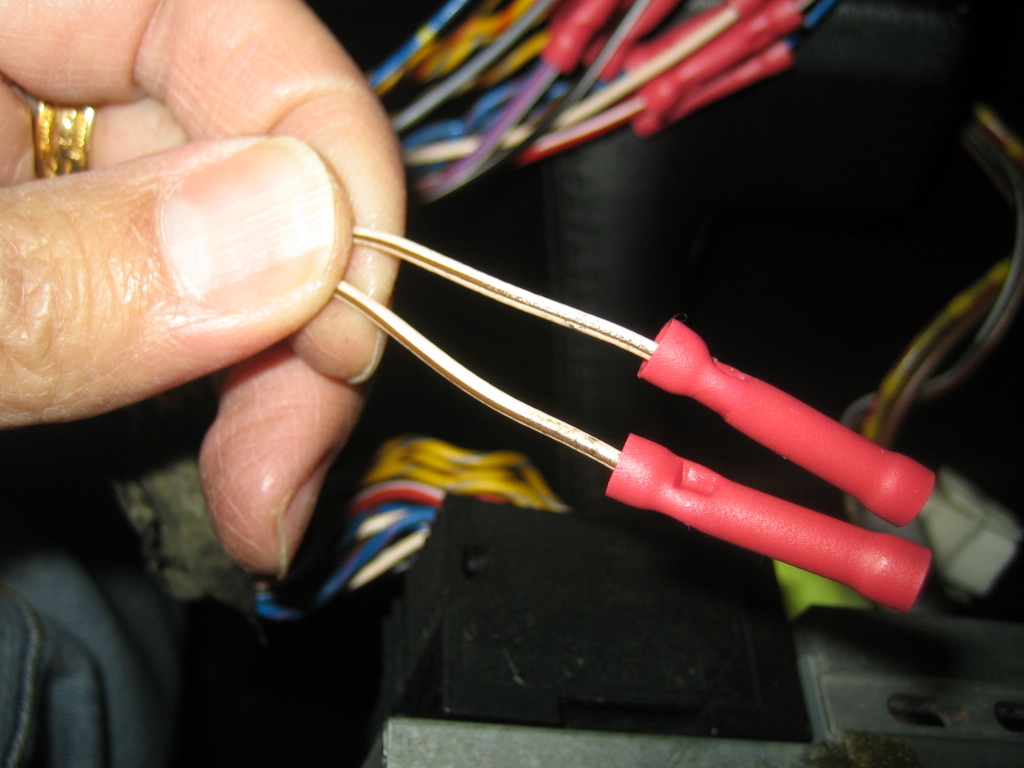
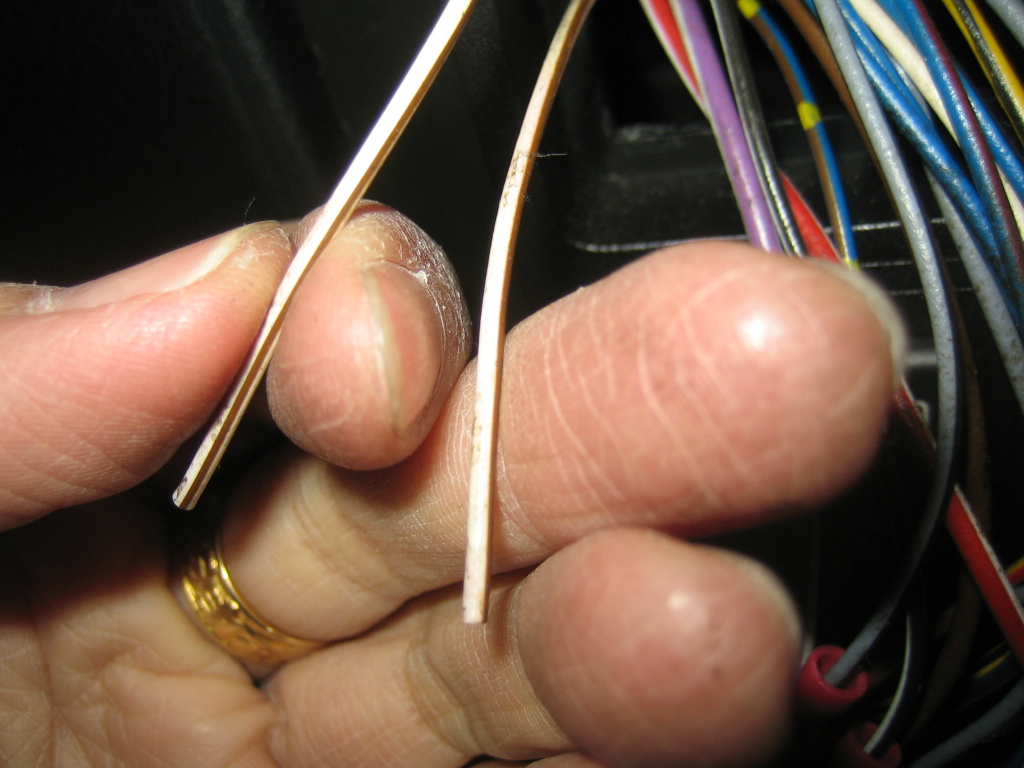
Someone on the M-Division team was daydreaming when they wired up this radio.. who uses the same type of wire for two different functions?
Radio harness side (pins 4 and 17)
Car side
Whomever designed the radio/hvac/obc assembly was a masochist!
Now that I had to deal with this stupid setup 6 times to get everything installed in the correct order I will never, ever do it again.
Note to everyone:
- test ALL light bulbs in OBC and HVAC panel before putting everything back together
- ashtray has to be bolted onto the center console before you install the hvac assembly
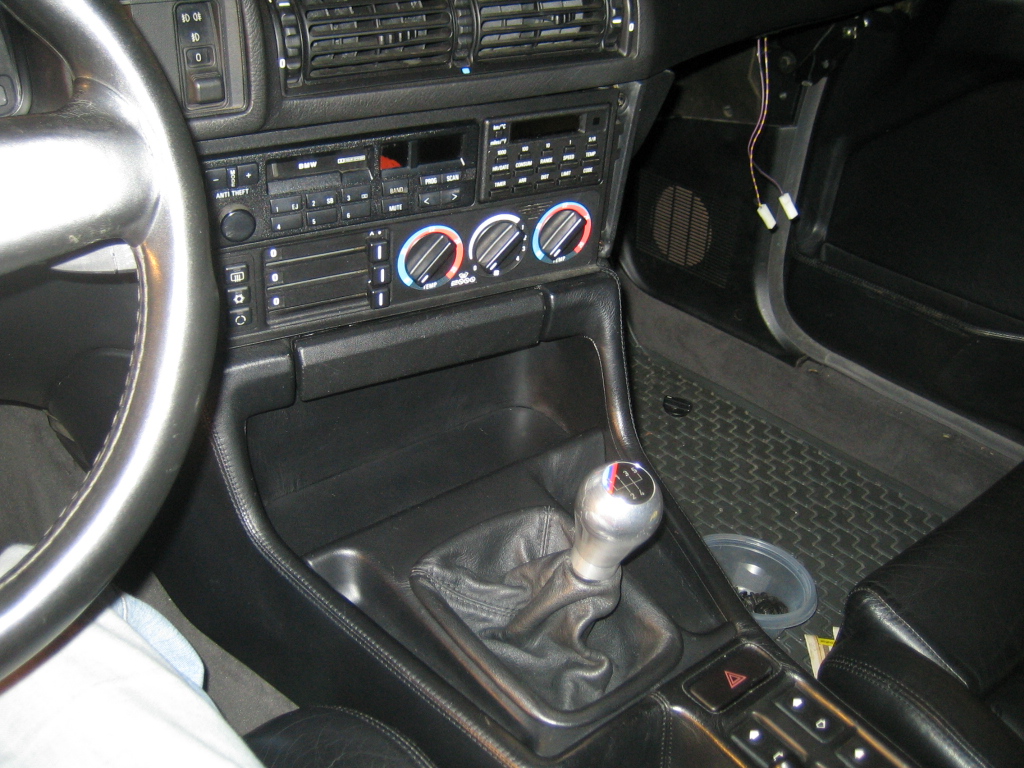
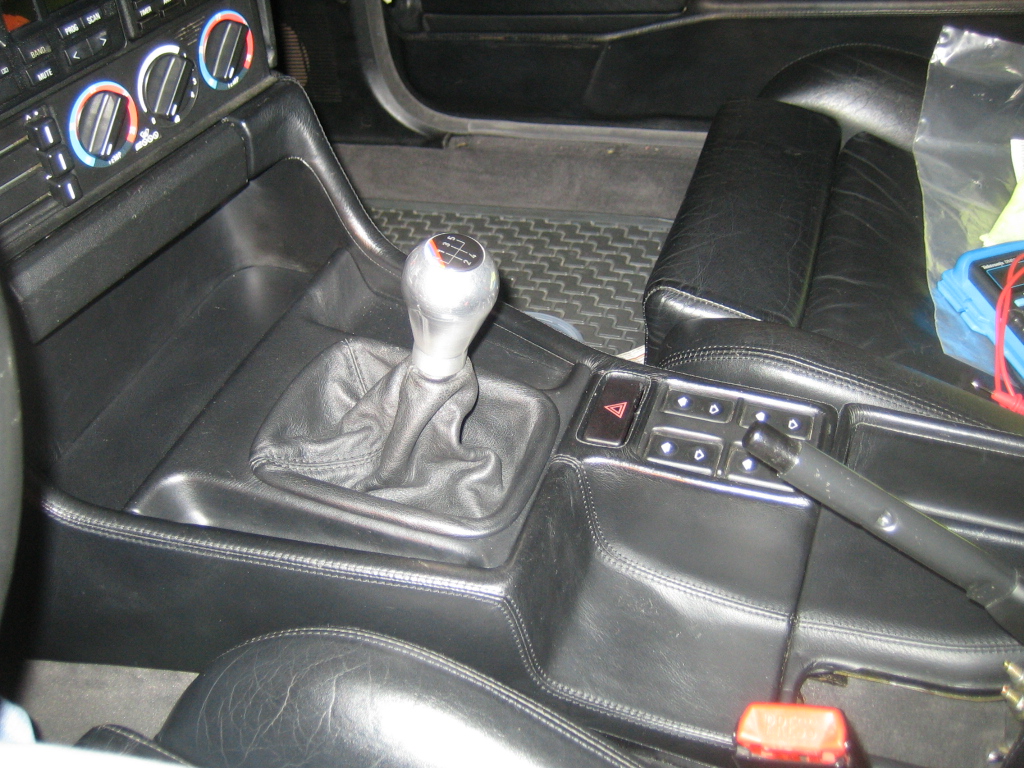
Shifter trim installed
Front and rear extended leather console pieces installed


Comment