-
-
The previous owner told me that he installed a new starter less than a thousand miles before selling me the car. As it turns out, that new starter was of particularly low quality. I've put maybe 2000 miles on the car since buying it and the solenoid has been sticking more often than not. Don't get me wrong; it's a great security feature to have to tap the solenoid with a metal rod to get it to start, but I'll take my chances with the old "just turn the key" method.
So after reading that it's apparently easier to buy a new car than swap the starter on an E30, I set to work with mild trepidation. Honestly, it wasn't that difficult; I just removed the airbox, unfastened the heater core lines and set to work on loosening the bolts. I used a long extension with an electric impact.
Once I got the starter out, I took it apart and confirmed that the solenoid was sticky and un-lubricated. I probably could have polished the cylinder and lubed it up, but I had a good, used Bosch starter waiting to replace it. I'll take "good and used" over "new, cheap and unreliable". There's some good fatherly advice in that paragraph.
Given the awkward contortions required to tighten the male Torx-head starter bolts, I saw two options:
1. Obtain, raise and train a chimpanzee to hold the Torx socket in place while I tighten the 16mm nut on the other side, or
2. Replace the bolts with regular hex-head bolts.
Much to my chagrin and my wife's approval, I went with Option 2.

Bolts in place:

Starter bolted in:

Ignoring my own advice from literally minutes previous, I swapped out the radiator with a new, cheaper unit that I had sitting around. In my defense, the old one was leaking and a radiator is a lot easier to swap out than a starter.

Comment
-
Cheap Roof Rack
I needed a roof rack for hauling lumber, furniture and the occasional coffin, so I scoured the garage for parts. I bought a set of "Quick-N-Easy" roof rack feet and found a stick of 1" tube section steel in my garage. I've used the Quick-N-Easy roof rack feet before with success, so I knew that I'd be able to make them work for the E30.
I took some measurements and got to cutting and drilling.


I had some hardware laying around for the connections. Those are CV joint bolts for a 2002.

Test fitting:

Painted:

I'll probably paint the feet black at some point. I also need to figure out a basket or some slats or something. For now, it'll hold lumber or a couch.


Comment
-
Z3 Rack Swap
A month ago, the seals blew out on the E30's power steering rack. I tried adding more fluid and even some transmission leak sealer, in the fleeting hopes that the mechanical angels would smile upon me and bathe my E30 in rays of leak-stopping grace. But alas, th clouds opened up and the message was delivered from on high (or at least from my wife); "Go forth and fix it yourself."
So I called Blunt.

Armed with a new Z3 power steering rack, a new steering U-joint, a bag full of random hardware and a vague concept of how this project would turn out, I set out to remove the forearm exercise machine that was my non-functional steering rack.

...and out:

As you can see, leaving the motor in requires one to bend the lower tabs down to remove the rack. Reinstallation requires hammering them back up.
Obligatory comparison shot:

Removal of the Z3 tie rods requires a 32mm wrench, which is the same size as the fan clutch nut. I used a bicycle head wrench.

Bare rack:

Since the mounts for the Z3 rack are a little shorter than the stock E30's, I needed these spacers from E30tech.com. These mount on top of the rack.

With the E30 tie rods installed and the boots zip-tied on, the new rack was ready to go in.

I installed the new U-joint and bolted it up:

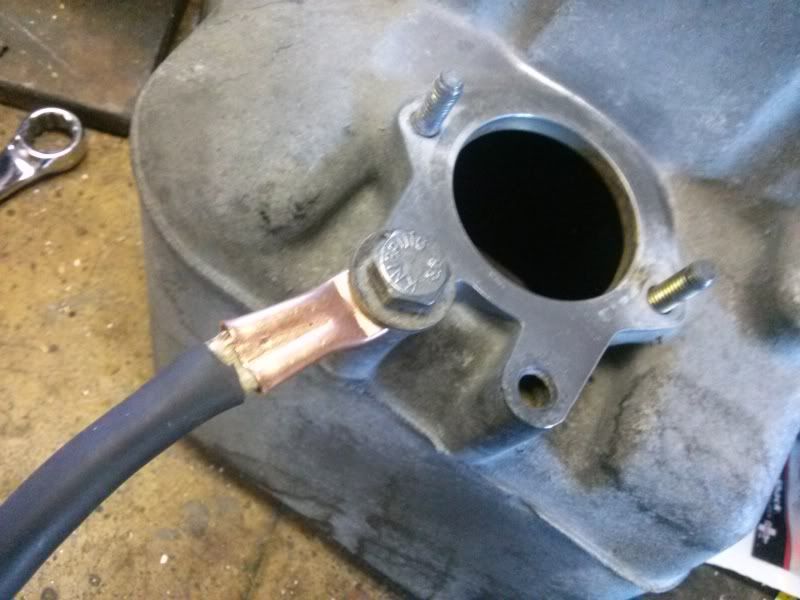
The new E36 high pressure hose was easy to install, but I ran into a problem with the low pressure return hose. As it turns out, the Z3 rack's hydraulic line attachment points are in a different place than they are on the E30 rack. The low pressure return hose wouldn't fit. So, I had to make a run to the scrapyard to salvage a banjo bolt fitting from an early E30. I found some power steering line at the local Autozone.

All installed (looks like I need to make a new ground wire):

Since my E30 came with an airbag, I had to grind out a bit of the firewall to allow for the slightly different angle of the steering column. There is a plate that bolts to the firewall that holds a boot, through which the steering shaft exits. First, I removed the lower steering column shaft.

Then I ground out the firewall and fabricated a new boot-holding plate. I bolted that in place and pulled the boot through with a length of string, like you would with a windshield gasket.

An importance step here is to loosen the big nut on the lower steering column shaft, break the sliding mechanism free and lubricate it so it slides easily. This will allow for easier reinstallation.
I then stuck the lower steering column shaft through the boot and bolted it to the lower u-joint assembly:

Then I attached the upper U-joint to the upper column and steering wheel:

Then I tightened the big nut to secure the column:

With the nose still in the air, I filled the reservoir with ATF and started the car. After seeing no leaks, I set the car down and took it for a drive. It's amazing how tight the steering is now. The quicker ratio is certainly noticeable and I no longer have the clunk of a failing U-joint. All is well.Comment
-
Extra 12V Outlets
I got a little tired of having my cell phone charger wiggle loose in the European-sized 12V outlet in the console, so I decided to install some US-sized outlets. The rear ashtray looked like a good place to put them, since no one gets to smoke in my car.
I started with a piece of 1" X 1/16" aluminum angle. I made some measurements, cut some 7/8" holes, ground, filed and cut until it looked like this.

The notched out section fits into the cigarette-holder piece in the ashtray.
Next, I wired up the outlets and epoxied them into place. I got these from a 12V splitter that I bought for a few bucks.

After running power from the other outlet, I installed the unit.


Total project cost: Less than $10. I may add a USB port or two, but this will work for now. The little light in the ashtray works, too.Last edited by ClayW; 06-24-2013, 07:23 AM.Comment
-
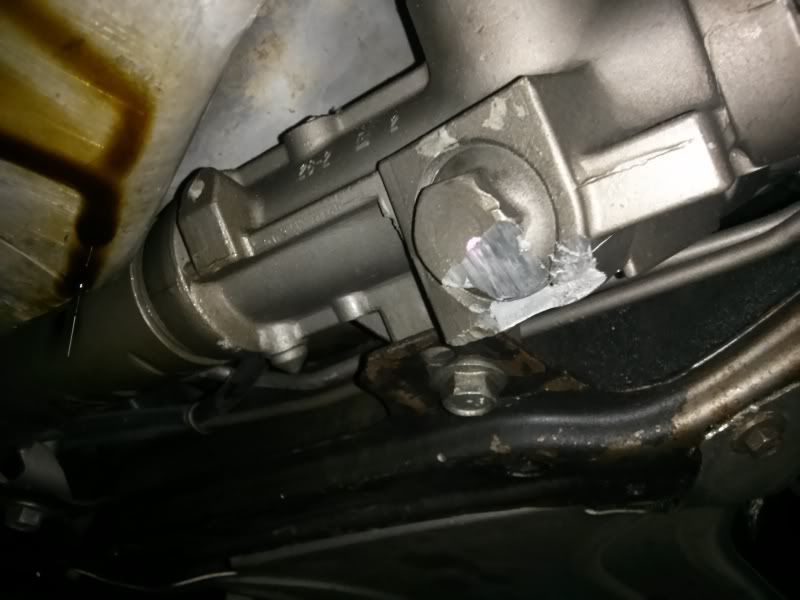
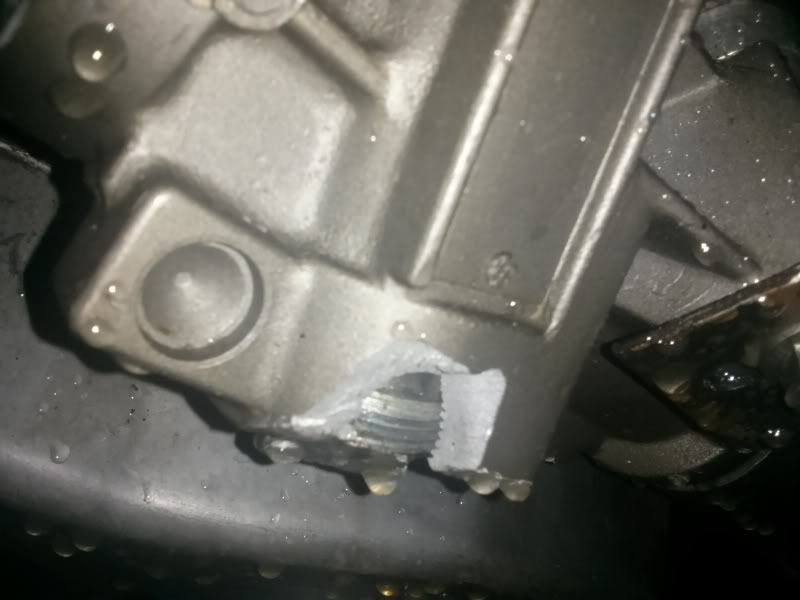
Well, this sucks. I hit a poorly graded manhole in a construction zone. The oil pan is cracked and the brand new Z3 rack has a chunk taken out of it. The State of Maryland has a claims process for this kind of thing....we'll see how it goes.
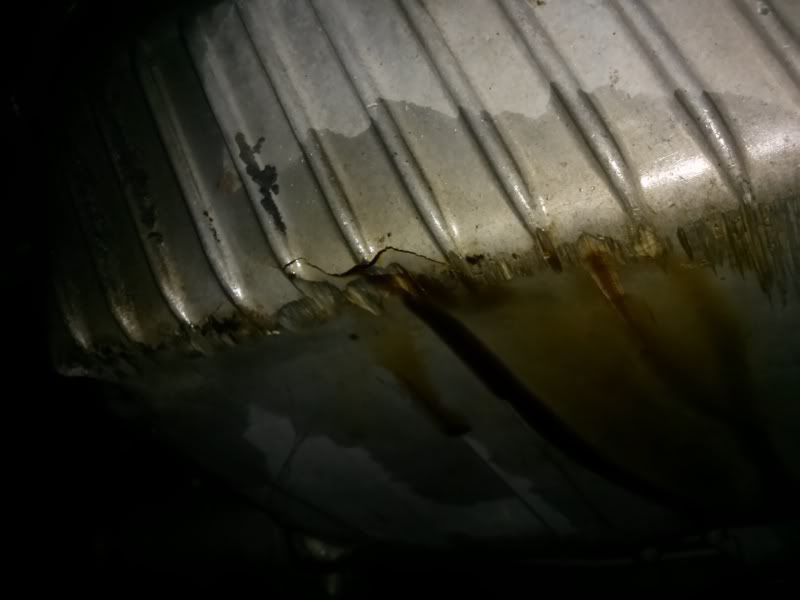
 Last edited by ClayW; 07-31-2013, 04:57 AM.
Comment
-
watching this clean resurrectionComment
-
She will be saved!
I just got word that my insurance company will pay for the repairs and not total the car. I just had to convince them that I turned the car off before the oil ran out.
Time to order the new parts.Comment
-
Damn. Ouch. Still wishing I had done the Z3 rack when I had my motor out. Urgh.
Comment
-
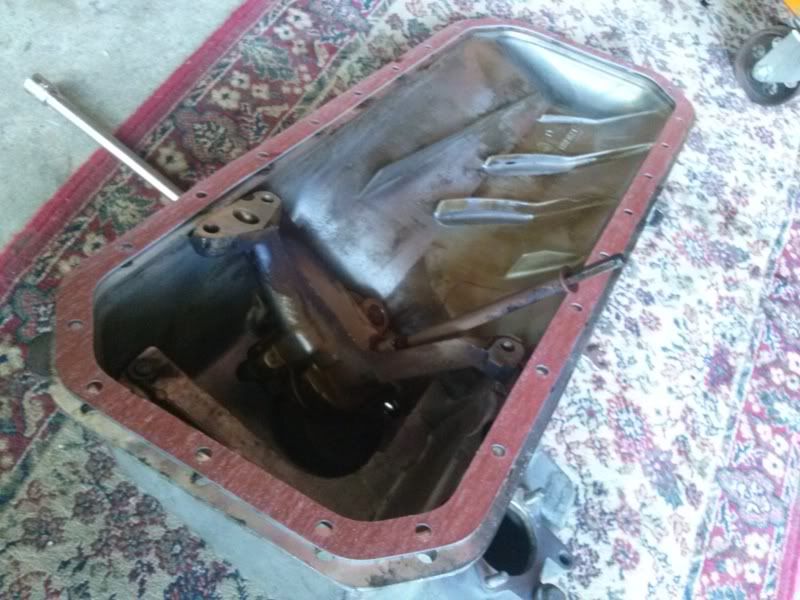
After convincing my insurance company that the E30 wasn't totaled, I set to work on replacing the oil pan. Thankfully, I had a spare pan on my spare motor, so I saved myself a trip to the salvage yard.
Cleaned up spare oil pan:

After jacking the car up and securing it, I removed the flywheel cover and the forward motion limiter. There are four bolts that require an E10 female socket in addition to the four M8 bolts on the bottom. Apparently, the Bavarians didn't want this thing to fall off.
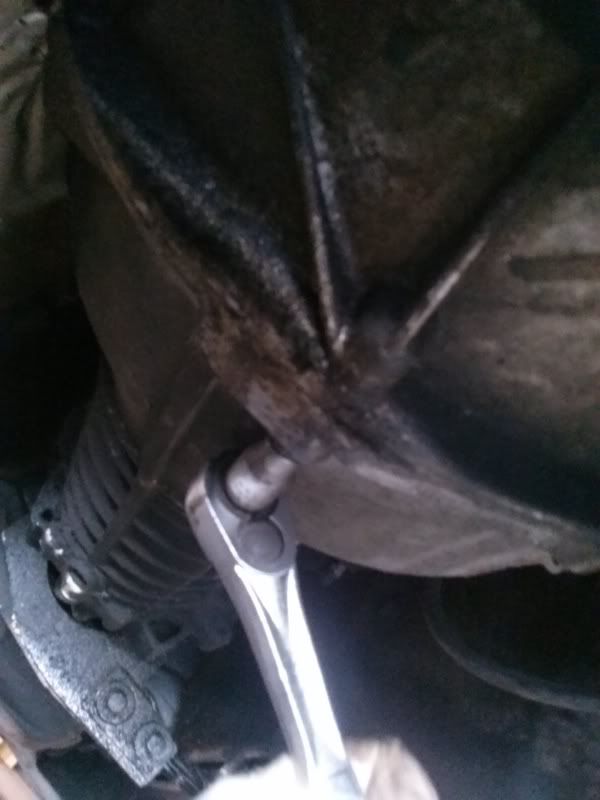

One of the star bolts required a strange articulation of a few universal joints and a 3" extension.

After removing that and as many oil pan bolts as I could reach, I unbolted the engine mounts and hoisted the engine ever so slightly.

I also discovered this broken motor mount. To the spare parts bin!
*Side Note/Tip: Use discarded carpets and/or rugs for lay on when working on your car. They're a lot more comfortable than the concrete and you can just throw them away when they get too dirty. I just grab them when I see them after the neighbors' home renovations.
All jacked up with the oil pan and pump removed. You can either remove the oil pump and drop it into the pan to remove it, or you can drop the power steering rack. Since I'm waiting on a back-ordered rack, I chose to remove the pump.

Cleaned up pan with a new gasket and the oil pump inside.
I also took the opportunity to make a replacement grounding cable.

All bolted up. I'd apologize for the lack of cleanliness, but it's the underside of my car.

Comment
-
Loving it!
Making new grounding cables was genius!Comment
-
I bought and installed the LED trunk light kit from R3vlimited user mcskibadee1. Installation took all of three minutes and now I can see what's in the trunk. $18 well spent.
Before: Single lens with an incandescent bulb.
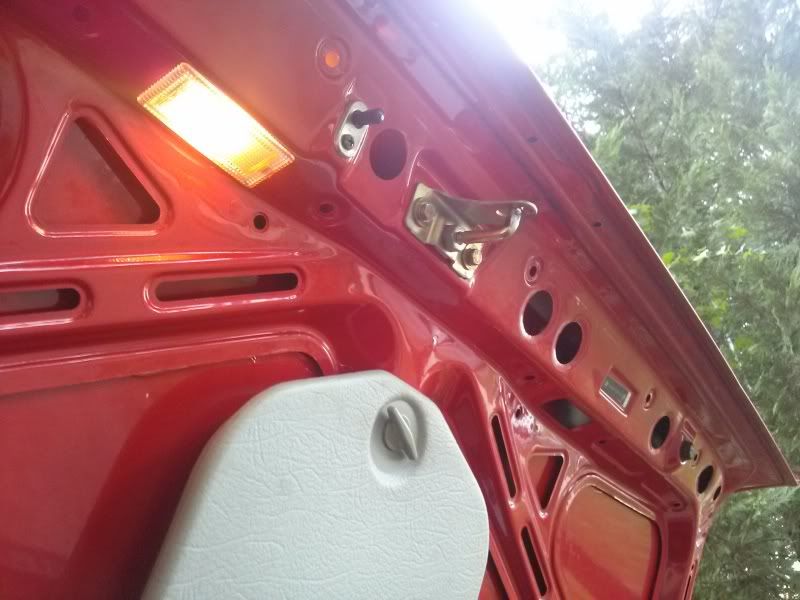
Install requires a pair of pliers and a flathead screwdriver to pop the light out.
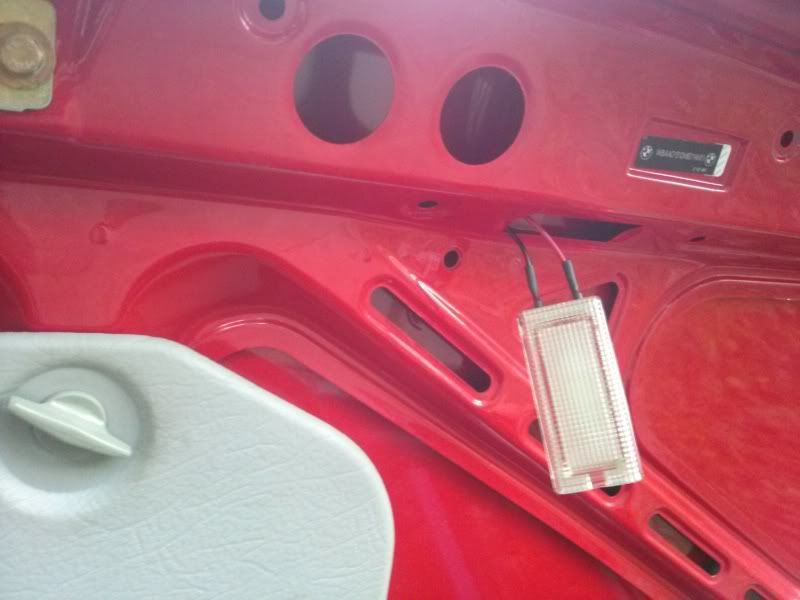
After: Two LED trunk lights. Much Brighter!

Comment
-
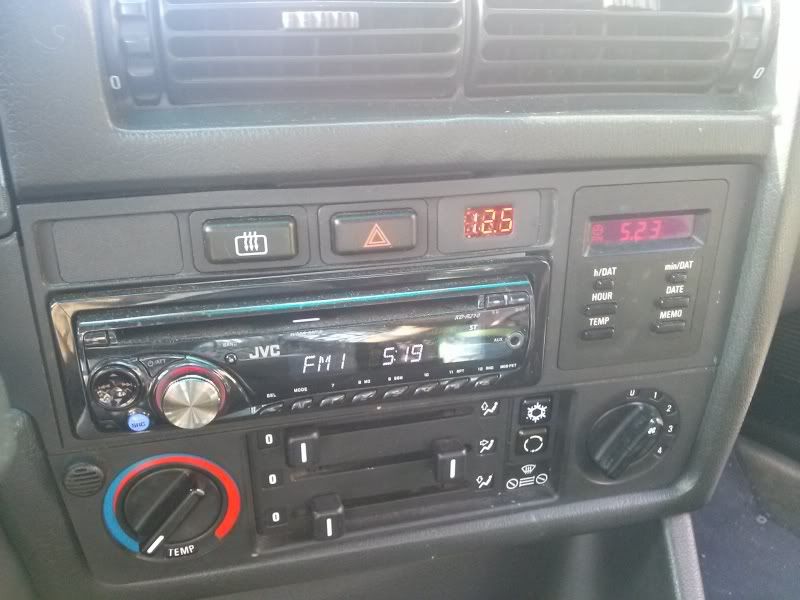
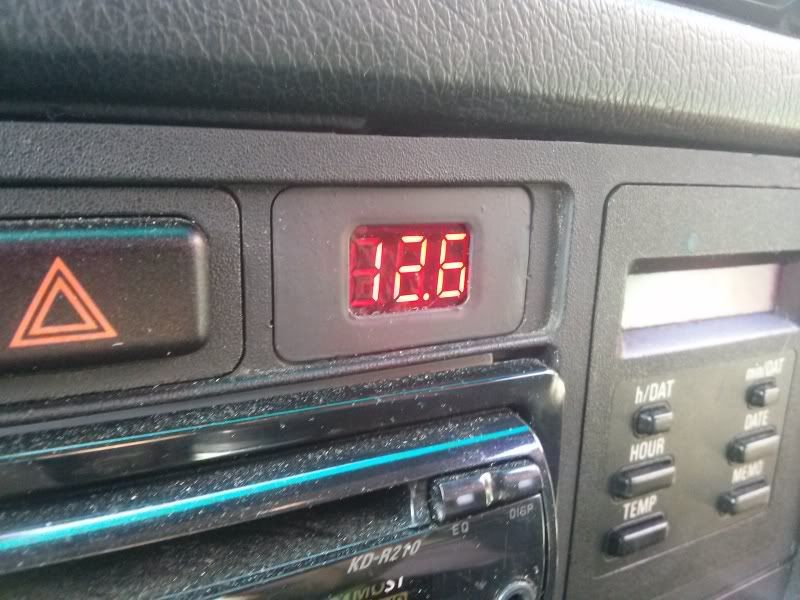
One more detail job: I previously built my own cheap digital voltmeter. It was a little bright and the finish wasn't quite right. So, I took it out and repainted the bezel in flat black. I also added a layer of transparent, self-adhesive red film to darken the display a little. I might go with one more layer, but it already looks a lot better.
Before:

After:
Comment


Comment