
amazing build!
-
So good. Keep it up!Comment
-
Thanks gents, almost have the last parts on their way.
Ordered the guibo, slave cyl, throttle cable, just leaves the last major component; the driveshaft and hard lines. Looks like this might become a reality sometime soon..Comment
-
Fuuuuuck! This thing is absolutely beautiful! Question, is Cirrus blue and Glacier blue the same color? My 4 door is Glacier but seems to be the exact same color as your coupe. Also, if you don't mind me asking where'd you purchase the paint? Im about start body work and would like to do a respray of the same color or Calypso. Thanks man!Comment
-
Shoot me a text my phone took a dump.. I have a driveshaft for you to look at.Comment
-
Damnnnn this is a sick build, so many awesome parts and attention to detail!! Do you ever attend local meets? Don't think I've ever seen this car, I know I would've remembered. I'd love to check out the progress some time, I think i'm basically around the corner from you.Comment
-
Two different shades; similar but side by side, pretty different, Glacier is a little bit lighter. The paint I purchased online through automotive touch up after a recommendation from a buddy. Only negative thing I have to say about their product is that since its "Ready to spray" its pre-thinned. So for a full respray your looking at a solid gallon from them with maybe a quart or two left over.
Shot your way!
Appreciate that man!
I don't really roll to meets, aside from SoCal vintage; I think I've only been to two or three of the van nuys ones before paint. I think I've seen you cruising before, but feel free to get at me if you'd like to come check it out. Always down to talk shop.Comment
-
Comment
-
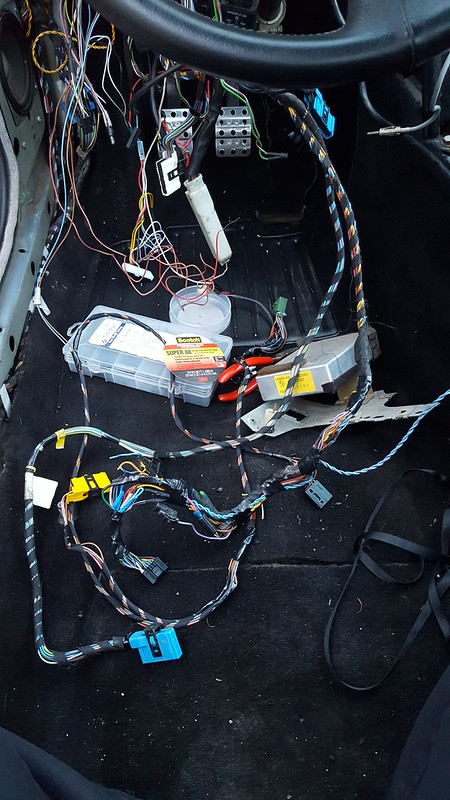
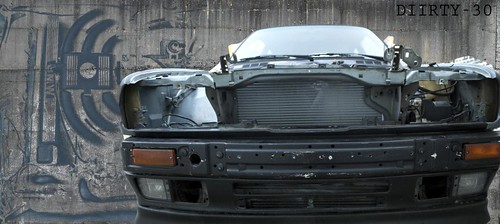
Since I haven't really made time to update much since December; been moving and etc..
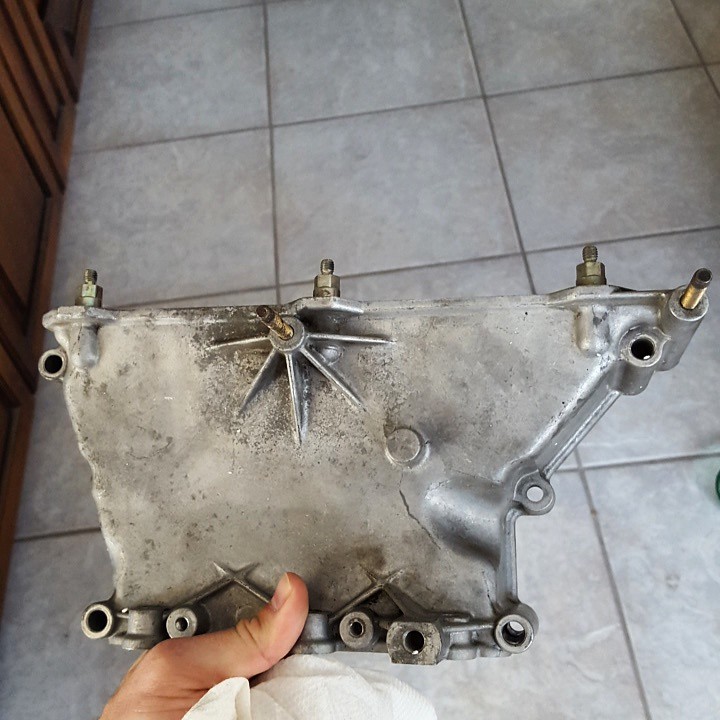
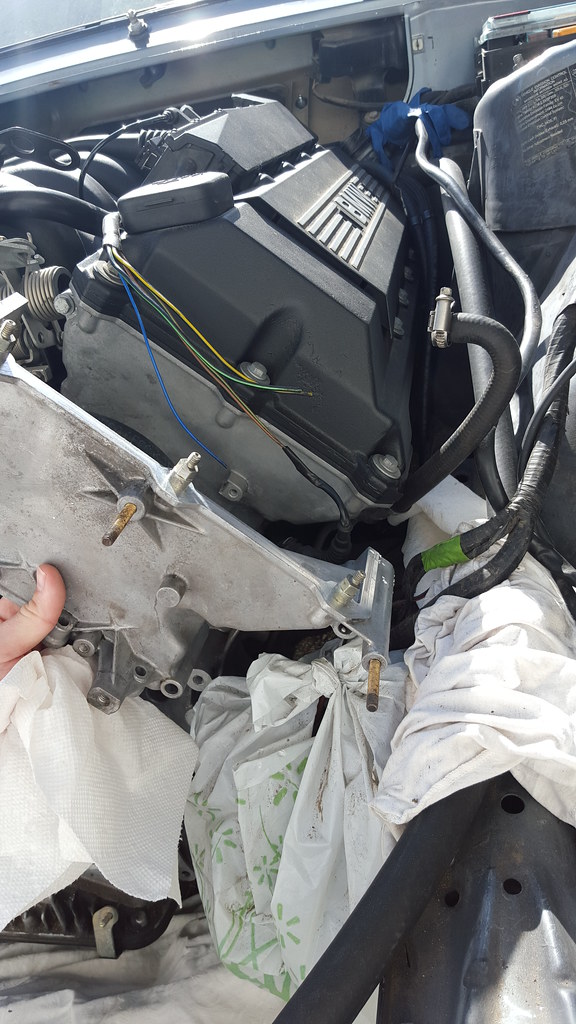
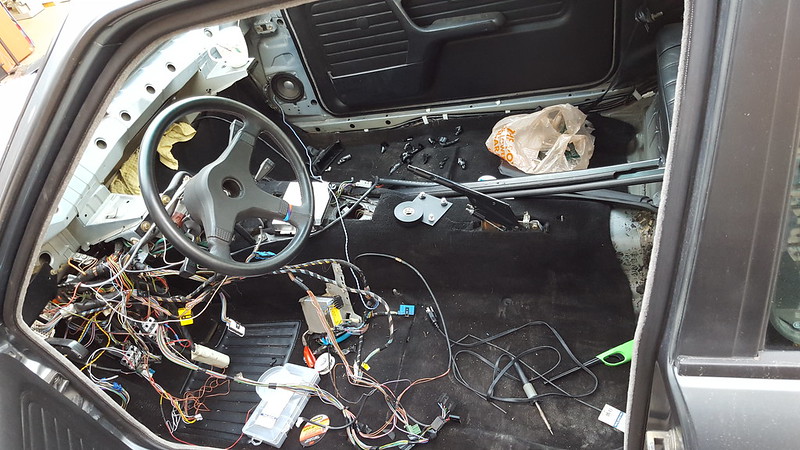
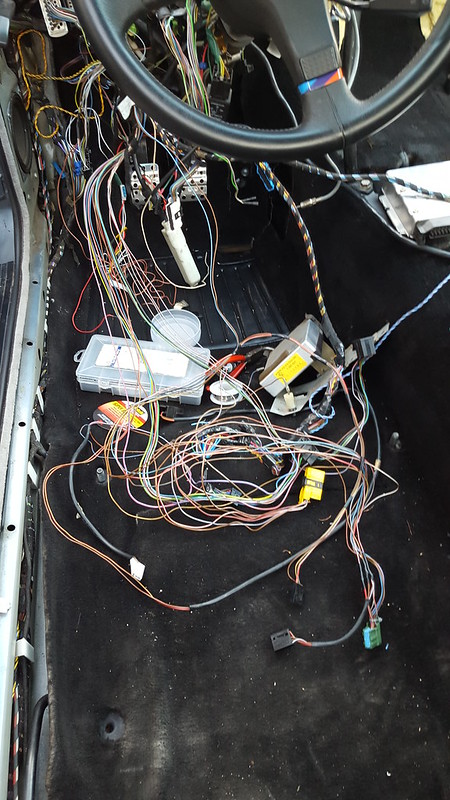
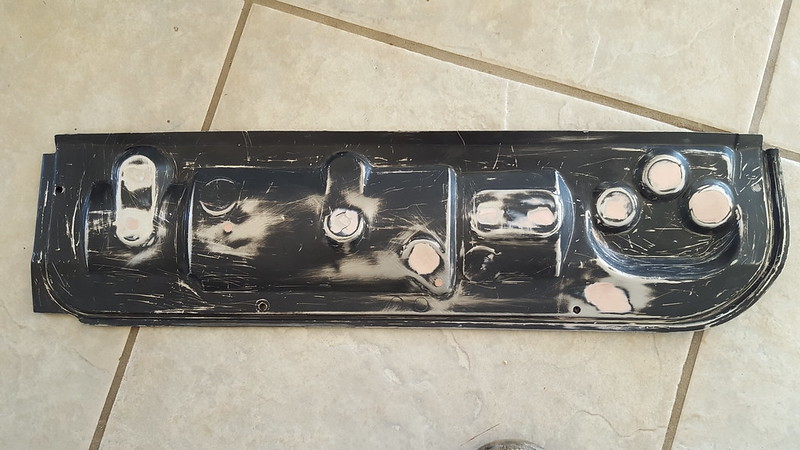
Bought an early filter housing & timing cover. Went ahead and fixed some issues in the wiring harness and rewrapped everything to keep it clean. Took the windshield wiper cover/firewall cover off and cut the studs and shaved it. Finished up the m60 harness to e30 chassis wiring, hope to test this soon. Still haven't gotten around to pulling the motor to install the flywheel quite yet. I'm sure there's things I'm forgetting right now but I'll edit it later..

 Last edited by DIIRTY-30; 02-20-2016, 03:40 PM.
Comment
-
My Garage
2001 Z3 2.5i Steel Gray/Black (Lexi)
1988 325ix Diamond Schwartz/Black (Izzy)
1989 325i Cirrus Blue/Houndstooth (Stitch)
Feedback

Instagram: Stone.HopkinsComment
-
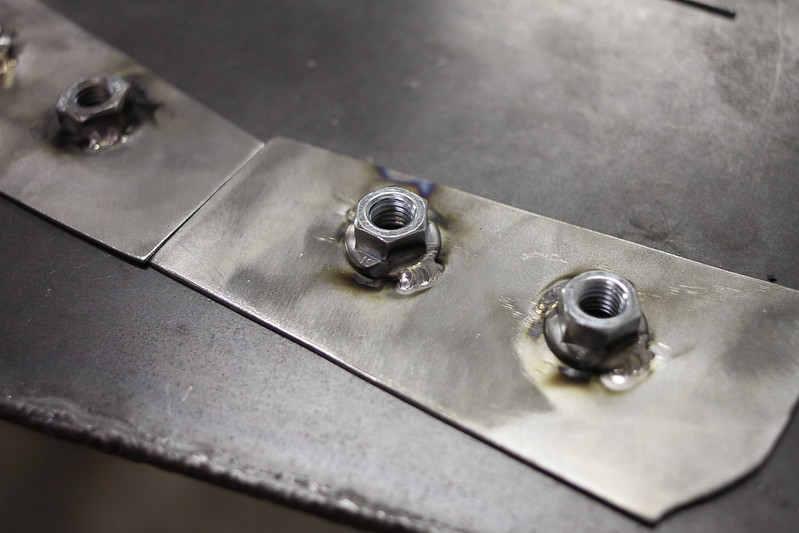
Off hand I don't have a picture of the piece but its really similar to what I did on the upper part. Its just an M4 nut(?) welded onto a piece of 16 ga. Then just pull the shock and slip the plate in and your good. Eventually I'll go ahead and weld it in place but till I find another house it'll wait.
Hopefully I'll have a mig welder soon, def make my life easier instead of having to run down the block.
Yeah that's the only downside, Paint was pretty runny straight out the can, added a small splash of thinner and hardener.
I'm trying to get my co worker to buy their spray can stuff just so I can test it. Overall I'm pretty happy with it, but if your doing a full car... A full gallon is a must. I didn't expect it to have that consistency tbh.
________________________
MOAR PIKTURZ
________________________

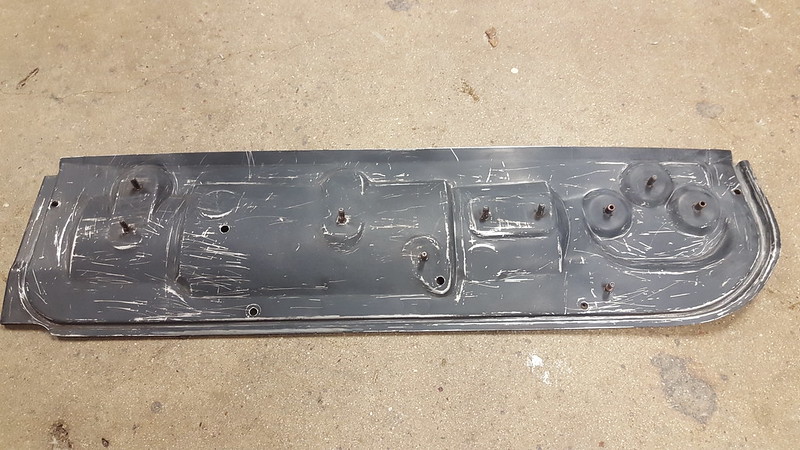
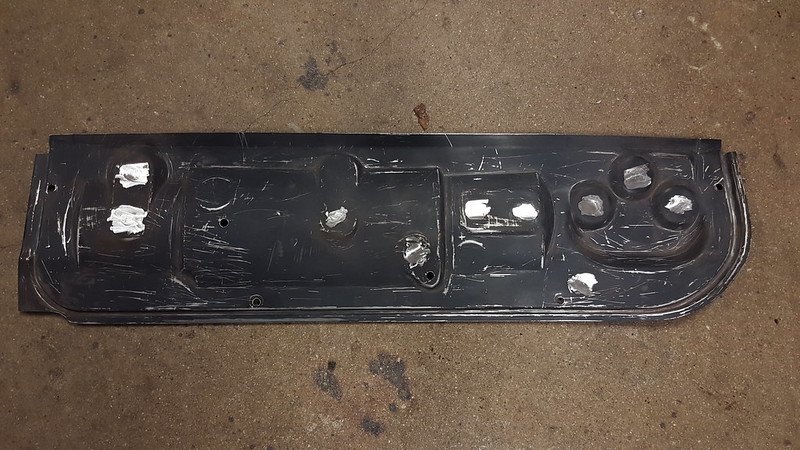
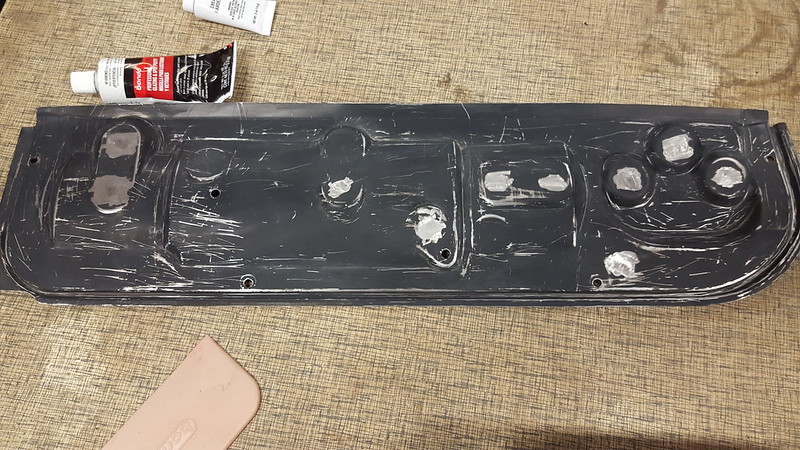
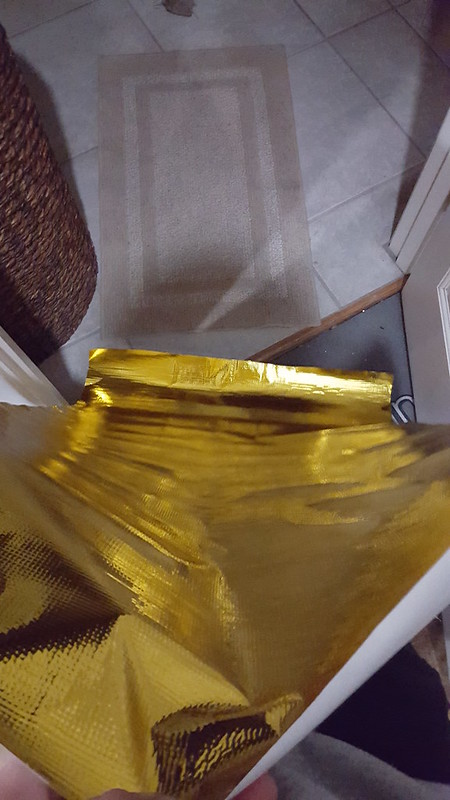
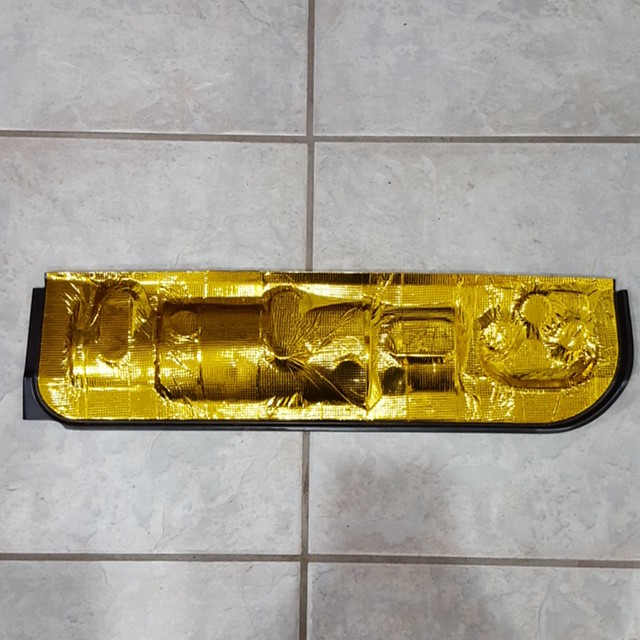
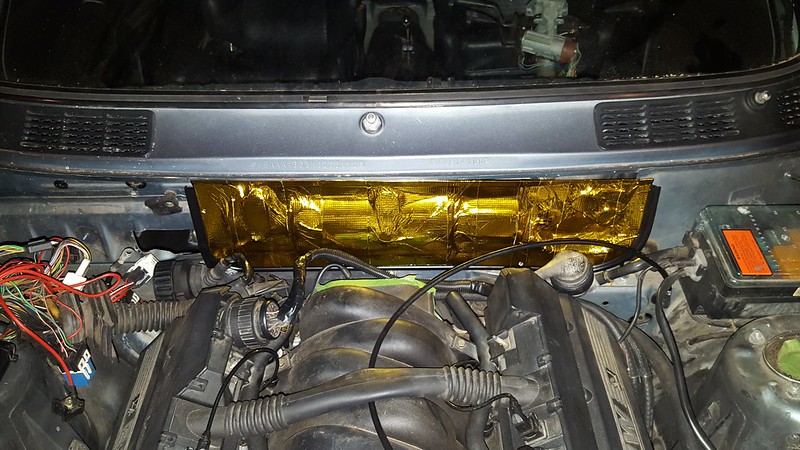
Got some fire resistant / heat reflective film for the firewall. Went ahead and threw it on the cover. Once I finally spray the bay, I'll lay the rest of it on.

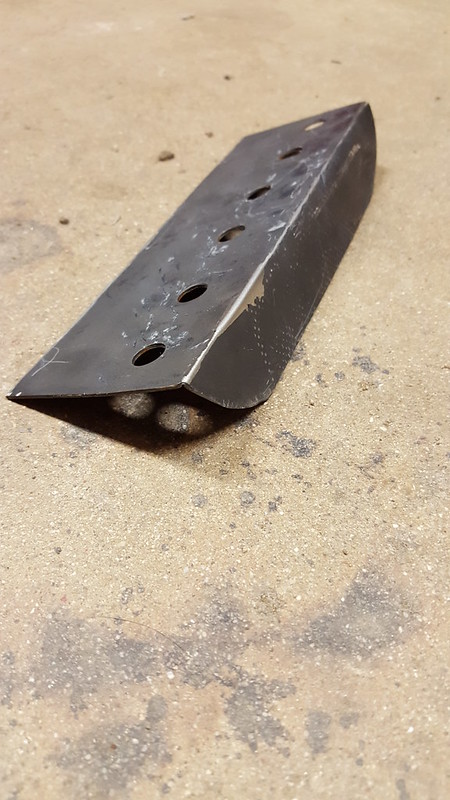
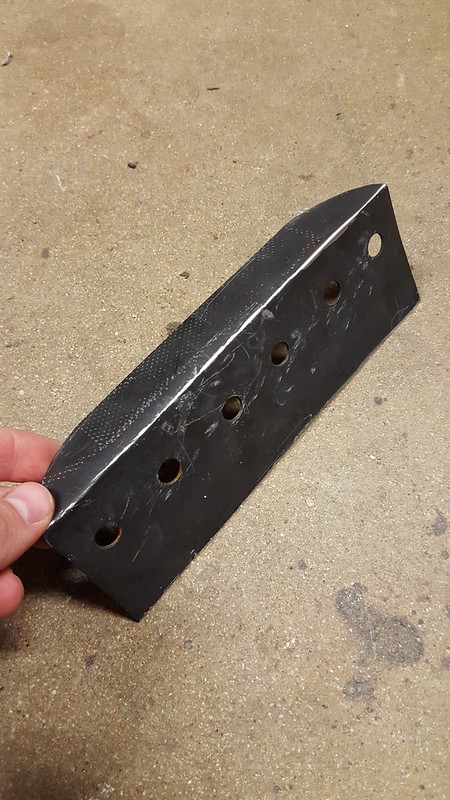
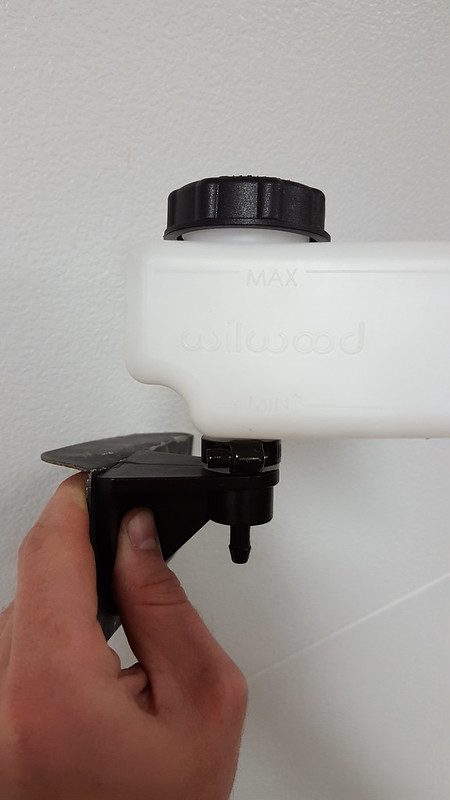
Also went ahead and bent/cut my brake res bracket & fabbed a bracket for my oil catch can...
 Last edited by DIIRTY-30; 02-17-2016, 02:16 PM.
Comment
-
Thanks, I understand what you're saying, that's smart! It also helped me to remove the bumper shocks and take a look myself. I think you're method would actually be easier than trying to tack nuts inside there, let alone strip the paint, and then reapply rust protection when finished. I decided to just buy a riv-nut tool :DComment
-
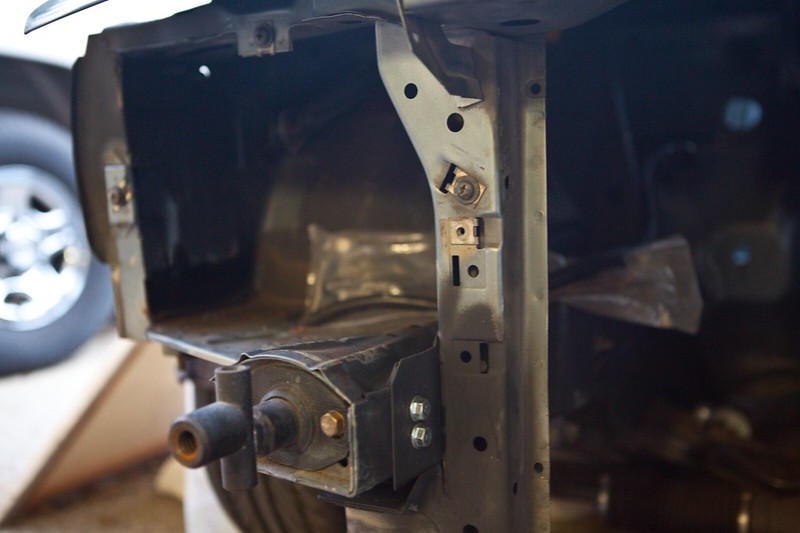
I spent a lot of time staring at JGood's, Gary's M3, & pantelones' supports; this was my best solution considering how limited the access is. Stripping the paint down just to get a good weld would be such a PIA lol. I did the same piece for the outside of the fender for the top section, and made the smaller piece for inside the frame rail. Figured this would be the best solution to distribute any stress from vibrations & also easier to work with than washers ha. I considered doing riv-nuts but figured this would be a bit easier since I've had to remove it atleast 5 times now.
The part looks similar to this : (Stolen from Pantelones thread)
Comment
-
Thanks for the pictures and additional info! Actually I really like this idea, maybe better than riv nuts since like you said it distributes the load over more of the thin sheet metal. Also if I screw it up somehow I can just make another plate. Dammit... ordered the riv nut tool this morning overnighted
Comment


Comment