-
haven't touched the car at all. just got a roll of colorplus 200 developed and had a few pics of the e30 on there i wanted to share.


Leave a comment:
-
Been really kicking myself in the ass for missing the last event. I was just too tired to attempt to make it to the event. It was also super windy that week and I was just over worked. - So far no mention of a March event and I doubt there will be one with only one more week to the month. I just really hope I can make the next one.
took a few notes from e30mclow's thread and found out about those laser cut axle spacers offered by "seems legit". I didn't read the ad and ordered a second set of "extended" hardware. Turns out the extended is the same 50mm length as stock even though the spacer is 6.5mm thick.


I didn't really like that so I ordered some grade 12.9 zinc blue m10x55mm bolts


While I was ordering bolts I decided to get some 10.9 m12x30mm bolts for my e36 M3 coilover to spindles (since i have 3x washers sandwiched between the coilover and the spindle for extra camber adjustment). Prior I was running 25mm bolts which worked, but the threads were short on the outside bolt since its' threaded all the way through.

---
I've been looking for a good 16x8 +0 wheels to run up front. Decided to look for some epsilon GT-A wheels. since they can be had relatively cheaply if you can source them. I have been looking on and off for at least a year now, Found 3x locally but the pair is +16 which I actually don't mind running in the rear, but I really want to run the 0 up front to get rid of some of the spacer stack going on.

I got these for a ridiculous price ($10ea?). But I still couldnt find an extra 0 offset for the front. They have also been repainted so I decided to just order 2 reps off jegs. I don't think I'm going to worry about color matching at this moment. It's really close and I don't plan on doing any photoshoots with the car...(ever really LOL!)

I had the hardest time trying to find a 2.5" flap wheel that was actually 2.5".

I tested out the slight bore needed on the repainted 3 wheels first. I used a spare hubcentric spacer for test-fitting the hub. It really doesn't take much effort at all. Just be patient really. I'll end up using these 3 for spares. I have yet to do the new fronts' but hopefully I'll get that settled and maybe to a tire shop later this week since I'll have a bit more time.
Leave a comment:
-
Figured there are only so many times i can update my last post, so I ordered 5" 14kg swift springs on the 21st and had them installed by 3pm (23rd). Took my time cleaning out the torrington bearings and regreasing. (what a pain)


I apparently didn't take pics, but i bought a second set of ETA adapters e46 billet caliper adapters (for secondary calipers). SRS ones are just rough cut steel and i was never happy with the finish. You can see the new adapter in the background of the last pic.


I lowered the rear about an inch. I may change that but it's much better to have the full adjustability again now vs just HIGHER. I'll probably lower the fronts down 2 threads tonight but for now but i'm trying to source another pair of front fenders. I think I mounted the flares a tad bit too high and want to redo them.
Fingers crossed I may have found 3 GTA epsilon mesh wheels (2x 16x8 +16 and sadly only one 16x8 0 offset). Hopefully picking those up friday after work. I am still having sway bar rubbing issues so I think I just need a lower offset up front. I will be throwing on some additional spacers (5mm) just to measure total offset needed for clearance and spraying the oem sway bar with some black paint to see if it rubs off after this weekend. I may throw the 22mm swaybar up front eventually since I can't seem to unload it, and also there is actually noticeably more body roll after going back to stock - even with the poly bushings. It seems like a lot of e30 drift guys dont even run sways but the body roll kills me.
Sucks but those GTA wheels have been hard to find (locally) lately (been looking off and on for 4-6 months now), but the e38 style 5s are et 23, so its only going to be a 7mm difference for now. If that deal doesn't come through, I may just order a pair of reps off jegs or something to test if i get impatient..The goal is to find 2 sets to replace the two sets of style 5s. I don't know many other 16" 5x120 0 offset wheels readily available.. I'll probably throw on some grippier tires up front - might try some fire hawk indy's since I know someone who works at firestone and hopefully can get me a discount lol. The Yoko/Advan v701 barely have any use since the last event but I don't think they provide enough grip. Even this weekend with the colder weather I plan on running a little lower psi up front.
edit: 02/24 had to shave off some of the e46 caliper bracket to clear the secondary caliper mounts as it was causing some interference. did like 2 threads lower up front but i don't think it did anything at all and I lost daylight so I called it a day..going to test drive it tonight or tomorrow and see how I feel and before doing a last minute registration for Saturday.
 Last edited by s14brent; 02-24-2022, 06:10 PM.
Leave a comment:
-
So I had to take advantage of the good weather we've been having. Started by pressing on the new carrier bearings on to the kaaz unit.


Felt good to use the press since I tend to use it once every 2.5-3 years LOL
Dropped the diff out, and removed the LSD from the carrier.

swapped over the crown gear onto the kaaz unit. Used some longer flywheel bolts (m12x1.5) as sacrificial bolts since the bolts pull the crown gear to seat properly onto the LSD.

cleaned up the 10 crown bolts before applying red loctite and torquing to spec

installed the bearing race(s) and oil seals. Made sure not to block the oil passage.

used some gear marking paint to check back lash.
Original shims were Left: 1.8mm and Right 1.6mm. (apparently you need to keep the shims at 3.4 total)

^ some noticeable root toe contact
I changed the shims out twice and checked each combo and ended up using the racing diffs 2.0mm/1.4mm shims and this is a much better contact patch.


^ r&p contact much more central on the crown gear.
Dial indicator was used to measure the backlash, but here's a pic of it zero'd out. Measured in at .005-.006 which is thankfully within spec (.005-.008)

I was curious and sent RacingDiffs a pm on IG.

pretty happy I went with them for the shims. They really have the most in-depth guide on YT.
Will probably check again once more before final clean up and slapping the cover back on and filling up. Figured it'd be a good idea to let the loctite settle before filling it up. Super excited to see how different the car reacts to the 12 plate 2 way. Despite the kaaz being the SUPER Q model, I will probably do a similar break-in process like I have in the past. I'm definitely not planning on NOT testing it out before the next event lol.
edit: cleaned up as much of the gear marking compound as I could even though it is "diff fluid safe" supposedly. brushed on a light coat of kaaz diff fluid onto the diff and halfshafts and went through the cleaning process of the cover and all hardware.

I'm not going to be able to reinstall the diff into the car until Sunday due to my schedule. Meanwhile I'll be thinking about how I should fill up the diff fluid out of this metal can (pre or post install). Been trying to look for substitutes for the kaaz diff fluid (mineral based). Anyone have any recommendations? I'll probably just have to order the kaaz fluid moving forward - no big deal.
------------
Edit: 02/21
Got the diff back in the car on Sunday with help of a fellow e30 buddy. My jack totally sucks to use since it has the twist knob at the end of the handle so I reached out for help. Bushing mounts were loose in this pic. I was just happy to get the damn thing back up in place.

I know its not necessary, but I've been comparing track shots (under load) and static shots and think I may order a pair of 60mm swift 5" 14k rear springs. ride height under load is perfect with 6" 12k springs, but I do want to lower the car a bit without having tire issues on track. If it's terrible I can always swap back....but IF I install them, setup ride height and get an alignment, chances are I'm not going back at that point.
Also trying to figure out ride height with the car completely loaded with track day equipment too. Figured this might be the first step before going for wider tires since this will ultimately be affected as well. so currently it is 9/12kg (504/672 lb/in) so i would be upgrading to (504/784).

Feels good to get that project done. I will be taking it out for a small break-in process later this week. There is another vegasdrift event this weekend. I'm not 100% I can make it due to it being on a work-day.
Also swapped out the steering base on the rig. Bought a FANATEC DD1 (direct drive goodness). Turns out the V2 had some connection issues.

Downloaded ACS and Content Manager and started to download some cars and maps. But tbh the most fun has been playing WRC10. doing those iconic rally races in all types of weather conditions has been ridiculously fun. There goes all my productivity!!Last edited by s14brent; 02-21-2022, 01:20 PM.Leave a comment:
-
sooo ebay said march 08th as ETA for diff shims but I got them delivered today via DHL from Serbia!

Not sure if i'll have the time to dive into that this weekend, but I'm in the middle of a pc/racing sim build that i've been wanting to do forever now (more-so since 2020 but people weren't really selling complete setups or just marking them up over msrp). I found someone across town selling a rseat N1 rig/Fanatec setup & monitor for a killer deal. The steering wheel(s) are kinda faded at the grips, but he gave me 3 of them, and the N1 rig has ALMOST every available option (all of them but the speaker mounting kit). It's an older Fanatec cS v2 base, 1.5 shifter, sequential shifter, and v3 pedal box. He had the pedal damper kit also bnib which I installed on the throttle as the brake seems decent as it is. Oh and it came with a butt kicker & mount which should be cool. De-stickered it since it was mostly sneaker brands, a local tattoo shop and off-road shops. Funny thing is some of the larger stickers were strategically placed to cover up imperfections so I added some stickers that were just sitting in a tool box drawer for now. Hopefully this will help with my lack of Saturday seat-time issues or something....

First thing after getting it home and partially assembled was how FAR and LOW the handbrake was for me. I wanted to set it up as close feeling to the e30 cockpit as possible.

The logical thing to do was to chop up the mounting plate obviously.


picture of the v3 pedal set after installing the damper and adjusting height/mounting angle.

Will hopefully have the fresh PC ready to go by Monday. Will be back for car content once the kaaz super q is installed - or not.Leave a comment:
-
So I didn't end up using the sparco hub. However I did find a short hub that covered 2 of the 3 things. Flashpower short hub off amazon for $60 and it has blinker cancellation, horn ring, AND it has steering wheel ignition lock grooves....but they don't necessarily work.. I'm over it at this point, I may check it out another day and see if i can hit a few channels with a dremel and see if it will lock. But this is the best option I've found so far and it's basically half the price of the NRG short hub that doesn't have the ignition lock OR horn. The hub is super short, and luckily the 11mm nardi adapter was just enough clearance for the button.


Just really happy i won't be smacking my elbows on my seat countersteering anymore.
Got the parts in today for my next project which will be exciting. Picked up a Kaaz Super Q 2-way differential (12 clutch plates/wpc treatment)

I ordered new carrier bearings, shaft oil seals, o-rings and cover gasket. (edit: I actually decided to order the racing diffs 10x 188mm diff shim kit 1.0-2.0mm - would really hate to be in there and not be happy with incorrect back lash) The BMW OE sets are 1.45-1.69 and 1.72-1.96. I just don't want to have to revisit this ever really!

Next drift event is Sat. Feb 26th. (it's the last road course event of the year supposedly so I really want to go again) I'm not sure if I'll be working that day or not yet, but I'm planning on going at the moment. I ordered some gear marking compound and got a magnetic mount dial indicator to read run out/backlash.
I just got another pair of spares mounted up this week - going to use the achilles atr-2's for burners. Heard good reviews and they aren't that costly. Still unsure what to do if I move to 17s, I feel more comfortable with 16s at the moment since I know I can run them square with no rubbing issues. I really wanted to order a full set, but I've heard some mixed reviews. Figure I'd document how I like the tires here since theres' not a lot of 16" tire options available lately.

----------
Small TACO update: I had a shop paint match the ARE camper. Got sick of the 21' tails and got a pair of OE 19' red/clear tails and MESO total tail stage 1 LED's for them. Really finding it hard not to dump money into the truck right now. It's screaming for some larger tires but I just passed 6k this month and I'm at the tire shops wayyy too much as it is LOL. Oh and I actually just renewed my registration, I can't believe it will be a full year come march!!
 Last edited by s14brent; 01-27-2022, 02:49 AM.
Leave a comment:
-

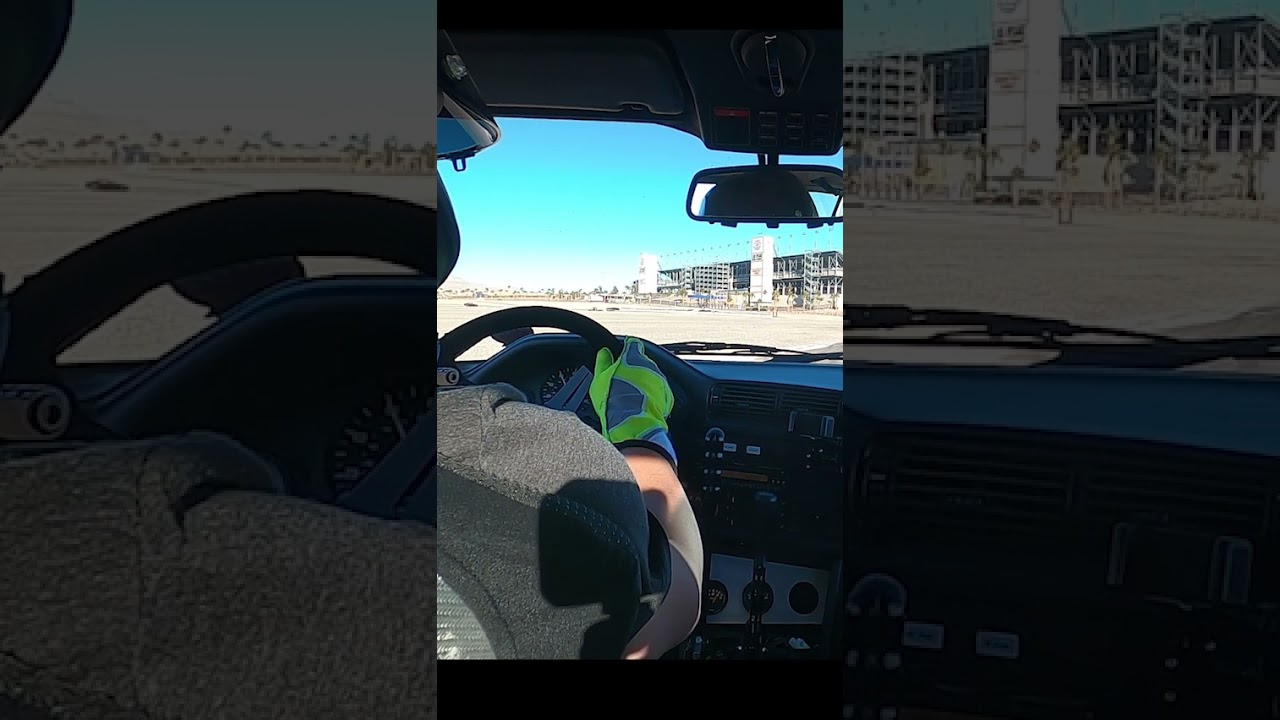
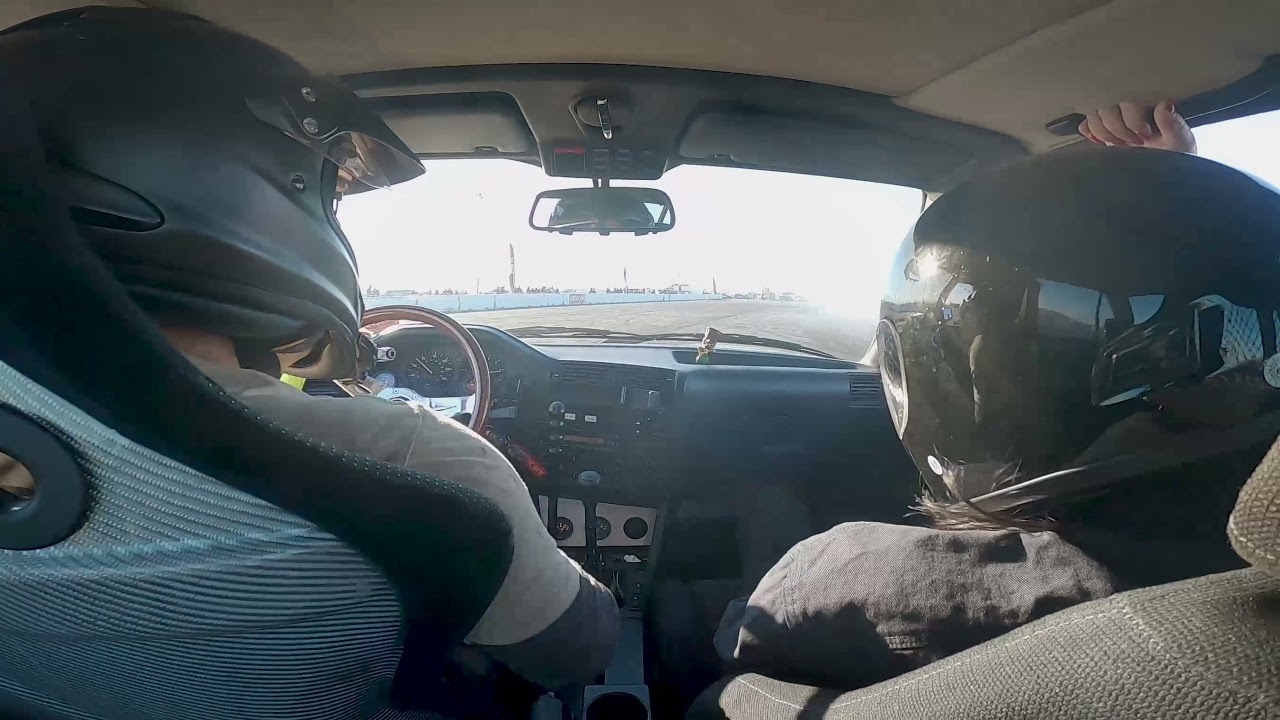
So I made it to vegasdrift on 1/09 and I had a blast doing the roadcourse at LVMS. Not going to lie, there was an hour hold up at the gate (covid waivers for everyone) and when I got the car unloaded and stopped to watch a few other cars run, I saw maybe 2 wall taps and a crash at turn 1 so I was in a "go reaaaal easy" kinda mood.


So yeah first half of the day was kind of dialing in grip and tire pressures. I did do a few dirt drops on accident lol


when I got more comfortable I gave some local e30 enthusiasts ride a longs. utilized those 4 doors LOL


Impressions: same as my first time out at roadcourse maybe 2 years ago. Would be much better with 300ish hp. Still doable with more driver mod. Due to how small the actual track width is, a lot of handbrake was used, no real weight distribution/swinging the car for entries as I think that's how a lot of the wrecks happened over at turn 1. E30 felt a little more twitchy as the track felt like ice again. The tiniest inputs could send you out way wide. I need to really dial in my rear wilwood brake bias valve or I may need to go smaller BMC, as no matter what when i tapped the rears in the last sweeper it would lock up the rear. Will be putting the e30 up on jackstands and have a friend try to modulate pressure while I manually turn the wheels to get a better idea. I think I just need to set it on full soft and go from there.
-Chasebays powersteering cooler/lines. AMAZING. no issues at all this event. Holy crap. LOVE.
everything else held up really well. Couldn't really feel "more body roll" because of going back down to the 20mm front sway. However I did have to do maybe 2 more clicks of dampening up front iirc to make it feel better but I think that was due to track conditions and running different tires up front this time around. those v701s aren't known for their grip, but they held up just fine. They actually had a tire guy (andy's tires from pomona,ca) out on site so I flipped the tires mid day and only went through a pair of tires all day!! Really happy with this setup as it seems to be a perfect seat time config. Had a boosted e36/m52 next to me that kept overheating while my temps was reading at the 185 mark ALL DAY but his car sure sounded cooler LOL. Got a little clip dodging a car that spun. Video does not show pucker factor accurately.
----------------
So quick edit: super disappointed. thought i bought a genuine nardi brand hub from crowders llc/amazon. I got THE exact same china hub that IE sells. It just came with a 74mm horn ring but everything else was the same. Paid for labels to return both of them today. Might try the sparco hub which seems to be 70/74mm bolt pattern and have a similar design to momo's which at this point would be perfect. (so annoying).

but on brighter side, i got a free set of style 42s from a buddy of mine. They are e39 fitment so 17x8+20. Two of the tires are completely blown, 1 has excessive camber, and the top one might be the best overall.

I did buy a pair of achilles 205/45/16 just in case I go to the next event date, but I should have a pair of usable 17" spares with 235/40/17 since I still have my spare e39 wheel that had a 235/40/17 federal ss595 on it as well. I wonder if I'll be able to spin those things as I'd much rather use a wider tire. I guess I'll see next event.
-----
01/15 update:

Wonder why Sparco would have dual bolt pattern hub but have the personal/nardi 74mm bolt pattern in m6x1.0 instead of the normal m5 x 0.8 (how frustrating). I give up, what a stupid inquiry to dive into. Hopefully I can hear back from TF on Monday about a return or I will justt have to live with the current situation. If for some reason I can't do a return, i might decide to chop and weld the two extension arms on the hub 12-15mm and still run the adapter for bolt pattern/horn centering.Last edited by s14brent; 01-15-2022, 02:50 PM.Leave a comment:
-
haha been a while man! needed to do something!
----
Finally had time to wrap most of the work up. I found out why I was hitting my sway bar again ::facepalm:: SLR speed rack limiters got chewed up pretty bad. I ordered some TMS ones but they won't be here for a while - luckily a local e36 drift buddy had a spare bag which look like the "improved version" which hopefully will last a bit longer this time around.

I got the IE 20mm sway bar bushings in. I think I'm going to keep the stock bar up front. I want to see how the car handles next event.

I also ordered a IE steering wheel hub since it has both 70mm & 74mm bolt pattern. I was hoping to get rid of the 11mm momo to nardi adapter I had in, but the momo hub is much better. I want my ignition lock to still work and it didn't with the IE hub. I didn't even check if the turn signal cancellation worked, just threw the old setup back on. Just for reference, both the momo and IE hubs are about 3.5" in length. I actually ordered a nardi hub as my last attempt, but I can live with the wheel position. (being short sucks)

The -6AN line separators came in for the PS cooler lines. It's as good as it's going to get down there for now.

I drained the radiator because there was a slow leak from the mishimoto drain plug. I ordered a dowty seal and put some thread sealant on there overnight before filling it back up. So far so good. Will eventually upgrade the radiator, but I'm also not 100% sure if i want to keep AC on this car any longer. (ac lost charge again, thankfully its winter, but I really rather just pull it all out vs take it all apart again for some reason. This is pretty much headed toward the whole "dedicated track car" thing. There's actually an event this Sunday that I've been contemplating going to. I just know post event I'll probably have no spares left and have been contemplating going back to 17" for better tire selection. (needing a wider rear tire like a 235/40/17)

and lastly I pulled the trigger on another nardi. I looked for a few weeks at other options but I really love this 350mm deep corn design. This one is the "stealth edition" or whatever. All black everything! I do have a few pairs of driving/karting gloves ready! TBH I'm not super stoked on getting a suede wheel, but goddamn it looks good.


----- edit -----
car is prepped, v701s thrown up front and test drive completed. Excited how good the car feels. Officially registered for 1/09 vegasdrift event at the LVMS road course. Using a single SLRspeed rack limiter on each side this time around, TMS ones will be wayyy too large and will probably be tossed in a corner when they arrive -bummer but I do have 4 spare SLR ones to burn through first - Also spoke to Sean @ SLR and there is another revised rack limiter available soon apparently. TONS of clearance from the stock sway bar now - hopefully not too much body roll - we'll see!! The LCA's are closest thing the wheel can hit at this point. Post event I will probably have to relax a bit on the spending, and depending how hard I go, most likely do another oil change after. I'll have to figure out what I want to do for the rears also (wanting to go 235/40/17 moving forward) I'm kind of looking forward to see how different the tire wear is from the skid pad to the actual road course now that the car is responding how I want it. And I probably should schedule another alignment after just to keep things in check.
 Last edited by s14brent; 01-07-2022, 11:07 PM.
Leave a comment:
-
Happy new year R3V! Parts finally showed up and I got started during all the little down time I had. While waiting for parts I got the car up on jackstands to do the oil change and transmission fluid change. Transmission got some fresh redline MTL again.

I took off the skid plate this time because the last few oil changes I got sick of oil spilling onto the skid plate and causing a mess.(old school hikfab for m20 modified to fit 24v).

I then made a pair of intake tube brackets to secure the intake from flopping around. Kind of think that the weight of the intake may have been what caused the intake boot tear a while ago (esp during hard transitions I can totally see that being the cause). Anyways, at vegasdrift during tech, they mentioned it'll pass but i should really secure it somehow so I went ahead and knocked that out with some aluminum stock I had laying around.

I noticed my 22mm uuc sway bar had more of the powdercoating missing, so I uninstalled the front bar to see how clearance was on the 20mm OEM bar. It definitely doesn't stick out as much at point of contact, so I ordered up some IE 20mm sway bar bushings to install later.


First of the new parts to arrive was the garagistic secondary diff mount. I ordered it bare but decided to spray it for some reason?


Installation was easy, I couldnt get the bushing in on my press for some reason so I ended up installing it like a rear wheel bearing with no issues. Had to remove some sound deadening in the trunk to mount, but drilled nice and clean with a 8mm drill bit.
Chase Bays PS kit + cooler showed up. I read some people saying install sucks because of no instructions. I had a cooler prior so I knew how to route everything really by just looking at it. Easiest way to explain this is note how the fittings (with red caps) are attached to the lines from ChaseBays. Two of those with the 65 degree -6AN go to the rack. 2 of the 3x 90 degree fittings go to the chase bays reservoir (-10an short line, and the longer line to the oil cooler with 180 degree fitting) Just a side note: the line from the pump going to the rack is a different hose type than the rest so that should keep things as straight forward as I can explain it. Very happy I didn't have to do these lines myself this time around. I can't wait to report back things are working 100%.


The lines were long enough to mount the ChaseBays cooler in the same location I had previously. I'm not sure I'm a fan of the loop clamps for it, but I might be able to make an extension bracket straight to the cooler, but the vibration dampening mounts will be kind of useless in the middle. I tried centering it as best as possible. yes my valance keeps getting more and more beat to shit looking. I did modify the sheetmetal ducting I made a while back in hopes to make it fit better. I'm pretty happy with it now, and am just waiting for a pack of 4 -6AN line separators to clean things up a bit.


and I mounted the skid plate back up and it's a lot better than how it was. Hopefully it won't be AS messy during oil changes moving forward.

So just a couple more things to do before taking it off jackstands. I'll try to run fluid through the system when it's not 30 degrees out, I'll be filling the system with the leftover redline D4 I've had. Oh and after all this is done I'll be messing with steering wheel hubs/configuration. I ordered an IE hub in hopes to get a little more arm room than the current momo+nardi adapter+deep corn. I might also be swapping out the wood grain wheel here soon. I think it's an amazing wheel but no longer fits this build and I want something a little more race inspired moving forward.Last edited by s14brent; 01-02-2022, 12:00 AM.Leave a comment:
-
got sent some more pictures from the event:


---
one of the garagistic floor mounts finally put to use.

no eta on my chasebays order yet. I picked up 2 gallons of 15w40 T6 Rotella and a gallon of Redline MTL. I'll use the rest of my redline D4 ATF for the new PS setup whenever it arrives. I'm guessing I'll get my leogrande billet interior door handles mid January. Will probably put the car up on jackstands after christmas to start doing fluid changes. I really hope I get tracking info on the PS lines/cooler before I start taking apart the system. I have to remove the front bumper to remove the PS cooler because I thought it'd be smart to surround the coolers with sheetmetal ducting lolol.Leave a comment:
-


some other pics I've gotten from the event!
----
I priced out fittings for the PS (-AN upgrade). ChaseBays actually sells the fittings they use w/crush washers etc. I'm going to post the rack/pump sizes here in case anyone needs it or in case i ever need to reference it again.
M16x1.5 to -6AN ( E30/E36 low side rack)
M14x1.5 to -6AN x2 HIGH SIDE RACK, pump outlet
16mm BANJO fitting to -10AN (pump inlet) HIGH
Turned out to be about $110 for just the rack/pump/reservoir fittings i needed. The fittings I needed for the cooler and hoses added up to $220, and 15ft of -6an and 3ft of -10an was going to cost me around $125-150. I ended up deciding to order the whole ChaseBays PS cooler/reservoir kit since they are using BMRS fittings in their kits nowadays. I feel confident in making my own -AN lines, but for just a little more I only have to install it which makes it so much easier than the whole process since I barely have any garage project time now days.
I bought some 3/8x1" steel spacers from home depot. I will be using these and longer bolts to solid mount my seat to keep my current seat height with sliders. I figure that running those spacers is the work around from having to cut the front seat studs down for seat bracket clearance. (that was the original reason I did not go ahead with the floor mount seat install initially). I noticed a few guys at the track who were running spacers on their floor mounted e36 race buckets and they didn't budge - I need that. Even though the current setup only has a little play, if you watch the video posted in the last video, the flex/vibration is noticeable throughout the entire video.
Also....been to autozone/oreillys looking for 15w40 T6 and havent been able to find it at either location! Looked online and it looks like local walmart has the 2.5 gallons available, so I guess I'll need to go there to start doing my post-event maintenance.Leave a comment:
-

Went to Import Face-off/Vegasdrift event yesterday and had a blast! I probably need to go back to a 3.73 LSD for these drift events as the 3.46 in 3rd would kind of put me in the lower end of the powerband causing a bog....sooo...happy everything stayed together for the day, i wasn't easy on the s52. So a fluid change is going to be happening hopefully this week whenever I have time. We were doing hot-lap style runs (3 laps) instead of the normal single runs, also the track was backwards (clockwise) this time. Also, all I see in that video is my seat shaking...gonna solid mount with these garagistic floor mount's that i've had collecting dust.
I had to clean up the car (check & top off fluids, fresh gas, slightly overfill oil and check torque specs all around). As per every event, passenger side door handle surround (square) snapped after the first run. (guess i'm going to go billet - ordered leogrande piece already!).


After my 3rd hot lap, my low side PS line from cooler to rack side popped off. Luckily someone there had a quart of atf and a new hose clamp. Lost about an hour waiting for it to cool and repairing but I got it back up, swapped tires and did 2 more runs before the competition part of the event started.
Finally got to burn up the 205/50/16's I had sitting in my garage for quite some time now. 2018 date code sheesh.

picked up some yokohama advan fleva 701's. I really don't like that tire tariff. There are literally no cheap 205/45/16's in the valley. I'll probably flip the tires that are up front and run them in the rear and put the yok's up front.

So on top of the stupid door handle surround, I plan on piecing together a -AN powersteering setup now. I've already been in touch with Chasebays' and they'll be supplying the fittings for the low/high sides of the pump and rack, oh and the fittings for their reservoir that I purchased a while ago (going from barb to -an).
hoping to see some dope pics from the event to post. just figured I'd share since it's always a long time between updates!
-----i'm pretty sure this was from the run in the YT where i was trying to finish off the first pair of tires
 Last edited by s14brent; 12-14-2021, 02:45 AM.
Leave a comment:


Leave a comment: